Embed Size (px)
Citation preview
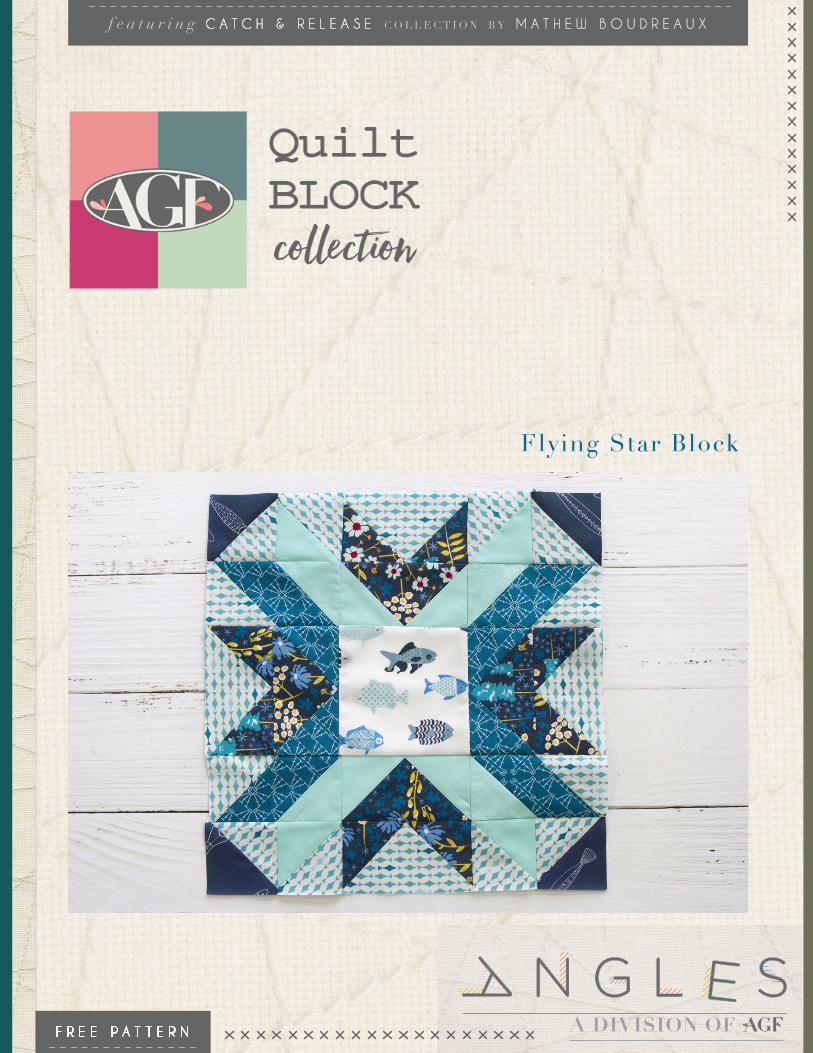
F R E E P A T T E R N
f e a t u r i n g C A T C H & R E L E A S E C O L L E C T I O N B Y M A T H E W B O U D R E A U X
Flying Star Block
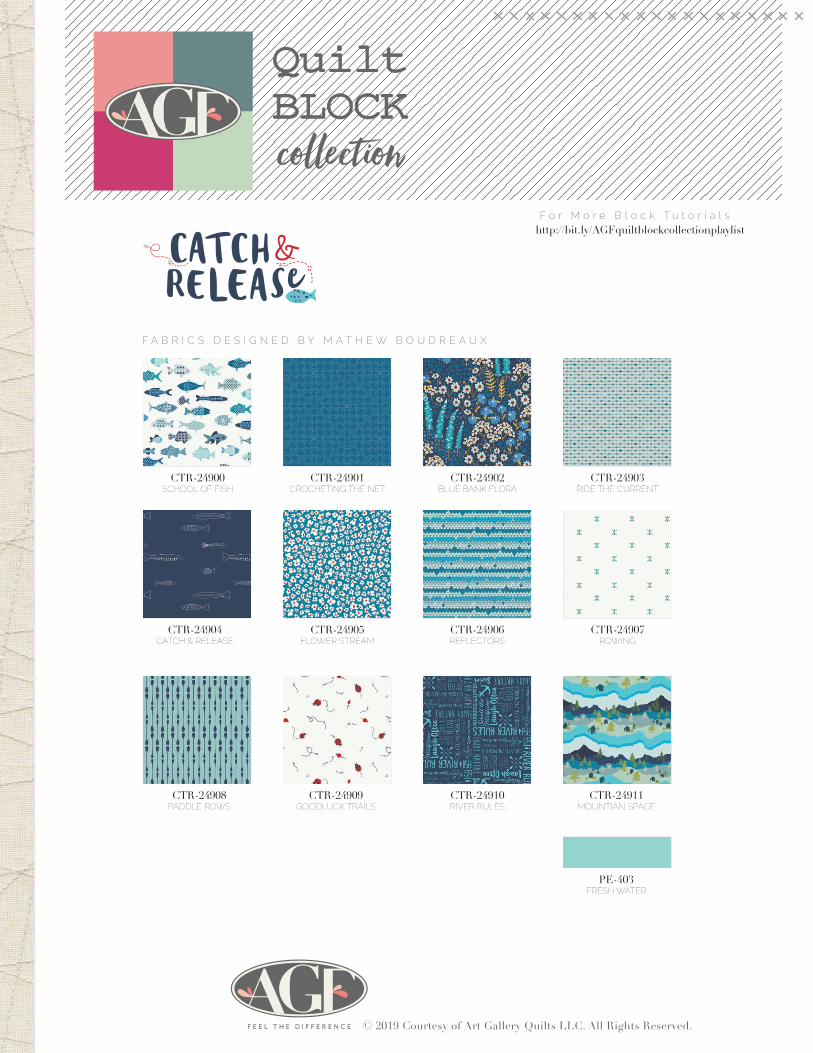
CTR-24900SCHOOL OF FISH
CTR-24908PADDLE ROWS
CTR-24904 CATCH & RELEASE
CTR-24901 CROCHETING THE NET
CTR-24909GOODLUCK TRAILS
CTR-24905FLOWER STREAM
CTR-24902 BLUE BANK FLORA
CTR-24910RIVER RULES
CTR-24906REFLECTORS
CTR-24903 RIDE THE CURRENT
CTR-24911MOUNTIAN SPACE
PE-403FRESH WATER
CTR-24907ROWING
© 2019 Courtesy of Art Gallery Quilts LLC. All Rights Reserved.
F A B R I C S D E S I G N E D B Y M A T H E W B O U D R E A U X
F o r M o r e B l o c k T u t o r i a l s : http://bit.ly/AGFquiltblockcollectionplaylist
ar tga l le ry fabr ics.com
FINISHED SIZE | 12" x 12"
FABR IC REQUIREMENTS
CUTT ING D IRECT IONS
Fabric A CTR-24900 Fabric B CTR-24901 Fabric C CTR-24902 Fabric D CTR-24903 Fabric E CTR-24904 Fabric F PE-403
•One (1) 4 1/2" square from Fabric A
• Four (4) 2 1/2" x 4 1/2" strips from Fabric B,C, and D
• Four (4) 2 1/2" squares from Fabric B and D
• Two (2) 4" squares from Fabric D
•One (1) 4" square from Fabric E and F
• Eight (8) 2 1/2" squares from Fabric C and F
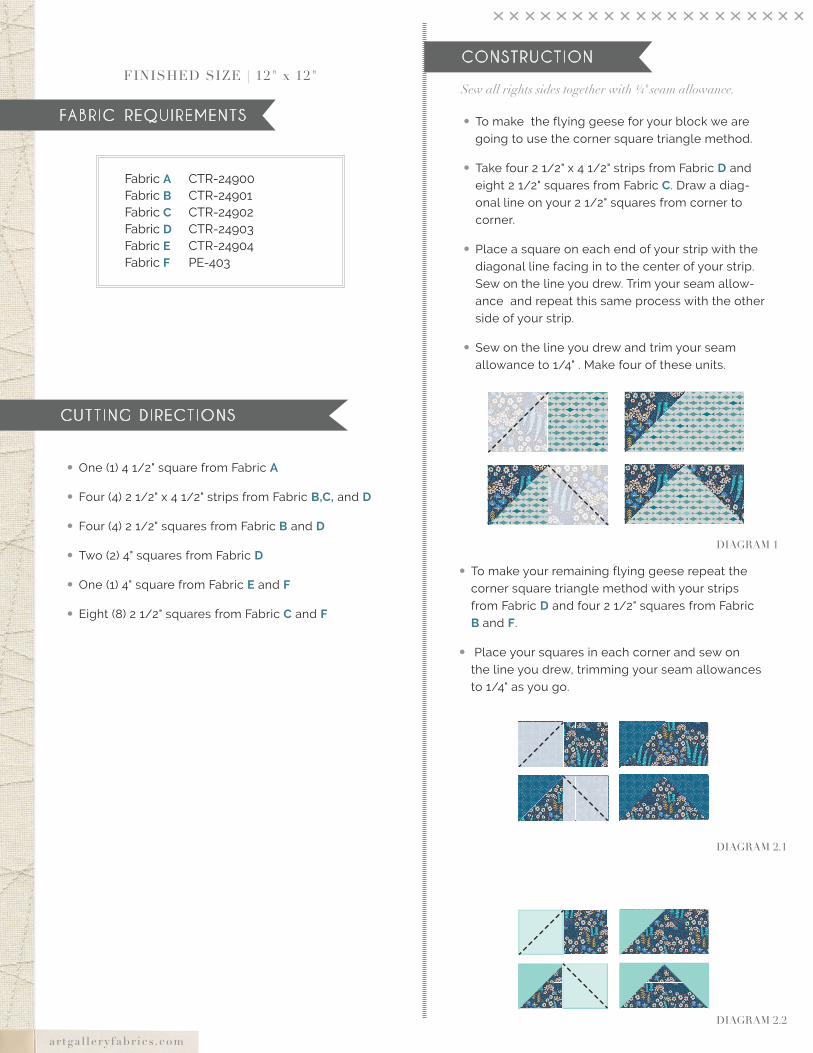
CONSTRUCT ION
Sew all rights sides together with ¼"seam allowance.
• To make the flying geese for your block we are going to use the corner square triangle method.
• Take four 2 1/2" x 4 1/2" strips from Fabric D and eight 2 1/2" squares from Fabric C. Draw a diag-onal line on your 2 1/2" squares from corner to corner.
•Place a square on each end of your strip with the diagonal line facing in to the center of your strip. Sew on the line you drew. Trim your seam allow-ance and repeat this same process with the other side of your strip.
• Sew on the line you drew and trim your seam allowance to 1/4" . Make four of these units.
• To make your remaining flying geese repeat the corner square triangle method with your strips from Fabric D and four 2 1/2" squares from Fabric B and F.
• Place your squares in each corner and sew on the line you drew, trimming your seam allowances to 1/4" as you go.
DIAGRAM 1
DIAGRAM 2.1
DIAGRAM 2.2
ar tga l le ry fabr ics.com
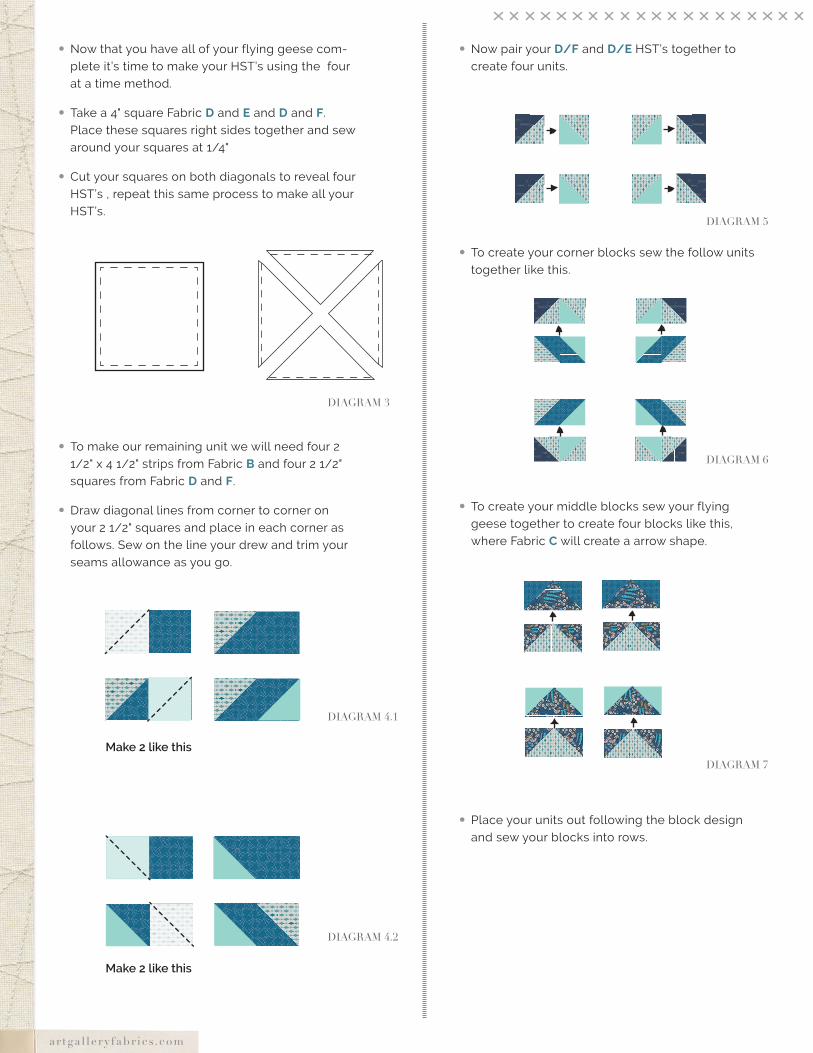
DIAGRAM 3
DIAGRAM 4.1
DIAGRAM 4.2
DIAGRAM 7
DIAGRAM 5
DIAGRAM 6
•Now that you have all of your flying geese com-plete it’s time to make your HST’s using the four at a time method.
• Take a 4" square Fabric D and E and D and F. Place these squares right sides together and sew around your squares at 1/4"
•Cut your squares on both diagonals to reveal four HST’s , repeat this same process to make all your HST’s.
•Now pair your D/F and D/E HST’s together to create four units.
• To create your corner blocks sew the follow units together like this.
• To create your middle blocks sew your flying geese together to create four blocks like this, where Fabric C will create a arrow shape.
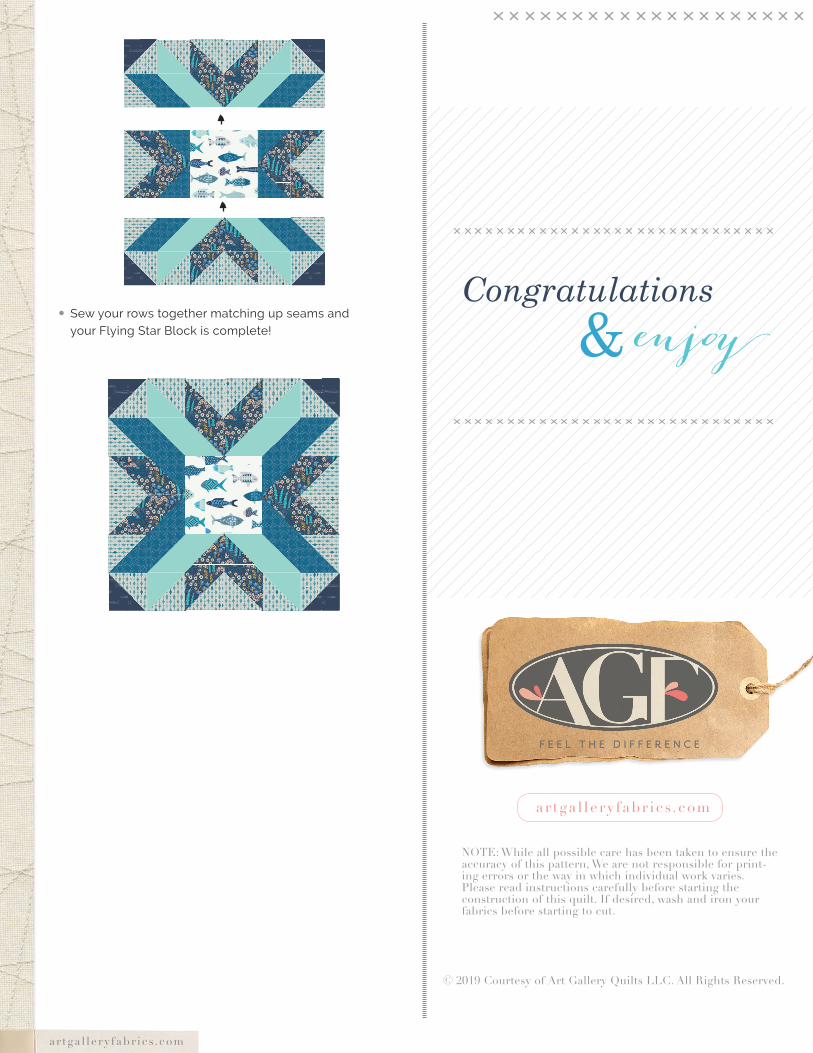
•Place your units out following the block design and sew your blocks into rows.
• To make our remaining unit we will need four 2 1/2" x 4 1/2" strips from Fabric B and four 2 1/2" squares from Fabric D and F.
•Draw diagonal lines from corner to corner on your 2 1/2" squares and place in each corner as follows. Sew on the line your drew and trim your seams allowance as you go.
Make 2 like this
Make 2 like this
ar tga l le ry fabr ics.com
NOTE: While all possible care has been taken to ensure the accuracy of this pattern, We are not responsible for print-ing errors or the way in which individual work varies.Please read instructions carefully before starting the construction of this quilt. If desired, wash and iron your fabrics before starting to cut.
a r tga l le ry fabr ics.com
© 2019 Courtesy of Art Gallery Quilts LLC. All Rights Reserved.
• Sew your rows together matching up seams and your Flying Star Block is complete!