Embed Size (px)
DESCRIPTION
Evaluation Q.4
Citation preview
Cameras
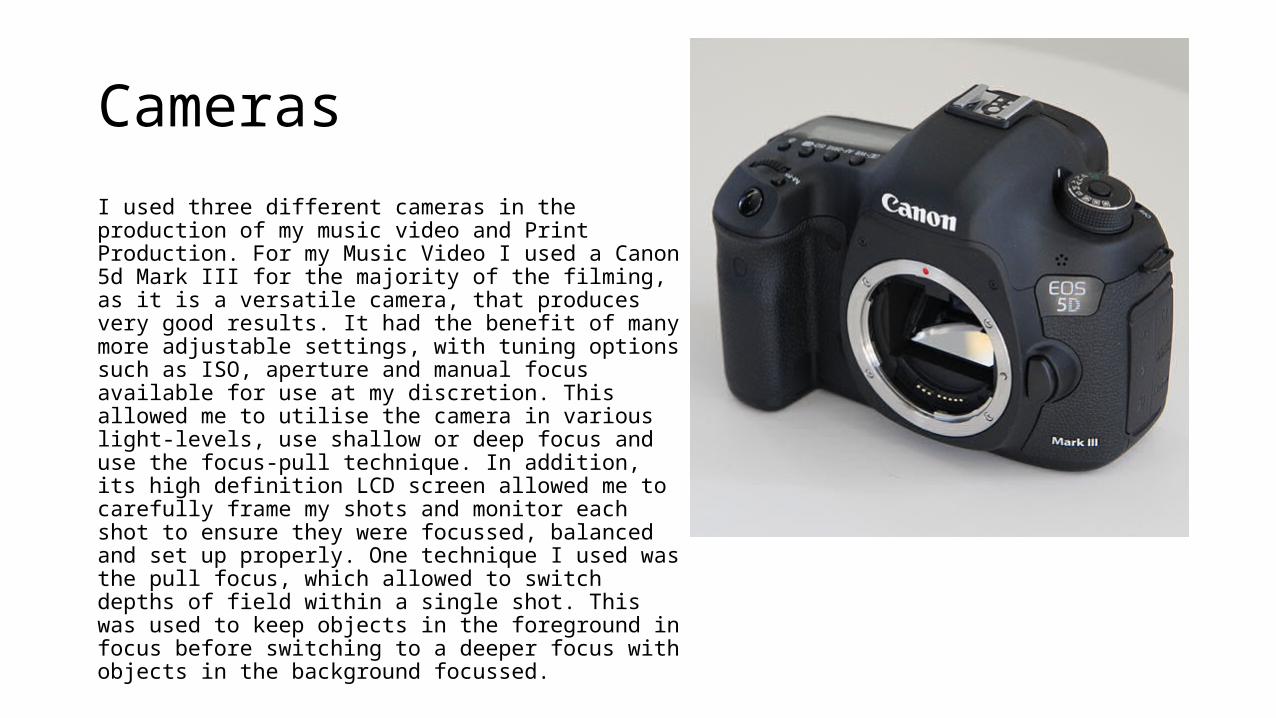
I used three different cameras in the production of my music video and Print Production. For my Music Video I used a Canon 5d Mark III for the majority of the filming, as it is a versatile camera, that produces very good results. It had the benefit of many more adjustable settings, with tuning options such as ISO, aperture and manual focus available for use at my discretion. This allowed me to utilise the camera in various light-levels, use shallow or deep focus and use the focus-pull technique. In addition, its high definition LCD screen allowed me to carefully frame my shots and monitor each shot to ensure they were focussed, balanced and set up properly. One technique I used was the pull focus, which allowed to switch depths of field within a single shot. This was used to keep objects in the foreground in focus before switching to a deeper focus with objects in the background focussed.
Cameras
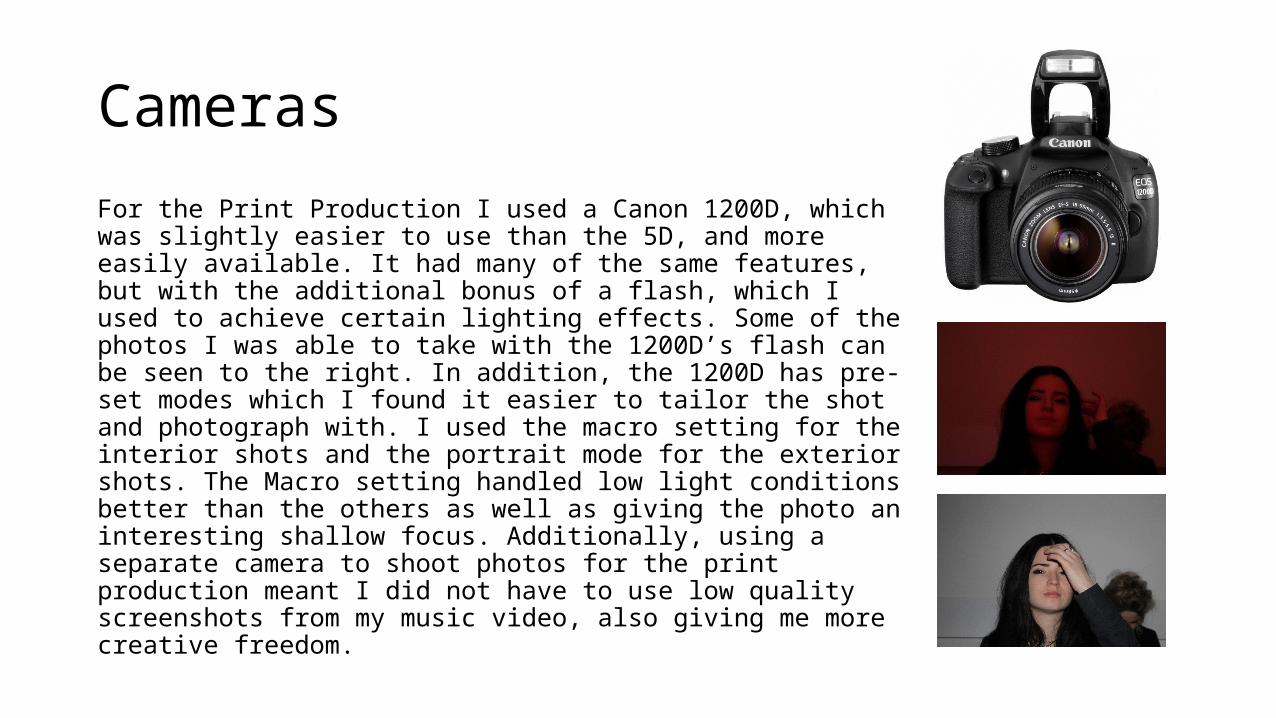
For the Print Production I used a Canon 1200D, which was slightly easier to use than the 5D, and more easily available. It had many of the same features, but with the additional bonus of a flash, which I used to achieve certain lighting effects. Some of the photos I was able to take with the 1200D’s flash can be seen to the right. In addition, the 1200D has pre-set modes which I found it easier to tailor the shot and photograph with. I used the macro setting for the interior shots and the portrait mode for the exterior shots. The Macro setting handled low light conditions better than the others as well as giving the photo an interesting shallow focus. Additionally, using a separate camera to shoot photos for the print production meant I did not have to use low quality screenshots from my music video, also giving me more creative freedom.
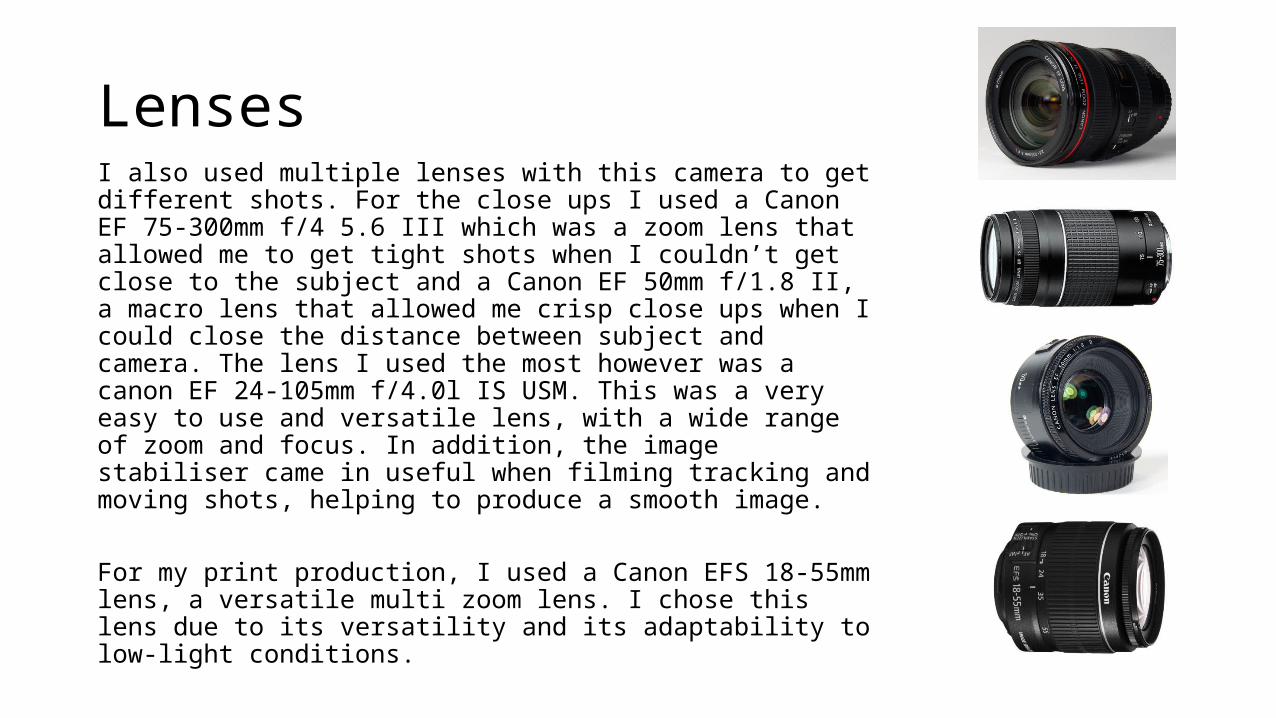
LensesI also used multiple lenses with this camera to get different shots. For the close ups I used a Canon EF 75-300mm f/4 5.6 III which was a zoom lens that allowed me to get tight shots when I couldn’t get close to the subject and a Canon EF 50mm f/1.8 II, a macro lens that allowed me crisp close ups when I could close the distance between subject and camera. The lens I used the most however was a canon EF 24-105mm f/4.0l IS USM. This was a very easy to use and versatile lens, with a wide range of zoom and focus. In addition, the image stabiliser came in useful when filming tracking and moving shots, helping to produce a smooth image.
For my print production, I used a Canon EFS 18-55mm lens, a versatile multi zoom lens. I chose this lens due to its versatility and its adaptability to low-light conditions.
Steadicam
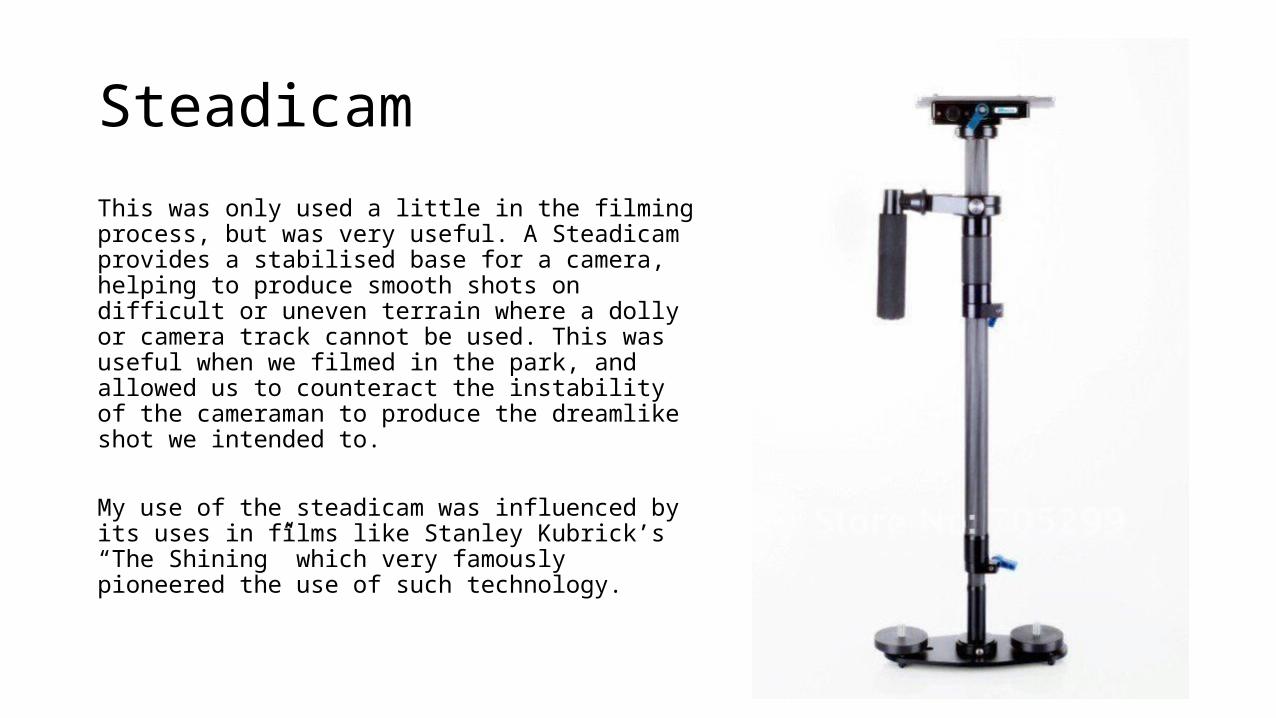
This was only used a little in the filming process, but was very useful. A Steadicam provides a stabilised base for a camera, helping to produce smooth shots on difficult or uneven terrain where a dolly or camera track cannot be used. This was useful when we filmed in the park, and allowed us to counteract the instability of the cameraman to produce the dreamlike shot we intended to.
My use of the steadicam was influenced by its uses in films like Stanley Kubrick’s “The Shining” which very famously pioneered the use of such technology.
Adobe PremiereAdobe premiere was the program that I used to edit the Music video. It allowed me to create a complex and nuanced visual narrative from my footage by cutting, placing, fading footage and so on. Adobe premiere was particularly good for this as it had many useful features and was a programme I hade much experience with through other previous filmmaking projects. It was also a powerful and professional editing software that I felt I could use to produce a text of a high standard with.
One tool in Premier I used to effect was that of the Cross-fade. This allowed me to pull one shot over the other, enabling me to create some interesting visual effects, for example, when the Female character fades over the time lapse, creating the sense of reality and fantasy overlapping.
Adobe PremiereOne feature I used a lot to effect was the ability to progress the video by an individual frame at a time. Although this feature sounds like a basic necessity, I used it a lot to make absolutely sure that each cut was made perfectly to the beat of the song. I feel this helped the music video to appear much more professional, as well as making it more entertaining, and this was reflected positively in much of my audience feedback. For example, this was used at the intro of my video, when each beat over the two bars matched a short sequence in which the main character gets dressed. This gave a strong sense of rhythm and groove to the video, which I felt was important to the video’s genre of Dance Music.
Adobe PremiereA slightly more unorthodox use of Premiere was as a basic audio editing tool. Though I technically could have used a more appropriate program such as Audition, I had premiere readily available and it could complete the task I needed it to do. Unfortunately, due to production setbacks, I did not manage to capture all of the footage I had planned, and needed to find a way for my footage to stretch across the duration of the track. My solution to this was to open the track in premiere, cut a snippet out of the track and export it as an mp3. this meant I could easily re-load the file as a single audio file, therefore reducing lag and making the editing process far less complicated. Premiere had all of the necessary functions and precision necessary for this purpose, so was appropriate for the task.
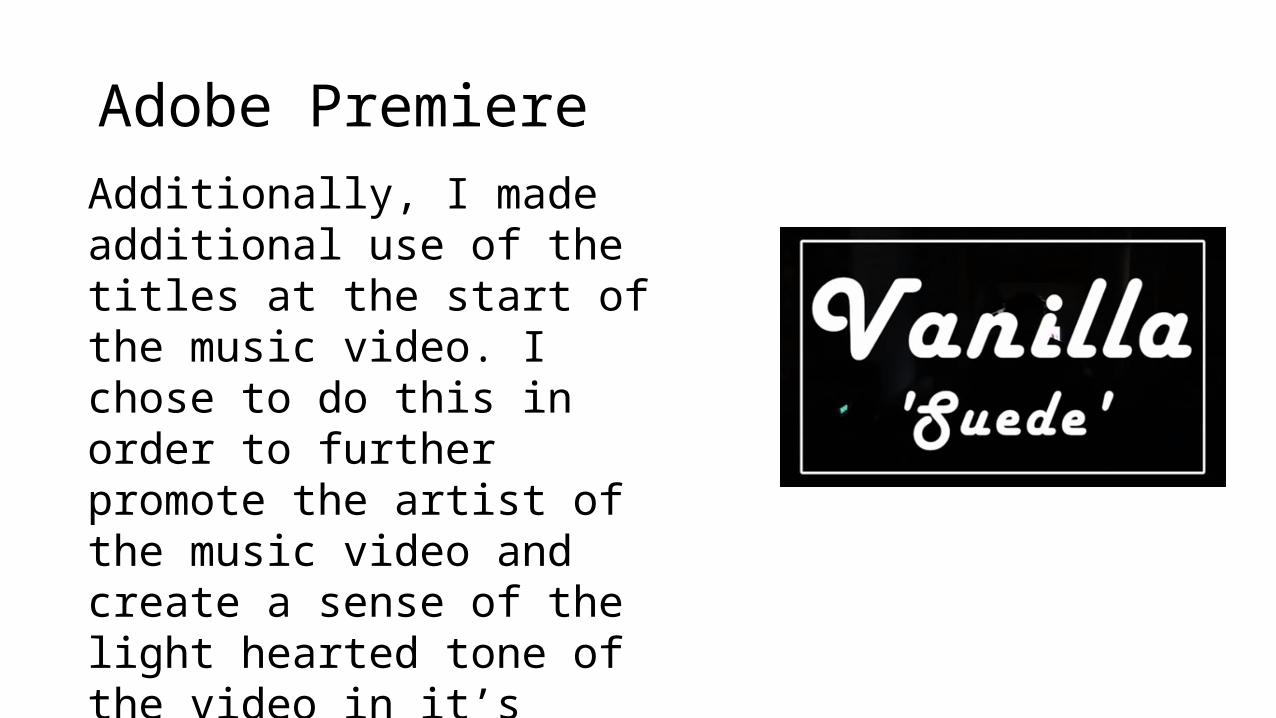
Adobe PremiereAdditionally, I made additional use of the titles at the start of the music video. I chose to do this in order to further promote the artist of the music video and create a sense of the light hearted tone of the video in it’s introduction.
Adobe Photoshop
I used Adobe Photoshop to edit both elements of my Print Productions. Before I began editing, I loaded in a template file, provided by my tutor, and this helped greatly, as it meant I did not have to worry about making any mistakes when setting up the dimensions of my files. This was sent to me through email, meaning I could spend more time focussing on drafting my designs.Another tool from Photoshop I used was the element snap tool, that pulled each of my elements into line, creating a sense of visual symmetry. I used this most on the back of my Digipak and a lot on my Advert. I wanted to create a balanced and sophisticated effect on theses 2 parts of my print production and I feel this tool helped me to do this greatly.
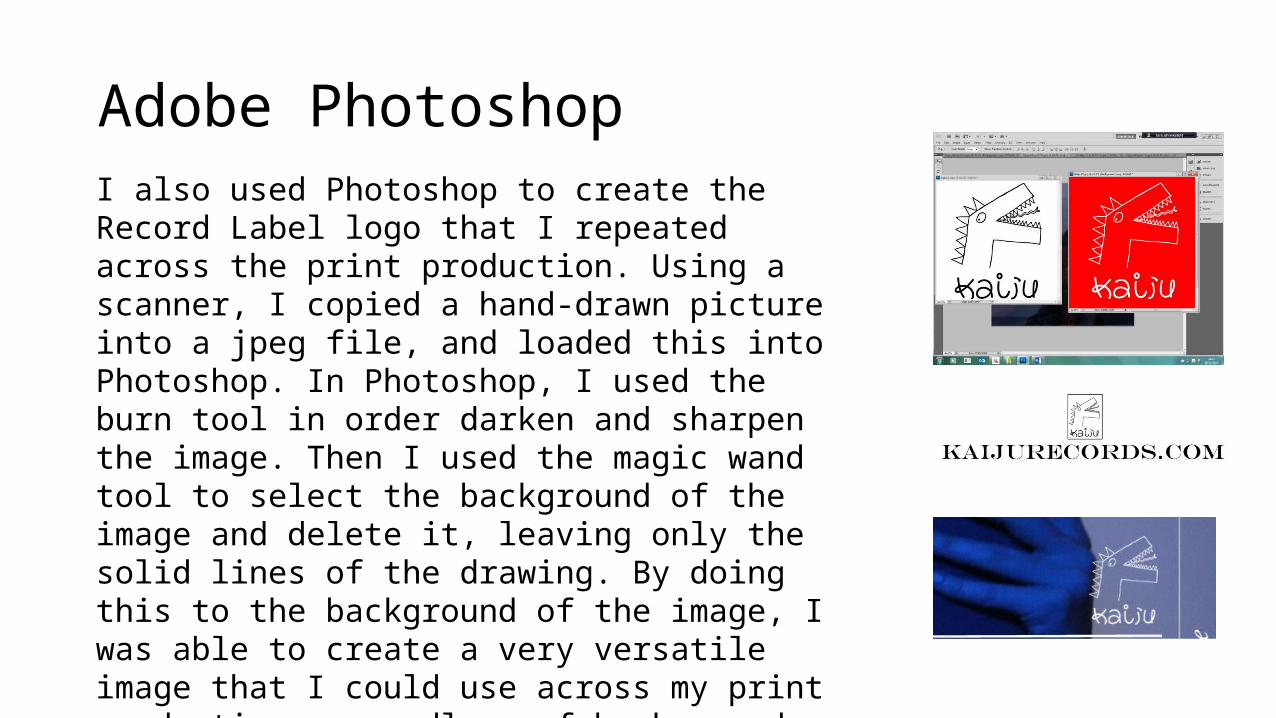
Adobe PhotoshopI also used Photoshop to create the Record Label logo that I repeated across the print production. Using a scanner, I copied a hand-drawn picture into a jpeg file, and loaded this into Photoshop. In Photoshop, I used the burn tool in order darken and sharpen the image. Then I used the magic wand tool to select the background of the image and delete it, leaving only the solid lines of the drawing. By doing this to the background of the image, I was able to create a very versatile image that I could use across my print production, regardless of background colour.
Adobe Photoshop
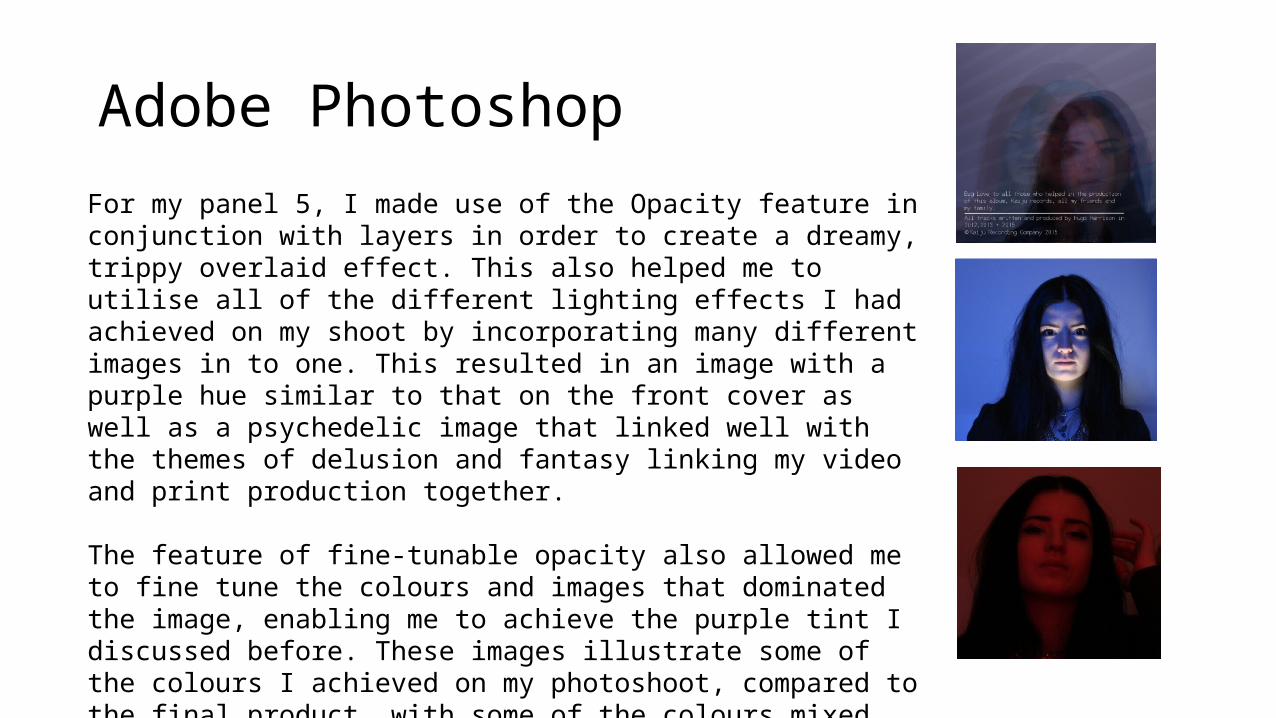
For my panel 5, I made use of the Opacity feature in conjunction with layers in order to create a dreamy, trippy overlaid effect. This also helped me to utilise all of the different lighting effects I had achieved on my shoot by incorporating many different images in to one. This resulted in an image with a purple hue similar to that on the front cover as well as a psychedelic image that linked well with the themes of delusion and fantasy linking my video and print production together.
The feature of fine-tunable opacity also allowed me to fine tune the colours and images that dominated the image, enabling me to achieve the purple tint I discussed before. These images illustrate some of the colours I achieved on my photoshoot, compared to the final product, with some of the colours mixed together.
Lighting
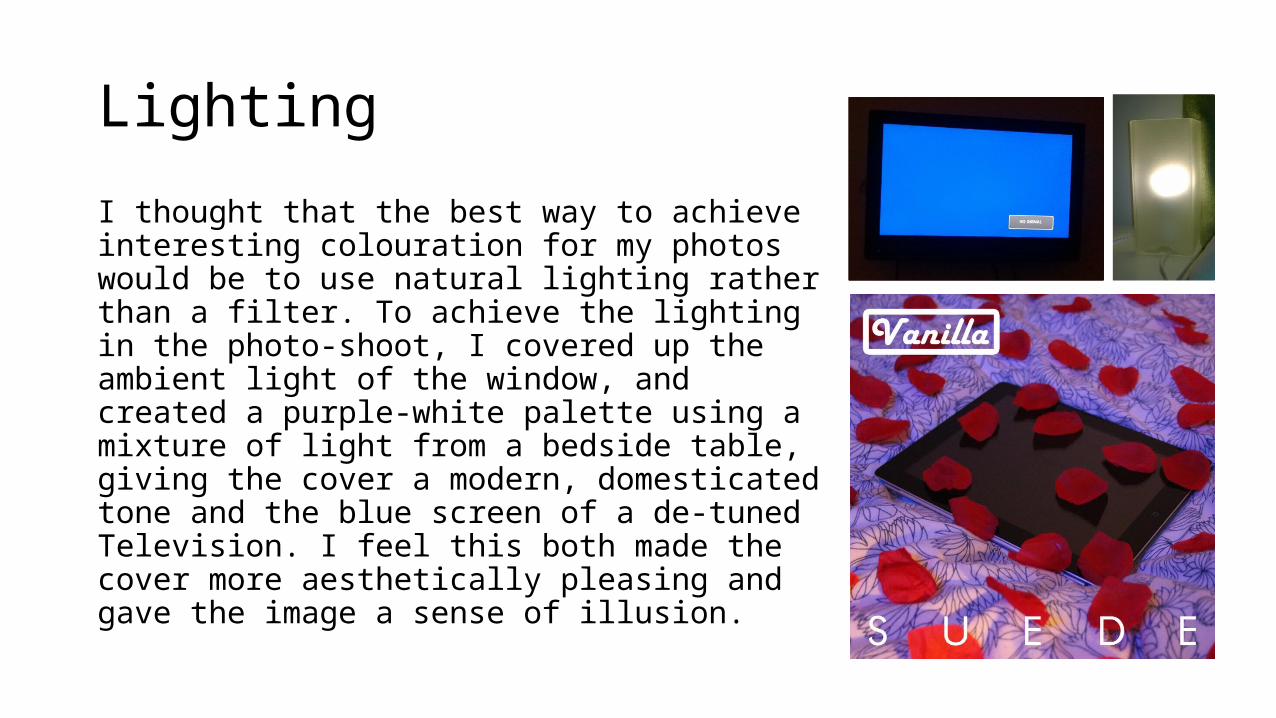
I thought that the best way to achieve interesting colouration for my photos would be to use natural lighting rather than a filter. To achieve the lighting in the photo-shoot, I covered up the ambient light of the window, and created a purple-white palette using a mixture of light from a bedside table, giving the cover a modern, domesticated tone and the blue screen of a de-tuned Television. I feel this both made the cover more aesthetically pleasing and gave the image a sense of illusion.
Røde VideoMic Pro
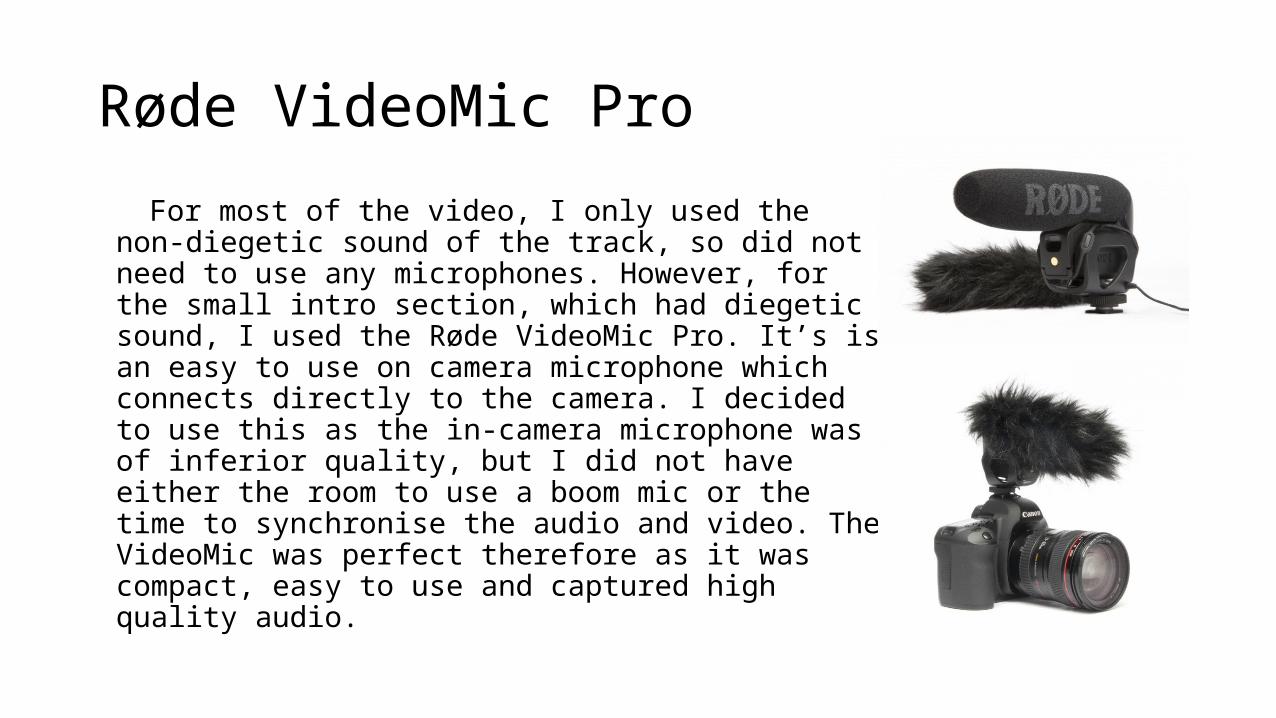
For most of the video, I only used the non-diegetic sound of the track, so did not need to use any microphones. However, for the small intro section, which had diegetic sound, I used the Røde VideoMic Pro. It’s is an easy to use on camera microphone which connects directly to the camera. I decided to use this as the in-camera microphone was of inferior quality, but I did not have either the room to use a boom mic or the time to synchronise the audio and video. The VideoMic was perfect therefore as it was compact, easy to use and captured high quality audio.
Computer
I used the school computer for much of my work related to the coursework, in particular for research, planning and editing. This was a vital piece of technology used in the production of my texts, as it allowed me access many other technologies I used in my production. Through a computer I was able to access the internet, with sites such as Youtube, Facebook and blogger, edit my film with premiere pro and build my print production in Adobe Photoshop.
Without a computer, I would not have been able to use almost all of the other technology and would’ve had had to put in considerably more effort in order to make a film and print production of the same standard.
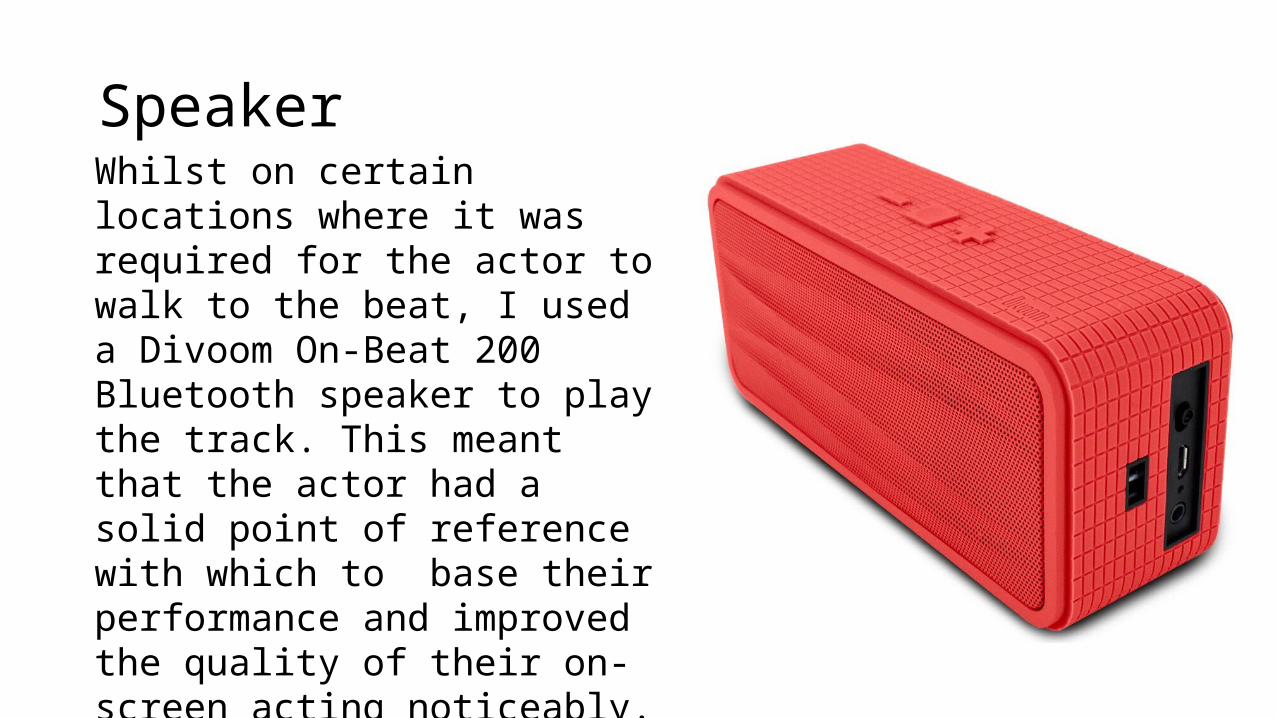
SpeakerWhilst on certain locations where it was required for the actor to walk to the beat, I used a Divoom On-Beat 200 Bluetooth speaker to play the track. This meant that the actor had a solid point of reference with which to base their performance and improved the quality of their on-screen acting noticeably.
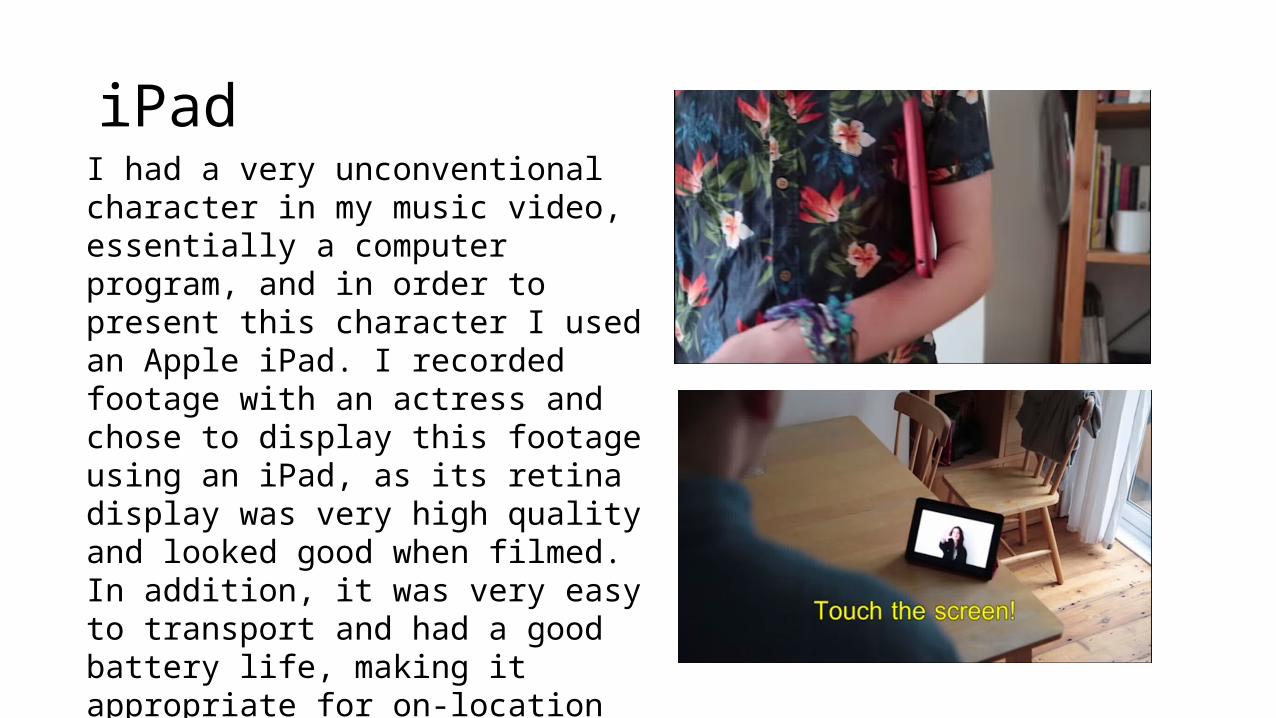
iPadI had a very unconventional character in my music video, essentially a computer program, and in order to present this character I used an Apple iPad. I recorded footage with an actress and chose to display this footage using an iPad, as its retina display was very high quality and looked good when filmed. In addition, it was very easy to transport and had a good battery life, making it appropriate for on-location shoots, which substantiated for a large amount of filming.
iPad
It was also an appropriate prop within the narrative and mise en scene of the music video. The main character is a standard consumer, and iPad's are a consumer product easily available to the public, so it is believeable that the character would own one. The case on the iPad was also useful, and allowed us greater versatility with the positioning of the prop as well as the shots we could capture.