Embed Size (px)
Citation preview

Annual Report Template Procedures RPL
Contents
Instructions......................................................................................................1
Important Changes from the 2008 Annual Report...........................................1
Setup...............................................................................................................1
Selecting the correct format............................................................................3
Making a Section Have More than One Column...............................................4
Adding Data from an Excel File........................................................................4
Changing the Orientation of the page.............................................................5
Inserting a Table..............................................................................................5
Examples.........................................................................................................6
Heading 1 Example..........................................................................................6
Heading 2 and 3 Example.............................................................................6
Two Column Example...................................................................................7
Table Example..............................................................................................7
i
Annual Report Template Procedures RPL
Instructions
Don’t Panic! You will not use all of the instructions available! This procedures document is meant to provide instructions for all tasks with the annual report however, you need only learn the parts which pertain to you.
Important Changes from the 2008 Annual Report
You do not need to download a specialized template as Office 2007’s style system automatically provides functionality for which the template was developed. You do still need to follow the instructions in this document. The setup section has been changed to reflect this change.
Setup
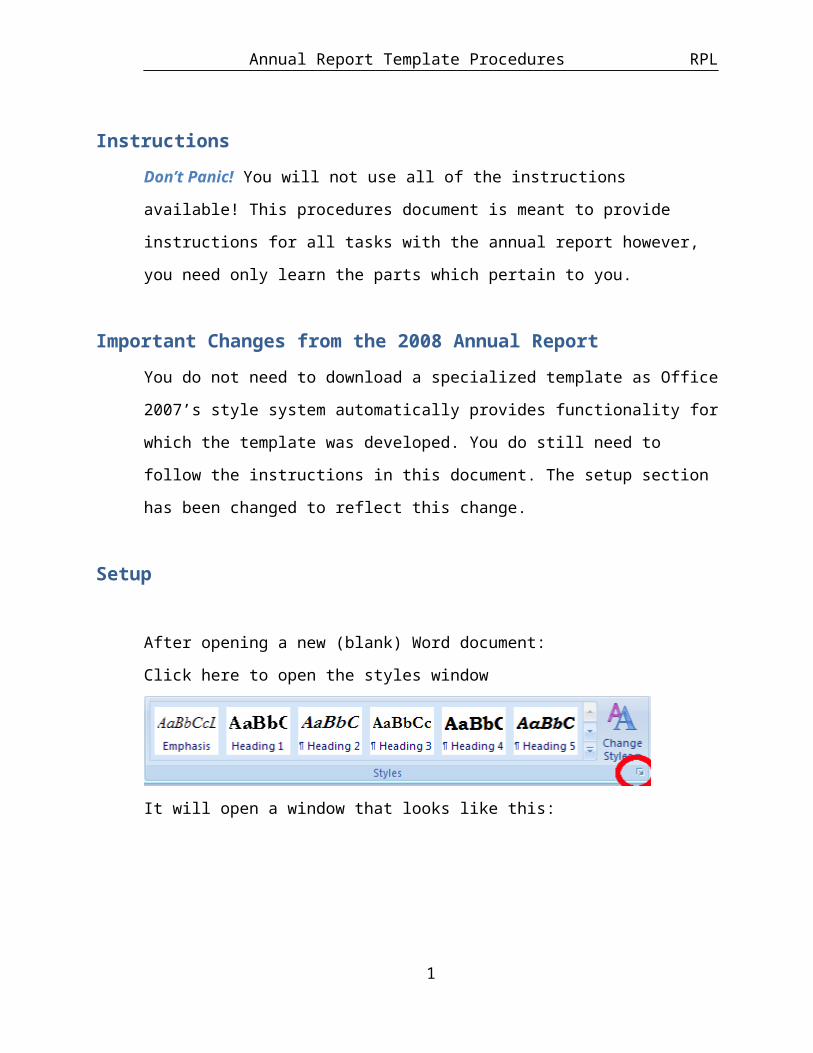
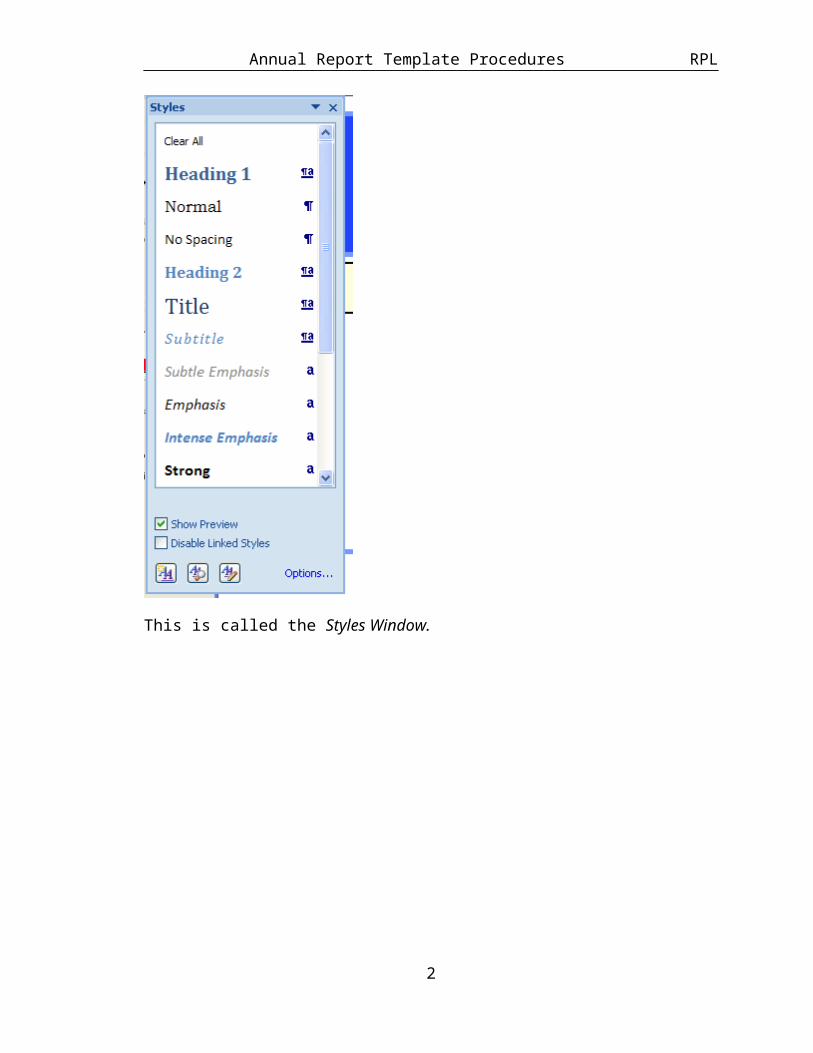
After opening a new (blank) Word document:Click here to open the styles window
It will open a window that looks like this:
1
Annual Report Template Procedures RPL
This is called the Styles Window.
2

Annual Report Template Procedures RPL
Click Options to open the following dialog box:
Under “Select styles to show:” Choose “All Styles” and click “OK”
Selecting the correct format
The approved styles must be used to ensure consistency across the whole annual report, and so that auto-generated content will be correct. You may change the alignment of text as needed. You may add boldness, italics, or underlining as needed. You may add columns, tables, and pictures as needed. You may add bullets or outlining as needed. You may change the indenting and tab-stops as needed. DO NOT CHANGE THE FONT, OR SIZE OF THE TEXT EXCEPT AS PROVIDED IN THE STYLES WINDOW.
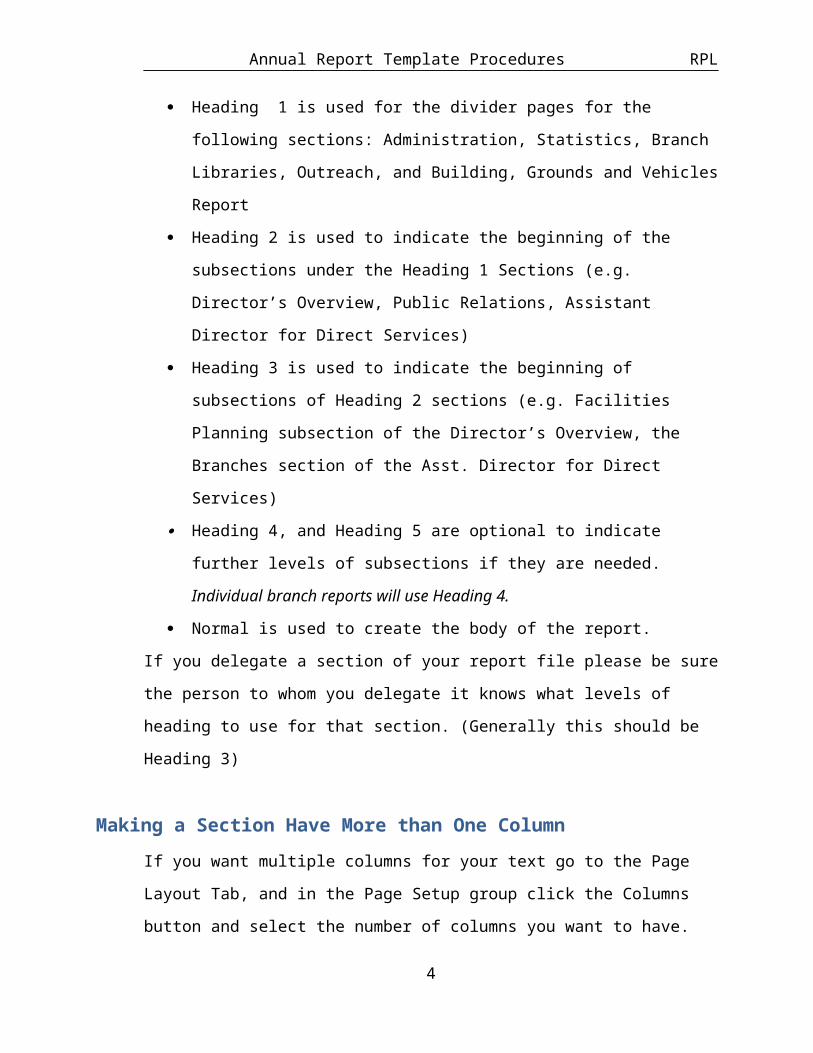
Heading 1 is used for the divider pages for the following sections: Administration, Statistics, Branch Libraries, Outreach, and Building, Grounds and Vehicles Report
Heading 2 is used to indicate the beginning of the subsections under the Heading 1 Sections (e.g. Director’s Overview, Public
3
Annual Report Template Procedures RPL
Relations, Assistant Director for Direct Services) Heading 3 is used to indicate the beginning of subsections of
Heading 2 sections (e.g. Facilities Planning subsection of the Director’s Overview, the Branches section of the Asst. Director for Direct Services)
Heading 4, and Heading 5 are optional to indicate further levels of subsections if they are needed. Individual branch reports will use Heading 4.
Normal is used to create the body of the report.If you delegate a section of your report file please be sure the person to whom you delegate it knows what levels of heading to use for that section. (Generally this should be Heading 3)
Making a Section Have More than One Column
If you want multiple columns for your text go to the Page Layout Tab, and in the Page Setup group click the Columns button and select the number of columns you want to have.
Adding Data from an Excel File
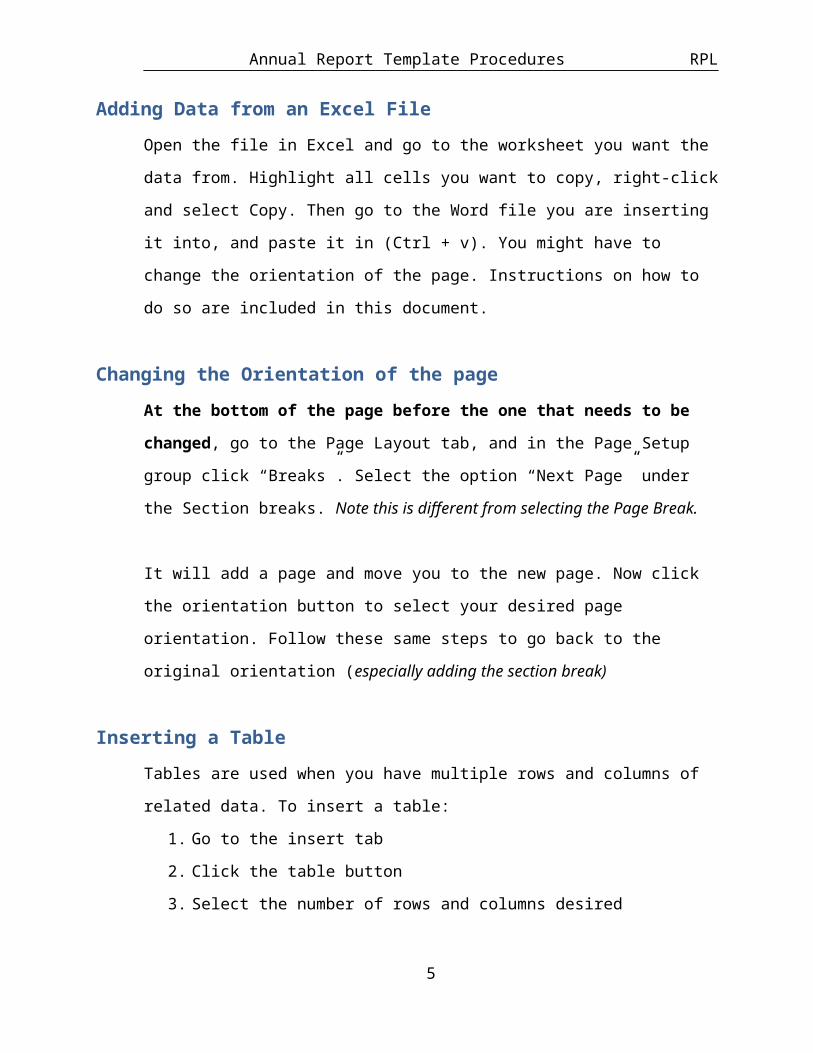
Open the file in Excel and go to the worksheet you want the data from. Highlight all cells you want to copy, right-click and select Copy. Then go to the Word file you are inserting it into, and paste it in (Ctrl + v). You might have to change the orientation of the page. Instructions on how to do so are included in this document.
Changing the Orientation of the page
At the bottom of the page before the one that needs to be changed, go to the Page Layout tab, and in the Page Setup group click “Breaks”. Select the option “Next Page” under the Section breaks. Note this is different from selecting the Page Break.
4
Annual Report Template Procedures RPL
It will add a page and move you to the new page. Now click the orientation button to select your desired page orientation. Follow these same steps to go back to the original orientation (especially adding the section break)
Inserting a Table
Tables are used when you have multiple rows and columns of related data. To insert a table:
1. Go to the insert tab2. Click the table button3. Select the number of rows and columns desired
If desired you can apply additional formatting to the table by clicking on the table, and going to the design or layout tab under table tools. This will allow options such as removing borders or adding color and shading to alternating rows. These tabs only are visible after you click on the table.
5
Annual Report Template Procedures RPL
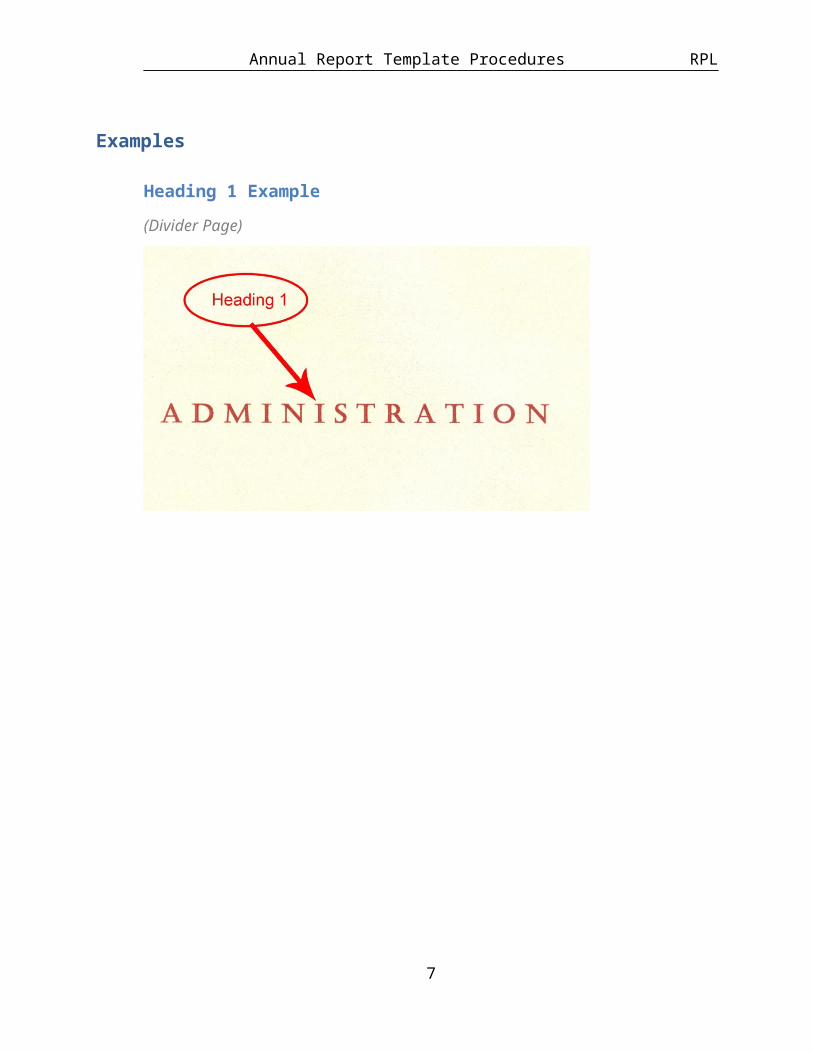
Examples
Heading 1 Example
(Divider Page)
Heading 2 and 3 Example
6
Annual Report Template Procedures RPL
Two Column Example
Table Example
7