Embed Size (px)
Citation preview
Sew Smarter10 Ways to Make your Sewing
Machine Work for You
Today’s machines are able to help you sew smarter, making your stitching experience faster, easier and less frustrating than in the past - simple little ways that work on most sewing machines.
Susan BeckAuthor, teacher, blogger Founder of sewfeet.com
10 Ways to Make your Sewing Machine Work for You
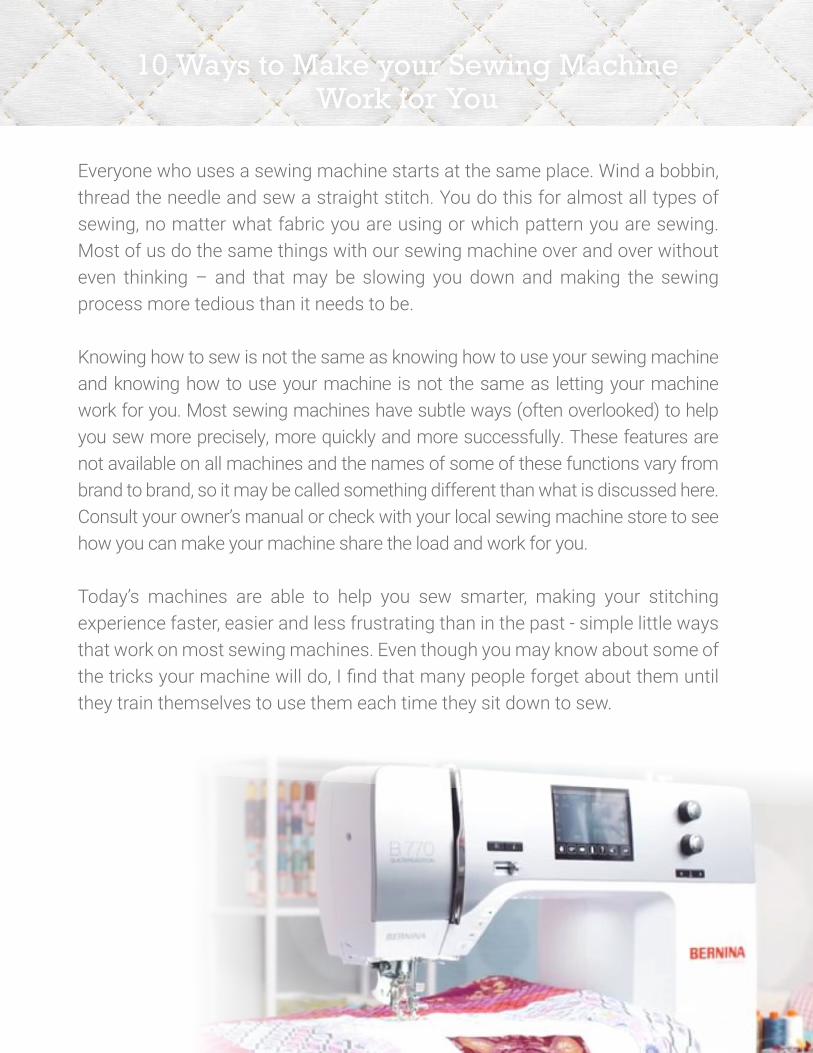
Everyone who uses a sewing machine starts at the same place. Wind a bobbin, thread the needle and sew a straight stitch. You do this for almost all types of sewing, no matter what fabric you are using or which pattern you are sewing. Most of us do the same things with our sewing machine over and over without even thinking – and that may be slowing you down and making the sewing process more tedious than it needs to be.
Knowing how to sew is not the same as knowing how to use your sewing machine and knowing how to use your machine is not the same as letting your machine work for you. Most sewing machines have subtle ways (often overlooked) to help you sew more precisely, more quickly and more successfully. These features are not available on all machines and the names of some of these functions vary from brand to brand, so it may be called something different than what is discussed here. Consult your owner’s manual or check with your local sewing machine store to see how you can make your machine share the load and work for you. Today’s machines are able to help you sew smarter, making your stitching experience faster, easier and less frustrating than in the past - simple little ways that work on most sewing machines. Even though you may know about some of the tricks your machine will do, I find that many people forget about them until they train themselves to use them each time they sit down to sew.
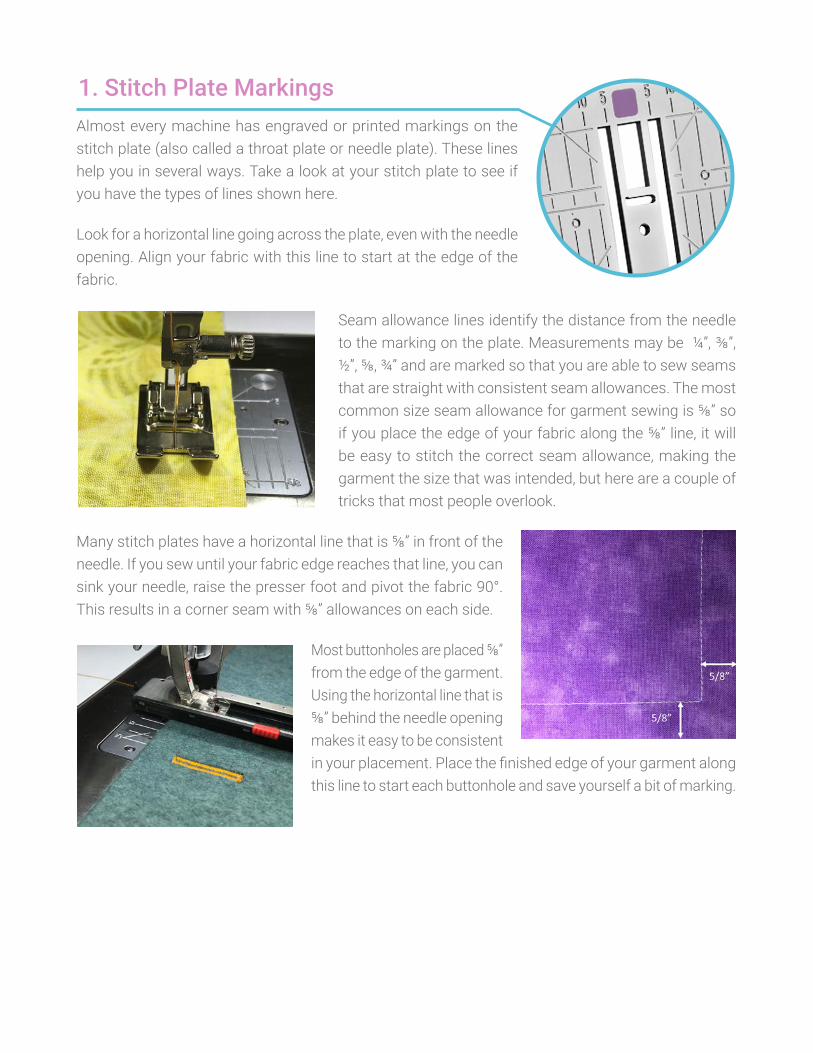
Almost every machine has engraved or printed markings on the stitch plate (also called a throat plate or needle plate). These lines help you in several ways. Take a look at your stitch plate to see if you have the types of lines shown here.
Look for a horizontal line going across the plate, even with the needle opening. Align your fabric with this line to start at the edge of the fabric.
Seam allowance lines identify the distance from the needle to the marking on the plate. Measurements may be ¼”, ⅜”, ½”, ⅝, ¾” and are marked so that you are able to sew seams that are straight with consistent seam allowances. The most common size seam allowance for garment sewing is ⅝” so if you place the edge of your fabric along the ⅝” line, it will be easy to stitch the correct seam allowance, making the garment the size that was intended, but here are a couple of tricks that most people overlook.
Many stitch plates have a horizontal line that is ⅝” in front of the needle. If you sew until your fabric edge reaches that line, you can sink your needle, raise the presser foot and pivot the fabric 90°. This results in a corner seam with ⅝” allowances on each side.
Most buttonholes are placed ⅝” from the edge of the garment. Using the horizontal line that is ⅝” behind the needle opening makes it easy to be consistent in your placement. Place the finished edge of your garment along this line to start each buttonhole and save yourself a bit of marking.
1. Stitch Plate Markings
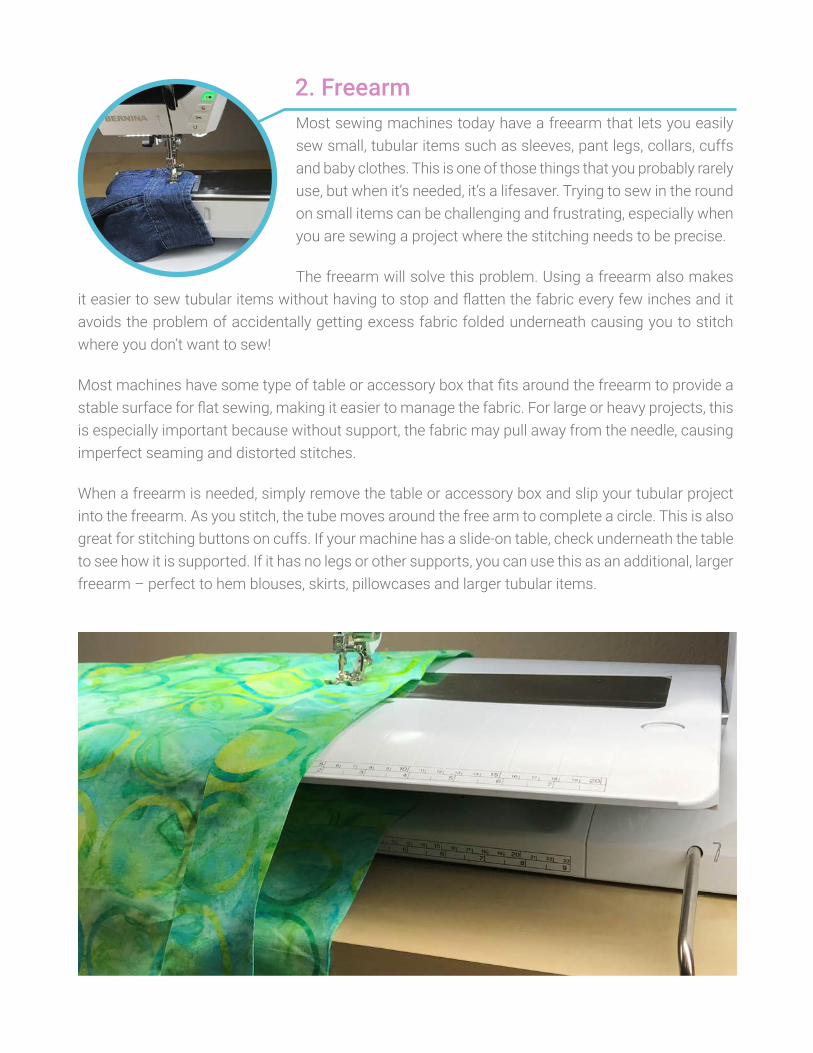
Most sewing machines today have a freearm that lets you easily sew small, tubular items such as sleeves, pant legs, collars, cuffs and baby clothes. This is one of those things that you probably rarely use, but when it’s needed, it’s a lifesaver. Trying to sew in the round on small items can be challenging and frustrating, especially when you are sewing a project where the stitching needs to be precise.
The freearm will solve this problem. Using a freearm also makes it easier to sew tubular items without having to stop and flatten the fabric every few inches and it avoids the problem of accidentally getting excess fabric folded underneath causing you to stitch where you don’t want to sew!
Most machines have some type of table or accessory box that fits around the freearm to provide a stable surface for flat sewing, making it easier to manage the fabric. For large or heavy projects, this is especially important because without support, the fabric may pull away from the needle, causing imperfect seaming and distorted stitches.
When a freearm is needed, simply remove the table or accessory box and slip your tubular project into the freearm. As you stitch, the tube moves around the free arm to complete a circle. This is also great for stitching buttons on cuffs. If your machine has a slide-on table, check underneath the table to see how it is supported. If it has no legs or other supports, you can use this as an additional, larger freearm – perfect to hem blouses, skirts, pillowcases and larger tubular items.
2. Freearm

Early sewing machines had a needle with one position in the center of the stitching area. The fabric had to be maneuvered under the needle to change where the stitches were sewn on the fabric.
Many machines today have one or more additional needle positions that makes it easy to place stitches exactly where you want them on the fabric. The more needle positions your machine has, the more flexibility you have in placing your stitches.
Edgestitching is a common technique where needle positions come into play. Using an edgestitch foot, place your project edge next to the center guide and then move you needle position so that the stitching lands near the edge of the fabric. Keep the fabric edge next to the guide and the result is stitching that is perfectly parallel to the edge of your fabric. For a double line of stitching, sew the first line, then move the needle position over more and stitch in exactly the same manner.
Other techniques where an adjusted needle position is helpful, making them easier to sew, are zipper applications, making piping, attaching trims, edge finishes, binding and hemming.
3. Adjustable Needle Positions
4. Auto TrimIf you have a computerized machine, you may have a function that automatically trims your thread at the touch of a button. At the end of a seam, simply touch the button and the threads are trimmed, leaving little or no tail. In some cases, this function is paired with an Auto Tie-off function, so the stitching is secured and then the threads are clipped. Believe it or not, this is a timesaver. Even though it saves a micro-second, just think about how many times you trim threads as you work on a project. And, if you are the type of sewer that has to look for your scissors every time you need them (like me!), using the Auto Trim function is a lot less frustrating!
5. Auto Tie-off
6. Using the Correct Presser FootMost sewing happens using an all-purpose presser foot that works for a wide variety of techniques. Many sewers are comfortable with this foot and rarely use other options. If this is you, you are missing out! Not only can specialty presser feet improve your sewing skills, it can speed your sewing and give you more creative options.
Another computerized feature you may have is a tie-off function that automatically secures your seams and decorative stitches – no more backstitching! This may be a button that you push at the beginning and end of stitching or an on-screen function that you program to work automatically. When it is activated, the machine takes a few tiny stitches to tie-off the stitches. This is a cleaner way to secure your stitches, eliminating any messy backstitching or extra thread build-up.
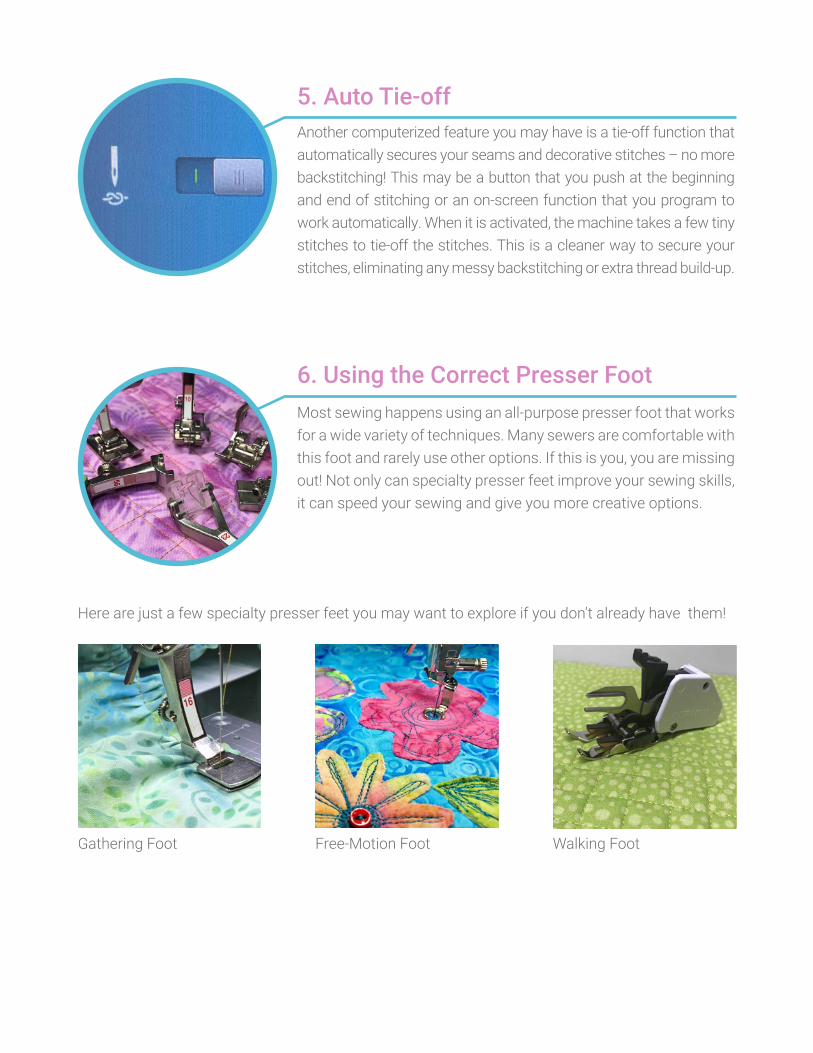
Gathering Foot Free-Motion Foot Walking Foot
Here are just a few specialty presser feet you may want to explore if you don’t already have them!
If your machine has a knee-activated lever that raises and lowers the presser foot, you are lucky! This useful feature is helpful in many ways. Using the lifter actually speeds your sewing so the entire process goes faster, giving you more time to sew! The lifter allows you to keep your hands free to manage and maneuver the fabric – it’s like having a third hand. When the presser foot is lifted, the needle tension is released, making it simple to pull the thread easily and quickly to remove the fabric from under the needle.
The lifter is great for applique when pivoting with the needle in the fabric to get sharp corners and smooth curves. Leaning slightly on the knee-lifter makes it easy to micro-pivot as needed without having to take your hands off of your project!
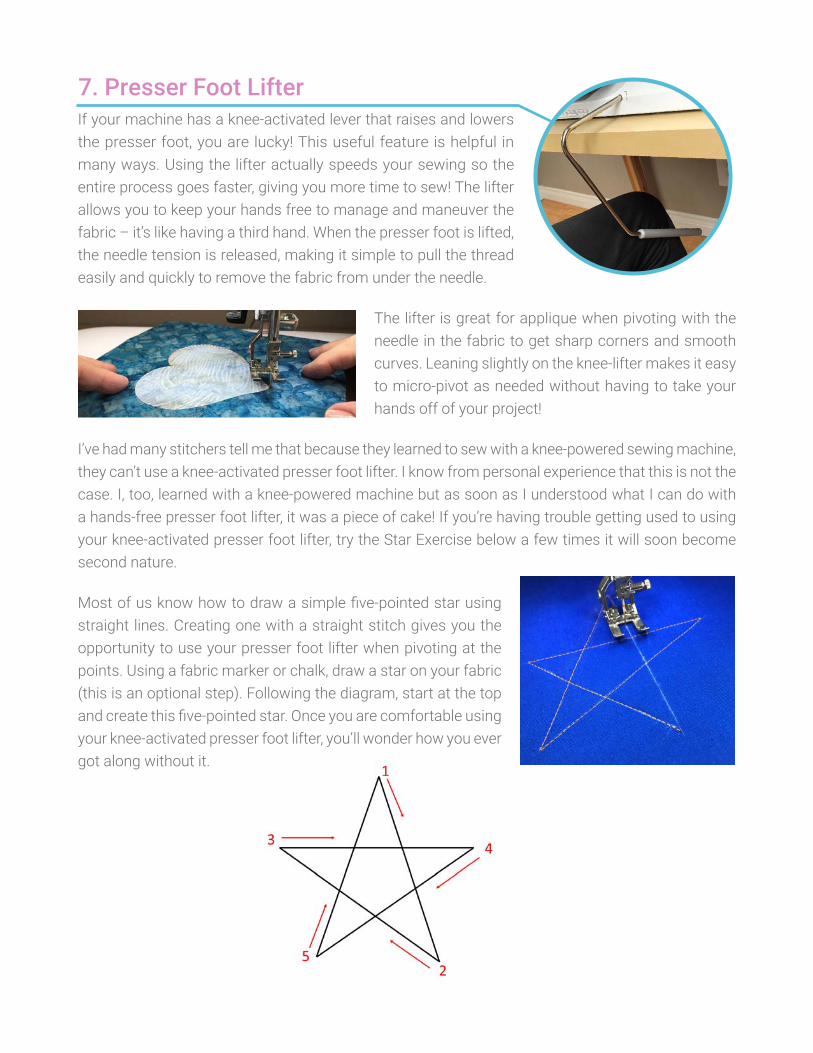
I’ve had many stitchers tell me that because they learned to sew with a knee-powered sewing machine, they can’t use a knee-activated presser foot lifter. I know from personal experience that this is not the case. I, too, learned with a knee-powered machine but as soon as I understood what I can do with a hands-free presser foot lifter, it was a piece of cake! If you’re having trouble getting used to using your knee-activated presser foot lifter, try the Star Exercise below a few times it will soon become second nature.
Most of us know how to draw a simple five-pointed star using straight lines. Creating one with a straight stitch gives you the opportunity to use your presser foot lifter when pivoting at the points. Using a fabric marker or chalk, draw a star on your fabric (this is an optional step). Following the diagram, start at the top and create this five-pointed star. Once you are comfortable using your knee-activated presser foot lifter, you’ll wonder how you ever got along without it.
7. Presser Foot Lifter
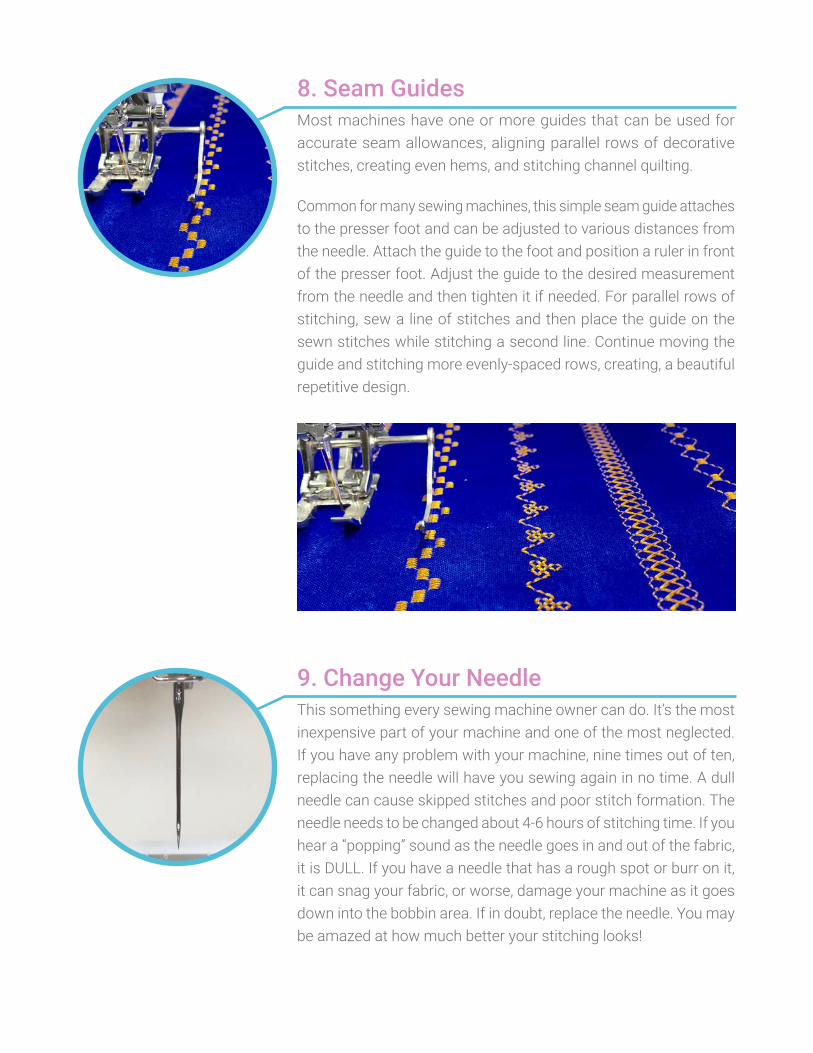
Most machines have one or more guides that can be used for accurate seam allowances, aligning parallel rows of decorative stitches, creating even hems, and stitching channel quilting.
Common for many sewing machines, this simple seam guide attaches to the presser foot and can be adjusted to various distances from the needle. Attach the guide to the foot and position a ruler in front of the presser foot. Adjust the guide to the desired measurement from the needle and then tighten it if needed. For parallel rows of stitching, sew a line of stitches and then place the guide on the sewn stitches while stitching a second line. Continue moving the guide and stitching more evenly-spaced rows, creating, a beautiful repetitive design.
This something every sewing machine owner can do. It’s the most inexpensive part of your machine and one of the most neglected. If you have any problem with your machine, nine times out of ten, replacing the needle will have you sewing again in no time. A dull needle can cause skipped stitches and poor stitch formation. The needle needs to be changed about 4-6 hours of stitching time. If you hear a “popping” sound as the needle goes in and out of the fabric, it is DULL. If you have a needle that has a rough spot or burr on it, it can snag your fabric, or worse, damage your machine as it goes down into the bobbin area. If in doubt, replace the needle. You may be amazed at how much better your stitching looks!
8. Seam Guides
9. Change Your Needle
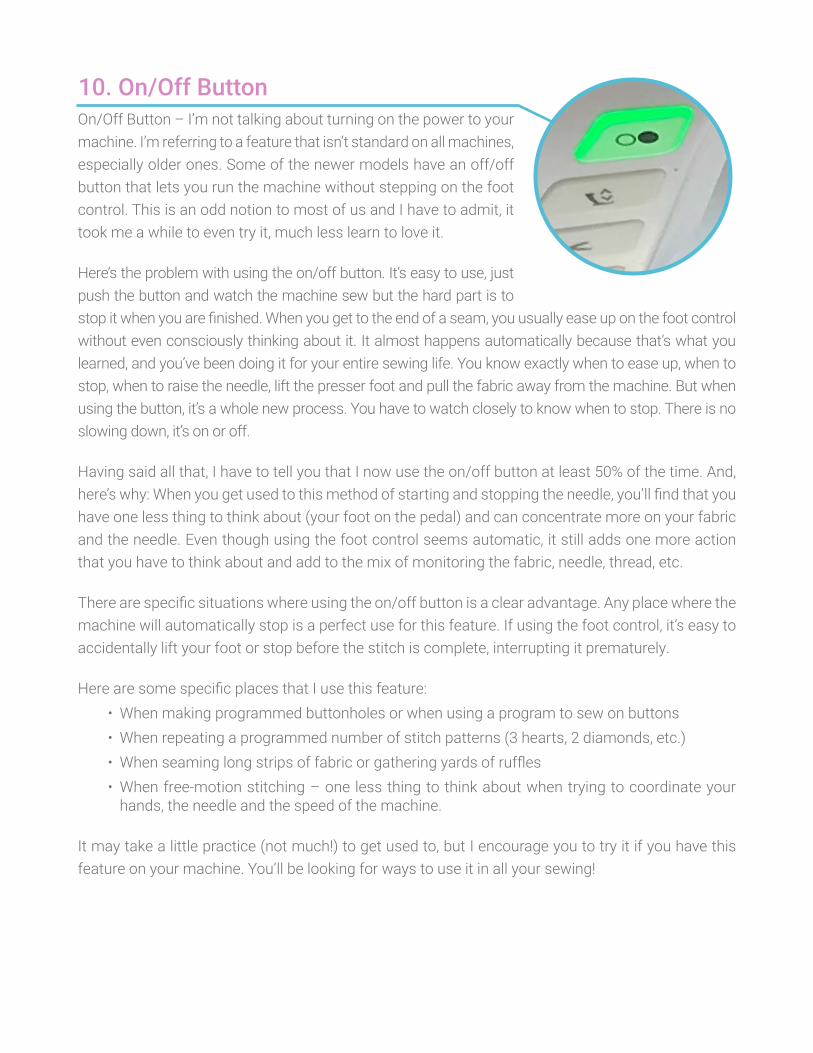
On/Off Button – I’m not talking about turning on the power to your machine. I’m referring to a feature that isn’t standard on all machines, especially older ones. Some of the newer models have an off/off button that lets you run the machine without stepping on the foot control. This is an odd notion to most of us and I have to admit, it took me a while to even try it, much less learn to love it.
Here’s the problem with using the on/off button. It’s easy to use, just push the button and watch the machine sew but the hard part is to stop it when you are finished. When you get to the end of a seam, you usually ease up on the foot control without even consciously thinking about it. It almost happens automatically because that’s what you learned, and you’ve been doing it for your entire sewing life. You know exactly when to ease up, when to stop, when to raise the needle, lift the presser foot and pull the fabric away from the machine. But when using the button, it’s a whole new process. You have to watch closely to know when to stop. There is no slowing down, it’s on or off.
Having said all that, I have to tell you that I now use the on/off button at least 50% of the time. And, here’s why: When you get used to this method of starting and stopping the needle, you’ll find that you have one less thing to think about (your foot on the pedal) and can concentrate more on your fabric and the needle. Even though using the foot control seems automatic, it still adds one more action that you have to think about and add to the mix of monitoring the fabric, needle, thread, etc.
There are specific situations where using the on/off button is a clear advantage. Any place where the machine will automatically stop is a perfect use for this feature. If using the foot control, it’s easy to accidentally lift your foot or stop before the stitch is complete, interrupting it prematurely.
Here are some specific places that I use this feature:• When making programmed buttonholes or when using a program to sew on buttons• When repeating a programmed number of stitch patterns (3 hearts, 2 diamonds, etc.)• When seaming long strips of fabric or gathering yards of ruffles• When free-motion stitching – one less thing to think about when trying to coordinate your
hands, the needle and the speed of the machine.
It may take a little practice (not much!) to get used to, but I encourage you to try it if you have this feature on your machine. You’ll be looking for ways to use it in all your sewing!
10. On/Off Button
About Susan: My Presser Feet JourneyTaught by my Grandmother, I began my sewing journey at the young age of 10 years old. A love for sewing was born and I took every class I could until college then went on to earn a degree in Clothing/Textiles and a Master’s in Design. Over a 20 year span I sewed on several machines – my grandmother’s vintage machine, my mother’s hand-me-down, a college gift from my parents, and finally one that I purchased myself.
Each of these machines had five to six presser feet but I barely used a total of three. Most of my sewing, from t-shirts and tailored jackets to wedding gowns stitched using an all-purpose foot; however, I sometimes used a zipper foot for sewing close to the coils. Although my buttonholes didn’t look that great, I still opted to use an all-purpose foot over a buttonhole foot since I was still learning.
I was introduced to a whole new world of sewing when I became a sales rep at BERNINA of America and things quickly changed for me. I became very interested in the sewing and education part of the business and had no idea of the power of presser feet. I learned that knowing how to sew and using a machine were two very different concepts.
The first specialty presser foot I used was an edgestitch foot, which is one of my all-time favorites! I aspired to have perfect topstitching and realized in order to get there I had room for improvement. When I put the edgestitch foot on the machine and used the guide as I stitched, I had perfect topstitching; my sewing skills improved and all I did was use the proper presser foot! I’m grateful for the time spent in the education and training departments at BERNINA because I greatly improved the quality of my sewing and presser feet knowledge. I am proud to say that I still partner with BERNINA on special projects: I am the editor of The Big Book of Feet: A Guide to BERNINA Presser Feet and Accessories, I teach a few classes, and write for their blog, WeAllSew.com.
I created Sewfeet.com as a way to share my passion for sewing with all levels of stitchers. I’m happy to announce that we will touch on a wide variety of sewing techniques and projects, paying particular attention to the presser feet and attachments that can help you sew better, faster, and more creatively!
www.sewfeet.com | facebook.com/sewfeet | pinterest.com/sewfeetcommunity