Embed Size (px)
Citation preview
Rendertime‐effective GRASS in Kerkythea
‐please note that this tutorial doesn’t show steps to get the most effective render, it is simplified to remain understandable and is aimed at showing the door, which you’ll have to pass through yourself
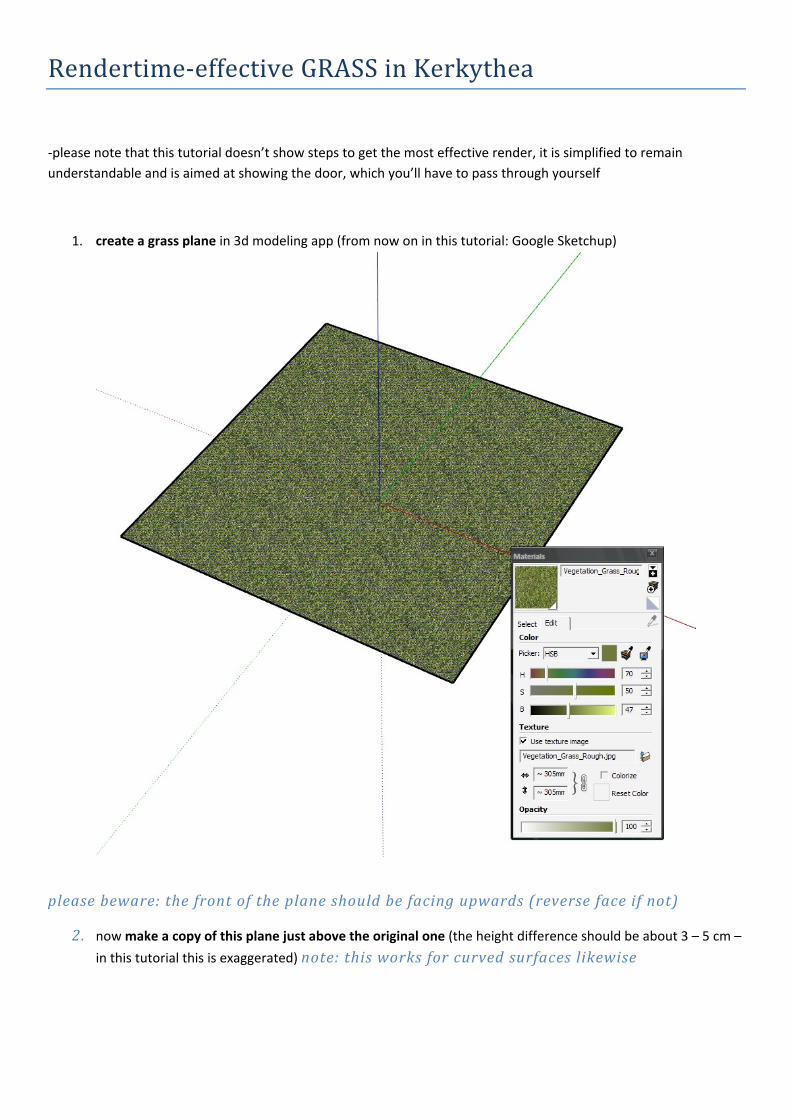
1. create a grass plane in 3d modeling app (from now on in this tutorial: Google Sketchup)
please beware: the front of the plane should be facing upwards (reverse face if not)
2. now make a copy of this plane just above the original one (the height difference should be about 3 – 5 cm –
in this tutorial this is exaggerated) note: this works for curved surfaces likewise
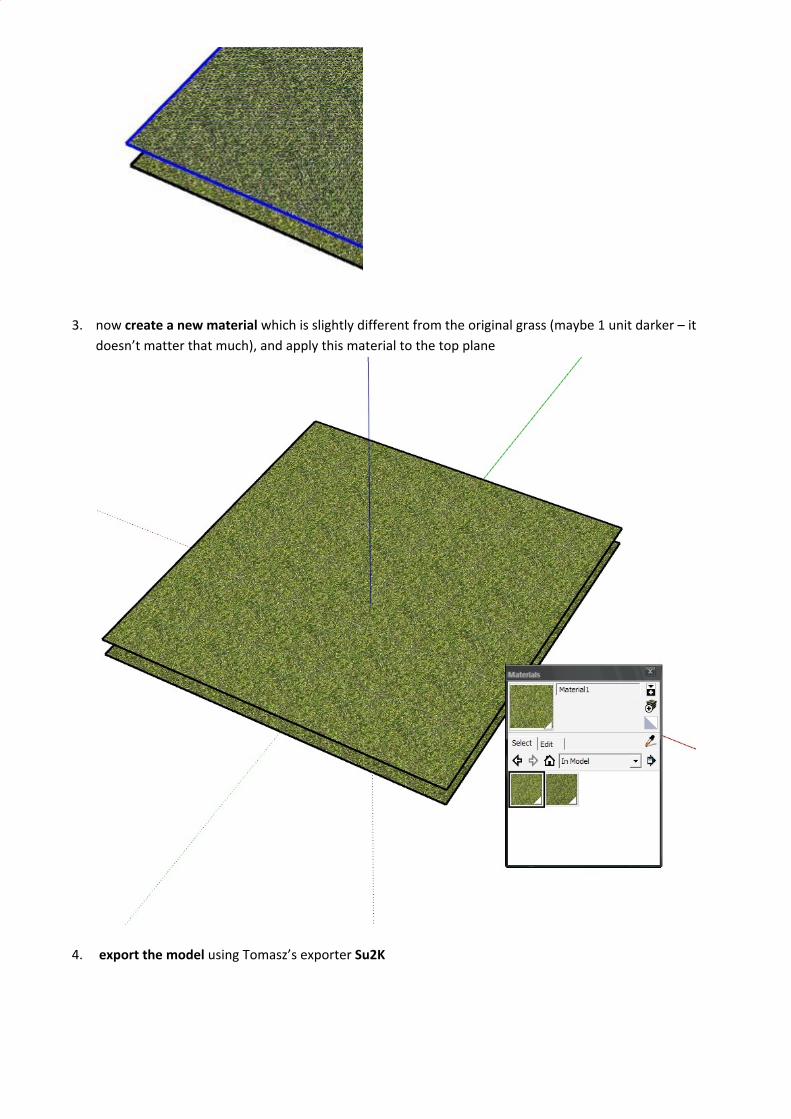
3. now create a new material which is slightly different from the original grass (maybe 1 unit darker – it doesn’t matter that much), and apply this material to the top plane
4. export the model using Tomasz’s exporter Su2K

Kerkythea
5. open kerkythea and load the exported xml file 6. adjust the needed sun, location and sky settings if needed (for this tutorial> location: Vienna, Austria; sun:
about 5; sky: physical sky – turbulence 1) – these settings will vary so if it there is enough light to see the grass it will get as this tutorial promises ;)
7. now the real trick begins : in the viewport, click on the top grass plane and hit edit material
8. You will certainly want to adjust color and many other parameters, but now you just go to Modifiers and add
a bitmap Clip Map (you can use this attached Clip Map or create your own – using any 2d graphics app with the effect of Noise)

9. set the clip map strength to 0.5 and later try to experiment with different clip maps and strength values
note: this Clipping will make the top grass plane perforated according to black spots on the Clip map, thanks to this – the top plane will cast many little shadows and make the grass feel more real
10. hit render and start tuning your grass
Top Plane material
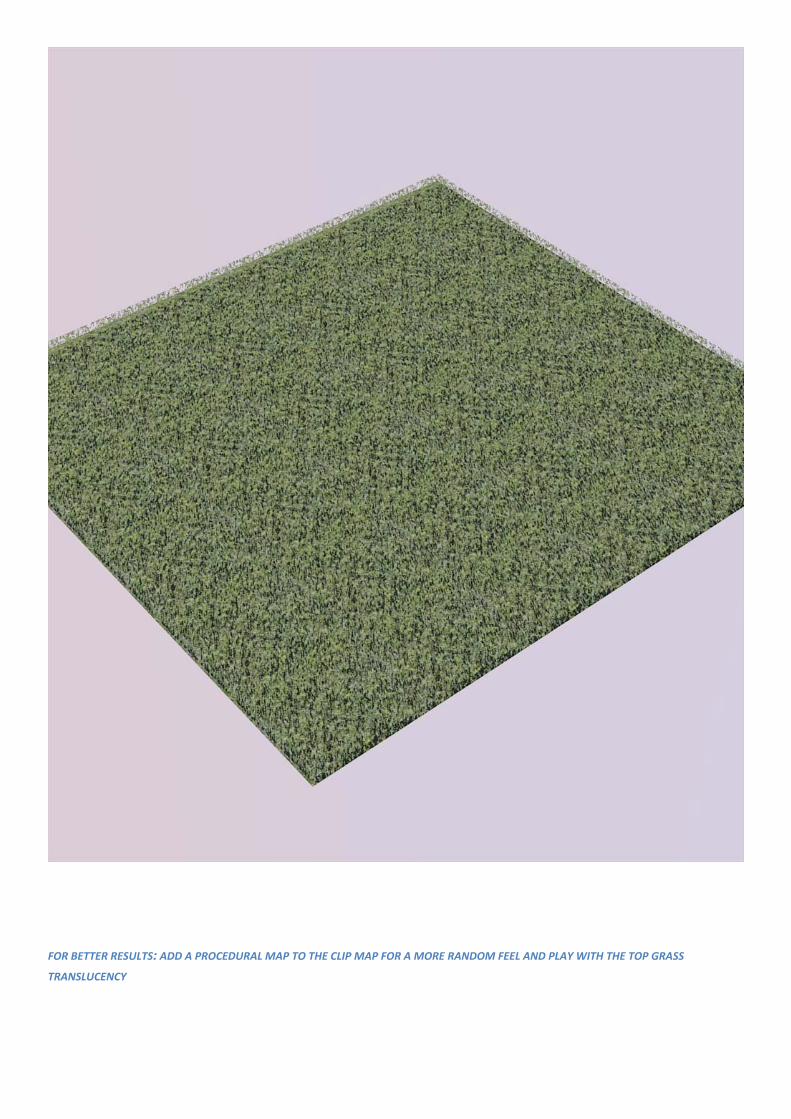
FOR BETTER RESULTS: ADD A PROCEDURAL MAP TO THE CLIP MAP FOR A MORE RANDOM FEEL AND PLAY WITH THE TOP GRASS
TRANSLUCENCY
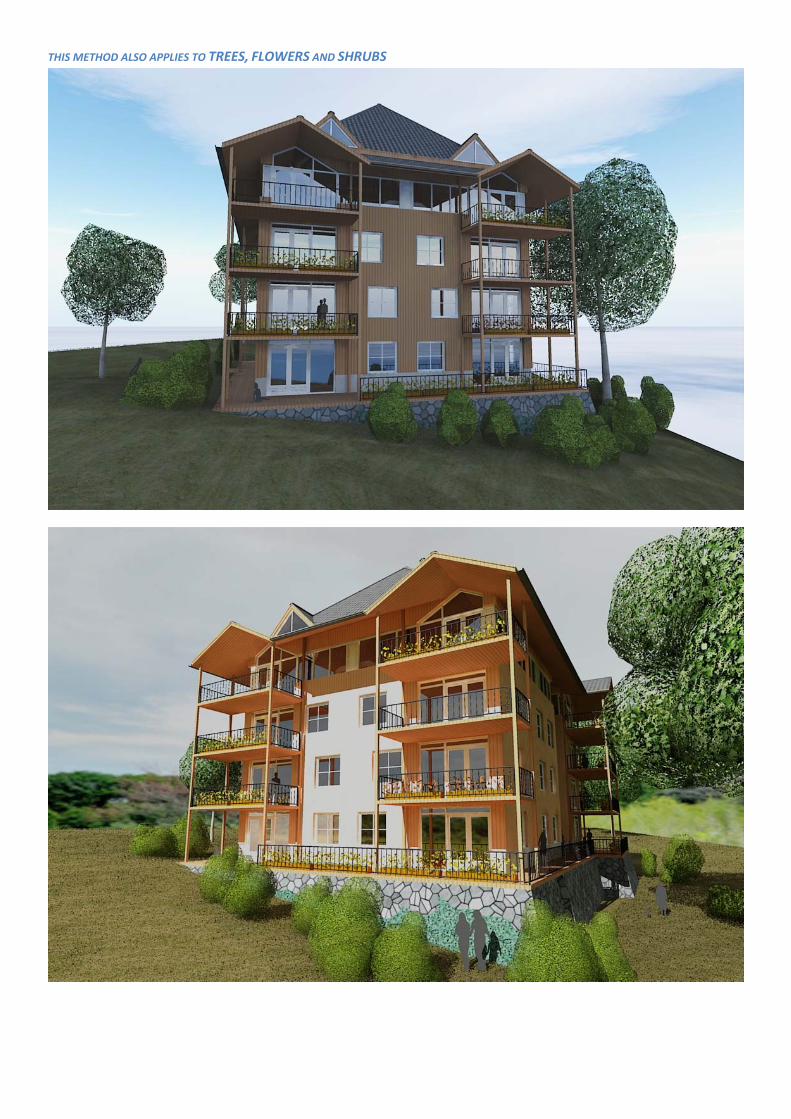
THIS METHOD ALSO APPLIES TO TREES, FLOWERS AND SHRUBS