Embed Size (px)
Citation preview


General Microbiology 140 MIC
King Saud University Dept. of Bot. & Microbiology
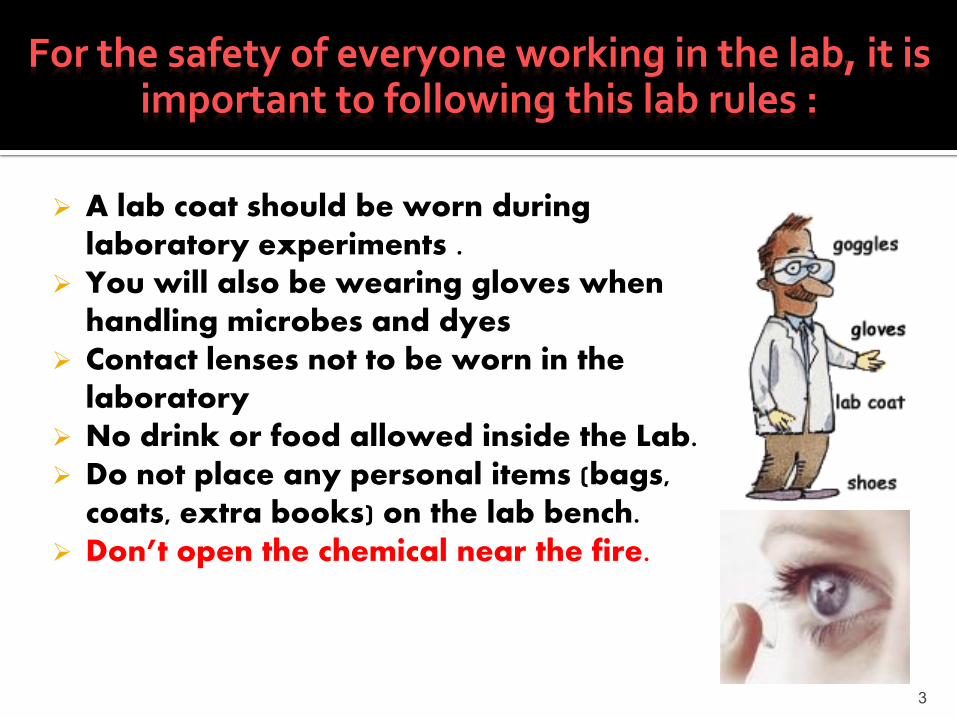
A lab coat should be worn during laboratory experiments .
You will also be wearing gloves when handling microbes and dyes
Contact lenses not to be worn in the laboratory
No drink or food allowed inside the Lab. Do not place any personal items (bags,
coats, extra books) on the lab bench. Don’t open the chemical near the fire.
3
For the safety of everyone working in the lab, it is important to following this lab rules :

wear properly during been in Microbiology lab.
cell phone is not allowed you should clean your equipments and
area before leaving lab or you will marked down
Long hair must be tied back. Wearing properly shoes during lab time
(sandals is not allowed). Chemicals take as much as the
experiment need never take more than experiment procedure require; or even return unused material back the original containers 4

Never removed any of chemical substance from their specific area.
Carefully Follow the written experiment description
Do the staining steps near the sink then open the water until the whole stain removed.
Never through used matches, tissues, or cotton inside the sink!
Washing hands before leaving lab is required.
Do not wearing the lab coat outside the lab.
Disinfect the bench top with(alcohol 70% or dettol 50%) before and after each lab.
5

Old hazard symbols:
6

New hazard symbols:
7

Chemical burns rinsed with water Immediately rinse with a large amount of cool water. Rinsing
within 1 minute of the burn can reduce the risk of complications.
Flush the area for at least 20 minutes.
Do not use a hard spray of water, because it can damage the burned area.
Have the person with the burn remove the chemical substance if he or she is able.
Put on gloves to protect yourself from the chemical, if you need to remove it.
As you flush the area, take off any clothing or jewelry that has the chemical on it.
If the area still has a burning sensation after 20 minutes, flush the area again with flowing water for 10 to 15 minutes.
8
9

Micro - too small to be seen with the naked eye
Bio - life
logy - study of
10
(The science that studies micro-organisms)

Bacteria Algae Fungi Viruses Protozoa
Microorganisms - Microbes - Germs

12
1.Test Tube
2.Test Tube Rack
Reagent Bottle
Beaker
Bunsen Burner
Measuring
Cylinder
Stand and
Clamp

Pipette
Spatula
13
Burette
Water bath
Test tube holder

MICROBIOLOGY EQUIPMENT
2015 14

A petri dish is a flat dish made of plastic
or glass with a cover that is used to grow
microorgansim

Provide suitable temperature for the growth of organism. Incubator is a warm cabinet that you can set it's
temperature to a proper temperature for microbes growth. a good temperature for most bacteria is About 35ºc and a
good temperature for most fungi is 25°c.

Used to free the glassware from microbes It uses dry air by heating This kind of dry heat sterilization is recommended when it is
undesirable that steam make contact with the material to be sterilized. This is true for glassware's – glass petri plates, Pipettes as well as for substances like oil, powder, etc.
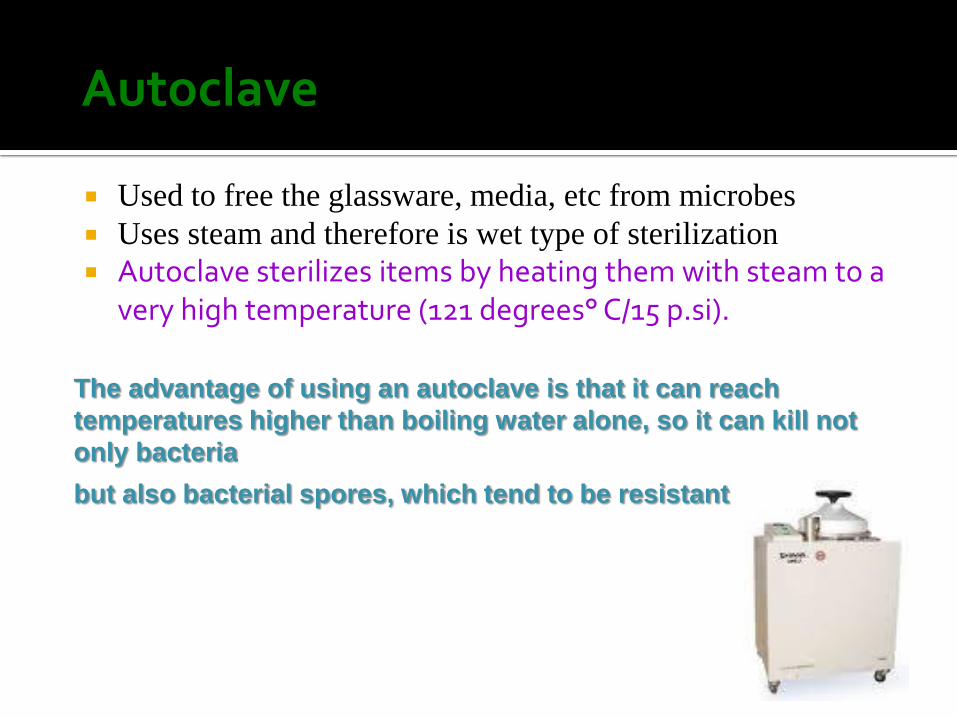
Used to free the glassware, media, etc from microbes
Uses steam and therefore is wet type of sterilization
Autoclave sterilizes items by heating them with steam to a very high temperature (121 degrees° C/15 p.si).
The advantage of using an autoclave is that it can reach
temperatures higher than boiling water alone, so it can kill not
only bacteria
but also bacterial spores, which tend to be resistant
Autoclave

Bunsen burner is produces gas flame which used for heating, sterilization (inoculating loop)

▪Used for inoculating microbes in the liquid media.
2015 20
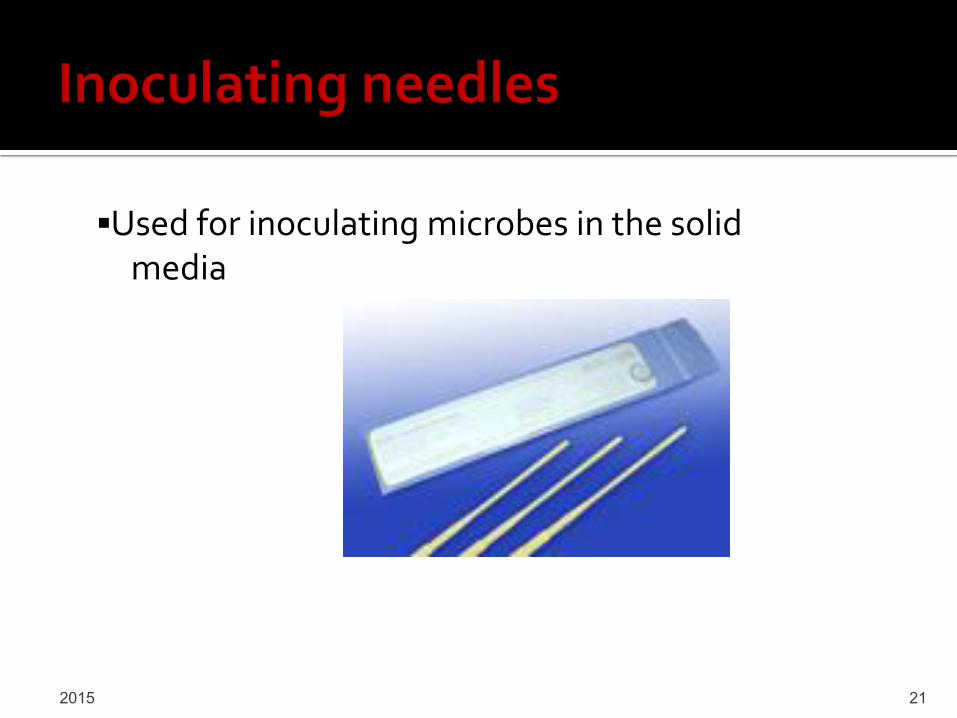
▪Used for inoculating microbes in the solid media
2015 21

The Microscope
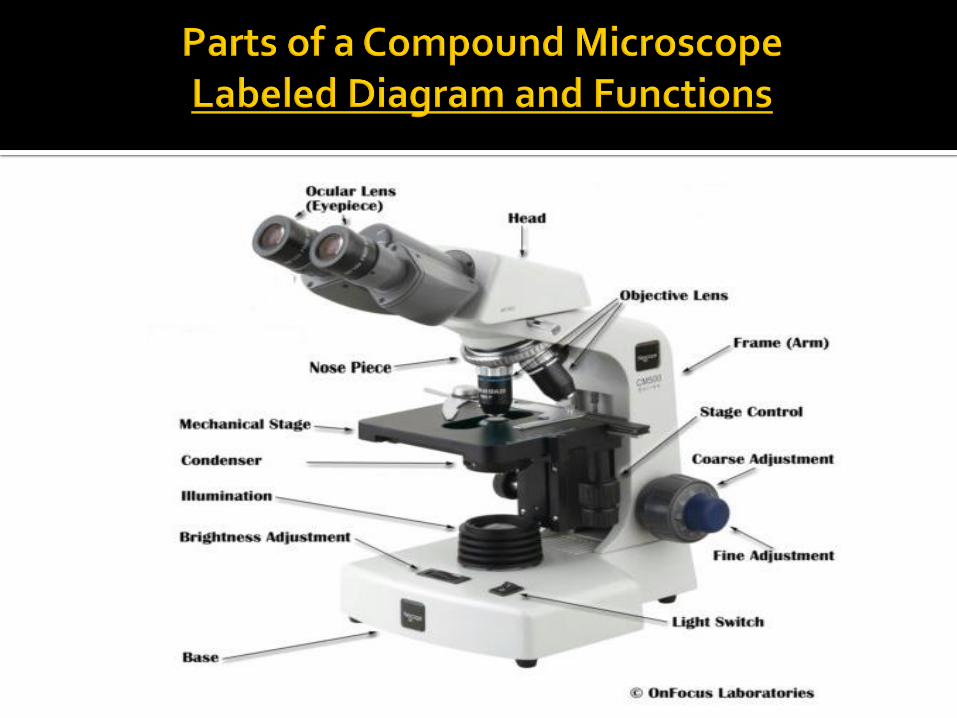

Eyepiece: The lens the viewer looks through to see the specimen.
Body tube (Head) The body tube connects the eyepiece to the objective.
Arm: The arm connects the body tube to the base of the microscope.
Coarse adjustment: Brings the specimen into general focus.
Fine adjustment: Fine tunes the focus and increases the detail of the specimen.

Nosepiece: Holds objectives.
Objective lenses: One of the most important parts of a compound microscope, as they are the lenses closest to the specimen.
Specimen or slide: The specimen is the object being examined.
Stage: The flat platform where the slide is placed.
Stage clips: Metal clips that hold the slide in place..

Stage height adjustment (Stage Control): These knobs move the stage left and right.
Aperture: The hole in the middle of the stage that allows light from the illuminator to reach the specimen.
Illumination: The light source for a microscope.
Iris diaphragm: Adjusts the amount of light that reaches the specimen.

Condenser: Gathers and focuses light from the illuminator onto the specimen being viewed.
Base: The base supports the microscope and it’s where illuminator is located
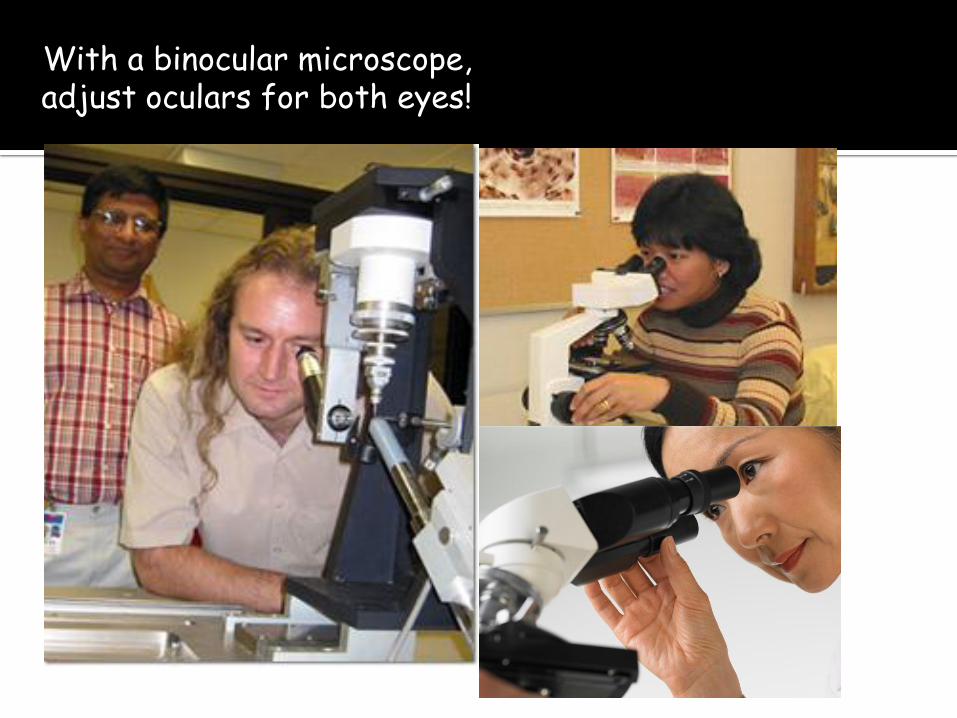
With a binocular microscope, adjust oculars for both eyes!

Don’t shut one eye while observing under the
microscope!

Always carry with 2 hands Only use lens paper for cleaning Do not force knobs Always store covered

How to properly carry the microscope

Place the Slide on the Microscope Use Stage Clips Click Nosepiece to the lowest (shortest) setting Look into the Eyepiece Use the Coarse Focus Follow steps to focus using low power Click the nosepiece to the longest objective Do NOT use the Coarse Focusing Knob Use the Fine Focus Knob to bring the slide Record your observation on the paper and maintain
it in the form of observation file.
33


![Various Rinsing Effects to Mitigate Contaminates Brought ... · VARIOUS RINSING EFFECTS TO MITIGATE CONTAMINANTS ... [4] experiment with different pressures, a ... force exerted by](https://img.pdfslide.us/doc/110x75/5b519bca7f8b9a7b648c2dd7/various-rinsing-effects-to-mitigate-contaminates-brought-various-rinsing.jpg)