Embed Size (px)
Citation preview
Atwood (Hydroflame) Furnace Installation
Ray Swartzendruber574-457-3564
GMC Eastern States Rally
Elkhart, Indiana
June 22, 2004
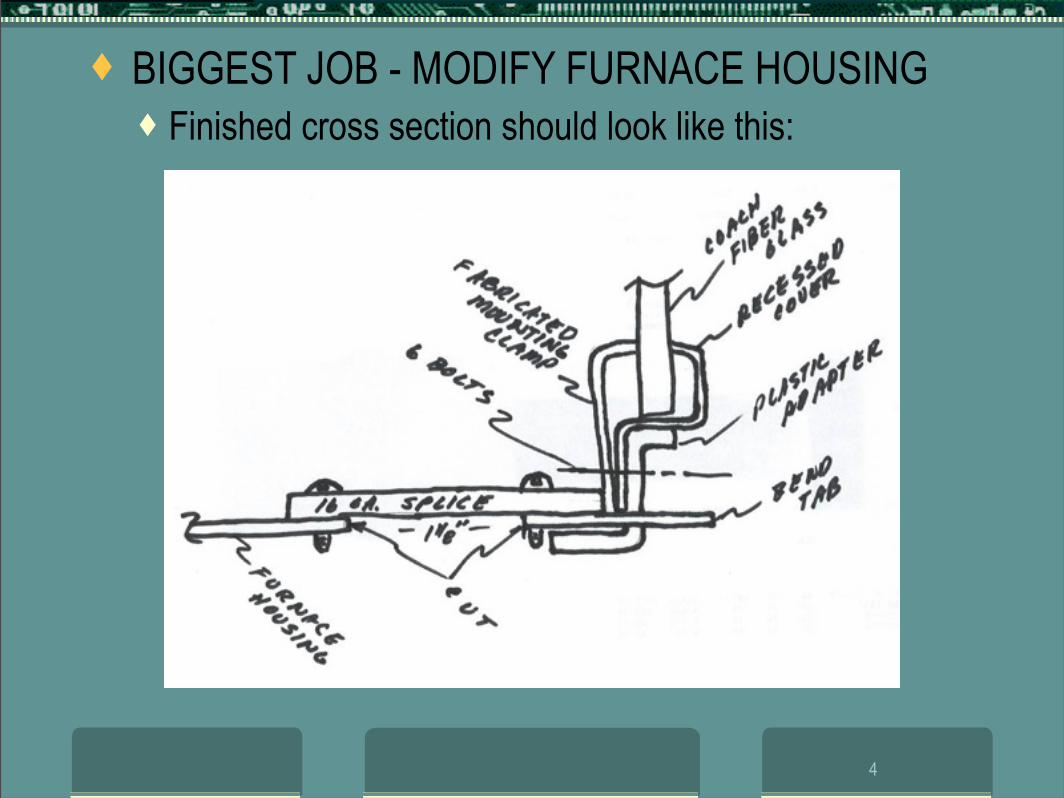
BIGGEST JOB - MODIFY FURNACE HOUSING Finished cross section should look like this:
4
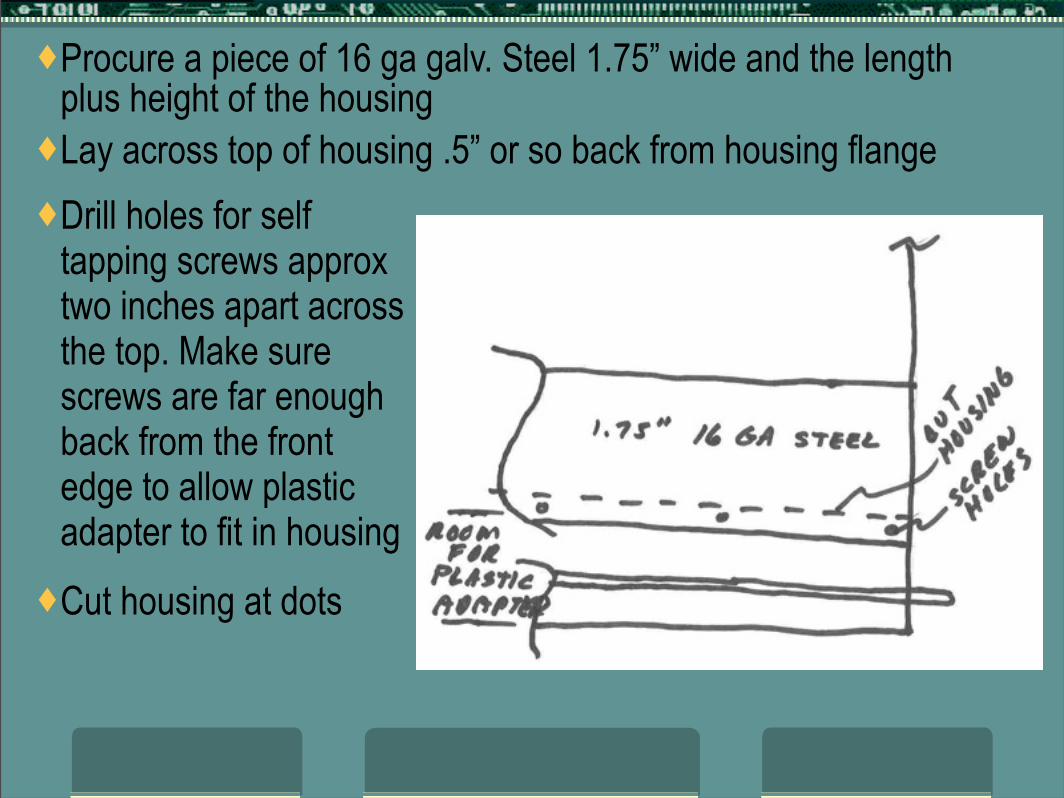
Procure a piece of 16 ga galv. Steel 1.75” wide and the length plus height of the housing
Lay across top of housing .5” or so back from housing flange
Drill holes for self tapping screws approx two inches apart across the top. Make sure screws are far enough back from the front edge to allow plastic adapter to fit in housing
Cut housing at dots
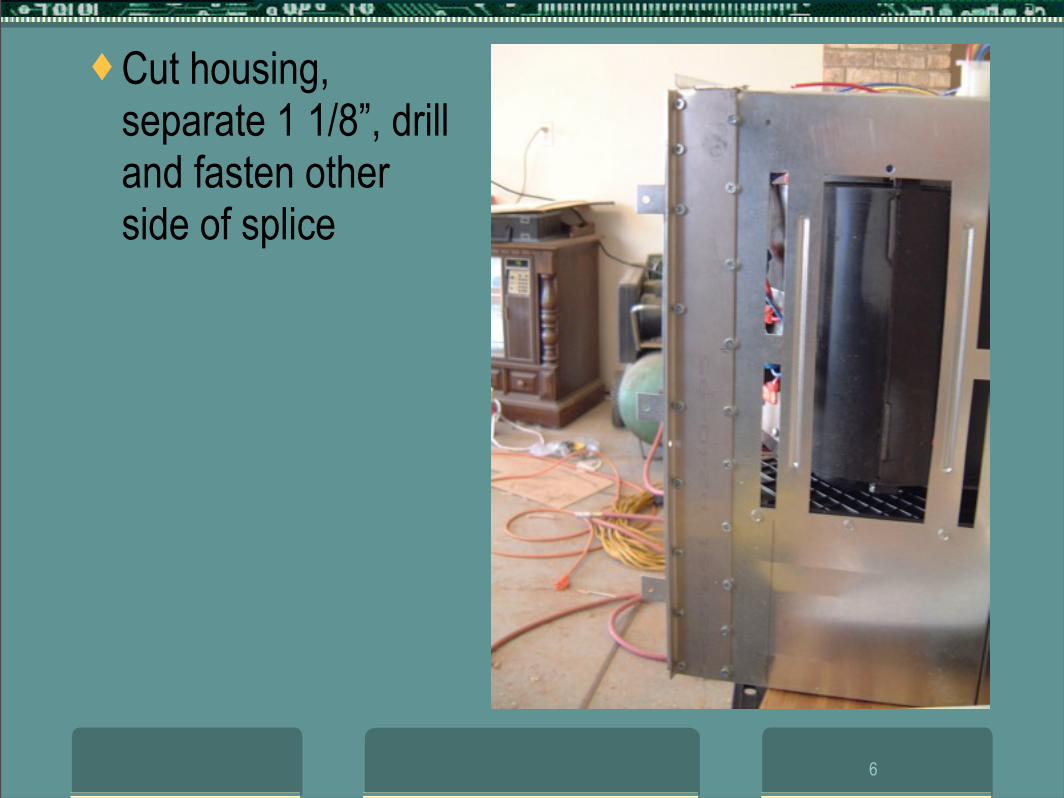
Cut housing, separate 1 1/8”, drill and fasten other side of splice
6
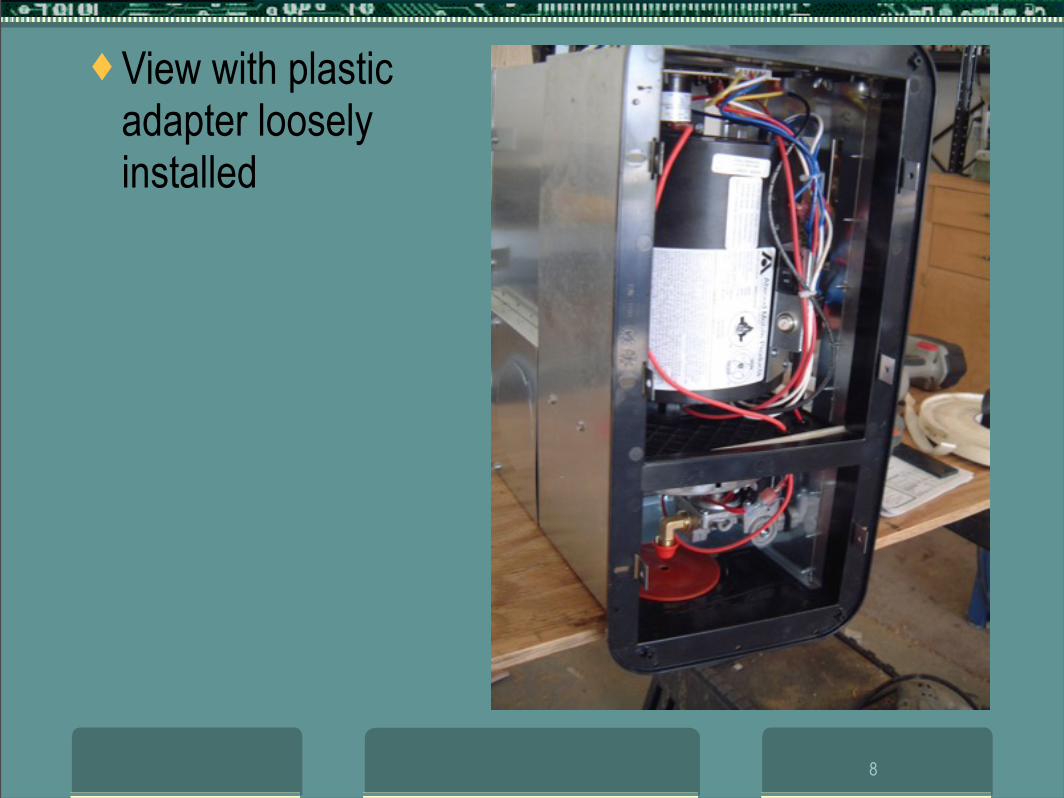
View with plastic adapter loosely installed
8
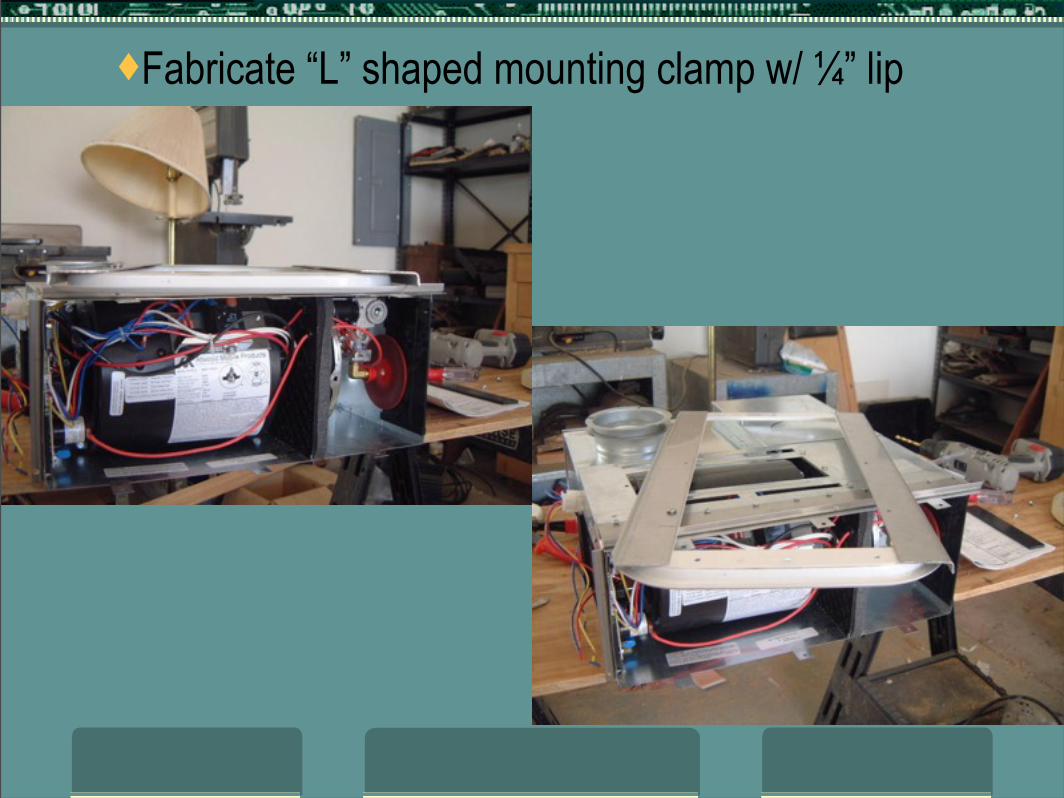
Fabricate “L” shaped mounting clamp w/ ¼” lip
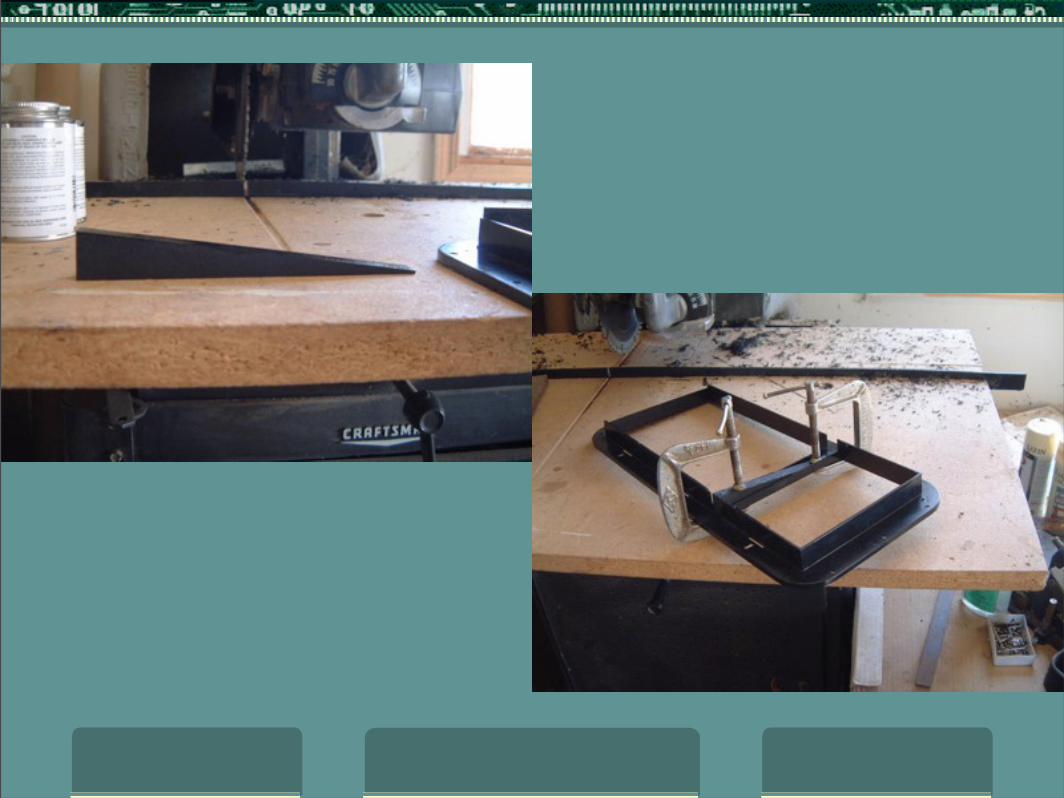
Seal fresh air/exhaust compartments
Find some ¼” thick ABS sheet molding material Fabricate 3 rectangular pieces 1 1/8 inch wide by
the height of the furnace housing Glue the three pieces together Cut the triangular shape to fit Glue to plastic adapter and let dry
10
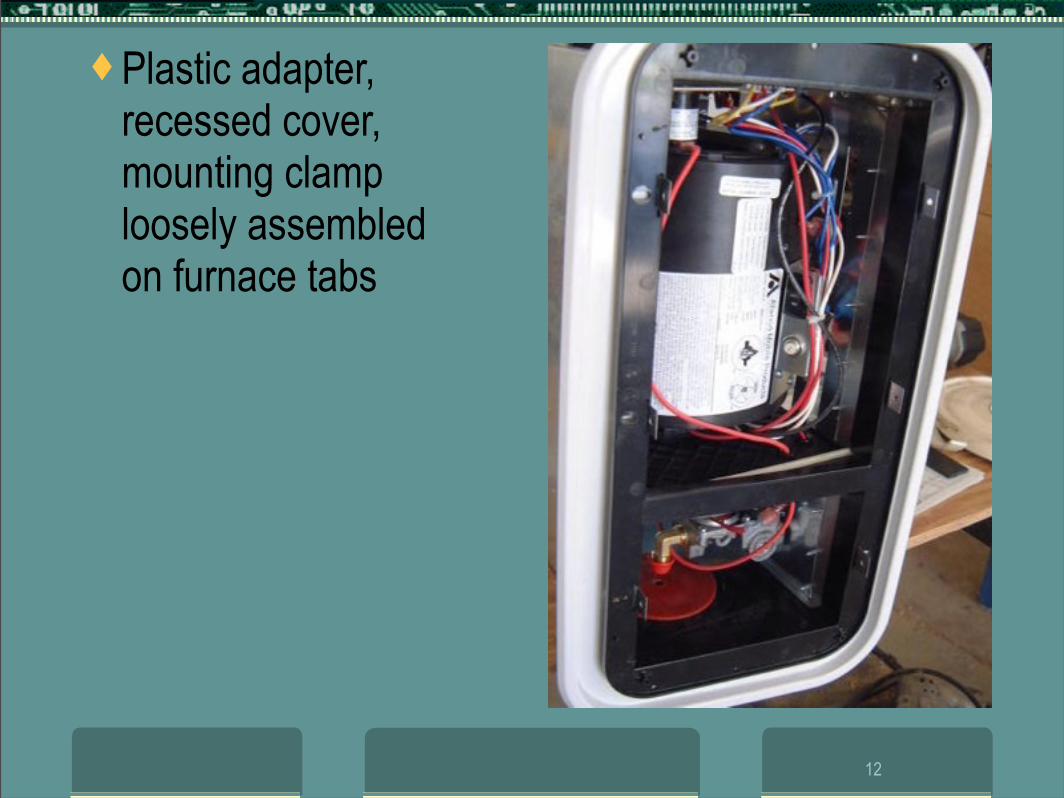
Plastic adapter, recessed cover, mounting clamp loosely assembled on furnace tabs
12
Cut hole in coach (very carefully!)
Put at least 1” spacer under furnace, slide into position Mark the housing corner locations on the fiberglass Drill a small hole at each of the four locations Go outside the coach and use the recessed cover and the
four drilled holes as guides to mark hole opening. Note hole opening is not symmetrical about the furnace housing!!
The hole should be 10” x 19 ½ “ with 2 1/8” radius corners A small air grinder works OK to cut the glass – be careful!!
13
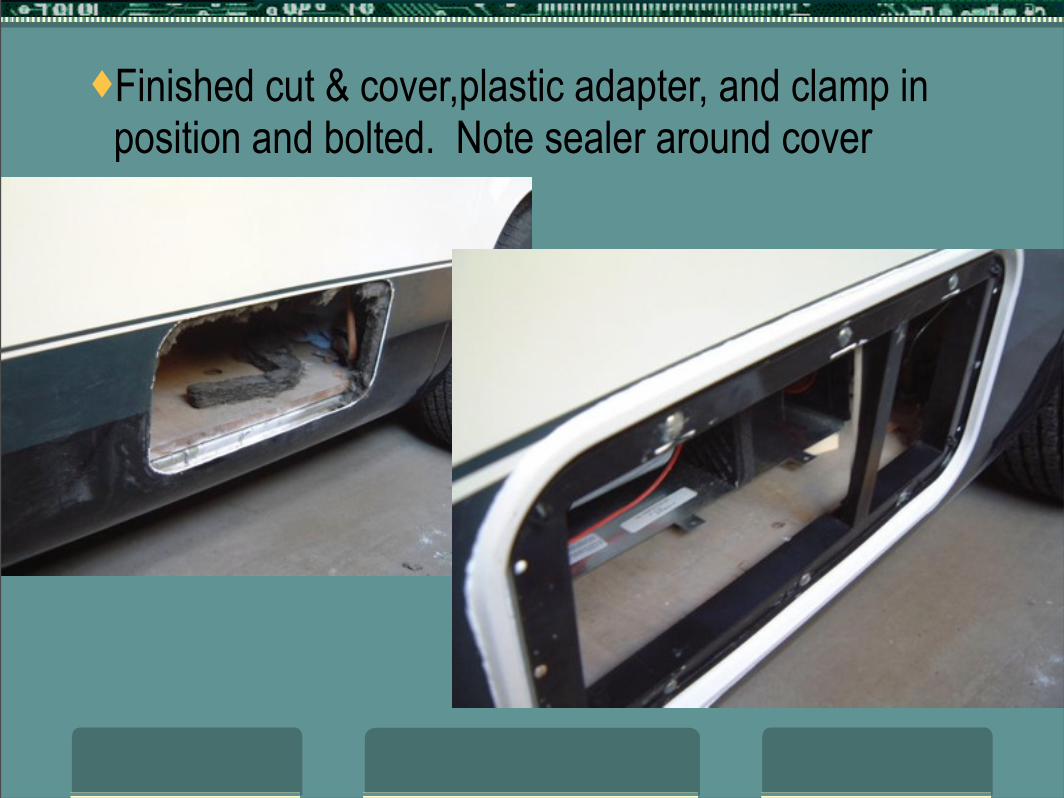
Finished cut & cover,plastic adapter, and clamp in position and bolted. Note sealer around cover
Finishing Touches
After the sealer dries, slide furnace into place Remove the six attaching bolts Bend tabs so that the holes align with the six bolt
holes and reinstall bolts Attach rear of furnace to the floor using wood
spacers Hook up 12V, thermostats, ducts, and gas, and you
are ready to go.
15
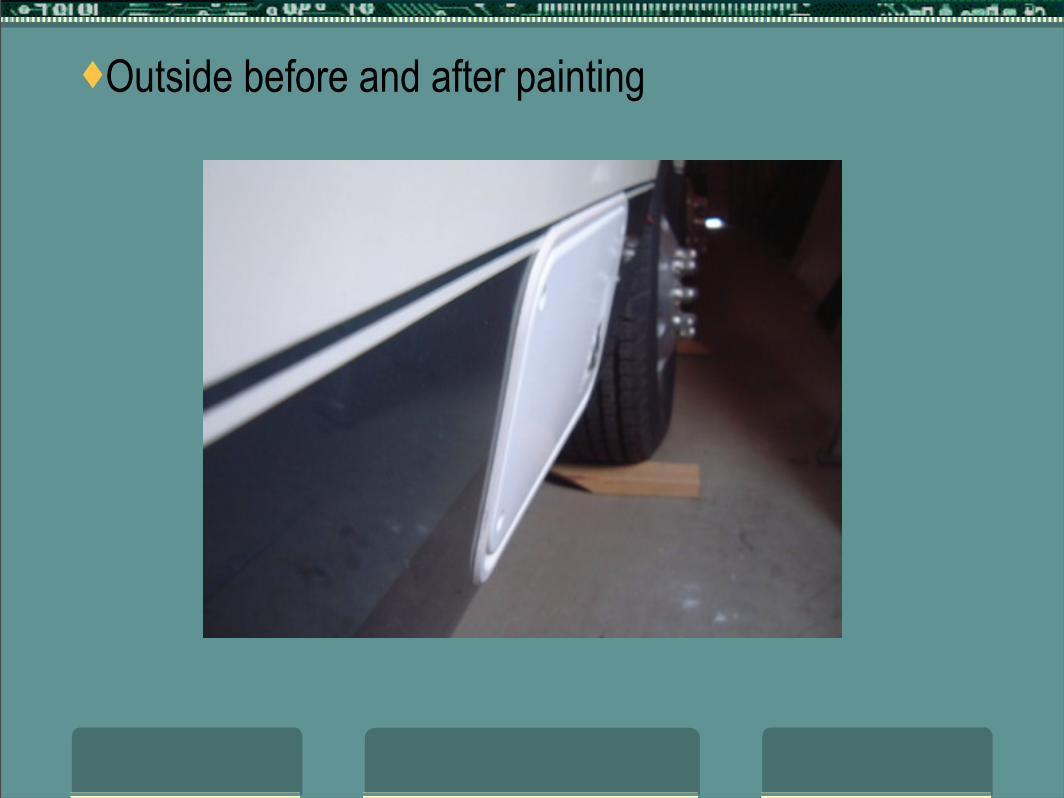
Outside before and after painting
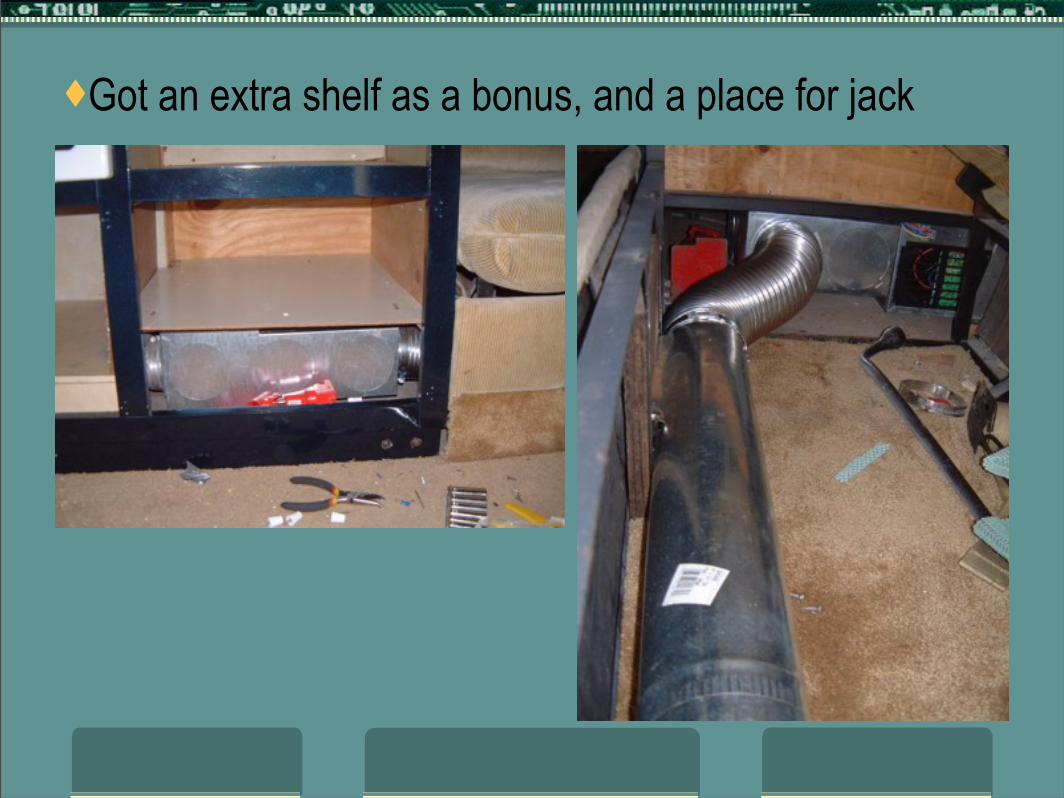
Got an extra shelf as a bonus, and a place for jack