Message Passing & APIsSection 05 // September 25th, 2015
Tricia Fu // OH Monday 9:30 - 10:30am // [email protected]
CS 160 User Interface Design

Administrivia
Brainstorm Discussion
Message Passing Between Wear and Mobile
Twitter API
Agenda
1
2
3
4
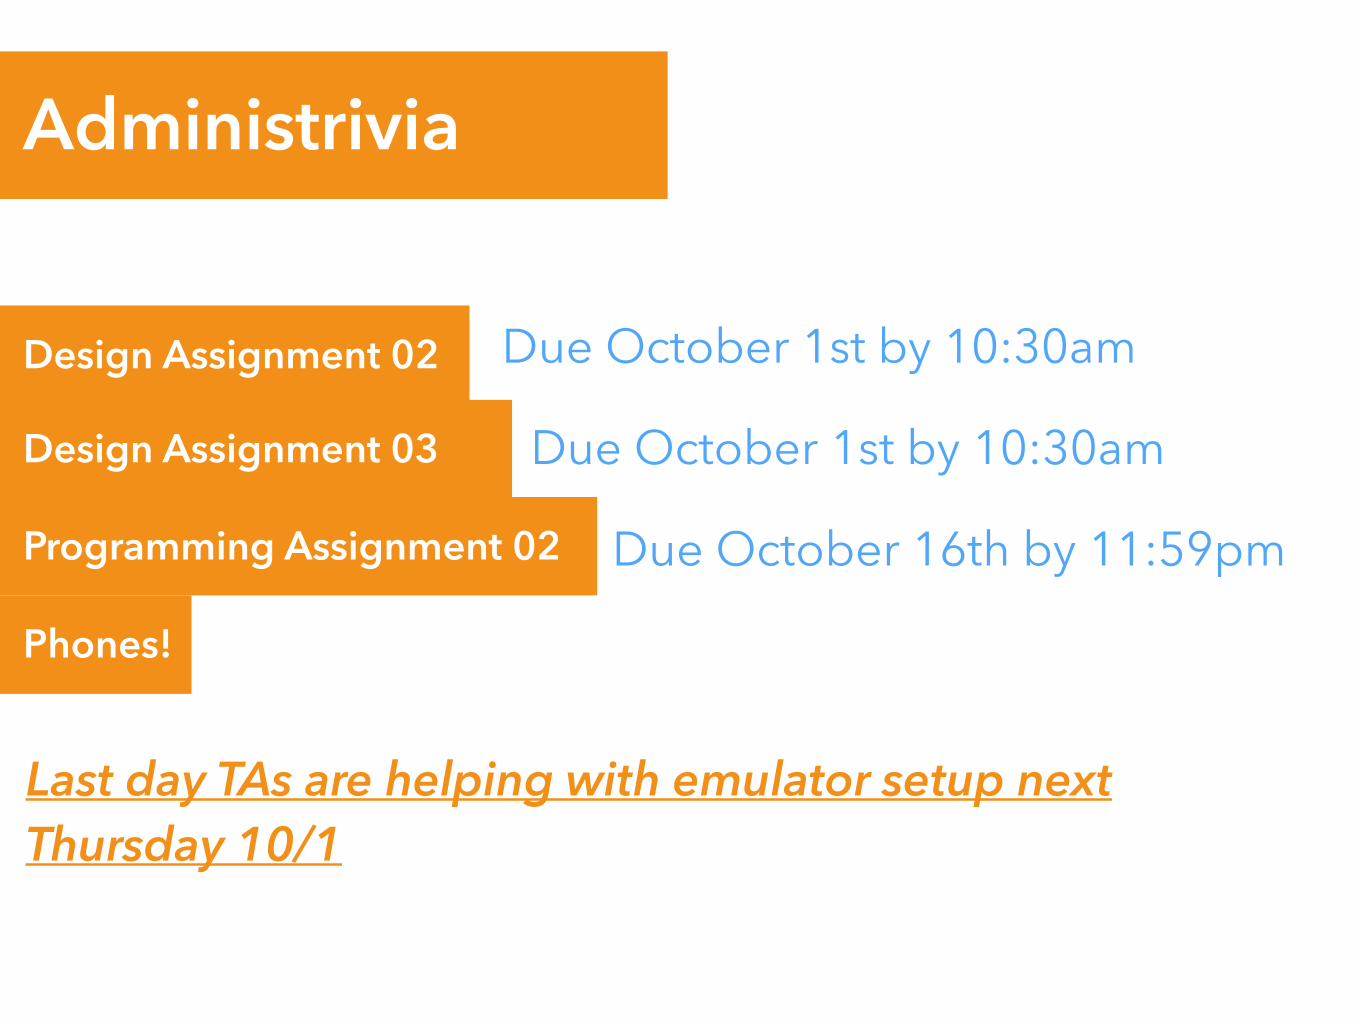
Administrivia
Design Assignment 02
Design Assignment 03
Programming Assignment 02
Phones!
Due October 1st by 10:30am
Due October 1st by 10:30am
Due October 16th by 11:59pm
Last day TAs are helping with emulator setup next Thursday 10/1

This will be the last painful Android section! Yay!
Brainstorm Discussion
How did it go?
What target audiences did you think about?
Cool ideas?
Feasible within the scope of the class
Progress?
Action Items:
Get to know each other!
Find common causes that you care about
Discuss your schedules
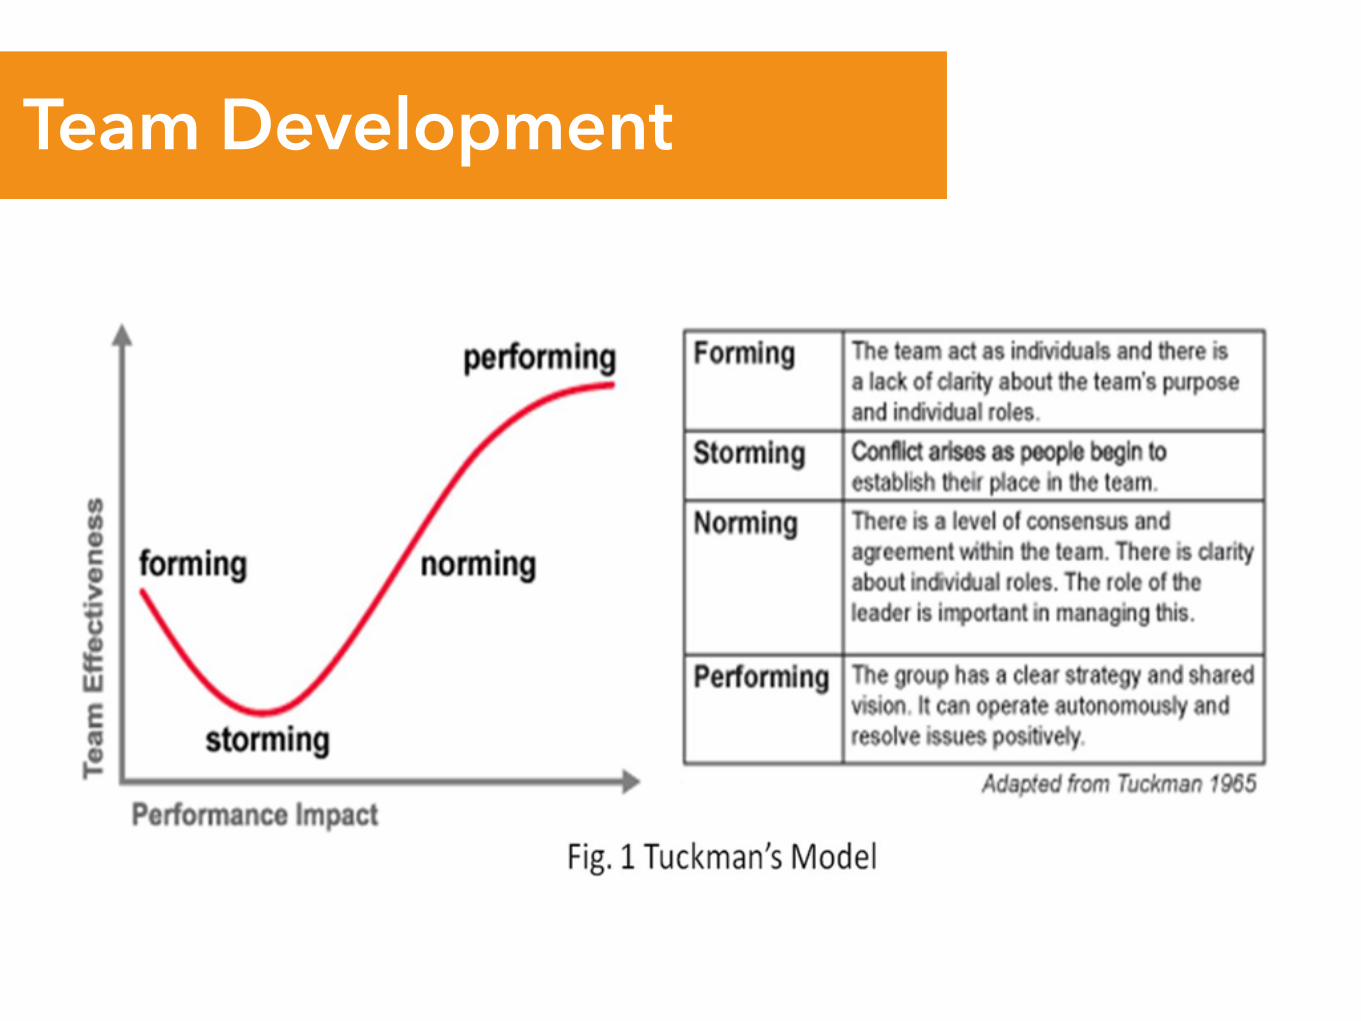
Team Development

Bringing it back — Critiques
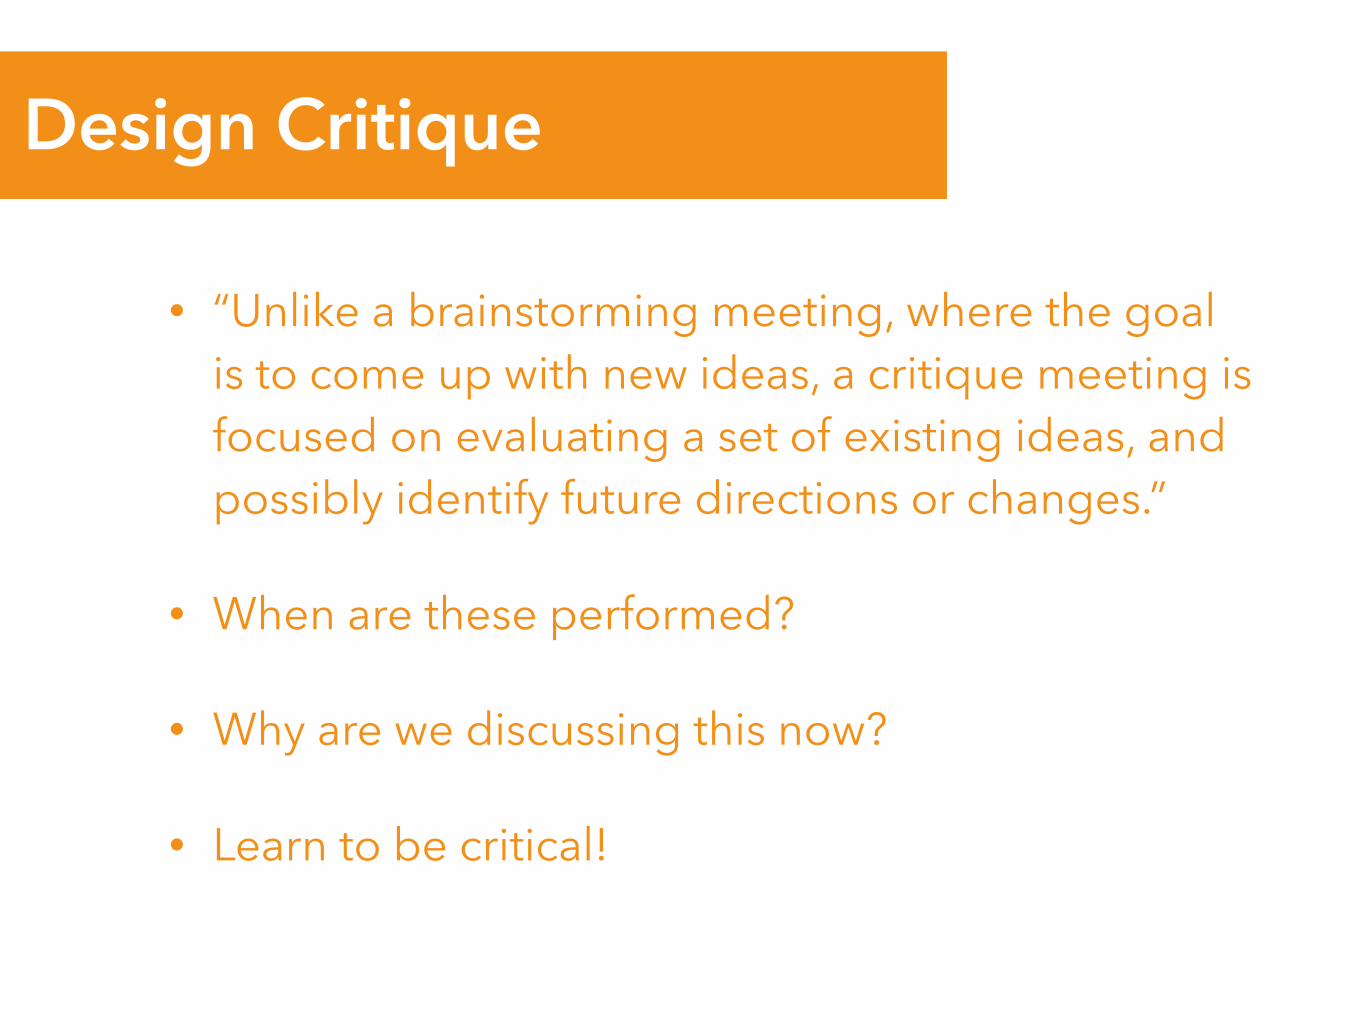
• “Unlike a brainstorming meeting, where the goal is to come up with new ideas, a critique meeting is focused on evaluating a set of existing ideas, and possibly identify future directions or changes.”
• When are these performed?
• Why are we discussing this now?
• Learn to be critical!
Design Critique
Activity — Group Critique
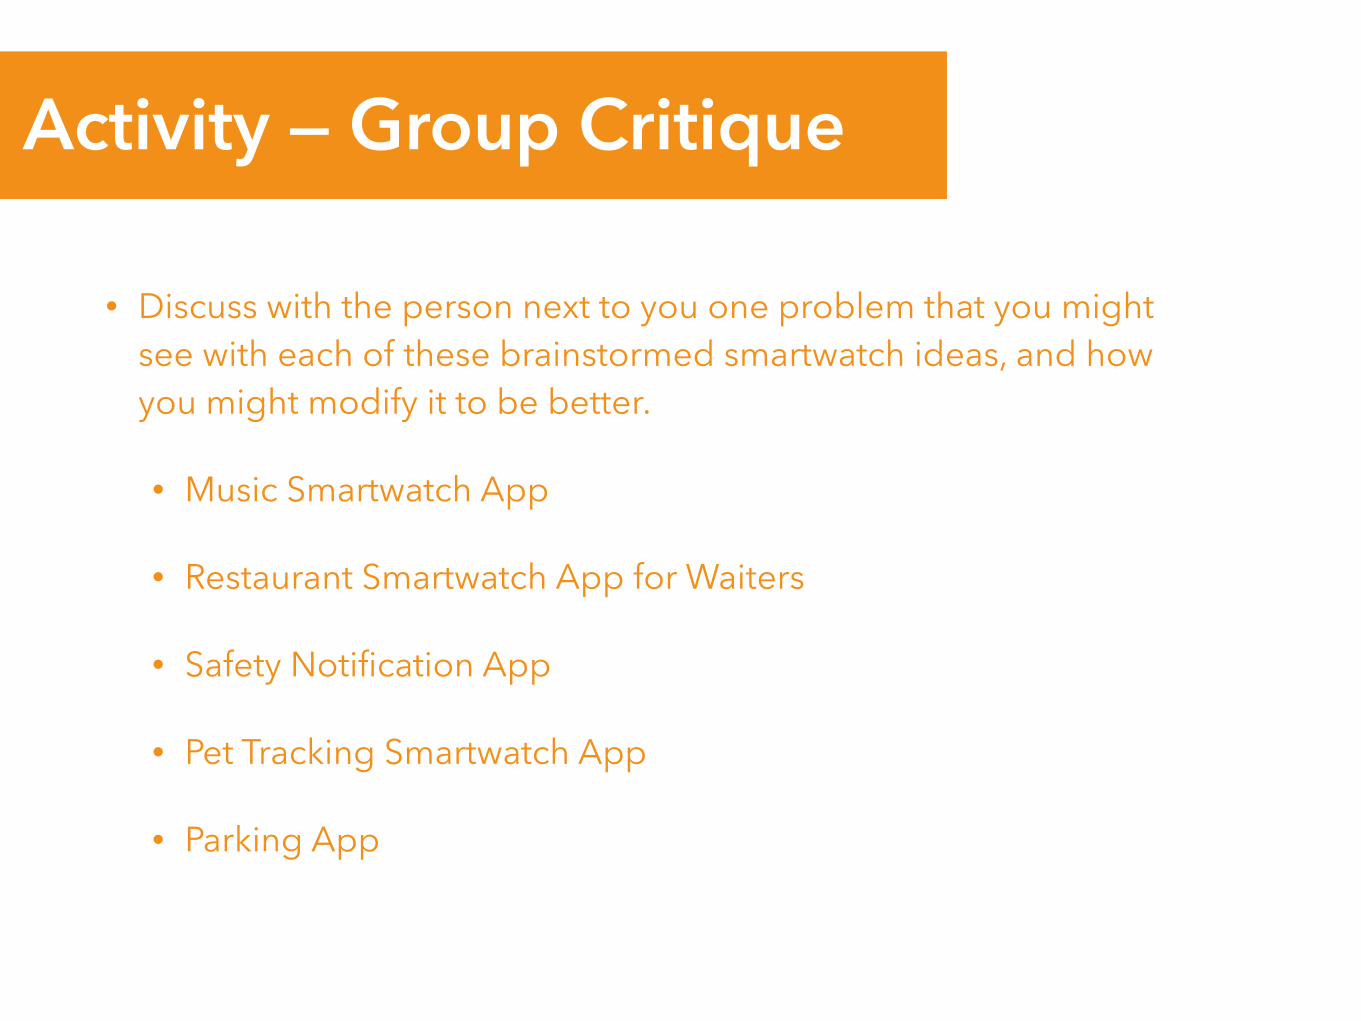
• Discuss with the person next to you one problem that you might see with each of these brainstormed smartwatch ideas, and how you might modify it to be better.
• Music Smartwatch App
• Restaurant Smartwatch App for Waiters
• Safety Notification App
• Pet Tracking Smartwatch App
• Parking App

Wear-Handheld Communication

• Wearable Data Layer (WDL): a communication channel between your handheld and wearable apps.
• “The data layer APIs are the only ones you should use to set up communication between wearable and handheld” - Developers Guide (enlighten yourself)
The Wearable Data Layer
https://developer.android.com/design/wear/principles.html
Main Guide http://developer.android.com/training/wearables/data-layer/
index.html
The following slides show a simplified version!
Wear to Handheld in 5 Steps
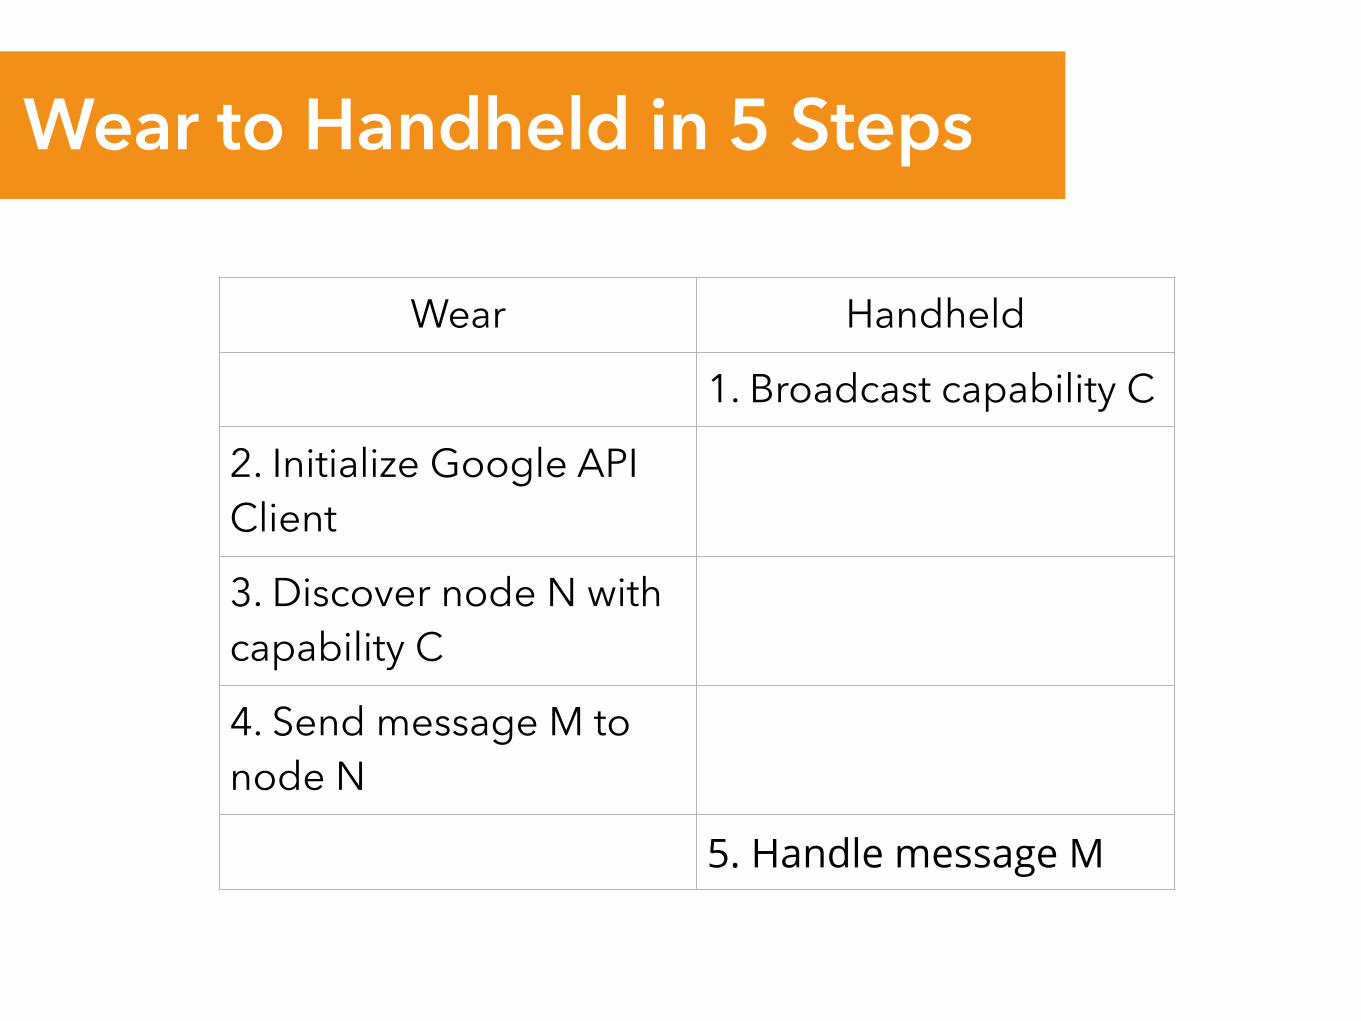
Wear to Handheld in 5 Steps
Wear Handheld
1. Broadcast capability C
2. Initialize Google API Client
3. Discover node N with capability C
4. Send message M to node N
5. Handle message M
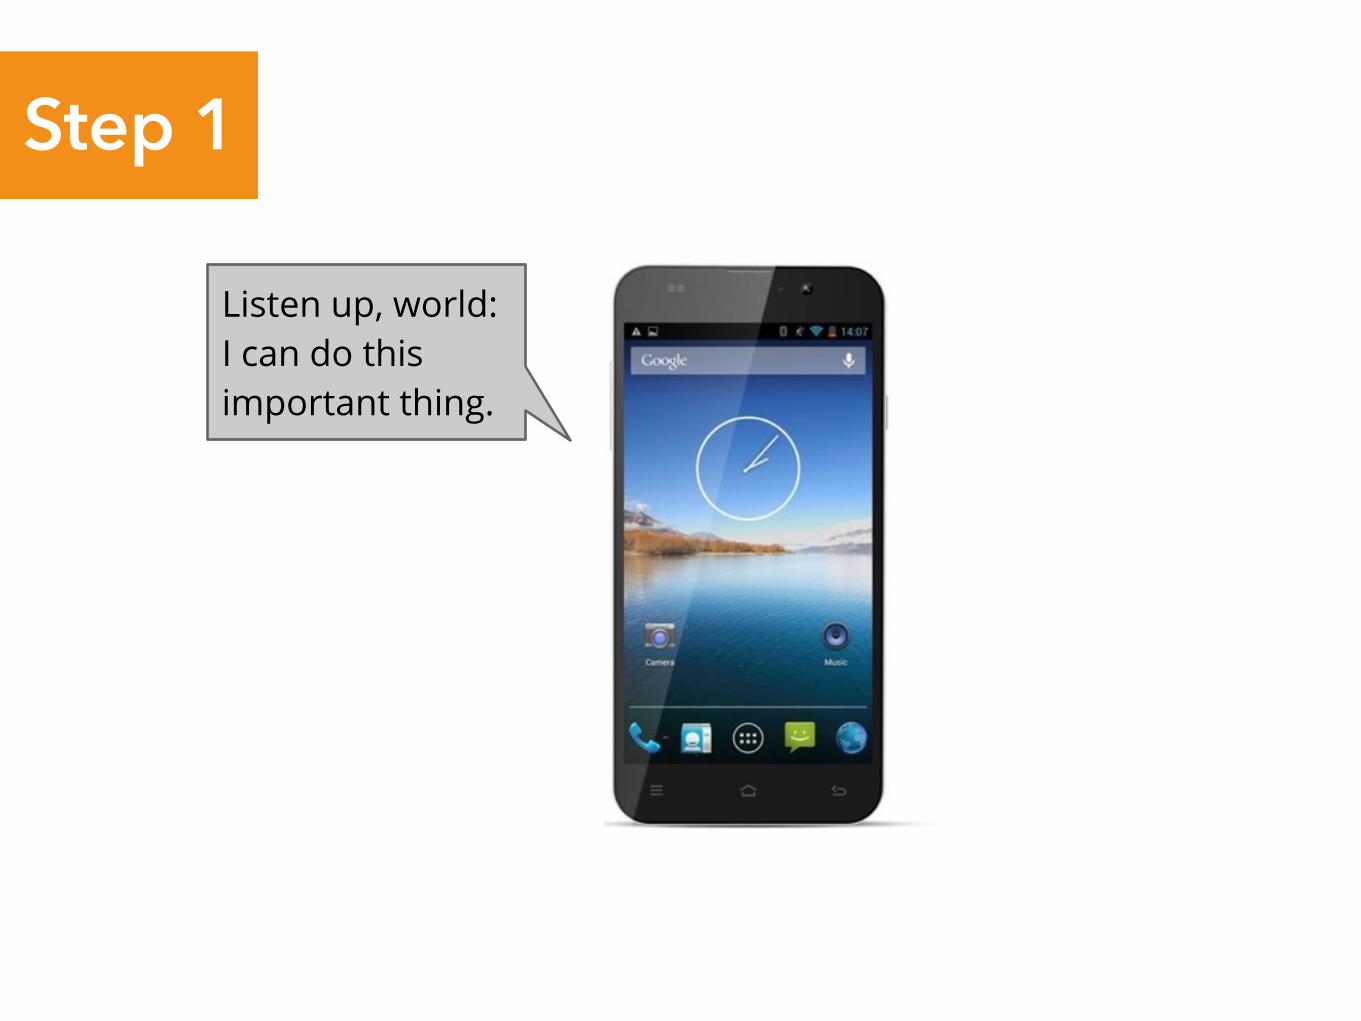
Step 1
Listen up, world: I can do this important thing.
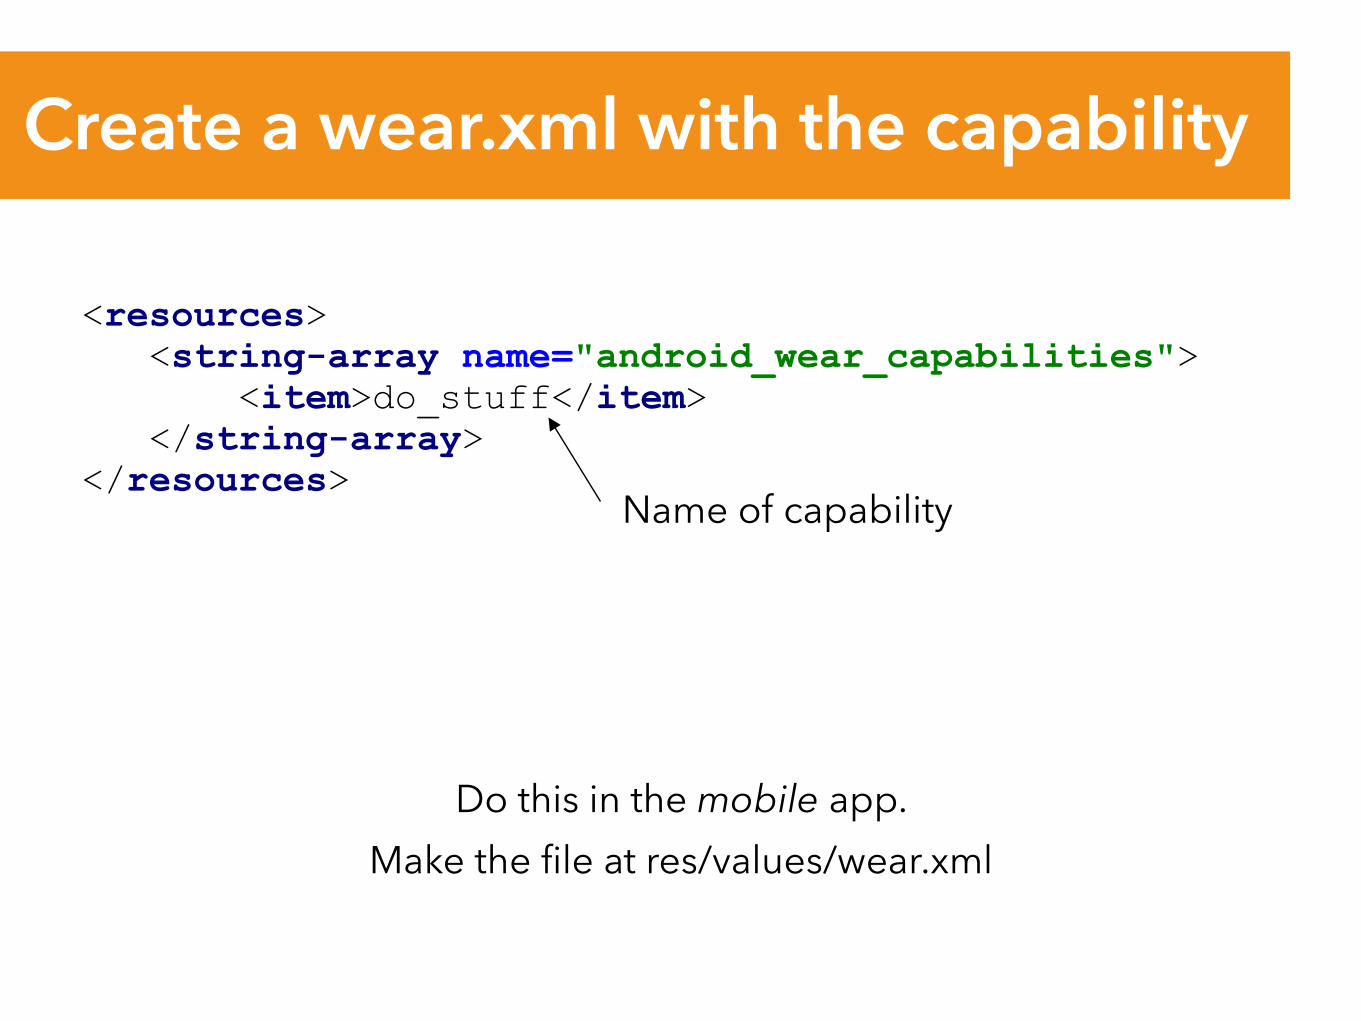
Create a wear.xml with the capability
<resources> <string-array name="android_wear_capabilities"> <item>do_stuff</item> </string-array> </resources>
Do this in the mobile app. Make the file at res/values/wear.xml
Name of capability
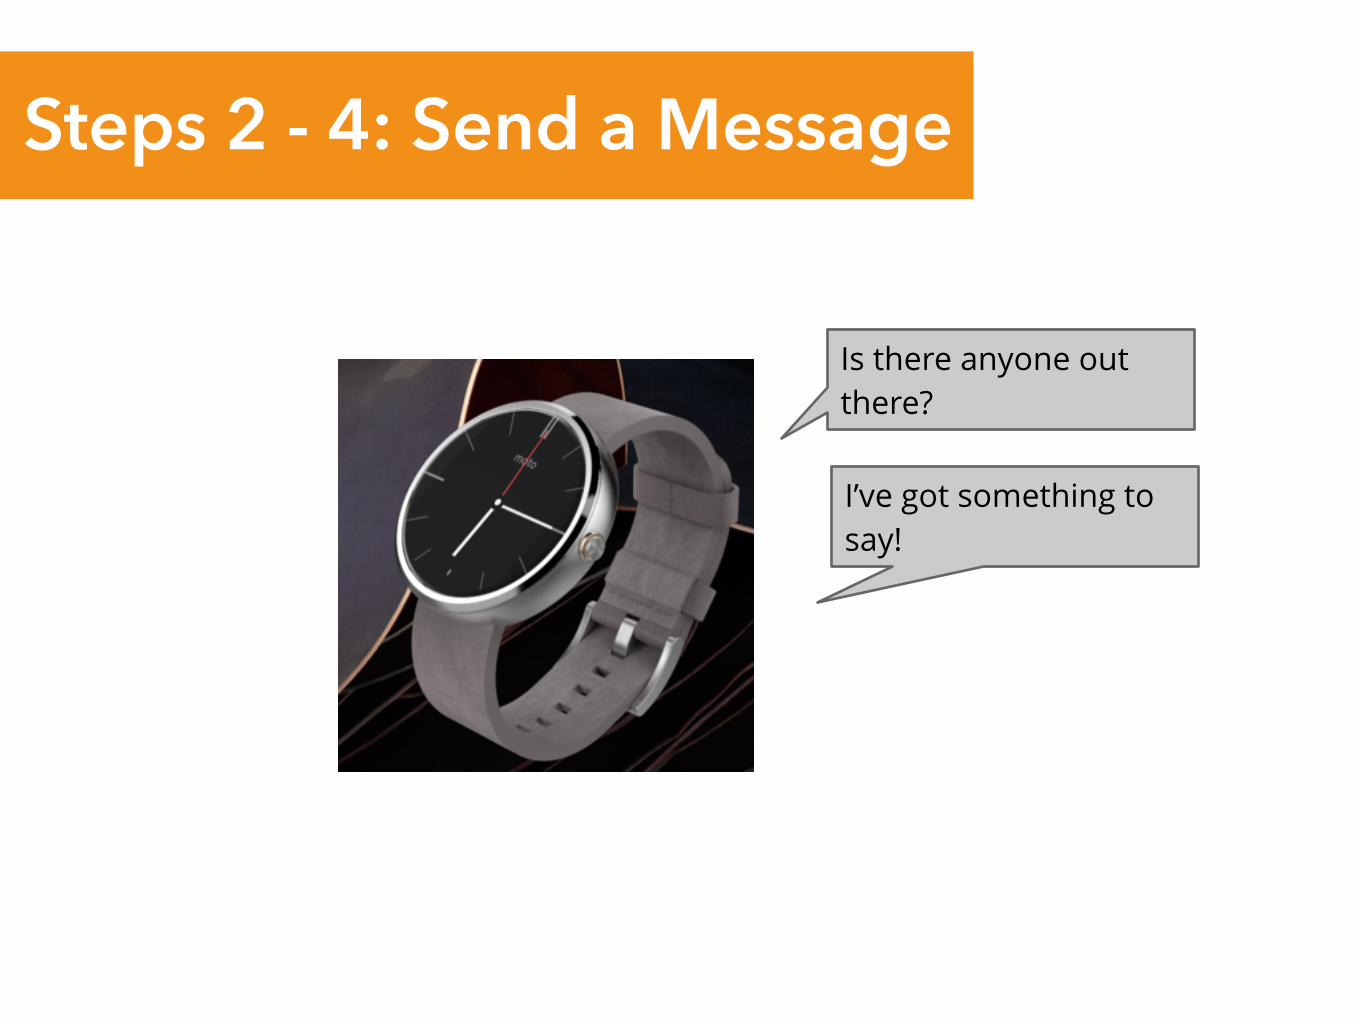
Steps 2 - 4: Send a Message
Is there anyone out there?
I’ve got something to say!
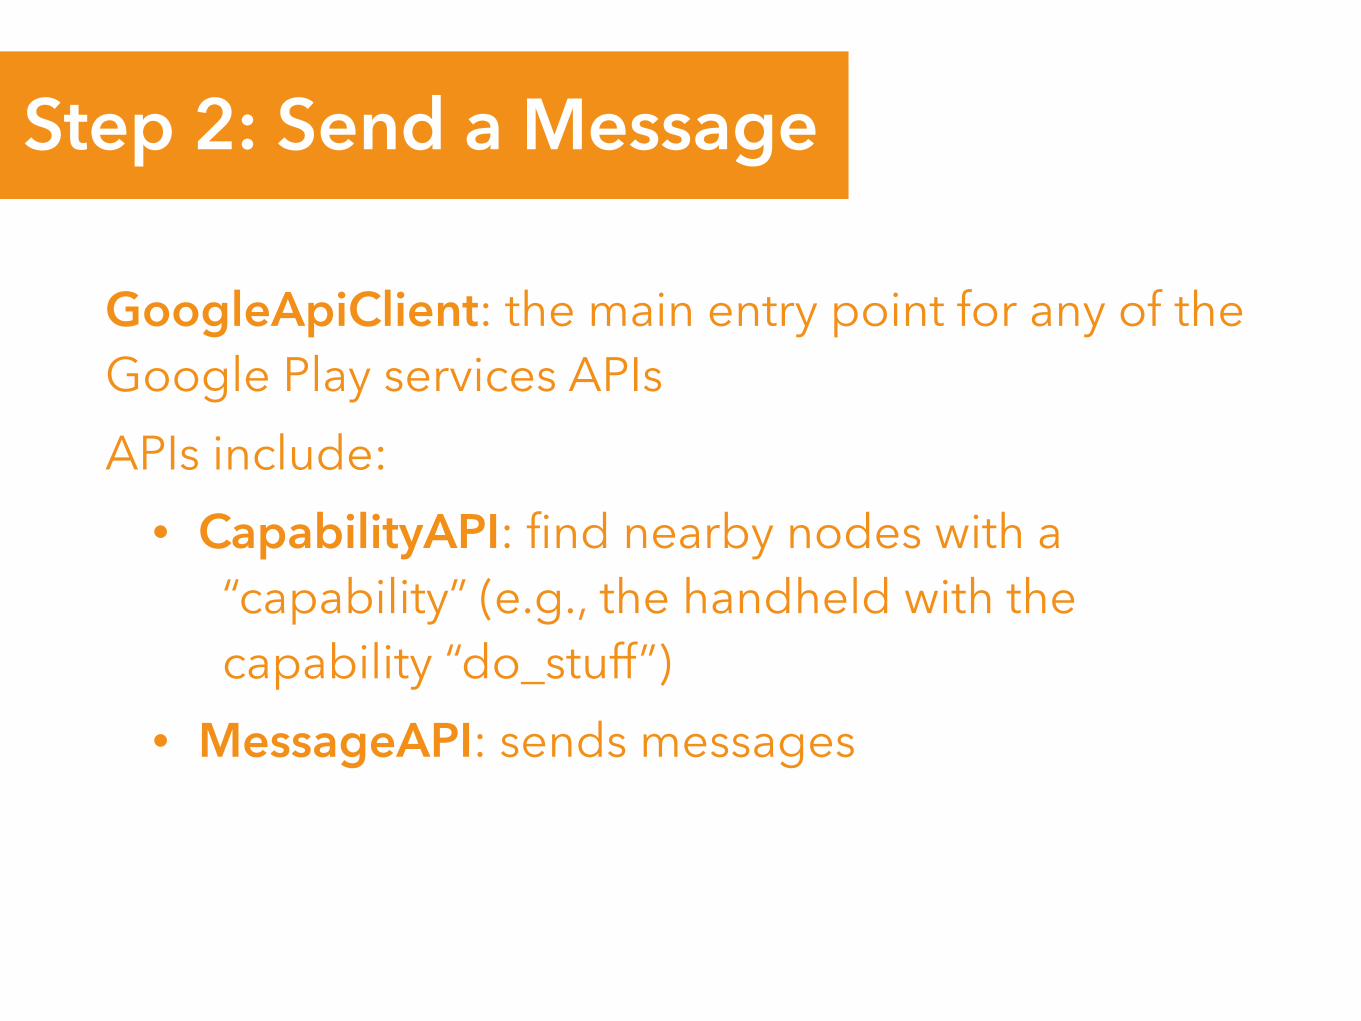
Step 2: Send a Message
GoogleApiClient: the main entry point for any of the Google Play services APIs APIs include:
• CapabilityAPI: find nearby nodes with a “capability” (e.g., the handheld with the capability “do_stuff”)
• MessageAPI: sends messages
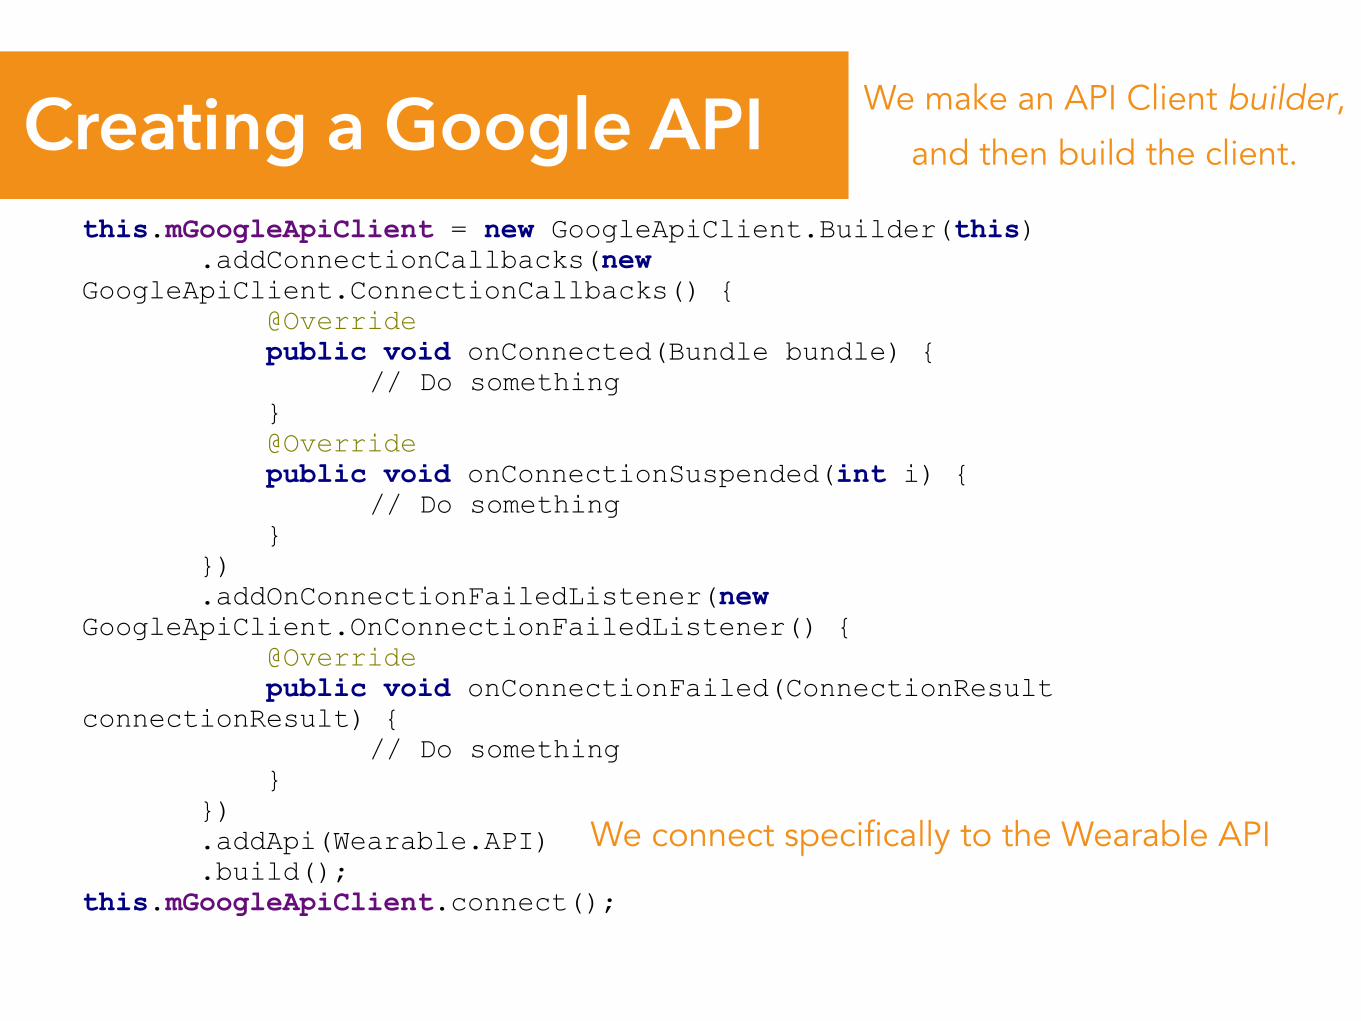
this.mGoogleApiClient = new GoogleApiClient.Builder(this) .addConnectionCallbacks(new GoogleApiClient.ConnectionCallbacks() { @Override public void onConnected(Bundle bundle) { // Do something } @Override public void onConnectionSuspended(int i) { // Do something } }) .addOnConnectionFailedListener(new GoogleApiClient.OnConnectionFailedListener() { @Override public void onConnectionFailed(ConnectionResult connectionResult) { // Do something } }) .addApi(Wearable.API) .build(); this.mGoogleApiClient.connect();
We connect specifically to the Wearable API
We make an API Client builder,
and then build the client.Creating a Google API
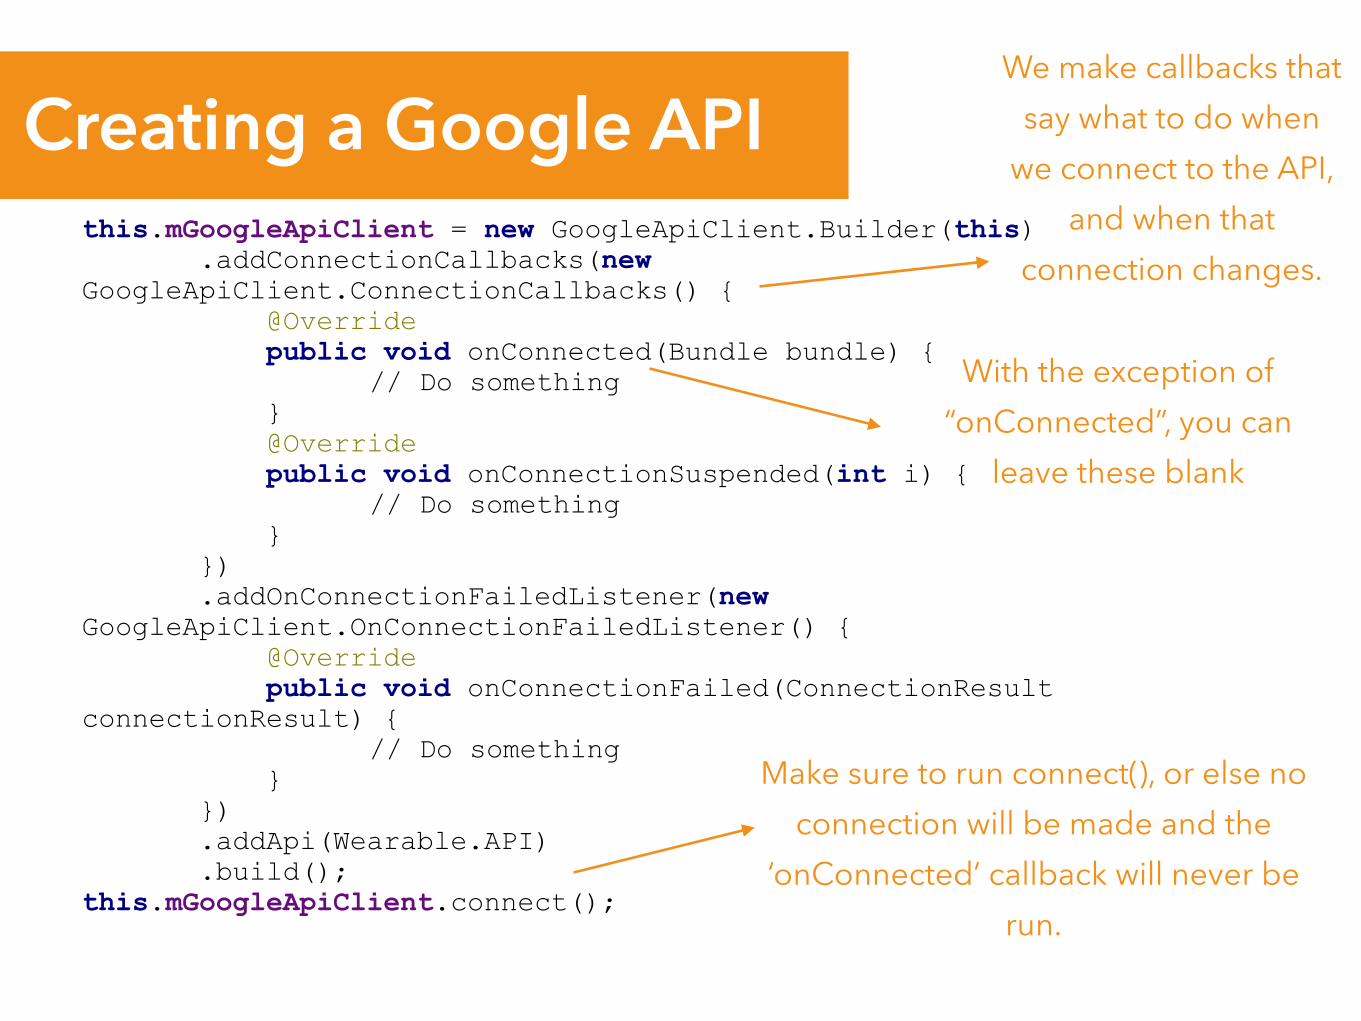
this.mGoogleApiClient = new GoogleApiClient.Builder(this) .addConnectionCallbacks(new GoogleApiClient.ConnectionCallbacks() { @Override public void onConnected(Bundle bundle) { // Do something } @Override public void onConnectionSuspended(int i) { // Do something } }) .addOnConnectionFailedListener(new GoogleApiClient.OnConnectionFailedListener() { @Override public void onConnectionFailed(ConnectionResult connectionResult) { // Do something } }) .addApi(Wearable.API) .build(); this.mGoogleApiClient.connect();
Creating a Google API
With the exception of “onConnected”, you can
leave these blank
We make callbacks that say what to do when
we connect to the API, and when that
connection changes.
Make sure to run connect(), or else no connection will be made and the
‘onConnected’ callback will never be run.
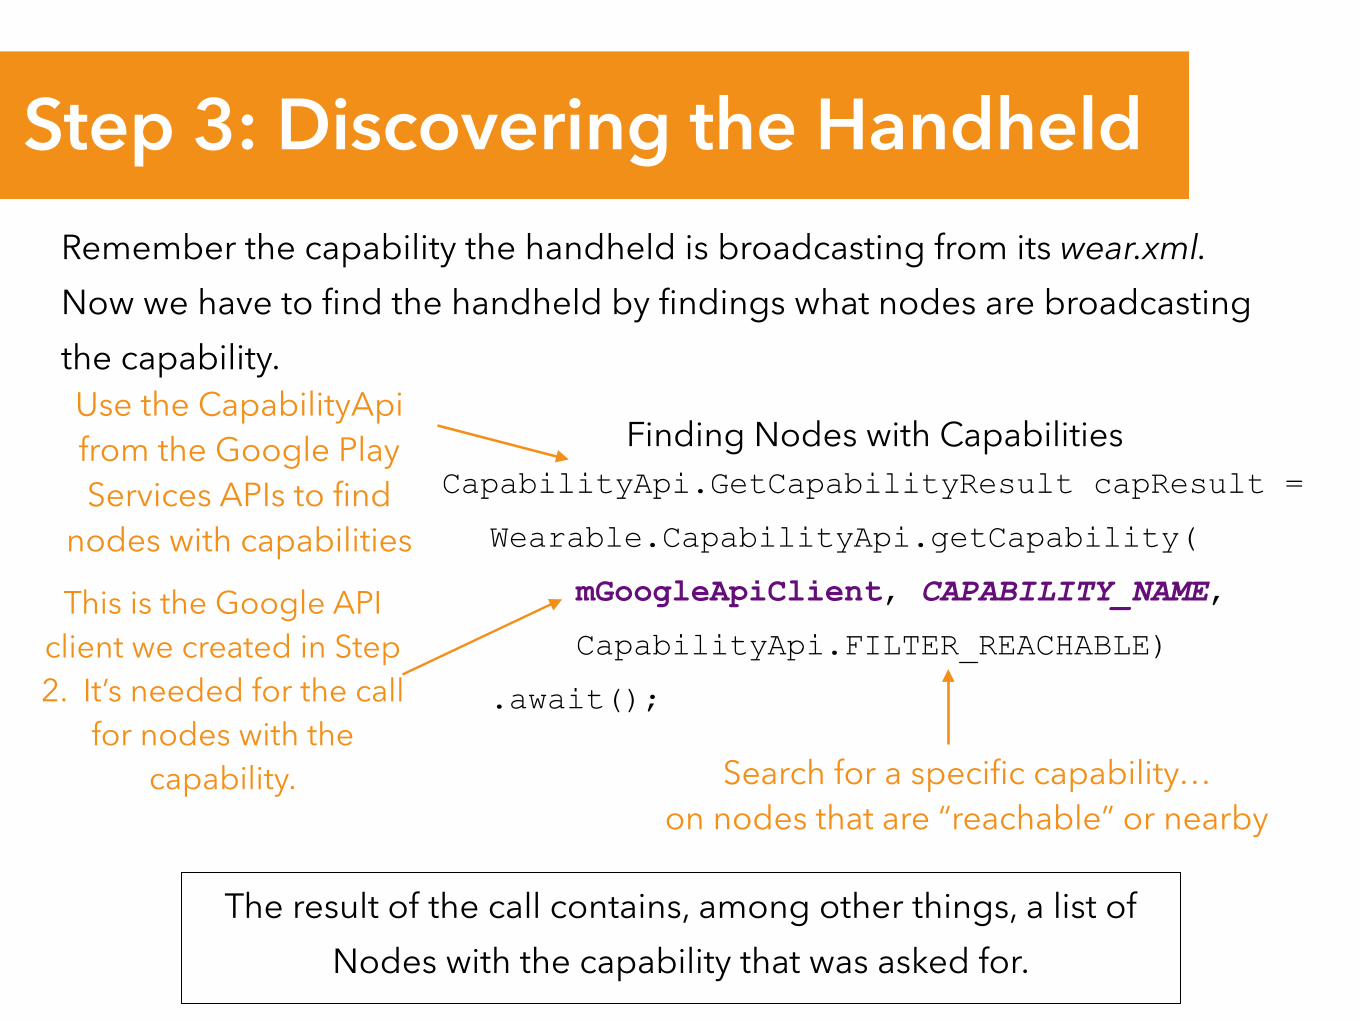
Finding Nodes with CapabilitiesCapabilityApi.GetCapabilityResult capResult =
Wearable.CapabilityApi.getCapability(
mGoogleApiClient, CAPABILITY_NAME,
CapabilityApi.FILTER_REACHABLE)
.await();
Remember the capability the handheld is broadcasting from its wear.xml. Now we have to find the handheld by findings what nodes are broadcasting the capability.
The result of the call contains, among other things, a list of Nodes with the capability that was asked for.
Use the CapabilityApi from the Google Play Services APIs to find
nodes with capabilities
This is the Google API client we created in Step 2. It’s needed for the call
for nodes with the capability. Search for a specific capability…
on nodes that are “reachable” or nearby
Step 3: Discovering the Handheld
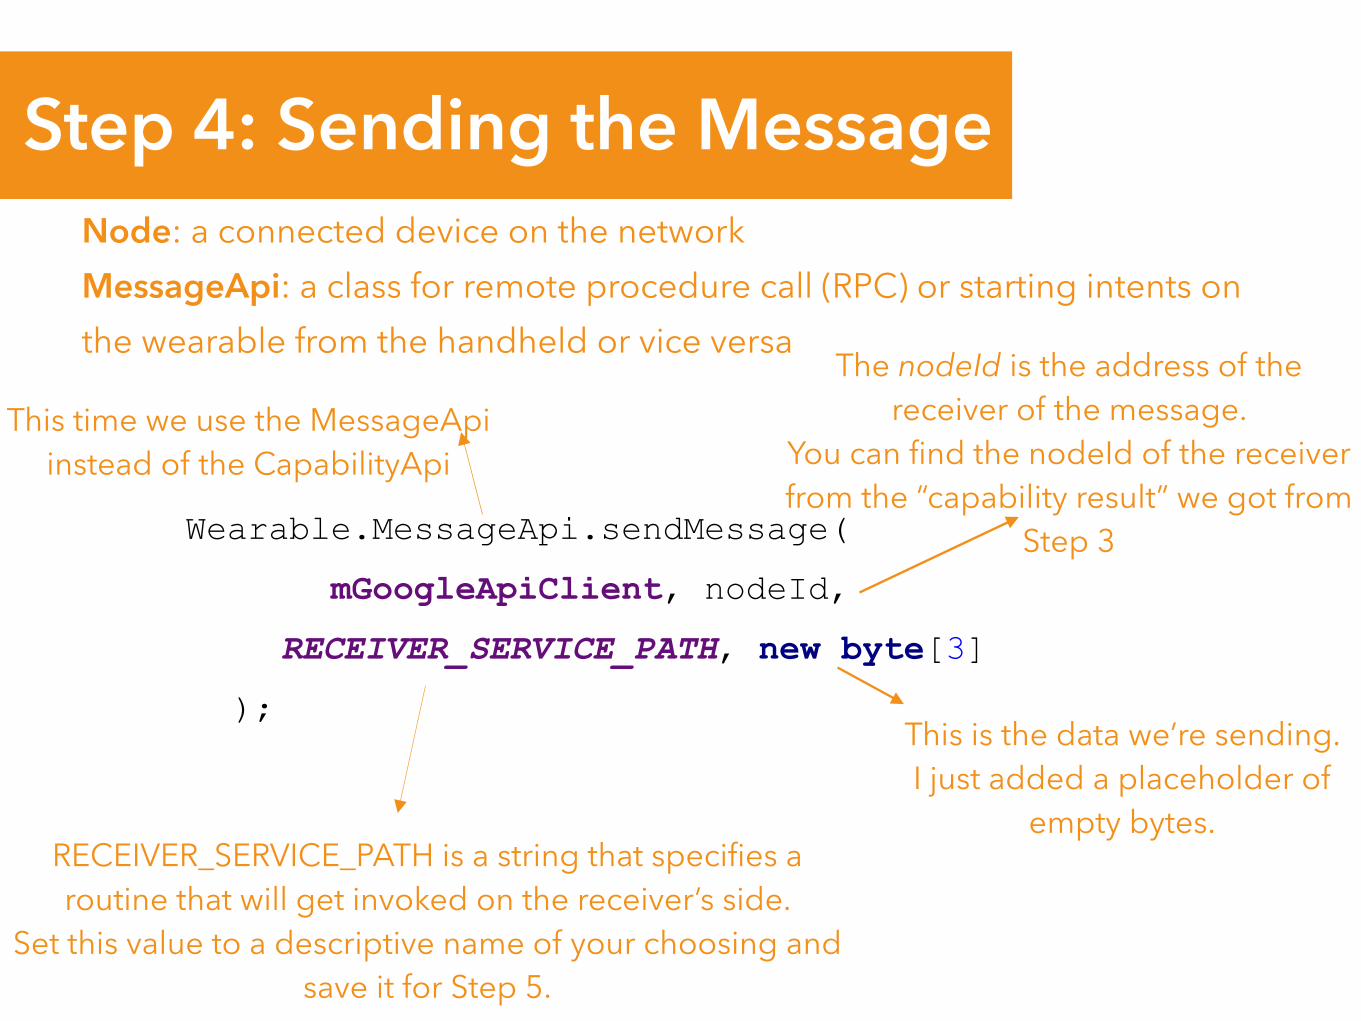
Node: a connected device on the network MessageApi: a class for remote procedure call (RPC) or starting intents on the wearable from the handheld or vice versa
Wearable.MessageApi.sendMessage(
mGoogleApiClient, nodeId,
RECEIVER_SERVICE_PATH, new byte[3]
);
This time we use the MessageApi instead of the CapabilityApi
This is the data we’re sending. I just added a placeholder of
empty bytes.
The nodeId is the address of the receiver of the message.
You can find the nodeId of the receiver from the “capability result” we got from
Step 3
RECEIVER_SERVICE_PATH is a string that specifies a routine that will get invoked on the receiver’s side.
Set this value to a descriptive name of your choosing and save it for Step 5.
Step 4: Sending the Message
What do I hear from the world?
Step 5: Receive a Message
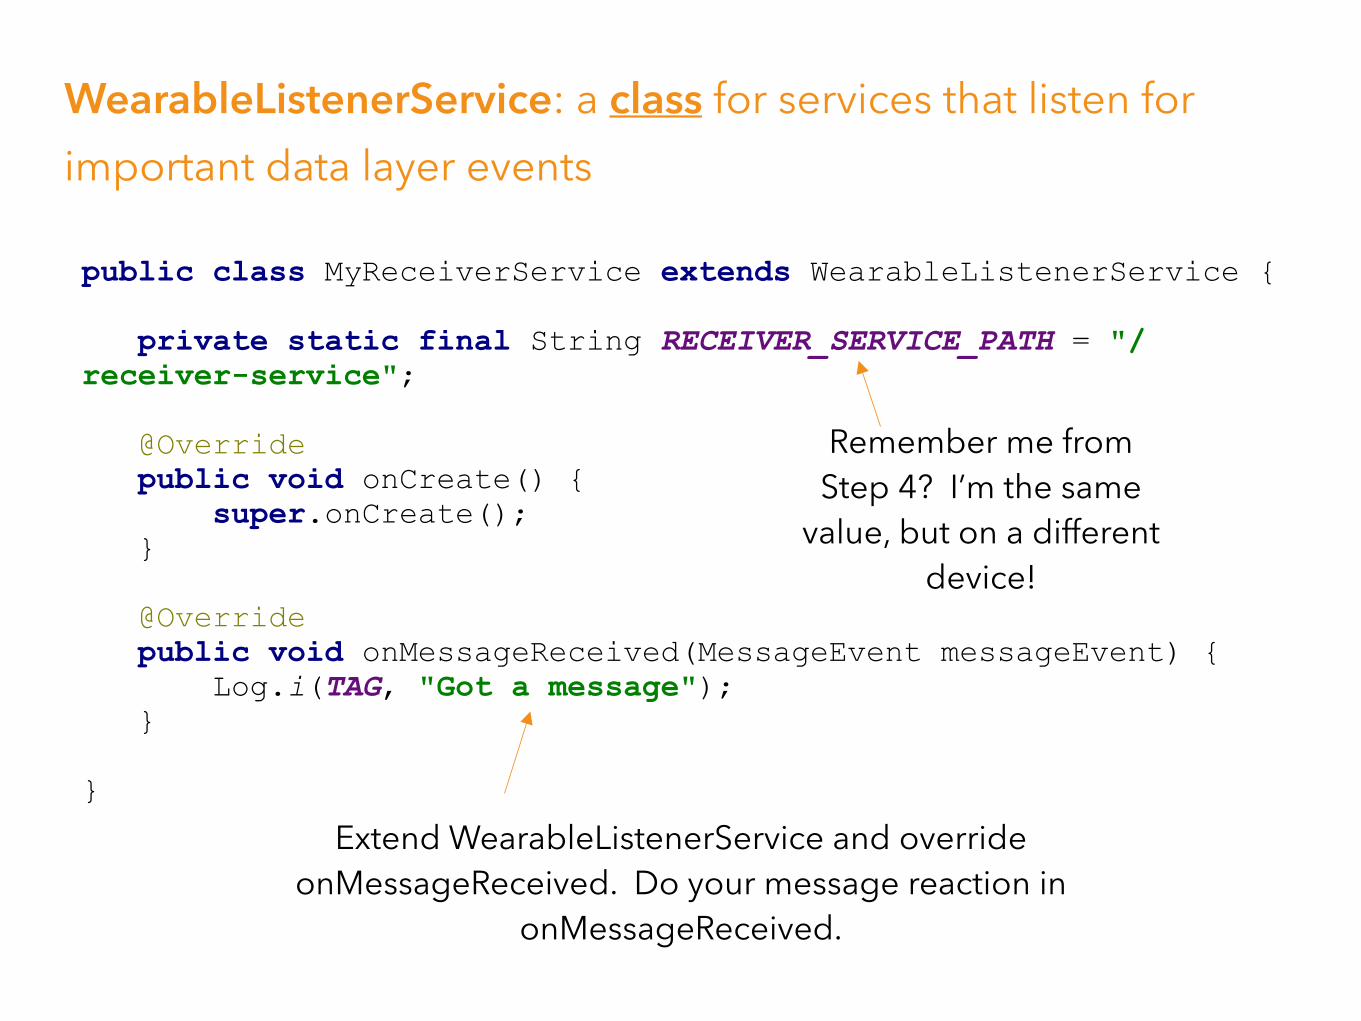
public class MyReceiverService extends WearableListenerService {
private static final String RECEIVER_SERVICE_PATH = "/receiver-service";
@Override public void onCreate() { super.onCreate(); }
@Override public void onMessageReceived(MessageEvent messageEvent) { Log.i(TAG, "Got a message"); }
}
WearableListenerService: a class for services that listen for important data layer events
Extend WearableListenerService and override onMessageReceived. Do your message reaction in
onMessageReceived.
Remember me from Step 4? I’m the same
value, but on a different device!
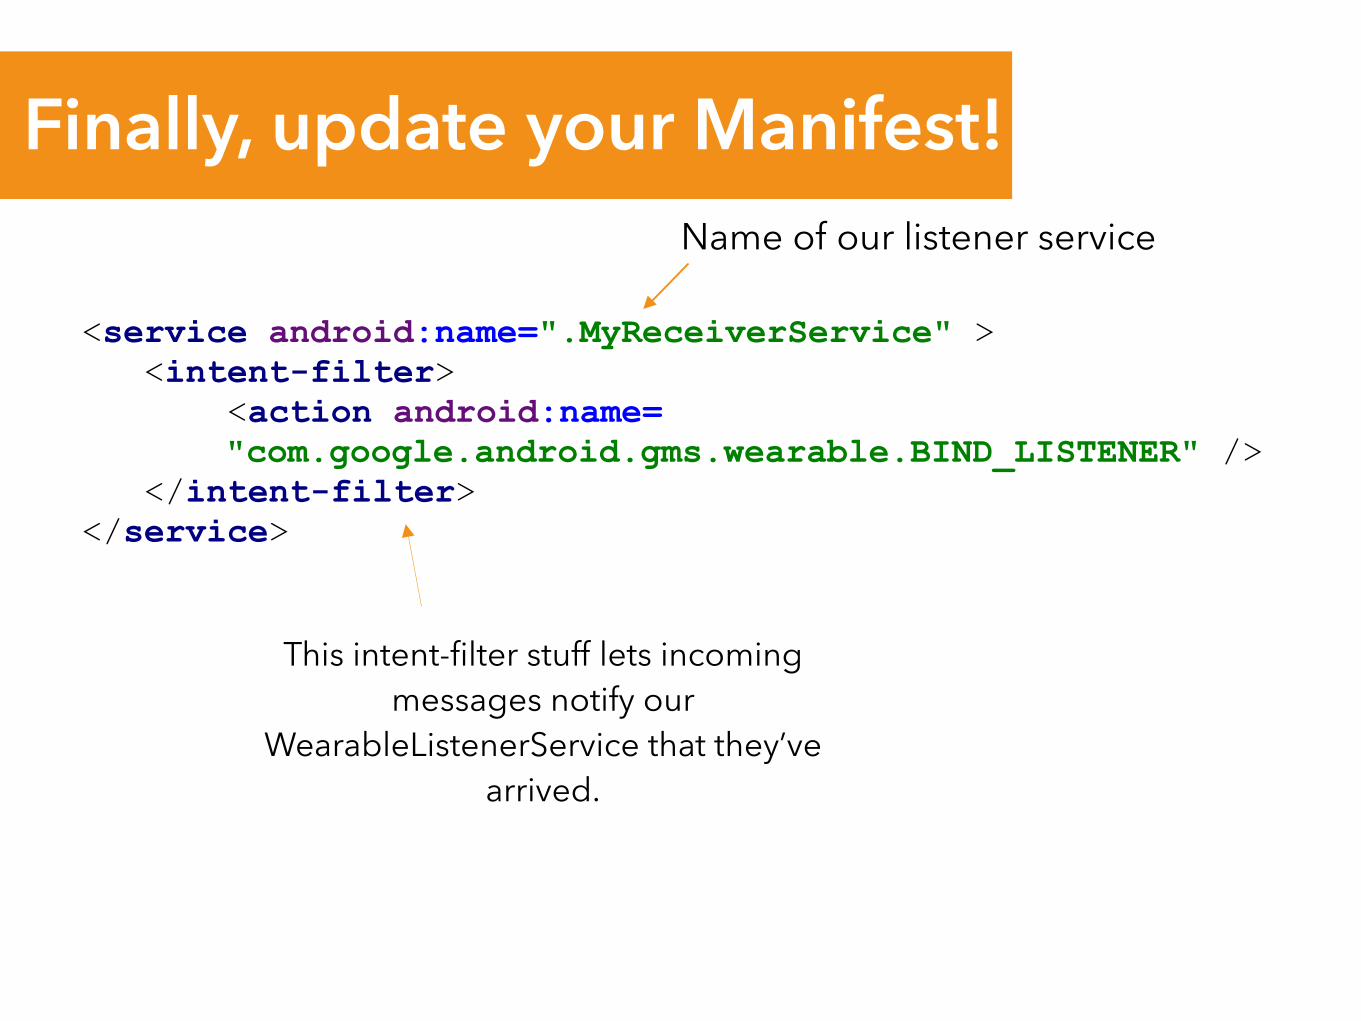
<service android:name=".MyReceiverService" > <intent-filter> <action android:name=
"com.google.android.gms.wearable.BIND_LISTENER" /> </intent-filter> </service>
Name of our listener service
This intent-filter stuff lets incoming messages notify our
WearableListenerService that they’ve arrived.
Finally, update your Manifest!
Fabric + Twitter API
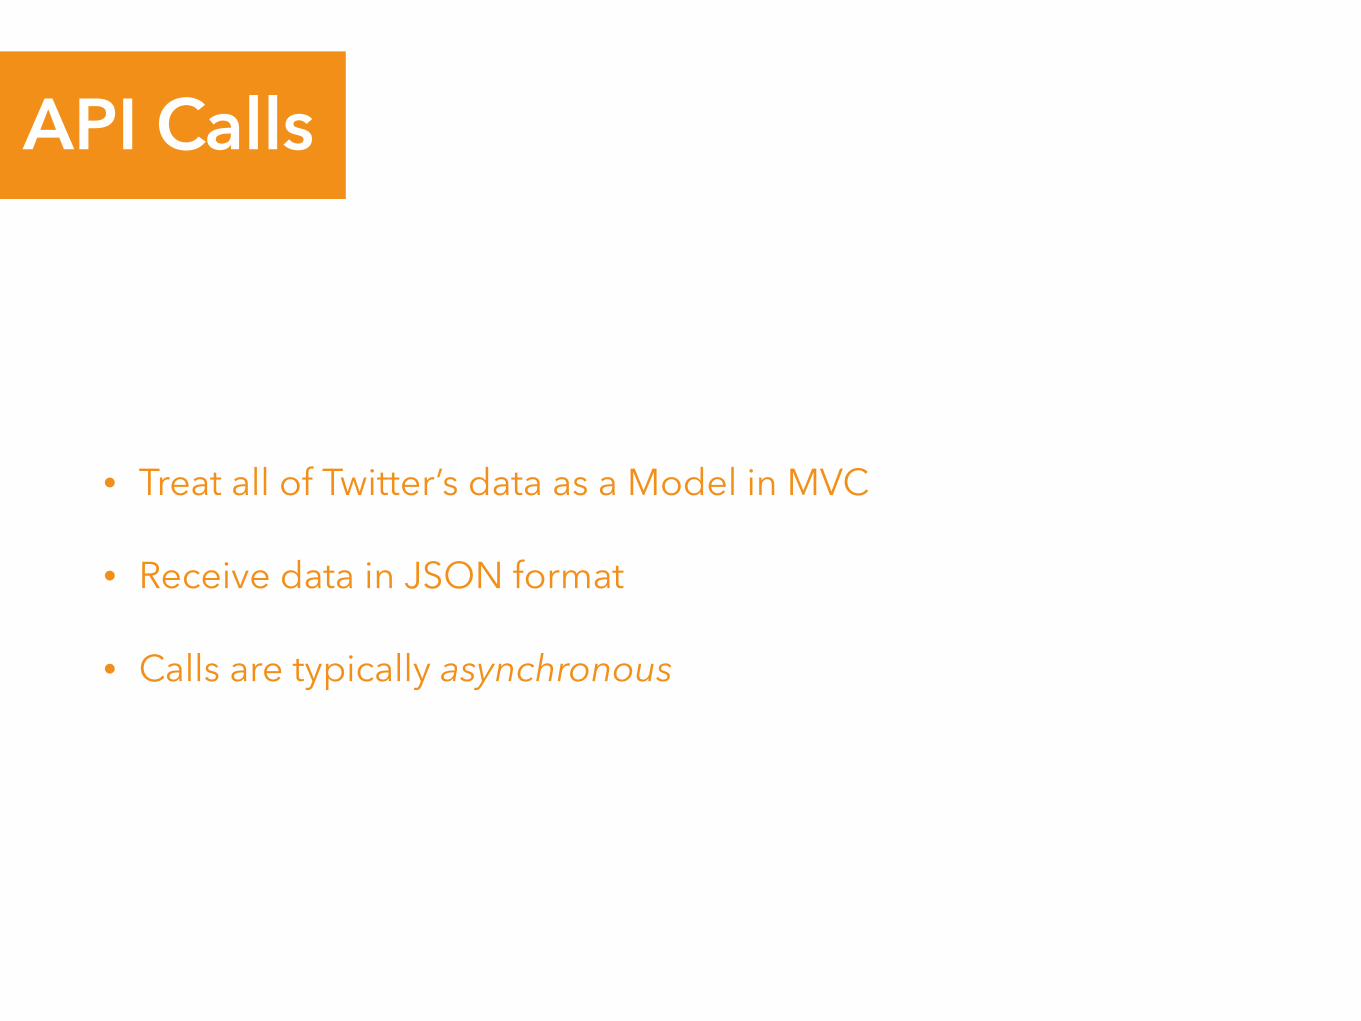
API Calls
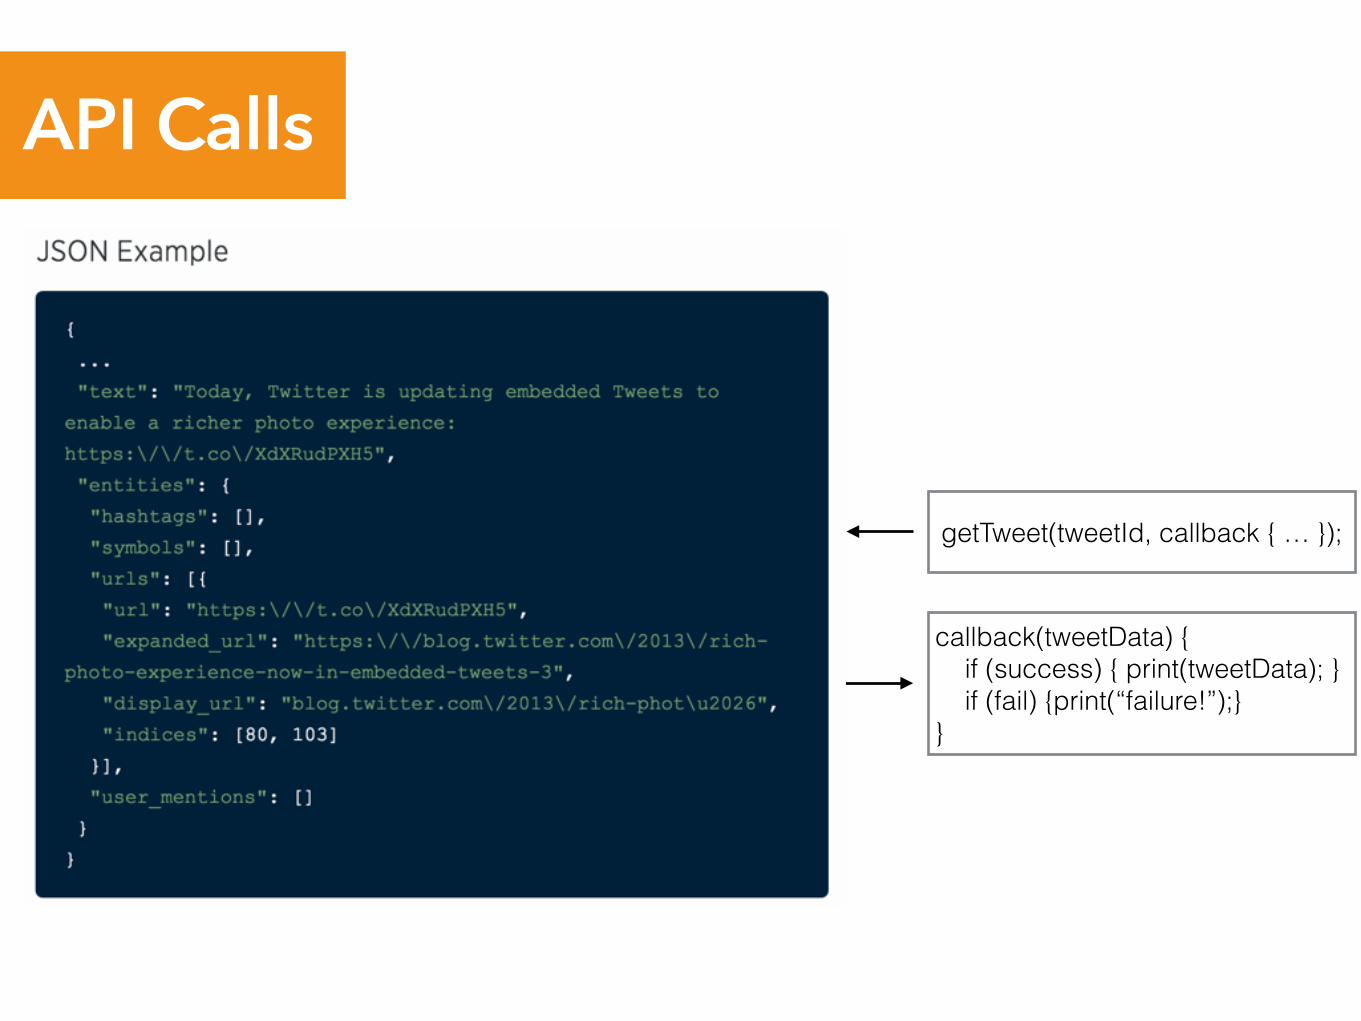
• Treat all of Twitter’s data as a Model in MVC
• Receive data in JSON format
• Calls are typically asynchronous

API Calls
API Calls
getTweet(tweetId, callback { … });
callback(tweetData) { if (success) { print(tweetData); } if (fail) {print(“failure!”);} }

StatusesService statusesService = twitterApiClient.getStatusesService();
statusesService.show(524971209851543553L, null, null, null, new Callback<Tweet>() { @Override public void success(Result<Tweet> result) { //Do something with result, which provides a Tweet in result.data }
public void failure(TwitterException exception) { //Do something on failure }});
Create a service from the TwitterCore module
Sends a request to Twitter for a tweet with a given ID
Code that runs once Android receives a response eventually
Example Call
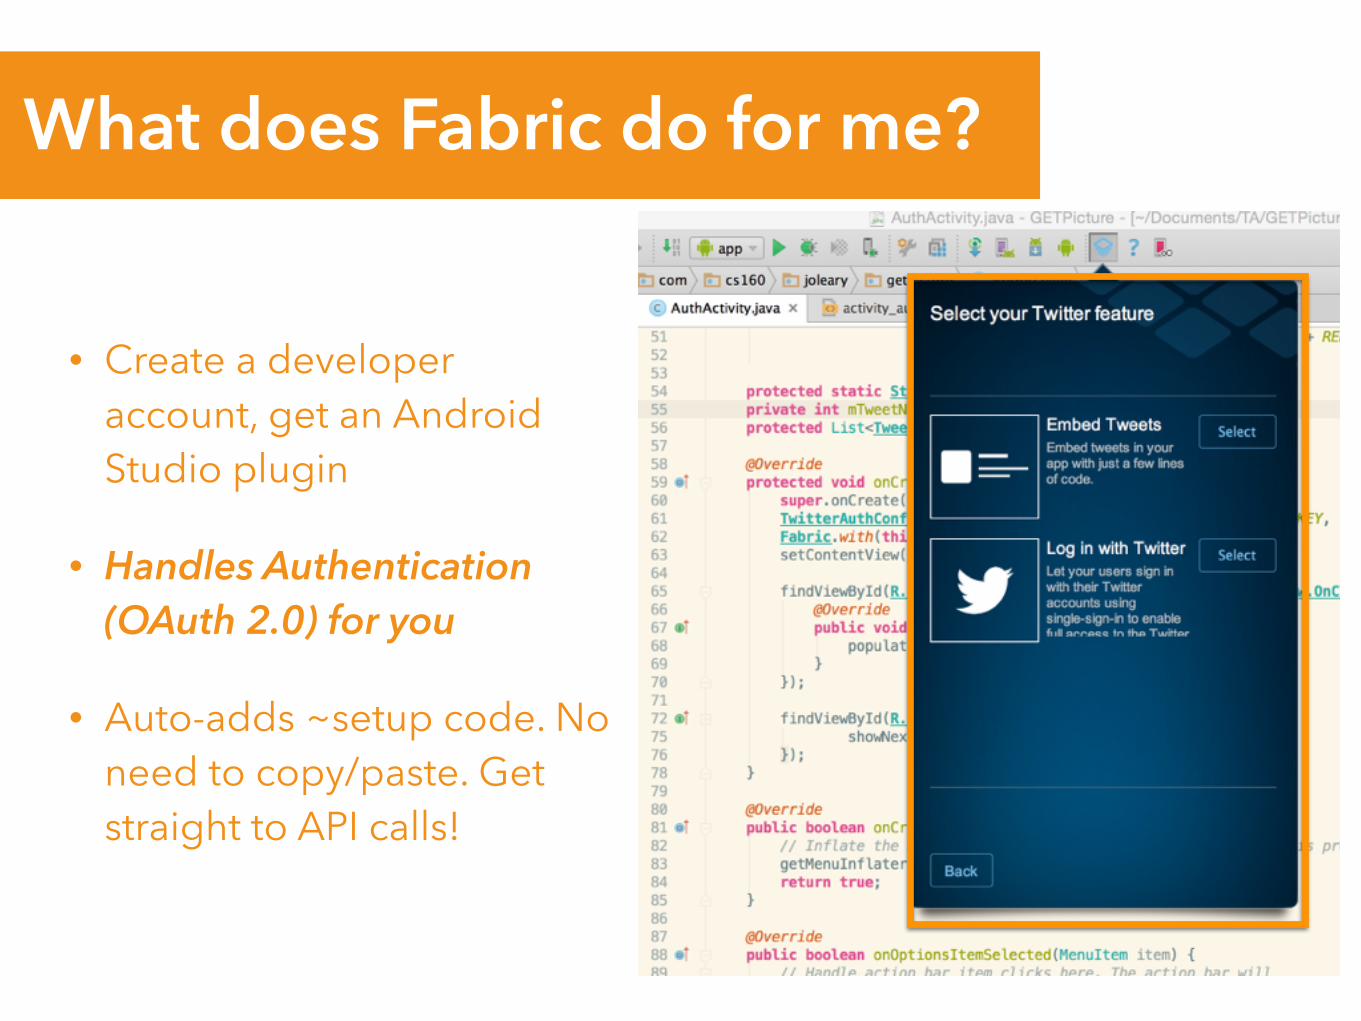
• Create a developer account, get an Android Studio plugin
• Handles Authentication (OAuth 2.0) for you
• Auto-adds ~setup code. No need to copy/paste. Get straight to API calls!
What does Fabric do for me?

Fabric Setup Video
This concludes all the Android topics you need to know!
See you next week!Questions?
Tricia Fu // OH Monday 9:30 - 10:30am // [email protected]
CS 160 User Interface Design
Recommended