Embed Size (px)
Citation preview

TOPAZ SIMPLIFY V4QUICK START GUIDE
Simplify 4
For more Simplify tutorials and resources please visit: http://www.topazlabs.com/tutorials/simplify
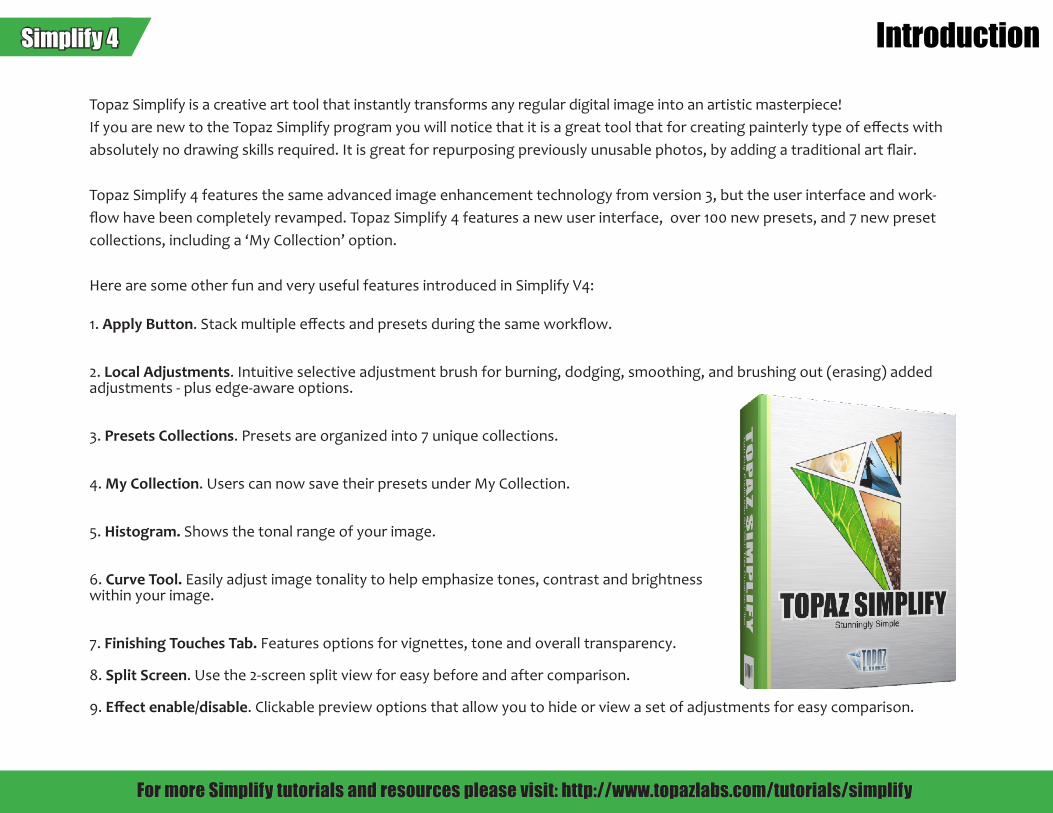
Introduction
Topaz Simplify is a creative art tool that instantly transforms any regular digital image into an artistic masterpiece!If you are new to the Topaz Simplify program you will notice that it is a great tool that for creating painterly type of effects with absolutely no drawing skills required. It is great for repurposing previously unusable photos, by adding a traditional art flair.
Topaz Simplify 4 features the same advanced image enhancement technology from version 3, but the user interface and work-flow have been completely revamped. Topaz Simplify 4 features a new user interface, over 100 new presets, and 7 new preset collections, including a ‘My Collection’ option.
Here are some other fun and very useful features introduced in Simplify V4:
1. Apply Button. Stack multiple effects and presets during the same workflow.
2. Local Adjustments. Intuitive selective adjustment brush for burning, dodging, smoothing, and brushing out (erasing) added adjustments - plus edge-aware options.
3. Presets Collections. Presets are organized into 7 unique collections.
4. My Collection. Users can now save their presets under My Collection.
5. Histogram. Shows the tonal range of your image.
6. Curve Tool. Easily adjust image tonality to help emphasize tones, contrast and brightness within your image.
7. Finishing Touches Tab. Features options for vignettes, tone and overall transparency.
8. Split Screen. Use the 2-screen split view for easy before and after comparison.
9. Effect enable/disable. Clickable preview options that allow you to hide or view a set of adjustments for easy comparison.
DeJPEG 4
For more Simplify tutorials and resources please visit: http://www.topazlabs.com/tutorials/simplify
Simplify 4 Introduction

Simplify 4
For more Simplify tutorials and resources please visit: http://www.topazlabs.com/tutorials/simplify
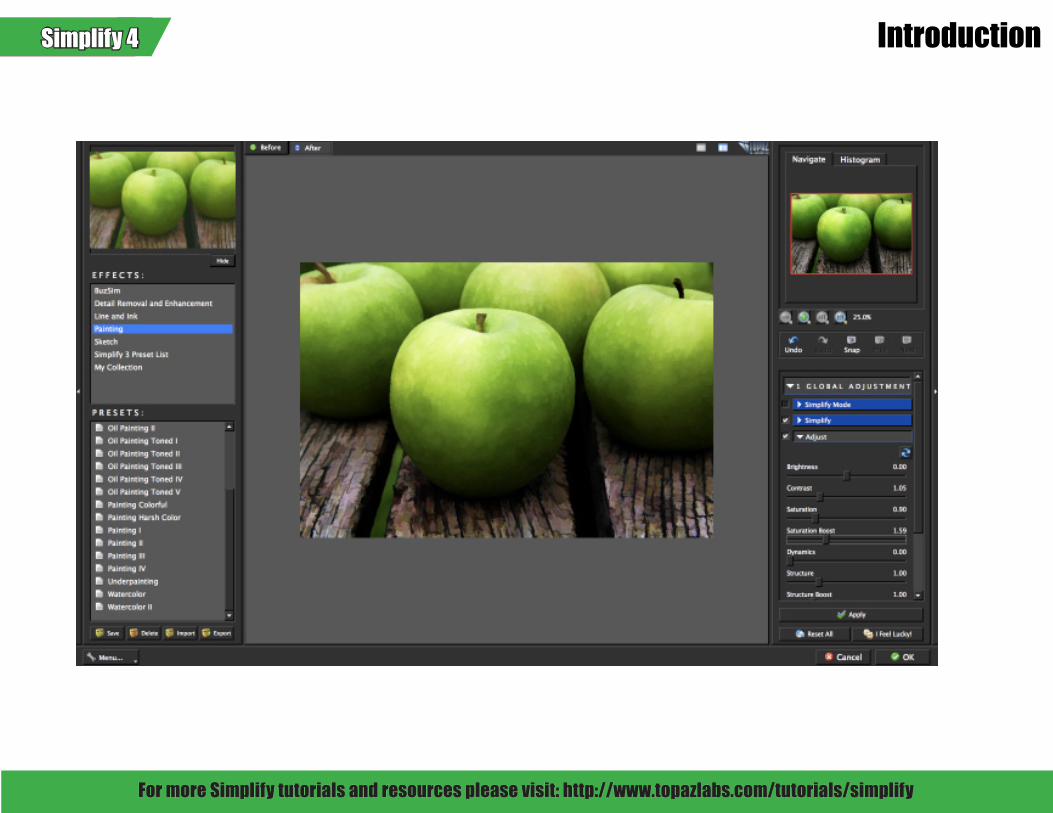
Tools
Topaz Simplify 4 features a great interface and easy to use tools.
1. Preview Navigator/ Histogram tabs. The Navigate tab displays the region of the preview image you are currently focused on. You can drag the preview navigator box around to pan your image. The Histogram tab displays the tonal range of your image.
2. Zoom Buttons. Use the zoom buttons to zoom in and out of your image. You can also set your image to fit the preview window or to view it at 100%.
3. Undo and Redo buttons. Move back and forward through previous adjustments.
4. Snap and Recall buttons. Save up to 99 snapshot settings for easy com-parison.
5. Sliders and Parameters. Controls the editing process using sliders to ad-just the various effects.
6. Local Reset. Resets all of the slider values in this sub-category back to the default value.
7. Apply. Allows you to stack multiple effects and presets during the same workflow.
8. Reset All. Resets all of the slider values back to the default value.
9. I Feel Lucky! Applies a set of randomized parameters.
3
8
2
7
6
4
9
5
1

DeJPEG 4
For more Simplify tutorials and resources please visit: http://www.topazlabs.com/tutorials/simplify
Simplify 4 Presets
1. Presets Preview
The removable preview window displayspreset previews. Click Hide / Show to expand or col-lapse the preset preview window at anytime during your workflow.
2. Effects List
Lists all of the effect collections which contain your presets.
3. Preset List
Lists all of the saved presets available for use.
Presets are a great way to speed up and simplify the whole process of using Topaz Simplify. Presets are set previews with previously defined set-tings that you can recall and reapply at any time.
We’ve included some default presets for you and, although they won’t work for every single photograph, they serve as excellent starting points for customized tweaking.
2
3
4
1
4. Presets Options
The preset options allow you to save your presets, delete presets (default presents cannot be deleted), import new presets and export your saved presets to share with your friends.

Simplify 4
For more Simplify tutorials and resources please visit: http://www.topazlabs.com/tutorials/simplify
Open an image in Photoshop. Duplicate your background layer. Right-click on your image layer in your layers and select “Dupli-cate Layer”. You can also achieve this by selecting your image layer and dragging it down to the new layer icon. Then go to Filter -> Topaz Labs and select Simplify 4.
Workflow

DeJPEG 4
For more Simplify tutorials and resources please visit: http://www.topazlabs.com/tutorials/simplify
Simplify 4 Workflow
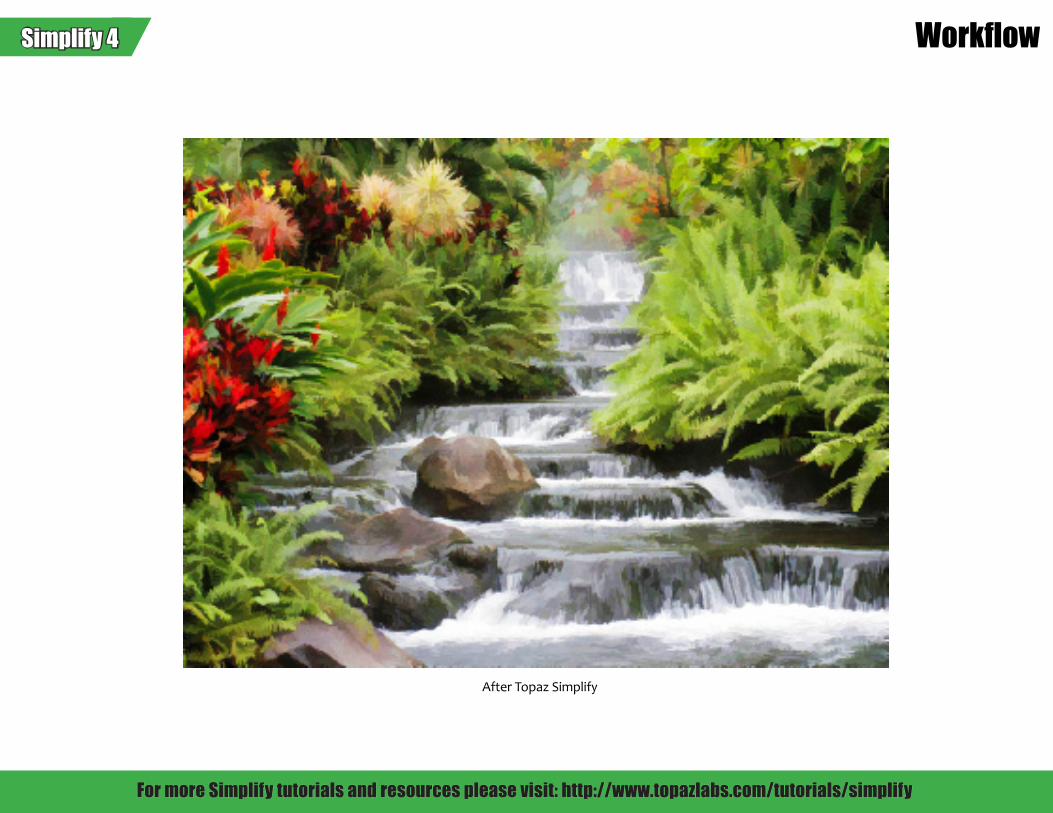
Once your Simplify interface opens you can start making your adjustments. If desired, you can select one of the default presets to use as a starting point and then make additional manual adjustments from there to perfect your image look.
For this example we wanted to take out certain amounts of detail for a flat, smooth, artistic effect using the BuzSim preset.

Simplify 4
For more Simplify tutorials and resources please visit: http://www.topazlabs.com/tutorials/simplify
Workflow
If you are satisfied with the preset adjustments then you can click “OK” to process your image and save it back to Photoshop.
If you would like to make some additional adjustments to your Simplify settings then you can do so by adjusting any of the slid-ers in the four tabs manually until you achieve your preferred image results.
Start in the Simplify tab. It is a good idea to begin here, and then progress to the Adjust and Edges tabs in order to see the ef-fects of your adjustments easily. When you are happy with the Simplify settings, move to the Adjust tab. The Adjust tab gives you control over the color, contrast and brightness of your image. Then move to the Edges tab. The Edges tab is where you can really make the objects in your image pop by enhancing or minimizing the edge detail.
And that’s it! You can now select OK to process your image and watch it transform.

DeJPEG 4
For more Simplify tutorials and resources please visit: http://www.topazlabs.com/tutorials/simplify
Simplify 4 Workflow
Before Topaz Simplify
Simplify 4
For more Simplify tutorials and resources please visit: http://www.topazlabs.com/tutorials/simplify
Workflow
After Topaz Simplify

DeJPEG 4
For more Simplify tutorials and resources please visit: http://www.topazlabs.com/tutorials/simplify
Simplify 4 Quick Start Use
This Topaz Simplify 4 Quick Start Guide is for users who are familiar with the image enhancement process and who
want to jump straight into using Topaz Simplify.
For a more in-depth and comprehensive break down of using Topaz Simplify 4 please view the Topaz Simplify User
Guide.
The Simplify 4 User Guide can be found here:
http://downloads.topazlabs.com/docs/simplify/usersguide.pdf
You can also watch video tutorials online at: http://www.topazlabs.com/tutorials/simplify.html

Simplify 4
For more Simplify tutorials and resources please visit: http://www.topazlabs.com/tutorials/simplify
Shortcut Keys
Topaz Simplify uses some shortcut keys to speed up your workflow. Many of these keys are similar to those in Photoshop. The following keys work at all times.
S Expands / Collapses Simplify TabA Expands / Collapses Adjust TabE Expands / Collapses Edges TabS Takes a SnapshotCMD-Shift-P CTRL-Shift-P Recalls previous SnapshotCMD-Shift-N CTRL-Shift-N Recalls next SnapshotCMD-1 CTRL-1 View Original ImageCMD-2 CTRL-2 View Adjusted ImageLeft or Right Arrow Key Scrolls through presetsReturn (enter) key Applies selected preset[ key Reduces selected slider value by 0.1] key Increases selected slider value by 0.1Home Key Set the slider value to minimumEnd Key Set the slider value to maximumDouble-click slider name Resets the slider to it’s default value
Spacebar Spacebar View Original Image CMD-ALT-R CTRL-ALT-R Reset All Zoom to Fit CMD-0 CTRL-0Zoom to 100% CMD-ALT-0 CTRL-ALT-0+ or CMD - + + or CTRL - + Zoom In - or CMD - - - or CTRL - - Zoom Out CMD -Z Ctrl - Z Undo CMD - Shift - Z Ctrl - Shift - Z Redo
MAC Shortcut PC Shortcut Action
DeJPEG 4
For more Simplify tutorials and resources please visit: http://www.topazlabs.com/tutorials/simplify
Simplify 4 Connect with Topaz
Follow us on Twitter for notifications of recent news and easily get in touch with us
whenever you feel like it!
Find us on our Facebook page and network with other Topaz users!
Participate in the entirely user-led Topaz Flickr group for a helpful and highly active community for Topaz Photoshop plug-ins!
Subscribe to our YouTube channel to keep up with any newly released product video
tutorials!
Check out our new Forum and our blog for tutorials, tips and updates from Topaz Labs!