Embed Size (px)
Citation preview
shox – sn
• shun, on page 3• shutdown (ca-server), on page 5• shutdown (interface), on page 7• sip address, on page 9• sip domain-name, on page 12• site-id, on page 15• site-periodic-garp interval, on page 17• site-redundancy, on page 19• sla monitor, on page 20• sla monitor schedule, on page 22• smart-tunnel auto-signon enable(Deprecated), on page 25• smart-tunnel auto-signon list(Deprecated), on page 27• smart-tunnel auto-start(Deprecated), on page 30• smart-tunnel disable(Deprecated), on page 32• smart-tunnel enable(Deprecated), on page 34• smart-tunnel list(Deprecated), on page 36• smart-tunnel network(Deprecated), on page 40• smart-tunnel tunnel-policy(Deprecated), on page 42• smtp from-address, on page 44• smtp subject, on page 46• smtps (Deprecated), on page 48• smtp-server, on page 49• snmp cpu threshold rising, on page 51• snmp link threshold, on page 53• snmp-map, on page 55• snmp-server community, on page 57• snmp-server contact, on page 59• snmp-server enable, on page 60• snmp-server enable oid, on page 62• snmp-server enable traps, on page 64• snmp-server group, on page 68• snmp-server host, on page 70• snmp-server host-group, on page 73
shox – sn1

• snmp-server listen-port, on page 76• snmp-server location, on page 78• snmp-server user, on page 79• snmp-server user-list, on page 82• sntp address, on page 84
shox – sn2
shox – sn
shunTo block connections from an attacking host, use the shun command in privileged EXEC mode. To disablea shun, use the no form of this command.
shun source_ip [ dest_ip source_port dest_port [ protocol ]] [ vlan vlan_id ]no shun source_ip [ vlan vlan_id ]
Syntax Description (Optional) Specifies the destination port of a current connection that you want to drop whenyou place the shun on the source IP address.
dest_port
(Optional) Specifies the destination address of a current connection that you want to drop whenyou place the shun on the source IP address.
dest_ip
(Optional) Specifies the IP protocol of a current connection that you want to drop when youplace the shun on the source IP address, such as UDP or TCP. By default, the protocol is 0(any protocol).
protocol
Specifies the address of the attacking host. If you only specify the source IP address, all futureconnections from this address are dropped; current connections remain in place. To drop acurrent connection and also place the shun, specify the additional parameters of the connection.Note that the shun remains in place for all future connections from the source IP address,regardless of destination parameters.
source_ip
(Optional) Specifies the source port of a current connection that you want to drop when youplace the shun on the source IP address.
source_port
(Optional) Specifies the VLAN ID where the source host resides.vlan_id
Command Default The default protocol is 0 (any protocol).
Command ModesThe following table shows the modes in which you can enter the command:
Security ContextFirewall ModeCommand Mode
MultipleSingleTransparentRouted
SystemContext
—• Yes• Yes• Yes• YesPrivilegedEXEC
Command History ModificationRelease
This commandwas added.7.0(1)
Usage Guidelines The shun command lets you block connections from an attacking host. All future connections from the sourceIP address are dropped and logged until the blocking function is removedmanually or by the Cisco IPS sensor.
shox – sn3
shox – snshun

The blocking function of the shun command is applied whether or not a connection with the specified hostaddress is currently active.
If you specify the destination address, source and destination ports, and the protocol, then you drop thematching connection as well as placing a shun on all future connections from the source IP address; all futureconnections are shunned, not just those that match these specific connection parameters.
You can only have one shun command per source IP address.
Because the shun command is used to block attacks dynamically, it is not displayed in the ASA configuration.
Whenever an interface configuration is removed, all shuns that are attached to that interface are also removed.If you add a new interface or replace the same interface (using the same name), then youmust add that interfaceto the IPS sensor if you want the IPS sensor to monitor that interface.
Examples The following example shows that the offending host (10.1.1.27) makes a connection with the victim(10.2.2.89) with TCP. The connection in the ASA connection table reads as follows:
10.1.1.27, 555-> 10.2.2.89, 666 PROT TCP
Apply the shun command using the following options:
ciscoasa# shun 10.1.1.27 10.2.2.89 555 666 tcp
The command deletes the specific current connection from the ASA connection table and also preventsall future packets from 10.1.1.27 from going through the ASA.
Related Commands DescriptionCommand
Disables all the shuns that are currently enabled and clears the shun statistics.clear shun
Shows all active connections.show conn
Displays the shun information.show shun
shox – sn4
shox – snshun
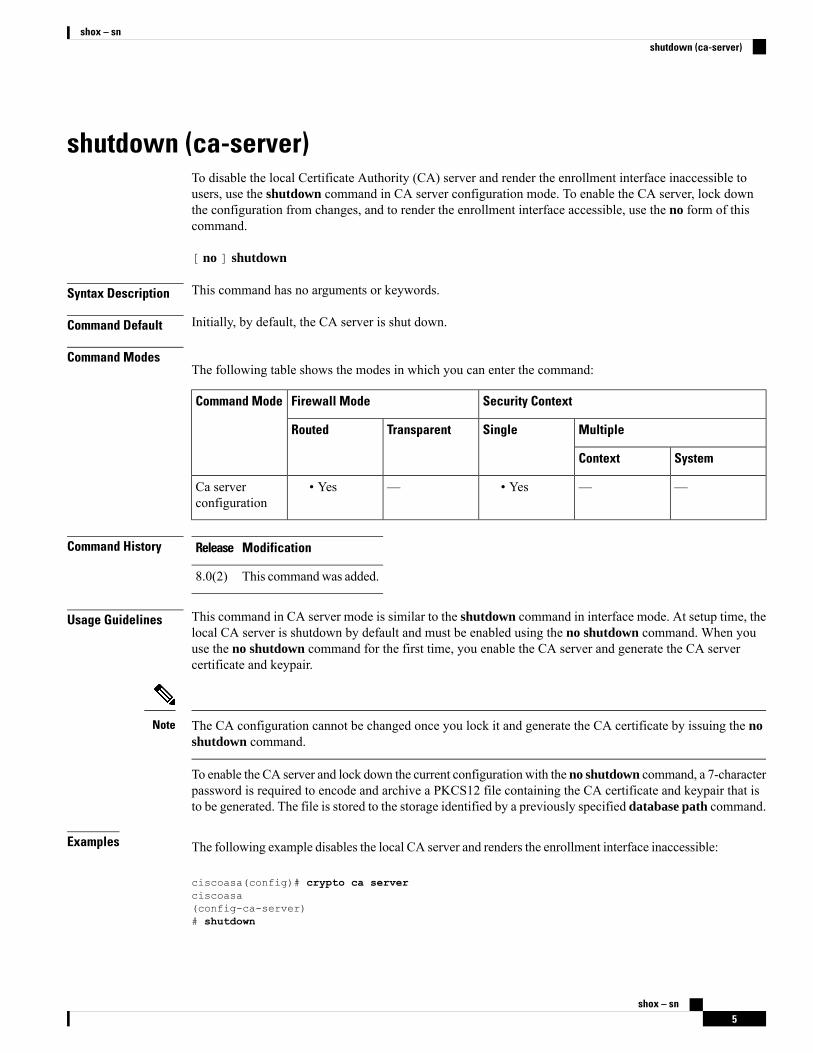
shutdown (ca-server)To disable the local Certificate Authority (CA) server and render the enrollment interface inaccessible tousers, use the shutdown command in CA server configuration mode. To enable the CA server, lock downthe configuration from changes, and to render the enrollment interface accessible, use the no form of thiscommand.
[ no ] shutdown
Syntax Description This command has no arguments or keywords.
Command Default Initially, by default, the CA server is shut down.
Command ModesThe following table shows the modes in which you can enter the command:
Security ContextFirewall ModeCommand Mode
MultipleSingleTransparentRouted
SystemContext
——• Yes—• YesCa serverconfiguration
Command History ModificationRelease
This commandwas added.8.0(2)
Usage Guidelines This command in CA server mode is similar to the shutdown command in interface mode. At setup time, thelocal CA server is shutdown by default and must be enabled using the no shutdown command. When youuse the no shutdown command for the first time, you enable the CA server and generate the CA servercertificate and keypair.
The CA configuration cannot be changed once you lock it and generate the CA certificate by issuing the noshutdown command.
Note
To enable the CA server and lock down the current configurationwith the no shutdown command, a 7-characterpassword is required to encode and archive a PKCS12 file containing the CA certificate and keypair that isto be generated. The file is stored to the storage identified by a previously specified database path command.
Examples The following example disables the local CA server and renders the enrollment interface inaccessible:
ciscoasa(config)# crypto ca serverciscoasa(config-ca-server)# shutdown
shox – sn5
shox – snshutdown (ca-server)
ciscoasa(config-ca-server)#
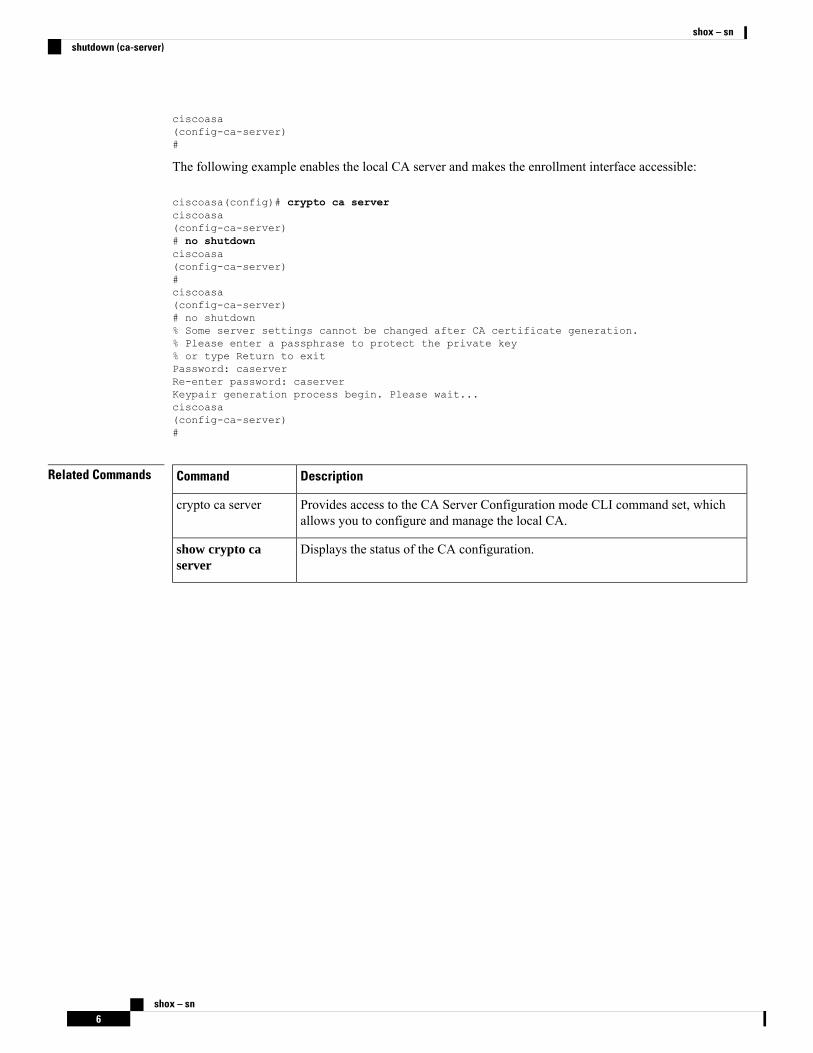
The following example enables the local CA server and makes the enrollment interface accessible:
ciscoasa(config)# crypto ca serverciscoasa(config-ca-server)# no shutdownciscoasa(config-ca-server)#ciscoasa(config-ca-server)# no shutdown% Some server settings cannot be changed after CA certificate generation.% Please enter a passphrase to protect the private key% or type Return to exitPassword: caserverRe-enter password: caserverKeypair generation process begin. Please wait...ciscoasa(config-ca-server)#
Related Commands DescriptionCommand
Provides access to the CA Server Configuration mode CLI command set, whichallows you to configure and manage the local CA.
crypto ca server
Displays the status of the CA configuration.show crypto caserver
shox – sn6
shox – snshutdown (ca-server)
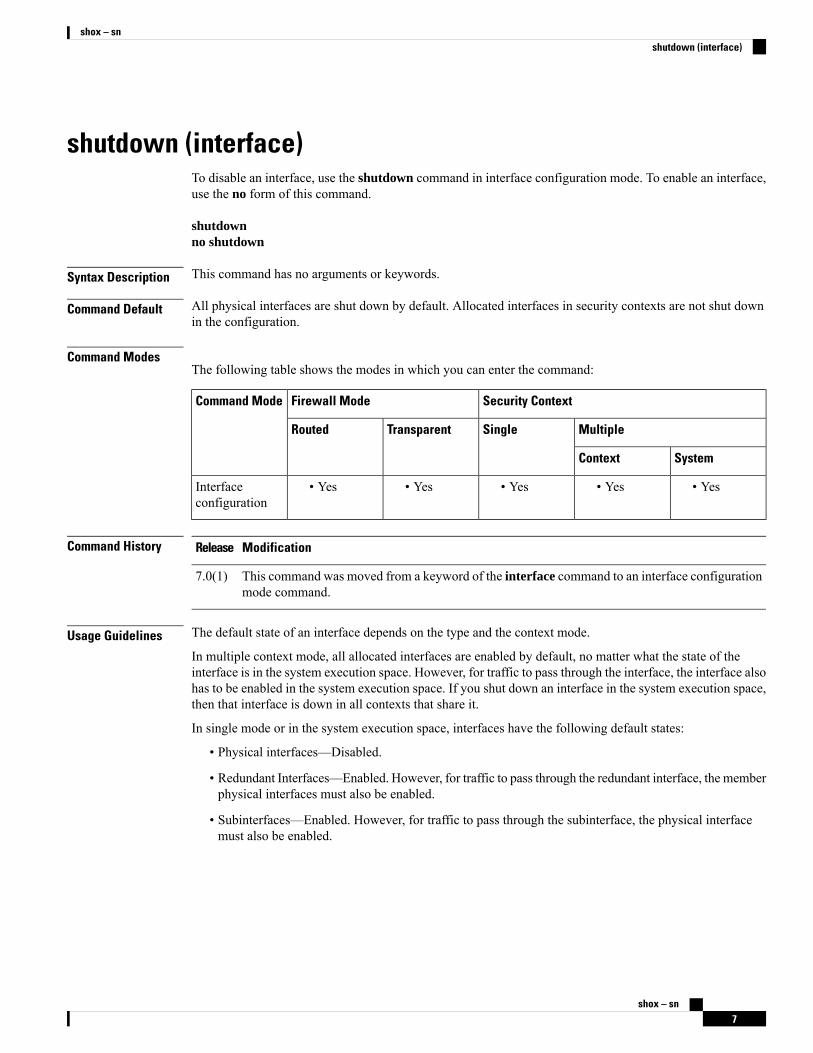
shutdown (interface)To disable an interface, use the shutdown command in interface configuration mode. To enable an interface,use the no form of this command.
shutdownno shutdown
Syntax Description This command has no arguments or keywords.
Command Default All physical interfaces are shut down by default. Allocated interfaces in security contexts are not shut downin the configuration.
Command ModesThe following table shows the modes in which you can enter the command:
Security ContextFirewall ModeCommand Mode
MultipleSingleTransparentRouted
SystemContext
• Yes• Yes• Yes• Yes• YesInterfaceconfiguration
Command History ModificationRelease
This command was moved from a keyword of the interface command to an interface configurationmode command.
7.0(1)
Usage Guidelines The default state of an interface depends on the type and the context mode.
In multiple context mode, all allocated interfaces are enabled by default, no matter what the state of theinterface is in the system execution space. However, for traffic to pass through the interface, the interface alsohas to be enabled in the system execution space. If you shut down an interface in the system execution space,then that interface is down in all contexts that share it.
In single mode or in the system execution space, interfaces have the following default states:
• Physical interfaces—Disabled.
• Redundant Interfaces—Enabled. However, for traffic to pass through the redundant interface, the memberphysical interfaces must also be enabled.
• Subinterfaces—Enabled. However, for traffic to pass through the subinterface, the physical interfacemust also be enabled.
shox – sn7
shox – snshutdown (interface)

This command only disables the software interface. The physical link remains up, and the directly connecteddevice is still recognized as being up even when the corresponding interface is configured with the shutdowncommand.
Note
Examples The following example enables a main interface:
ciscoasa(config)# interface gigabitethernet0/2ciscoasa(config-if)# speed 1000ciscoasa(config-if)# duplex fullciscoasa(config-if)# nameif insideciscoasa(config-if)# security-level 100ciscoasa(config-if)# ip address 10.1.1.1 255.255.255.0ciscoasa(config-if)# no shutdown
The following example enables a subinterface:
ciscoasa(config)# interface gigabitethernet0/2.1ciscoasa(config-subif)# vlan 101ciscoasa(config-subif)# nameif dmz1ciscoasa(config-subif)# security-level 50ciscoasa(config-subif)# ip address 10.1.2.1 255.255.255.0ciscoasa(config-subif)# no shutdown
The following example shuts down the subinterface:
ciscoasa(config)# interface gigabitethernet0/2.1ciscoasa(config-subif)# vlan 101ciscoasa(config-subif)# nameif dmz1ciscoasa(config-subif)# security-level 50ciscoasa(config-subif)# ip address 10.1.2.1 255.255.255.0ciscoasa(config-subif)# shutdown
Related Commands DescriptionCommand
Resets all translations for existing connections, causing the connections to be reset.clearxlate
Configures an interface and enters interface configuration mode.interface
shox – sn8
shox – snshutdown (interface)
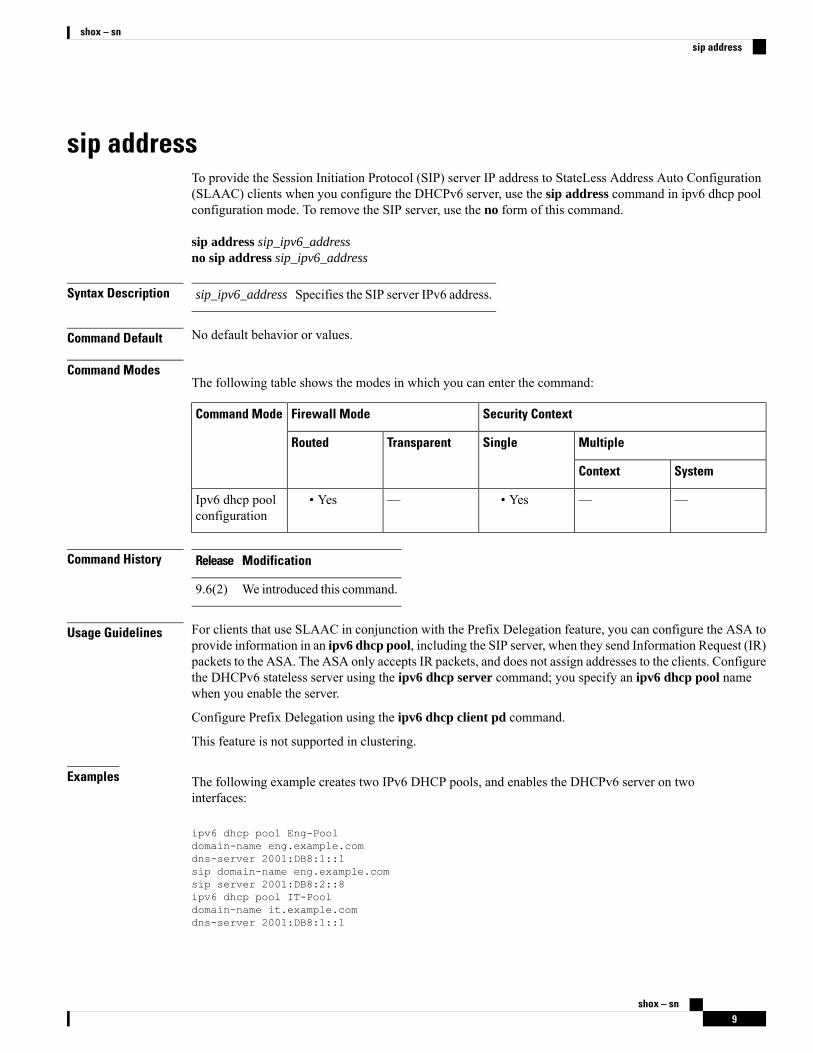
sip addressTo provide the Session Initiation Protocol (SIP) server IP address to StateLess Address Auto Configuration(SLAAC) clients when you configure the DHCPv6 server, use the sip address command in ipv6 dhcp poolconfiguration mode. To remove the SIP server, use the no form of this command.
sip address sip_ipv6_addressno sip address sip_ipv6_address
Syntax Description Specifies the SIP server IPv6 address.sip_ipv6_address
Command Default No default behavior or values.
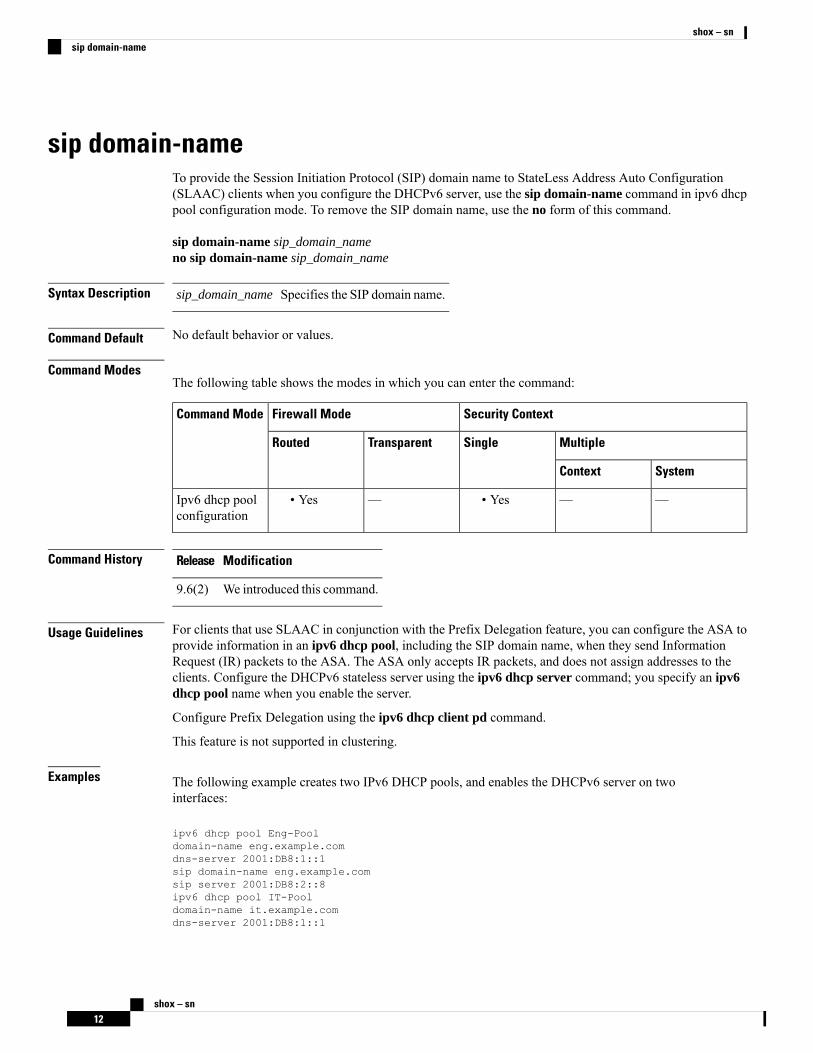
Command ModesThe following table shows the modes in which you can enter the command:
Security ContextFirewall ModeCommand Mode
MultipleSingleTransparentRouted
SystemContext
——• Yes—• YesIpv6 dhcp poolconfiguration
Command History ModificationRelease
We introduced this command.9.6(2)
Usage Guidelines For clients that use SLAAC in conjunction with the Prefix Delegation feature, you can configure the ASA toprovide information in an ipv6 dhcp pool, including the SIP server, when they send Information Request (IR)packets to the ASA. The ASA only accepts IR packets, and does not assign addresses to the clients. Configurethe DHCPv6 stateless server using the ipv6 dhcp server command; you specify an ipv6 dhcp pool namewhen you enable the server.
Configure Prefix Delegation using the ipv6 dhcp client pd command.
This feature is not supported in clustering.
Examples The following example creates two IPv6 DHCP pools, and enables the DHCPv6 server on twointerfaces:
ipv6 dhcp pool Eng-Pooldomain-name eng.example.comdns-server 2001:DB8:1::1sip domain-name eng.example.comsip server 2001:DB8:2::8ipv6 dhcp pool IT-Pooldomain-name it.example.comdns-server 2001:DB8:1::1
shox – sn9
shox – snsip address
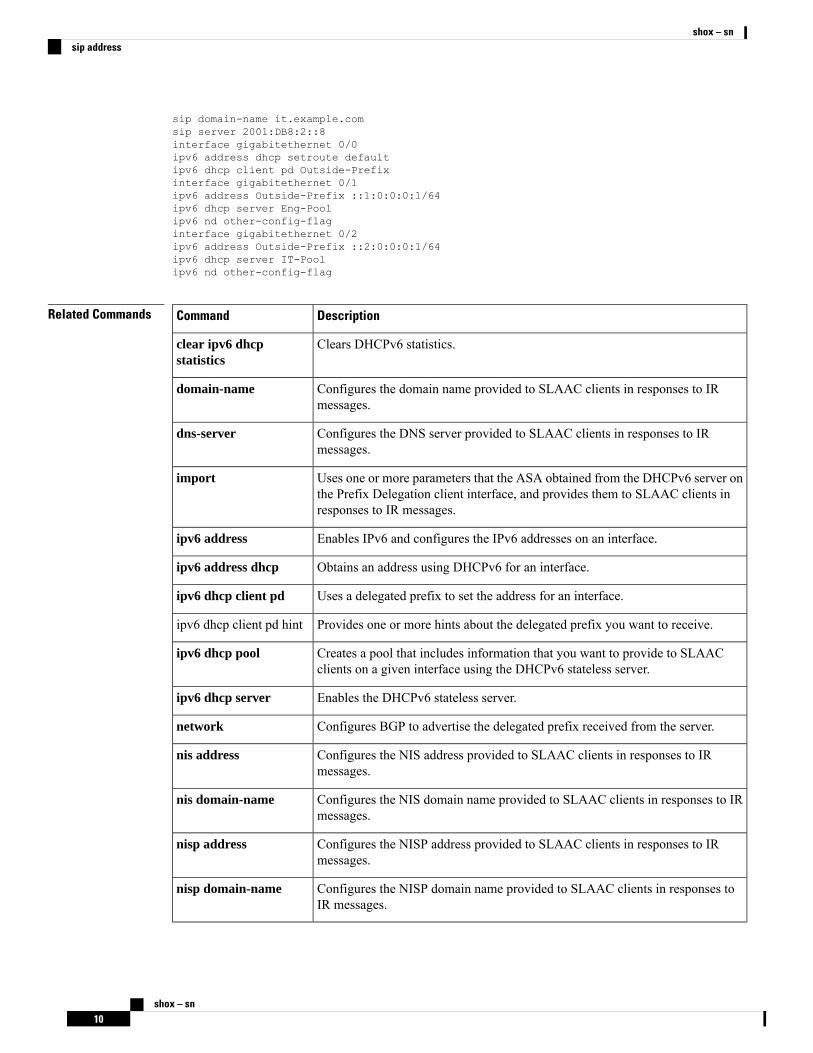
sip domain-name it.example.comsip server 2001:DB8:2::8interface gigabitethernet 0/0ipv6 address dhcp setroute defaultipv6 dhcp client pd Outside-Prefixinterface gigabitethernet 0/1ipv6 address Outside-Prefix ::1:0:0:0:1/64ipv6 dhcp server Eng-Poolipv6 nd other-config-flaginterface gigabitethernet 0/2ipv6 address Outside-Prefix ::2:0:0:0:1/64ipv6 dhcp server IT-Poolipv6 nd other-config-flag
Related Commands DescriptionCommand
Clears DHCPv6 statistics.clear ipv6 dhcpstatistics
Configures the domain name provided to SLAAC clients in responses to IRmessages.
domain-name
Configures the DNS server provided to SLAAC clients in responses to IRmessages.
dns-server
Uses one or more parameters that the ASA obtained from the DHCPv6 server onthe Prefix Delegation client interface, and provides them to SLAAC clients inresponses to IR messages.
import
Enables IPv6 and configures the IPv6 addresses on an interface.ipv6 address
Obtains an address using DHCPv6 for an interface.ipv6 address dhcp
Uses a delegated prefix to set the address for an interface.ipv6 dhcp client pd
Provides one or more hints about the delegated prefix you want to receive.ipv6 dhcp client pd hint
Creates a pool that includes information that you want to provide to SLAACclients on a given interface using the DHCPv6 stateless server.
ipv6 dhcp pool
Enables the DHCPv6 stateless server.ipv6 dhcp server
Configures BGP to advertise the delegated prefix received from the server.network
Configures the NIS address provided to SLAAC clients in responses to IRmessages.
nis address
Configures the NIS domain name provided to SLAAC clients in responses to IRmessages.
nis domain-name
Configures the NISP address provided to SLAAC clients in responses to IRmessages.
nisp address
Configures the NISP domain name provided to SLAAC clients in responses toIR messages.
nisp domain-name
shox – sn10
shox – snsip address
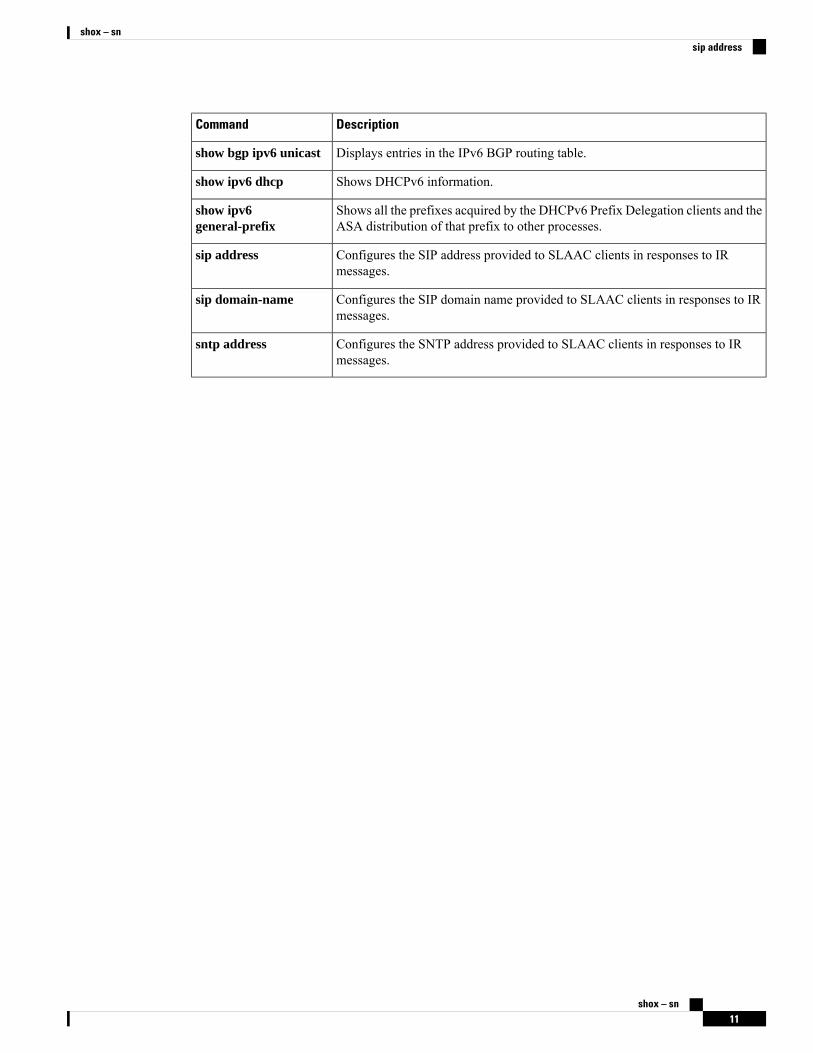
DescriptionCommand
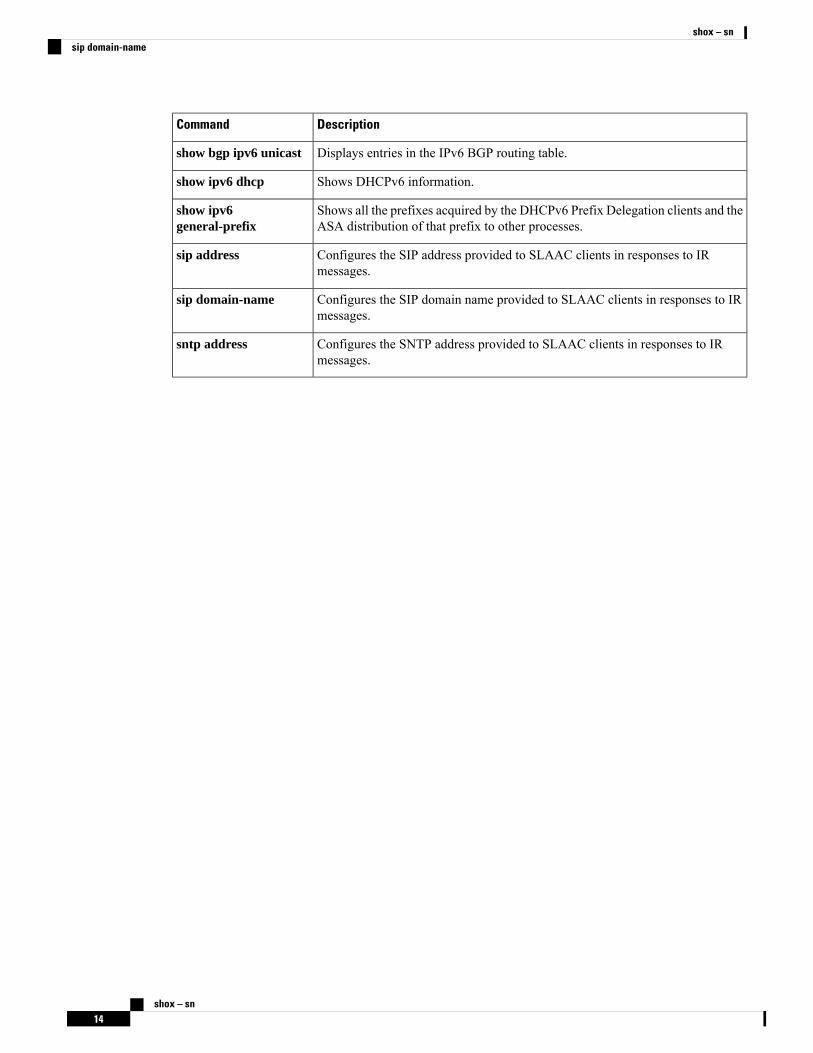
Displays entries in the IPv6 BGP routing table.show bgp ipv6 unicast
Shows DHCPv6 information.show ipv6 dhcp
Shows all the prefixes acquired by the DHCPv6 Prefix Delegation clients and theASA distribution of that prefix to other processes.
show ipv6general-prefix
Configures the SIP address provided to SLAAC clients in responses to IRmessages.
sip address
Configures the SIP domain name provided to SLAAC clients in responses to IRmessages.
sip domain-name
Configures the SNTP address provided to SLAAC clients in responses to IRmessages.
sntp address
shox – sn11
shox – snsip address
sip domain-nameTo provide the Session Initiation Protocol (SIP) domain name to StateLess Address Auto Configuration(SLAAC) clients when you configure the DHCPv6 server, use the sip domain-name command in ipv6 dhcppool configuration mode. To remove the SIP domain name, use the no form of this command.
sip domain-name sip_domain_nameno sip domain-name sip_domain_name
Syntax Description Specifies the SIP domain name.sip_domain_name
Command Default No default behavior or values.
Command ModesThe following table shows the modes in which you can enter the command:
Security ContextFirewall ModeCommand Mode
MultipleSingleTransparentRouted
SystemContext
——• Yes—• YesIpv6 dhcp poolconfiguration
Command History ModificationRelease
We introduced this command.9.6(2)
Usage Guidelines For clients that use SLAAC in conjunction with the Prefix Delegation feature, you can configure the ASA toprovide information in an ipv6 dhcp pool, including the SIP domain name, when they send InformationRequest (IR) packets to the ASA. The ASA only accepts IR packets, and does not assign addresses to theclients. Configure the DHCPv6 stateless server using the ipv6 dhcp server command; you specify an ipv6dhcp pool name when you enable the server.
Configure Prefix Delegation using the ipv6 dhcp client pd command.
This feature is not supported in clustering.
Examples The following example creates two IPv6 DHCP pools, and enables the DHCPv6 server on twointerfaces:
ipv6 dhcp pool Eng-Pooldomain-name eng.example.comdns-server 2001:DB8:1::1sip domain-name eng.example.comsip server 2001:DB8:2::8ipv6 dhcp pool IT-Pooldomain-name it.example.comdns-server 2001:DB8:1::1
shox – sn12
shox – snsip domain-name
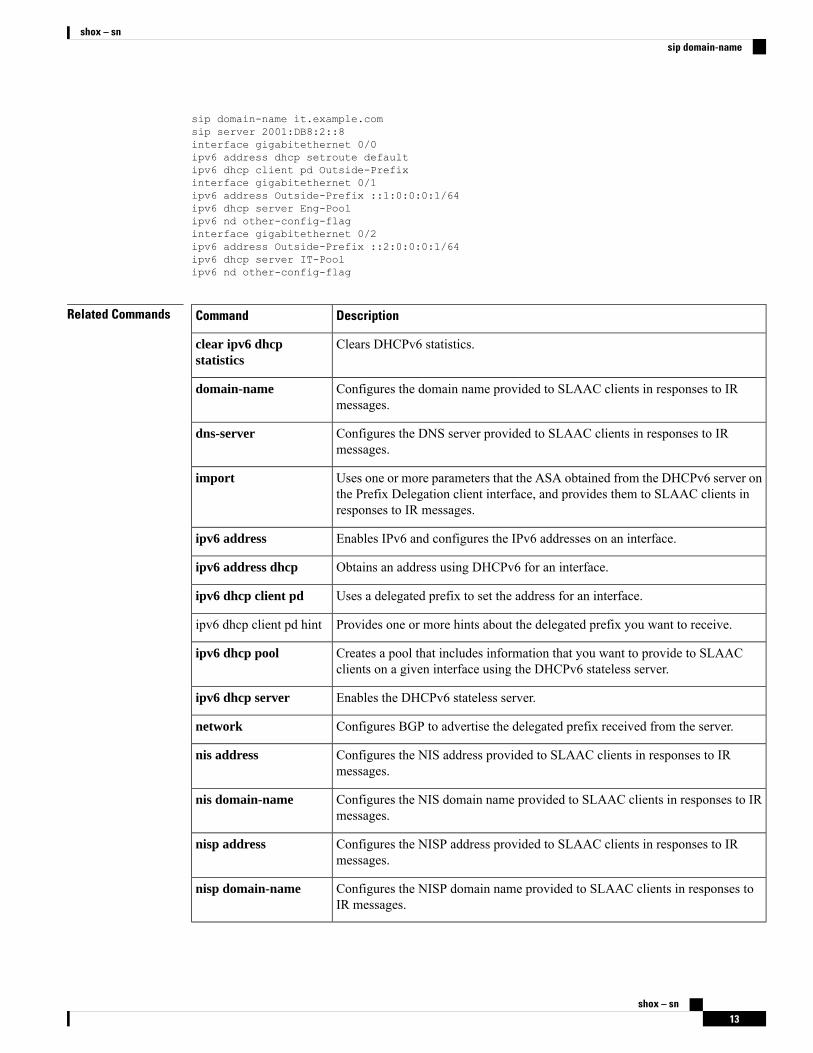
sip domain-name it.example.comsip server 2001:DB8:2::8interface gigabitethernet 0/0ipv6 address dhcp setroute defaultipv6 dhcp client pd Outside-Prefixinterface gigabitethernet 0/1ipv6 address Outside-Prefix ::1:0:0:0:1/64ipv6 dhcp server Eng-Poolipv6 nd other-config-flaginterface gigabitethernet 0/2ipv6 address Outside-Prefix ::2:0:0:0:1/64ipv6 dhcp server IT-Poolipv6 nd other-config-flag
Related Commands DescriptionCommand
Clears DHCPv6 statistics.clear ipv6 dhcpstatistics
Configures the domain name provided to SLAAC clients in responses to IRmessages.
domain-name
Configures the DNS server provided to SLAAC clients in responses to IRmessages.
dns-server
Uses one or more parameters that the ASA obtained from the DHCPv6 server onthe Prefix Delegation client interface, and provides them to SLAAC clients inresponses to IR messages.
import
Enables IPv6 and configures the IPv6 addresses on an interface.ipv6 address
Obtains an address using DHCPv6 for an interface.ipv6 address dhcp
Uses a delegated prefix to set the address for an interface.ipv6 dhcp client pd
Provides one or more hints about the delegated prefix you want to receive.ipv6 dhcp client pd hint
Creates a pool that includes information that you want to provide to SLAACclients on a given interface using the DHCPv6 stateless server.
ipv6 dhcp pool
Enables the DHCPv6 stateless server.ipv6 dhcp server
Configures BGP to advertise the delegated prefix received from the server.network
Configures the NIS address provided to SLAAC clients in responses to IRmessages.
nis address
Configures the NIS domain name provided to SLAAC clients in responses to IRmessages.
nis domain-name
Configures the NISP address provided to SLAAC clients in responses to IRmessages.
nisp address
Configures the NISP domain name provided to SLAAC clients in responses toIR messages.
nisp domain-name
shox – sn13
shox – snsip domain-name
DescriptionCommand
Displays entries in the IPv6 BGP routing table.show bgp ipv6 unicast
Shows DHCPv6 information.show ipv6 dhcp
Shows all the prefixes acquired by the DHCPv6 Prefix Delegation clients and theASA distribution of that prefix to other processes.
show ipv6general-prefix
Configures the SIP address provided to SLAAC clients in responses to IRmessages.
sip address
Configures the SIP domain name provided to SLAAC clients in responses to IRmessages.
sip domain-name
Configures the SNTP address provided to SLAAC clients in responses to IRmessages.
sntp address
shox – sn14
shox – snsip domain-name
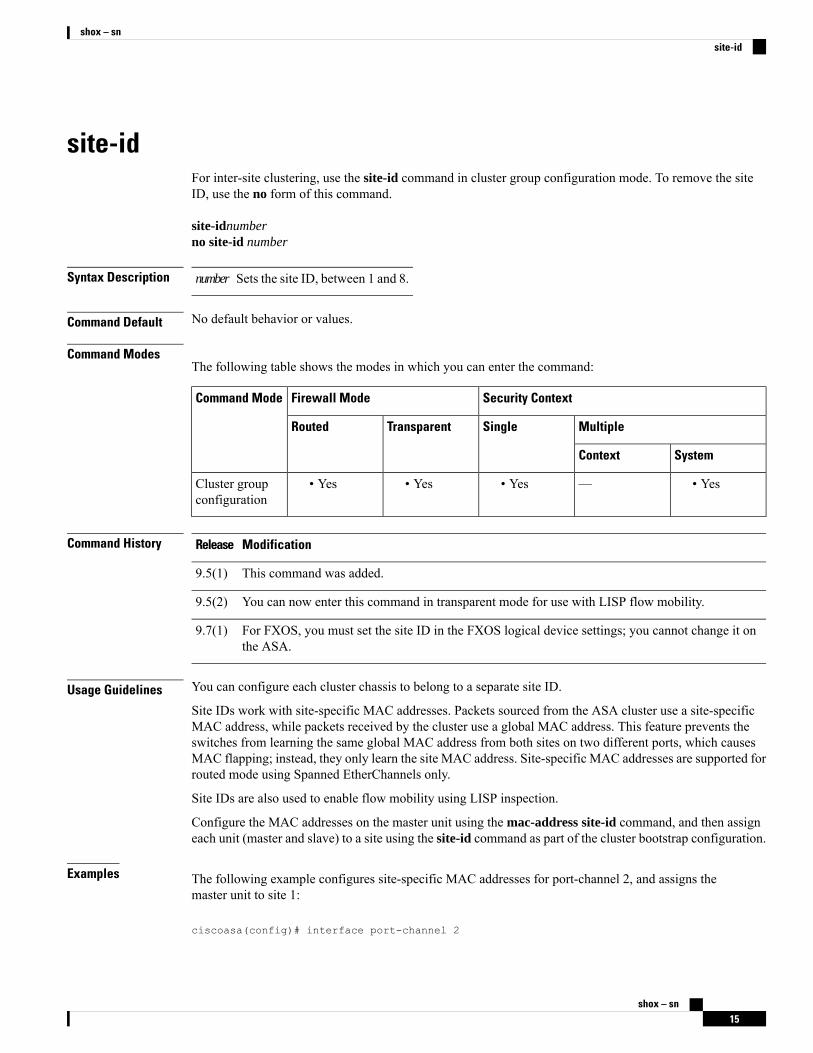
site-idFor inter-site clustering, use the site-id command in cluster group configuration mode. To remove the siteID, use the no form of this command.
site-idnumberno site-id number
Syntax Description Sets the site ID, between 1 and 8.number
Command Default No default behavior or values.
Command ModesThe following table shows the modes in which you can enter the command:
Security ContextFirewall ModeCommand Mode
MultipleSingleTransparentRouted
SystemContext
• Yes—• Yes• Yes• YesCluster groupconfiguration
Command History ModificationRelease
This command was added.9.5(1)
You can now enter this command in transparent mode for use with LISP flow mobility.9.5(2)
For FXOS, you must set the site ID in the FXOS logical device settings; you cannot change it onthe ASA.
9.7(1)
Usage Guidelines You can configure each cluster chassis to belong to a separate site ID.
Site IDs work with site-specific MAC addresses. Packets sourced from the ASA cluster use a site-specificMAC address, while packets received by the cluster use a global MAC address. This feature prevents theswitches from learning the same global MAC address from both sites on two different ports, which causesMAC flapping; instead, they only learn the site MAC address. Site-specific MAC addresses are supported forrouted mode using Spanned EtherChannels only.
Site IDs are also used to enable flow mobility using LISP inspection.
Configure the MAC addresses on the master unit using the mac-address site-id command, and then assigneach unit (master and slave) to a site using the site-id command as part of the cluster bootstrap configuration.
Examples The following example configures site-specific MAC addresses for port-channel 2, and assigns themaster unit to site 1:
ciscoasa(config)# interface port-channel 2
shox – sn15
shox – snsite-id
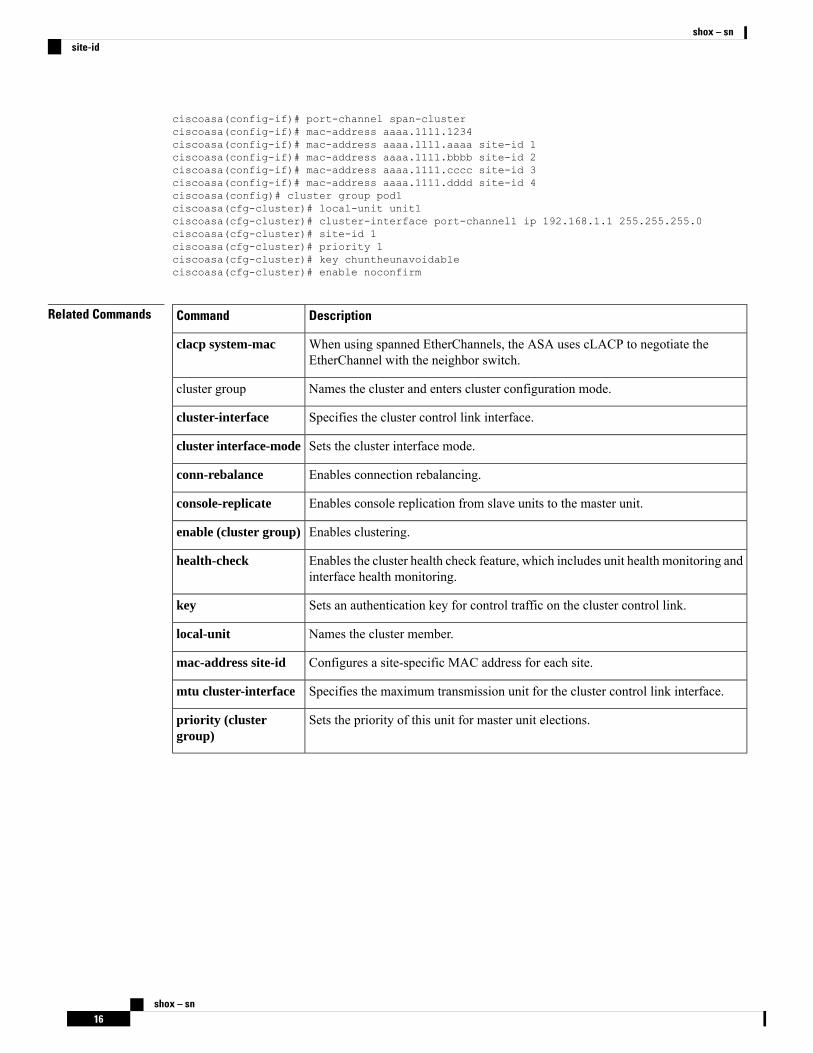
ciscoasa(config-if)# port-channel span-clusterciscoasa(config-if)# mac-address aaaa.1111.1234ciscoasa(config-if)# mac-address aaaa.1111.aaaa site-id 1ciscoasa(config-if)# mac-address aaaa.1111.bbbb site-id 2ciscoasa(config-if)# mac-address aaaa.1111.cccc site-id 3ciscoasa(config-if)# mac-address aaaa.1111.dddd site-id 4ciscoasa(config)# cluster group pod1ciscoasa(cfg-cluster)# local-unit unit1ciscoasa(cfg-cluster)# cluster-interface port-channel1 ip 192.168.1.1 255.255.255.0ciscoasa(cfg-cluster)# site-id 1ciscoasa(cfg-cluster)# priority 1ciscoasa(cfg-cluster)# key chuntheunavoidableciscoasa(cfg-cluster)# enable noconfirm
Related Commands DescriptionCommand
When using spanned EtherChannels, the ASA uses cLACP to negotiate theEtherChannel with the neighbor switch.
clacp system-mac
Names the cluster and enters cluster configuration mode.cluster group
Specifies the cluster control link interface.cluster-interface
Sets the cluster interface mode.cluster interface-mode
Enables connection rebalancing.conn-rebalance
Enables console replication from slave units to the master unit.console-replicate
Enables clustering.enable (cluster group)
Enables the cluster health check feature, which includes unit health monitoring andinterface health monitoring.
health-check
Sets an authentication key for control traffic on the cluster control link.key
Names the cluster member.local-unit
Configures a site-specific MAC address for each site.mac-address site-id
Specifies the maximum transmission unit for the cluster control link interface.mtu cluster-interface
Sets the priority of this unit for master unit elections.priority (clustergroup)
shox – sn16
shox – snsite-id
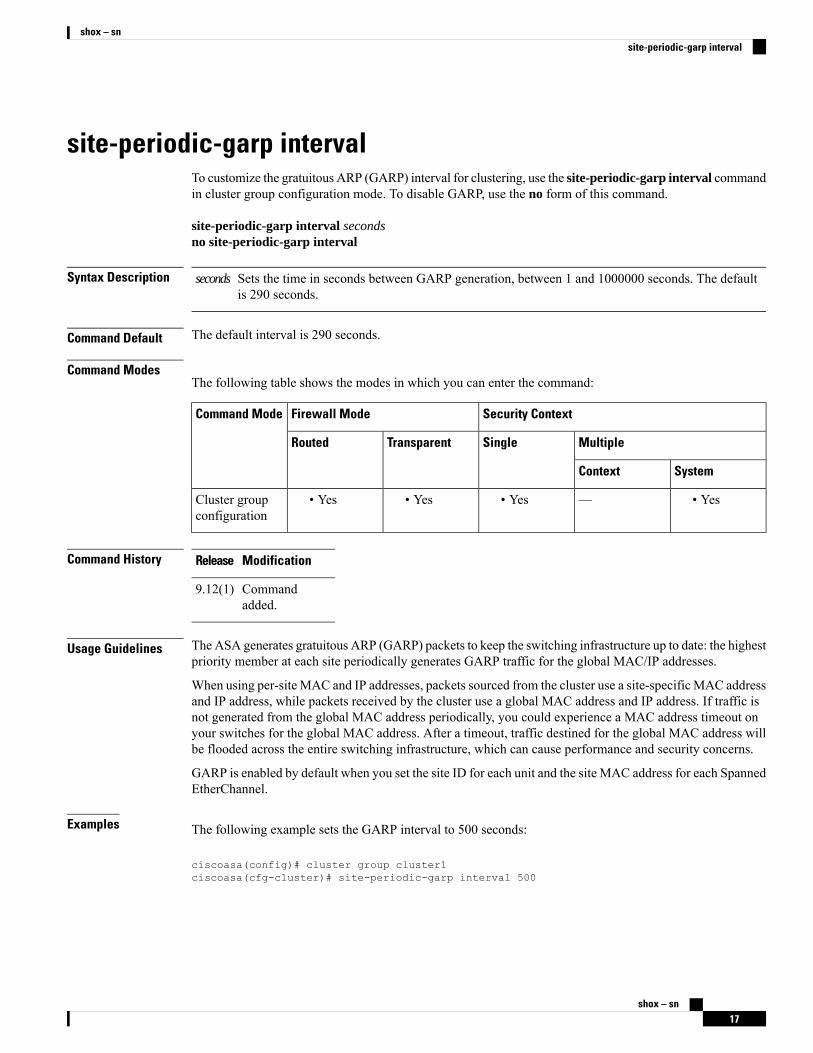
site-periodic-garp intervalTo customize the gratuitous ARP (GARP) interval for clustering, use the site-periodic-garp interval commandin cluster group configuration mode. To disable GARP, use the no form of this command.
site-periodic-garp interval secondsno site-periodic-garp interval
Syntax Description Sets the time in seconds between GARP generation, between 1 and 1000000 seconds. The defaultis 290 seconds.
seconds
Command Default The default interval is 290 seconds.
Command ModesThe following table shows the modes in which you can enter the command:
Security ContextFirewall ModeCommand Mode
MultipleSingleTransparentRouted
SystemContext
• Yes—• Yes• Yes• YesCluster groupconfiguration
Command History ModificationRelease
Commandadded.
9.12(1)
Usage Guidelines The ASA generates gratuitous ARP (GARP) packets to keep the switching infrastructure up to date: the highestpriority member at each site periodically generates GARP traffic for the global MAC/IP addresses.
When using per-site MAC and IP addresses, packets sourced from the cluster use a site-specific MAC addressand IP address, while packets received by the cluster use a global MAC address and IP address. If traffic isnot generated from the global MAC address periodically, you could experience a MAC address timeout onyour switches for the global MAC address. After a timeout, traffic destined for the global MAC address willbe flooded across the entire switching infrastructure, which can cause performance and security concerns.
GARP is enabled by default when you set the site ID for each unit and the site MAC address for each SpannedEtherChannel.
Examples The following example sets the GARP interval to 500 seconds:
ciscoasa(config)# cluster group cluster1ciscoasa(cfg-cluster)# site-periodic-garp interval 500
shox – sn17
shox – snsite-periodic-garp interval

Related Commands DescriptionCommand
Enters cluster groupmode.clustergroup
shox – sn18
shox – snsite-periodic-garp interval
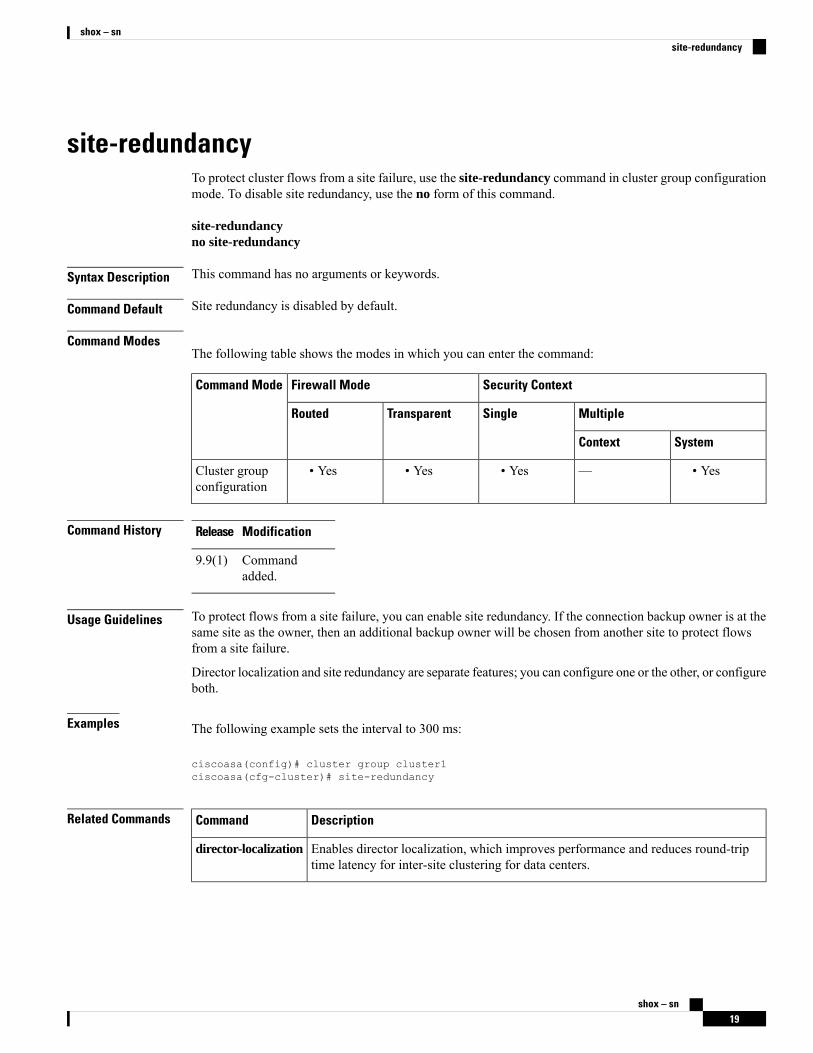
site-redundancyTo protect cluster flows from a site failure, use the site-redundancy command in cluster group configurationmode. To disable site redundancy, use the no form of this command.
site-redundancyno site-redundancy
Syntax Description This command has no arguments or keywords.
Command Default Site redundancy is disabled by default.
Command ModesThe following table shows the modes in which you can enter the command:
Security ContextFirewall ModeCommand Mode
MultipleSingleTransparentRouted
SystemContext
• Yes—• Yes• Yes• YesCluster groupconfiguration
Command History ModificationRelease
Commandadded.
9.9(1)
Usage Guidelines To protect flows from a site failure, you can enable site redundancy. If the connection backup owner is at thesame site as the owner, then an additional backup owner will be chosen from another site to protect flowsfrom a site failure.
Director localization and site redundancy are separate features; you can configure one or the other, or configureboth.
Examples The following example sets the interval to 300 ms:
ciscoasa(config)# cluster group cluster1ciscoasa(cfg-cluster)# site-redundancy
Related Commands DescriptionCommand
Enables director localization, which improves performance and reduces round-triptime latency for inter-site clustering for data centers.
director-localization
shox – sn19
shox – snsite-redundancy
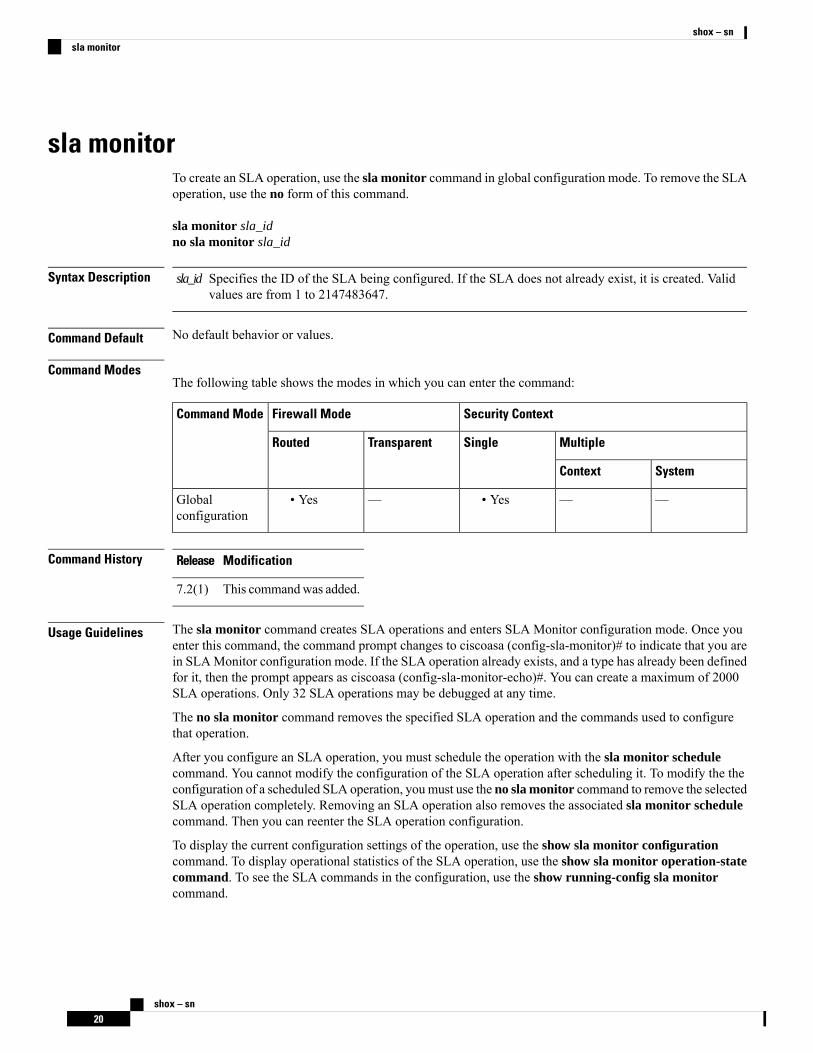
sla monitorTo create an SLA operation, use the sla monitor command in global configuration mode. To remove the SLAoperation, use the no form of this command.
sla monitor sla_idno sla monitor sla_id
Syntax Description Specifies the ID of the SLA being configured. If the SLA does not already exist, it is created. Validvalues are from 1 to 2147483647.
sla_id
Command Default No default behavior or values.
Command ModesThe following table shows the modes in which you can enter the command:
Security ContextFirewall ModeCommand Mode
MultipleSingleTransparentRouted
SystemContext
——• Yes—• YesGlobalconfiguration
Command History ModificationRelease
This commandwas added.7.2(1)
Usage Guidelines The sla monitor command creates SLA operations and enters SLA Monitor configuration mode. Once youenter this command, the command prompt changes to ciscoasa (config-sla-monitor)# to indicate that you arein SLAMonitor configuration mode. If the SLA operation already exists, and a type has already been definedfor it, then the prompt appears as ciscoasa (config-sla-monitor-echo)#. You can create a maximum of 2000SLA operations. Only 32 SLA operations may be debugged at any time.
The no sla monitor command removes the specified SLA operation and the commands used to configurethat operation.
After you configure an SLA operation, you must schedule the operation with the sla monitor schedulecommand. You cannot modify the configuration of the SLA operation after scheduling it. To modify the theconfiguration of a scheduled SLA operation, youmust use the no sla monitor command to remove the selectedSLA operation completely. Removing an SLA operation also removes the associated sla monitor schedulecommand. Then you can reenter the SLA operation configuration.
To display the current configuration settings of the operation, use the show sla monitor configurationcommand. To display operational statistics of the SLA operation, use the show sla monitor operation-statecommand. To see the SLA commands in the configuration, use the show running-config sla monitorcommand.
shox – sn20
shox – snsla monitor
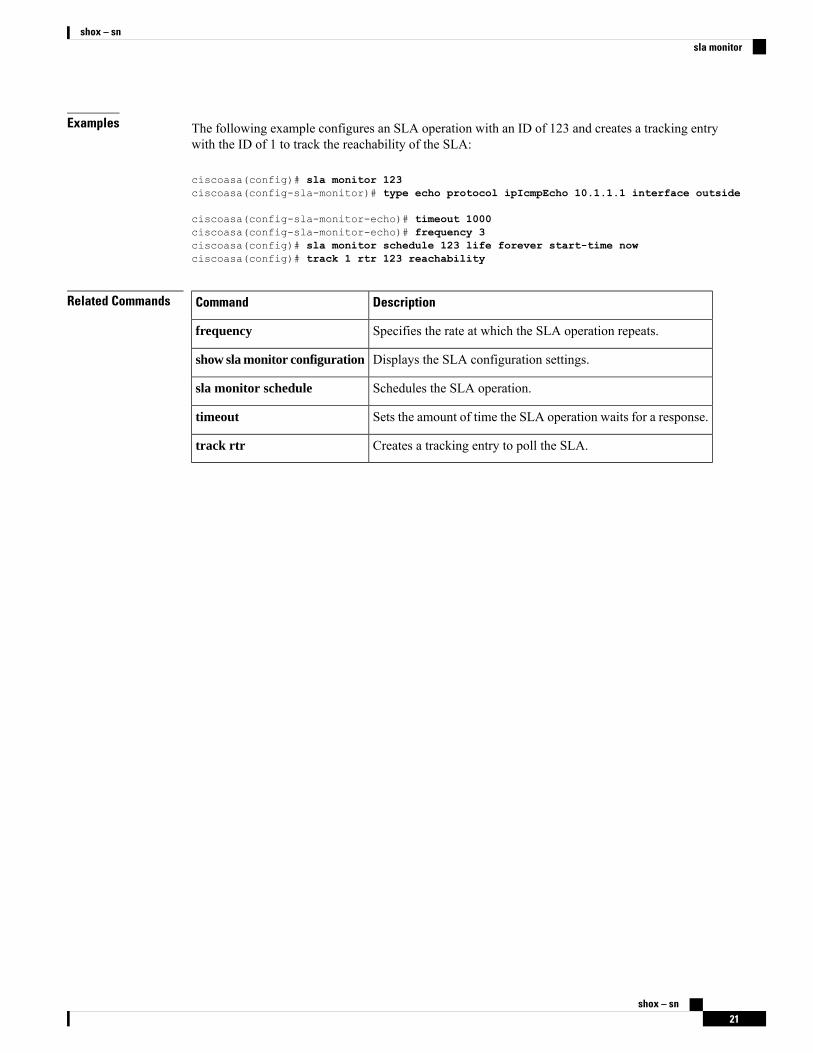
Examples The following example configures an SLA operation with an ID of 123 and creates a tracking entrywith the ID of 1 to track the reachability of the SLA:
ciscoasa(config)# sla monitor 123ciscoasa(config-sla-monitor)# type echo protocol ipIcmpEcho 10.1.1.1 interface outside
ciscoasa(config-sla-monitor-echo)# timeout 1000ciscoasa(config-sla-monitor-echo)# frequency 3ciscoasa(config)# sla monitor schedule 123 life forever start-time nowciscoasa(config)# track 1 rtr 123 reachability
Related Commands DescriptionCommand
Specifies the rate at which the SLA operation repeats.frequency
Displays the SLA configuration settings.show sla monitor configuration
Schedules the SLA operation.sla monitor schedule
Sets the amount of time the SLA operation waits for a response.timeout
Creates a tracking entry to poll the SLA.track rtr
shox – sn21
shox – snsla monitor
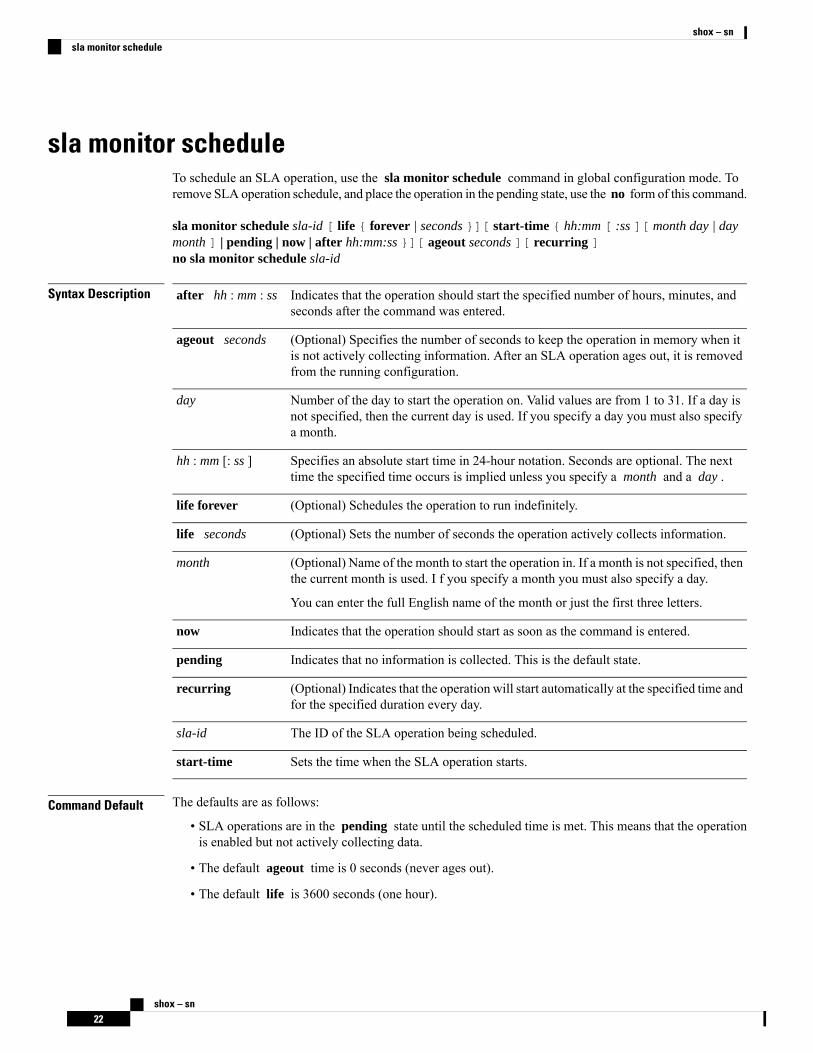
sla monitor scheduleTo schedule an SLA operation, use the sla monitor schedule command in global configuration mode. Toremove SLA operation schedule, and place the operation in the pending state, use the no form of this command.
sla monitor schedule sla-id [ life { forever | seconds }][ start-time { hh:mm [ :ss ][ month day | daymonth ] | pending | now | after hh:mm:ss }][ ageout seconds ][ recurring ]no sla monitor schedule sla-id
Syntax Description Indicates that the operation should start the specified number of hours, minutes, andseconds after the command was entered.
after hh : mm : ss
(Optional) Specifies the number of seconds to keep the operation in memory when itis not actively collecting information. After an SLA operation ages out, it is removedfrom the running configuration.
ageout seconds
Number of the day to start the operation on. Valid values are from 1 to 31. If a day isnot specified, then the current day is used. If you specify a day you must also specifya month.
day
Specifies an absolute start time in 24-hour notation. Seconds are optional. The nexttime the specified time occurs is implied unless you specify a month and a day .
hh : mm [: ss ]
(Optional) Schedules the operation to run indefinitely.life forever
(Optional) Sets the number of seconds the operation actively collects information.life seconds
(Optional) Name of the month to start the operation in. If a month is not specified, thenthe current month is used. I f you specify a month you must also specify a day.
You can enter the full English name of the month or just the first three letters.
month
Indicates that the operation should start as soon as the command is entered.now
Indicates that no information is collected. This is the default state.pending
(Optional) Indicates that the operation will start automatically at the specified time andfor the specified duration every day.
recurring
The ID of the SLA operation being scheduled.sla-id
Sets the time when the SLA operation starts.start-time
Command Default The defaults are as follows:
• SLA operations are in the pending state until the scheduled time is met. This means that the operationis enabled but not actively collecting data.
• The default ageout time is 0 seconds (never ages out).
• The default life is 3600 seconds (one hour).
shox – sn22
shox – snsla monitor schedule
Command ModesThe following table shows the modes in which you can enter the command:
Security ContextFirewall ModeCommand Mode
MultipleSingleTransparentRouted
SystemContext
——• Yes—• YesGlobalconfiguration
Command History ModificationRelease
This commandwas added.7.2(1)
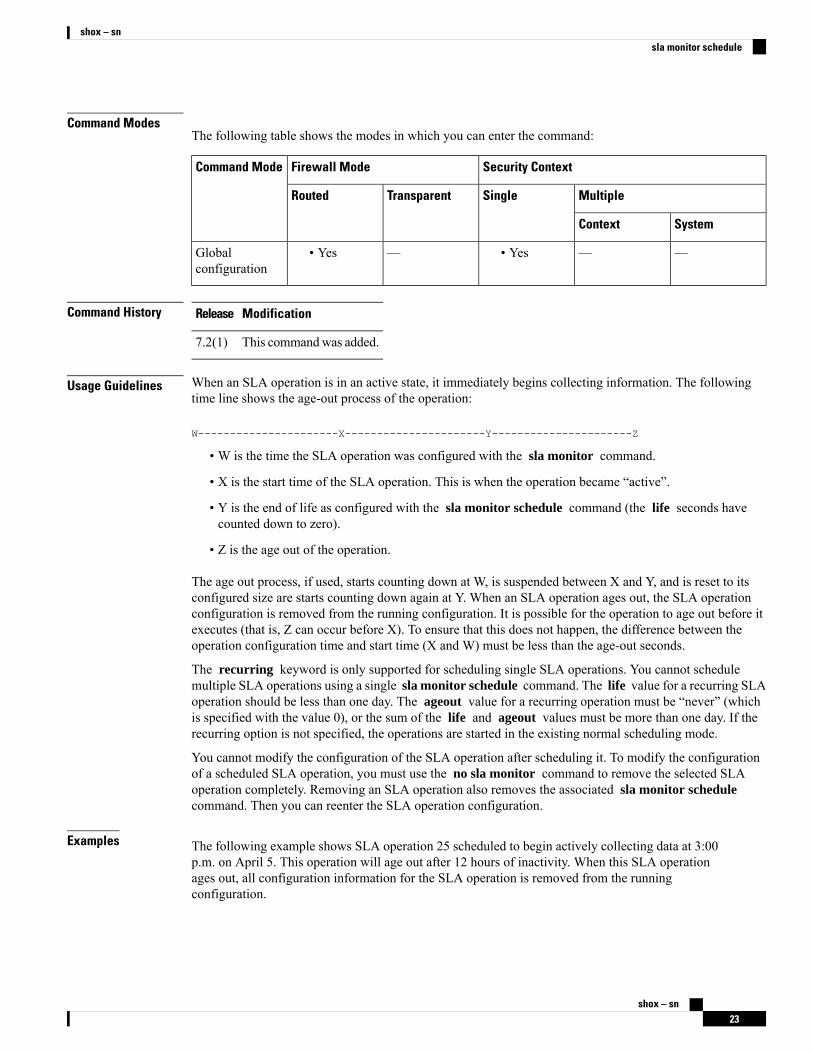
Usage Guidelines When an SLA operation is in an active state, it immediately begins collecting information. The followingtime line shows the age-out process of the operation:
W----------------------X----------------------Y----------------------Z
• W is the time the SLA operation was configured with the sla monitor command.
• X is the start time of the SLA operation. This is when the operation became “active”.
• Y is the end of life as configured with the sla monitor schedule command (the life seconds havecounted down to zero).
• Z is the age out of the operation.
The age out process, if used, starts counting down at W, is suspended between X and Y, and is reset to itsconfigured size are starts counting down again at Y. When an SLA operation ages out, the SLA operationconfiguration is removed from the running configuration. It is possible for the operation to age out before itexecutes (that is, Z can occur before X). To ensure that this does not happen, the difference between theoperation configuration time and start time (X and W) must be less than the age-out seconds.
The recurring keyword is only supported for scheduling single SLA operations. You cannot schedulemultiple SLA operations using a single sla monitor schedule command. The life value for a recurring SLAoperation should be less than one day. The ageout value for a recurring operation must be “never” (whichis specified with the value 0), or the sum of the life and ageout values must be more than one day. If therecurring option is not specified, the operations are started in the existing normal scheduling mode.
You cannot modify the configuration of the SLA operation after scheduling it. To modify the configurationof a scheduled SLA operation, you must use the no sla monitor command to remove the selected SLAoperation completely. Removing an SLA operation also removes the associated sla monitor schedulecommand. Then you can reenter the SLA operation configuration.
Examples The following example shows SLA operation 25 scheduled to begin actively collecting data at 3:00p.m. on April 5. This operation will age out after 12 hours of inactivity. When this SLA operationages out, all configuration information for the SLA operation is removed from the runningconfiguration.
shox – sn23
shox – snsla monitor schedule
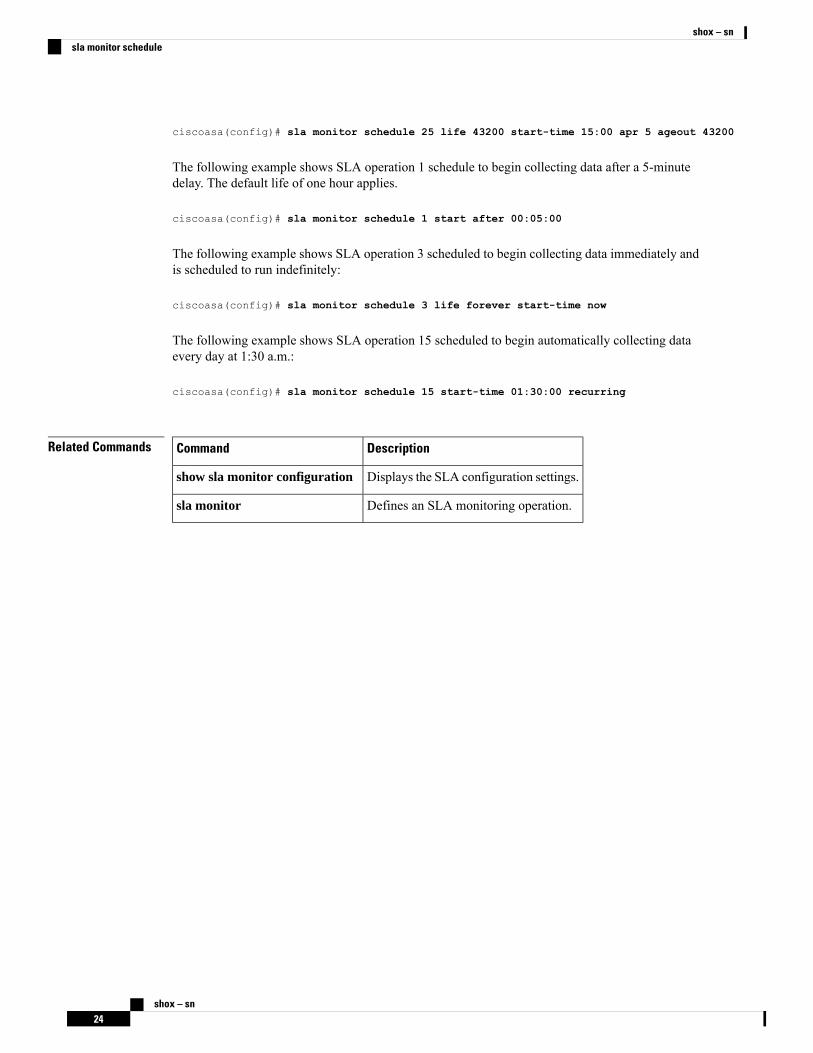
ciscoasa(config)# sla monitor schedule 25 life 43200 start-time 15:00 apr 5 ageout 43200
The following example shows SLA operation 1 schedule to begin collecting data after a 5-minutedelay. The default life of one hour applies.
ciscoasa(config)# sla monitor schedule 1 start after 00:05:00
The following example shows SLA operation 3 scheduled to begin collecting data immediately andis scheduled to run indefinitely:
ciscoasa(config)# sla monitor schedule 3 life forever start-time now
The following example shows SLA operation 15 scheduled to begin automatically collecting dataevery day at 1:30 a.m.:
ciscoasa(config)# sla monitor schedule 15 start-time 01:30:00 recurring
Related Commands DescriptionCommand
Displays the SLA configuration settings.show sla monitor configuration
Defines an SLA monitoring operation.sla monitor
shox – sn24
shox – snsla monitor schedule
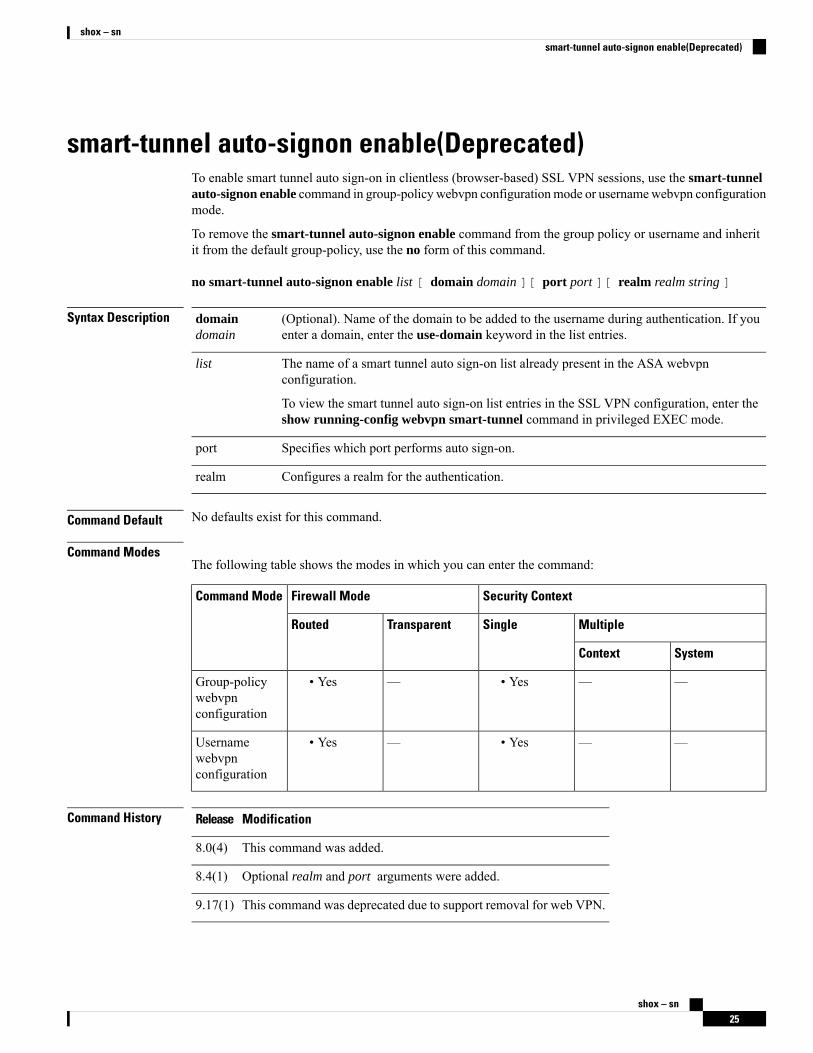
smart-tunnel auto-signon enable(Deprecated)To enable smart tunnel auto sign-on in clientless (browser-based) SSL VPN sessions, use the smart-tunnelauto-signon enable command in group-policy webvpn configurationmode or usernamewebvpn configurationmode.
To remove the smart-tunnel auto-signon enable command from the group policy or username and inheritit from the default group-policy, use the no form of this command.
no smart-tunnel auto-signon enable list [ domain domain ][ port port ][ realm realm string ]
Syntax Description (Optional). Name of the domain to be added to the username during authentication. If youenter a domain, enter the use-domain keyword in the list entries.
domaindomain
The name of a smart tunnel auto sign-on list already present in the ASA webvpnconfiguration.
To view the smart tunnel auto sign-on list entries in the SSL VPN configuration, enter theshow running-config webvpn smart-tunnel command in privileged EXEC mode.
list
Specifies which port performs auto sign-on.port
Configures a realm for the authentication.realm
Command Default No defaults exist for this command.
Command ModesThe following table shows the modes in which you can enter the command:
Security ContextFirewall ModeCommand Mode
MultipleSingleTransparentRouted
SystemContext
——• Yes—• YesGroup-policywebvpnconfiguration
——• Yes—• YesUsernamewebvpnconfiguration
Command History ModificationRelease
This command was added.8.0(4)
Optional realm and port arguments were added.8.4(1)
This command was deprecated due to support removal for web VPN.9.17(1)
shox – sn25
shox – snsmart-tunnel auto-signon enable(Deprecated)
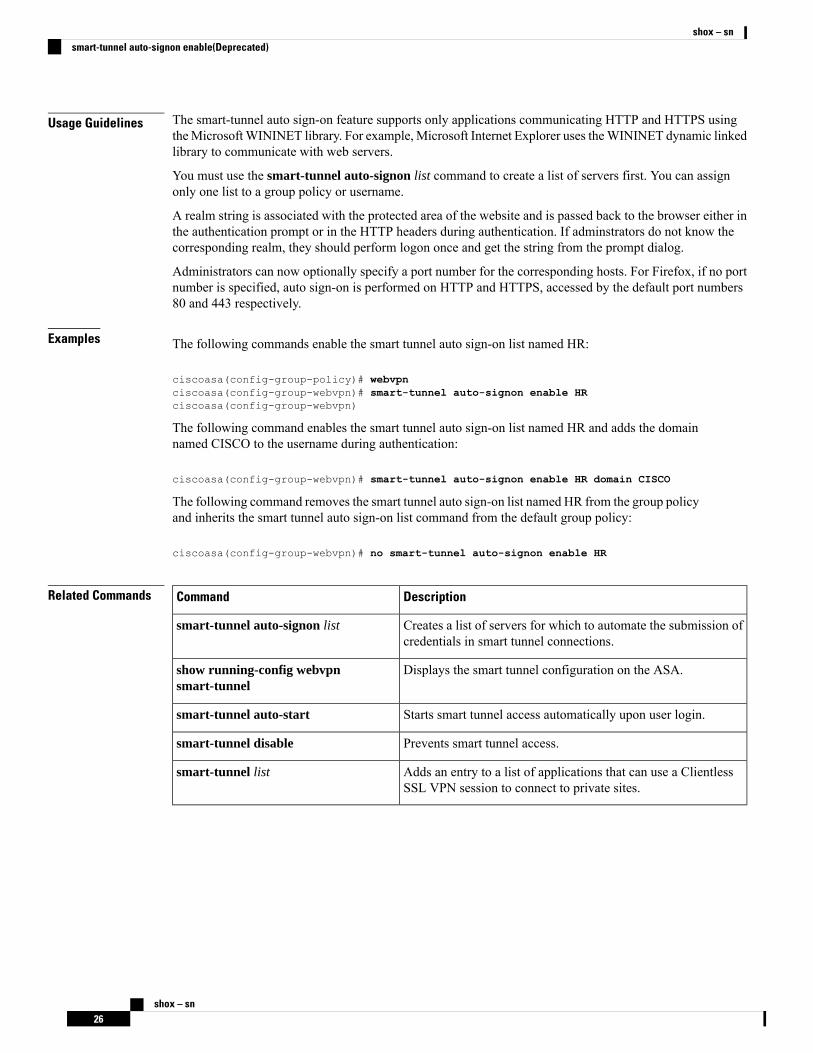
Usage Guidelines The smart-tunnel auto sign-on feature supports only applications communicating HTTP and HTTPS usingtheMicrosoftWININET library. For example, Microsoft Internet Explorer uses theWININET dynamic linkedlibrary to communicate with web servers.
You must use the smart-tunnel auto-signon list command to create a list of servers first. You can assignonly one list to a group policy or username.
A realm string is associated with the protected area of the website and is passed back to the browser either inthe authentication prompt or in the HTTP headers during authentication. If adminstrators do not know thecorresponding realm, they should perform logon once and get the string from the prompt dialog.
Administrators can now optionally specify a port number for the corresponding hosts. For Firefox, if no portnumber is specified, auto sign-on is performed on HTTP and HTTPS, accessed by the default port numbers80 and 443 respectively.
Examples The following commands enable the smart tunnel auto sign-on list named HR:
ciscoasa(config-group-policy)# webvpnciscoasa(config-group-webvpn)# smart-tunnel auto-signon enable HRciscoasa(config-group-webvpn)
The following command enables the smart tunnel auto sign-on list named HR and adds the domainnamed CISCO to the username during authentication:
ciscoasa(config-group-webvpn)# smart-tunnel auto-signon enable HR domain CISCO
The following command removes the smart tunnel auto sign-on list named HR from the group policyand inherits the smart tunnel auto sign-on list command from the default group policy:
ciscoasa(config-group-webvpn)# no smart-tunnel auto-signon enable HR
Related Commands DescriptionCommand
Creates a list of servers for which to automate the submission ofcredentials in smart tunnel connections.
smart-tunnel auto-signon list
Displays the smart tunnel configuration on the ASA.show running-config webvpnsmart-tunnel
Starts smart tunnel access automatically upon user login.smart-tunnel auto-start
Prevents smart tunnel access.smart-tunnel disable
Adds an entry to a list of applications that can use a ClientlessSSL VPN session to connect to private sites.
smart-tunnel list
shox – sn26
shox – snsmart-tunnel auto-signon enable(Deprecated)
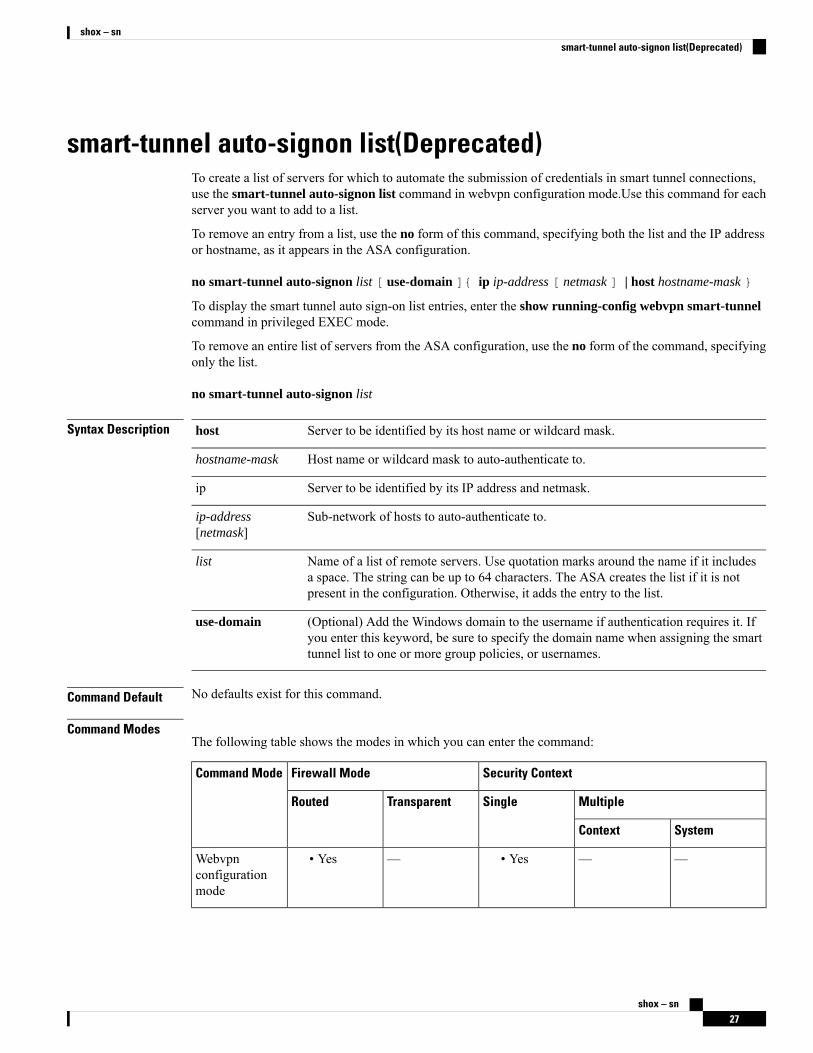
smart-tunnel auto-signon list(Deprecated)To create a list of servers for which to automate the submission of credentials in smart tunnel connections,use the smart-tunnel auto-signon list command in webvpn configuration mode.Use this command for eachserver you want to add to a list.
To remove an entry from a list, use the no form of this command, specifying both the list and the IP addressor hostname, as it appears in the ASA configuration.
no smart-tunnel auto-signon list [ use-domain ]{ ip ip-address [ netmask ] | host hostname-mask }
To display the smart tunnel auto sign-on list entries, enter the show running-config webvpn smart-tunnelcommand in privileged EXEC mode.
To remove an entire list of servers from the ASA configuration, use the no form of the command, specifyingonly the list.
no smart-tunnel auto-signon list
Syntax Description Server to be identified by its host name or wildcard mask.host
Host name or wildcard mask to auto-authenticate to.hostname-mask
Server to be identified by its IP address and netmask.ip
Sub-network of hosts to auto-authenticate to.ip-address[netmask]
Name of a list of remote servers. Use quotation marks around the name if it includesa space. The string can be up to 64 characters. The ASA creates the list if it is notpresent in the configuration. Otherwise, it adds the entry to the list.
list
(Optional) Add the Windows domain to the username if authentication requires it. Ifyou enter this keyword, be sure to specify the domain name when assigning the smarttunnel list to one or more group policies, or usernames.
use-domain
Command Default No defaults exist for this command.
Command ModesThe following table shows the modes in which you can enter the command:
Security ContextFirewall ModeCommand Mode
MultipleSingleTransparentRouted
SystemContext
——• Yes—• YesWebvpnconfigurationmode
shox – sn27
shox – snsmart-tunnel auto-signon list(Deprecated)
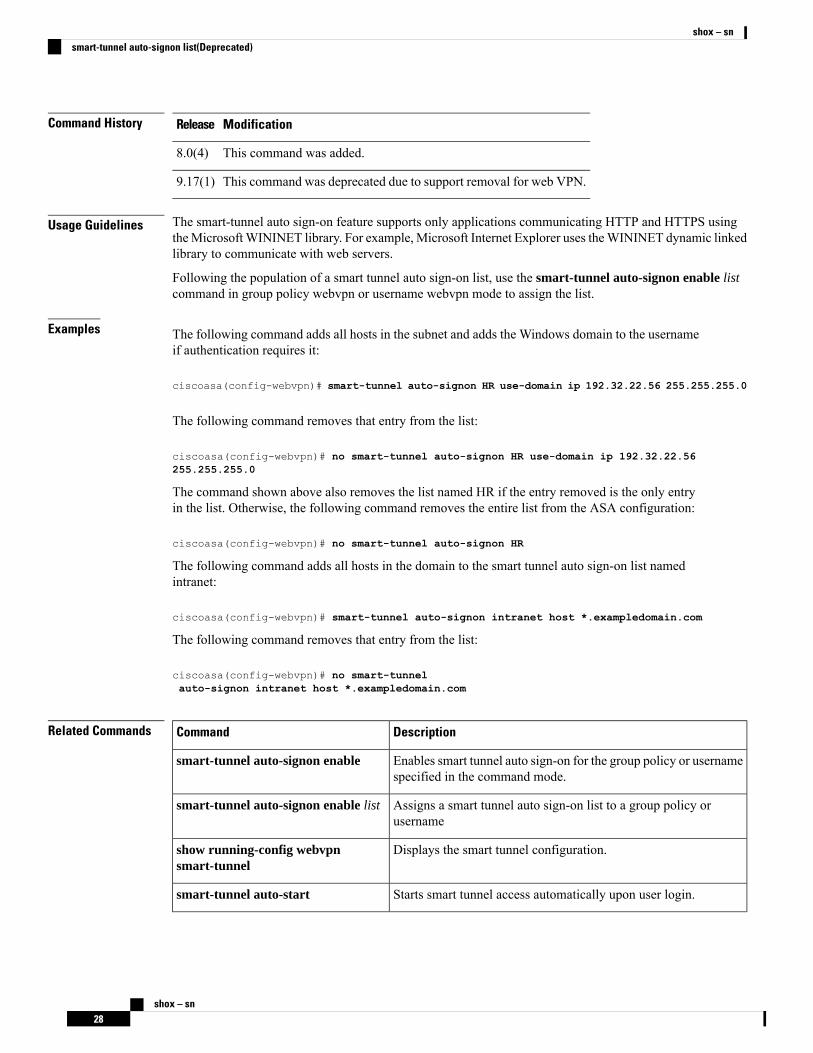
Command History ModificationRelease
This command was added.8.0(4)
This command was deprecated due to support removal for web VPN.9.17(1)
Usage Guidelines The smart-tunnel auto sign-on feature supports only applications communicating HTTP and HTTPS usingtheMicrosoftWININET library. For example, Microsoft Internet Explorer uses theWININET dynamic linkedlibrary to communicate with web servers.
Following the population of a smart tunnel auto sign-on list, use the smart-tunnel auto-signon enable listcommand in group policy webvpn or username webvpn mode to assign the list.
Examples The following command adds all hosts in the subnet and adds the Windows domain to the usernameif authentication requires it:
ciscoasa(config-webvpn)# smart-tunnel auto-signon HR use-domain ip 192.32.22.56 255.255.255.0
The following command removes that entry from the list:
ciscoasa(config-webvpn)# no smart-tunnel auto-signon HR use-domain ip 192.32.22.56255.255.255.0
The command shown above also removes the list named HR if the entry removed is the only entryin the list. Otherwise, the following command removes the entire list from the ASA configuration:
ciscoasa(config-webvpn)# no smart-tunnel auto-signon HR
The following command adds all hosts in the domain to the smart tunnel auto sign-on list namedintranet:
ciscoasa(config-webvpn)# smart-tunnel auto-signon intranet host *.exampledomain.com
The following command removes that entry from the list:
ciscoasa(config-webvpn)# no smart-tunnelauto-signon intranet host *.exampledomain.com
Related Commands DescriptionCommand
Enables smart tunnel auto sign-on for the group policy or usernamespecified in the command mode.
smart-tunnel auto-signon enable
Assigns a smart tunnel auto sign-on list to a group policy orusername
smart-tunnel auto-signon enable list
Displays the smart tunnel configuration.show running-config webvpnsmart-tunnel
Starts smart tunnel access automatically upon user login.smart-tunnel auto-start
shox – sn28
shox – snsmart-tunnel auto-signon list(Deprecated)

DescriptionCommand
Enables smart tunnel access upon user login, but requires the userto start smart tunnel access manually, using theApplication Access> Start Smart Tunnels button on the Clientless SSL VPN portalpage.
smart-tunnel enable
shox – sn29
shox – snsmart-tunnel auto-signon list(Deprecated)
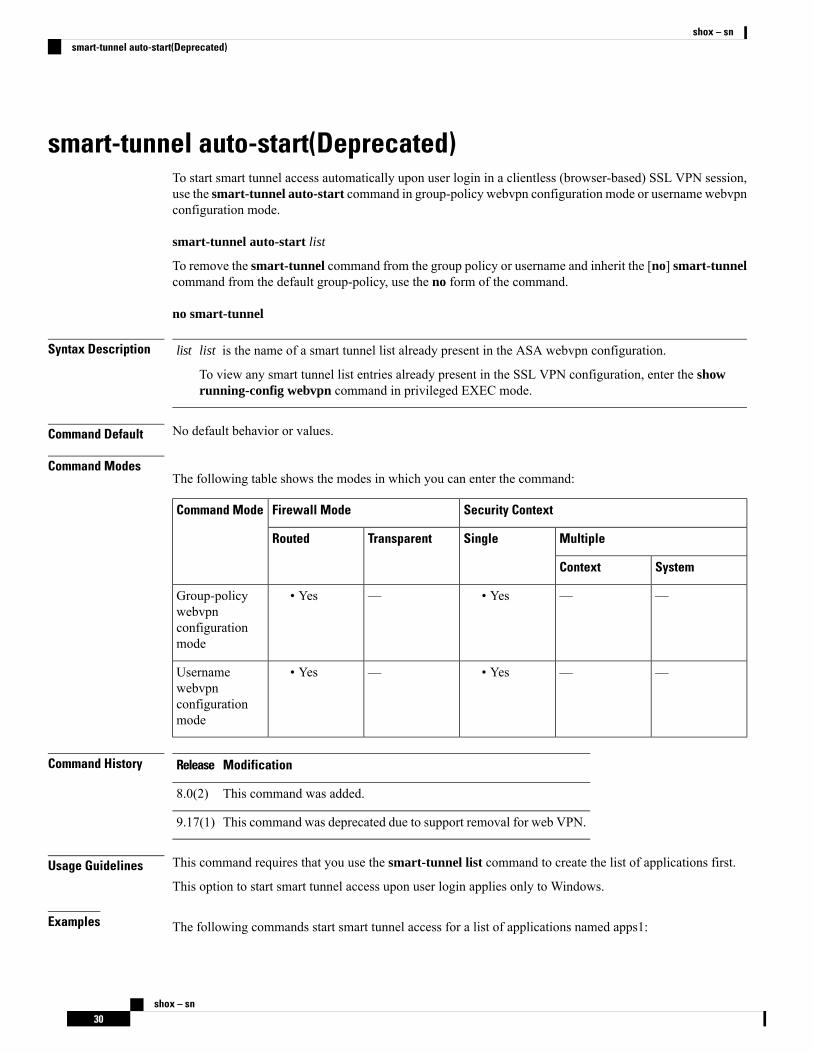
smart-tunnel auto-start(Deprecated)To start smart tunnel access automatically upon user login in a clientless (browser-based) SSL VPN session,use the smart-tunnel auto-start command in group-policy webvpn configuration mode or username webvpnconfiguration mode.
smart-tunnel auto-start list
To remove the smart-tunnel command from the group policy or username and inherit the [no] smart-tunnelcommand from the default group-policy, use the no form of the command.
no smart-tunnel
Syntax Description list is the name of a smart tunnel list already present in the ASA webvpn configuration.
To view any smart tunnel list entries already present in the SSL VPN configuration, enter the showrunning-config webvpn command in privileged EXEC mode.
list
Command Default No default behavior or values.
Command ModesThe following table shows the modes in which you can enter the command:
Security ContextFirewall ModeCommand Mode
MultipleSingleTransparentRouted
SystemContext
——• Yes—• YesGroup-policywebvpnconfigurationmode
——• Yes—• YesUsernamewebvpnconfigurationmode
Command History ModificationRelease
This command was added.8.0(2)
This command was deprecated due to support removal for web VPN.9.17(1)
Usage Guidelines This command requires that you use the smart-tunnel list command to create the list of applications first.
This option to start smart tunnel access upon user login applies only to Windows.
Examples The following commands start smart tunnel access for a list of applications named apps1:
shox – sn30
shox – snsmart-tunnel auto-start(Deprecated)
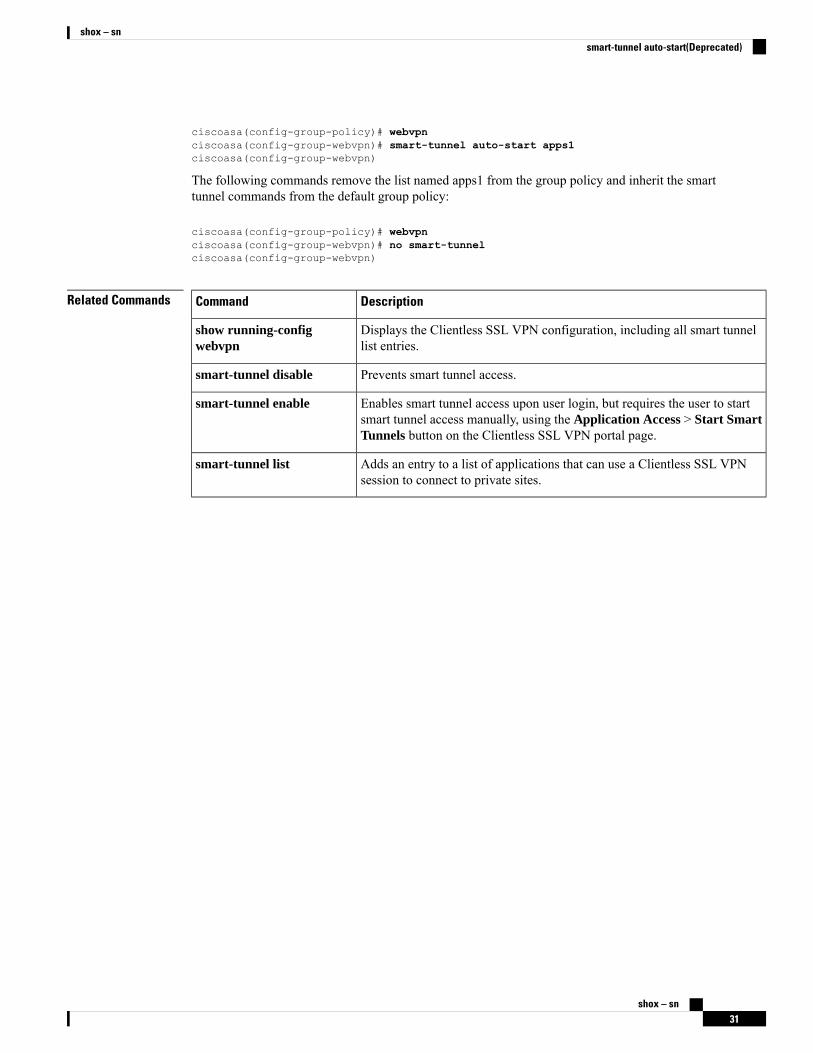
ciscoasa(config-group-policy)# webvpnciscoasa(config-group-webvpn)# smart-tunnel auto-start apps1ciscoasa(config-group-webvpn)
The following commands remove the list named apps1 from the group policy and inherit the smarttunnel commands from the default group policy:
ciscoasa(config-group-policy)# webvpnciscoasa(config-group-webvpn)# no smart-tunnelciscoasa(config-group-webvpn)
Related Commands DescriptionCommand
Displays the Clientless SSL VPN configuration, including all smart tunnellist entries.
show running-configwebvpn
Prevents smart tunnel access.smart-tunnel disable
Enables smart tunnel access upon user login, but requires the user to startsmart tunnel access manually, using the Application Access > Start SmartTunnels button on the Clientless SSL VPN portal page.
smart-tunnel enable
Adds an entry to a list of applications that can use a Clientless SSL VPNsession to connect to private sites.
smart-tunnel list
shox – sn31
shox – snsmart-tunnel auto-start(Deprecated)
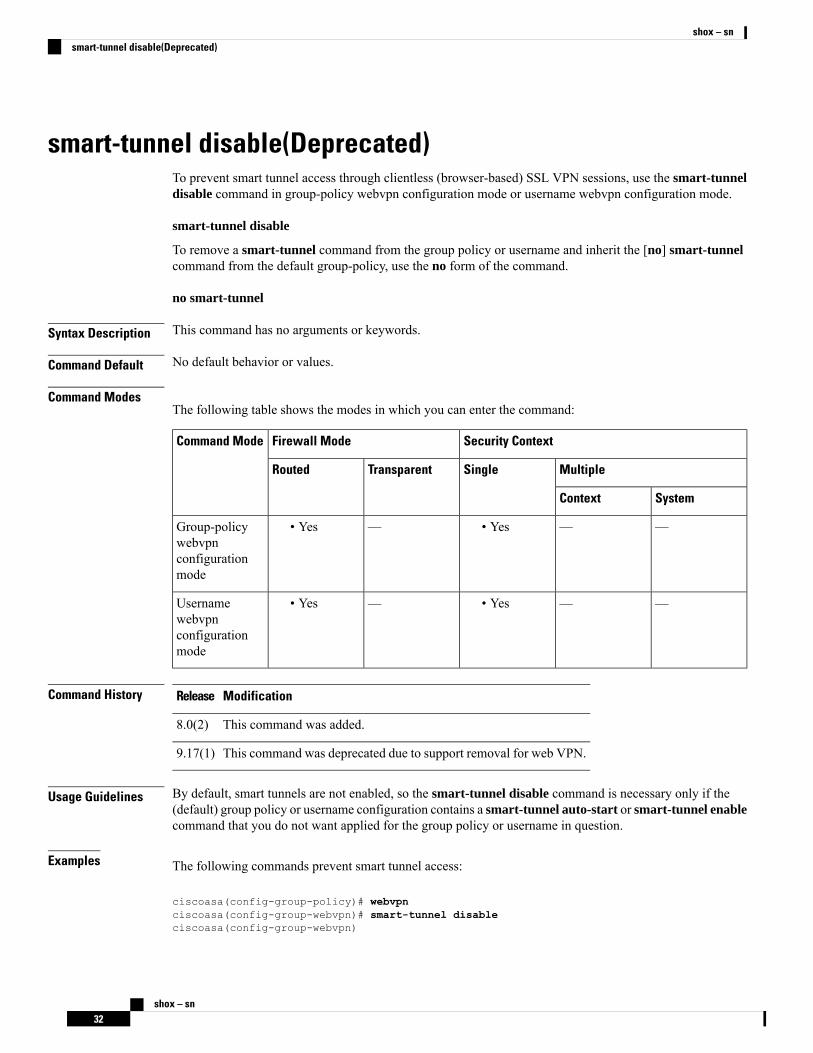
smart-tunnel disable(Deprecated)To prevent smart tunnel access through clientless (browser-based) SSL VPN sessions, use the smart-tunneldisable command in group-policy webvpn configuration mode or username webvpn configuration mode.
smart-tunnel disable
To remove a smart-tunnel command from the group policy or username and inherit the [no] smart-tunnelcommand from the default group-policy, use the no form of the command.
no smart-tunnel
Syntax Description This command has no arguments or keywords.
Command Default No default behavior or values.
Command ModesThe following table shows the modes in which you can enter the command:
Security ContextFirewall ModeCommand Mode
MultipleSingleTransparentRouted
SystemContext
——• Yes—• YesGroup-policywebvpnconfigurationmode
——• Yes—• YesUsernamewebvpnconfigurationmode
Command History ModificationRelease
This command was added.8.0(2)
This command was deprecated due to support removal for web VPN.9.17(1)
Usage Guidelines By default, smart tunnels are not enabled, so the smart-tunnel disable command is necessary only if the(default) group policy or username configuration contains a smart-tunnel auto-start or smart-tunnel enablecommand that you do not want applied for the group policy or username in question.
Examples The following commands prevent smart tunnel access:
ciscoasa(config-group-policy)# webvpnciscoasa(config-group-webvpn)# smart-tunnel disableciscoasa(config-group-webvpn)
shox – sn32
shox – snsmart-tunnel disable(Deprecated)
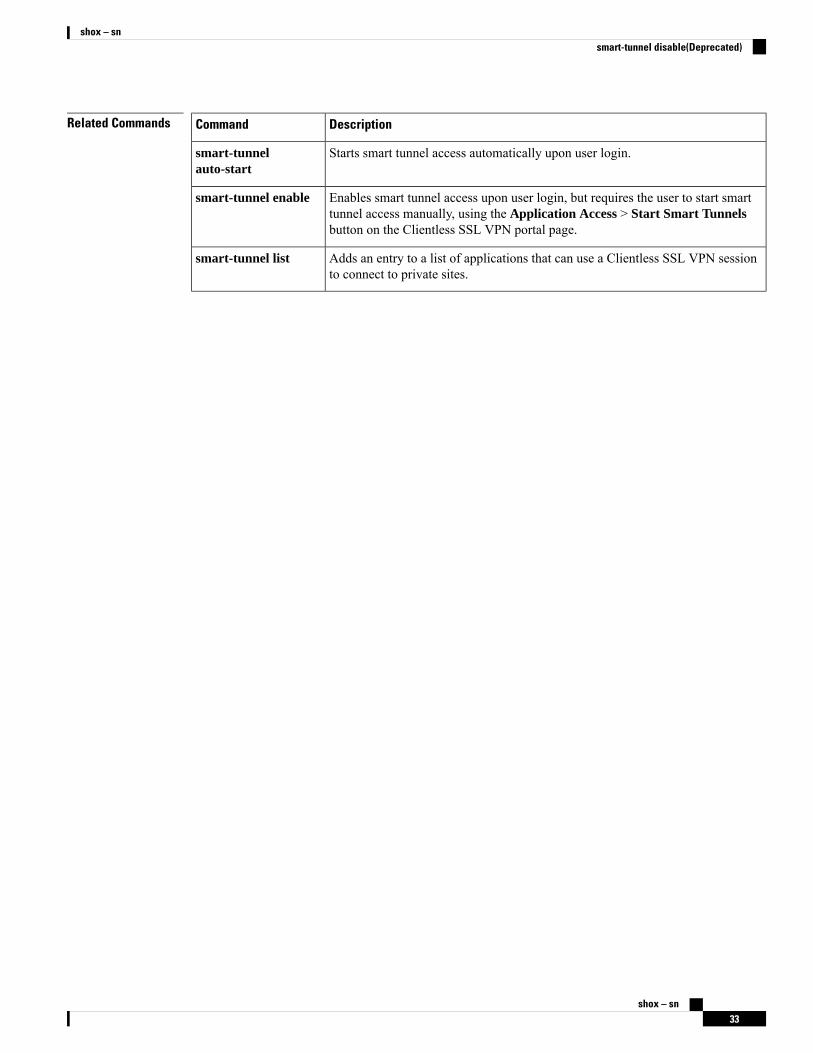
Related Commands DescriptionCommand
Starts smart tunnel access automatically upon user login.smart-tunnelauto-start
Enables smart tunnel access upon user login, but requires the user to start smarttunnel access manually, using the Application Access > Start Smart Tunnelsbutton on the Clientless SSL VPN portal page.
smart-tunnel enable
Adds an entry to a list of applications that can use a Clientless SSL VPN sessionto connect to private sites.
smart-tunnel list
shox – sn33
shox – snsmart-tunnel disable(Deprecated)
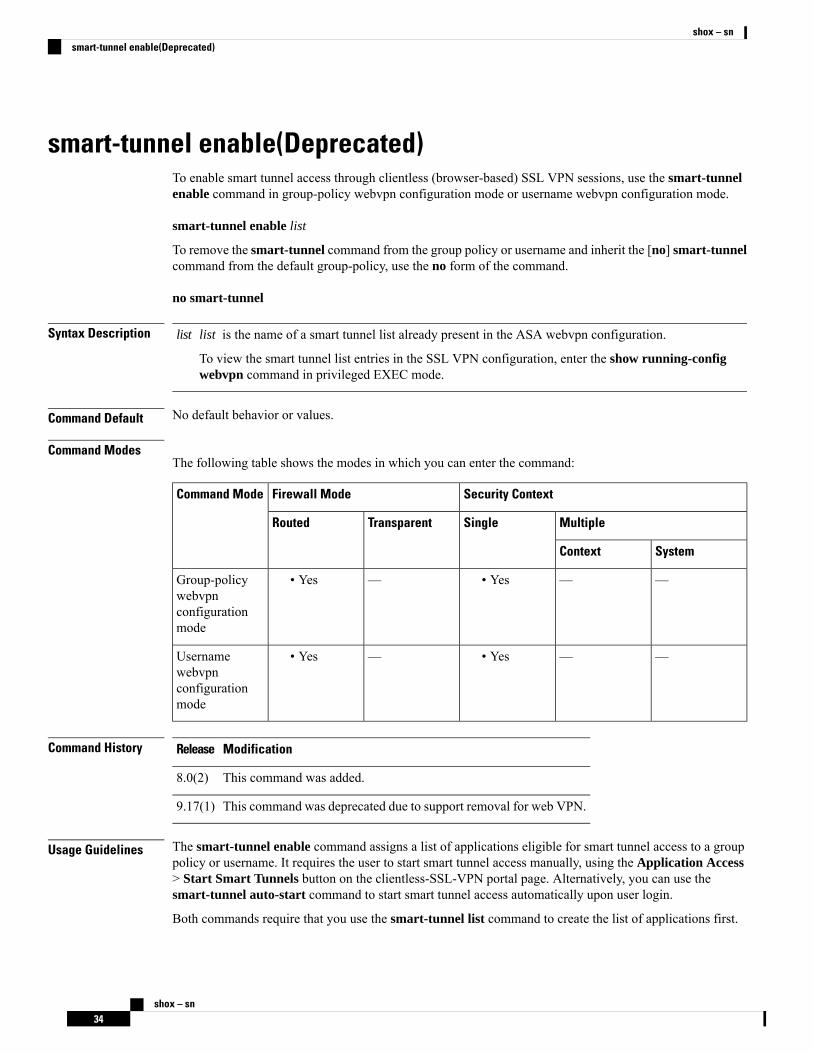
smart-tunnel enable(Deprecated)To enable smart tunnel access through clientless (browser-based) SSL VPN sessions, use the smart-tunnelenable command in group-policy webvpn configuration mode or username webvpn configuration mode.
smart-tunnel enable list
To remove the smart-tunnel command from the group policy or username and inherit the [no] smart-tunnelcommand from the default group-policy, use the no form of the command.
no smart-tunnel
Syntax Description list is the name of a smart tunnel list already present in the ASA webvpn configuration.
To view the smart tunnel list entries in the SSL VPN configuration, enter the show running-configwebvpn command in privileged EXEC mode.
list
Command Default No default behavior or values.
Command ModesThe following table shows the modes in which you can enter the command:
Security ContextFirewall ModeCommand Mode
MultipleSingleTransparentRouted
SystemContext
——• Yes—• YesGroup-policywebvpnconfigurationmode
——• Yes—• YesUsernamewebvpnconfigurationmode
Command History ModificationRelease
This command was added.8.0(2)
This command was deprecated due to support removal for web VPN.9.17(1)
Usage Guidelines The smart-tunnel enable command assigns a list of applications eligible for smart tunnel access to a grouppolicy or username. It requires the user to start smart tunnel access manually, using the Application Access> Start Smart Tunnels button on the clientless-SSL-VPN portal page. Alternatively, you can use thesmart-tunnel auto-start command to start smart tunnel access automatically upon user login.
Both commands require that you use the smart-tunnel list command to create the list of applications first.
shox – sn34
shox – snsmart-tunnel enable(Deprecated)
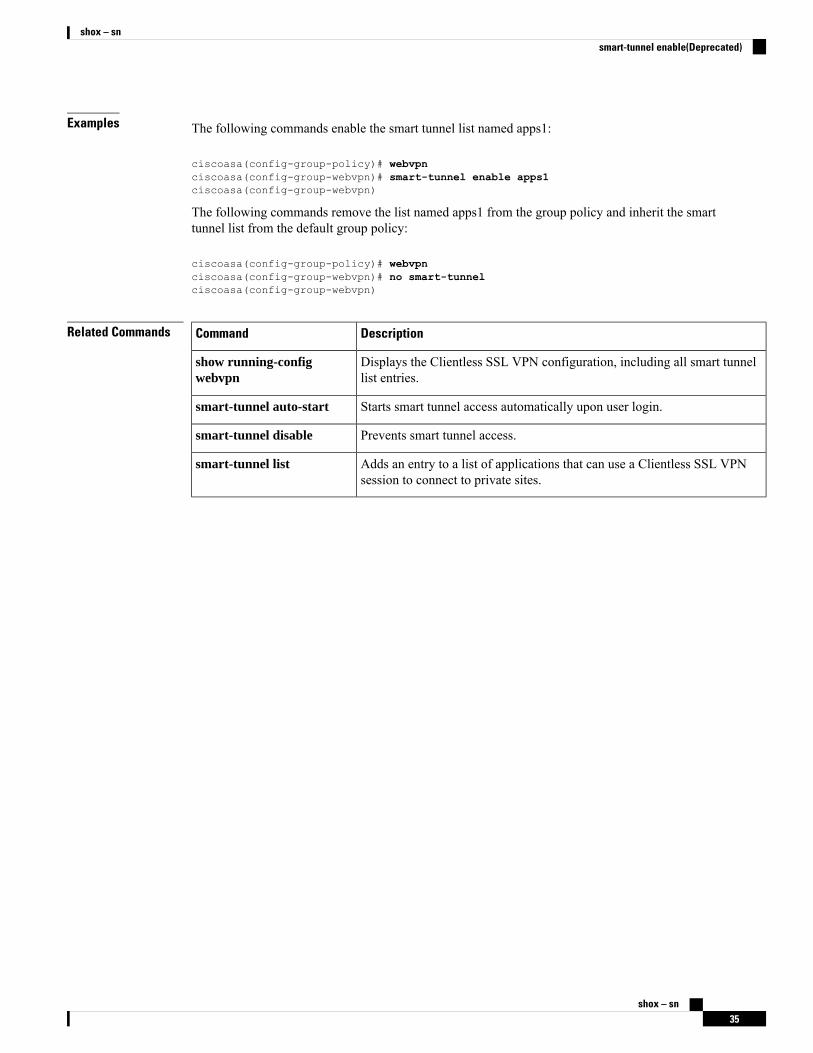
Examples The following commands enable the smart tunnel list named apps1:
ciscoasa(config-group-policy)# webvpnciscoasa(config-group-webvpn)# smart-tunnel enable apps1ciscoasa(config-group-webvpn)
The following commands remove the list named apps1 from the group policy and inherit the smarttunnel list from the default group policy:
ciscoasa(config-group-policy)# webvpnciscoasa(config-group-webvpn)# no smart-tunnelciscoasa(config-group-webvpn)
Related Commands DescriptionCommand
Displays the Clientless SSL VPN configuration, including all smart tunnellist entries.
show running-configwebvpn
Starts smart tunnel access automatically upon user login.smart-tunnel auto-start
Prevents smart tunnel access.smart-tunnel disable
Adds an entry to a list of applications that can use a Clientless SSL VPNsession to connect to private sites.
smart-tunnel list
shox – sn35
shox – snsmart-tunnel enable(Deprecated)
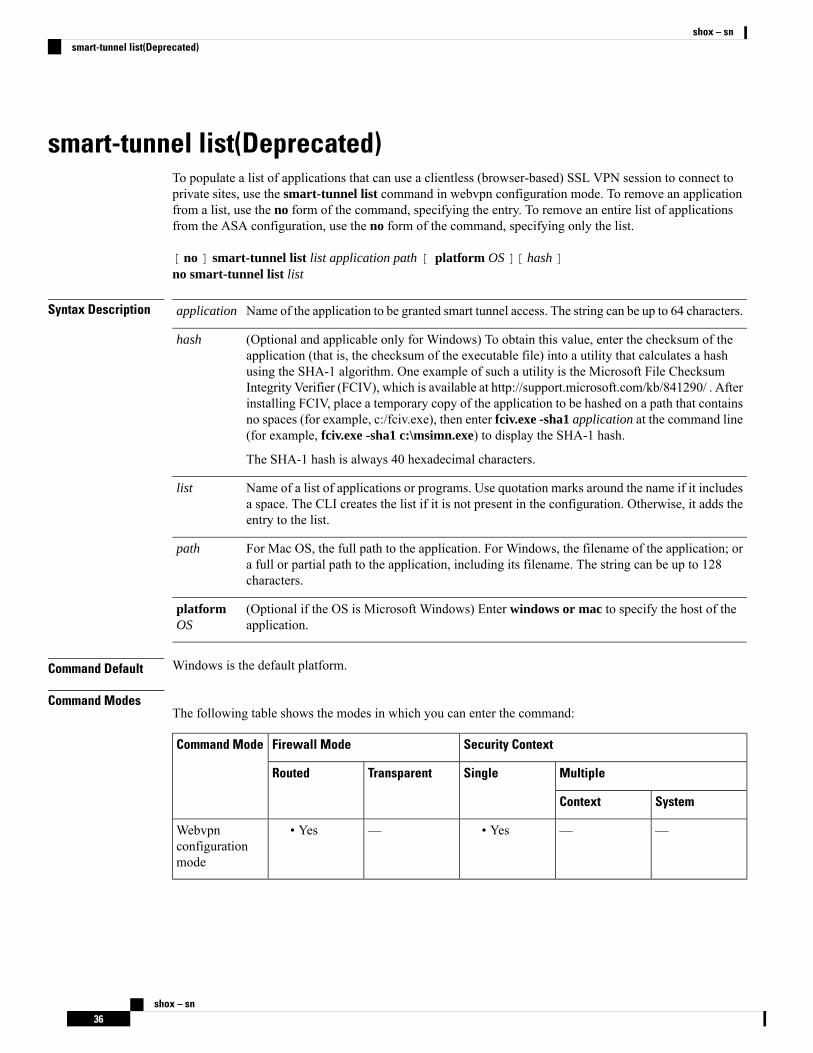
smart-tunnel list(Deprecated)To populate a list of applications that can use a clientless (browser-based) SSL VPN session to connect toprivate sites, use the smart-tunnel list command in webvpn configuration mode. To remove an applicationfrom a list, use the no form of the command, specifying the entry. To remove an entire list of applicationsfrom the ASA configuration, use the no form of the command, specifying only the list.
[ no ] smart-tunnel list list application path [ platform OS ][ hash ]no smart-tunnel list list
Syntax Description Name of the application to be granted smart tunnel access. The string can be up to 64 characters.application
(Optional and applicable only for Windows) To obtain this value, enter the checksum of theapplication (that is, the checksum of the executable file) into a utility that calculates a hashusing the SHA-1 algorithm. One example of such a utility is the Microsoft File ChecksumIntegrity Verifier (FCIV), which is available at http://support.microsoft.com/kb/841290/ . Afterinstalling FCIV, place a temporary copy of the application to be hashed on a path that containsno spaces (for example, c:/fciv.exe), then enter fciv.exe -sha1 application at the command line(for example, fciv.exe -sha1 c:\msimn.exe) to display the SHA-1 hash.
The SHA-1 hash is always 40 hexadecimal characters.
hash
Name of a list of applications or programs. Use quotation marks around the name if it includesa space. The CLI creates the list if it is not present in the configuration. Otherwise, it adds theentry to the list.
list
For Mac OS, the full path to the application. For Windows, the filename of the application; ora full or partial path to the application, including its filename. The string can be up to 128characters.
path
(Optional if the OS is Microsoft Windows) Enter windows or mac to specify the host of theapplication.
platformOS
Command Default Windows is the default platform.
Command ModesThe following table shows the modes in which you can enter the command:
Security ContextFirewall ModeCommand Mode
MultipleSingleTransparentRouted
SystemContext
——• Yes—• YesWebvpnconfigurationmode
shox – sn36
shox – snsmart-tunnel list(Deprecated)
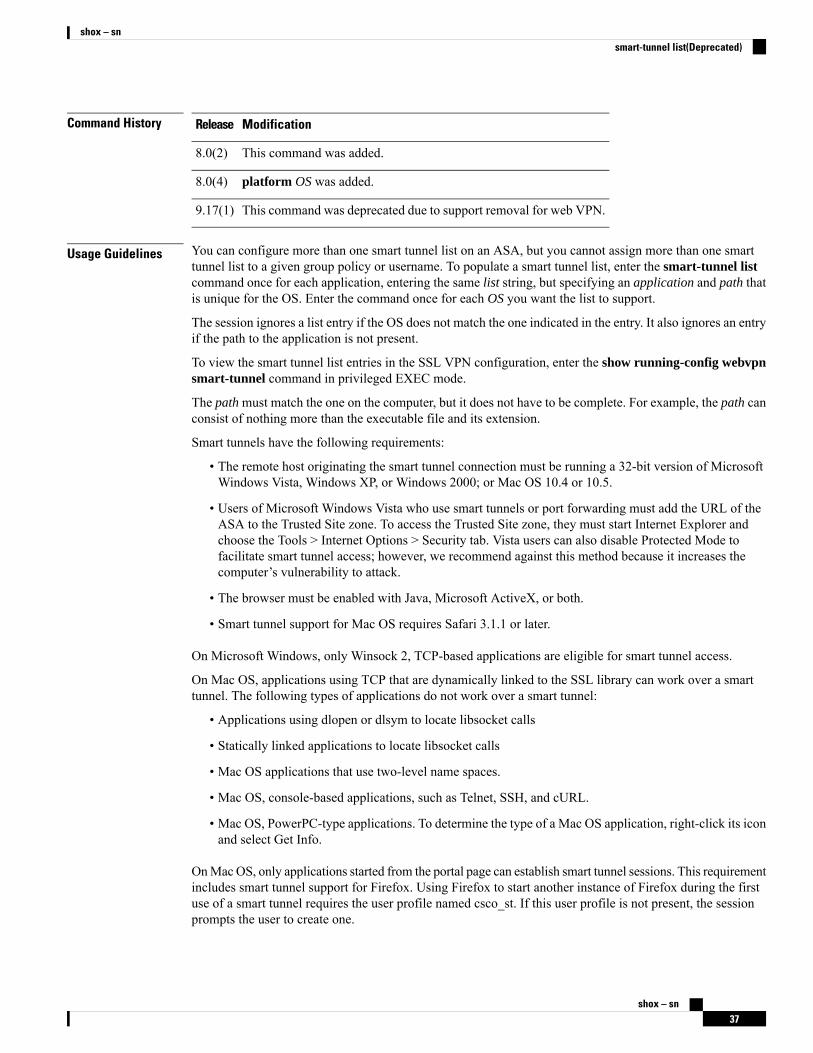
Command History ModificationRelease
This command was added.8.0(2)
platform OS was added.8.0(4)
This command was deprecated due to support removal for web VPN.9.17(1)
Usage Guidelines You can configure more than one smart tunnel list on an ASA, but you cannot assign more than one smarttunnel list to a given group policy or username. To populate a smart tunnel list, enter the smart-tunnel listcommand once for each application, entering the same list string, but specifying an application and path thatis unique for the OS. Enter the command once for each OS you want the list to support.
The session ignores a list entry if the OS does not match the one indicated in the entry. It also ignores an entryif the path to the application is not present.
To view the smart tunnel list entries in the SSL VPN configuration, enter the show running-config webvpnsmart-tunnel command in privileged EXEC mode.
The path must match the one on the computer, but it does not have to be complete. For example, the path canconsist of nothing more than the executable file and its extension.
Smart tunnels have the following requirements:
• The remote host originating the smart tunnel connection must be running a 32-bit version of MicrosoftWindows Vista, Windows XP, or Windows 2000; or Mac OS 10.4 or 10.5.
• Users of Microsoft Windows Vista who use smart tunnels or port forwarding must add the URL of theASA to the Trusted Site zone. To access the Trusted Site zone, they must start Internet Explorer andchoose the Tools > Internet Options > Security tab. Vista users can also disable Protected Mode tofacilitate smart tunnel access; however, we recommend against this method because it increases thecomputer’s vulnerability to attack.
• The browser must be enabled with Java, Microsoft ActiveX, or both.
• Smart tunnel support for Mac OS requires Safari 3.1.1 or later.
On Microsoft Windows, only Winsock 2, TCP-based applications are eligible for smart tunnel access.
On Mac OS, applications using TCP that are dynamically linked to the SSL library can work over a smarttunnel. The following types of applications do not work over a smart tunnel:
• Applications using dlopen or dlsym to locate libsocket calls
• Statically linked applications to locate libsocket calls
• Mac OS applications that use two-level name spaces.
• Mac OS, console-based applications, such as Telnet, SSH, and cURL.
• Mac OS, PowerPC-type applications. To determine the type of a Mac OS application, right-click its iconand select Get Info.
OnMacOS, only applications started from the portal page can establish smart tunnel sessions. This requirementincludes smart tunnel support for Firefox. Using Firefox to start another instance of Firefox during the firstuse of a smart tunnel requires the user profile named csco_st. If this user profile is not present, the sessionprompts the user to create one.
shox – sn37
shox – snsmart-tunnel list(Deprecated)
The following limitations apply to smart tunnels:
• If the remote computer requires a proxy server to reach the ASA, the URL of the terminating end of theconnection must be in the list of URLs excluded from proxy services. In this configuration, smart tunnelssupport only basic authentication.
• The smart tunnel auto sign-on feature supports only applications communicating HTTP and HTTPSusing the Microsoft WININET library on a Microsoft Windows OS. For example, Microsoft InternetExplorer uses the WININET dynamic linked library to communicate with web servers.
• A group policy or local user policy supports no more than one list of applications eligible for smart tunnelaccess and one list of smart tunnel auto sign-on servers.
• A stateful failover does not retain smart tunnel connections. Users must reconnect following a failover.
A sudden problem with smart tunnel access may be an indication that a path value is not up-to-date with anapplication upgrade. For example, the default path to an application typically changes following the acquisitionof the company that produces the application and the next upgrade.
Note
Entering a hash provides a reasonable assurance that clientless SSL VPN does not qualify an illegitimate filethat matches the string you specified in the path. Because the checksum varies with each version or patch ofan application, the hash you enter can only match one version or patch on the remote host. To specify a hashfor more than one version of an application, enter the smart-tunnel list command once for each version,entering the same list string, but specifying the unique application string and unique hash value in eachcommand.
You must maintain the smart tunnel list in the future if you enter hash values and you want to support futureversions or patches of an application with smart tunnel access. A sudden problem with smart tunnel accessmay be an indication that the application list containing hash values is not up-to-date with an applicationupgrade. You can avoid this problem by not entering a hash.
Note
Following the configuration of a smart tunnel list, use the smart-tunnel auto-start or smart-tunnel enablecommand to assign the list to group policies or usernames.
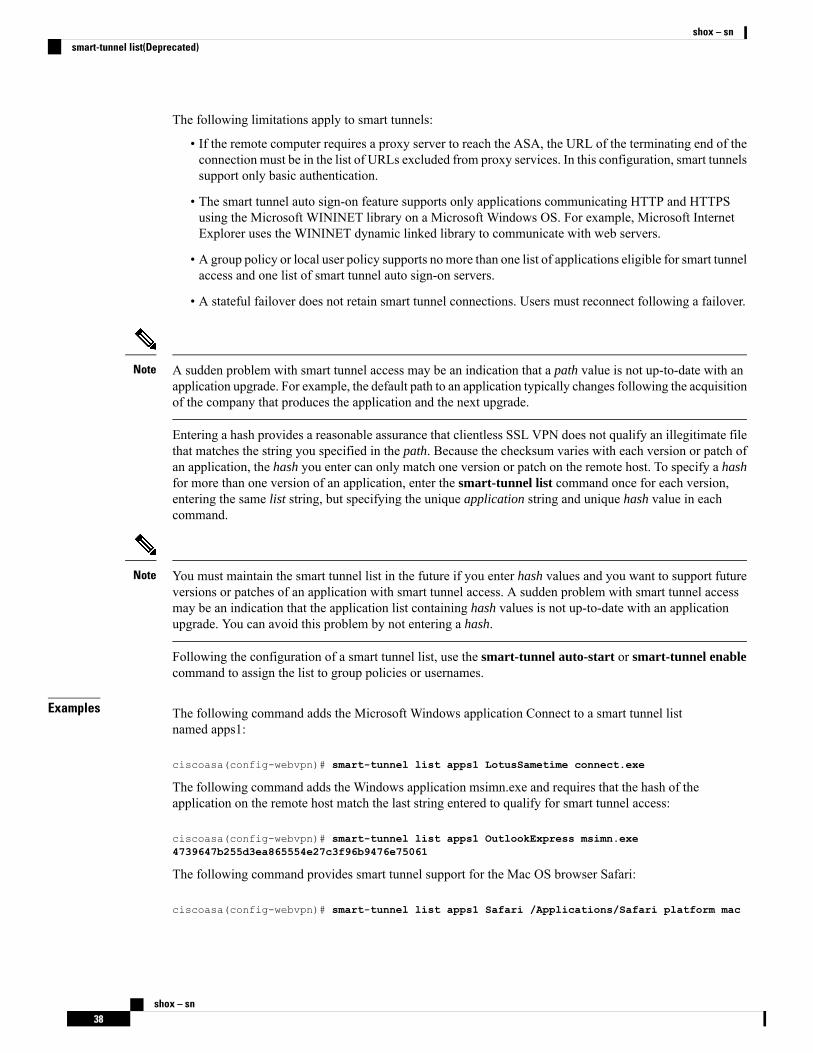
Examples The following command adds the Microsoft Windows application Connect to a smart tunnel listnamed apps1:
ciscoasa(config-webvpn)# smart-tunnel list apps1 LotusSametime connect.exe
The following command adds the Windows application msimn.exe and requires that the hash of theapplication on the remote host match the last string entered to qualify for smart tunnel access:
ciscoasa(config-webvpn)# smart-tunnel list apps1 OutlookExpress msimn.exe4739647b255d3ea865554e27c3f96b9476e75061
The following command provides smart tunnel support for the Mac OS browser Safari:
ciscoasa(config-webvpn)# smart-tunnel list apps1 Safari /Applications/Safari platform mac
shox – sn38
shox – snsmart-tunnel list(Deprecated)
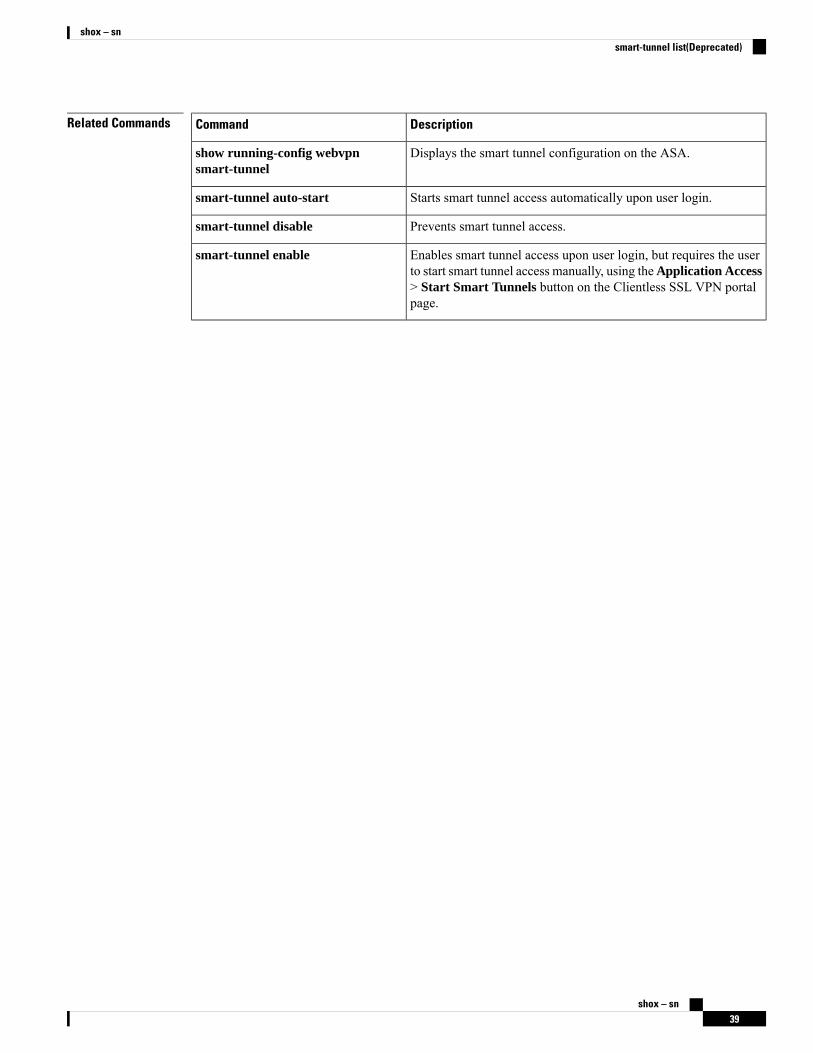
Related Commands DescriptionCommand
Displays the smart tunnel configuration on the ASA.show running-config webvpnsmart-tunnel
Starts smart tunnel access automatically upon user login.smart-tunnel auto-start
Prevents smart tunnel access.smart-tunnel disable
Enables smart tunnel access upon user login, but requires the userto start smart tunnel access manually, using theApplication Access> Start Smart Tunnels button on the Clientless SSL VPN portalpage.
smart-tunnel enable
shox – sn39
shox – snsmart-tunnel list(Deprecated)
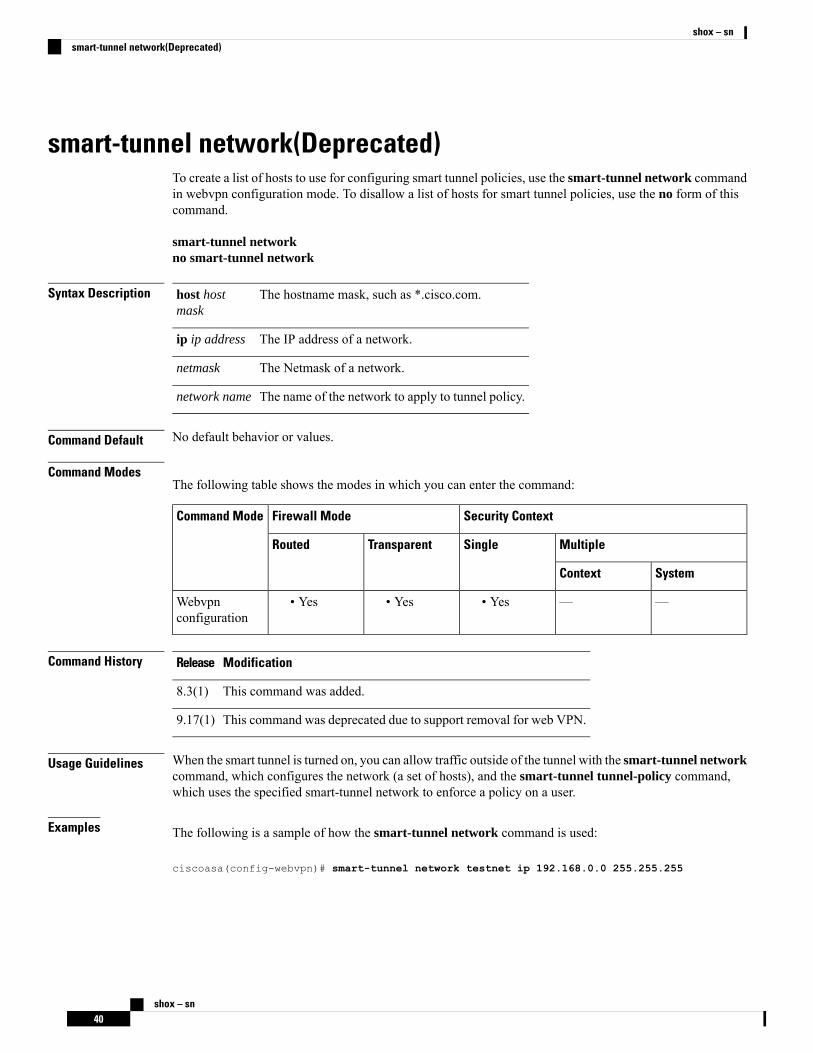
smart-tunnel network(Deprecated)To create a list of hosts to use for configuring smart tunnel policies, use the smart-tunnel network commandin webvpn configuration mode. To disallow a list of hosts for smart tunnel policies, use the no form of thiscommand.
smart-tunnel networkno smart-tunnel network
Syntax Description The hostname mask, such as *.cisco.com.host hostmask
The IP address of a network.ip ip address
The Netmask of a network.netmask
The name of the network to apply to tunnel policy.network name
Command Default No default behavior or values.
Command ModesThe following table shows the modes in which you can enter the command:
Security ContextFirewall ModeCommand Mode
MultipleSingleTransparentRouted
SystemContext
——• Yes• Yes• YesWebvpnconfiguration
Command History ModificationRelease
This command was added.8.3(1)
This command was deprecated due to support removal for web VPN.9.17(1)
Usage Guidelines When the smart tunnel is turned on, you can allow traffic outside of the tunnel with the smart-tunnel networkcommand, which configures the network (a set of hosts), and the smart-tunnel tunnel-policy command,which uses the specified smart-tunnel network to enforce a policy on a user.
Examples The following is a sample of how the smart-tunnel network command is used:
ciscoasa(config-webvpn)# smart-tunnel network testnet ip 192.168.0.0 255.255.255
shox – sn40
shox – snsmart-tunnel network(Deprecated)

Related Commands DescriptionCommand
Uses the specified smart-tunnel network to enforce a policy on a user.smart-tunneltunnel-policy
shox – sn41
shox – snsmart-tunnel network(Deprecated)
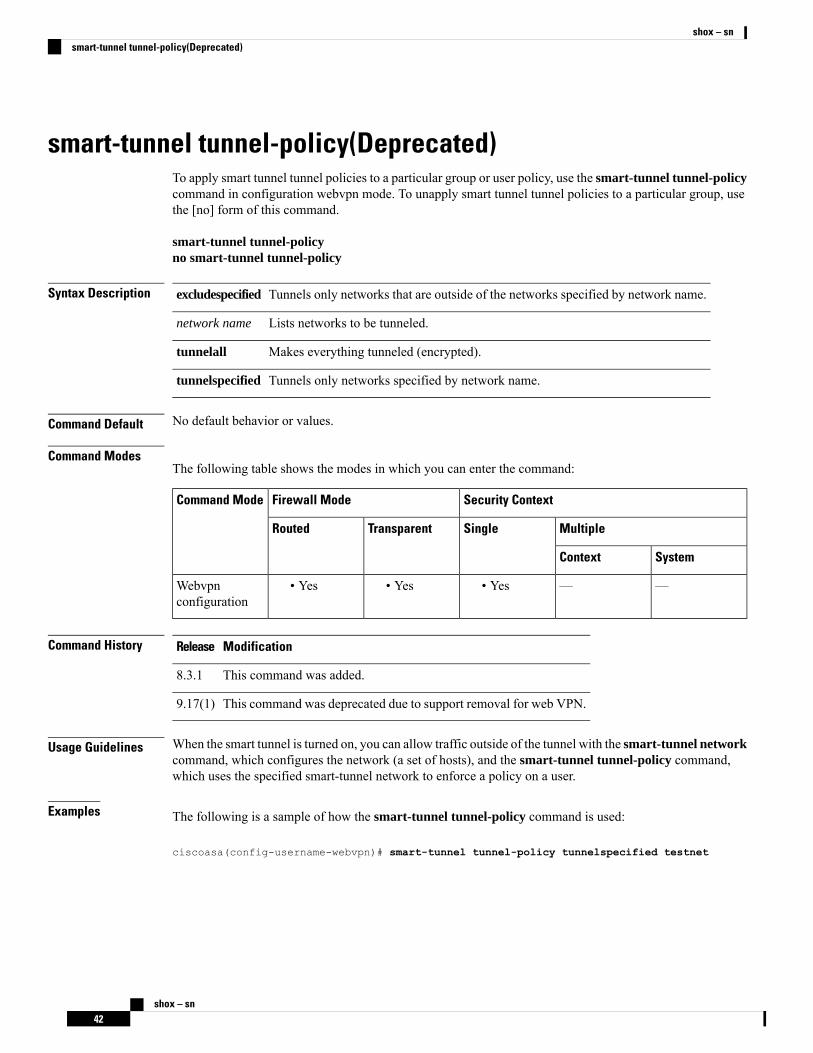
smart-tunnel tunnel-policy(Deprecated)To apply smart tunnel tunnel policies to a particular group or user policy, use the smart-tunnel tunnel-policycommand in configuration webvpn mode. To unapply smart tunnel tunnel policies to a particular group, usethe [no] form of this command.
smart-tunnel tunnel-policyno smart-tunnel tunnel-policy
Syntax Description Tunnels only networks that are outside of the networks specified by network name.excludespecified
Lists networks to be tunneled.network name
Makes everything tunneled (encrypted).tunnelall
Tunnels only networks specified by network name.tunnelspecified
Command Default No default behavior or values.
Command ModesThe following table shows the modes in which you can enter the command:
Security ContextFirewall ModeCommand Mode
MultipleSingleTransparentRouted
SystemContext
——• Yes• Yes• YesWebvpnconfiguration
Command History ModificationRelease
This command was added.8.3.1
This command was deprecated due to support removal for web VPN.9.17(1)
Usage Guidelines When the smart tunnel is turned on, you can allow traffic outside of the tunnel with the smart-tunnel networkcommand, which configures the network (a set of hosts), and the smart-tunnel tunnel-policy command,which uses the specified smart-tunnel network to enforce a policy on a user.
Examples The following is a sample of how the smart-tunnel tunnel-policy command is used:
ciscoasa(config-username-webvpn)# smart-tunnel tunnel-policy tunnelspecified testnet
shox – sn42
shox – snsmart-tunnel tunnel-policy(Deprecated)

Related Commands DescriptionCommand
Creates a list of hosts for configuring smart tunnel policies.smart-tunnelnetwork
shox – sn43
shox – snsmart-tunnel tunnel-policy(Deprecated)
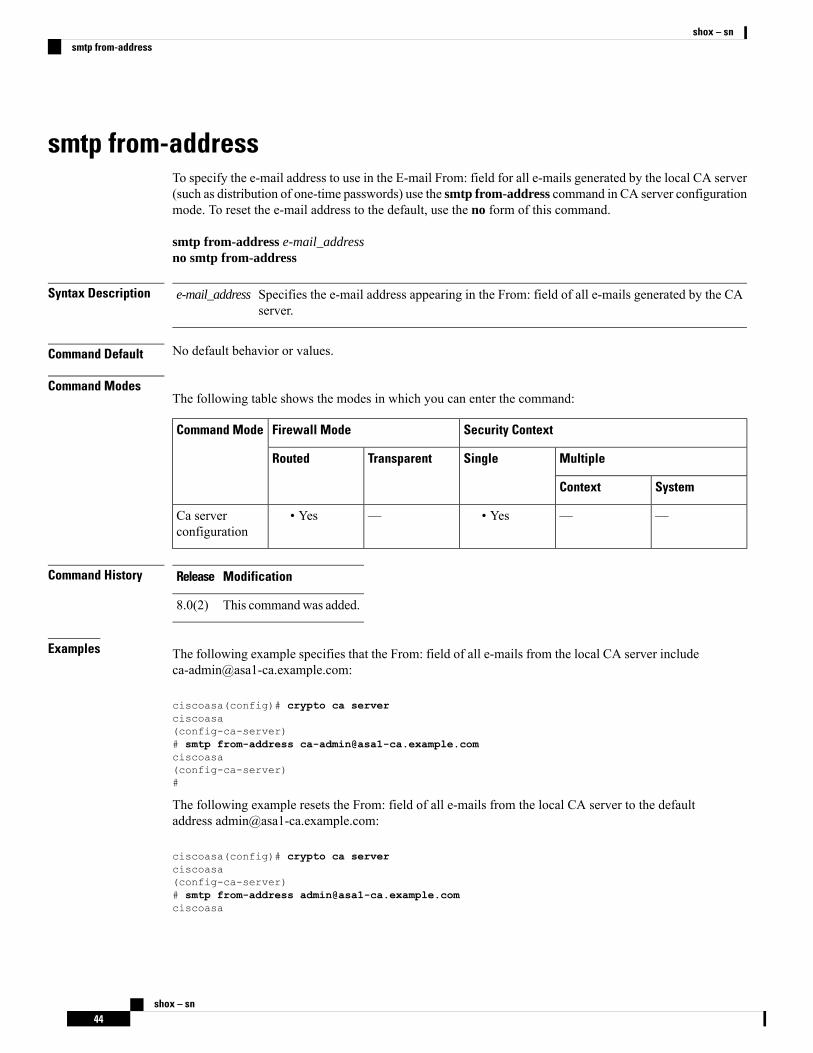
smtp from-addressTo specify the e-mail address to use in the E-mail From: field for all e-mails generated by the local CA server(such as distribution of one-time passwords) use the smtp from-address command in CA server configurationmode. To reset the e-mail address to the default, use the no form of this command.
smtp from-address e-mail_addressno smtp from-address
Syntax Description Specifies the e-mail address appearing in the From: field of all e-mails generated by the CAserver.
e-mail_address
Command Default No default behavior or values.
Command ModesThe following table shows the modes in which you can enter the command:
Security ContextFirewall ModeCommand Mode
MultipleSingleTransparentRouted
SystemContext
——• Yes—• YesCa serverconfiguration
Command History ModificationRelease
This commandwas added.8.0(2)
Examples The following example specifies that the From: field of all e-mails from the local CA server [email protected]:
ciscoasa(config)# crypto ca serverciscoasa(config-ca-server)# smtp from-address [email protected](config-ca-server)#
The following example resets the From: field of all e-mails from the local CA server to the defaultaddress [email protected]:
ciscoasa(config)# crypto ca serverciscoasa(config-ca-server)# smtp from-address [email protected]
shox – sn44
shox – snsmtp from-address
(config-ca-server)#
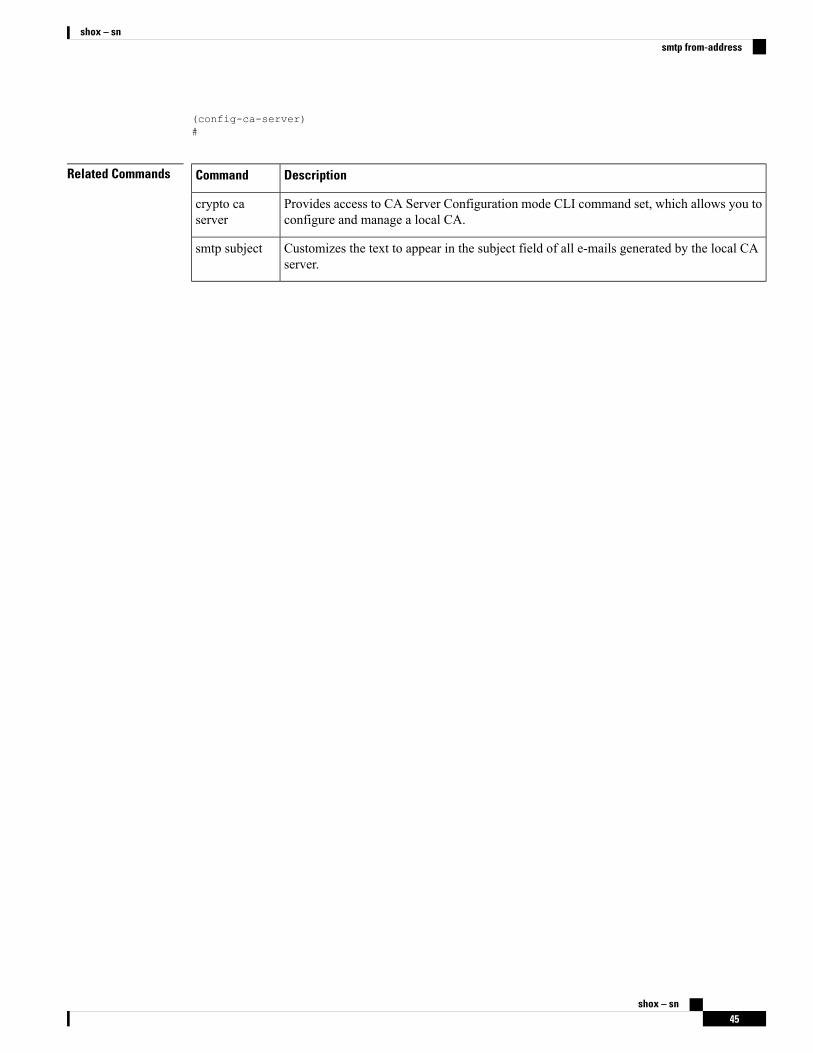
Related Commands DescriptionCommand
Provides access to CA Server Configuration mode CLI command set, which allows you toconfigure and manage a local CA.
crypto caserver
Customizes the text to appear in the subject field of all e-mails generated by the local CAserver.
smtp subject
shox – sn45
shox – snsmtp from-address
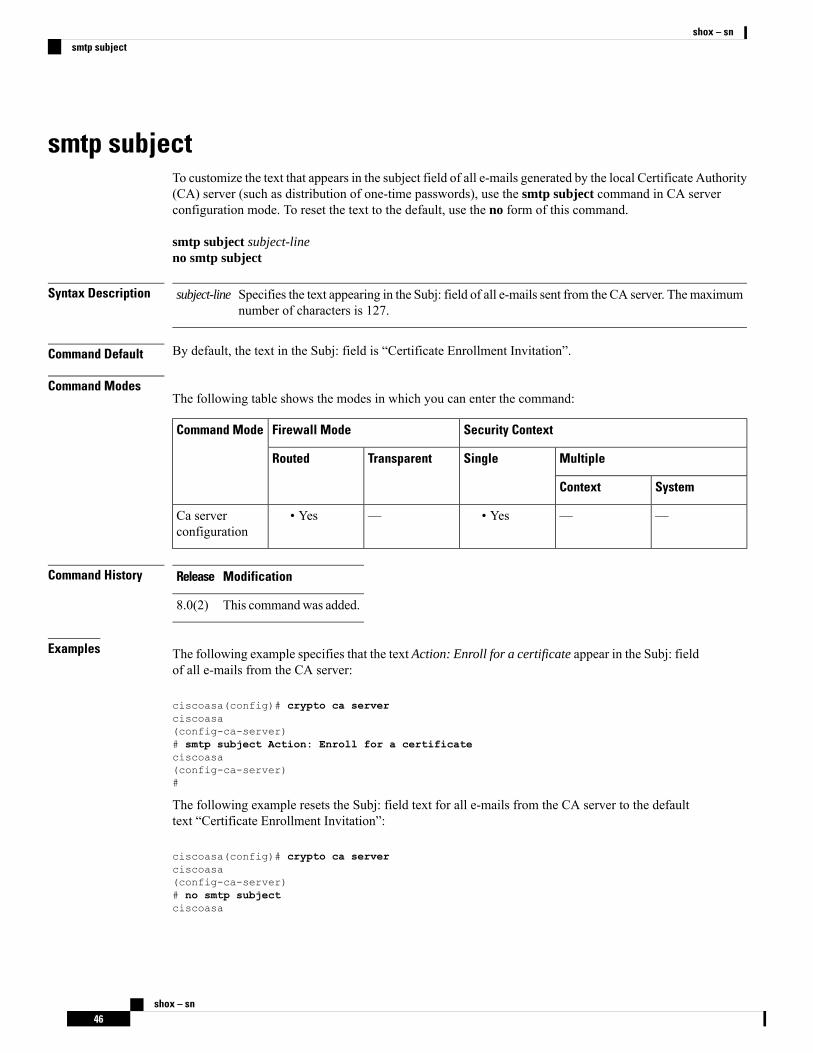
smtp subjectTo customize the text that appears in the subject field of all e-mails generated by the local Certificate Authority(CA) server (such as distribution of one-time passwords), use the smtp subject command in CA serverconfiguration mode. To reset the text to the default, use the no form of this command.
smtp subject subject-lineno smtp subject
Syntax Description Specifies the text appearing in the Subj: field of all e-mails sent from the CA server. Themaximumnumber of characters is 127.
subject-line
Command Default By default, the text in the Subj: field is “Certificate Enrollment Invitation”.
Command ModesThe following table shows the modes in which you can enter the command:
Security ContextFirewall ModeCommand Mode
MultipleSingleTransparentRouted
SystemContext
——• Yes—• YesCa serverconfiguration
Command History ModificationRelease
This commandwas added.8.0(2)
Examples The following example specifies that the text Action: Enroll for a certificate appear in the Subj: fieldof all e-mails from the CA server:
ciscoasa(config)# crypto ca serverciscoasa(config-ca-server)# smtp subject Action: Enroll for a certificateciscoasa(config-ca-server)#
The following example resets the Subj: field text for all e-mails from the CA server to the defaulttext “Certificate Enrollment Invitation”:
ciscoasa(config)# crypto ca serverciscoasa(config-ca-server)# no smtp subjectciscoasa
shox – sn46
shox – snsmtp subject
(config-ca-server)#
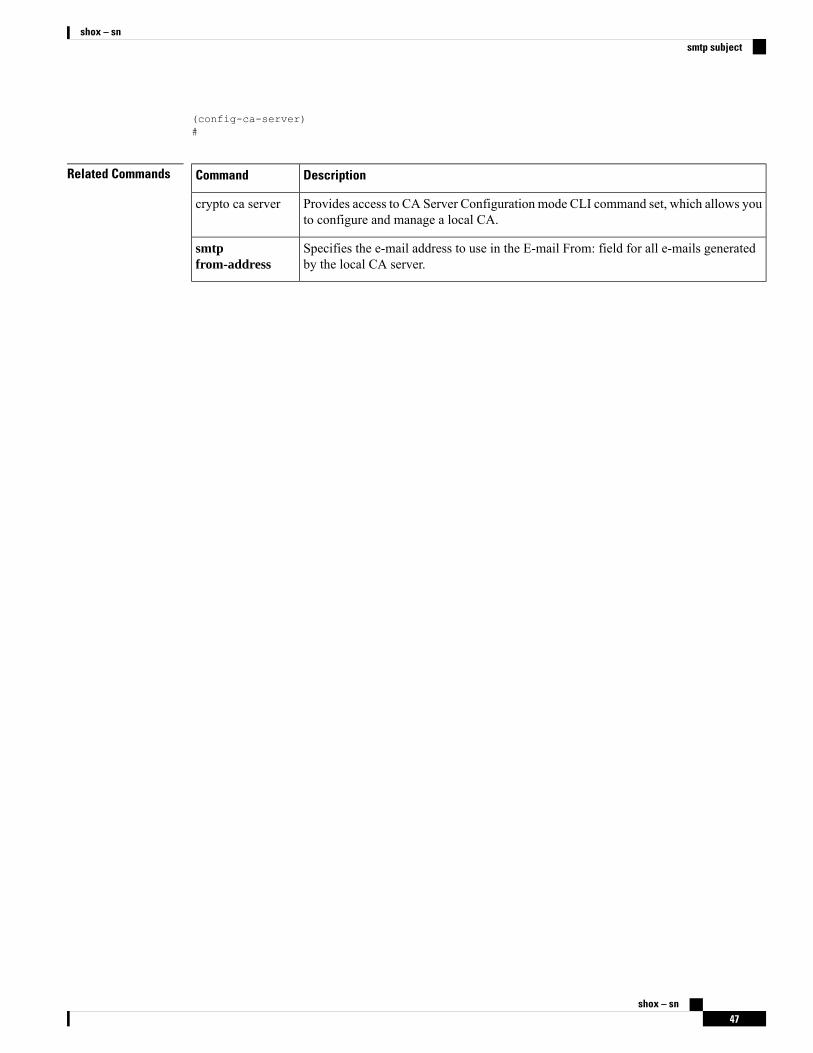
Related Commands DescriptionCommand
Provides access to CA Server Configuration mode CLI command set, which allows youto configure and manage a local CA.
crypto ca server
Specifies the e-mail address to use in the E-mail From: field for all e-mails generatedby the local CA server.
smtpfrom-address
shox – sn47
shox – snsmtp subject
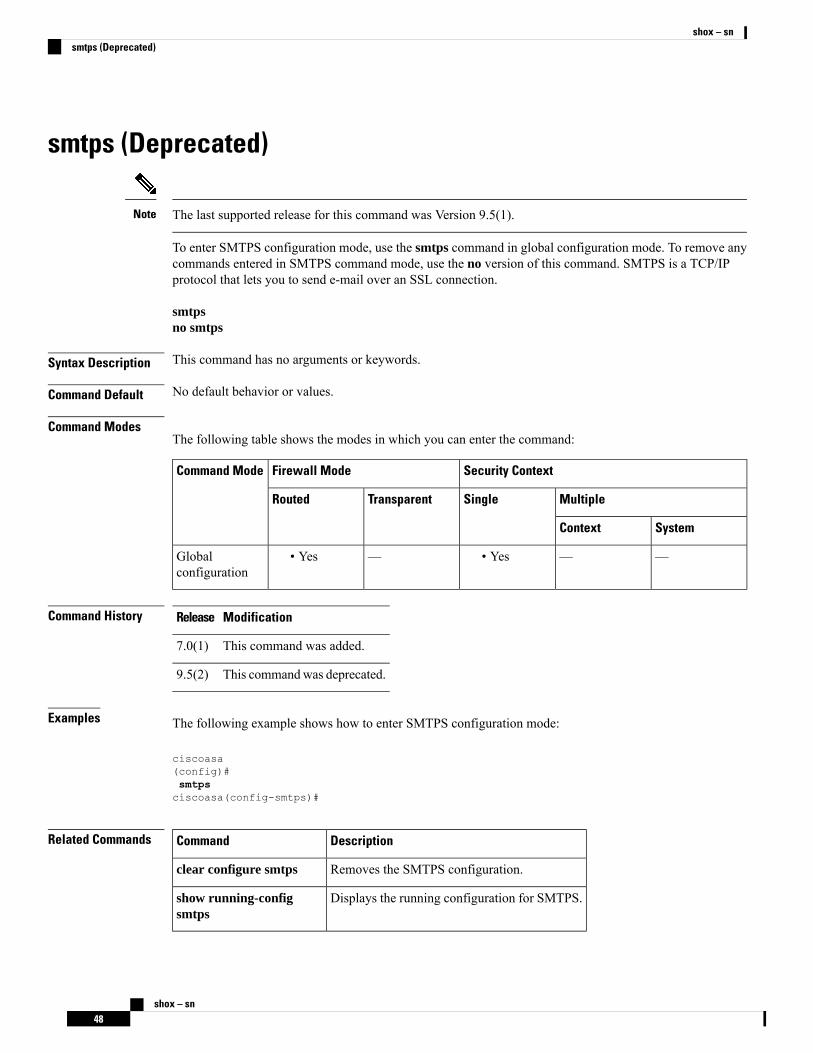
smtps (Deprecated)
The last supported release for this command was Version 9.5(1).Note
To enter SMTPS configuration mode, use the smtps command in global configuration mode. To remove anycommands entered in SMTPS command mode, use the no version of this command. SMTPS is a TCP/IPprotocol that lets you to send e-mail over an SSL connection.
smtpsno smtps
Syntax Description This command has no arguments or keywords.
Command Default No default behavior or values.
Command ModesThe following table shows the modes in which you can enter the command:
Security ContextFirewall ModeCommand Mode
MultipleSingleTransparentRouted
SystemContext
——• Yes—• YesGlobalconfiguration
Command History ModificationRelease
This command was added.7.0(1)
This commandwas deprecated.9.5(2)
Examples The following example shows how to enter SMTPS configuration mode:
ciscoasa(config)#smtpsciscoasa(config-smtps)#
Related Commands DescriptionCommand
Removes the SMTPS configuration.clear configure smtps
Displays the running configuration for SMTPS.show running-configsmtps
shox – sn48
shox – snsmtps (Deprecated)
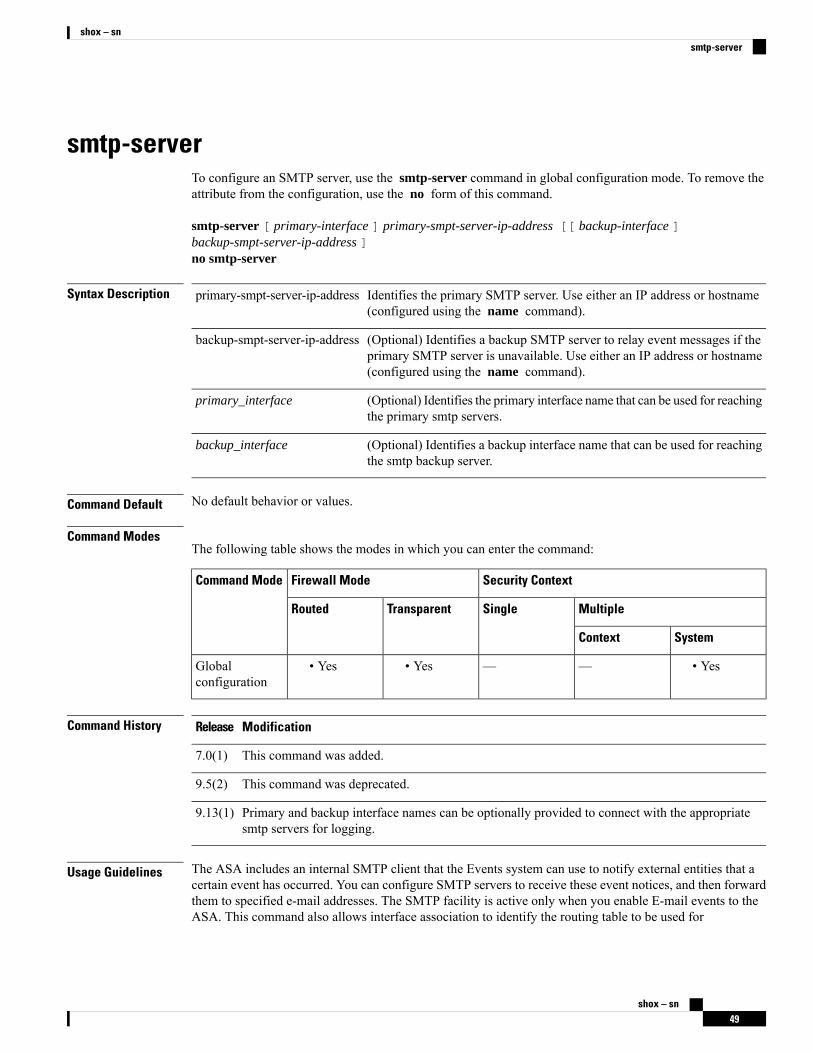
smtp-serverTo configure an SMTP server, use the smtp-server command in global configuration mode. To remove theattribute from the configuration, use the no form of this command.
smtp-server [ primary-interface ] primary-smpt-server-ip-address [[ backup-interface ]backup-smpt-server-ip-address ]no smtp-server
Syntax Description Identifies the primary SMTP server. Use either an IP address or hostname(configured using the name command).
primary-smpt-server-ip-address
(Optional) Identifies a backup SMTP server to relay event messages if theprimary SMTP server is unavailable. Use either an IP address or hostname(configured using the name command).
backup-smpt-server-ip-address
(Optional) Identifies the primary interface name that can be used for reachingthe primary smtp servers.
primary_interface
(Optional) Identifies a backup interface name that can be used for reachingthe smtp backup server.
backup_interface
Command Default No default behavior or values.
Command ModesThe following table shows the modes in which you can enter the command:
Security ContextFirewall ModeCommand Mode
MultipleSingleTransparentRouted
SystemContext
• Yes——• Yes• YesGlobalconfiguration
Command History ModificationRelease
This command was added.7.0(1)
This command was deprecated.9.5(2)
Primary and backup interface names can be optionally provided to connect with the appropriatesmtp servers for logging.
9.13(1)
Usage Guidelines The ASA includes an internal SMTP client that the Events system can use to notify external entities that acertain event has occurred. You can configure SMTP servers to receive these event notices, and then forwardthem to specified e-mail addresses. The SMTP facility is active only when you enable E-mail events to theASA. This command also allows interface association to identify the routing table to be used for
shox – sn49
shox – snsmtp-server
logging—management routing table or data routing table. If no interface is provided, ASA would refer tomanagement routing table lookup, and if no proper route entry is present, it would look at the data routingtable.
Examples The following examples show how to set an SMTP server with an IP address of 10.1.1.24, and abackup SMTP server with an IP address of 10.1.1.34:
ciscoasa(config)#smtp-server 10.1.1.24 10.1.1.34ciscoasa(config)#smtp-server 10.1.1.24ciscoasa(config)#smtp-server management 10.1.1.24 outside 10.1.1.34ciscoasa(config)#smtp-server management 10.1.1.24
shox – sn50
shox – snsmtp-server
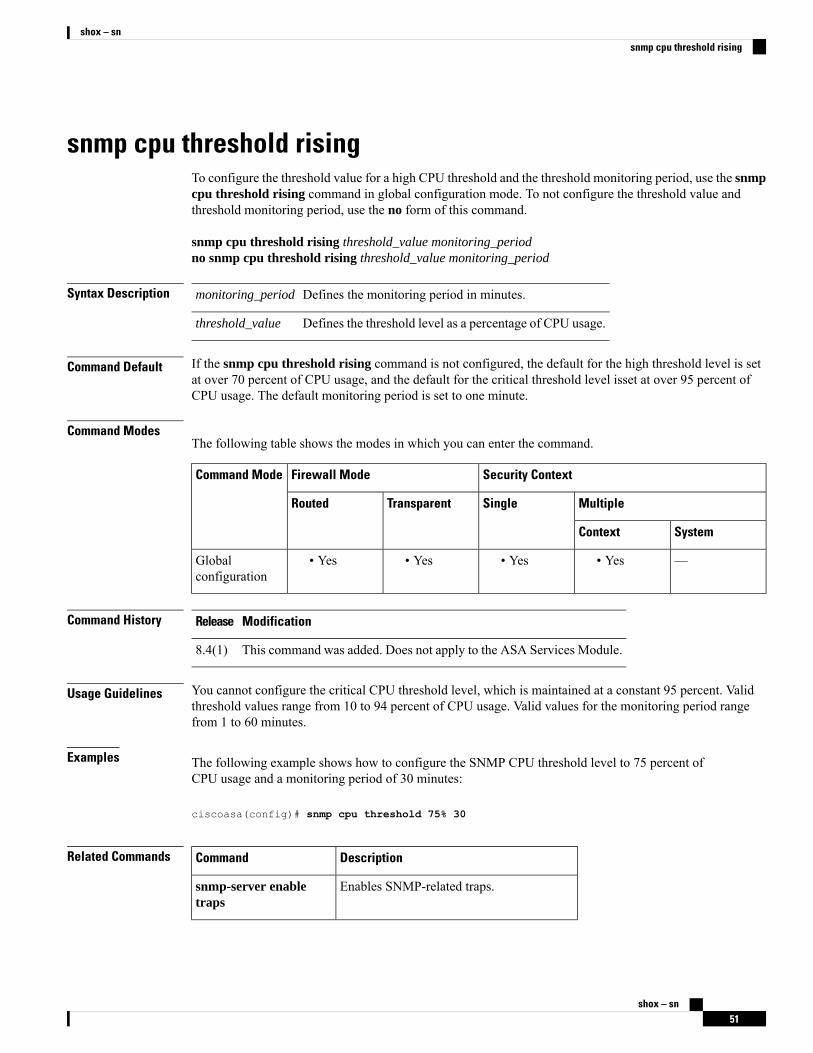
snmp cpu threshold risingTo configure the threshold value for a high CPU threshold and the threshold monitoring period, use the snmpcpu threshold rising command in global configuration mode. To not configure the threshold value andthreshold monitoring period, use the no form of this command.
snmp cpu threshold rising threshold_value monitoring_periodno snmp cpu threshold rising threshold_value monitoring_period
Syntax Description Defines the monitoring period in minutes.monitoring_period
Defines the threshold level as a percentage of CPU usage.threshold_value
Command Default If the snmp cpu threshold rising command is not configured, the default for the high threshold level is setat over 70 percent of CPU usage, and the default for the critical threshold level isset at over 95 percent ofCPU usage. The default monitoring period is set to one minute.
Command ModesThe following table shows the modes in which you can enter the command.
Security ContextFirewall ModeCommand Mode
MultipleSingleTransparentRouted
SystemContext
—• Yes• Yes• Yes• YesGlobalconfiguration
Command History ModificationRelease
This command was added. Does not apply to the ASA Services Module.8.4(1)
Usage Guidelines You cannot configure the critical CPU threshold level, which is maintained at a constant 95 percent. Validthreshold values range from 10 to 94 percent of CPU usage. Valid values for the monitoring period rangefrom 1 to 60 minutes.
Examples The following example shows how to configure the SNMP CPU threshold level to 75 percent ofCPU usage and a monitoring period of 30 minutes:
ciscoasa(config)# snmp cpu threshold 75% 30
Related Commands DescriptionCommand
Enables SNMP-related traps.snmp-server enabletraps
shox – sn51
shox – snsnmp cpu threshold rising
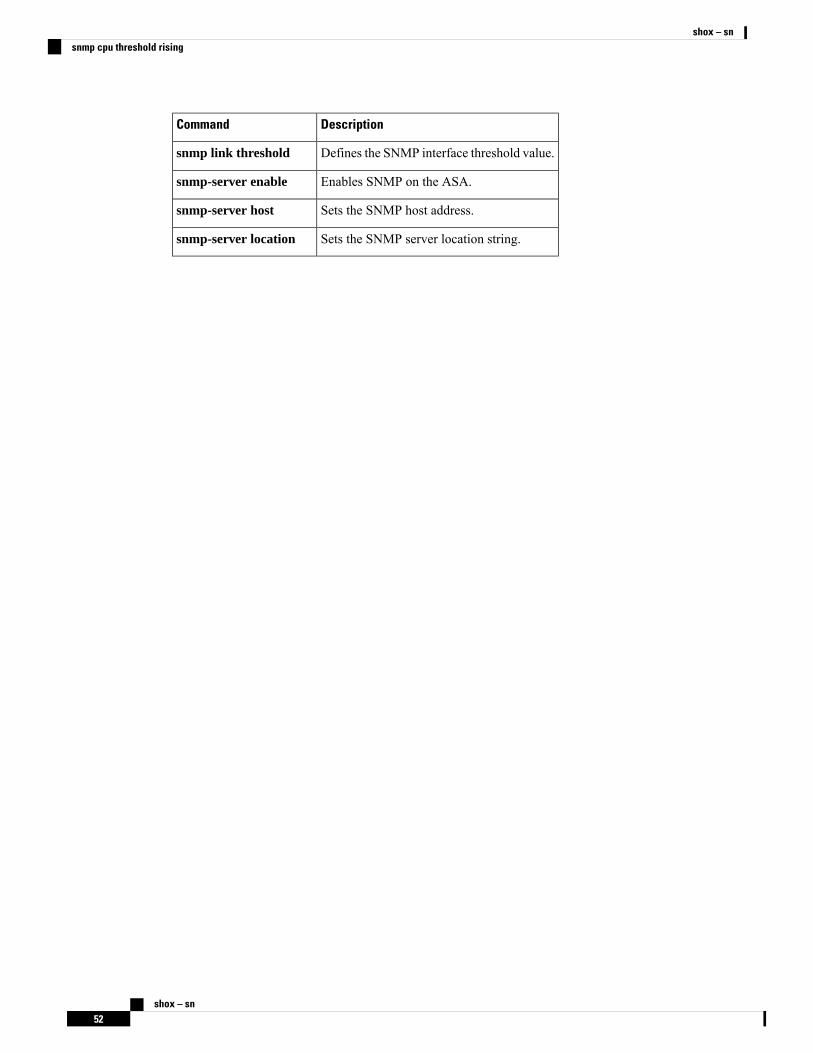
DescriptionCommand
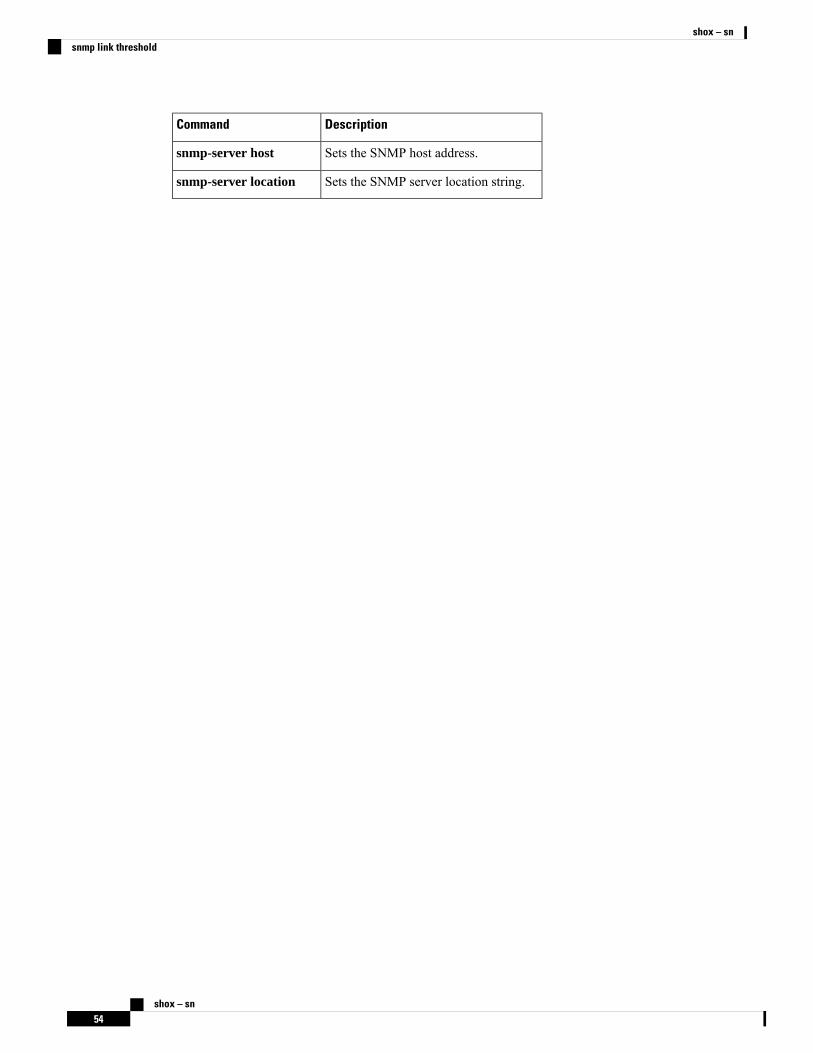
Defines the SNMP interface threshold value.snmp link threshold
Enables SNMP on the ASA.snmp-server enable
Sets the SNMP host address.snmp-server host
Sets the SNMP server location string.snmp-server location
shox – sn52
shox – snsnmp cpu threshold rising
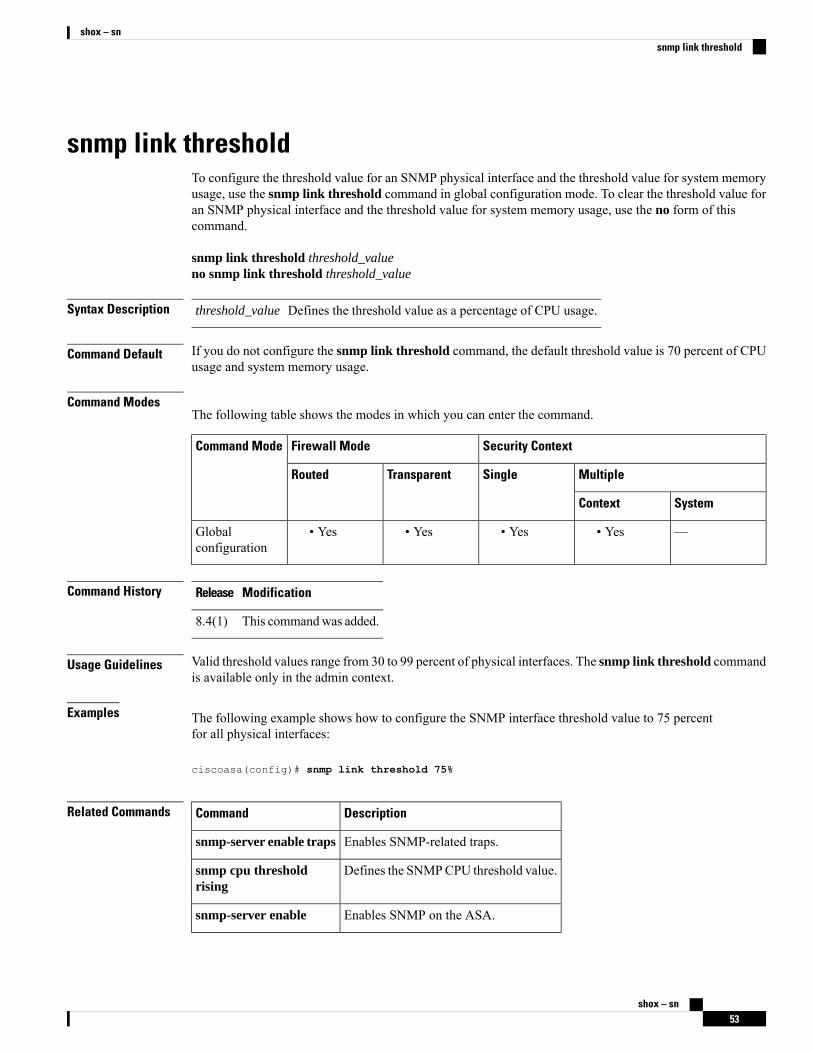
snmp link thresholdTo configure the threshold value for an SNMP physical interface and the threshold value for system memoryusage, use the snmp link threshold command in global configuration mode. To clear the threshold value foran SNMP physical interface and the threshold value for system memory usage, use the no form of thiscommand.
snmp link threshold threshold_valueno snmp link threshold threshold_value
Syntax Description Defines the threshold value as a percentage of CPU usage.threshold_value
Command Default If you do not configure the snmp link threshold command, the default threshold value is 70 percent of CPUusage and system memory usage.
Command ModesThe following table shows the modes in which you can enter the command.
Security ContextFirewall ModeCommand Mode
MultipleSingleTransparentRouted
SystemContext
—• Yes• Yes• Yes• YesGlobalconfiguration
Command History ModificationRelease
This commandwas added.8.4(1)
Usage Guidelines Valid threshold values range from 30 to 99 percent of physical interfaces. The snmp link threshold commandis available only in the admin context.
Examples The following example shows how to configure the SNMP interface threshold value to 75 percentfor all physical interfaces:
ciscoasa(config)# snmp link threshold 75%
Related Commands DescriptionCommand
Enables SNMP-related traps.snmp-server enable traps
Defines the SNMPCPU threshold value.snmp cpu thresholdrising
Enables SNMP on the ASA.snmp-server enable
shox – sn53
shox – snsnmp link threshold
DescriptionCommand
Sets the SNMP host address.snmp-server host
Sets the SNMP server location string.snmp-server location
shox – sn54
shox – snsnmp link threshold
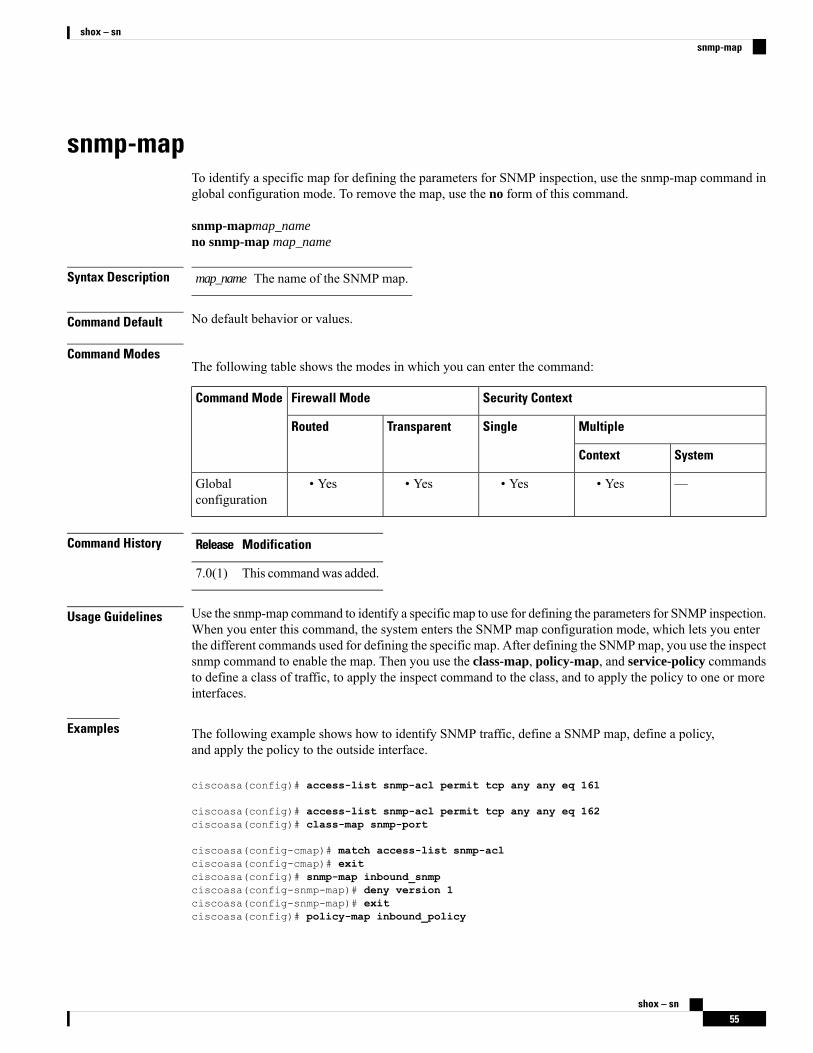
snmp-mapTo identify a specific map for defining the parameters for SNMP inspection, use the snmp-map command inglobal configuration mode. To remove the map, use the no form of this command.
snmp-mapmap_nameno snmp-map map_name
Syntax Description The name of the SNMP map.map_name
Command Default No default behavior or values.
Command ModesThe following table shows the modes in which you can enter the command:
Security ContextFirewall ModeCommand Mode
MultipleSingleTransparentRouted
SystemContext
—• Yes• Yes• Yes• YesGlobalconfiguration
Command History ModificationRelease
This commandwas added.7.0(1)
Usage Guidelines Use the snmp-map command to identify a specific map to use for defining the parameters for SNMP inspection.When you enter this command, the system enters the SNMP map configuration mode, which lets you enterthe different commands used for defining the specific map. After defining the SNMPmap, you use the inspectsnmp command to enable the map. Then you use the class-map, policy-map, and service-policy commandsto define a class of traffic, to apply the inspect command to the class, and to apply the policy to one or moreinterfaces.
Examples The following example shows how to identify SNMP traffic, define a SNMP map, define a policy,and apply the policy to the outside interface.
ciscoasa(config)# access-list snmp-acl permit tcp any any eq 161
ciscoasa(config)# access-list snmp-acl permit tcp any any eq 162ciscoasa(config)# class-map snmp-port
ciscoasa(config-cmap)# match access-list snmp-aclciscoasa(config-cmap)# exitciscoasa(config)# snmp-map inbound_snmpciscoasa(config-snmp-map)# deny version 1ciscoasa(config-snmp-map)# exitciscoasa(config)# policy-map inbound_policy
shox – sn55
shox – snsnmp-map
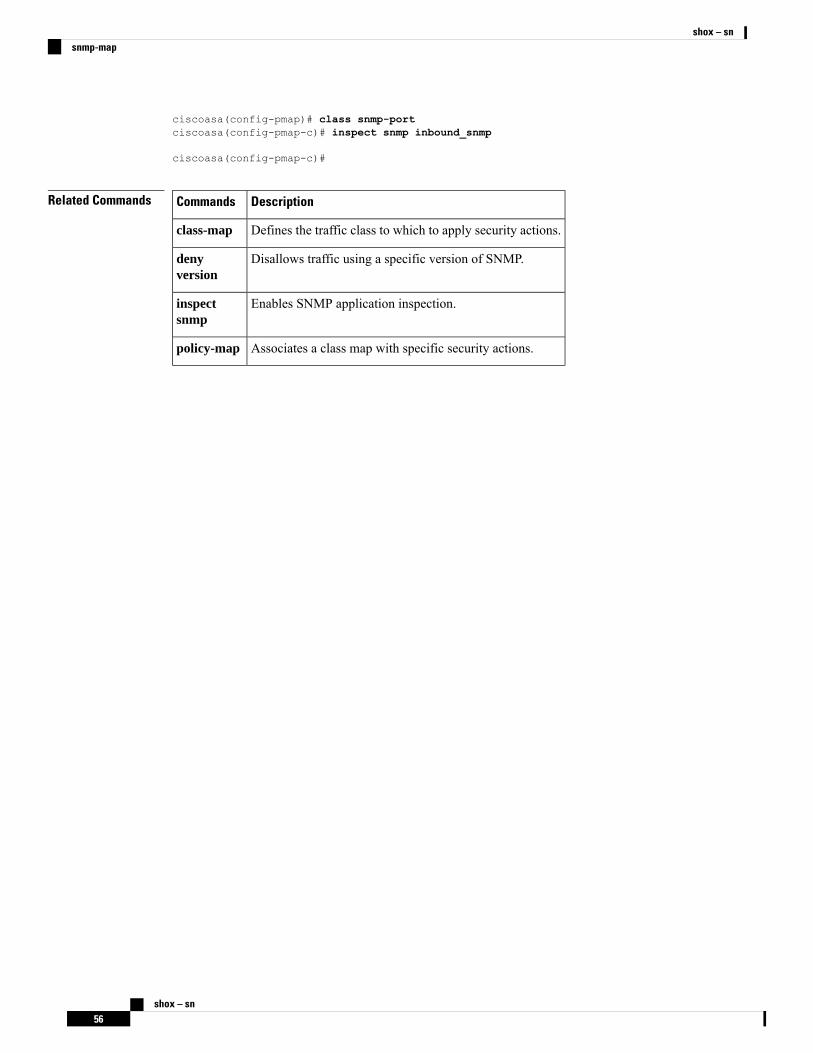
ciscoasa(config-pmap)# class snmp-portciscoasa(config-pmap-c)# inspect snmp inbound_snmp
ciscoasa(config-pmap-c)#
Related Commands DescriptionCommands
Defines the traffic class to which to apply security actions.class-map
Disallows traffic using a specific version of SNMP.denyversion
Enables SNMP application inspection.inspectsnmp
Associates a class map with specific security actions.policy-map
shox – sn56
shox – snsnmp-map
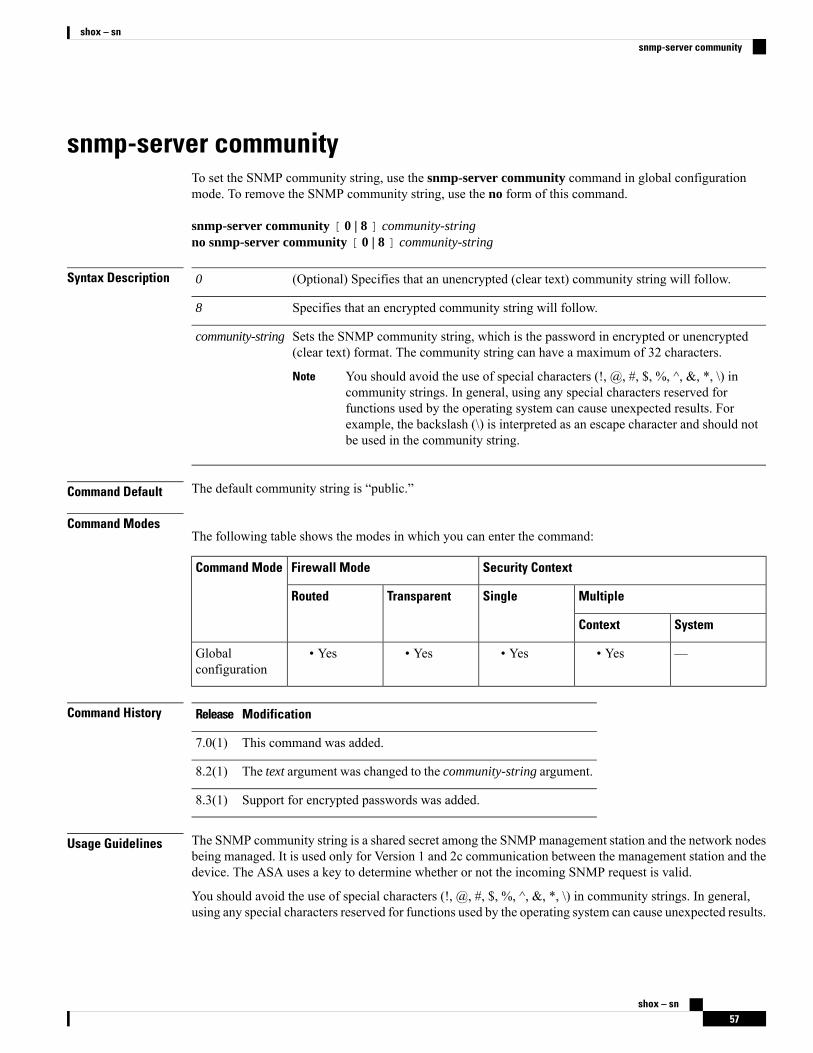
snmp-server communityTo set the SNMP community string, use the snmp-server community command in global configurationmode. To remove the SNMP community string, use the no form of this command.
snmp-server community [ 0 | 8 ] community-stringno snmp-server community [ 0 | 8 ] community-string
Syntax Description (Optional) Specifies that an unencrypted (clear text) community string will follow.0
Specifies that an encrypted community string will follow.8
Sets the SNMP community string, which is the password in encrypted or unencrypted(clear text) format. The community string can have a maximum of 32 characters.
You should avoid the use of special characters (!, @, #, $, %, ^, &, *, \) incommunity strings. In general, using any special characters reserved forfunctions used by the operating system can cause unexpected results. Forexample, the backslash (\) is interpreted as an escape character and should notbe used in the community string.
Note
community-string
Command Default The default community string is “public.”
Command ModesThe following table shows the modes in which you can enter the command:
Security ContextFirewall ModeCommand Mode
MultipleSingleTransparentRouted
SystemContext
—• Yes• Yes• Yes• YesGlobalconfiguration
Command History ModificationRelease
This command was added.7.0(1)
The text argument was changed to the community-string argument.8.2(1)
Support for encrypted passwords was added.8.3(1)
Usage Guidelines The SNMP community string is a shared secret among the SNMPmanagement station and the network nodesbeing managed. It is used only for Version 1 and 2c communication between the management station and thedevice. The ASA uses a key to determine whether or not the incoming SNMP request is valid.
You should avoid the use of special characters (!, @, #, $, %, ^, &, *, \) in community strings. In general,using any special characters reserved for functions used by the operating system can cause unexpected results.
shox – sn57
shox – snsnmp-server community
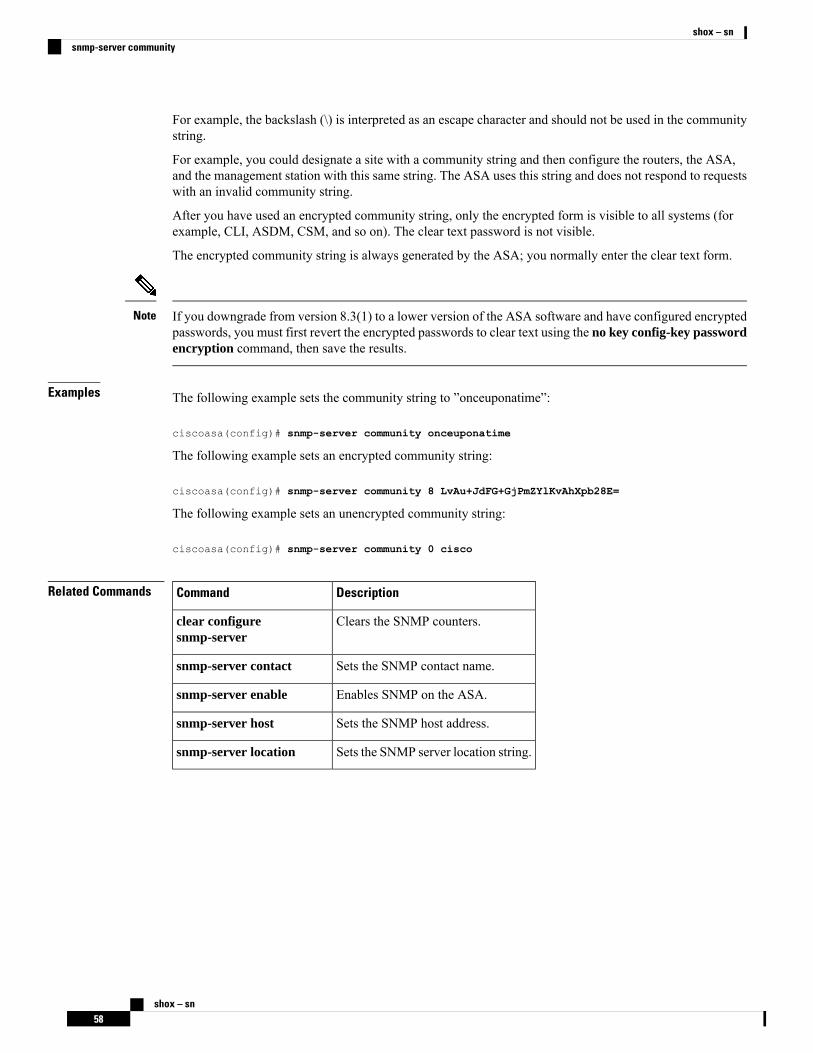
For example, the backslash (\) is interpreted as an escape character and should not be used in the communitystring.
For example, you could designate a site with a community string and then configure the routers, the ASA,and the management station with this same string. The ASA uses this string and does not respond to requestswith an invalid community string.
After you have used an encrypted community string, only the encrypted form is visible to all systems (forexample, CLI, ASDM, CSM, and so on). The clear text password is not visible.
The encrypted community string is always generated by the ASA; you normally enter the clear text form.
If you downgrade from version 8.3(1) to a lower version of the ASA software and have configured encryptedpasswords, you must first revert the encrypted passwords to clear text using the no key config-key passwordencryption command, then save the results.
Note
Examples The following example sets the community string to ”onceuponatime”:
ciscoasa(config)# snmp-server community onceuponatime
The following example sets an encrypted community string:
ciscoasa(config)# snmp-server community 8 LvAu+JdFG+GjPmZYlKvAhXpb28E=
The following example sets an unencrypted community string:
ciscoasa(config)# snmp-server community 0 cisco
Related Commands DescriptionCommand
Clears the SNMP counters.clear configuresnmp-server
Sets the SNMP contact name.snmp-server contact
Enables SNMP on the ASA.snmp-server enable
Sets the SNMP host address.snmp-server host
Sets the SNMP server location string.snmp-server location
shox – sn58
shox – snsnmp-server community
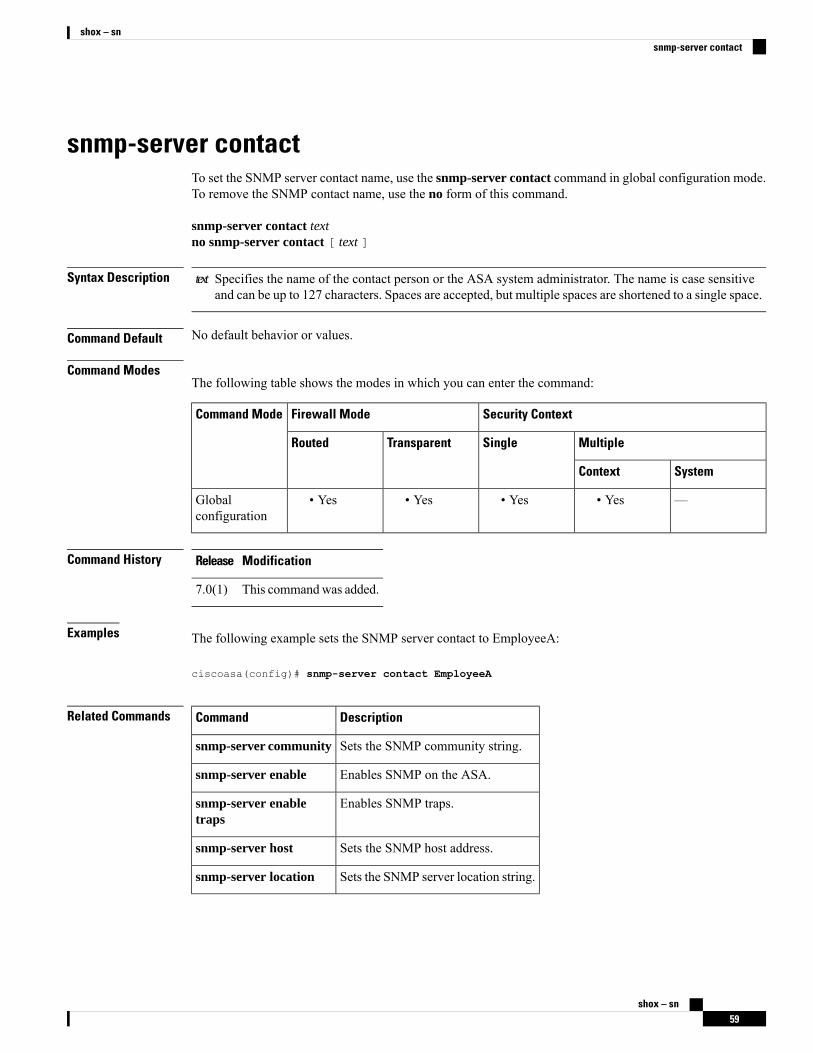
snmp-server contactTo set the SNMP server contact name, use the snmp-server contact command in global configuration mode.To remove the SNMP contact name, use the no form of this command.
snmp-server contact textno snmp-server contact [ text ]
Syntax Description Specifies the name of the contact person or the ASA system administrator. The name is case sensitiveand can be up to 127 characters. Spaces are accepted, but multiple spaces are shortened to a single space.
text
Command Default No default behavior or values.
Command ModesThe following table shows the modes in which you can enter the command:
Security ContextFirewall ModeCommand Mode
MultipleSingleTransparentRouted
SystemContext
—• Yes• Yes• Yes• YesGlobalconfiguration
Command History ModificationRelease
This commandwas added.7.0(1)
Examples The following example sets the SNMP server contact to EmployeeA:
ciscoasa(config)# snmp-server contact EmployeeA
Related Commands DescriptionCommand
Sets the SNMP community string.snmp-server community
Enables SNMP on the ASA.snmp-server enable
Enables SNMP traps.snmp-server enabletraps
Sets the SNMP host address.snmp-server host
Sets the SNMP server location string.snmp-server location
shox – sn59
shox – snsnmp-server contact
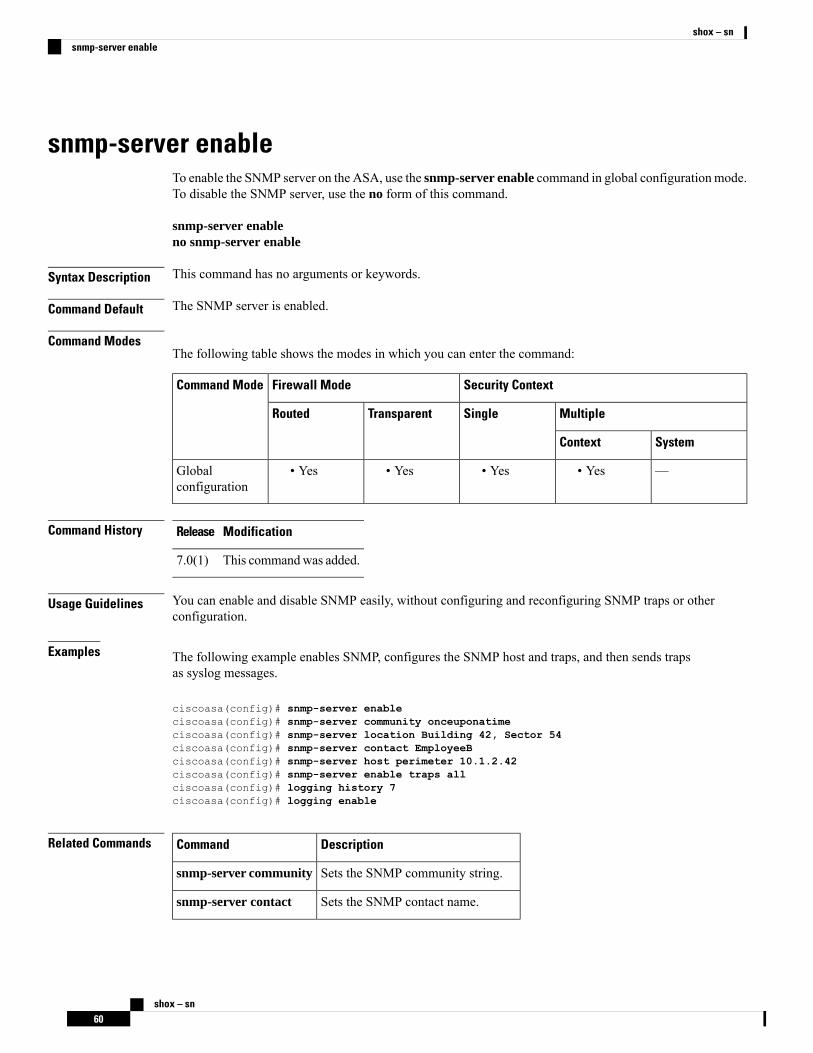
snmp-server enableTo enable the SNMP server on the ASA, use the snmp-server enable command in global configurationmode.To disable the SNMP server, use the no form of this command.
snmp-server enableno snmp-server enable
Syntax Description This command has no arguments or keywords.
Command Default The SNMP server is enabled.
Command ModesThe following table shows the modes in which you can enter the command:
Security ContextFirewall ModeCommand Mode
MultipleSingleTransparentRouted
SystemContext
—• Yes• Yes• Yes• YesGlobalconfiguration
Command History ModificationRelease
This commandwas added.7.0(1)
Usage Guidelines You can enable and disable SNMP easily, without configuring and reconfiguring SNMP traps or otherconfiguration.
Examples The following example enables SNMP, configures the SNMP host and traps, and then sends trapsas syslog messages.
ciscoasa(config)# snmp-server enableciscoasa(config)# snmp-server community onceuponatimeciscoasa(config)# snmp-server location Building 42, Sector 54ciscoasa(config)# snmp-server contact EmployeeBciscoasa(config)# snmp-server host perimeter 10.1.2.42ciscoasa(config)# snmp-server enable traps allciscoasa(config)# logging history 7ciscoasa(config)# logging enable
Related Commands DescriptionCommand
Sets the SNMP community string.snmp-server community
Sets the SNMP contact name.snmp-server contact
shox – sn60
shox – snsnmp-server enable
DescriptionCommand
Enables SNMP traps.snmp-server enabletraps
Sets the SNMP host address.snmp-server host
Sets the SNMP server location string.snmp-server location
shox – sn61
shox – snsnmp-server enable
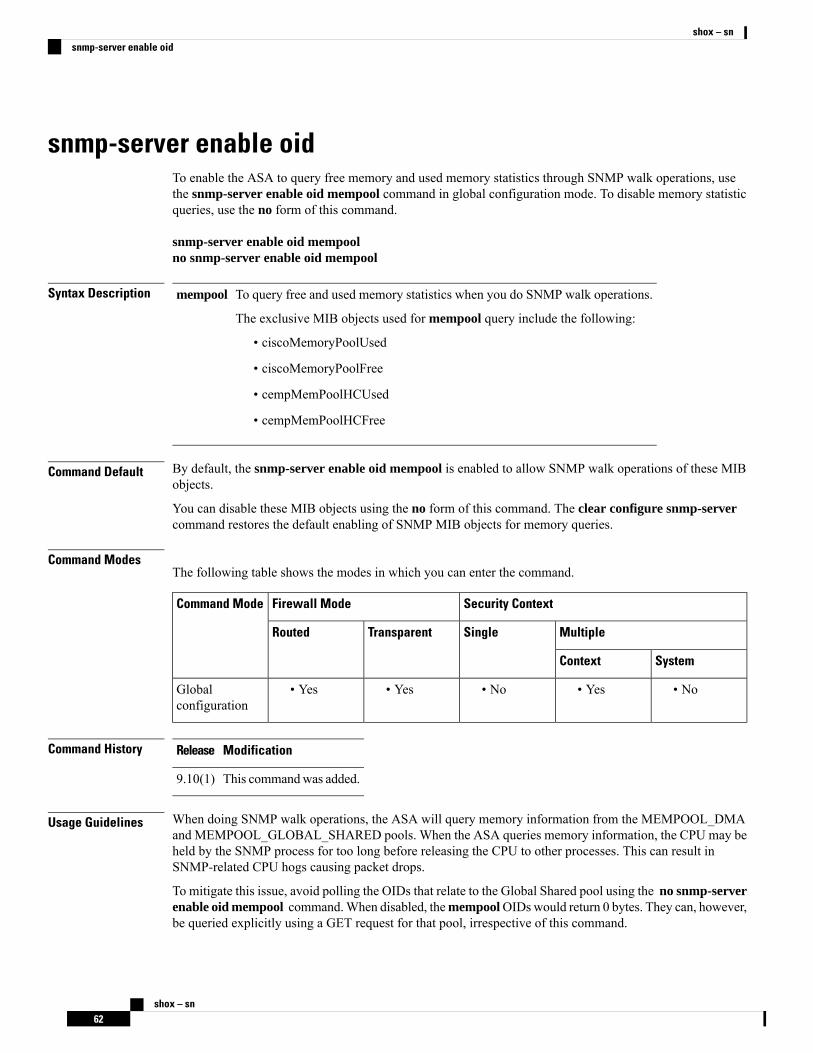
snmp-server enable oidTo enable the ASA to query free memory and used memory statistics through SNMP walk operations, usethe snmp-server enable oid mempool command in global configuration mode. To disable memory statisticqueries, use the no form of this command.
snmp-server enable oid mempoolno snmp-server enable oid mempool
Syntax Description To query free and used memory statistics when you do SNMP walk operations.
The exclusive MIB objects used for mempool query include the following:
• ciscoMemoryPoolUsed
• ciscoMemoryPoolFree
• cempMemPoolHCUsed
• cempMemPoolHCFree
mempool
Command Default By default, the snmp-server enable oid mempool is enabled to allow SNMP walk operations of these MIBobjects.
You can disable these MIB objects using the no form of this command. The clear configure snmp-servercommand restores the default enabling of SNMP MIB objects for memory queries.
Command ModesThe following table shows the modes in which you can enter the command.
Security ContextFirewall ModeCommand Mode
MultipleSingleTransparentRouted
SystemContext
• No• Yes• No• Yes• YesGlobalconfiguration
Command History ModificationRelease
This commandwas added.9.10(1)
Usage Guidelines When doing SNMP walk operations, the ASA will query memory information from the MEMPOOL_DMAand MEMPOOL_GLOBAL_SHARED pools. When the ASA queries memory information, the CPU may beheld by the SNMP process for too long before releasing the CPU to other processes. This can result inSNMP-related CPU hogs causing packet drops.
To mitigate this issue, avoid polling the OIDs that relate to the Global Shared pool using the no snmp-serverenable oid mempool command.When disabled, themempoolOIDswould return 0 bytes. They can, however,be queried explicitly using a GET request for that pool, irrespective of this command.
shox – sn62
shox – snsnmp-server enable oid
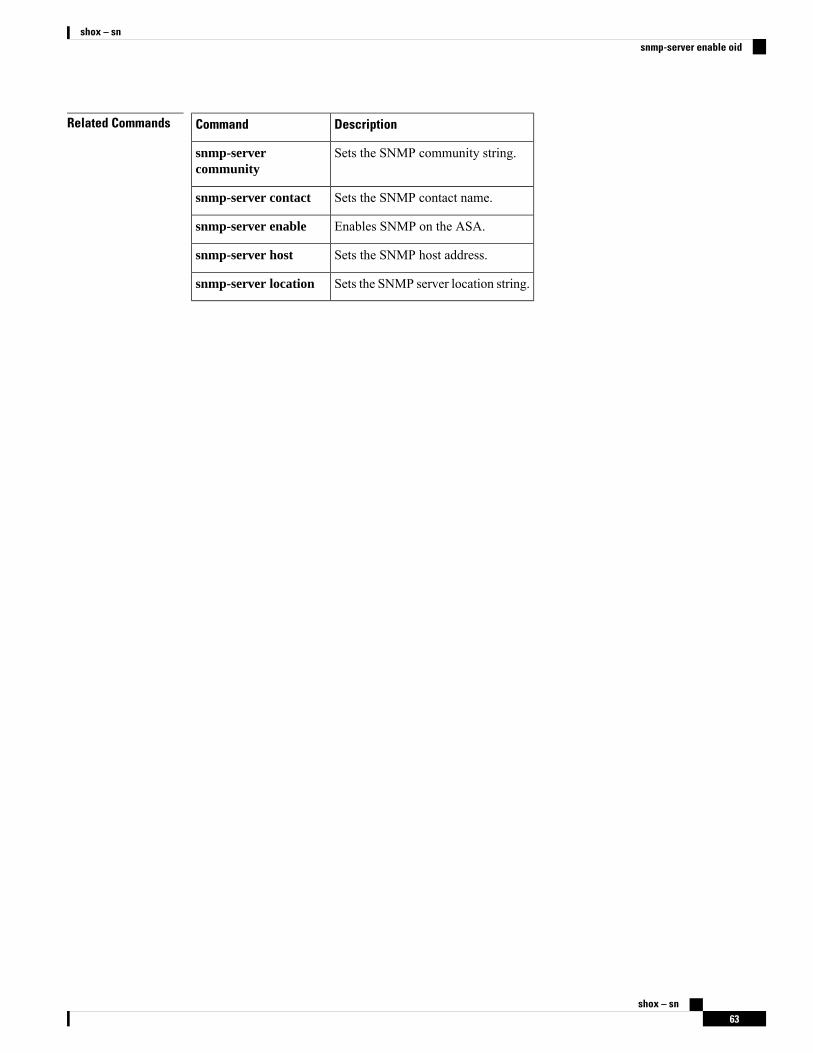
Related Commands DescriptionCommand
Sets the SNMP community string.snmp-servercommunity
Sets the SNMP contact name.snmp-server contact
Enables SNMP on the ASA.snmp-server enable
Sets the SNMP host address.snmp-server host
Sets the SNMP server location string.snmp-server location
shox – sn63
shox – snsnmp-server enable oid
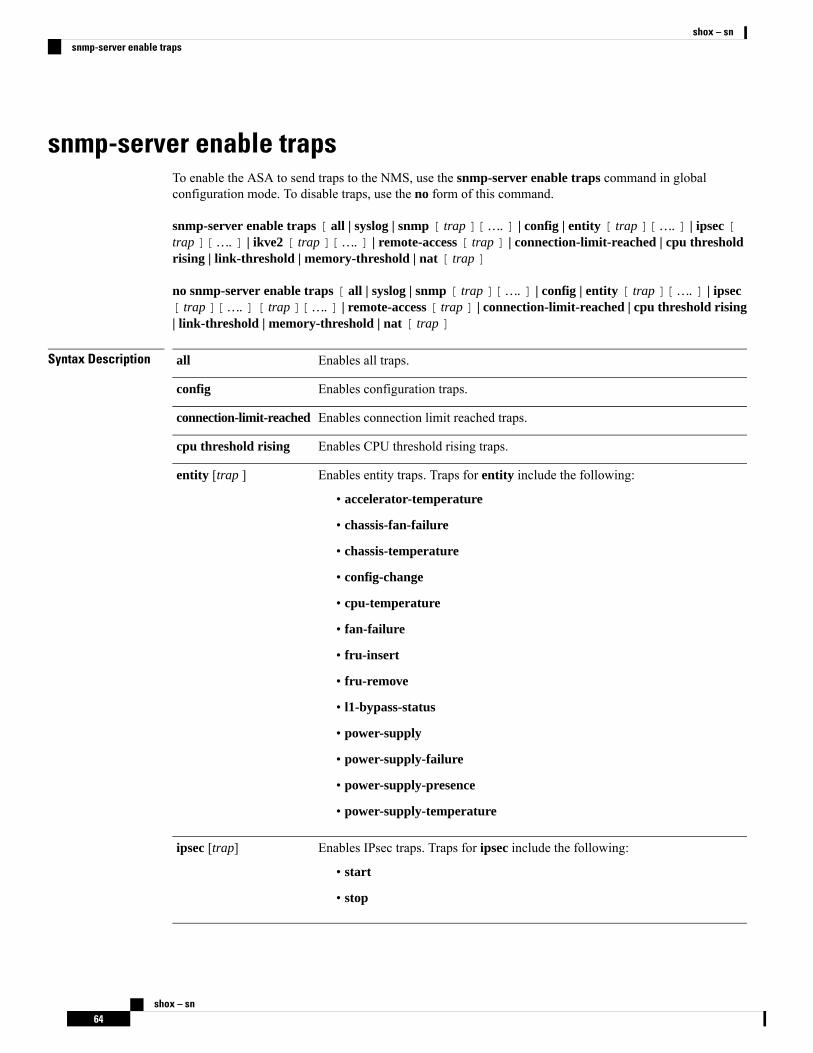
snmp-server enable trapsTo enable the ASA to send traps to the NMS, use the snmp-server enable traps command in globalconfiguration mode. To disable traps, use the no form of this command.
snmp-server enable traps [ all | syslog | snmp [ trap ][ …. ] | config | entity [ trap ][ …. ] | ipsec [trap ][ …. ] | ikve2 [ trap ][ …. ] | remote-access [ trap ] | connection-limit-reached | cpu thresholdrising | link-threshold | memory-threshold | nat [ trap ]
no snmp-server enable traps [ all | syslog | snmp [ trap ][ …. ] | config | entity [ trap ][ …. ] | ipsec[ trap ][ …. ] [ trap ][ …. ] | remote-access [ trap ] | connection-limit-reached | cpu threshold rising| link-threshold | memory-threshold | nat [ trap ]
Syntax Description Enables all traps.all
Enables configuration traps.config
Enables connection limit reached traps.connection-limit-reached
Enables CPU threshold rising traps.cpu threshold rising
Enables entity traps. Traps for entity include the following:
• accelerator-temperature
• chassis-fan-failure
• chassis-temperature
• config-change
• cpu-temperature
• fan-failure
• fru-insert
• fru-remove
• l1-bypass-status
• power-supply
• power-supply-failure
• power-supply-presence
• power-supply-temperature
entity [trap ]
Enables IPsec traps. Traps for ipsec include the following:
• start
• stop
ipsec [trap]
shox – sn64
shox – snsnmp-server enable traps
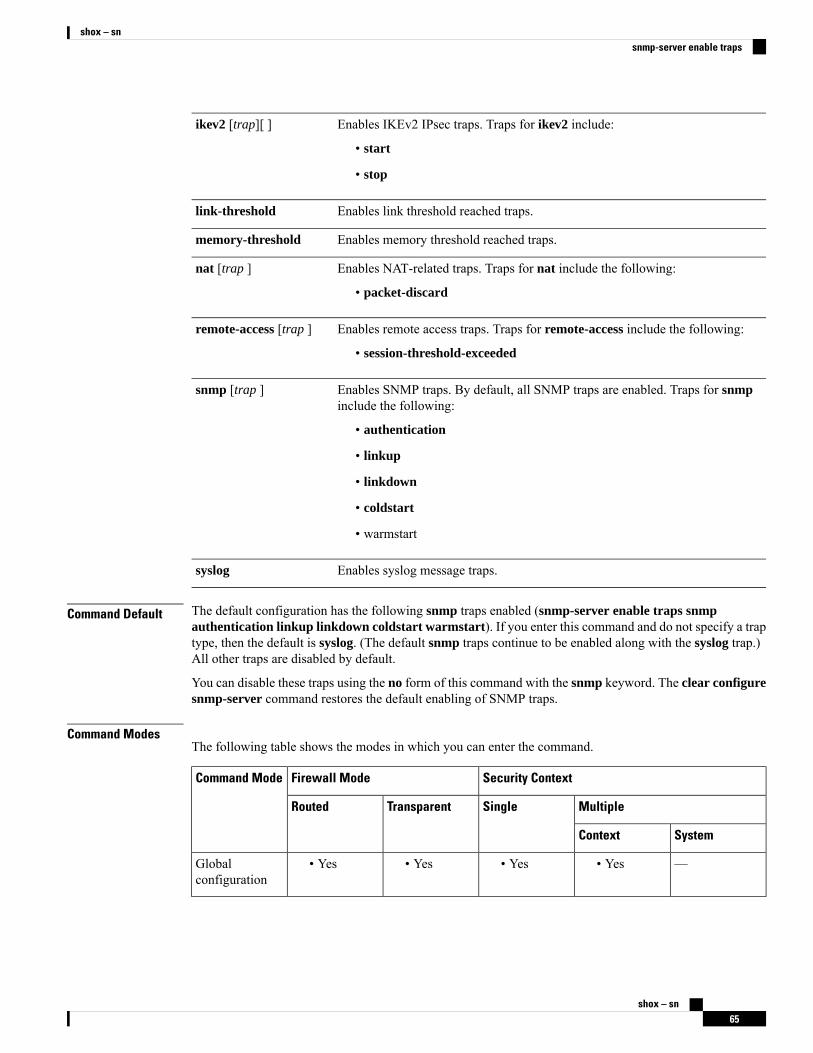
Enables IKEv2 IPsec traps. Traps for ikev2 include:
• start
• stop
ikev2 [trap][ ]
Enables link threshold reached traps.link-threshold
Enables memory threshold reached traps.memory-threshold
Enables NAT-related traps. Traps for nat include the following:
• packet-discard
nat [trap ]
Enables remote access traps. Traps for remote-access include the following:
• session-threshold-exceeded
remote-access [trap ]
Enables SNMP traps. By default, all SNMP traps are enabled. Traps for snmpinclude the following:
• authentication
• linkup
• linkdown
• coldstart
• warmstart
snmp [trap ]
Enables syslog message traps.syslog
Command Default The default configuration has the following snmp traps enabled (snmp-server enable traps snmpauthentication linkup linkdown coldstart warmstart). If you enter this command and do not specify a traptype, then the default is syslog. (The default snmp traps continue to be enabled along with the syslog trap.)All other traps are disabled by default.
You can disable these traps using the no form of this command with the snmp keyword. The clear configuresnmp-server command restores the default enabling of SNMP traps.
Command ModesThe following table shows the modes in which you can enter the command.
Security ContextFirewall ModeCommand Mode
MultipleSingleTransparentRouted
SystemContext
—• Yes• Yes• Yes• YesGlobalconfiguration
shox – sn65
shox – snsnmp-server enable traps
Command History ModificationRelease
This command was added.7.0(1)
The following traps have been added: snmp warmstart, nat packet-discard, link-threshold,memory-threshold, entity power-supply, entity fan-failure, entity cpu-temperature, cputhreshold rising, and connection-limit-reached. These traps do not apply to the ASASM.
8.4(1)
The following traps have been added to support the ASA 5512-X, 5515-X, 5525-X, 5545-X, and5555-X: entity power-supply-failure, entity chassis-fan-failure, entity power-supply-presence,entity chassis-temperature, and entity power-supply-temperature.
8.6(1)
Support for multiple context mode was added for IKEv2 and IPsec.9.0(1)
Support for the following traps was added: config and entity accelerator-temperature.9.3(2)
Usage Guidelines To enable individual traps or sets of traps, enter this command for each feature type. To enable all traps, enterthe all keyword.
To send traps to the NMS, enter the logging history command, then enable logging using the logging enablecommand.
Traps generated in the admin context only include the following:
• connection-limit-reached
• entity
• memory-threshold
Traps generated through the admin context only for physically connected interfaces in the system contextinclude the following:
• interface-threshold
All other traps are available in the admin and user contexts.
The config trap enables the ciscoConfigManEvent notification and the ccmCLIRunningConfigChangednotification, which are generated after you have exited configuration mode.
Some traps are not applicable to certain hardware models. Use ? in place of a trap keyword to determine whichtraps are available for your device. For example:
• The accelerator-temperature threshold trap applies only to the ASA 5506-X and ASA 5508-X.
• The chassis-fan-failure trap does not apply to the ASA 5506-X.
• The following traps do not apply to the ASA 5506-X and ASA 5508-X: fan-failure, fru-insert,fru-remove, power-supply, power-supply-presence, and power-supply-temperature.
• The Firepower 1000 series, except the 1010, supports the following entity traps only: chassis-temperature,config-change, and cpu-temperature. The 1010 supports the following traps only: config-change,fru-insert, fru-remove.
Multiple Context Mode Guidelines
shox – sn66
shox – snsnmp-server enable traps
• In multiple context mode, the fan-failure trap, the power-supply-failure trap, and the cpu-temperaturetrap are generated only from the admin context, and not the user contexts. These traps apply only to theASA 5512-X, 5515-X, 5525-X, 5545-X, and 5555-X; they do not apply to the ASA 5505.
• The snmp-server enable traps remote-access session-threshold-exceeded command is not supportedin multiple context mode.
If the CPU usage is greater than the configured threshold value for the configured monitoring period, a cputhreshold rising trap is generated.
When the used system memory reaches 80 percent, the memory-threshold trap is generated.
SNMP does not monitor voltage sensors.Note
Examples The following example enables SNMP, configures the SNMP host and traps, then sends traps assyslog messages:
ciscoasa(config)# snmp-server enableciscoasa(config)# snmp-server community onceuponatimeciscoasa(config)# snmp-server location Building 42, Sector 54ciscoasa(config)# snmp-server contact EmployeeBciscoasa(config)# snmp-server host perimeter 10.1.2.42ciscoasa(config)# snmp-server enable traps allciscoasa(config)# logging history 7ciscoasa(config)# logging enable
Related Commands DescriptionCommand
Sets the SNMP community string.snmp-servercommunity
Sets the SNMP contact name.snmp-server contact
Enables SNMP on the ASA.snmp-server enable
Sets the SNMP host address.snmp-server host
Sets the SNMP server location string.snmp-server location
shox – sn67
shox – snsnmp-server enable traps
snmp-server groupTo configure a new SNMP group, use the snmp-server group command in global configuration mode. Toremove a specified SNMP group, use the no form of this command.
snmp-server group group-name { v3 { auth | noauth | priv }}no snmp-server group group-name { v3 { auth | noauth | priv }}
Syntax Description Specifies packet authentication without encryption.auth
Specifies the name of the group.group-name
Specifies no packet authentication.noauth
Specifies packet authentication with encryption.priv
Specifies that the group is using the SNMP Version 3 security model, which is the most secureof the supported security models. This version allows you to explicitly configure authenticationcharacteristics.
v3
Command Default No default behavior or values.
Command ModesThe following table shows the modes in which you can enter the command:
Security ContextFirewall ModeCommand Mode
MultipleSingleTransparentRouted
SystemContext
—• Yes• Yes• Yes• YesGlobalconfiguration
Command History ModificationRelease
This command was added.8.2(1)
Support for password encryptionwas added.8.3(1)
Usage Guidelines To use the Version 3 security model, you must first configure an SNMP group, then configure an SNMP user,and then configure an SNMP host. You must also specify Version 3 and a security level. When a communitystring is configured internally, two groups with the name “public” are automatically created—one for theVersion 1 security model and one for the Version 2c security model. When you delete a community string,both configured groups are automatically deleted.
A user that is configured to belong to a certain group should have the same security model as the group.Note
shox – sn68
shox – snsnmp-server group
During bootup or upgrade of the ASA, single-digit passwords and passwords starting with a digit followedby a whitespace are no longer supported. For example, 0 pass and 1 are invalid passwords.
If you downgrade from version 8.3(1) to a lower version of the ASA software and have configured encryptedpasswords, you must first revert the encrypted passwords to clear text using the no key config-key passwordencryption command, then save the results.
Note
Examples The following example show how the ASA can receive SNMP requests using the SNMP Version 3security model, which includes creating a group, creating a user, and creating a host:
ciscoasa(config)#snmp-server groupvpn-groupv3 privciscoasa(config)# snmp-serveruseradmin vpn-groupv3auth shaletmeinpriv3descisco123ciscoasa(config)# snmp-server hostmgmt 10.0.0.1version 3admin
Related Commands DescriptionCommand
Clears the SNMP configuration counters.clear configure snmp-server
Sets the SNMP host address.snmp-server host
Creates a new SNMP user.snmp-server user
shox – sn69
shox – snsnmp-server group
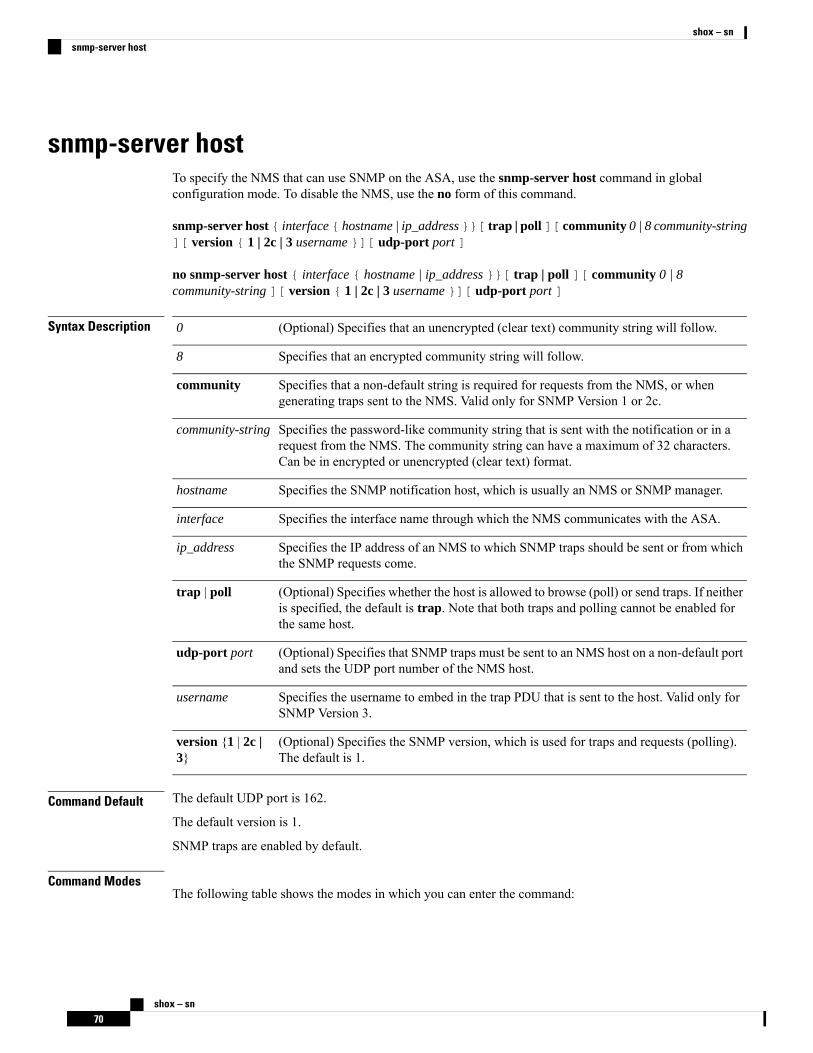
snmp-server hostTo specify the NMS that can use SNMP on the ASA, use the snmp-server host command in globalconfiguration mode. To disable the NMS, use the no form of this command.
snmp-server host { interface { hostname | ip_address }}[ trap | poll ][ community 0 | 8 community-string][ version { 1 | 2c | 3 username }][ udp-port port ]
no snmp-server host { interface { hostname | ip_address }}[ trap | poll ][ community 0 | 8community-string ][ version { 1 | 2c | 3 username }][ udp-port port ]
Syntax Description (Optional) Specifies that an unencrypted (clear text) community string will follow.0
Specifies that an encrypted community string will follow.8
Specifies that a non-default string is required for requests from the NMS, or whengenerating traps sent to the NMS. Valid only for SNMP Version 1 or 2c.
community
Specifies the password-like community string that is sent with the notification or in arequest from the NMS. The community string can have a maximum of 32 characters.Can be in encrypted or unencrypted (clear text) format.
community-string
Specifies the SNMP notification host, which is usually an NMS or SNMP manager.hostname
Specifies the interface name through which the NMS communicates with the ASA.interface
Specifies the IP address of an NMS to which SNMP traps should be sent or from whichthe SNMP requests come.
ip_address
(Optional) Specifies whether the host is allowed to browse (poll) or send traps. If neitheris specified, the default is trap. Note that both traps and polling cannot be enabled forthe same host.
trap | poll
(Optional) Specifies that SNMP traps must be sent to an NMS host on a non-default portand sets the UDP port number of the NMS host.
udp-port port
Specifies the username to embed in the trap PDU that is sent to the host. Valid only forSNMP Version 3.
username
(Optional) Specifies the SNMP version, which is used for traps and requests (polling).The default is 1.
version {1 | 2c |3}
Command Default The default UDP port is 162.
The default version is 1.
SNMP traps are enabled by default.
Command ModesThe following table shows the modes in which you can enter the command:
shox – sn70
shox – snsnmp-server host
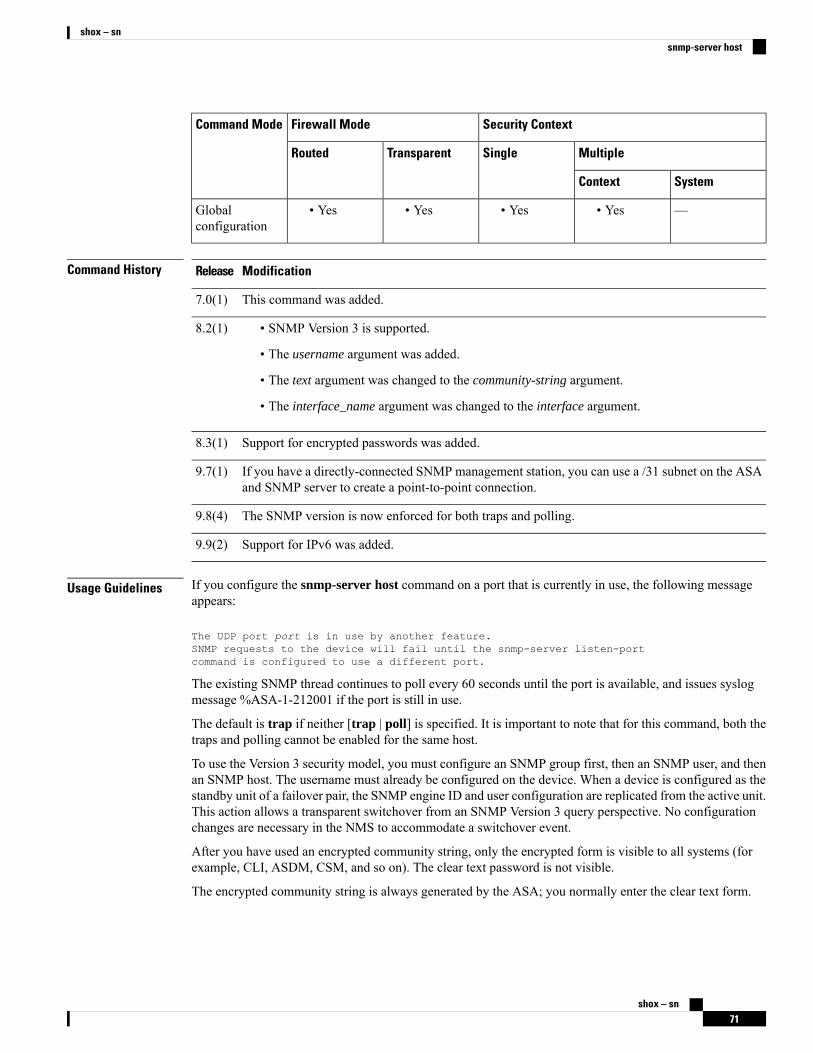
Security ContextFirewall ModeCommand Mode
MultipleSingleTransparentRouted
SystemContext
—• Yes• Yes• Yes• YesGlobalconfiguration
Command History ModificationRelease
This command was added.7.0(1)
• SNMP Version 3 is supported.
• The username argument was added.
• The text argument was changed to the community-string argument.
• The interface_name argument was changed to the interface argument.
8.2(1)
Support for encrypted passwords was added.8.3(1)
If you have a directly-connected SNMP management station, you can use a /31 subnet on the ASAand SNMP server to create a point-to-point connection.
9.7(1)
The SNMP version is now enforced for both traps and polling.9.8(4)
Support for IPv6 was added.9.9(2)
Usage Guidelines If you configure the snmp-server host command on a port that is currently in use, the following messageappears:
The UDP port port is in use by another feature.SNMP requests to the device will fail until the snmp-server listen-portcommand is configured to use a different port.
The existing SNMP thread continues to poll every 60 seconds until the port is available, and issues syslogmessage %ASA-1-212001 if the port is still in use.
The default is trap if neither [trap | poll] is specified. It is important to note that for this command, both thetraps and polling cannot be enabled for the same host.
To use the Version 3 security model, you must configure an SNMP group first, then an SNMP user, and thenan SNMP host. The username must already be configured on the device. When a device is configured as thestandby unit of a failover pair, the SNMP engine ID and user configuration are replicated from the active unit.This action allows a transparent switchover from an SNMP Version 3 query perspective. No configurationchanges are necessary in the NMS to accommodate a switchover event.
After you have used an encrypted community string, only the encrypted form is visible to all systems (forexample, CLI, ASDM, CSM, and so on). The clear text password is not visible.
The encrypted community string is always generated by the ASA; you normally enter the clear text form.
shox – sn71
shox – snsnmp-server host
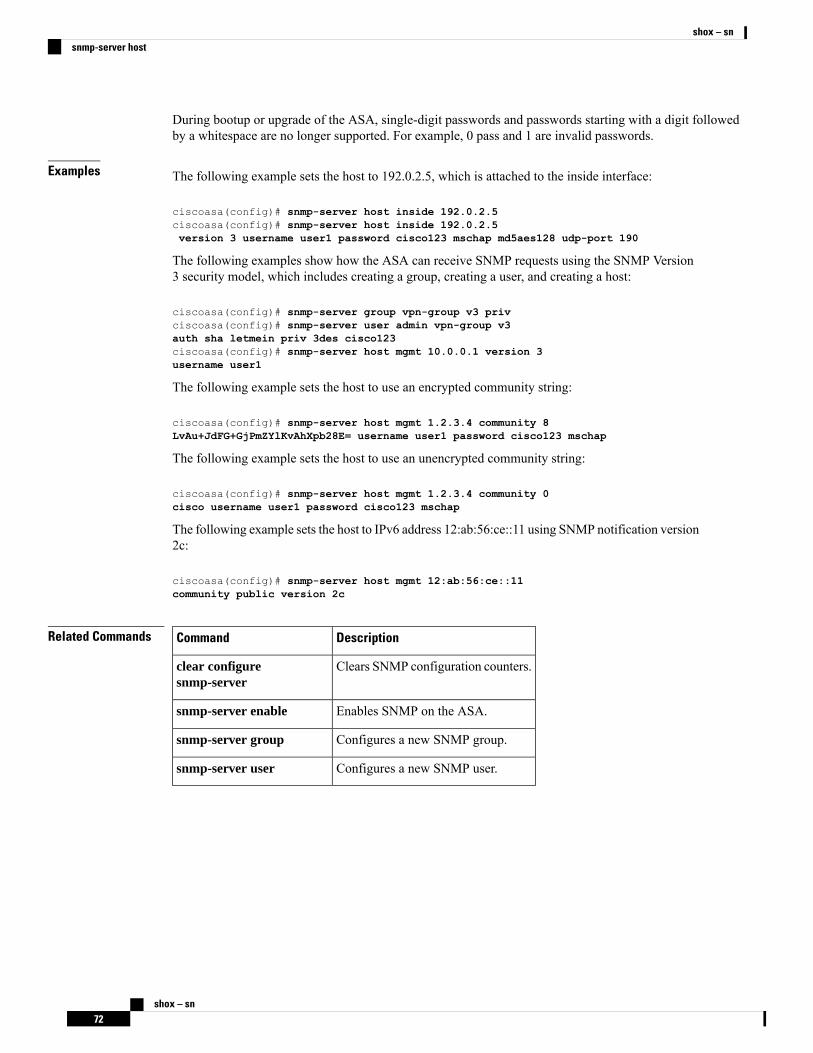
During bootup or upgrade of the ASA, single-digit passwords and passwords starting with a digit followedby a whitespace are no longer supported. For example, 0 pass and 1 are invalid passwords.
Examples The following example sets the host to 192.0.2.5, which is attached to the inside interface:
ciscoasa(config)# snmp-server host inside 192.0.2.5ciscoasa(config)# snmp-server host inside 192.0.2.5version 3 username user1 password cisco123 mschap md5aes128 udp-port 190
The following examples show how the ASA can receive SNMP requests using the SNMP Version3 security model, which includes creating a group, creating a user, and creating a host:
ciscoasa(config)# snmp-server group vpn-group v3 privciscoasa(config)# snmp-server user admin vpn-group v3auth sha letmein priv 3des cisco123ciscoasa(config)# snmp-server host mgmt 10.0.0.1 version 3username user1
The following example sets the host to use an encrypted community string:
ciscoasa(config)# snmp-server host mgmt 1.2.3.4 community 8LvAu+JdFG+GjPmZYlKvAhXpb28E= username user1 password cisco123 mschap
The following example sets the host to use an unencrypted community string:
ciscoasa(config)# snmp-server host mgmt 1.2.3.4 community 0cisco username user1 password cisco123 mschap
The following example sets the host to IPv6 address 12:ab:56:ce::11 using SNMP notification version2c:
ciscoasa(config)# snmp-server host mgmt 12:ab:56:ce::11community public version 2c
Related Commands DescriptionCommand
Clears SNMP configuration counters.clear configuresnmp-server
Enables SNMP on the ASA.snmp-server enable
Configures a new SNMP group.snmp-server group
Configures a new SNMP user.snmp-server user
shox – sn72
shox – snsnmp-server host
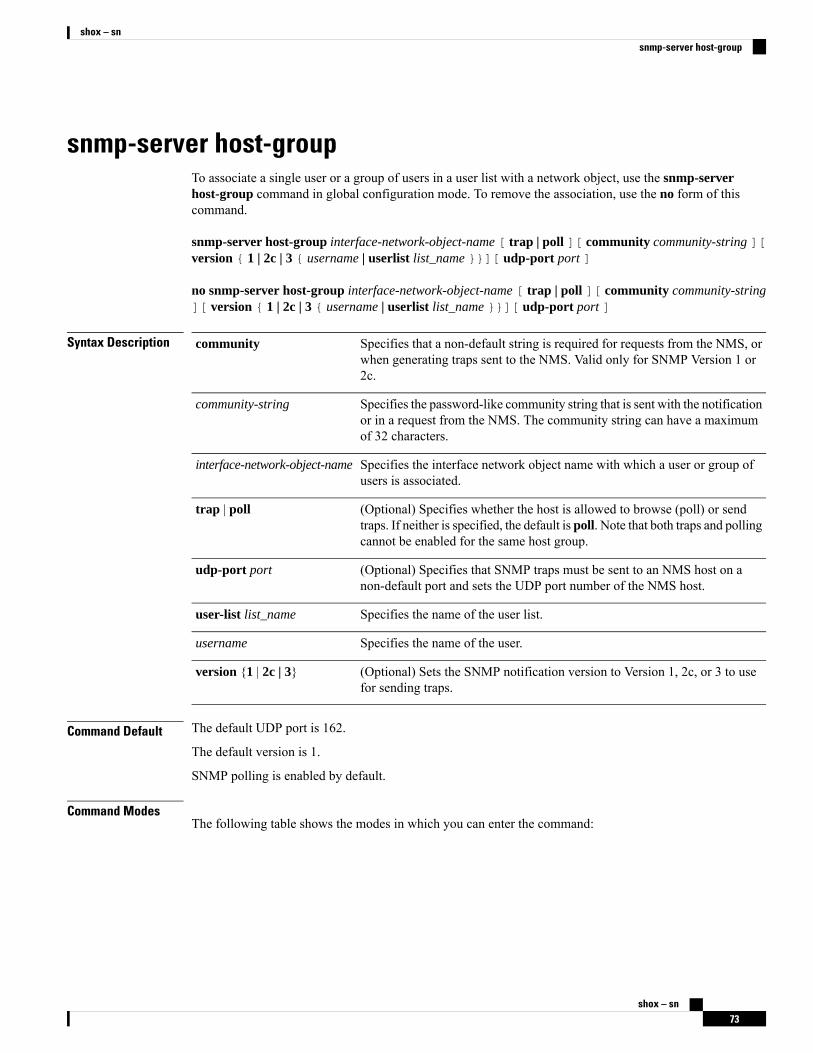
snmp-server host-groupTo associate a single user or a group of users in a user list with a network object, use the snmp-serverhost-group command in global configuration mode. To remove the association, use the no form of thiscommand.
snmp-server host-group interface-network-object-name [ trap | poll ][ community community-string ][version { 1 | 2c | 3 { username | userlist list_name }}][ udp-port port ]
no snmp-server host-group interface-network-object-name [ trap | poll ][ community community-string][ version { 1 | 2c | 3 { username | userlist list_name }}][ udp-port port ]
Syntax Description Specifies that a non-default string is required for requests from the NMS, orwhen generating traps sent to the NMS. Valid only for SNMP Version 1 or2c.
community
Specifies the password-like community string that is sent with the notificationor in a request from the NMS. The community string can have a maximumof 32 characters.
community-string
Specifies the interface network object name with which a user or group ofusers is associated.
interface-network-object-name
(Optional) Specifies whether the host is allowed to browse (poll) or sendtraps. If neither is specified, the default is poll. Note that both traps and pollingcannot be enabled for the same host group.
trap | poll
(Optional) Specifies that SNMP traps must be sent to an NMS host on anon-default port and sets the UDP port number of the NMS host.
udp-port port
Specifies the name of the user list.user-list list_name
Specifies the name of the user.username
(Optional) Sets the SNMP notification version to Version 1, 2c, or 3 to usefor sending traps.
version {1 | 2c | 3}
Command Default The default UDP port is 162.
The default version is 1.
SNMP polling is enabled by default.
Command ModesThe following table shows the modes in which you can enter the command:
shox – sn73
shox – snsnmp-server host-group
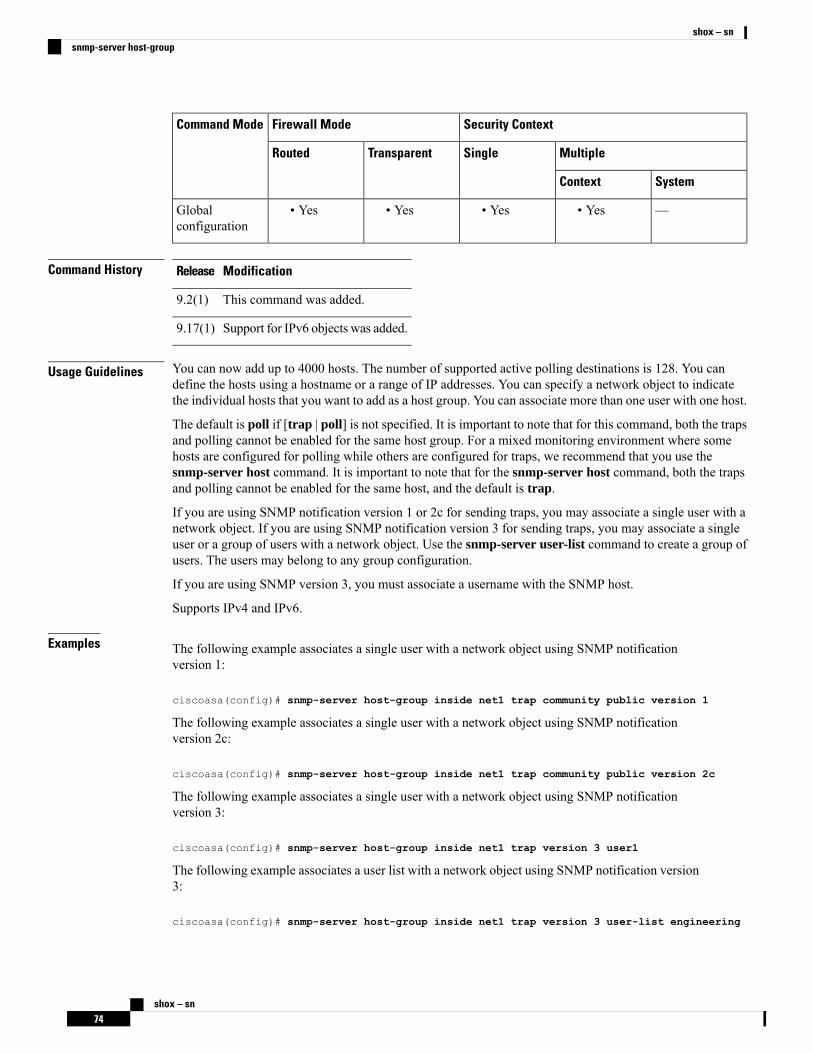
Security ContextFirewall ModeCommand Mode
MultipleSingleTransparentRouted
SystemContext
—• Yes• Yes• Yes• YesGlobalconfiguration
Command History ModificationRelease
This command was added.9.2(1)
Support for IPv6 objects was added.9.17(1)
Usage Guidelines You can now add up to 4000 hosts. The number of supported active polling destinations is 128. You candefine the hosts using a hostname or a range of IP addresses. You can specify a network object to indicatethe individual hosts that you want to add as a host group. You can associate more than one user with one host.
The default is poll if [trap | poll] is not specified. It is important to note that for this command, both the trapsand polling cannot be enabled for the same host group. For a mixed monitoring environment where somehosts are configured for polling while others are configured for traps, we recommend that you use thesnmp-server host command. It is important to note that for the snmp-server host command, both the trapsand polling cannot be enabled for the same host, and the default is trap.
If you are using SNMP notification version 1 or 2c for sending traps, you may associate a single user with anetwork object. If you are using SNMP notification version 3 for sending traps, you may associate a singleuser or a group of users with a network object. Use the snmp-server user-list command to create a group ofusers. The users may belong to any group configuration.
If you are using SNMP version 3, you must associate a username with the SNMP host.
Supports IPv4 and IPv6.
Examples The following example associates a single user with a network object using SNMP notificationversion 1:
ciscoasa(config)# snmp-server host-group inside net1 trap community public version 1
The following example associates a single user with a network object using SNMP notificationversion 2c:
ciscoasa(config)# snmp-server host-group inside net1 trap community public version 2c
The following example associates a single user with a network object using SNMP notificationversion 3:
ciscoasa(config)# snmp-server host-group inside net1 trap version 3 user1
The following example associates a user list with a network object using SNMP notification version3:
ciscoasa(config)# snmp-server host-group inside net1 trap version 3 user-list engineering
shox – sn74
shox – snsnmp-server host-group
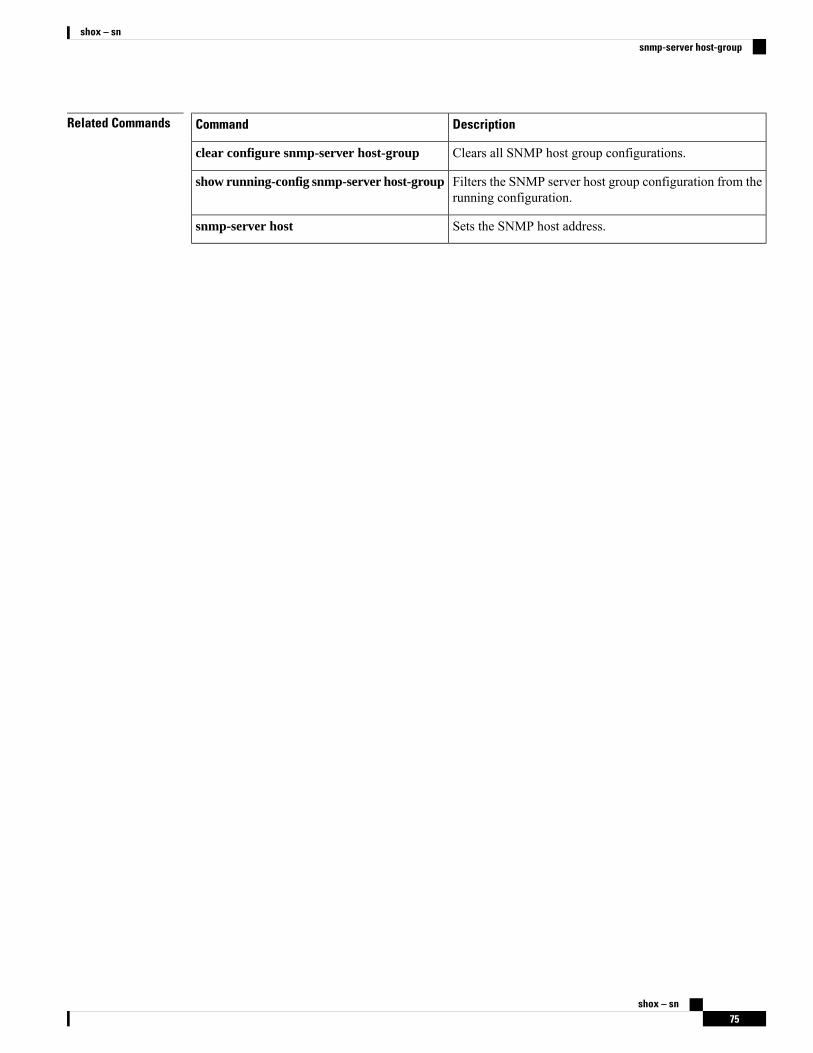
Related Commands DescriptionCommand
Clears all SNMP host group configurations.clear configure snmp-server host-group
Filters the SNMP server host group configuration from therunning configuration.
show running-config snmp-server host-group
Sets the SNMP host address.snmp-server host
shox – sn75
shox – snsnmp-server host-group
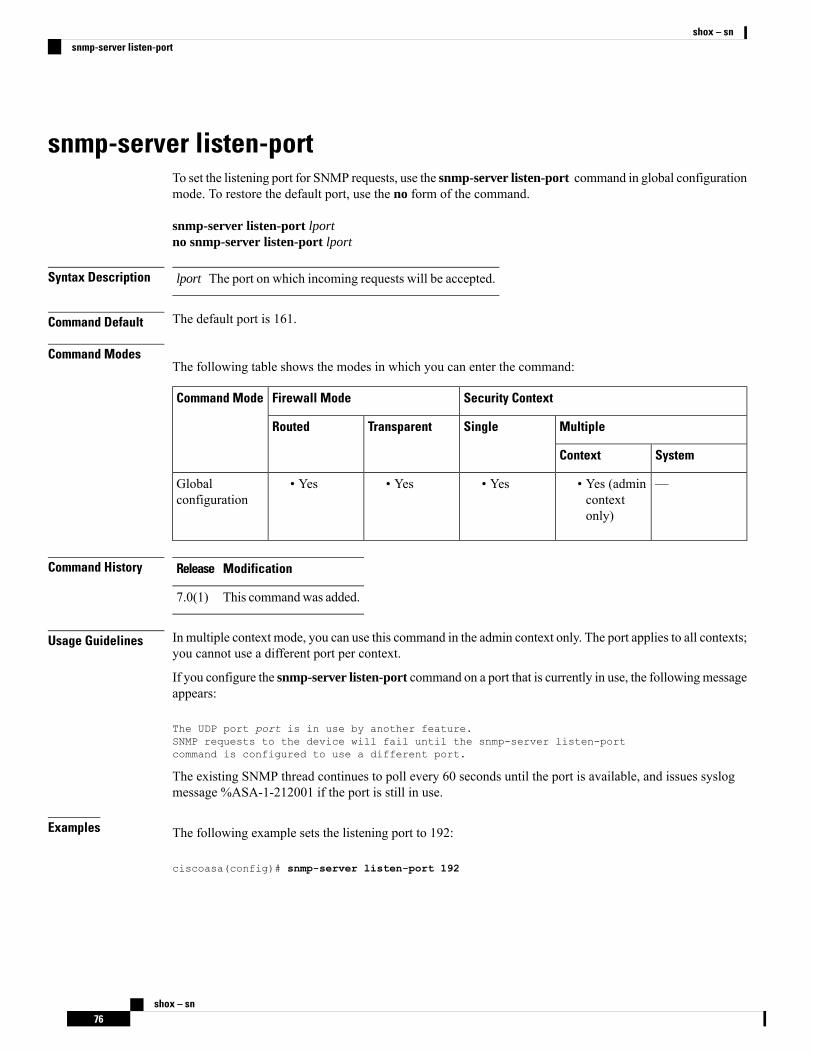
snmp-server listen-portTo set the listening port for SNMP requests, use the snmp-server listen-port command in global configurationmode. To restore the default port, use the no form of the command.
snmp-server listen-port lportno snmp-server listen-port lport
Syntax Description The port on which incoming requests will be accepted.lport
Command Default The default port is 161.
Command ModesThe following table shows the modes in which you can enter the command:
Security ContextFirewall ModeCommand Mode
MultipleSingleTransparentRouted
SystemContext
—• Yes (admincontextonly)
• Yes• Yes• YesGlobalconfiguration
Command History ModificationRelease
This commandwas added.7.0(1)
Usage Guidelines In multiple context mode, you can use this command in the admin context only. The port applies to all contexts;you cannot use a different port per context.
If you configure the snmp-server listen-port command on a port that is currently in use, the followingmessageappears:
The UDP port port is in use by another feature.SNMP requests to the device will fail until the snmp-server listen-portcommand is configured to use a different port.
The existing SNMP thread continues to poll every 60 seconds until the port is available, and issues syslogmessage %ASA-1-212001 if the port is still in use.
Examples The following example sets the listening port to 192:
ciscoasa(config)# snmp-server listen-port 192
shox – sn76
shox – snsnmp-server listen-port
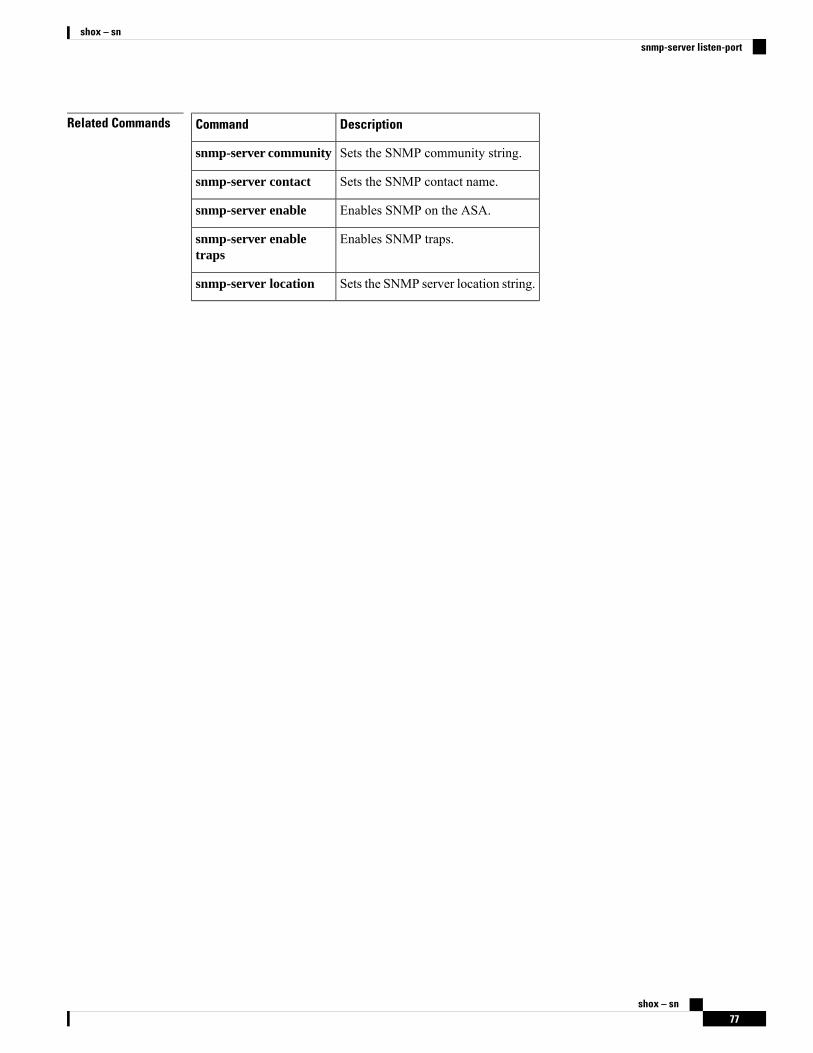
Related Commands DescriptionCommand
Sets the SNMP community string.snmp-server community
Sets the SNMP contact name.snmp-server contact
Enables SNMP on the ASA.snmp-server enable
Enables SNMP traps.snmp-server enabletraps
Sets the SNMP server location string.snmp-server location
shox – sn77
shox – snsnmp-server listen-port
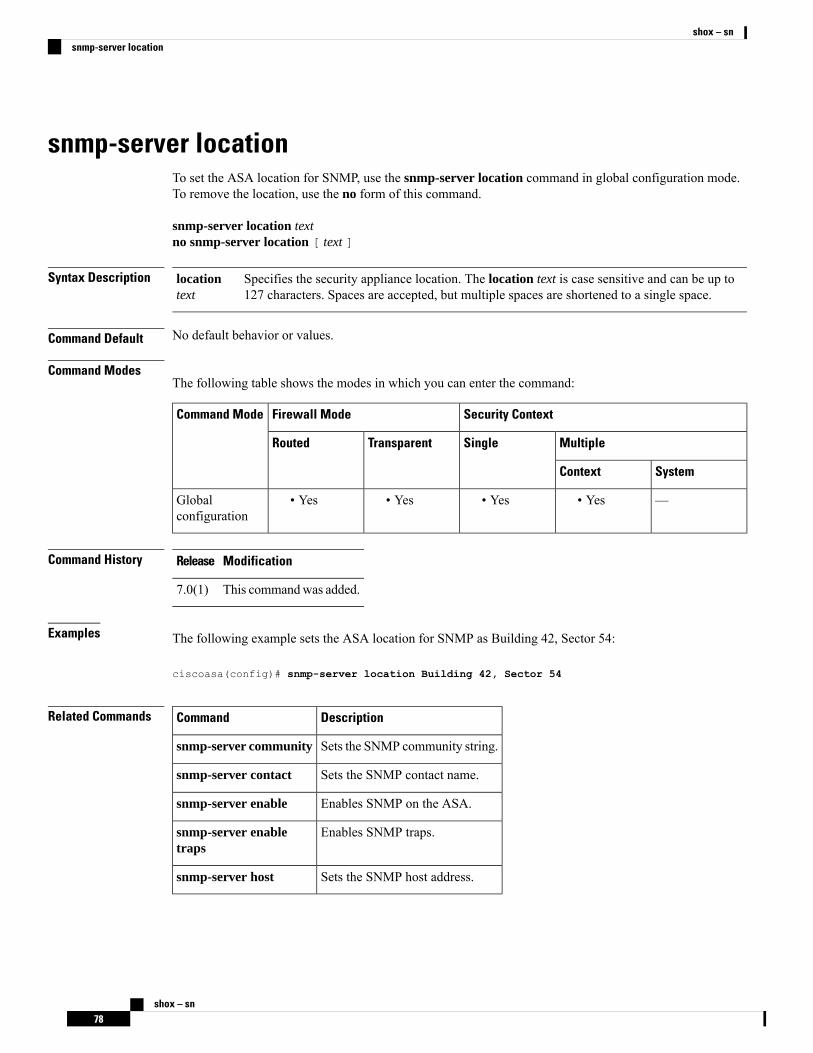
snmp-server locationTo set the ASA location for SNMP, use the snmp-server location command in global configuration mode.To remove the location, use the no form of this command.
snmp-server location textno snmp-server location [ text ]
Syntax Description Specifies the security appliance location. The location text is case sensitive and can be up to127 characters. Spaces are accepted, but multiple spaces are shortened to a single space.
locationtext
Command Default No default behavior or values.
Command ModesThe following table shows the modes in which you can enter the command:
Security ContextFirewall ModeCommand Mode
MultipleSingleTransparentRouted
SystemContext
—• Yes• Yes• Yes• YesGlobalconfiguration
Command History ModificationRelease
This commandwas added.7.0(1)
Examples The following example sets the ASA location for SNMP as Building 42, Sector 54:
ciscoasa(config)# snmp-server location Building 42, Sector 54
Related Commands DescriptionCommand
Sets the SNMP community string.snmp-server community
Sets the SNMP contact name.snmp-server contact
Enables SNMP on the ASA.snmp-server enable
Enables SNMP traps.snmp-server enabletraps
Sets the SNMP host address.snmp-server host
shox – sn78
shox – snsnmp-server location
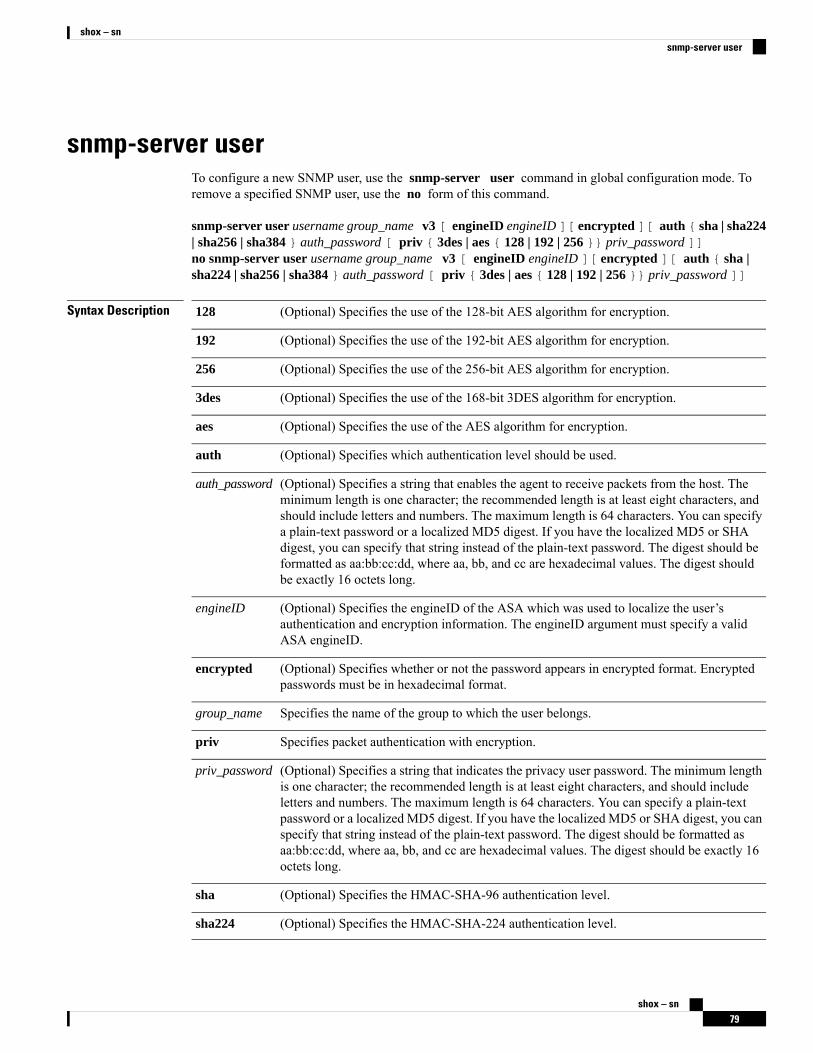
snmp-server userTo configure a new SNMP user, use the snmp-server user command in global configuration mode. Toremove a specified SNMP user, use the no form of this command.
snmp-server user username group_name v3 [ engineID engineID ][ encrypted ][ auth { sha | sha224| sha256 | sha384 } auth_password [ priv { 3des | aes { 128 | 192 | 256 }} priv_password ]]no snmp-server user username group_name v3 [ engineID engineID ][ encrypted ][ auth { sha |sha224 | sha256 | sha384 } auth_password [ priv { 3des | aes { 128 | 192 | 256 }} priv_password ]]
Syntax Description (Optional) Specifies the use of the 128-bit AES algorithm for encryption.128
(Optional) Specifies the use of the 192-bit AES algorithm for encryption.192
(Optional) Specifies the use of the 256-bit AES algorithm for encryption.256
(Optional) Specifies the use of the 168-bit 3DES algorithm for encryption.3des
(Optional) Specifies the use of the AES algorithm for encryption.aes
(Optional) Specifies which authentication level should be used.auth
(Optional) Specifies a string that enables the agent to receive packets from the host. Theminimum length is one character; the recommended length is at least eight characters, andshould include letters and numbers. The maximum length is 64 characters. You can specifya plain-text password or a localized MD5 digest. If you have the localized MD5 or SHAdigest, you can specify that string instead of the plain-text password. The digest should beformatted as aa:bb:cc:dd, where aa, bb, and cc are hexadecimal values. The digest shouldbe exactly 16 octets long.
auth_password
(Optional) Specifies the engineID of the ASA which was used to localize the user’sauthentication and encryption information. The engineID argument must specify a validASA engineID.
engineID
(Optional) Specifies whether or not the password appears in encrypted format. Encryptedpasswords must be in hexadecimal format.
encrypted
Specifies the name of the group to which the user belongs.group_name
Specifies packet authentication with encryption.priv
(Optional) Specifies a string that indicates the privacy user password. The minimum lengthis one character; the recommended length is at least eight characters, and should includeletters and numbers. The maximum length is 64 characters. You can specify a plain-textpassword or a localized MD5 digest. If you have the localized MD5 or SHA digest, you canspecify that string instead of the plain-text password. The digest should be formatted asaa:bb:cc:dd, where aa, bb, and cc are hexadecimal values. The digest should be exactly 16octets long.
priv_password
(Optional) Specifies the HMAC-SHA-96 authentication level.sha
(Optional) Specifies the HMAC-SHA-224 authentication level.sha224
shox – sn79
shox – snsnmp-server user
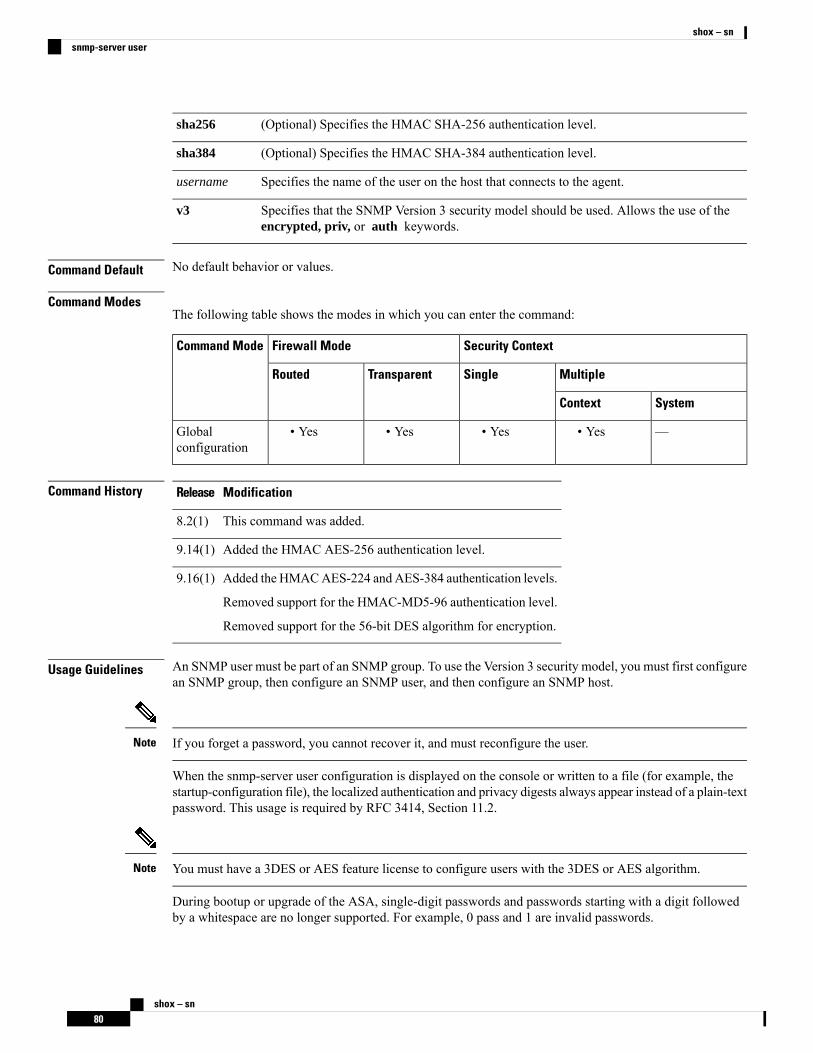
(Optional) Specifies the HMAC SHA-256 authentication level.sha256
(Optional) Specifies the HMAC SHA-384 authentication level.sha384
Specifies the name of the user on the host that connects to the agent.username
Specifies that the SNMP Version 3 security model should be used. Allows the use of theencrypted, priv, or auth keywords.
v3
Command Default No default behavior or values.
Command ModesThe following table shows the modes in which you can enter the command:
Security ContextFirewall ModeCommand Mode
MultipleSingleTransparentRouted
SystemContext
—• Yes• Yes• Yes• YesGlobalconfiguration
Command History ModificationRelease
This command was added.8.2(1)
Added the HMAC AES-256 authentication level.9.14(1)
Added the HMACAES-224 and AES-384 authentication levels.
Removed support for the HMAC-MD5-96 authentication level.
Removed support for the 56-bit DES algorithm for encryption.
9.16(1)
Usage Guidelines An SNMP user must be part of an SNMP group. To use the Version 3 security model, you must first configurean SNMP group, then configure an SNMP user, and then configure an SNMP host.
If you forget a password, you cannot recover it, and must reconfigure the user.Note
When the snmp-server user configuration is displayed on the console or written to a file (for example, thestartup-configuration file), the localized authentication and privacy digests always appear instead of a plain-textpassword. This usage is required by RFC 3414, Section 11.2.
You must have a 3DES or AES feature license to configure users with the 3DES or AES algorithm.Note
During bootup or upgrade of the ASA, single-digit passwords and passwords starting with a digit followedby a whitespace are no longer supported. For example, 0 pass and 1 are invalid passwords.
shox – sn80
shox – snsnmp-server user

In clustering, you must manually update each clustered ASAwith SNMPv3 users. You can do this by enteringthe snmp-server user username group-name v3 command on the master unit with the priv-password optionand auth-password option in their non-localized forms.
An error message appears to inform you that the SNMPv3 user commands will not be replicated duringclustering replication or configuration. You may then configure SNMPv3 user and group commands on slaveASAs independently. This also means that existing SNMPv3 user and group commands are not cleared duringreplication, and you may enter SNMPv3 user and group commands on all slaves in the cluster. For example:
On a master unit using commands entered with keys that have already been localized:
ciscoasa(config)# snmp-server user defe abc v3 encrypted auth shac0:e7:08:50:47:eb:2e:e4:3f:a3:bc:45:f6:dd:c3:46:25:a0:22:9a priv aes 256cf:ad:85:5b:e9:14:26:ae:8f:92:51:12:91:16:a3:ed:de:91:6b:f7:f6:86:cf:18:c0:f0:47:d6:94:e5:da:01ERROR: This command cannot be replicated because it contains localized keys.
On a slave unit during cluster replication (appears only if an snmp-server user commands exist in theconfiguration):
ciscoasa(cfg-cluster)#Detected Cluster Master.Beginning configuration replication from Master.WARNING: existing snmp-server user CLI will not be cleared.
Examples The following example shows how the ASA can receive SNMP requests using the SNMP Version3 security model:
ciscoasa(config)#snmp-server group
engineering
v3auth
ciscoasa(config)# snmp-serveruser
engineering
v3auth sha
mypassword
Related Commands DescriptionCommand
Clears the SNMP server configuration.clear configure snmp-server
Enables SNMP on the ASA.snmp-server enable
Creates a new SNMP group.snmp-server group
Sets the SNMP host address.snmp-server host
shox – sn81
shox – snsnmp-server user
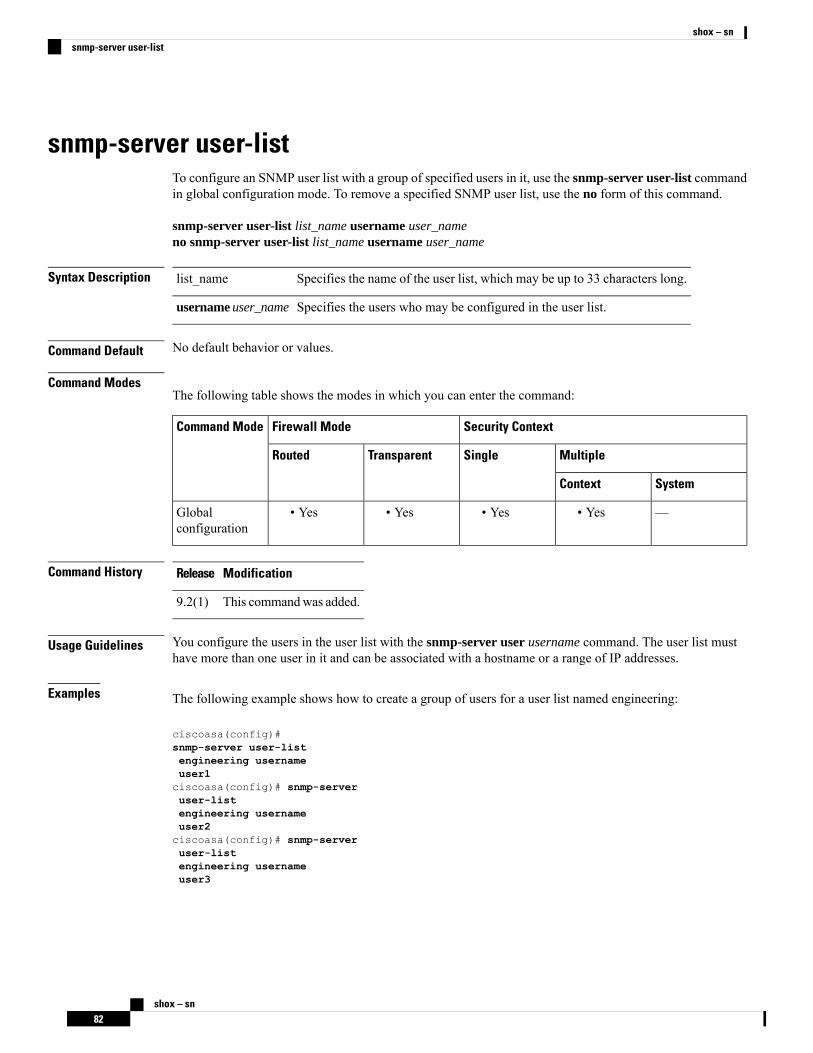
snmp-server user-listTo configure an SNMP user list with a group of specified users in it, use the snmp-server user-list commandin global configuration mode. To remove a specified SNMP user list, use the no form of this command.
snmp-server user-list list_name username user_nameno snmp-server user-list list_name username user_name
Syntax Description Specifies the name of the user list, which may be up to 33 characters long.list_name
Specifies the users who may be configured in the user list.username user_name
Command Default No default behavior or values.
Command ModesThe following table shows the modes in which you can enter the command:
Security ContextFirewall ModeCommand Mode
MultipleSingleTransparentRouted
SystemContext
—• Yes• Yes• Yes• YesGlobalconfiguration
Command History ModificationRelease
This commandwas added.9.2(1)
Usage Guidelines You configure the users in the user list with the snmp-server user username command. The user list musthave more than one user in it and can be associated with a hostname or a range of IP addresses.
Examples The following example shows how to create a group of users for a user list named engineering:
ciscoasa(config)#snmp-server user-listengineering usernameuser1ciscoasa(config)# snmp-serveruser-listengineering usernameuser2ciscoasa(config)# snmp-serveruser-listengineering usernameuser3
shox – sn82
shox – snsnmp-server user-list

Related Commands DescriptionCommand
Filters the SNMP user list configuration from the runningconfiguration.
show running-config snmp-server user-list
Clears the SNMP user list configuration.clear snmp-server user-list
shox – sn83
shox – snsnmp-server user-list
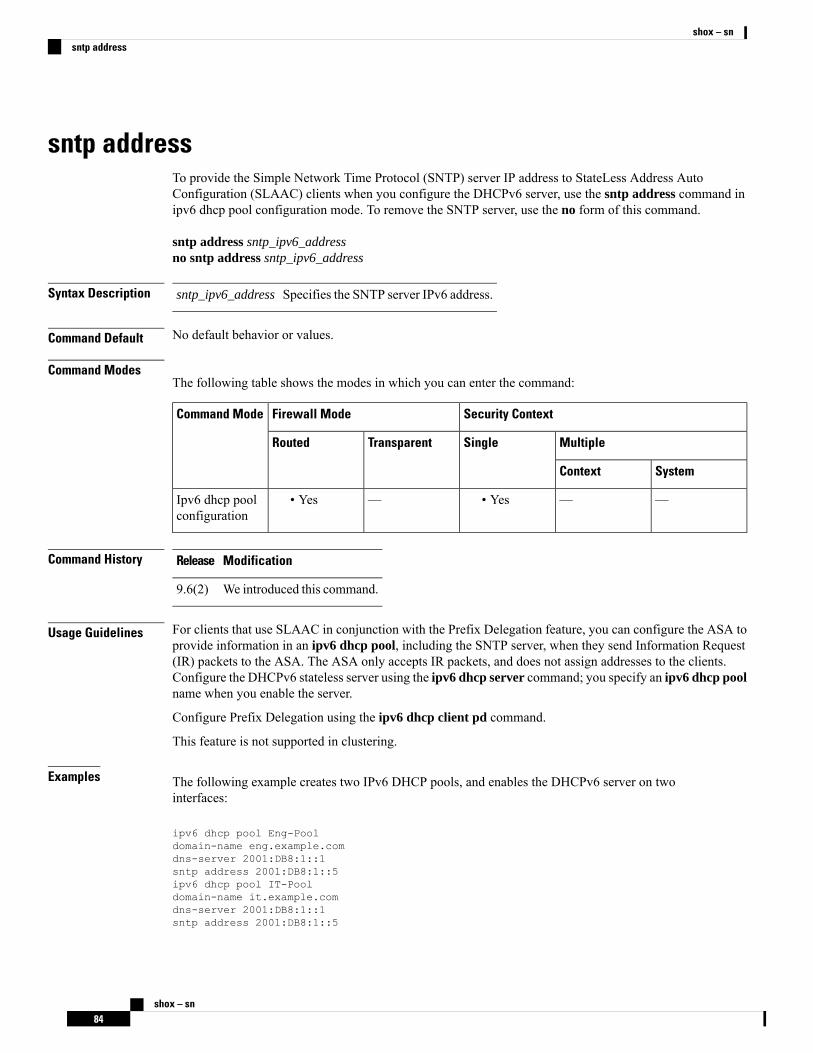
sntp addressTo provide the Simple Network Time Protocol (SNTP) server IP address to StateLess Address AutoConfiguration (SLAAC) clients when you configure the DHCPv6 server, use the sntp address command inipv6 dhcp pool configuration mode. To remove the SNTP server, use the no form of this command.
sntp address sntp_ipv6_addressno sntp address sntp_ipv6_address
Syntax Description Specifies the SNTP server IPv6 address.sntp_ipv6_address
Command Default No default behavior or values.
Command ModesThe following table shows the modes in which you can enter the command:
Security ContextFirewall ModeCommand Mode
MultipleSingleTransparentRouted
SystemContext
——• Yes—• YesIpv6 dhcp poolconfiguration
Command History ModificationRelease
We introduced this command.9.6(2)
Usage Guidelines For clients that use SLAAC in conjunction with the Prefix Delegation feature, you can configure the ASA toprovide information in an ipv6 dhcp pool, including the SNTP server, when they send Information Request(IR) packets to the ASA. The ASA only accepts IR packets, and does not assign addresses to the clients.Configure the DHCPv6 stateless server using the ipv6 dhcp server command; you specify an ipv6 dhcp poolname when you enable the server.
Configure Prefix Delegation using the ipv6 dhcp client pd command.
This feature is not supported in clustering.
Examples The following example creates two IPv6 DHCP pools, and enables the DHCPv6 server on twointerfaces:
ipv6 dhcp pool Eng-Pooldomain-name eng.example.comdns-server 2001:DB8:1::1sntp address 2001:DB8:1::5ipv6 dhcp pool IT-Pooldomain-name it.example.comdns-server 2001:DB8:1::1sntp address 2001:DB8:1::5
shox – sn84
shox – snsntp address
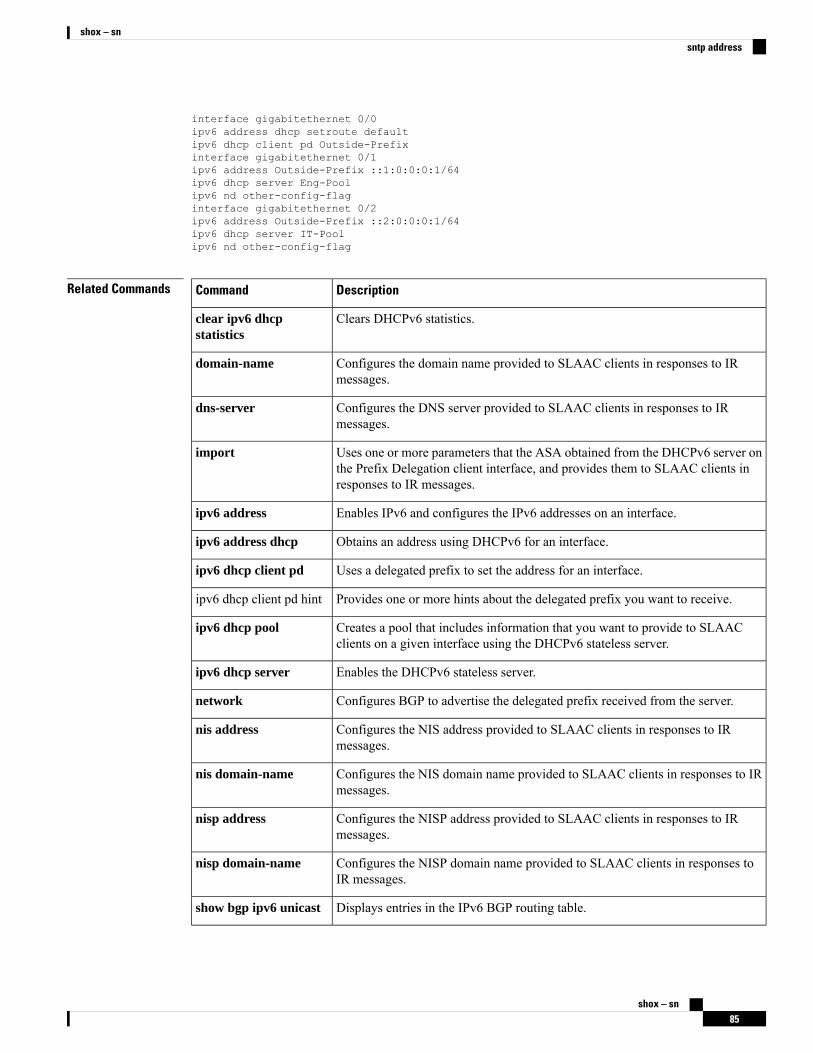
interface gigabitethernet 0/0ipv6 address dhcp setroute defaultipv6 dhcp client pd Outside-Prefixinterface gigabitethernet 0/1ipv6 address Outside-Prefix ::1:0:0:0:1/64ipv6 dhcp server Eng-Poolipv6 nd other-config-flaginterface gigabitethernet 0/2ipv6 address Outside-Prefix ::2:0:0:0:1/64ipv6 dhcp server IT-Poolipv6 nd other-config-flag
Related Commands DescriptionCommand
Clears DHCPv6 statistics.clear ipv6 dhcpstatistics
Configures the domain name provided to SLAAC clients in responses to IRmessages.
domain-name
Configures the DNS server provided to SLAAC clients in responses to IRmessages.
dns-server
Uses one or more parameters that the ASA obtained from the DHCPv6 server onthe Prefix Delegation client interface, and provides them to SLAAC clients inresponses to IR messages.
import
Enables IPv6 and configures the IPv6 addresses on an interface.ipv6 address
Obtains an address using DHCPv6 for an interface.ipv6 address dhcp
Uses a delegated prefix to set the address for an interface.ipv6 dhcp client pd
Provides one or more hints about the delegated prefix you want to receive.ipv6 dhcp client pd hint
Creates a pool that includes information that you want to provide to SLAACclients on a given interface using the DHCPv6 stateless server.
ipv6 dhcp pool
Enables the DHCPv6 stateless server.ipv6 dhcp server
Configures BGP to advertise the delegated prefix received from the server.network
Configures the NIS address provided to SLAAC clients in responses to IRmessages.
nis address
Configures the NIS domain name provided to SLAAC clients in responses to IRmessages.
nis domain-name
Configures the NISP address provided to SLAAC clients in responses to IRmessages.
nisp address
Configures the NISP domain name provided to SLAAC clients in responses toIR messages.
nisp domain-name
Displays entries in the IPv6 BGP routing table.show bgp ipv6 unicast
shox – sn85
shox – snsntp address
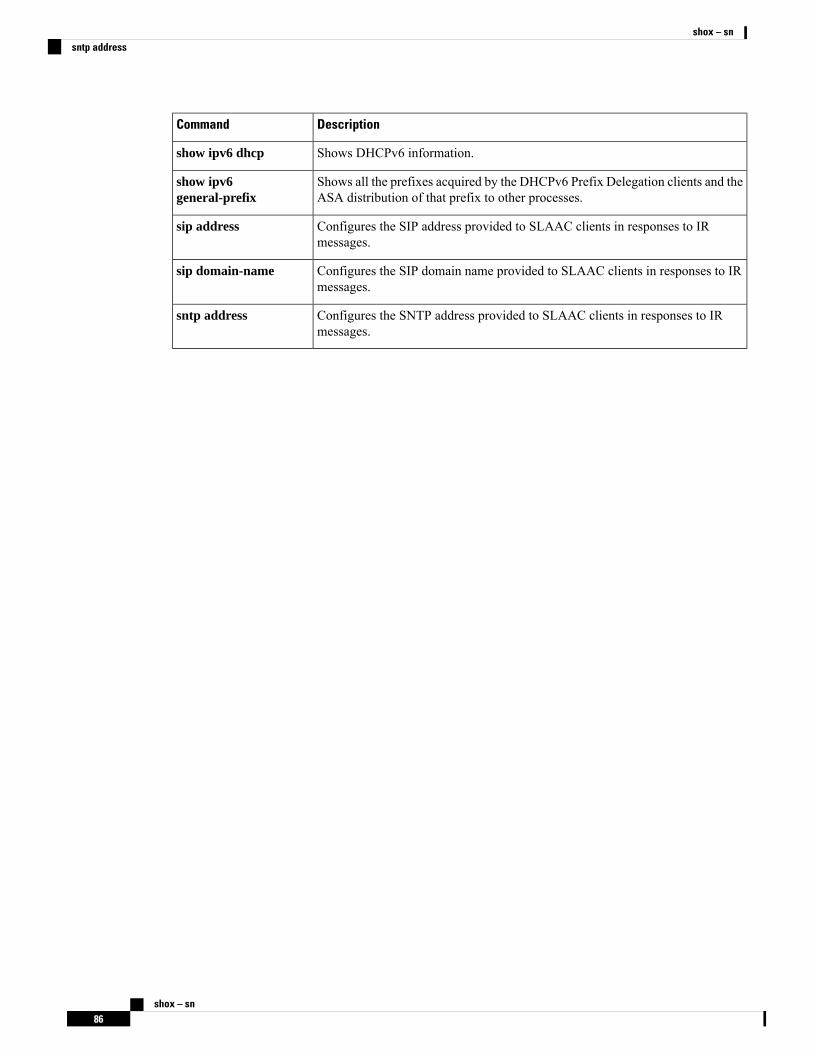
DescriptionCommand
Shows DHCPv6 information.show ipv6 dhcp
Shows all the prefixes acquired by the DHCPv6 Prefix Delegation clients and theASA distribution of that prefix to other processes.
show ipv6general-prefix
Configures the SIP address provided to SLAAC clients in responses to IRmessages.
sip address
Configures the SIP domain name provided to SLAAC clients in responses to IRmessages.
sip domain-name
Configures the SNTP address provided to SLAAC clients in responses to IRmessages.
sntp address
shox – sn86
shox – snsntp address