Embed Size (px)
Citation preview
SASCM WORKSHOP 5/24/2014
1
Setting up a Diagnostic Molecular LaboratoryCornelis Clay
Ampath
Molecular Biology Laboratory
24 May 2014
Why go Molecular?
� Impressive growth and developments in Molecular Diagnostics – last 15 years.
� Advantages of molecular diagnostics
◦ Quicker turn around time
◦ Improved sensitivities
◦ Increased accuracy
◦ Marked cost savings
� Industry driven by technology
A growing field
� Worldwide MDx market – around $5.8 billion!
� Steady growth being fuelled by:◦ New technologies
◦ Innovations
◦ Expanded test applications
� Very broad Market :◦ Not limited to one field of study – genetics,
infectious diseases, oncology, haematology and pharmacology
Designing a lab
� Create a successful workflow for PCR◦ Earlier years – contamination of PCR rxn,s with amplification
product from previous PCR was a potential problem
� To Combat contamination –◦ Three separate rooms
� Preparing the reaction� Amplification� Analysis of amplified products
� New instruments – closed systems – less contamination risk
� Facilities still need to be well designed � No inflexible guidelines in molecular lab design – primary
emphasis is avoidance of contamination with each step of the workflow
Important components of setting up a quality laboratory
� GCLP – ensure that quality policies and standards are in place
� Standard operating procedures◦ Assay techniques and processes standardised
� Validated methods
� Appropriate quality control
� Staff requirements – training, competency
� Instrument and consumable Quality control
� Laboratory maintenance
� Appropriate facilities
Contamination
� Amplicon Aerosols◦ Single most NB source of PCR product contamination
associated with post PCR analysis
◦ Amplicons cannot be seen, felt, or detected before the contamination happens
� Target Template Contaminants◦ Where target template itself is the source of
contamination – sample prep area and extraction areas.
◦ Aerosols generated during specimen prep
◦ Not following GLP during specimen preparation and extraction steps.
◦ Repeated analysis of similar samples – diagnostic labs
SASCM WORKSHOP 5/24/2014
2
PCR amplicon contamination
� control and removal of PCR ampliconsform the basis of contamination control :◦ space and time separation of pre- and post-
PCR activities
◦ use of physical aids
◦ use of ultraviolet (UV) light
◦ use of aliquoted PCR reagents,
◦ incorporation of numerous positive and negative or blank PCRs
◦ chemical and biochemical reactions
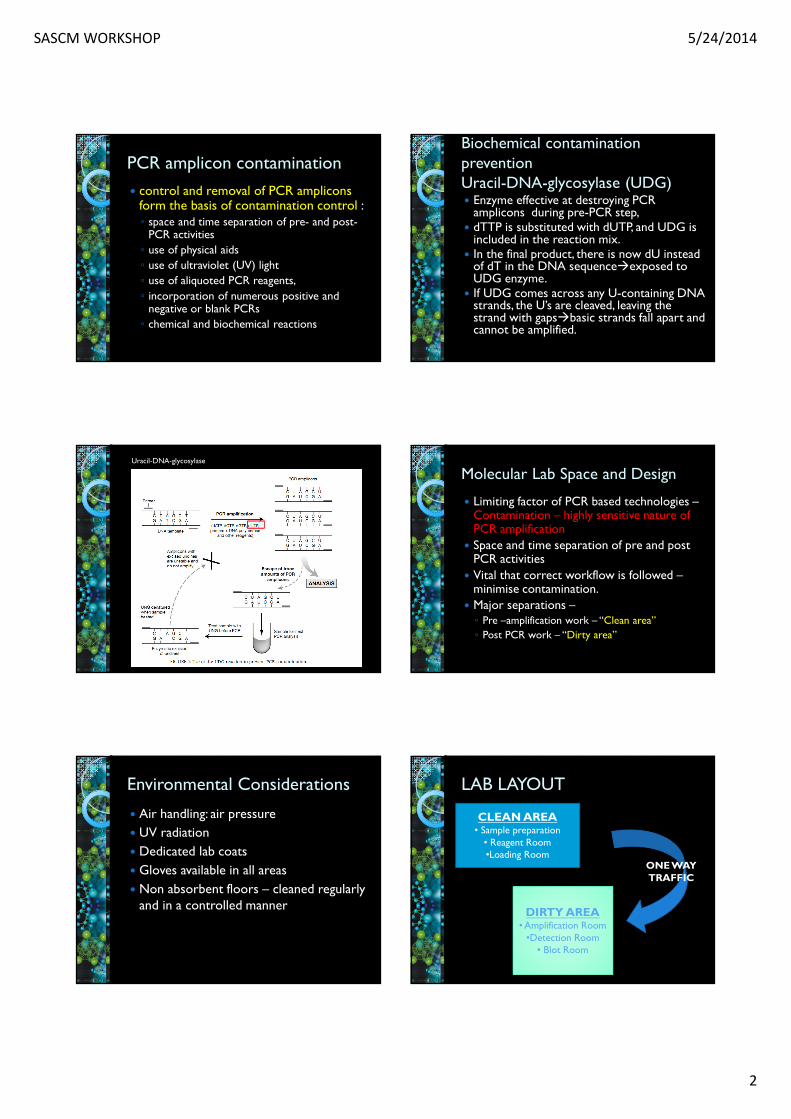
Biochemical contamination preventionUracil-DNA-glycosylase (UDG)� Enzyme effective at destroying PCR
amplicons during pre-PCR step, � dTTP is substituted with dUTP, and UDG is
included in the reaction mix. � In the final product, there is now dU instead
of dT in the DNA sequence�exposed to UDG enzyme.
� If UDG comes across any U-containing DNA strands, the U’s are cleaved, leaving the strand with gaps�basic strands fall apart and cannot be amplified.
Uracil-DNA-glycosylase
Molecular Lab Space and Design
� Limiting factor of PCR based technologies –Contamination – highly sensitive nature of PCR amplification
� Space and time separation of pre and post PCR activities
� Vital that correct workflow is followed –minimise contamination.
� Major separations –◦ Pre –amplification work – “Clean area”
◦ Post PCR work – “Dirty area”
Environmental Considerations
� Air handling: air pressure
� UV radiation
� Dedicated lab coats
� Gloves available in all areas
� Non absorbent floors – cleaned regularly and in a controlled manner
LAB LAYOUT
CLEAN AREA• Sample preparation
• Reagent Room•Loading Room
DIRTY AREA• Amplification Room
•Detection Room• Blot Room
ONE WAY TRAFFIC
SASCM WORKSHOP 5/24/2014
3
Clean area/rooms
� Specimen processing laboratory
◦ Specimens received, processed and stored.◦ Dedicated equipment normally found in Specimen
processing laboratory
� Freezers and fridges for sample storage and extraction reagents storage.
� Biohazard hoods for initial sample preparation ( all specimens regarded as infectious)
� Centifuges, microfuges
� Dry heating blocks ( with dedicated thermometers)
� Dedicated pipettes (colour coded), filter tips, vortexes, timers
� Vacuum manifold (manual extractions), semi – automated extraction platforms, fully automated extraction platforms
� Storage space for tubes, pipette tips and other consumables.
No Template laboratory – reagent room
• PCR reagents stored, mastermix preparation for cDNA and amplification
• Positive air pressure
� Free of amplicon at all times!!� Movement control / dedicated staff for each
area on a rotational basis◦ Dedicated equipment normally found in a no template room
� -20C Freezers, Fridge – reagent storage� Dedicated pipettes (Colour coded) – filter tips� Dedicated vortex� Dedicated microfuge� PCR workstations ( with UV light)� Dedicated place to hang lab coats/ or disposable lab coats� All consumables necessary to perform work in area
No Template laboratoryNucleic acid loading area
� Extracted nucleic acid added to master mixes◦ Dedicated equipment normally found in a loading
area :� Freezer and Fridge ( positive controls and nucleic acid
storage)� PCR workstations� Dedicated minifuge� Dedicated pipettes (Colour coded) – filter tips� Dedicated vortexer� Thermal cycler ( for cDNA synthesis only)� Gloves
� Labcoats.
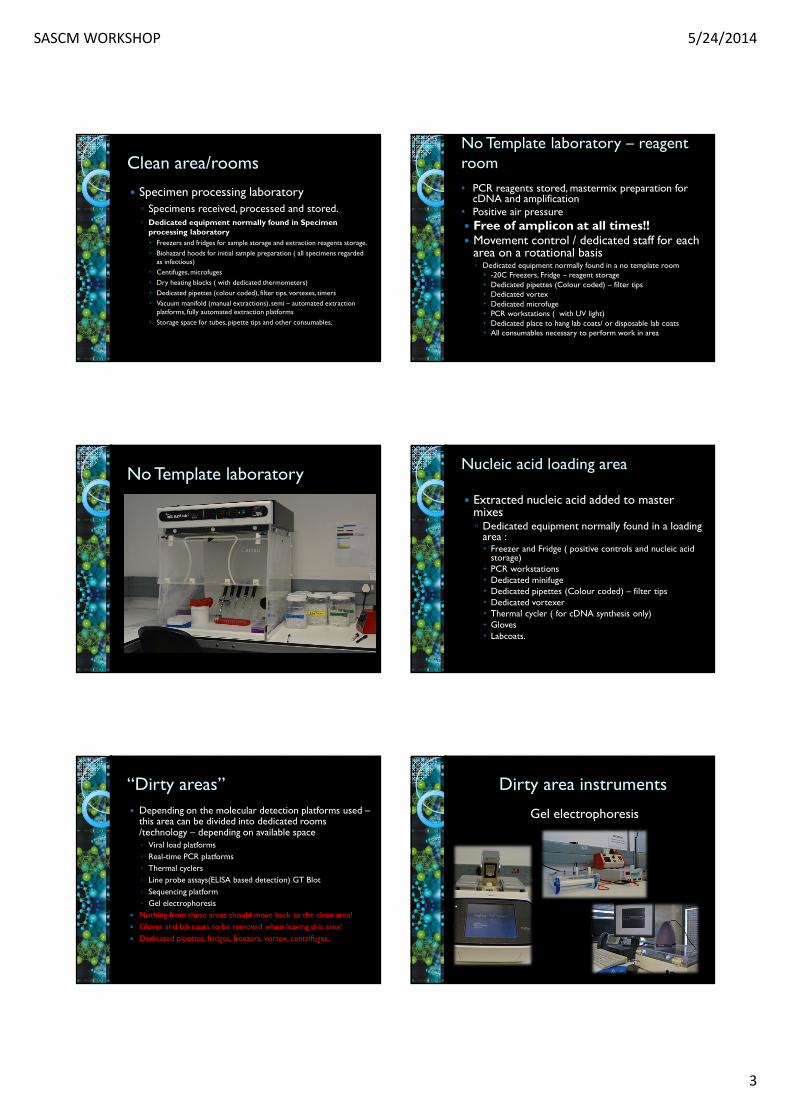
“Dirty areas”
� Depending on the molecular detection platforms used –this area can be divided into dedicated rooms /technology – depending on available space◦ Viral load platforms
◦ Real-time PCR platforms
◦ Thermal cyclers
◦ Line probe assays(ELISA based detection) GT Blot
◦ Sequencing platform
◦ Gel electrophoresis
� Nothing from these areas should move back to the clean area!
� Gloves and lab coats to be removed when leaving this area!
� Dedicated pipettes, fridges, freezers, vortex, centrifuges.
Dirty area instruments
Gel electrophoresis
SASCM WORKSHOP 5/24/2014
4
Sample preparation/extraction
� To Isolate nucleic acid of interest◦ Removes any potential inhibitors
◦ Concentrates the nucleic acid
◦ Increases the ability to detect very low
concentrations of target nucleic acid.
� Pre-extraction sample preparation:◦ Problem area for developing fully automated systems
– due to sample source variability.
Sample types
� Whole blood� Serum� Plasma� Urine� Stool� Sputum� Swabs – nasal, cervical, rectal� Fluids – eye, amniotic, � CSF� Tissue� BAL
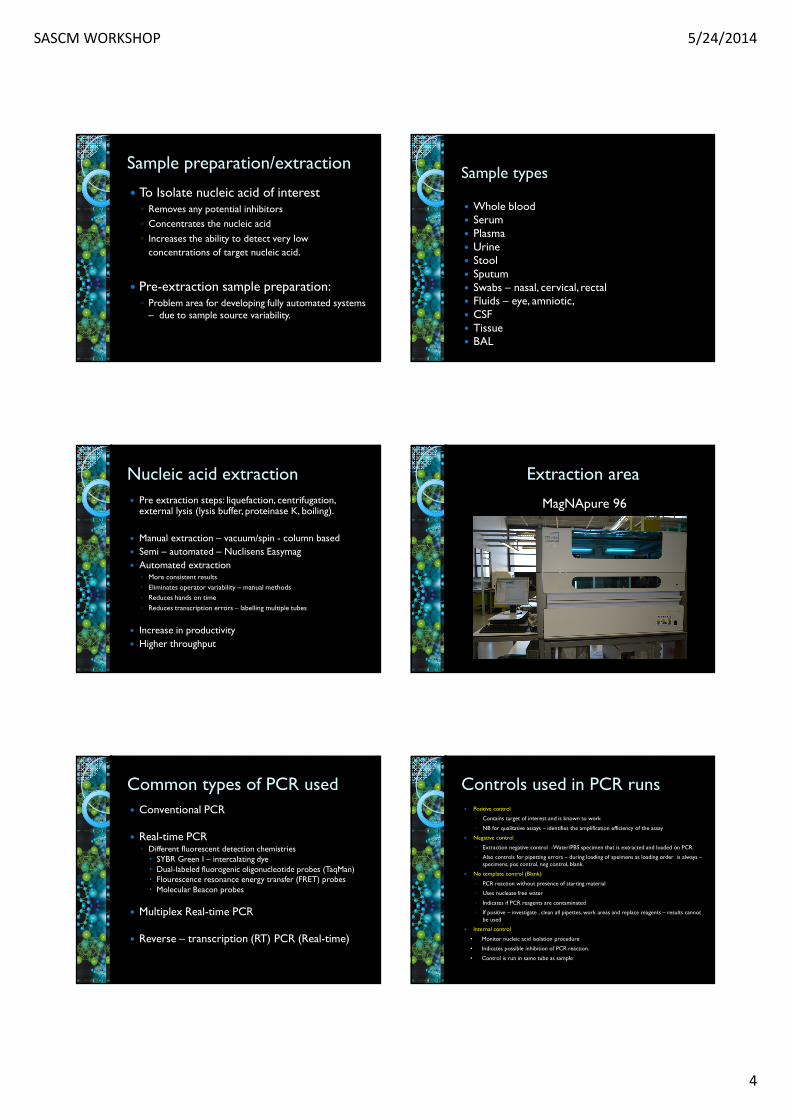
Nucleic acid extraction
� Pre extraction steps: liquefaction, centrifugation, external lysis (lysis buffer, proteinase K, boiling).
� Manual extraction – vacuum/spin - column based
� Semi – automated – Nuclisens Easymag
� Automated extraction◦ More consistent results
◦ Eliminates operator variability – manual methods
◦ Reduces hands on time
◦ Reduces transcription errors – labelling multiple tubes
� Increase in productivity
� Higher throughput
Extraction area
MagNApure 96
Common types of PCR used
� Conventional PCR
� Real-time PCR◦ Different fluorescent detection chemistries
� SYBR Green I – intercalating dye� Dual-labeled fluorogenic oligonucleotide probes (TaqMan)� Flourescence resonance energy transfer (FRET) probes� Molecular Beacon probes
� Multiplex Real-time PCR
� Reverse – transcription (RT) PCR (Real-time)
Controls used in PCR runs� Positive control
◦ Contains target of interest and is known to work
◦ NB for qualitative assays – identifies the amplification efficiency of the assay
� Negative control
◦ Extraction negative control -Water/PBS specimen that is extracted and loaded on PCR.
◦ Also controls for pipetting errors – during loading of speimens as loading order is always –specimens, pos control, neg control, blank.
� No template control (Blank)
◦ PCR reaction without presence of starting material
◦ Uses nuclease free water
◦ Indicates if PCR reagents are contaminated
◦ If positive – investigate , clean all pipettes, work areas and replace reagents – results cannot be used
� Internal control
• Monitor nucleic acid isolation procedure
• Indicates possible inhibition of PCR reaction.
• Control is run in same tube as sample
SASCM WORKSHOP 5/24/2014
5
Platforms used
� Conventional PCR� Thermal cycler, gel electrophoresis equipment, gel
documentation system including UV transilluminator
� Real-time PCR/Multiplex PCR/RT-PCR◦ Roche lightcycler,
◦ Rotorgene
◦ Smartcycler
◦ LC 480
◦ Biorad CFX 96
◦ Roche Cobas Ampliprep/Taqman
◦ Abbot M2000 SP/RT
Cepheid-SmartCycler®
� Random access instrument
� Fluorophores◦ FAM, Cy3/TET, Texas Red /ROX & Cy5
� Detection◦ Intercalating dyes (SYBR Green)
◦ TaqMan
◦ Molecular Beacons
Roche Cobas Ampliprep/Taqman Roche Lightcycler
Using real-time PCR
� No opening of tubes = no ampliconsreleased
� Drastically reduced the risk of ampliconcontamination
� However: even these systems can have potential contamination issues:
◦ Lightcycler glass capillaries can brake
◦ Post Real-time containers not disposed of properly – spills!
Test Menu – Infectious disease Molecular Diagnostic Laboratory� Virology◦ Quantitative assays
� HIV, HBV, HCV, CMV, - automated platform� EBV – Real-time PCR
◦ Qualitative assays – Real-time PCR� Adenovirus, CMV, EBV, EV, Influenza, HBV, HCV, HHV6, HPV, HSV, Mumps virus,
Parvo, VZV, RSV.� JC/BK
◦ Multiplex assays� Viral meningitis – HSV-1/2, EV, Mumps, VZV, Parechovirus
� Respiratory Virus multiplex (16)Adeno, Inf A,B, RSV A,B, parainfluenza 1-4, HRV, EV, , MPV, HBoV, Corona (229E, NL63, OC43)
Gastro viruses multiplex – evaluation –Adenovirus, Astro, Rotavirus, Noro GI, GII, Sapo
SASCM WORKSHOP 5/24/2014
6
Bacteria, parasites, fungi� Bordetella pertussis/parapertussis
� Brucella
� Clostridium difficile
� Chlamydophila pneumonia
� Clamydiae psittaci
� Legionella pneumophilae
� Mycoplasma pneumonia
� Toxoplasma gondii
� EPEC/EHEC
� Pneumocystis jiroveci
� Mycobacterium tuberculosis
� Malaria – species identification
� Aspergillus spp
� Ricketsia
Real –time Multiplex: bacterial
� Respiratory bacteria – 5 plex
◦ Bordetella pertussis/parapertussis, Legionellapneumophila, Chlamydophila pneumoniae, Mycoplasma pneumoniae
� STD – 7 plex� UU, UP, MG , MH , NG ,CT ,TV , IC.
� Carbapenemase – 6 plex
◦ NDM-1, KPC, OXA, VIM, GES, IMP
◦ IC
Genotyping/ Sequencing
� Hain TB drug resistance assay
◦ 1st line and 2nd line drug resistance.
� Mycobacterium spp. identification (CM/AS)
� Sequencing:
◦ HIV-1drug resistance testing
◦ Panfungal
◦ Panbacterial
◦ HCV genotyping
Recent developments
� Significant advances – microfluidics, micro-electronics and microfabrication
� Development of simplified molecular systems – possibility of sample to result automation
� Facilitating implementation in labs that lack capacity or expertise to perform molecular testing – potentially POC?◦ Cepheid- GeneXpert◦ Becton Dickenson BD Max◦ Idaho Technologies - film array
Cepheid-GeneXpert®
� Self-contained cartridges
� Fully integrated sample prep, amplification and detection
� 4 color detection
� TB, C.difficile
� POCT
www.cepheid.com
BD Max
For BD Internal Use
SASCM WORKSHOP 5/24/2014
7
BD MAX Layout
�Two Readers◦ Independent thermal control
◦ 24 lane PCR cartridge
◦ 5 Color Detection 475/520, 530/565, 585/630, 630/665, 680/715
�Two Sample Racks◦ 12 samples per rack
◦ Mix compatible assays in the same rack
� Embedded Control System◦ Test and Worklist Set Up
◦ Data Analysis and Reports
◦ Export data
DNA Extraction
�Very Fast, Single Tube Process
� Extremely Effective Clean-Up For PCR
�Wide Variety of Sample Matrices
Type 1 (Closed):
Lyophilized master mix, IVD-assays only
Open:
Lyophilized master mix, liquid probes/primers
Research:
Liquid master mix, liquid probes/primers
Creating a Test Protocol:DNA PCR Formats
For BD Internal Use
NS NS
Wash
beads
Mix
reagents Lysis
and Binding
Concentrate
beads & remove
supernatant
Release
nucleic acid
Aspirate
EluteMix w PCR
Buffer
Sample Volume~1 ml
PCR-Ready DNA ~20 µµµµl
~ 50 minutes for 1-4 samples
Mix w PCR
reagents
Automated Extraction Process
Microfluidic PCR Cartridge
� For amplification and detection24 Individually Controlled PCR
Reaction Chambers
Sample Input
Openings
Wax Valves Seal PCR
Rxn Chambers
Unique 2-D barcode
with Lot Number
SASCM WORKSHOP 5/24/2014
8
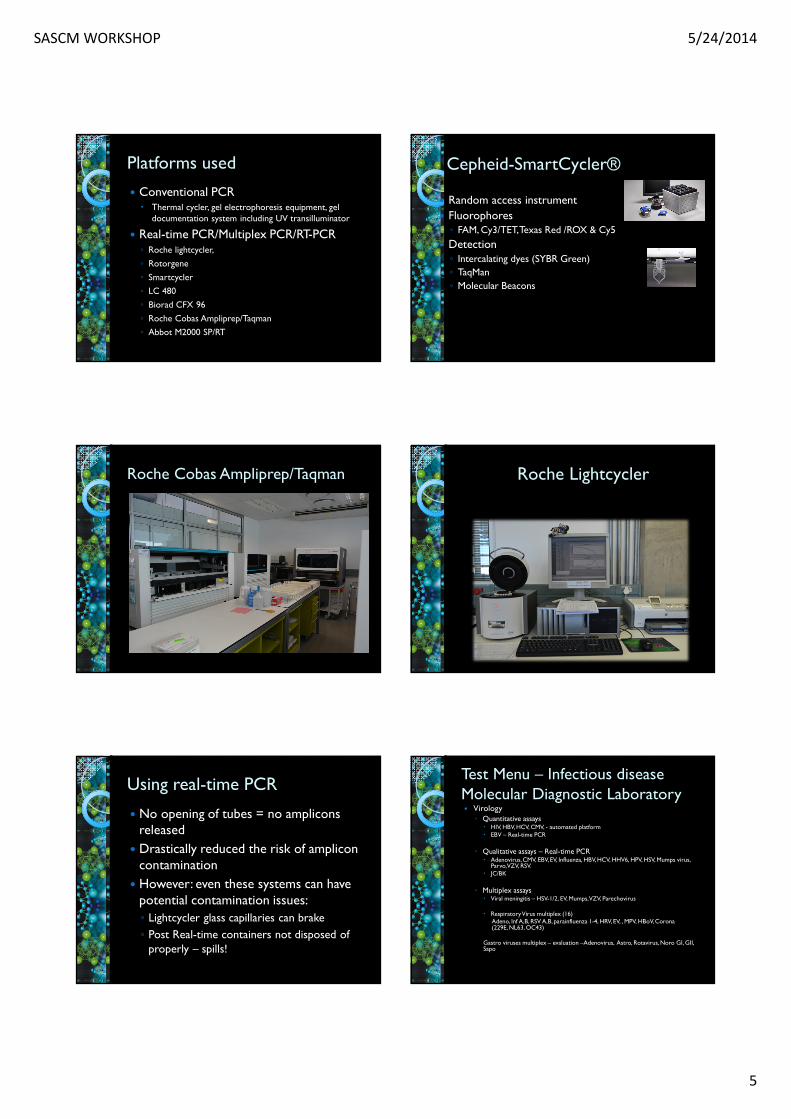
Illustration of the FilmArray RP pouch and the steps involved in processing a specimen for testing using the FilmArray system.
Pierce V M et al. J. Clin. Microbiol. 2012;50:364-371
Film array system
� Fully integrated, closed system, minimizes contamination concerns – provides complete specimen to result automation
� Rapid, easy to use, multiplex format.
� 3-5 minutes hands on – 1hr to result
� Drawback – low throughput
� Failed runs rate 4.2%
Thank you for your attention
� (on a Saturday morning!)
� Questions?
Reference� Raquel V. Viana and Carole L. Wallis (2011). Good
Clinical Laboratory Practice (GCLP) for Molecular Based Tests used in Diagnostic laboratories., Wide Spectra of Quality control, Dr Isin Akyar (Ed.), ISBN: 978-953-307-683-6, InTech –http://www.intechopen.com/books/wide-spectra-of-quality- control/good-clinical-practice-gclp-for-molecular-based-tests-used-in-diagnostic-laboratories.


![Assessing value of innovative molecular diagnostic tests ... · companies involve the use of specific biomarkers [3]. More-over, molecular diagnostic tests (also molecular genetic](https://img.pdfslide.us/doc/110x75/603a70cecb5e006a3e75a1b5/assessing-value-of-innovative-molecular-diagnostic-tests-companies-involve-the.jpg)