Embed Size (px)
Citation preview
Phonak Target 5.1 March 2017
Desktop Fitting Guide The Phonak Target fitting software is intended to be used by qualified hearing care professionals to configure, program, and fit hearing aids to client-specific requirements. This guide provides you with a detailed introduction to hearing instrument fitting with Phonak Target. Please also find the [News] in the Phonak Target start screen.
Content
Structure and navigation ....................................................................................................................................................................................................................... 2
Preparation of the hearing instruments ............................................................................................................................................................................................ 2
Connect the instruments ........................................................................................................................................................................................................................ 2
Receiver check ........................................................................................................................................................................................................................................... 2
Check the acoustic parameters ............................................................................................................................................................................................................ 3
Accessories ................................................................................................................................................................................................................................................. 3
Fitting .......................................................................................................................................................................................................................................................... 3
Global tuning ............................................................................................................................................................................................................................................. 4
Fine tuning ................................................................................................................................................................................................................................................. 4
Finishing the fitting session .................................................................................................................................................................................................................. 8
Information and description of symbols ............................................................................................................................................................................................ 8
System requirements ............................................................................................................................................................................................................................... 9
Phonak Target | Desktop Fitting Guide 2
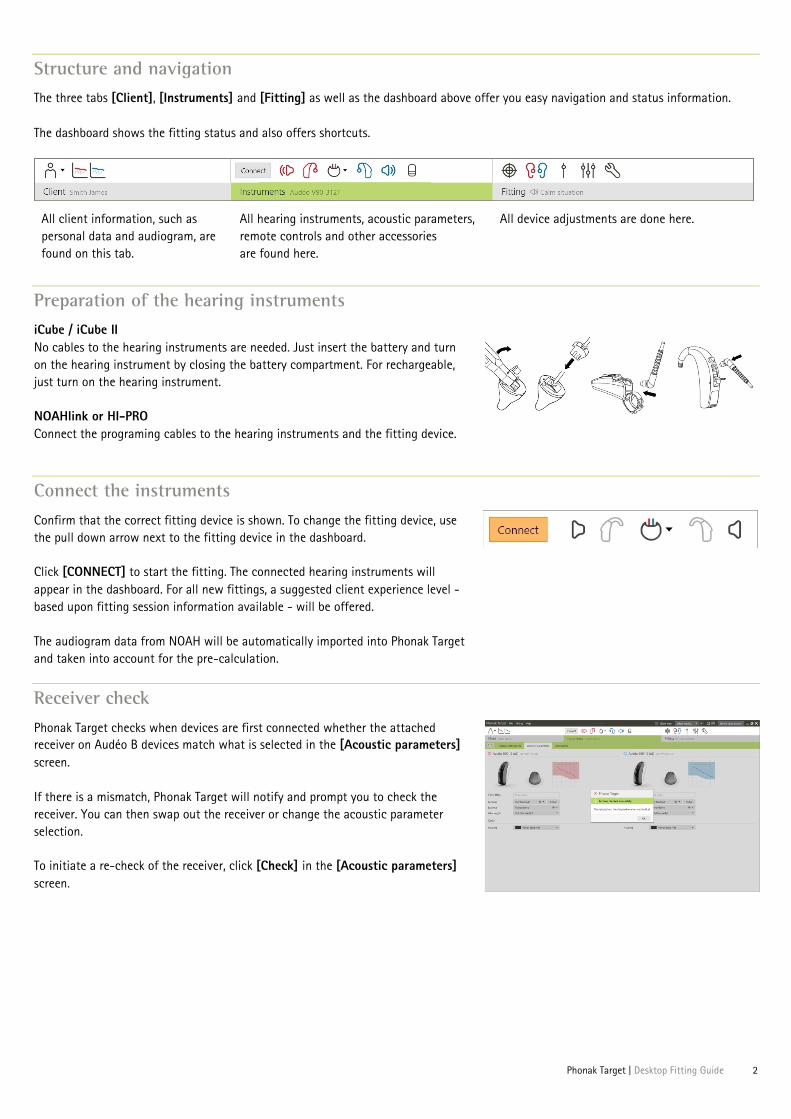
Structure and navigation
The three tabs [Client], [Instruments] and [Fitting] as well as the dashboard above offer you easy navigation and status information. The dashboard shows the fitting status and also offers shortcuts.
All client information, such as personal data and audiogram, are found on this tab.
All hearing instruments, acoustic parameters, remote controls and other accessories are found here.
All device adjustments are done here.
Preparation of the hearing instruments
iCube / iCube II No cables to the hearing instruments are needed. Just insert the battery and turn on the hearing instrument by closing the battery compartment. For rechargeable, just turn on the hearing instrument. NOAHlink or HI-PRO Connect the programing cables to the hearing instruments and the fitting device.
Connect the instruments
Confirm that the correct fitting device is shown. To change the fitting device, use the pull down arrow next to the fitting device in the dashboard. Click [CONNECT] to start the fitting. The connected hearing instruments will appear in the dashboard. For all new fittings, a suggested client experience level -based upon fitting session information available - will be offered. The audiogram data from NOAH will be automatically imported into Phonak Target and taken into account for the pre-calculation.
Receiver check
Phonak Target checks when devices are first connected whether the attached receiver on Audéo B devices match what is selected in the [Acoustic parameters] screen. If there is a mismatch, Phonak Target will notify and prompt you to check the receiver. You can then swap out the receiver or change the acoustic parameter selection. To initiate a re-check of the receiver, click [Check] in the [Acoustic parameters] screen.
Phonak Target | Desktop Fitting Guide 3
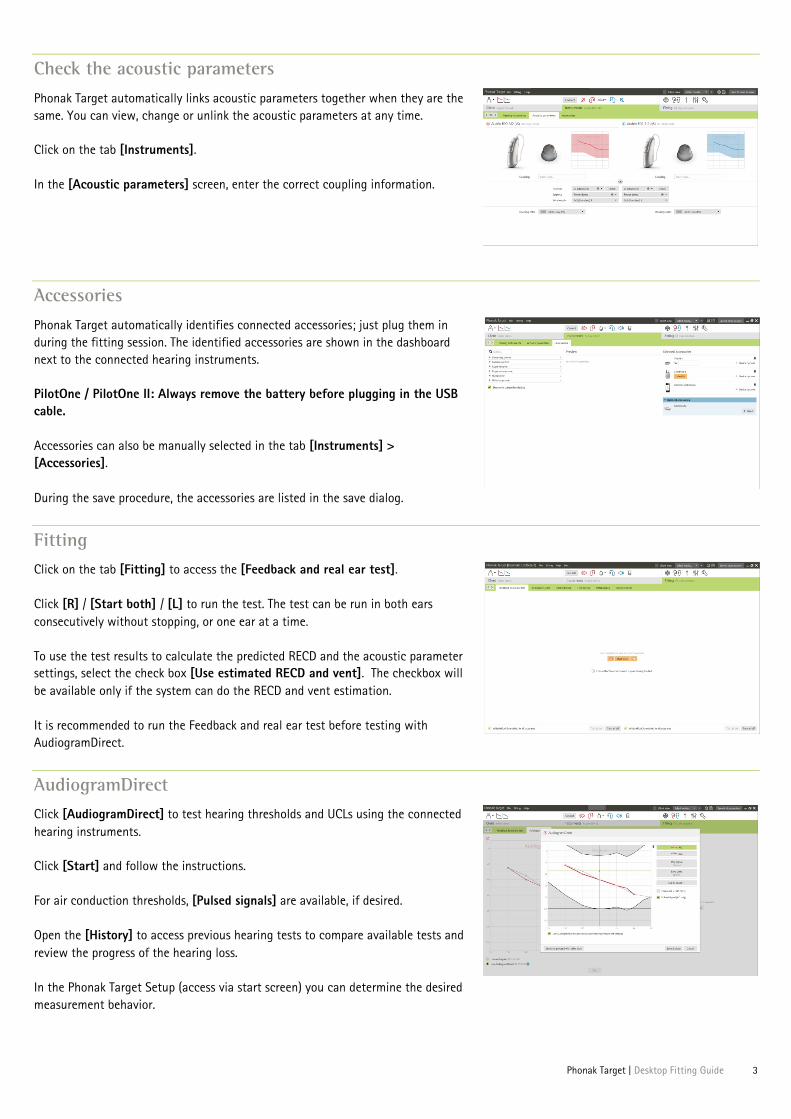
Check the acoustic parameters
Phonak Target automatically links acoustic parameters together when they are the same. You can view, change or unlink the acoustic parameters at any time. Click on the tab [Instruments]. In the [Acoustic parameters] screen, enter the correct coupling information.
Accessories
Phonak Target automatically identifies connected accessories; just plug them in during the fitting session. The identified accessories are shown in the dashboard next to the connected hearing instruments. PilotOne / PilotOne II: Always remove the battery before plugging in the USB cable. Accessories can also be manually selected in the tab [Instruments] > [Accessories]. During the save procedure, the accessories are listed in the save dialog.
Fitting
Click on the tab [Fitting] to access the [Feedback and real ear test]. Click [R] / [Start both] / [L] to run the test. The test can be run in both ears consecutively without stopping, or one ear at a time. To use the test results to calculate the predicted RECD and the acoustic parameter settings, select the check box [Use estimated RECD and vent]. The checkbox will be available only if the system can do the RECD and vent estimation. It is recommended to run the Feedback and real ear test before testing with AudiogramDirect.
AudiogramDirect
Click [AudiogramDirect] to test hearing thresholds and UCLs using the connected hearing instruments. Click [Start] and follow the instructions. For air conduction thresholds, [Pulsed signals] are available, if desired. Open the [History] to access previous hearing tests to compare available tests and review the progress of the hearing loss. In the Phonak Target Setup (access via start screen) you can determine the desired measurement behavior.
Phonak Target | Desktop Fitting Guide 4
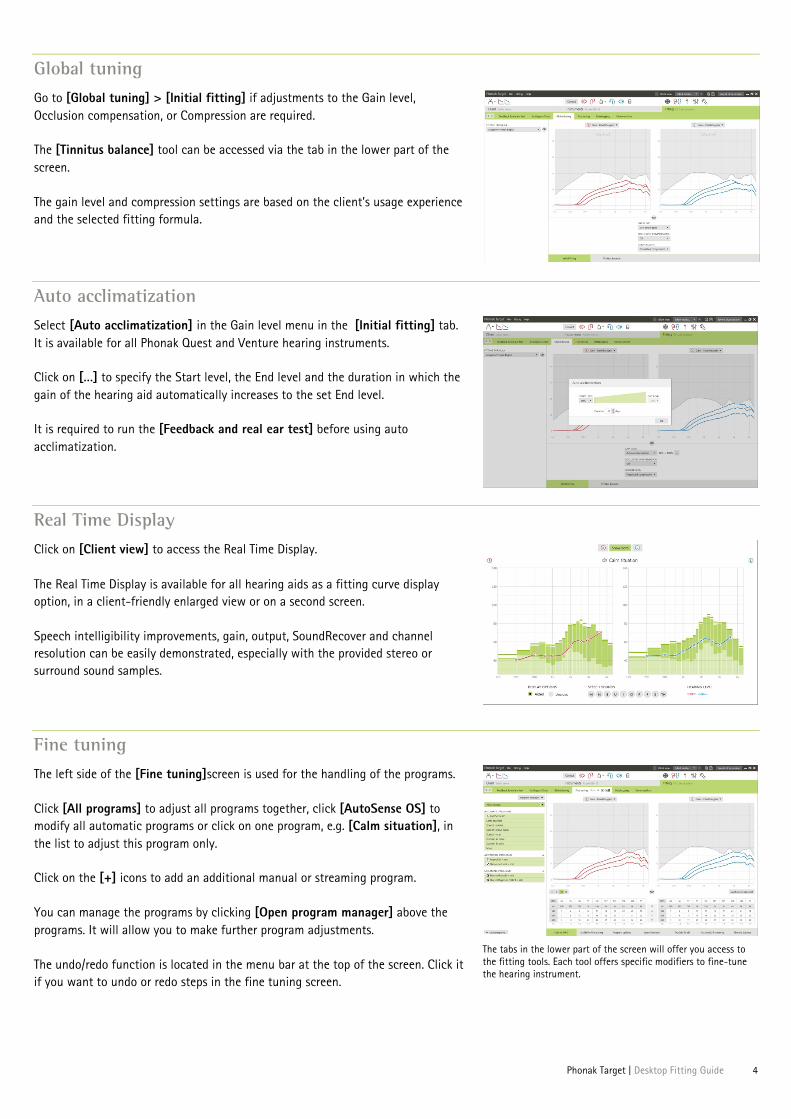
Global tuning
Go to [Global tuning] > [Initial fitting] if adjustments to the Gain level, Occlusion compensation, or Compression are required. The [Tinnitus balance] tool can be accessed via the tab in the lower part of the screen. The gain level and compression settings are based on the client’s usage experience and the selected fitting formula.
Auto acclimatization
Select [Auto acclimatization] in the Gain level menu in the [Initial fitting] tab. It is available for all Phonak Quest and Venture hearing instruments. Click on […] to specify the Start level, the End level and the duration in which the gain of the hearing aid automatically increases to the set End level. It is required to run the [Feedback and real ear test] before using auto acclimatization.
Real Time Display
Click on [Client view] to access the Real Time Display. The Real Time Display is available for all hearing aids as a fitting curve display option, in a client-friendly enlarged view or on a second screen. Speech intelligibility improvements, gain, output, SoundRecover and channel resolution can be easily demonstrated, especially with the provided stereo or surround sound samples.
Fine tuning
The left side of the [Fine tuning]screen is used for the handling of the programs. Click [All programs] to adjust all programs together, click [AutoSense OS] to modify all automatic programs or click on one program, e.g. [Calm situation], in the list to adjust this program only. Click on the [+] icons to add an additional manual or streaming program. You can manage the programs by clicking [Open program manager] above the programs. It will allow you to make further program adjustments. The undo/redo function is located in the menu bar at the top of the screen. Click it if you want to undo or redo steps in the fine tuning screen.
The tabs in the lower part of the screen will offer you access to the fitting tools. Each tool offers specific modifiers to fine-tune the hearing instrument.
Phonak Target | Desktop Fitting Guide 5
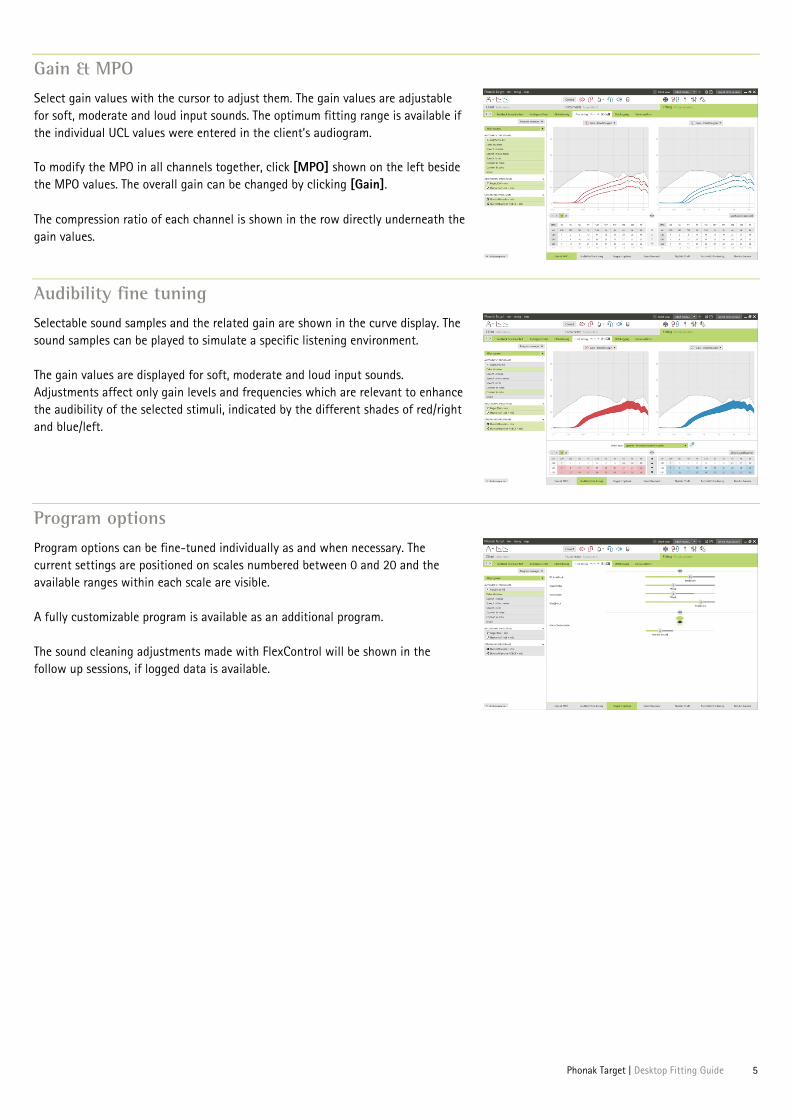
Gain & MPO
Select gain values with the cursor to adjust them. The gain values are adjustable for soft, moderate and loud input sounds. The optimum fitting range is available if the individual UCL values were entered in the client’s audiogram. To modify the MPO in all channels together, click [MPO] shown on the left beside the MPO values. The overall gain can be changed by clicking [Gain]. The compression ratio of each channel is shown in the row directly underneath the gain values.
Audibility fine tuning
Selectable sound samples and the related gain are shown in the curve display. The sound samples can be played to simulate a specific listening environment. The gain values are displayed for soft, moderate and loud input sounds. Adjustments affect only gain levels and frequencies which are relevant to enhance the audibility of the selected stimuli, indicated by the different shades of red/right and blue/left.
Program options
Program options can be fine-tuned individually as and when necessary. The current settings are positioned on scales numbered between 0 and 20 and the available ranges within each scale are visible. A fully customizable program is available as an additional program. The sound cleaning adjustments made with FlexControl will be shown in the follow up sessions, if logged data is available.

Phonak Target | Desktop Fitting Guide 6
SoundRecover2 / SoundRecover
The individual SoundRecover settings, set by the pre-calculation, can be fine-tuned. For binaural fittings the cut-off frequency and the frequency compression ratio are calculated based on the better ear. Please check the SoundRecover settings if incompatible hearing instruments are to be fitted together in one session. SoundRecover2 Set the strength of SoundRecover2 according to your clients preference for Audibility or Distinction. Audibility makes high frequency sounds more audible as they are shifted to the better low frequency area, while Distinction increases the differentiation of audible high frequency sounds like S and SH. Depending on the settings of Audibility and Distinction, adjust the settings for Clarity and Comfort. Comfort makes sounds, such as male voices, own voice or music, more natural. Clarity adjust the audibility and distinction of high frequency sounds if they sound altered. SoundRecover The strength of frequency compression can be increased or decreased as desired to improve speech intelligibility, audibility and sound quality. The SoundRecover fitting tool can be extended to adjust independently the cut-off frequency and the compression ratio. Click [Show extended tool] to do this.
Phonak Target | Desktop Fitting Guide 7
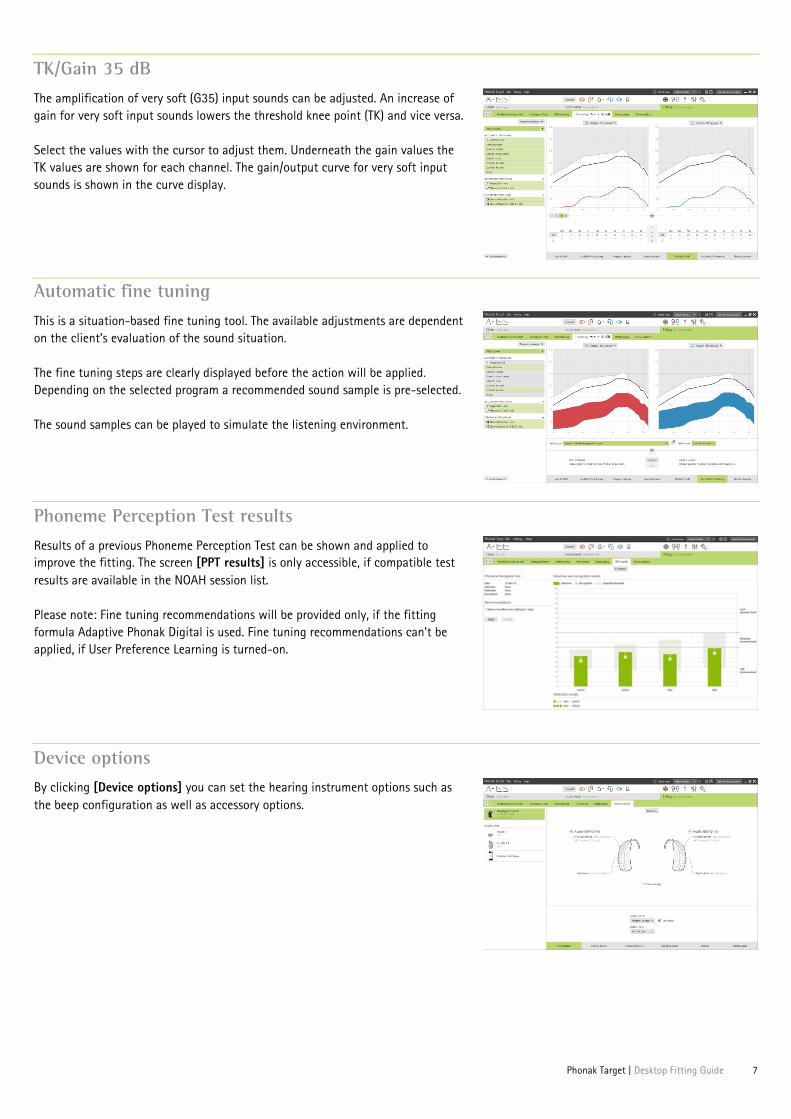
TK/Gain 35 dB
The amplification of very soft (G35) input sounds can be adjusted. An increase of gain for very soft input sounds lowers the threshold knee point (TK) and vice versa. Select the values with the cursor to adjust them. Underneath the gain values the TK values are shown for each channel. The gain/output curve for very soft input sounds is shown in the curve display.
Automatic fine tuning
This is a situation-based fine tuning tool. The available adjustments are dependent on the client’s evaluation of the sound situation. The fine tuning steps are clearly displayed before the action will be applied. Depending on the selected program a recommended sound sample is pre-selected. The sound samples can be played to simulate the listening environment.
Phoneme Perception Test results
Results of a previous Phoneme Perception Test can be shown and applied to improve the fitting. The screen [PPT results] is only accessible, if compatible test results are available in the NOAH session list. Please note: Fine tuning recommendations will be provided only, if the fitting formula Adaptive Phonak Digital is used. Fine tuning recommendations can’t be applied, if User Preference Learning is turned-on.
Device options
By clicking [Device options] you can set the hearing instrument options such as the beep configuration as well as accessory options.
Phonak Target | Desktop Fitting Guide 8
Finishing the fitting session
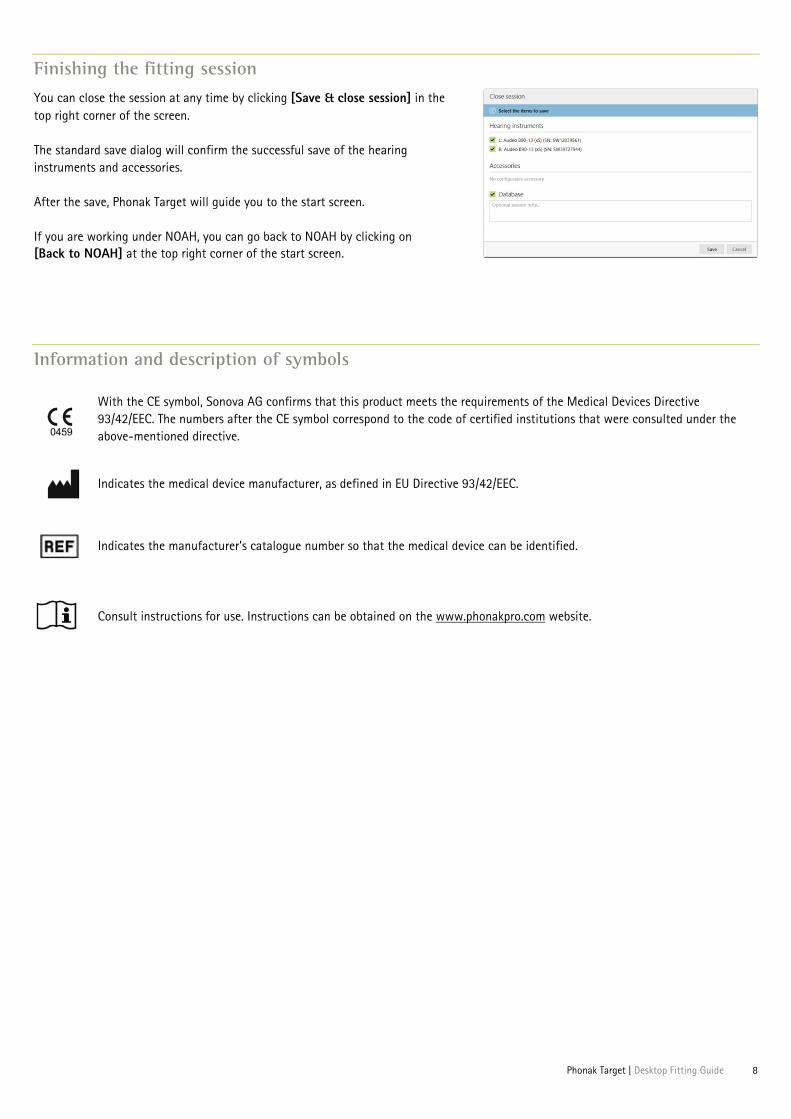
You can close the session at any time by clicking [Save & close session] in the top right corner of the screen. The standard save dialog will confirm the successful save of the hearing instruments and accessories. After the save, Phonak Target will guide you to the start screen. If you are working under NOAH, you can go back to NOAH by clicking on [Back to NOAH] at the top right corner of the start screen.
Information and description of symbols
With the CE symbol, Sonova AG confirms that this product meets the requirements of the Medical Devices Directive
93/42/EEC. The numbers after the CE symbol correspond to the code of certified institutions that were consulted under the above-mentioned directive.
Indicates the medical device manufacturer, as defined in EU Directive 93/42/EEC.
Indicates the manufacturer’s catalogue number so that the medical device can be identified.
Consult instructions for use. Instructions can be obtained on the www.phonakpro.com website.

Phonak Target | Desktop Fitting Guide 9
System requirements
Operating system
Windows 10, Home / Pro / Enterprise Windows 8 / 8.1, latest SP, Pro / Enterprise Windows 7, latest SP, Home / Professional / Business / Enterprise / Ultimate Windows Vista, SP 2, Home / Business / Enterprise / Ultimate
Processor
Intel Core or higher performance
RAM
4 GB or more
Hard disk space
3 GB or more
Screen resolution
1280 x 1024 pixels or more
Graphic card
16 Million (24bit) screen colors or more
Drive
DVD
Serial COM port
Only if RS-232 HI-PRO is used
USB ports
One for each purpose: Bluetooth adaptor Accessory programming HI-PRO if used via USB port
Programming interfaces
iCube II / iCube / NOAHlink / RS-232 HI-PRO / HI-PRO USB / HI-PRO2
NOAHlink driver
Latest version available
Internet connection
Recommended
Sound card
Stereo or surround 5.1
Playback system
20 Hz – 14 kHz (+/- 5 dB), 90 dB
NOAH version
Latest version (NOAH 3.7 or higher) Please check the NOAH limitations for Windows 64 bit operating systems on http://www.himsa.com
Manufacturer: Sonova AG Laubisrütistrasse 28 CH-8712 Stäfa Switzerland CE mark applied 2016
V1.0
0/20
17-0
3 ©
Sono
va A
G A
ll rig
hts
rese
rved