Embed Size (px)
Citation preview

Innovative Solutions for tomorrow’s transportation needs
Using GIS and Map 3D in Civil 3D
Doug MedleyCADDESK Consulting Resources, LLC

Innovative Solutions for tomorrow’s transportation needs
Using GIS and Map 3D in Civil 3D
This session will outline the process of importing and connecting to various GIS data formats using tools available in the MAP 3D functions in Civil 3D
When you work with other departments, agencies, or consultants on a project, you may be required to read data supplied in different file formats. Using the Map 3D functions in Civil 3D, you can import or connect to data in different formats.
It can very expensive and time consuming to acquire GIS data. But in many cases the GIS data is available from various agencies. Files containing this GIS data can come in a wide range of formats.
Innovative Solutions for tomorrow’s transportation needs
Using GIS and Map 3D in Civil 3D
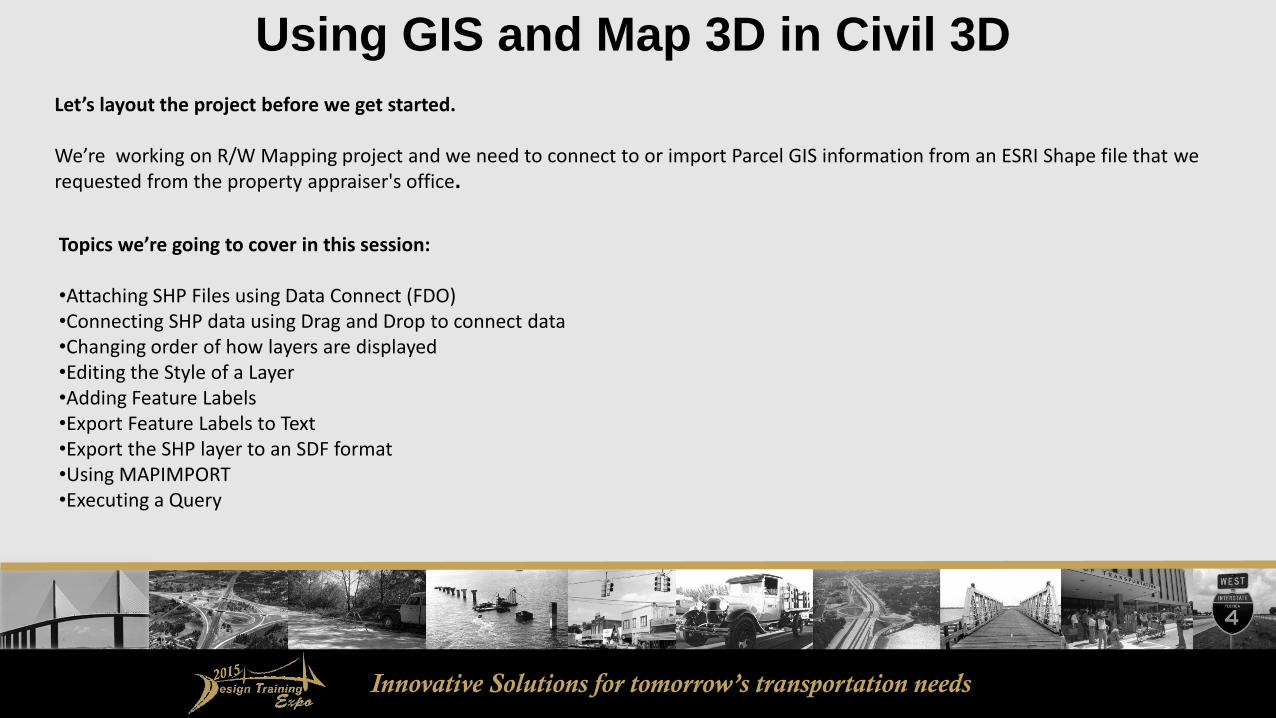
Topics we’re going to cover in this session:
•Attaching SHP Files using Data Connect (FDO)•Connecting SHP data using Drag and Drop to connect data•Changing order of how layers are displayed•Editing the Style of a Layer•Adding Feature Labels•Export Feature Labels to Text•Export the SHP layer to an SDF format•Using MAPIMPORT•Executing a Query
Let’s layout the project before we get started.
We’re working on R/W Mapping project and we need to connect to or import Parcel GIS information from an ESRI Shape file that werequested from the property appraiser's office.

Innovative Solutions for tomorrow’s transportation needs
Start Civil 3D 2015:
Open the FDOT2015.C3D folder on desktop
Start Civil 3D by selecting the FDOT2015.C3D icon.
Using GIS and Map 3D in Civil 3D

Innovative Solutions for tomorrow’s transportation needs
Using GIS and Map 3D in Civil 3DOpen RW433607101.dwg:
From the Quick Access Toolbar, select Open then from the C:\Civil 3D Projects\4336071\rwmap folder, select the RW433607101.dwg

Innovative Solutions for tomorrow’s transportation needs
Set the drawing scale to 1=40’
Set the drawing’s coordinates to NAD83 Florida State Planes, East Zone, by using the SETFLEAST command
Execute a Zoom Extents to view the current data
Using GIS and Map 3D in Civil 3D
From the Quick Access toolbar, select Save to save the RW433607101.dwg file

Innovative Solutions for tomorrow’s transportation needs
Using GIS and Map 3D in Civil 3DFrom the Quick Access Toolbar switch the workspace to Planning and Analysis
Review the Ribbon, then from the Quick Access Toolbar switch the workspace back to Civil 3D

Innovative Solutions for tomorrow’s transportation needs
Using GIS and Map 3D in Civil 3DAttaching SHP Files using Data Connect (FDO):
Two methods are available to connect a SHP file, One method is by dragging and dropping a SHP file directly into the Drawing Editor.
The other method is by using the Map Task Pane and connecting the SHP file via the Data Connect tools.
Continue working in the RW433607101.dwg file
Execute a Zoom Extents to view the current data
From ribbon select the Home tab, Palette panel, expand the Palette panel by selecting the down arrow, select the Map Task Pane icon, at the Command Line use the On option which then loads the Map Task Pane

Innovative Solutions for tomorrow’s transportation needs
Using GIS and Map 3D in Civil 3DFrom the Map Task Pane, Display Manager tab, select the Data icon, then select Connect to Data to open up the Data Connect tool palette

Innovative Solutions for tomorrow’s transportation needs
Using GIS and Map 3D in Civil 3D
In the Data Connection by Provider panel, select Add SHP Connection
For the Connection name use Orange County Parcels

Innovative Solutions for tomorrow’s transportation needs
Using GIS and Map 3D in Civil 3DFor Source file of Folder select the SHP icon, Navigate to the C:\Civil 3D Projects\4336071\survey\misc\shp\orange_pin folder and select the orange_pin.shp file, then select Open
To connect to the data select the Connect button

Innovative Solutions for tomorrow’s transportation needs
Using GIS and Map 3D in Civil 3DTo select the SHP files listed select the box next to Default

Innovative Solutions for tomorrow’s transportation needs
Using GIS and Map 3D in Civil 3DThere are two ways to display the SHP file data in the drawing, one is by using the Add to Map option, which will display the entire Orange County Parcel map. The second is by using the Add to Map with Query option.
For this session select the Add to Map with Query option by selecting the down arrow, then select Add to Map with Query. In the Create Query dialog select the Locate on Map icon, then under the section Inside, select Polygon. From the command line use the option Create, Draw lines to define the query boundary, when the query boundary line has been defined, press enter to return to the Create Query dialog. Then select Ok to continue.

Innovative Solutions for tomorrow’s transportation needs
Using GIS and Map 3D in Civil 3DFrom the command line use the option Create, then Draw lines to define the query boundary
When the query boundary line has been defined, press enter to return to the Create Query dialog, then select Ok to continue.

Innovative Solutions for tomorrow’s transportation needs
Using GIS and Map 3D in Civil 3D
Close the Data Connect tool palette
Execute a Zoom Extents to view the Orange_pin layer
From the Quick Access toolbar, select Save to save the RW433607101.dwg file

Innovative Solutions for tomorrow’s transportation needs
Using GIS and Map 3D in Civil 3DChanging order of how layers are displayed:
From the Map Task Pane, Display Manager tab, select the Map Base layer, then drag and drop it above the Orange_pin Layer. This will change the order of how the layers are displayed. (Similar to the Display Order command)

Innovative Solutions for tomorrow’s transportation needs
Using GIS and Map 3D in Civil 3DEditing the Style of a Layer:
From the Map Task Pane, Display Manager tab, select the Orange_pin layer, right click, select Edit Style to open the Style Editor palette. In the style column select the ellipse icon, in the Style Polygon dialog under the Symbol and Style section select the first polygon (controls the color of the polygons boundary), select the down arrow next to Color, from the Change Color dialog, select the Color tab, select magenta as the color, then select OK to continue
From the Style Polygon dialog select the second polygon (controls the color of the polygons fill), select the down arrow next to Color, change the color of the Fill to no color. Select Apply, then select Close to close the Style Polygon dialog.
Close the Style Editor palette

Innovative Solutions for tomorrow’s transportation needs
Using GIS and Map 3D in Civil 3DExecute a Zoom Extents to view the Orange_pin layer
From the Quick Access toolbar, select Save to save the RW433607101.dwg file

Innovative Solutions for tomorrow’s transportation needs
Using GIS and Map 3D in Civil 3DSaving a Layer file:
From the Map Task Pane, Display Manager tab, select the Orange_pin layer, right click, select Save Layer. Navigate to the C:\Civil 3D Projects\4336071\survey folder, use Orange_pin as the name, then select Save to continue.

Innovative Solutions for tomorrow’s transportation needs
Using GIS and Map 3D in Civil 3D
Connecting SHP data using Drag and Drop to connect data:
Open Windows Explorer, resize to allow Civil 3D Drawing Editor to be visible, navigate to the C:\Civil 3D Projects\4336071\survey\misc\shp\orange_pin folder and select the orange_pin.shp file, then drag and drop the orange_pin.shp file on to the Drawing Editor

Innovative Solutions for tomorrow’s transportation needs
Using GIS and Map 3D in Civil 3DThis method connects to and loads the entire orange_pin.shp file and places it over the other orange_pin.shp file connection.

Innovative Solutions for tomorrow’s transportation needs
Using GIS and Map 3D in Civil 3D
Changing order of how layers are displayed:
From the Map Task Pane, Display Manager tab, select the orange_pin layer, then drag and drop it above the Orange_pin (1) Layer. This will change the order of how the layers are displayed. (Similar to the Display Order command)
Performing a Map Query on the Orange_pin (1) Layer:
From the Map Task Pane, Display Manager tab, select the orange_pin (1) layer, right click, select Query to Filter Data, In the Create Query dialog select the Locate on Map icon, then under the section Inside, select Polygon. From the command line use the option Create, Draw lines to define the query boundary, when the query boundary line has been defined, press enter to return to the Create Query dialog. Then select Ok to continue.

Innovative Solutions for tomorrow’s transportation needs
Using GIS and Map 3D in Civil 3D
Editing the Style of a Layer:
From the Map Task Pane, Display Manager tab, select the Orange_pin (1) layer, right click, select Edit Style to open the Style Editor palette. In the style column select the ellipse icon, in the Style Polygon dialog under the Symbol and Style section select the first polygon (controls the color of the polygons boundary), select the down arrow next to Color, from the Change Color dialog, select the Color tab, select green as the color, then select OK to continueFrom the Style Polygon dialog select the second polygon (controls the color of the polygons fill), select the down arrow next to Color, change the color of the Fill to no color. Select Apply, then select Close to close the Style Polygon dialog.
Close the Style Editor palette
Execute a Zoom Window to set the view the Orange_pin (1) layer
Innovative Solutions for tomorrow’s transportation needs
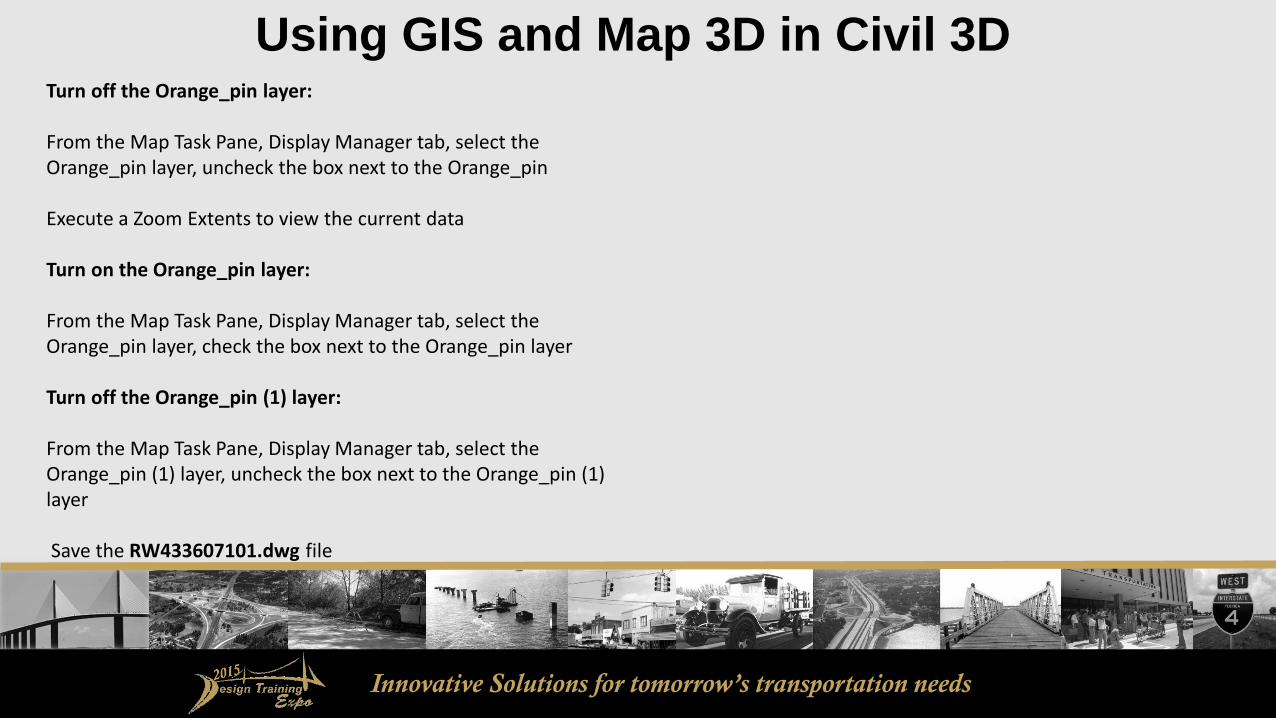
Using GIS and Map 3D in Civil 3DTurn off the Orange_pin layer:
From the Map Task Pane, Display Manager tab, select the Orange_pin layer, uncheck the box next to the Orange_pin
Execute a Zoom Extents to view the current data
Turn on the Orange_pin layer:
From the Map Task Pane, Display Manager tab, select the Orange_pin layer, check the box next to the Orange_pin layer
Turn off the Orange_pin (1) layer:
From the Map Task Pane, Display Manager tab, select the Orange_pin (1) layer, uncheck the box next to the Orange_pin (1) layer
Save the RW433607101.dwg file

Innovative Solutions for tomorrow’s transportation needs
Using GIS and Map 3D in Civil 3DAdding Feature Labels to the Orange_pin layer:
SHP files contain data in a table format which can be added as Feature Labels to an connect SHP file
Display the data table:
From the Map Task Pane, Display Manager tab, select the Orange_pin layer, right click select Show Data Table. Review the data displayed in Data Table tool palette, the PARCELNO field can be used for Feature Labels. Close the Data Table tool palette

Innovative Solutions for tomorrow’s transportation needs
Using GIS and Map 3D in Civil 3DAdding Feature Labels:
From the Map Task Pane, Display Manager tab, select the Orange_pin layer, right click, select Edit Style to open the Style Editor palette. In the Feature Label column select None, in the Style Label dialog, for Size content select Map, under the Label and style section select Add Label. Under the Select symbol section change the text height to 40. Change the color of the text by selecting the down arrow and selecting Yellow. Under the Text content section select the down arrow and select PARCELNO, then select Apply and Close to continue
Close the Style Editor palette
Save the RW433607101.dwg file

Innovative Solutions for tomorrow’s transportation needs
Using GIS and Map 3D in Civil 3DExport Feature Labels to Text:
From ribbon select the Vector Layer tab, Label Feature panel, select the Label to Text icon. From the Convert to Labels dialog select the following values:
Convert Labels to: Mtext
Select a source feature layer: orange_pin
Select the target: TextLabel
Selection scope: All existing labels from the selected feature layer
Select OK to continue
Save the RW433607101.dwg file

Innovative Solutions for tomorrow’s transportation needs
Using GIS and Map 3D in Civil 3DExecute a Zoom Window and Pan commands to view the convert labels.
Execute a Zoom Extents to view the current data
Export the Orange_pin layer to an SDF format:
From the Map Task Pane, Display Manager tab, select the Orange_pin layer, right click, select Export Layer Data to SDF. Navigate to the C:\Civil 3D Projects\4336071\survey folder, use Orange_pin.sdf for name. Select Save to continue

Innovative Solutions for tomorrow’s transportation needs
Let’s now move on Importing Data:
Importing mapping GIS data is more than importing just geometry. Mapping and GIS data, by it’s very nature, includes underlying data that may be as important as what you see on the screen.
Using GIS and Map 3D in Civil 3D

Innovative Solutions for tomorrow’s transportation needs
When you import GIS data the following information can be imported:
Geometry The geometry from other format can be imported into Civil 3D by using Map 3D functions. This includes layering and coordinates system information.
Data Most Mapping/GIS application provide some form of underlying data attached to the geometry. Using Civil 3D and the Map 3D functions, you can read most forms of this data and attach it as either object data or SQL links.
The Import Process:
You can import data as an method of acquiring GIS data. The process for importing GIS data can vary with type of GIS data that is being imported. The import process maintains the integrity of the original GIS data as closely as possible.
The process of importing GIS data is completely different than process of using direct connections (Data Connect) found with FDO Providers.
Using GIS and Map 3D in Civil 3D

Innovative Solutions for tomorrow’s transportation needs
Setting up to import GIS data:
You can import data into either a new drawing or an existing drawing. The following list outlines the common steps you can take to import GIS data.
1. Review the incoming GIS data file – Before staring the import gather as much information about the incoming GIS data. This might include the coordinate system, what GIS data is on each layer and what type of database information is available.
2. Prepare the target drawing – If you import to an existing drawing and want to map the GIS data to specific layers, make sure the layers have been created. If you need to convert coordinate systems during the import, assign the correct coordinate system to the target drawing.
3. Perform the import - Set all the appropriate options in the Import dialog box to capture all of the data you want to use. One the import is complete, verify the integrity of the GIS data
Using GIS and Map 3D in Civil 3D

Innovative Solutions for tomorrow’s transportation needs
Using GIS and Map 3D in Civil 3DUsing MAPIMPORT:
From the command line enter MAPIMPORT, then press enter. From the Import Location dialog, navigate to the C:\Civil 3D Projects\4336071\survey folder select the Orange_pin.sdf file. Select OK to continue.

Innovative Solutions for tomorrow’s transportation needs
Using GIS and Map 3D in Civil 3D
From the Import dialog set the following values:Under the Import properties for each layer imported section:
Input Layer: Select Orange_pinDrawing Layer: set to PropertyLine_epObject Class: NoneInput Coordinate System: set to FL83-EFData: NonePoints: <ACAD-POINT>
From the Import dialog select import polygons as closed polylines, then select OK to continue

Innovative Solutions for tomorrow’s transportation needs
Execute a Zoom Extents to view the imported data
Using GIS and Map 3D in Civil 3D
From the Quick Access toolbar, select Save to save the RW433607101.dwg file
Freeze the PropertyLine_ep layer

Innovative Solutions for tomorrow’s transportation needs
Attach an imported SDF file to DWG file:
Attaching Drawings:
Execute a Zoom Extents to view the current data
From ribbon select the Home tab, Palette panel, expand the Palette panel by selecting the down arrow, select the Map Task Pane icon, at the Command Line use the On option which then loads the Map Task Pane.
From the Map Task Pane, Map Explorer tab, expand out the Current Drawing (RW433607101.dwg) section, then expand both the Drawings and Query Library sections.
Using GIS and Map 3D in Civil 3D
Innovative Solutions for tomorrow’s transportation needs
Attach a Drawing
From the Map Task Pane, Map Explorer tab, right click on Drawings, select Attach, navigate to the C:\Civil 3D Projects\4336071\rwmap folder, in the Select drawings to attach dialog select the Orange County Parcels -Polygons.dwg, then select ADD to add the Orange County Parcels - Polygons.dwg to the Selected drawings section. Select OK to continue.
Using GIS and Map 3D in Civil 3D

Innovative Solutions for tomorrow’s transportation needs
Or
From the Map Task Pane select the Map Explorer tab. Open Windows Explorer, resize to allow Map Task Pane to be visible, navigate to the C:\Civil 3D Projects\4336071\rwmap folder, select the Orange County Parcels - Polygons.dwg, then drag and drop the Orange County Parcels -Polygons.dwg onto the Map Task Pane
From the Map Task Pane, Map Explorer tab, under the Drawings section, right click, select on the attached Orange County Parcels -Polygons.dwg, select Zoom Extents
Using GIS and Map 3D in Civil 3D

Innovative Solutions for tomorrow’s transportation needs
Executing a Query
From the Map Task Pane, Map Explorer tab, under the Query Library section, right click on Current query, select Define. In the Define Query of Attached Drawing (s) dialog, under the Current Query section select Clear Query, under the Query Type section select Location, in the Location Condition dialog under the Boundary Type section select Buffer Fence, under the Selection Type section select Crossing, under the Location Coordinates select Define, Pick points down the center of the Baseline Alignment, when complete press Enter. At the command line for the buffer fence width use 2000, the press Enter to continue
In the Define Query of Attached Drawing (s) dialog, Options section select Alter Properties, in the Set Property Alterations dialog Current Properties Alterations section select Clear List. Under the Select Properties section select Layer, under the Expression section select Values, in the Select dialog select the PropertyLine_ep layer, select OK to continue. Under the Expression section select Add, then select OK to continue. Under the Query Mode section select Draw, then select Execute Query to execute the defined query.
Using GIS and Map 3D in Civil 3D

Innovative Solutions for tomorrow’s transportation needs
Execute a Zoom Extents to view results of the query
Close the Map Task Pane
Freeze the PropertyLine_ep layer
Freeze the TextLabel layer
Using GIS and Map 3D in Civil 3D
From the Quick Access toolbar, select Save to save the RW433607101.dwg file

Innovative Solutions for tomorrow’s transportation needs
Using GIS and Map 3D in Civil 3DThank you for attending today’s session!
For more information:
Doug MedleyCADDESK Consulting Resources, LLC [email protected]