Embed Size (px)
DESCRIPTION
Reprap assembly instructions
Citation preview
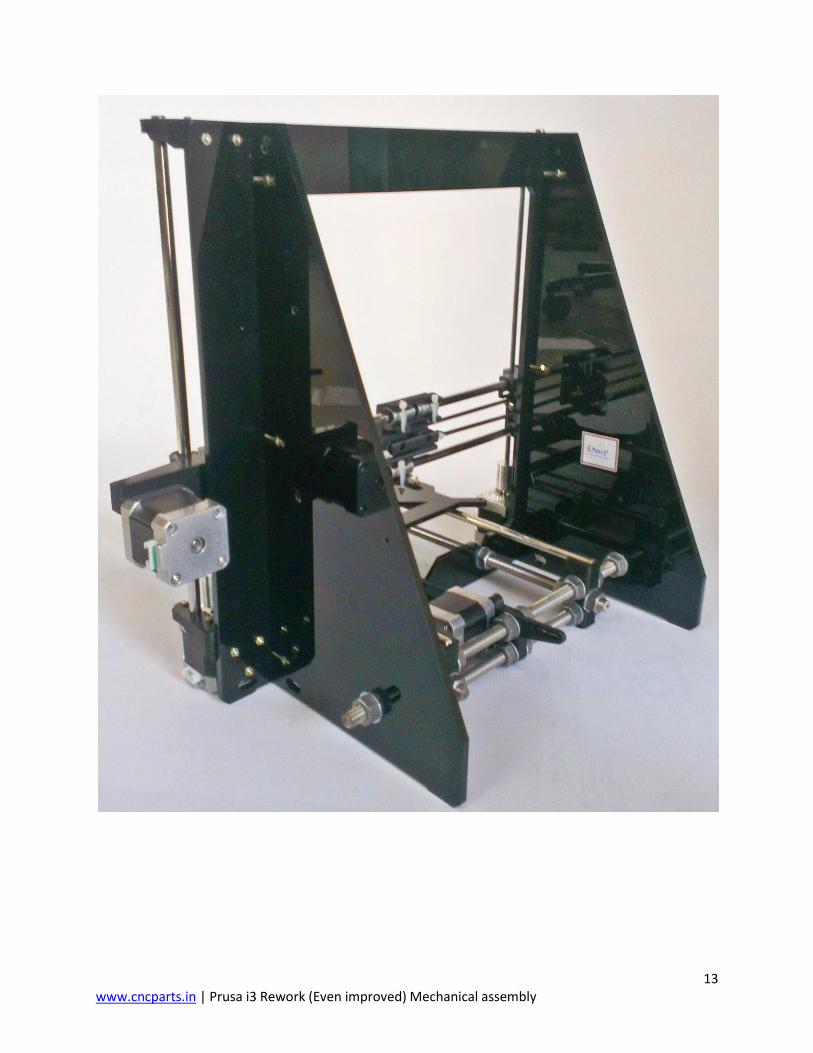
1 www.cncparts.in | Prusa i3 Rework (Even improved) Mechanical assembly
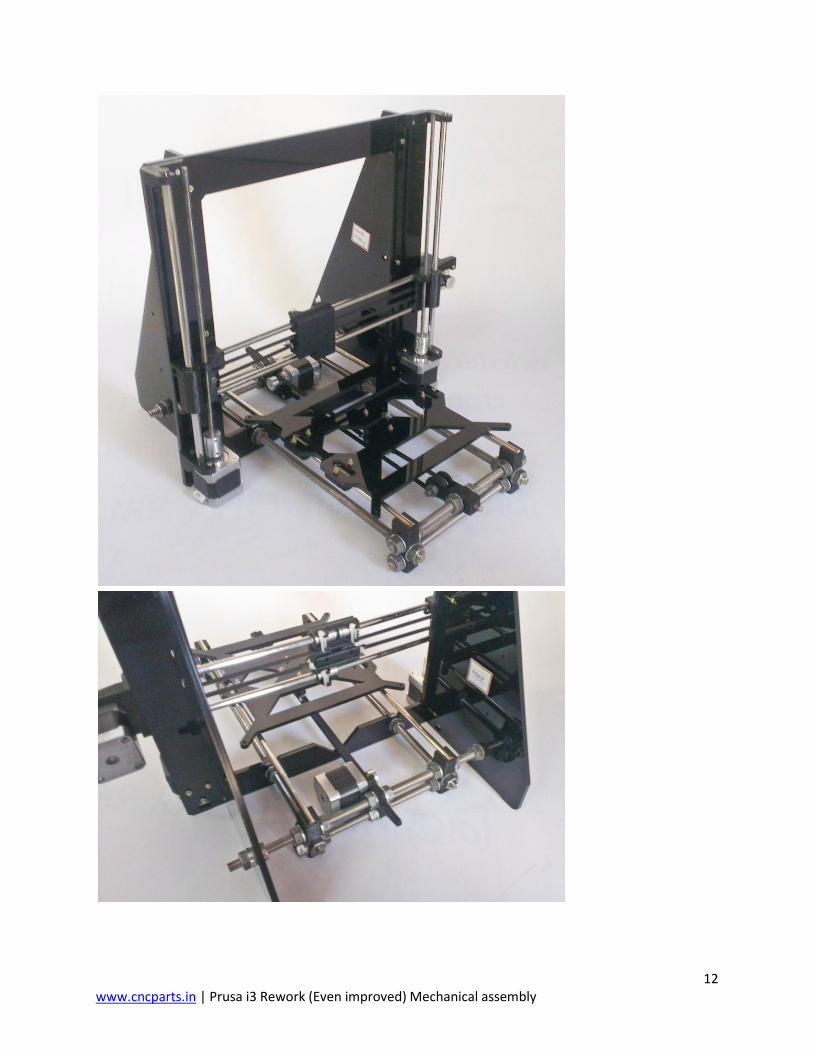
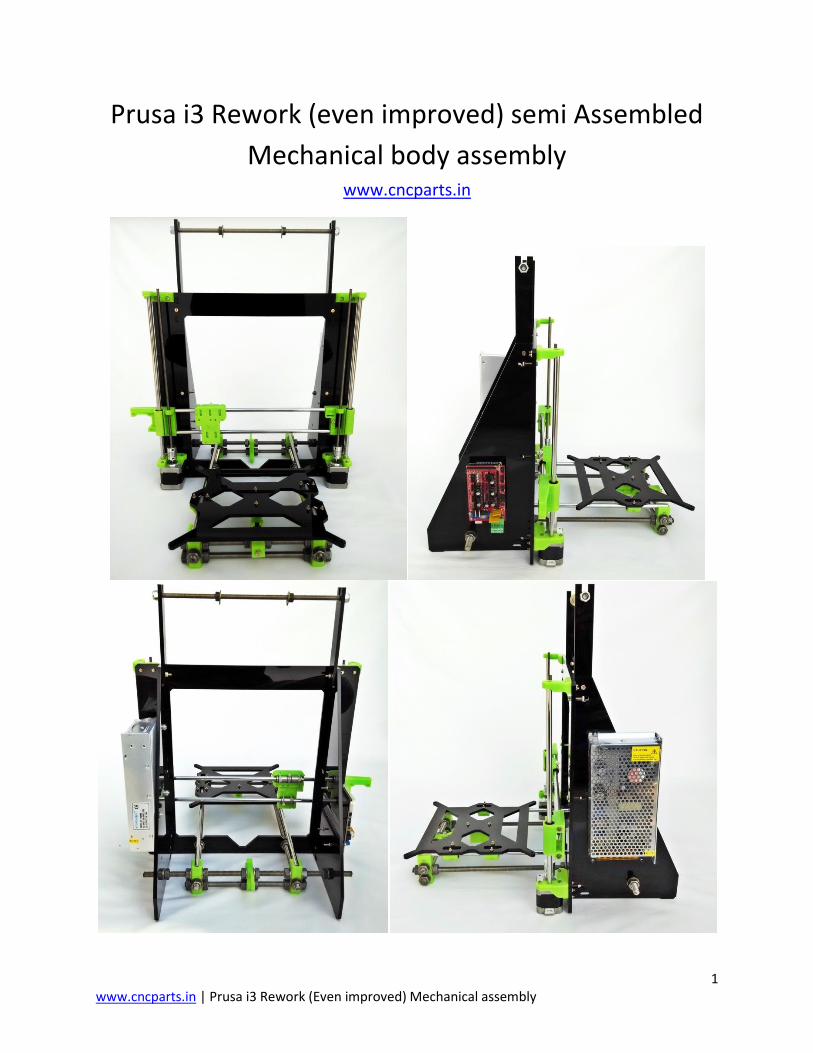
Prusa i3 Rework (even improved) semi Assembled
Mechanical body assembly www.cncparts.in
2 www.cncparts.in | Prusa i3 Rework (Even improved) Mechanical assembly
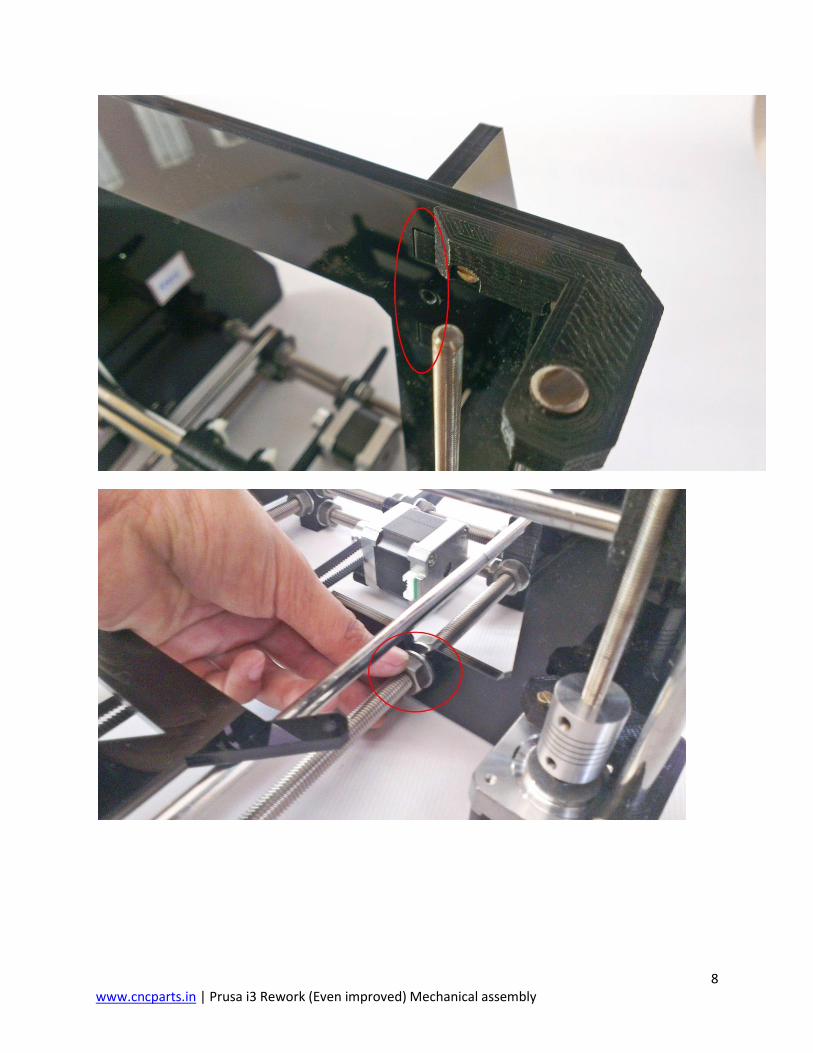
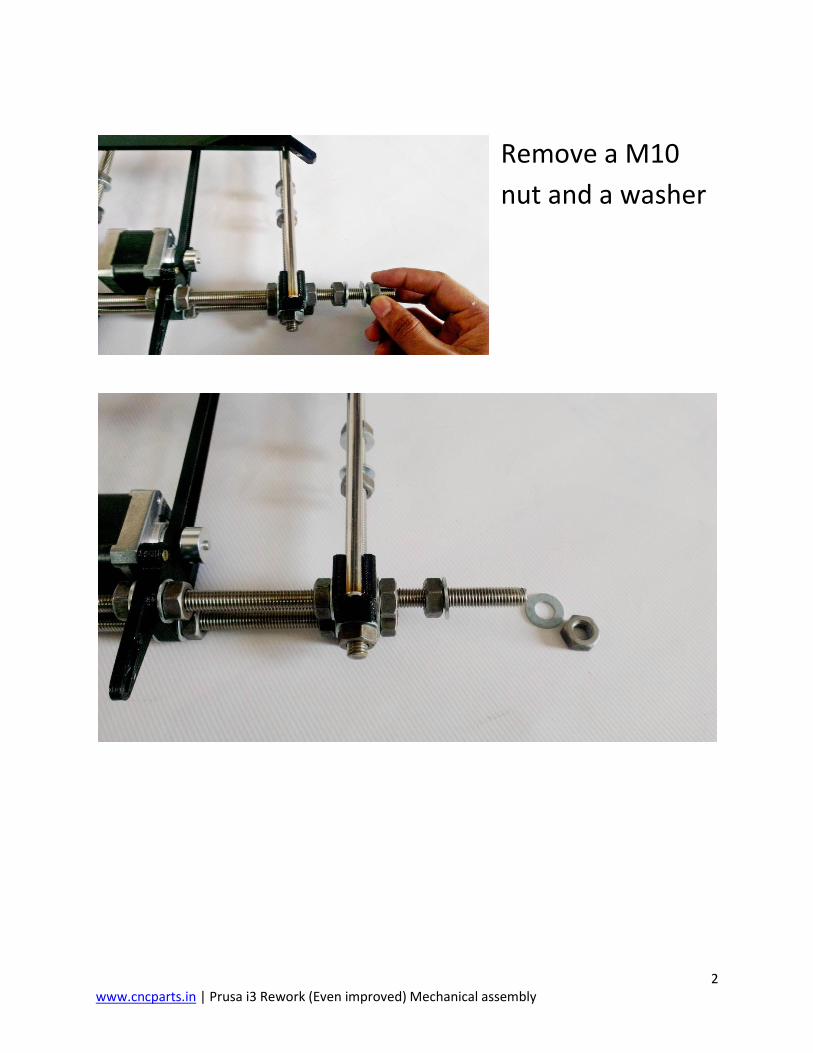
Remove a M10
nut and a washer
3 www.cncparts.in | Prusa i3 Rework (Even improved) Mechanical assembly
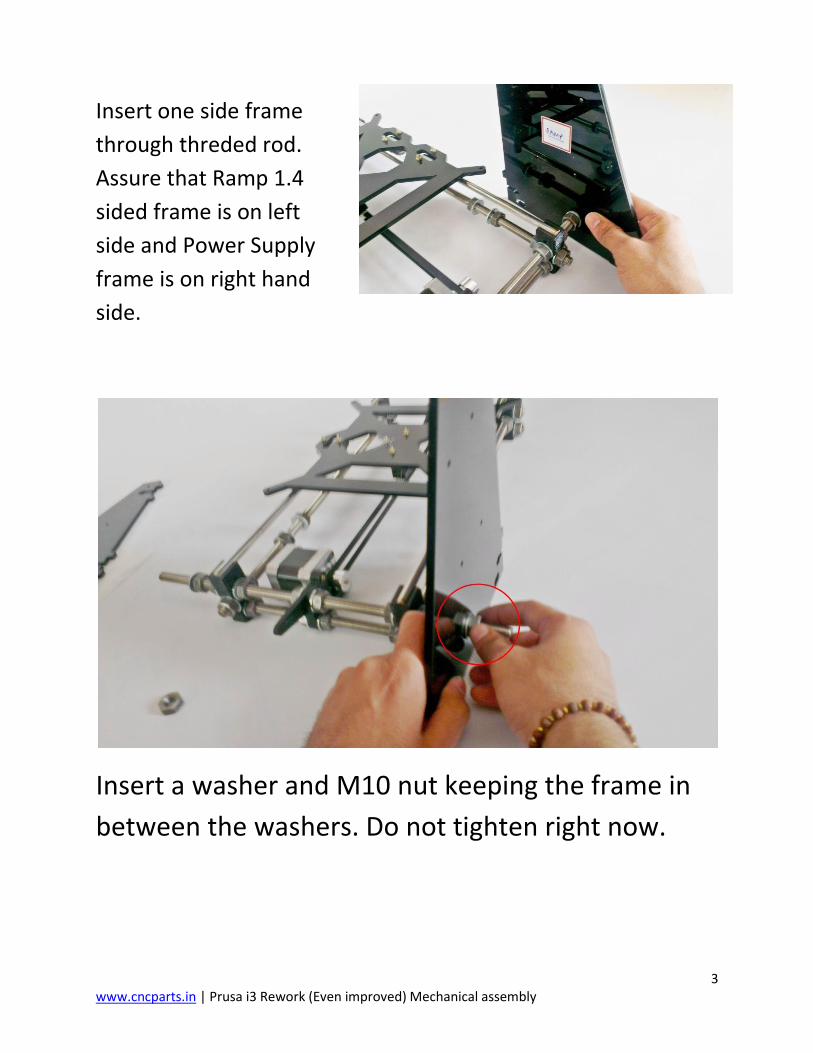
Insert one side frame
through threded rod.
Assure that Ramp 1.4
sided frame is on left
side and Power Supply
frame is on right hand
side.
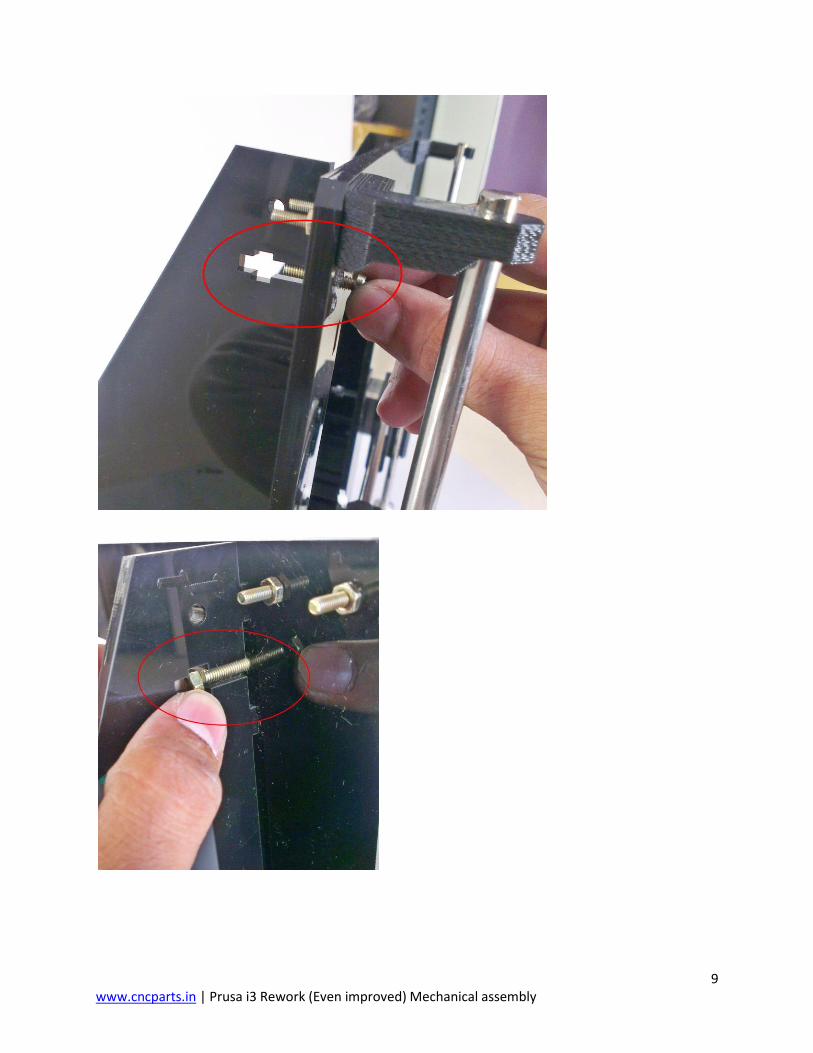
Insert a washer and M10 nut keeping the frame in
between the washers. Do not tighten right now.
4 www.cncparts.in | Prusa i3 Rework (Even improved) Mechanical assembly
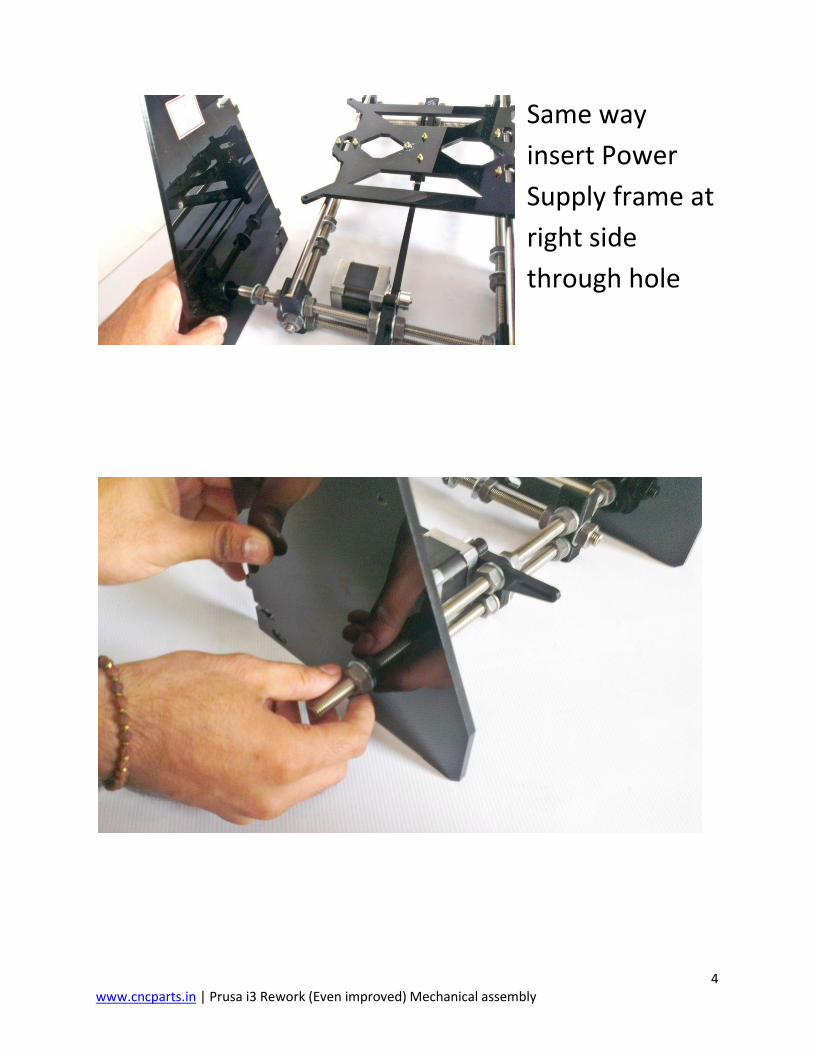
Same way
insert Power
Supply frame at
right side
through hole
5 www.cncparts.in | Prusa i3 Rework (Even improved) Mechanical assembly
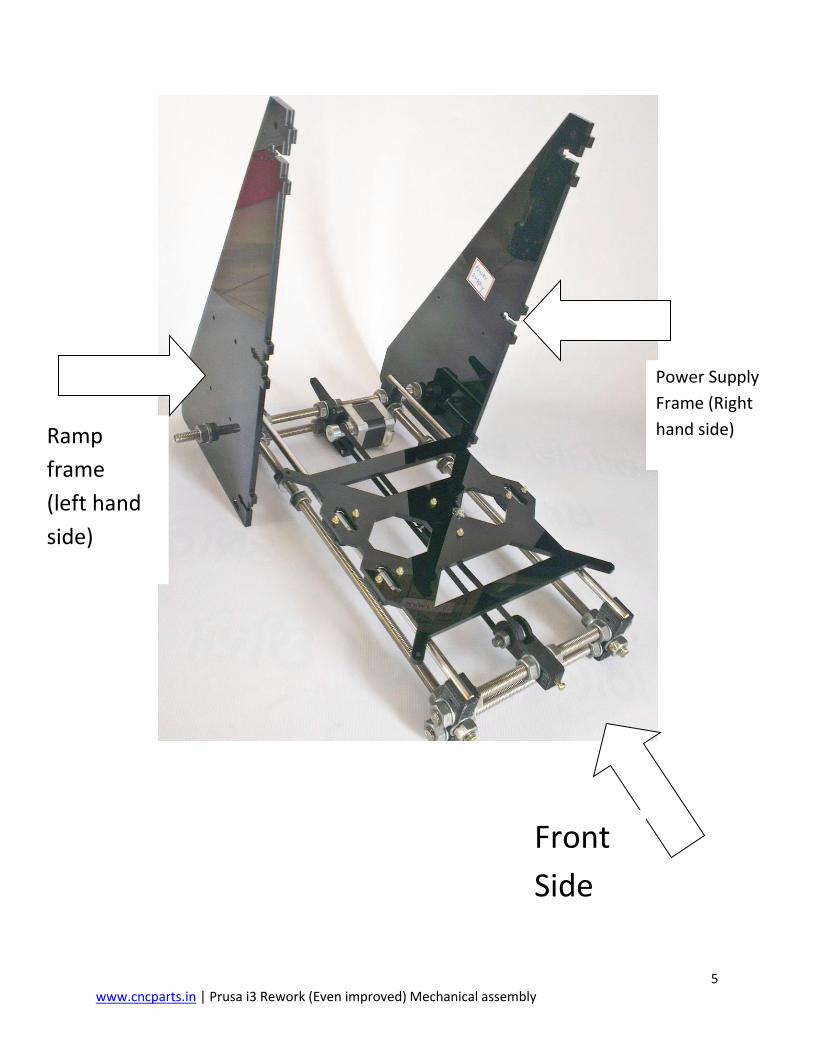
Ramp
frame
(left hand
side)
Power Supply
Frame (Right
hand side)
Front
Side

6 www.cncparts.in | Prusa i3 Rework (Even improved) Mechanical assembly
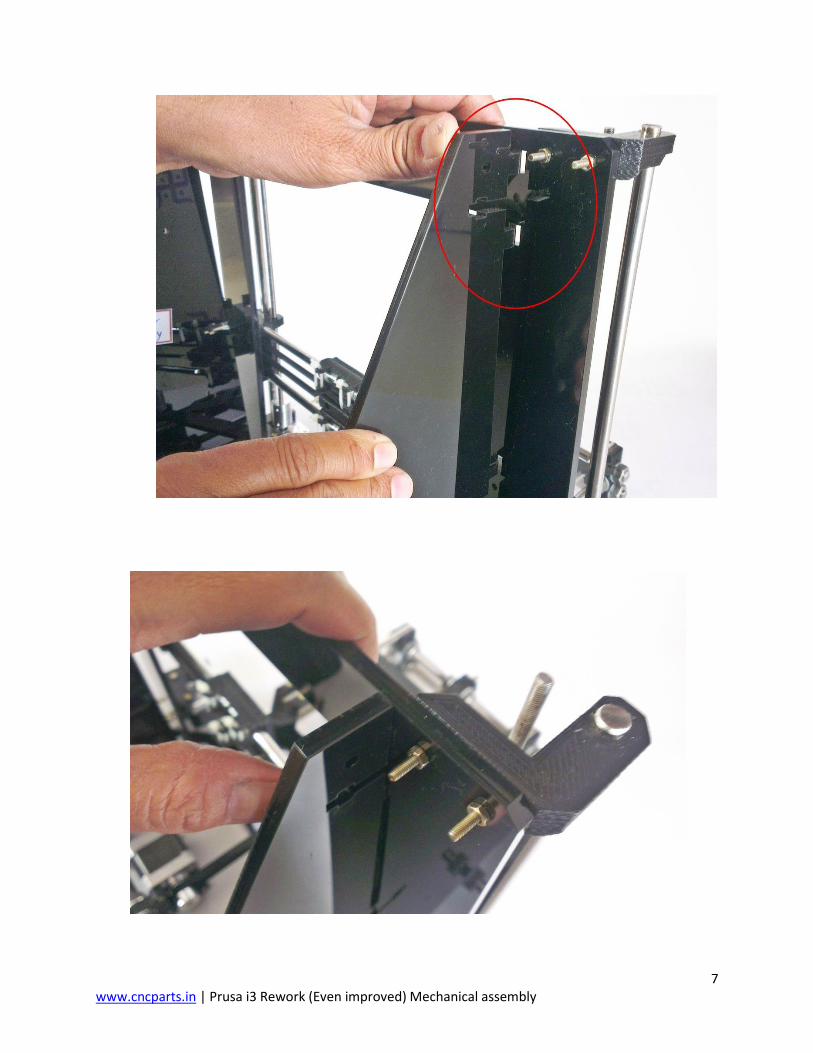
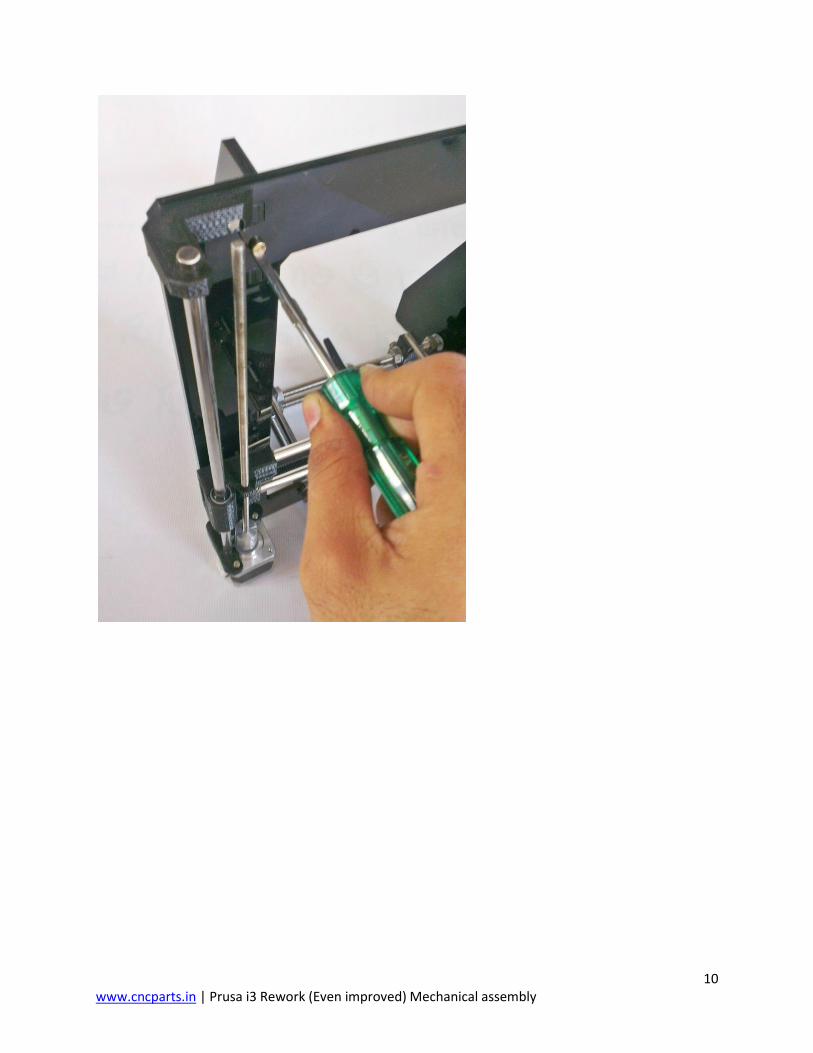
Pass Y assembly
through X-z Assembly.
Fit the frame in
between the two
washers as shown in
the picture below.