Embed Size (px)
Citation preview

MapClick User’s Manual, Version 1.0
Partners/Sponsors: Alabama Law Enforcement Agency
Alabama Department of Economic and Community Affairs
Center for Advanced Public Safety
Computer Science Department The University of Alabama
http://caps.ua.edu
1

Table of Contents Getting Started .................................................................................................................... 3
Opening MOVE .............................................................................................................. 3 GPS Coordinates ................................................................................................................. 5 Recent Data Features .......................................................................................................... 6
Recent Data Features: Recent Places .............................................................................. 6 Opening MapClick .............................................................................................................. 8
Navigating the Map......................................................................................................... 9 Search For An Address ................................................................................................. 10 Nodes ............................................................................................................................ 11 Address Lookup ............................................................................................................ 12 Layers ............................................................................................................................ 13
Signal Indicators ............................................................................................................... 14 Night Mode ....................................................................................................................... 14 Tracking ............................................................................................................................ 15
Save Current Location .................................................................................................. 16 Distance Tool .................................................................................................................... 16 Feedback ........................................................................................................................... 17 Technical Support ............................................................................................................. 17
2
Getting Started In order to use MapClick you first need to open the Mobile Officer’s Virtual Environment (MOVE) program. This powerful program helps to automate your data entry needs and integrates the various searches and entries that you may wish to make. The exercises in this manual will guide you through the use of MOVE as well as the use of the MapClick program.
Opening MOVE
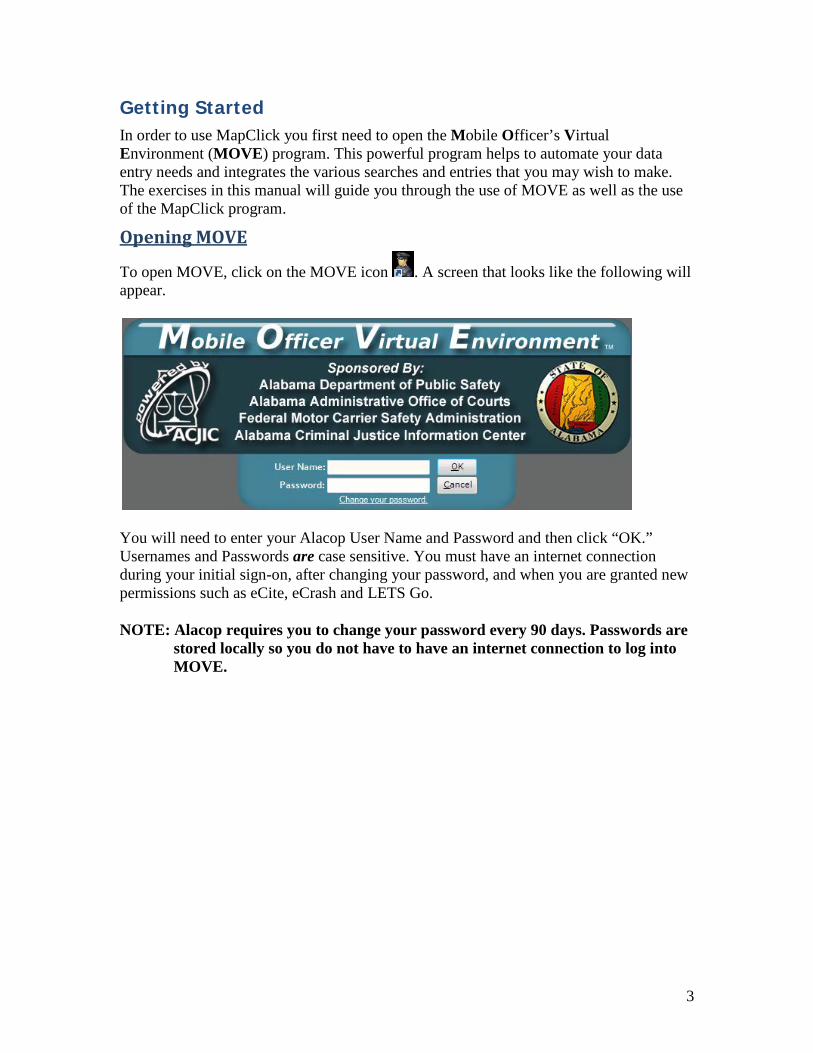
To open MOVE, click on the MOVE icon . A screen that looks like the following will appear.
You will need to enter your Alacop User Name and Password and then click “OK.” Usernames and Passwords are case sensitive. You must have an internet connection during your initial sign-on, after changing your password, and when you are granted new permissions such as eCite, eCrash and LETS Go. NOTE: Alacop requires you to change your password every 90 days. Passwords are
stored locally so you do not have to have an internet connection to log into MOVE.
3

Once you have entered your credentials, MOVE will open. You should see a screen that looks like the one below.
When using MOVE you will have easy access to LETS Go, Log Book, eCrash, eCite and the MapClick program. NOTE: If any of these programs do not appear, contact your administrator. For instance,
if the LETS Go or eCrash buttons do not appear, it probably means that these programs were either not installed on your computer, or you have not been granted user permissions by your AISO.
4

GPS Coordinates In order to save your locations, click on the button on your MOVE dashboard that reads “Save Current GPS Position.” When you click on this button you will see a message stating that your current position has been saved. In addition, you will see the coordinates appear on the left side of the screen in MOVE as seen below.
Your GPS coordinates will be recorded in your Recent Places list. This will be discussed in the Recent Data section of the manual. If you have any problems getting your GPS unit to work properly, first look at the bottom right of your desktop (near the system clock) for an icon that looks like a globe. If the icon has a small white x in a red circle over it, your GPS unit is not hooked up properly or is not receiving a good signal and therefore is not ready for use. If this is the case, your GPS unit will need to be reconfigured.
Save Current GPS P i i
GPS Unit Indicator
Saved GPS coordinates.
5

In order to reconfigure the GPS unit, right click on the GPS indicator icon and click on the “Configure GPS Device” option. You will see a screen similar to the one below:
Once this screen is open, the majority of GPS problems can be solved by clicking on the button that reads “Auto-Detect GPS Unit.” If problems with your GPS unit persist, please contact Technical Support.
Recent Data Features As mentioned in the previous sections, MOVE allows you to easily access recent people, vehicle, and place records. In order to access these recent searches, click the Recent Data
button at the bottom right of your MOVE dashboard. After clicking on the Recent Data button, a sidebar will slide into view along the right side of the page (or if already opened, will disappear).
Recent Data Features: Recent Places
By clicking on the globe icon from the bar on the far right, a list of the 250 most recent places will appear (similar to the list seen on the following page). This functionality is available to any user who has a GPS unit available to them.
Click here to Auto-Detect your GPS Unit
6

By clicking on the Red X at the top right of the Recent Places heading, the list will clear. If you do not use this option to clear your list, the listing of the GPS coordinates will delete from the bottom of the list as you continue to add new locations to the top of the list.
To see a full description of the GPS coordinates, click on one of the coordinates seen in the Recent Data list. The screen seen above is an example of what you will see when you click on one of the coordinates from the list.
List of the 250 most recent Places.
Clicking on the red X will clear the list.
7

Opening MapClick To open MapClick, click on the MapClick button along the bottom row of your MOVE dashboard. When MapClick opens you will see a screen like the one below.
You are now ready to begin tracking locations. There are several tools available in MapClick. You can:
• Look up an address based on its location • Search for an address and find its location on the map • Look up a Node on the map and find its surrounding nodes. • Find the distance between two points on the map
All data gathered here can then be used in other applications like eCite and eCrash. The tools will be explained in further detail in this Manual.
8

Navigating the Map After opening MapClick, there are several ways to manipulate the map to find the specific street you are looking for. MapClick has navigation tools that you can use to move the map as well as to zoom in or out when looking for a specific location.
The magnifying glass tool will allow you to draw a box around a specific area
you want to zoom in on.
The hand tool will allow you to grab the map and move it around in any
direction.
Clicking on either of these arrows will move your view of the map in that
direction in small increments.
This slide button will allow you to zoom in or out of the center of your map. You
can either slide the button or click on the arrows.
This button will turn on the Tracking Feature described later in the manual.
9
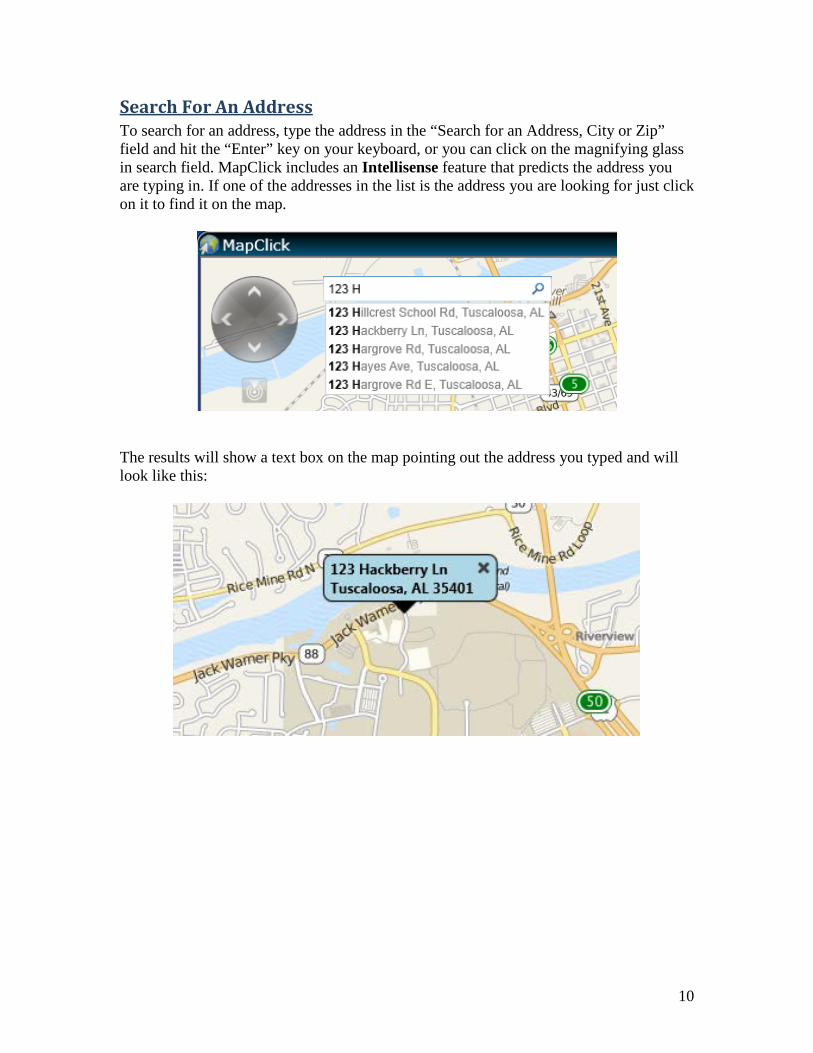
Search For An Address To search for an address, type the address in the “Search for an Address, City or Zip” field and hit the “Enter” key on your keyboard, or you can click on the magnifying glass in search field. MapClick includes an Intellisense feature that predicts the address you are typing in. If one of the addresses in the list is the address you are looking for just click on it to find it on the map.
The results will show a text box on the map pointing out the address you typed and will look like this:
10

Nodes If you need to look up a node and/or find the nearest node(s) for reference on a report you can easily find that information in MapClick. All you need to do is click on the “Node
Lookup” button and then click on a location on the map. The system will place a red cross-hair on the point you clicked and show the nearest nodes as blue dots.
If you click on any node it will become your primary node and link to the next closest node. You are also shown a window that displays the first and second cross streets as well as their associated node codes. These are color-coded for reference on the map.
Red cross-hairs show where you clicked.
Green numbers indicate the location of the nearest nodes.
By clicking on the drop down arrows you can change the referenced cross streets
By clicking the save button here all data will be saved to the Recent Data section of
MOVE and you can then populate that data to other programs like eCite and
eCrash.
By clicking the “Override Nodes” link you will start a wizard that will walk you through manually setting the nodes.
11

Address Lookup
When you click on the Address Lookup Button you can then click on a location on the map and MapClick will give you the closest address to that point on the map. MapClick will also place the red cross-hair on the point you clicked.
MapClick will also display a window that contains the address of the point you clicked with an option to save that location to the Recent Data section of MOVE. MapClick will pull up two addresses:
• Local lookup (information that is stored locally in the system) • Web Lookup (System pulls the address from Google if you have an internet
connection).
Cross-hairs indicate the location on the map that you
clicked on.
12

Layers The map consists of several layers. You can get details about what layers you are viewing and even turn some off by using the Layers tool. To access the layers information simply
click on the Layers button and scroll through the list. To toggle certain layers on or off simply click the check box next to the layers name.
With the Mile Marker Labels Layer turned on you can see the green ovals on the map that indicate mile markers on interstate and state highways
13

Signal Indicators MapClick informs you if you have a GPS signal or if you have a network connection. The GPS indicator will light up green if you have a GPS device connected and are receiving a signal. The Network indicator will light up green if you have an active internet connection either from Wi-Fi or a LAN. The indicators are near the top right hand corner of the screen to let you know which of these signals you are receiving.
Night Mode One of the great features of MapClick is that it includes a night mode that you can select to reduce glare from the computer screen during the night shift. The button is located in the bottom left hand corner of the screen. This button (when clicked) will toggle the screen from day mode to night mode and back.
If the indicator is red then you do
not have a signal.
If the indicator is green you
have a signal.
Click here to toggle between Day Mode and
Night Mode.
14

Tracking The Tracking feature allows you to track your movement on the map. It is activated by
clicking on the Tracking Button located next to the map navigational tools. MapClick will indicate your location on the map with a blue marker labeled with your Alacop User ID.
The tracking feature, or the “Follow My Location” button, is enabled or disabled (clickable or not) depending on if MOVE has valid and accurate coordinates from the GPS.
NOTE: If the GPS device is not getting a good signal it will not be enabled!
Whether enabled or disabled, the GPS device can also be Active or in-active. This is signified by the blue glow on the button. This state is saved between sessions and between losing and re-acquiring a GPS signal.
NOTE: Any manual action which moves the map away from the current location will de-activate tracking.
15

Save Current Location
The “Save Current Location” button is enabled or disabled (clickable or not) depending on MOVE the same way that the tracking feature is. Clicking “Save Current Location” will save the location of your current valid GPS signal regardless of the tracking setting. If you are not centered on your current location, it will center on the location it used to make the object. This tool will query the other available tools, even if they are not active and attempt to include as many data fields as possible about the location. This includes the node + links look-up tool and the reverse geocoding. Any future additions to the local data will also be included.
Distance Tool You can find the distance between two points by clicking the “Draw to measure distance”
button located on the Navigation Bar and drawing a line between two points. Do this by placing the mouse pointer at one point, click and hold the mouse button, move the mouse pointer to the second point and release the mouse button. MapClick will draw a line between the two points and show the distance. It will also highlight an area around the first location you clicked depending on the distance to the second place you click. You can then click on the red “X” next to the measurement to remove the circle.
16

Feedback This feature offers you an excellent opportunity to give us feedback on the program. Please feel free to offer suggestions and recommendations. Or, notify us of any problems you may encounter or tell us how much you like the program. This is how we get input from you and make necessary changes geared to improving the product for you. The Feedback button is located in the top right hand corner next to the address lookup tool.
When you click on the Feedback Tool Button it will open a window that will allow you type in your comments.
Technical Support As you begin to use the MapClick program you may have questions or problems that are not covered in this training manual. We have provided several options to assist you should you encounter difficulties. For technical support with MapClick, eForms, or the Move product, call 800-392-8025. Or, you can email questions, comments, and /or suggestions to: [email protected].
17