Embed Size (px)
Citation preview
Magnetism and Electricity
Developed By: Sandra Michalik King Elementary
Unit Overview
•We will be studying magnetism and electricity for the next few weeks.
•To keep track of things, we will keep a Science Notebook. We will want to write down our ideas and take notes.
Magnetism Lesson 1• Let’s think about times that we have used magnets in the past. What kinds of things do you remember about magnets/magnetism?
• We’ll make a chart to record these ideas, and to record additional ideas that we learn about magnetism.
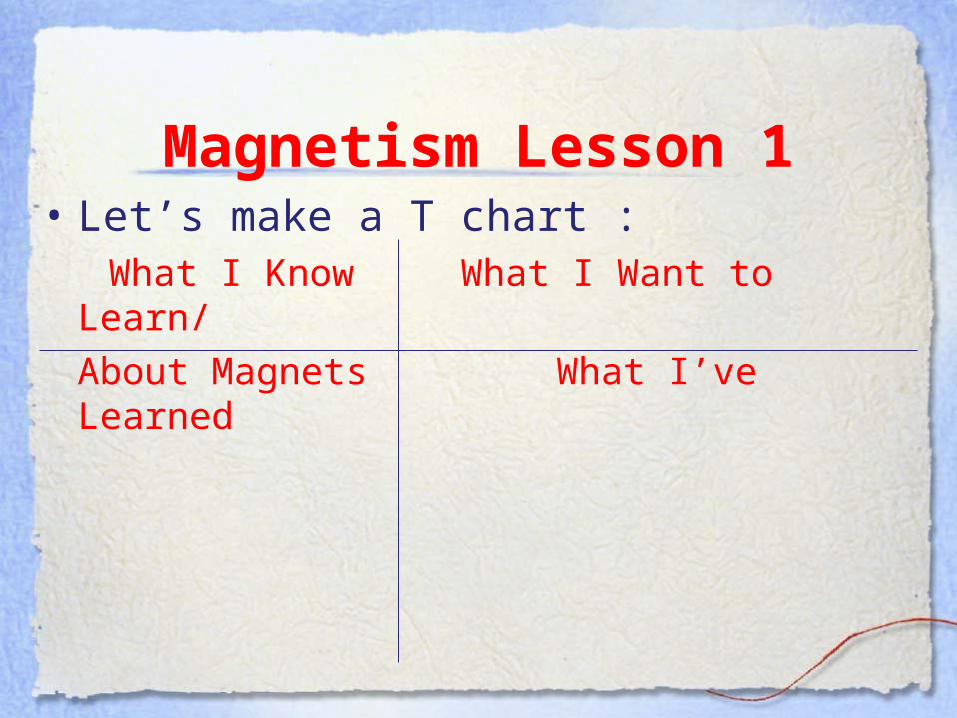
Magnetism Lesson 1• Let’s make a T chart : What I Know What I Want to Learn/About Magnets What I’ve Learned
Exploring with MagnetsLesson 1 continued
Look at each magnet. Take turns putting the magnets together. Turn them around and try again.
Notice which ends go together and which ones don’t. What words are used to describe what magnets do?
•Let’s think about some vocabulary words:
•Attract- The magnets go together•Repel- The magnets push apart•Did everyone feel this?
Vocabulary Words L/1 cont.
Magnetism Lesson 2• What are the properties of magnets? Let’s review the information in the T chart from lesson one.
• Each group will receive a tray with magnets and an assortment of objects.
• What are the do’s and don’ts with magnets?
• Do have fun and explore.• Do NOT put a magnet near a computer.• Do NOT drop magnets.

What is in my tray?• First, let’s look at each object and hypothesize about how they will interact with the magnets.
• These will attract:
• These will repel:
Exploring with MagnetsLesson 2- part I
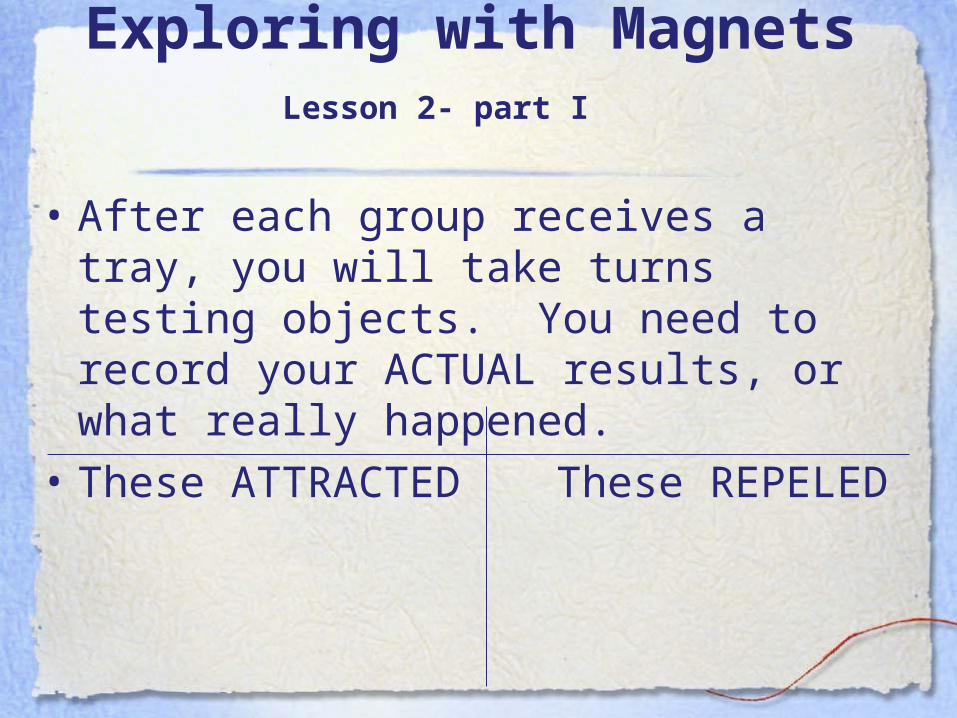
• After each group receives a tray, you will take turns testing objects. You need to record your ACTUAL results, or what really happened.
• These ATTRACTED These REPELED
Exploring with MagnetsLesson 2- part II
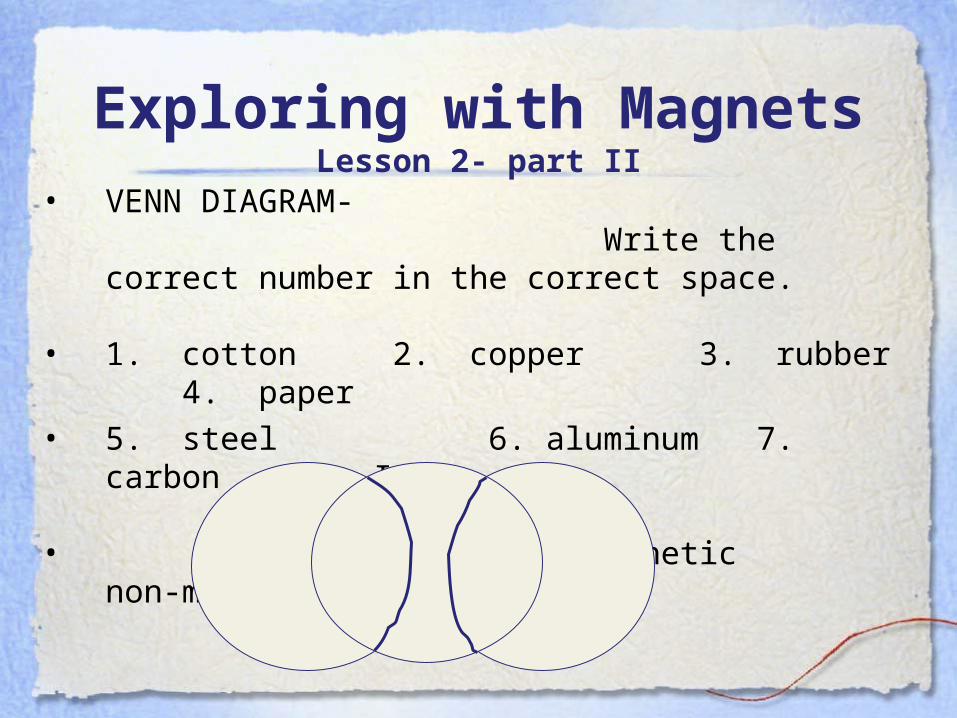
• VENN DIAGRAM- Write the correct number in the correct space.
• 1. cotton 2. copper 3. rubber 4. paper
• 5. steel 6. aluminum 7. carbon 8. Iron
• metal magnetic non-metals
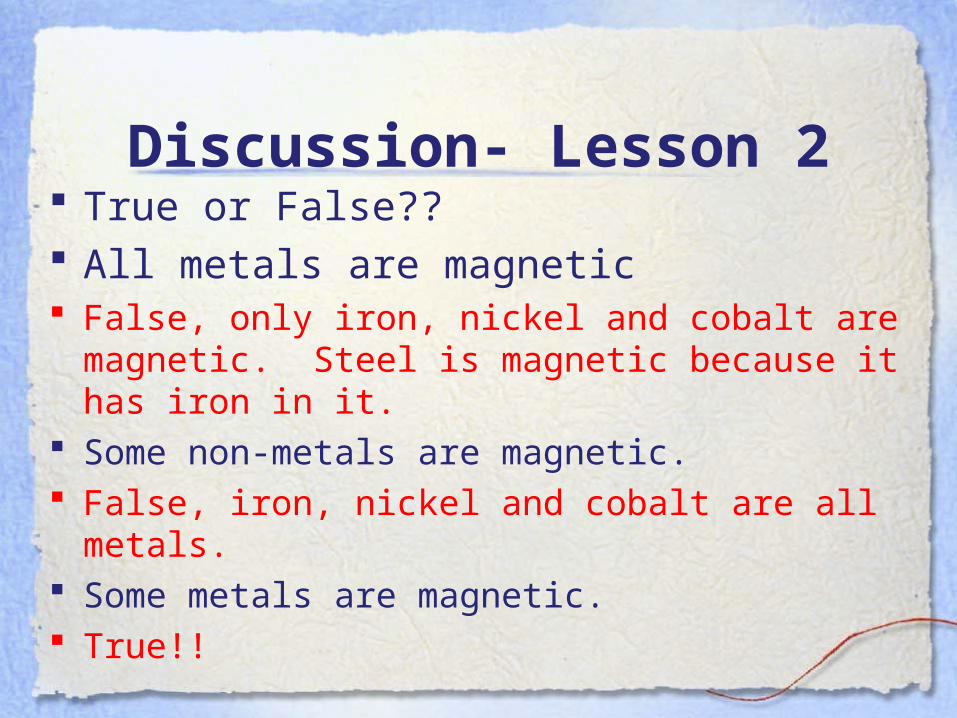
Discussion- Lesson 2 True or False?? All metals are magnetic False, only iron, nickel and cobalt are magnetic. Steel is magnetic because it has iron in it.
Some non-metals are magnetic. False, iron, nickel and cobalt are all metals.
Some metals are magnetic. True!!
Magnetic Fields- Lesson 3
• Today we are going to work with magnets again. We will be making observations and writing these in our notebooks.
• Remember our vocabulary words of attract and repel?
• We will need those words, plus some new ones!!
Magnetic Fields- Lesson 3
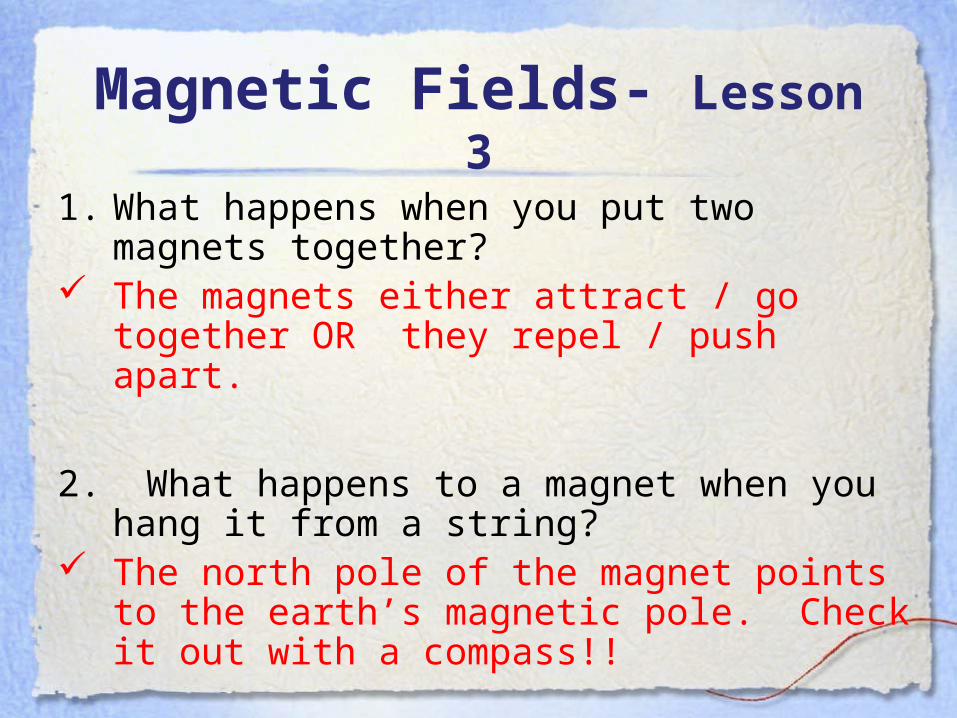
1. What happens when you put two magnets together?
The magnets either attract / go together OR they repel / push apart.
2. What happens to a magnet when you hang it from a string?
The north pole of the magnet points to the earth’s magnetic pole. Check it out with a compass!!
Magnetic Fields- Lesson 3 continued
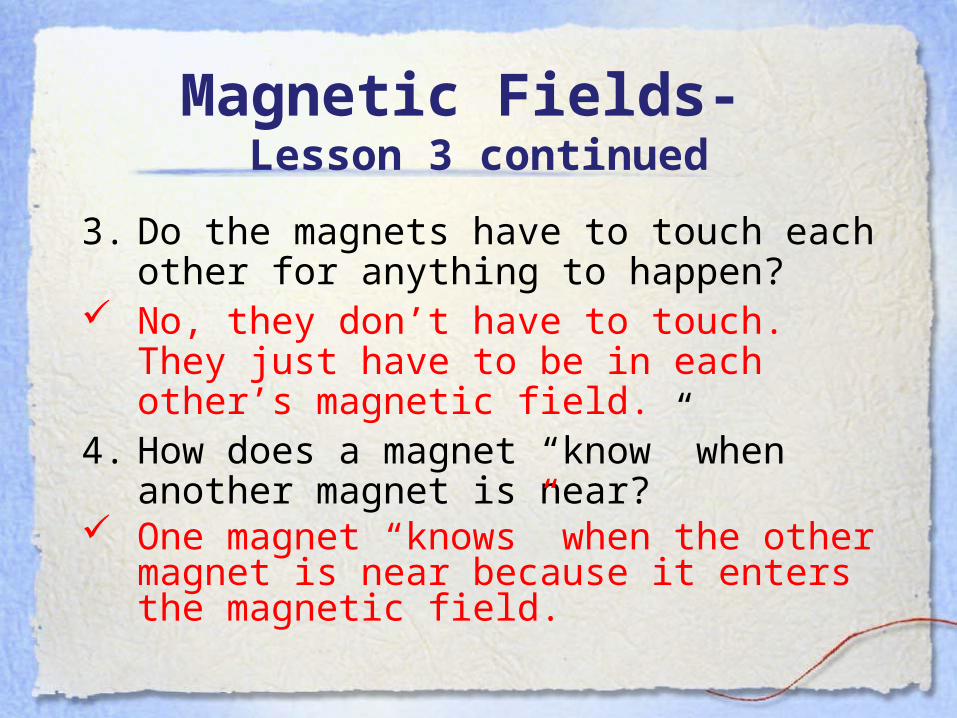
3. Do the magnets have to touch each other for anything to happen?
No, they don’t have to touch. They just have to be in each other’s magnetic field.
4. How does a magnet “know” when another magnet is near?
One magnet “knows” when the other magnet is near because it enters the magnetic field.

Magnetic Fields- Lesson 3 continued
5. How do you know that the magnet has poles/ ends and a middle?
If we hang paper clips from the magnet, we find that they will hang from the poles, or ends, but not from the middle.
Discussion- Lesson 3
• Let’s review our old vocabulary words: attract and repel
• What new vocabulary words did we discuss today?
• North pole, magnetic north and magnetic field
Magnetism- Lesson 4• Yesterday we discussed how magnetic fields affect magnets. Today, we’re going to further investigate these effects, and learn how to represent these on paper.
• Remember, these are sketches not works of art!
• How might we show a magnetic field on paper?
Magnetism- Lesson 4
• Let’s look at one magnet with iron filings. (Show magnet on overhead)
• Remember, iron is magnetic. So, when the iron pieces come in contact with the magnet it will SHOW us what the magnetic field looks like.
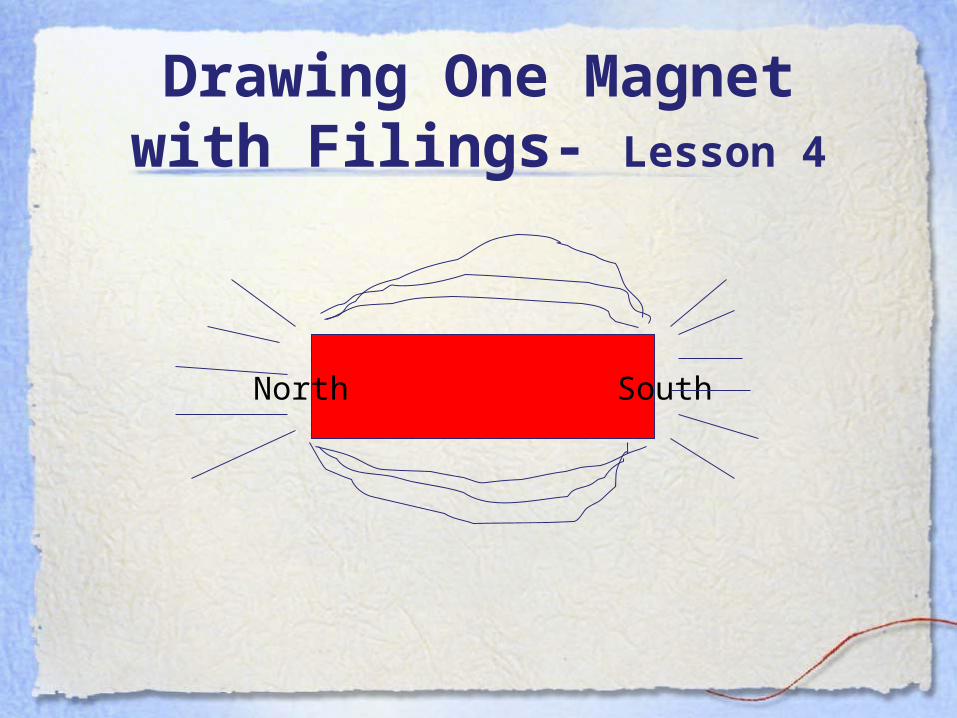
Drawing One Magnet with Filings- Lesson 4
North South
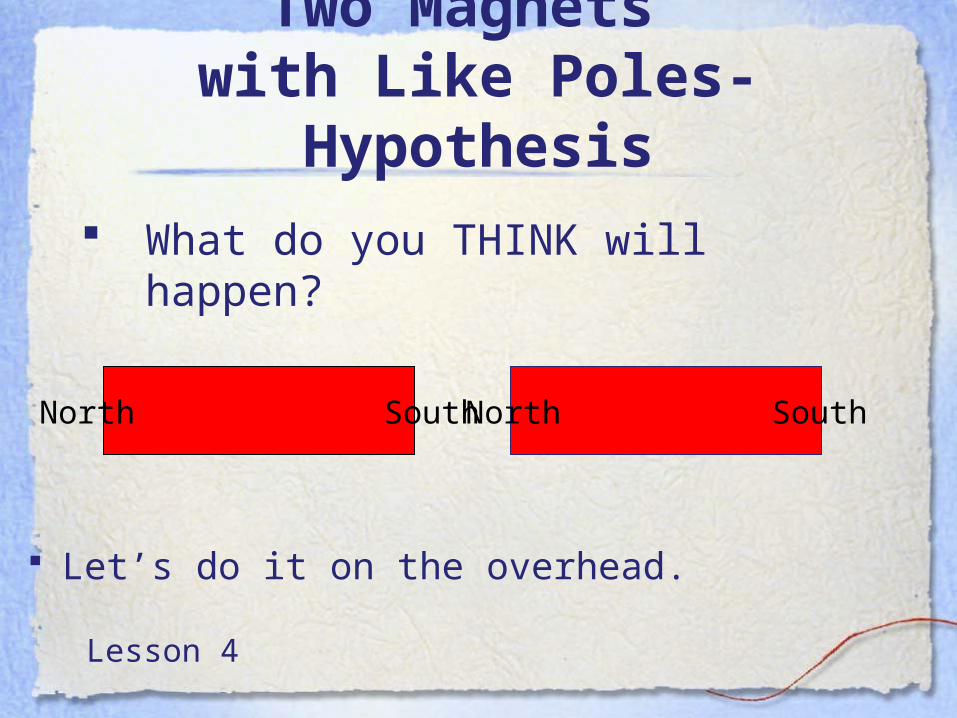
Two Magnets with Like Poles-
Hypothesis What do you THINK will
happen?
North South North South
Lesson 4
Let’s do it on the overhead.
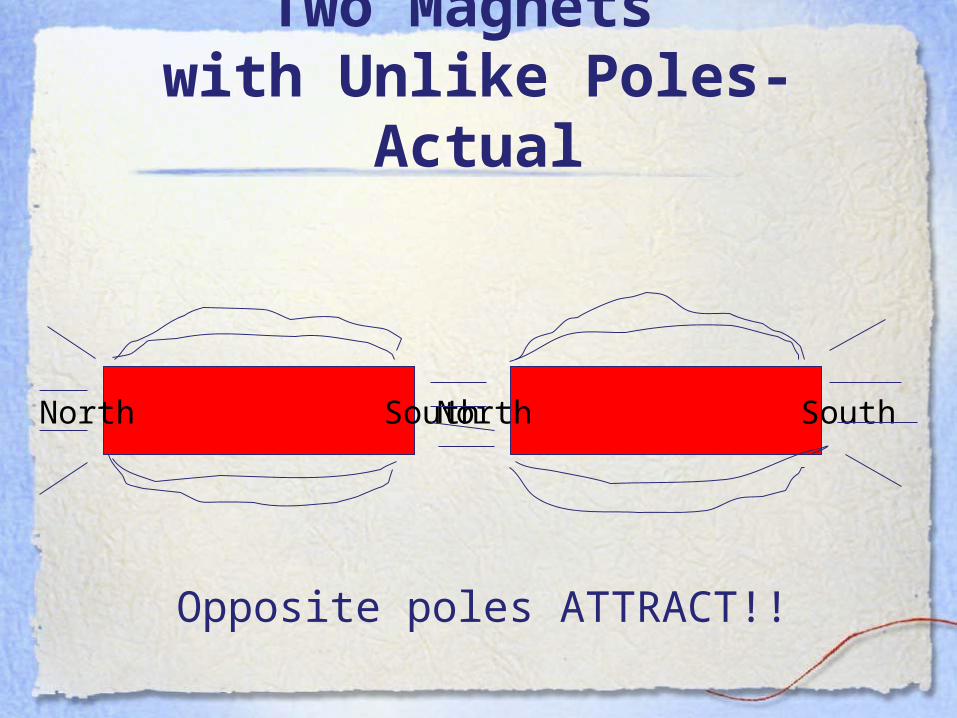
Two Magnets with Unlike Poles-
Actual
North South North South
Opposite poles ATTRACT!!
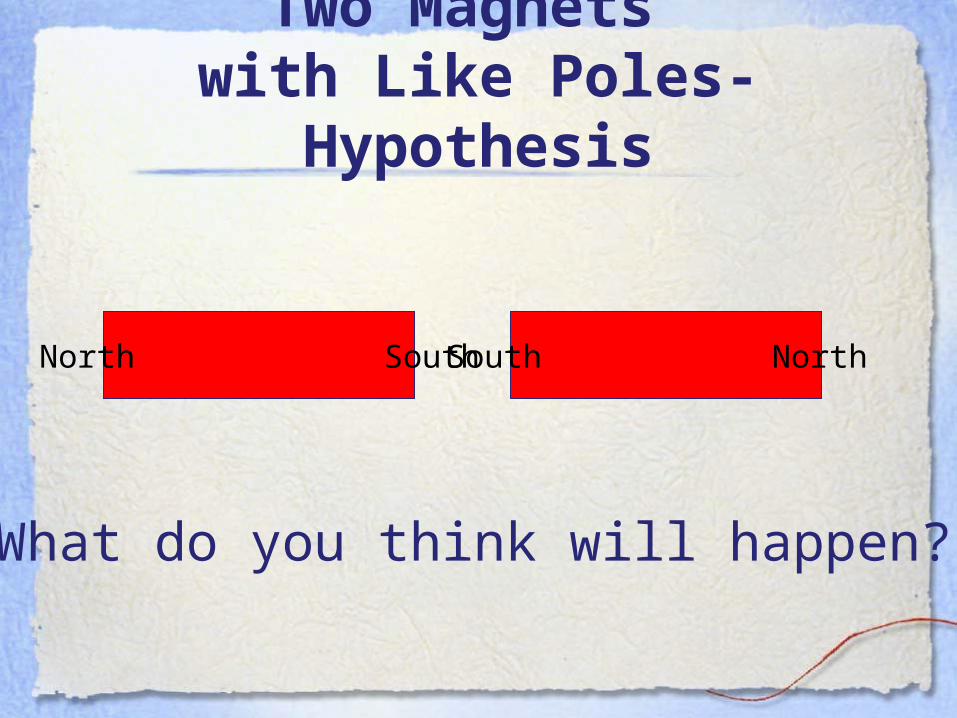
Two Magnets with Like Poles-
Hypothesis
North South South North
What do you think will happen?
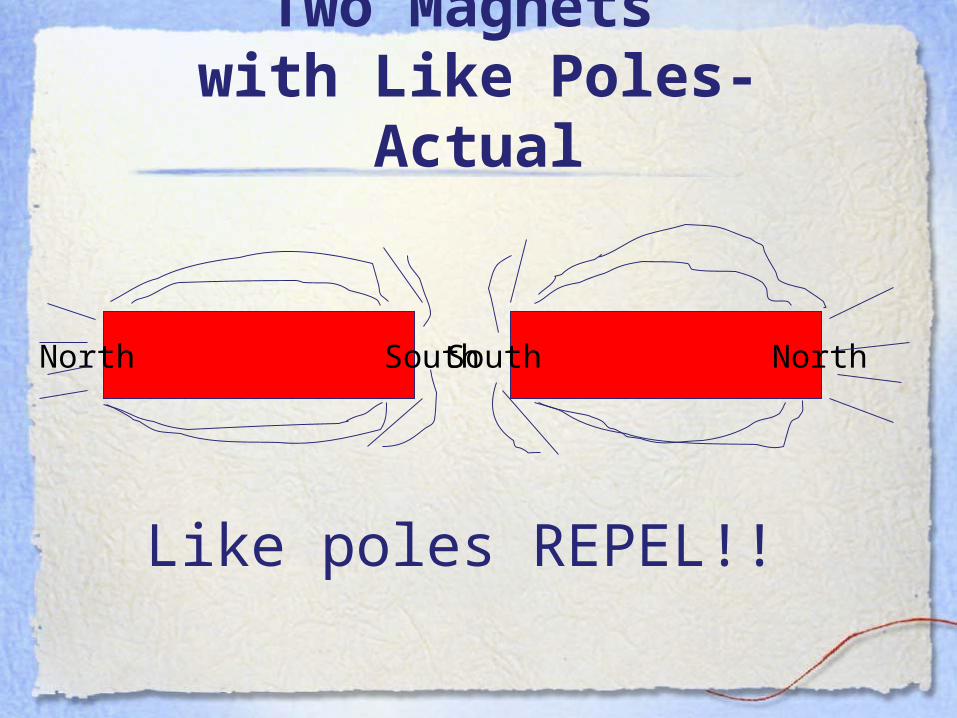
Two Magnets with Like Poles-
Actual
North South South North
Like poles REPEL!!
Magnetism Wrap-Up• Let’s return to our original ideas and questions that we had about magnetism before this unit- Slide 4
• Can we now answer any of these questions? Do we have different thoughts about the original ideas listed? Are there new things you want to learn?
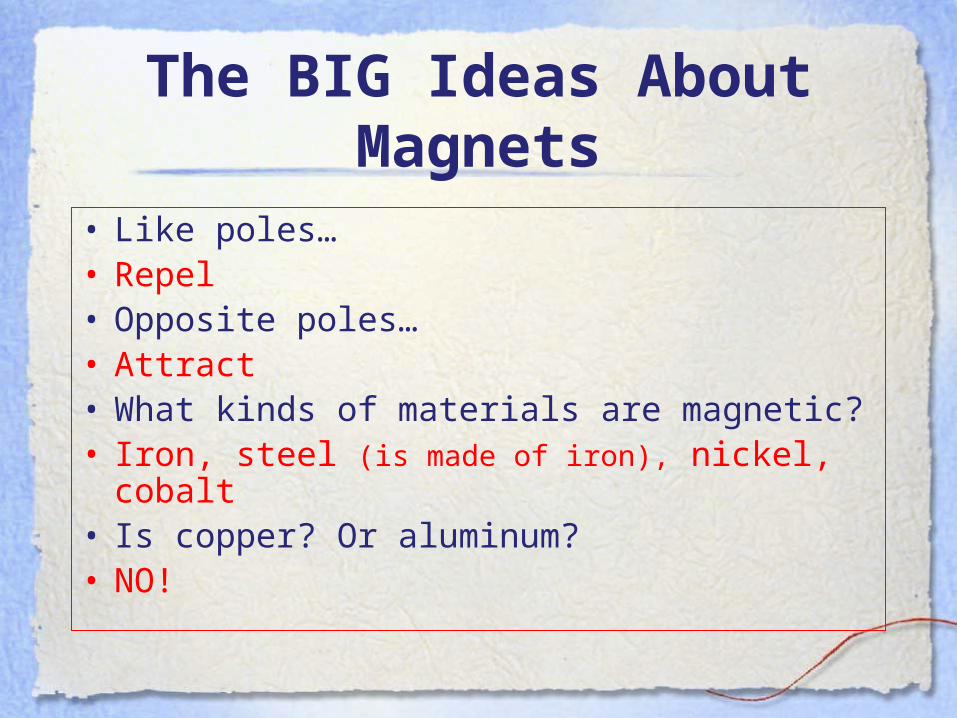
The BIG Ideas About Magnets
• Like poles…• Repel• Opposite poles…• Attract• What kinds of materials are magnetic?• Iron, steel (is made of iron), nickel, cobalt
• Is copper? Or aluminum?• NO!
Extending the Lesson• Find real-world uses of magnets
• Learn how magnets are made• Write about how magnets can use their magnetic properties
• Investigate any other questions that you have about magnets
Electricity- Lesson 1Electricity- Lesson 1• Let’s think about times when we have
used or thought about electricity in the past.
• Let’s think about times when we have used or thought about electricity in the past.
What do you know about electricity?
What do you wantto learn?

Safety GuidelinesSafety GuidelinesSince we will be working with electricity, we will
need to be aware of safety issues associated with electricity.
What are some safety issues that you think are important to be aware of in the classroom?
What are some safety issues that might be important to be aware of outside of the classroom?
Check out www.sce.com/kids/science/basics.html
Handout: Home Safety Checklist
Since we will be working with electricity, we will need to be aware of safety issues associated with electricity.
What are some safety issues that you think are important to be aware of in the classroom?
What are some safety issues that might be important to be aware of outside of the classroom?
Check out www.sce.com/kids/science/basics.html
Handout: Home Safety Checklist
Safety ContinuedSafety ContinuedWhenever we are given materials they
have to be used exactly the way described in the procedures.
We can not do anything different than the procedures or we may get a shock. These are little and can’t really hurt you, but it can be a bit scary.
If we feel something getting hot we have to disconnect the wires immediately.
Whenever we are given materials they have to be used exactly the way described in the procedures.
We can not do anything different than the procedures or we may get a shock. These are little and can’t really hurt you, but it can be a bit scary.
If we feel something getting hot we have to disconnect the wires immediately.
Electricity- Lesson 2Lighting a Bulb
Purpose: Can I Light a Bulb?
Materials: Each partner group will be given 1 bulb, 1 D cell battery, and 1 wire to light the bulb. Procedures: You will try different ways to light the bulb. Then, you will sketch 3 circuits that worked (lit the bulb) and 3 circuits that didn’t work (didn’t light the bulb). Record these in your Science Notebook. Let’s talk about shapes we can use.
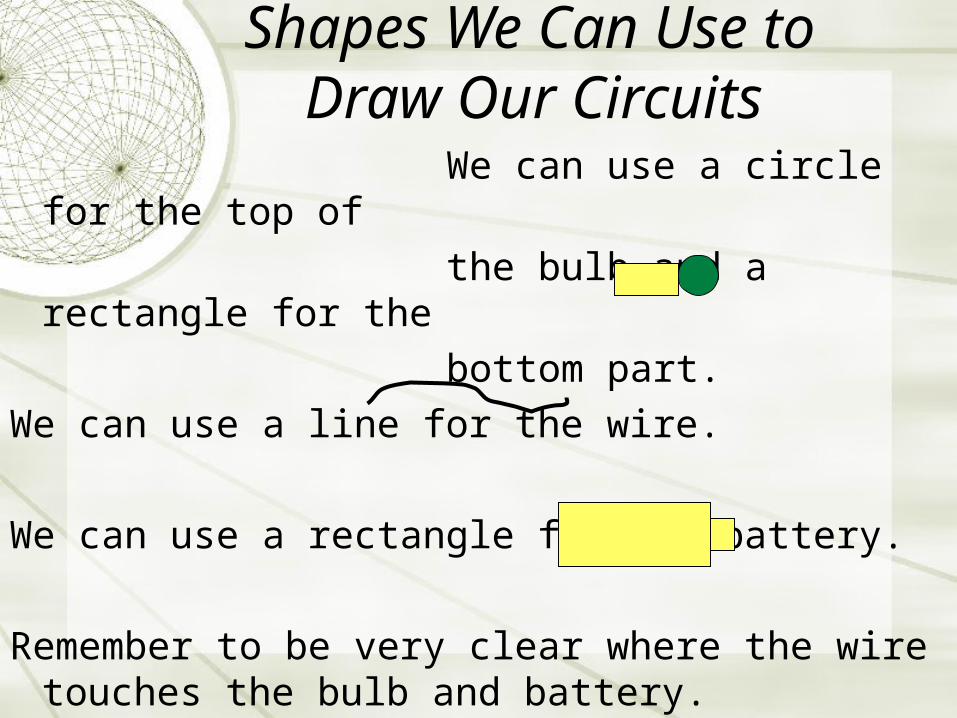
Shapes We Can Use to Draw Our Circuits
We can use a circle for the top of the bulb and a rectangle for the bottom part.We can use a line for the wire.
We can use a rectangle for the battery.
Remember to be very clear where the wire touches the bulb and battery.
Conclusion What worked? What didn’t?
Let’s share some of the different sketches that you drew on the overhead.
What is a common thing in all of the circuits that worked? These are closed circuits, because the electricity flowed in a circle.
What is a common thing in all of the circuits that didn’t work? It is an open circuit if there is not a circle of electricity. If heat energy is produced, that is called a short circuit.
Summary of Lesson 2-Circuits What do we need for a
circuit to work?
The bottom and the side of the bulb need to be touching the battery or the wire.
Metal touches metal

Circuit Mini-Quiz-Lesson 3Which will light? Which will light? Which will not?Which will not?
Circuit Mini-Quiz-Lesson 3Which will light? Which will light? Which will not?Which will not?
• Work with your group members to complete the worksheet ““Predict If Circuits Light or Not.”
• If you do not agree, use the If you do not agree, use the materials to see if it will light or not.materials to see if it will light or not.
• We will discuss all circuits in about We will discuss all circuits in about 15 minutes.15 minutes.
Lesson 4- Part I Purpose-What is inside a light
bulb?
Lesson 4- Part I Purpose-What is inside a light
bulb? 1- Predict what a light bulb looks like,
including the inside that is hidden by the base. Guess what the parts are named.
1- Predict what a light bulb looks like, including the inside that is hidden by the base. Guess what the parts are named.
2- Draw the real, or technical drawing. Label all of the parts. 3- Using a different color, trace the path of electricity through the battery, bulb and wire.
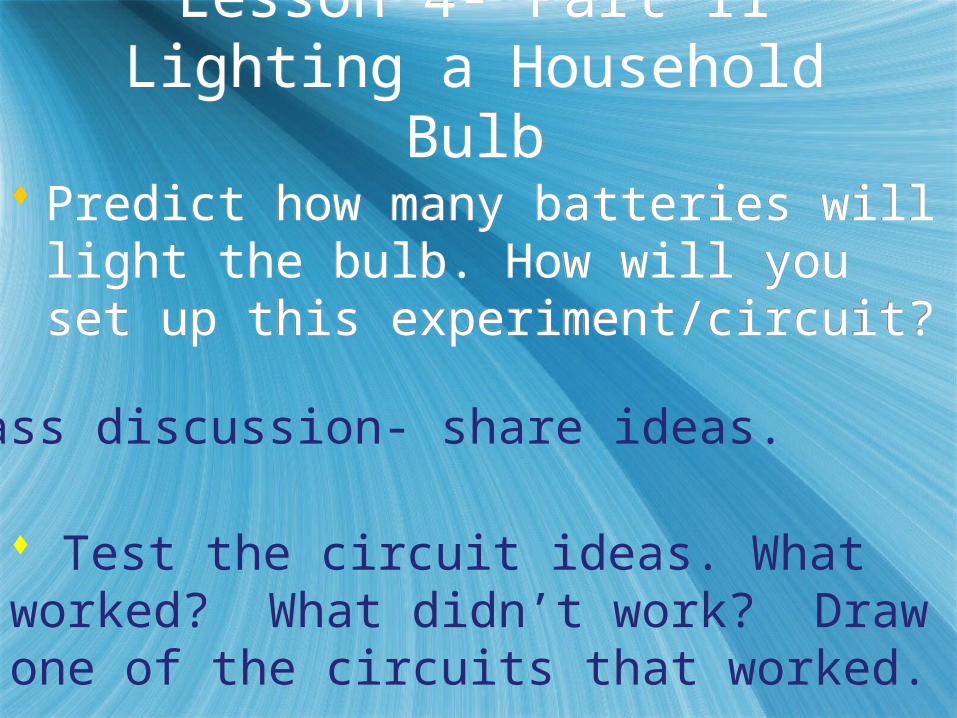
Lesson 4- Part IILighting a Household Bulb
Lesson 4- Part IILighting a Household Bulb
Predict how many batteries will light the bulb. How will you set up this experiment/circuit?
Predict how many batteries will light the bulb. How will you set up this experiment/circuit?
Class discussion- share ideas.
Test the circuit ideas. What worked? What didn’t work? Draw one of the circuits that worked.
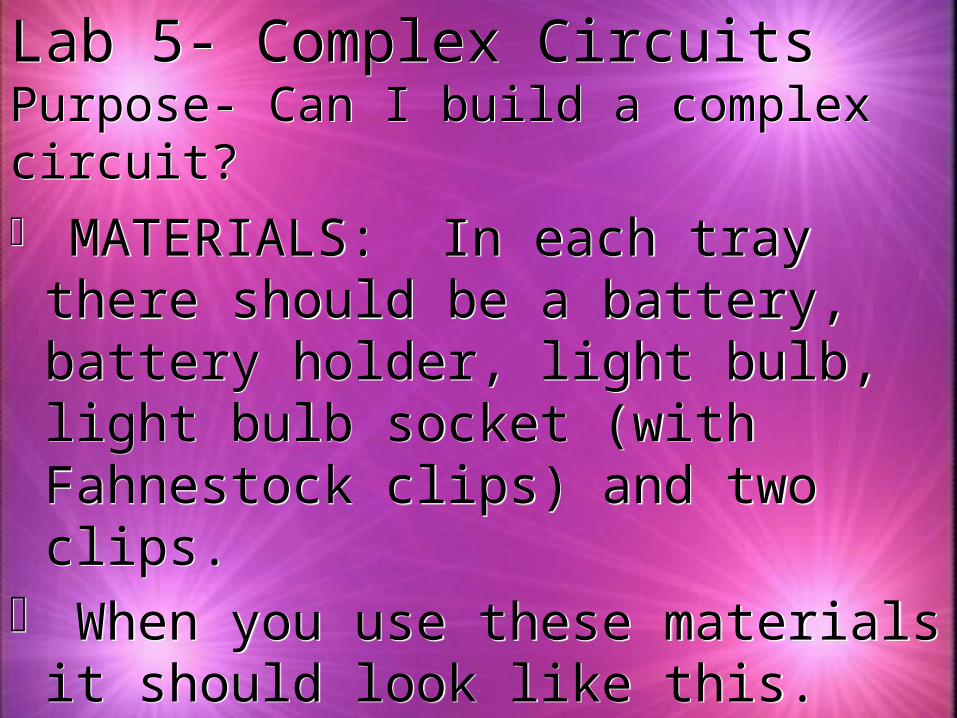
Lab 5- Complex CircuitsPurpose- Can I build a complex circuit?Lab 5- Complex CircuitsPurpose- Can I build a complex circuit?
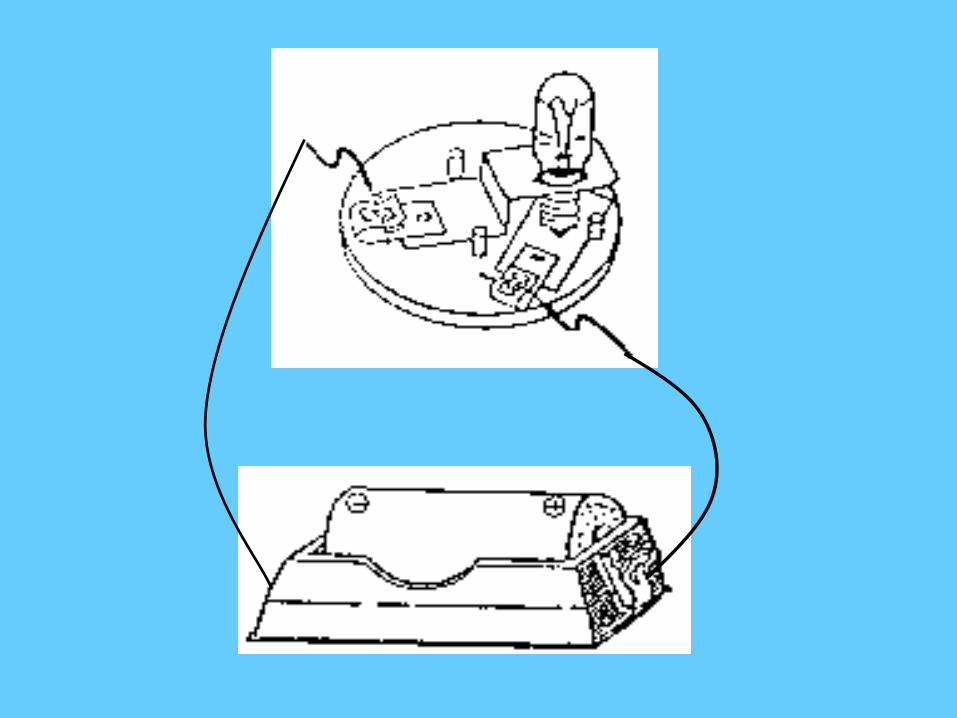
MATERIALS: In each tray there should be a battery, battery holder, light bulb, light bulb socket (with Fahnestock clips) and two clips.
When you use these materials it should look like this.
MATERIALS: In each tray there should be a battery, battery holder, light bulb, light bulb socket (with Fahnestock clips) and two clips.
When you use these materials it should look like this.
Lab 5- Complex Circuit (continued)Lab 5- Complex Circuit (continued)
When you try to light the bulb using the battery holder, & bulb holder with the Fahnestock clips MANY things can go wrong.
Read through the “Checking the Circuit Checklist” to help you problem solve when the circuit doesn’t light the bulb.
OK, try to light the bulb using a complex circuit.
When you try to light the bulb using the battery holder, & bulb holder with the Fahnestock clips MANY things can go wrong.
Read through the “Checking the Circuit Checklist” to help you problem solve when the circuit doesn’t light the bulb.
OK, try to light the bulb using a complex circuit.
Lab 5- ConclusionLab 5- Conclusion
What worked? What didn’t?
What did I learn?
Do I understand that when anything goes wrong with a circuit I can use the checklist?
What worked? What didn’t?
What did I learn?
Do I understand that when anything goes wrong with a circuit I can use the checklist?
Lesson 6 Activity Sheets/ Quiz 2 & 3
Can I identify which circuits will light and which ones will not?
What is the same about the simple circuits (using a battery, bulb and wire and now using the more complex materials?
Take the quiz-
Activity Sheets 2 & 3
Lesson 12- Making a Switch
Purpose: Can you make a switch?Materials for switch: (per person)- 1 piece cardboard - wire- 2 brass fasteners - paper clip
Lesson 12- Battery Pads
Purpose: Can you make a battery pad?
Materials:- aluminum foil -wire
Lesson 12- Bulb Holder
Purpose: Can you make a bulb holder?
Materials:- cardboard - wire
FlashlightsFlashlights
• Purpose: Can you build a flashlight?
• Procedures:-Using all you have learned about
circuits, bulb holders, battery pads and switches, build a flashlight.
• Purpose: Can you build a flashlight?
• Procedures:-Using all you have learned about
circuits, bulb holders, battery pads and switches, build a flashlight.
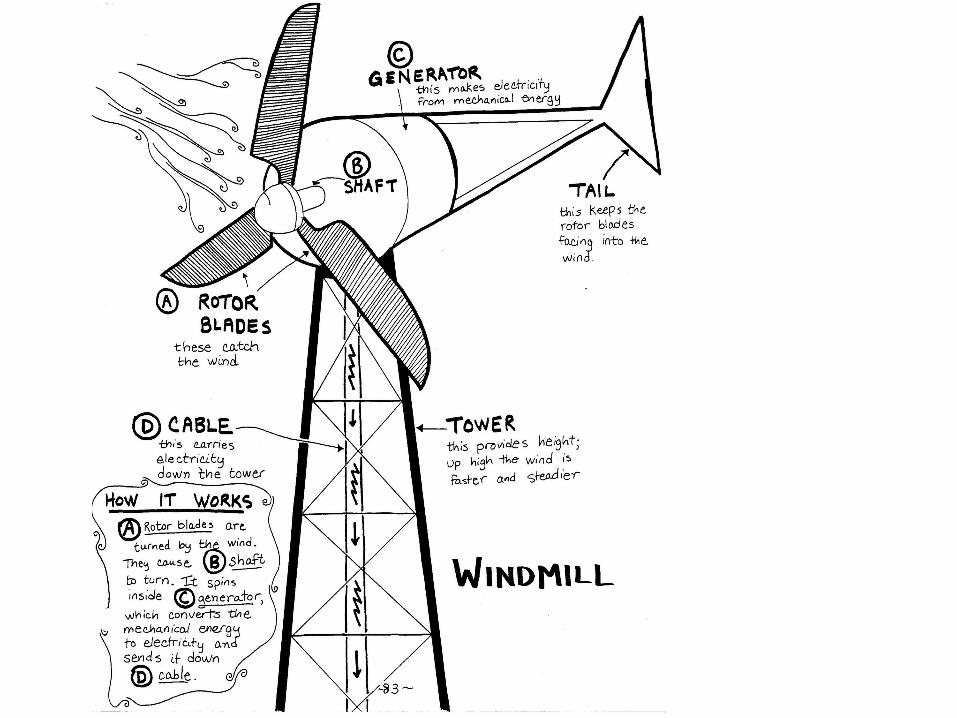
How are magnets connected to electricity?
Magnets help to produce electricity.This (the Genecon) is a hand held
generator. When I turn the handle it turns a magnet inside a coil of wire. This produces electricity.
The electricity flows through the wire, just like it did when you lit your bulb.
Producing Electricity
Today we’re going to be talking about how energy is produced
Pay close attention because there will be little quizzes throughout the lesson. KEEP ON YOUR TOES!
Lesson 3 Producing Electricity
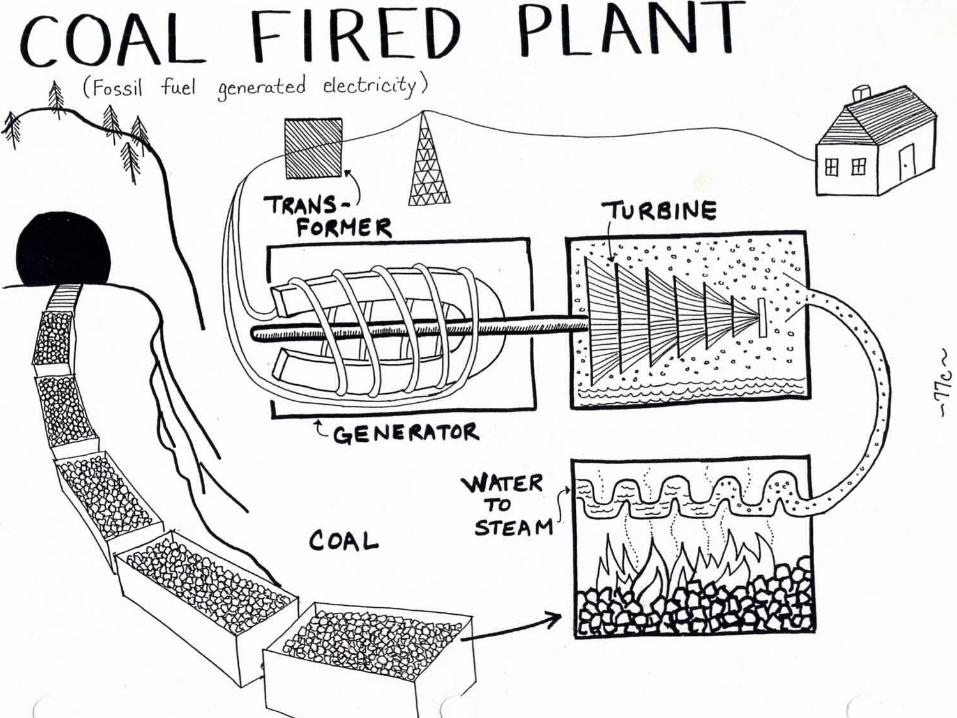
Most of the electricity in the United States is produced by burning fossil fuels (coal, gas, oil, etc.).
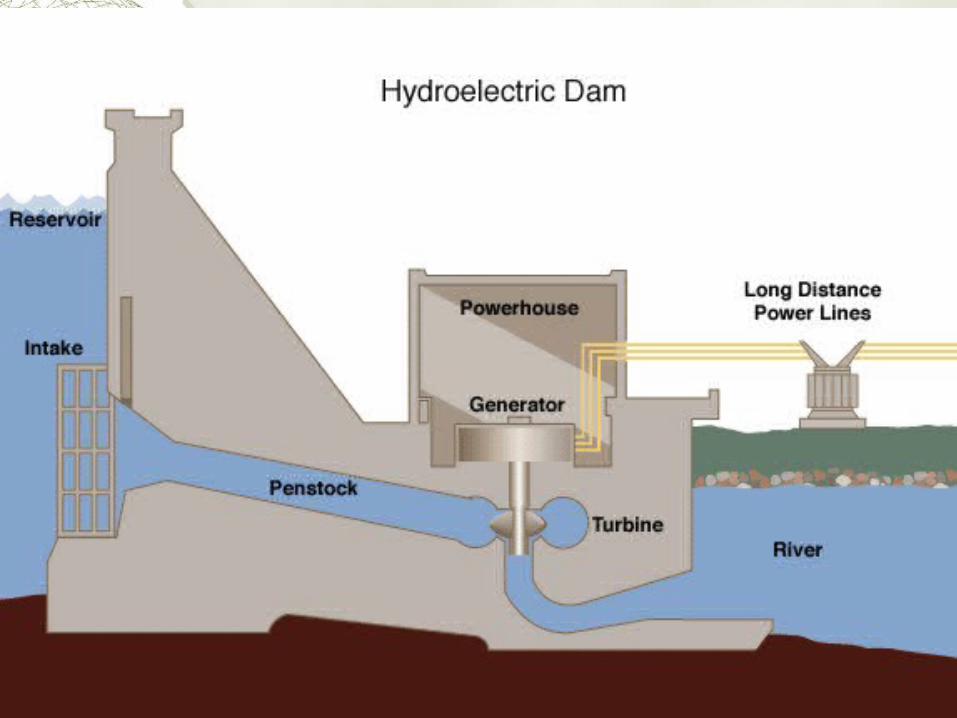
When the fuel is burned it produces heat that can boil water. The steam that is produced turns the turbine in the generator, which turns the magnet inside the coil of wire.
Environmental IssuesWhat is produced besides energy when we burn
fossil fuels?POLLUTION! Is this good?NO!What can we do about this?We can turn off lights, close the refrigerator
door, etc. That saves electricity, so we burn less fuel.
Engineers are also working on other ways to produce electricity: solar power, hydroelectric or water power, wind power, etc.
Environmental Impact Carbon dioxide (CO2) is a "greenhouse
gas," trapping heat in the lowest part of the earth's atmosphere. This contributes to "global warming" - the average temperature of the earth slowly increases, affecting ecosystems across the globe.
Sulfur dioxide (SO2) is a key contributor to acid rain, primarily in the northeast U.S.
Nitrogen oxide (NOx) contributes to acid rain and smog, as well as health issues such as lung inflammation, immune system changes and eye irritation.
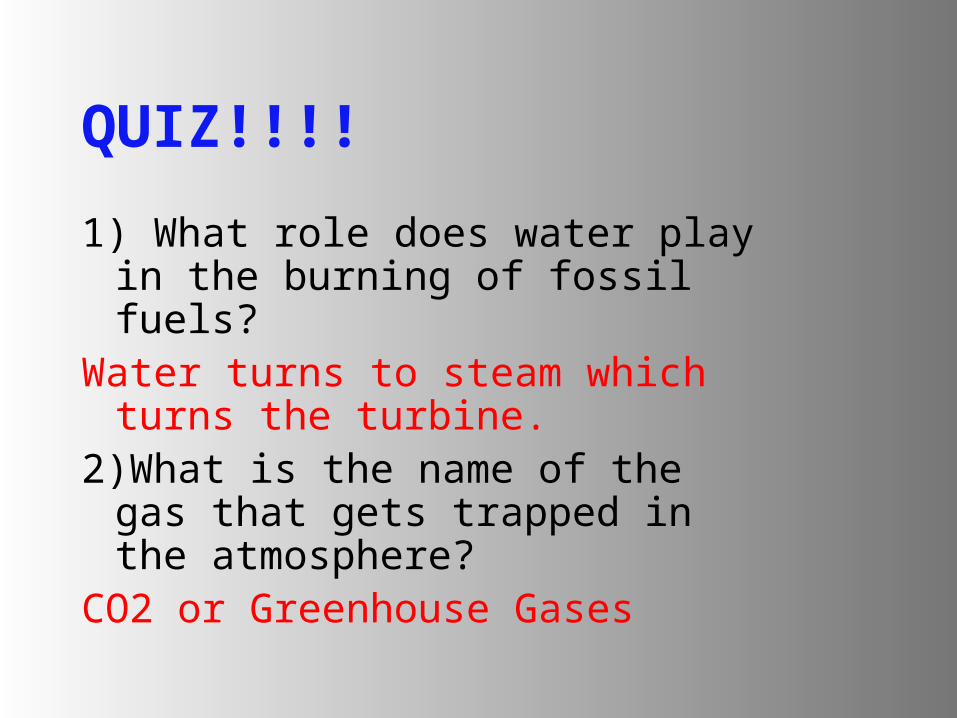
QUIZ!!!!
1) What role does water play in the burning of fossil fuels?
Water turns to steam which turns the turbine.
2)What is the name of the gas that gets trapped in the atmosphere?
CO2 or Greenhouse Gases
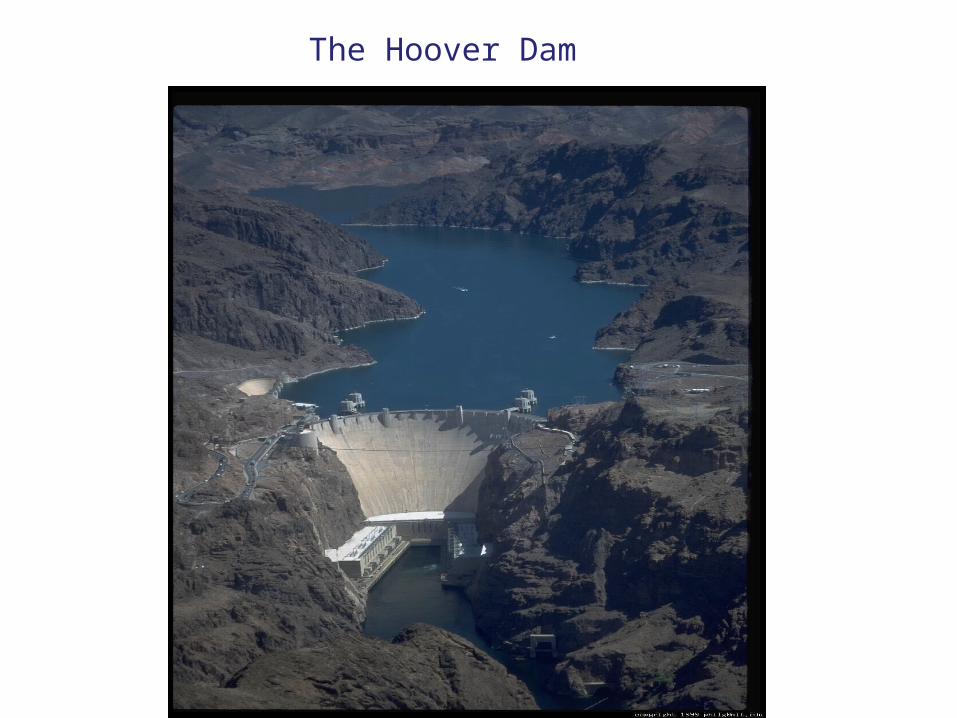
The Hoover Dam

Hydroelectric Power Facts
Hydroelectric power counts for 7% of the budget for the US Energy Budget
We’ve only tapped 30% of the potential hydroelectric power
One liter of water per second can produce 720 watts of energy
What are some disadvantages of hydroelectric power?
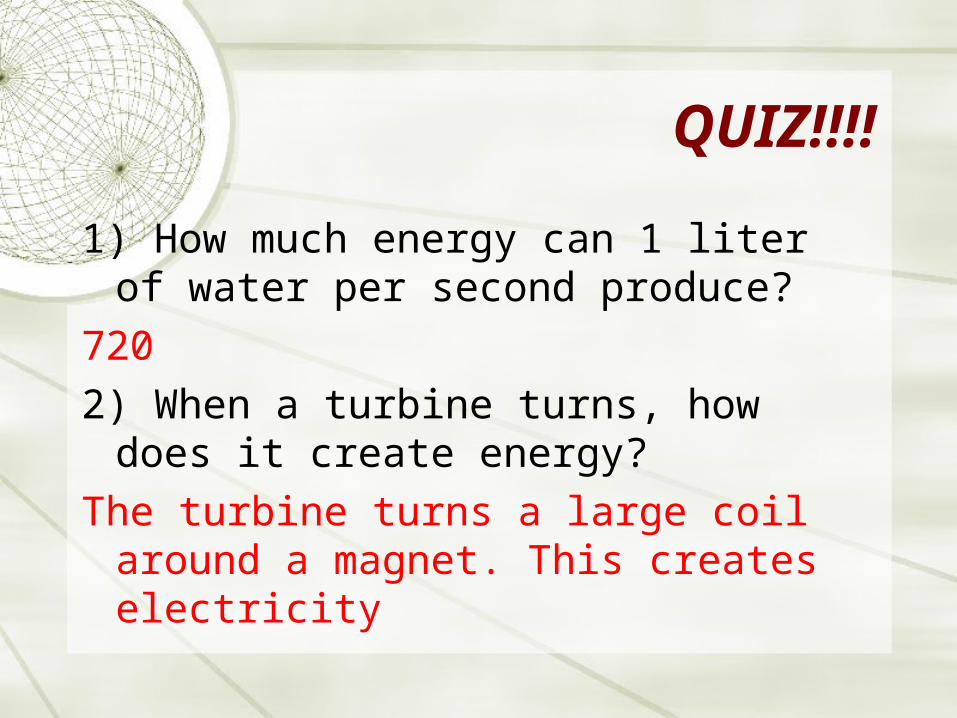
QUIZ!!!!
1) How much energy can 1 liter of water per second produce?
7202) When a turbine turns, how does it
create energy?The turbine turns a large coil around
a magnet. This creates electricity
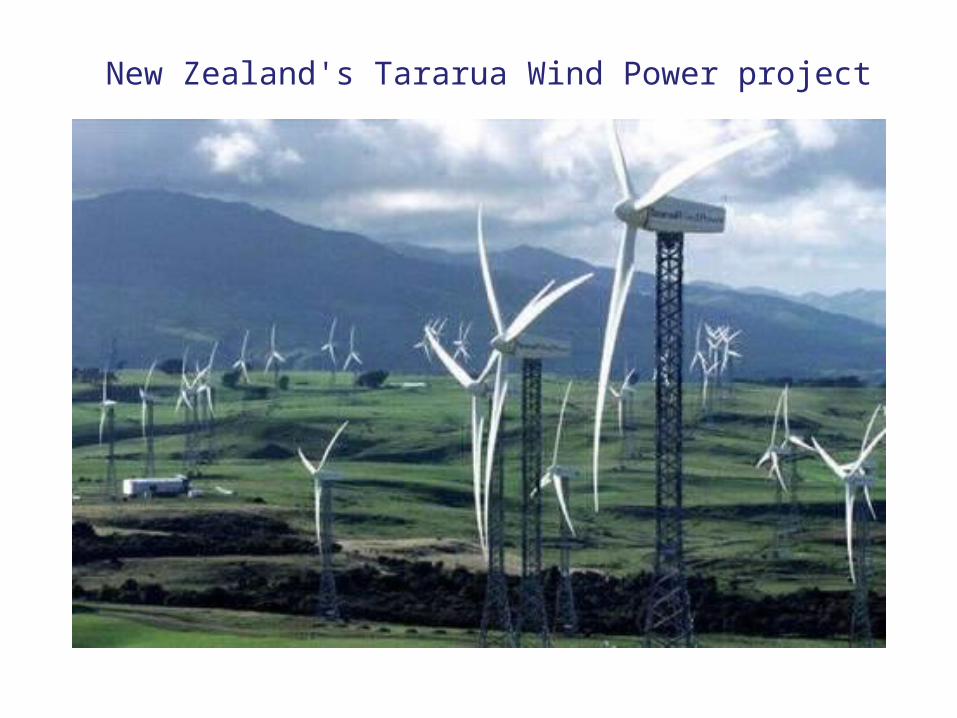
New Zealand's Tararua Wind Power project
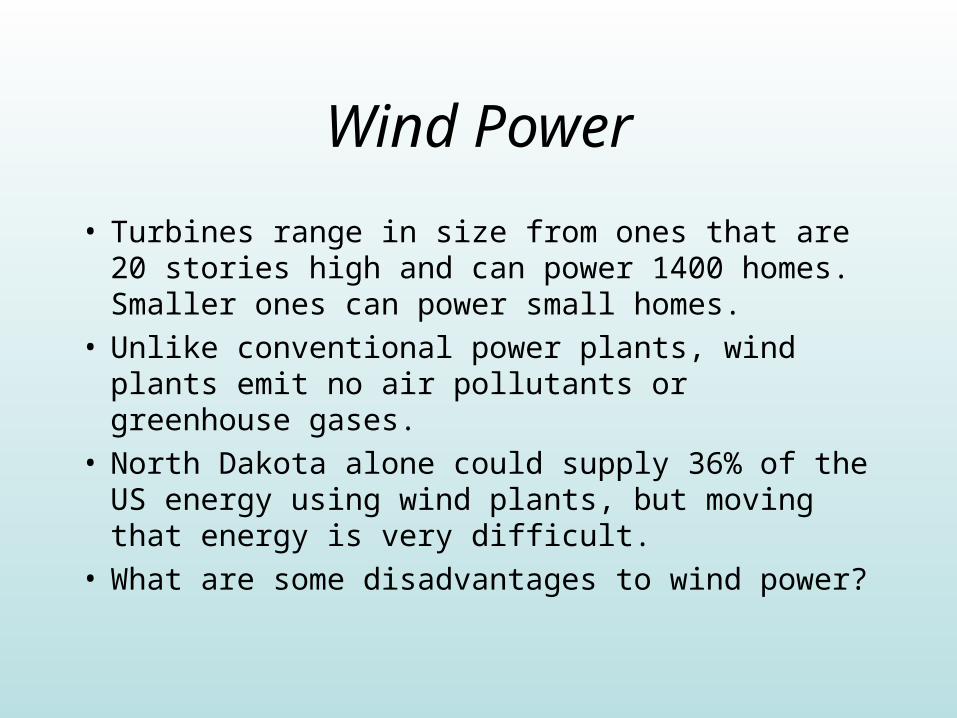
Wind Power
• Turbines range in size from ones that are 20 stories high and can power 1400 homes. Smaller ones can power small homes.
• Unlike conventional power plants, wind plants emit no air pollutants or greenhouse gases.
• North Dakota alone could supply 36% of the US energy using wind plants, but moving that energy is very difficult.
• What are some disadvantages to wind power?
QUIZ!!!!
1) How much pollution does a wind turbine create?
NONE!
2) What is one advantage of using wind produced electricity?
Wind is a constant energy source, it can produce a great deal of electricity
Solar Power
A home solar system will prevent approximately 170 lbs. of coal from being burned, 300 lbs of CO2 from being released into the atmosphere and 105 gallons of water from being consumed each month!
In Your Notebooks!
Choose one form of energy production and write a paragraph and the pros and cons of this method.
Electricity Wrap-Up
Let’s look back at our original chart of what we knew about electricity before this unit. Let’s also look back to the questions that we had about electricity.
Can we now answer any of these questions? Do we have different thoughts about the original ideas listed?


![L 28 Electricity and Magnetism [5] magnetism magnetic forces applications](https://img.pdfslide.us/doc/110x75/56649db65503460f94aa8390/l-28-electricity-and-magnetism-5-magnetism-magnetic-forces-applications.jpg)