Embed Size (px)
DESCRIPTION
A 'how to' for folding origami paper cranes.
Citation preview

a book of direction, template and ideas for making lovely paper cranes
Origami Paper Cranes

ACKNOWLEDGEMENTS
AUTHOR BIO
INTRODUCTION
HISTORY OF JAPANESE PAPER
FOLDING
MATERIALS FOR 1000 PAPER
CRANES
PAPER CRANE TEMPLATE
STARTER FOLDS
Table of Contents

BIRD BASE
INSIDE REVERSE FOLD
ORIGAMI CRANE
IMPLEMENTATION IDEAS
MATERIALS
PAPER CRANE GLOBE
MATERIALS
CURTAIN OF PAPER CRANES

orig
ami p
aper
cra
nes
Acknowledgements
noel would like to thank the following:
Pinterest for their easy to navigate online source for beautiful inspiration.
Origami.com for their clean crane folding instructions. And the Heian period, (794–1185) for which without this era in Japanese culture, Origami would not exist as we know it.

Author Bio
noel jarosch was born in east Los Angeles and moved to Portland, Oregon, eleven years ago. Currently she attends Portland State University, where she is working towards her Bachelors of Science in Graphic Design; she is very excited to graduate this September 2013.
Aside from her love of graphic design, in her spare time noel loves illustrating and refinishing antique furniture.
Thank you.If you wish to reach noel jarosch email her at: [email protected]
orig
ami p
aper
cra
nes
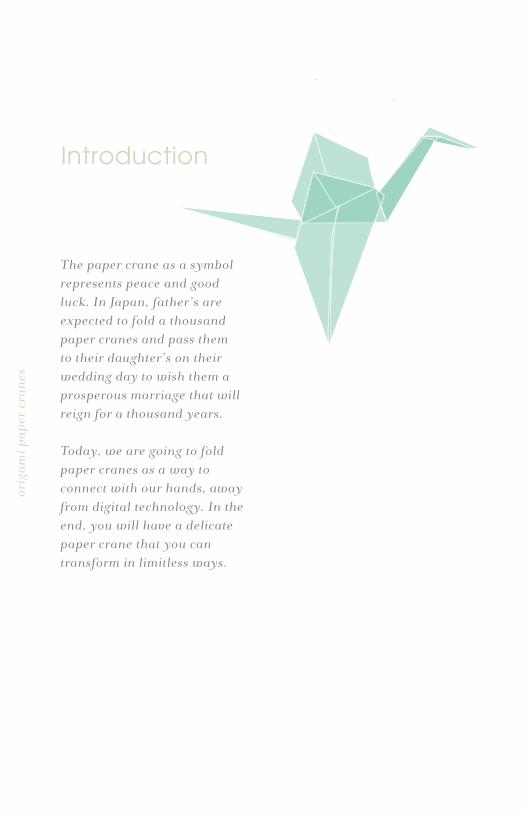
Introduction
The paper crane as a symbol represents peace and good luck. In Japan, father’s are expected to fold a thousand paper cranes and pass them to their daughter’s on their wedding day to wish them a prosperous marriage that will reign for a thousand years. Today, we are going to fold paper cranes as a way to connect with our hands, away from digital technology. In the end, you will have a delicate paper crane that you can transform in limitless ways.

History of Japanese Paper Folding
Due to the high cost of paper, Japanese origami was relegated to only religious ceremonies.
By the Heian period (794-1185) origami butterflies were used for Shinto weddings to represent the bride and groom. It was during this dynasty that origami found its cultural signifigance in Japan. Even Samurai warriors were known to exchange gifts adorned with folded strips of paper, these adornments were called noshi.
It wasn’t until 1797 that the first known origami book was published in Japan: Senbazuru orikata. The Senbazuru orikata, even featured an
Japanese origami began during the 6th century from the transportation of paper by Buddhist monks.

orig
ami p
aper
cra
nes
The origami that we practice today has much to do with the design and techniques developed by Akira Yoshizawa in 1954. His revolutionary technique of wetting paper allowed for stricter folds and a sharper appearance.
Today the implementation of abstract alegebra has pushed the limits of folds to paper beyond previous conception. In recent years, the popularity of origami has given rise to origami societies, and class based learning through the use of math-centric origami principles. It is this tangible representation of mathmatics teamed with the accessibility of this craft that make origami so unique.
Nimble fingers and your imagination are the only limitations. Fold on.

Materials For 1000 Paper Cranes
1000 Pieces of 6” (15cm) square origami paper
The quality of paper is up to personal preference. A basic paper that maintains a fold and is within a relative range of 30lb copy paper tends to render cosmetic results.

orig
ami p
aper
cra
nes
Bird Base:
Start by folding an origami square base. Below is the square base and what you should have as a starting point.
Starter Folds
1

Fold the corners inwards as shown in the next two photos. Crease well and unfold. The creases are very important so go over them once, twice, three times.
Fold down the tip. Crease well and unfold.
2
3
orig
ami p
aper
cra
nes
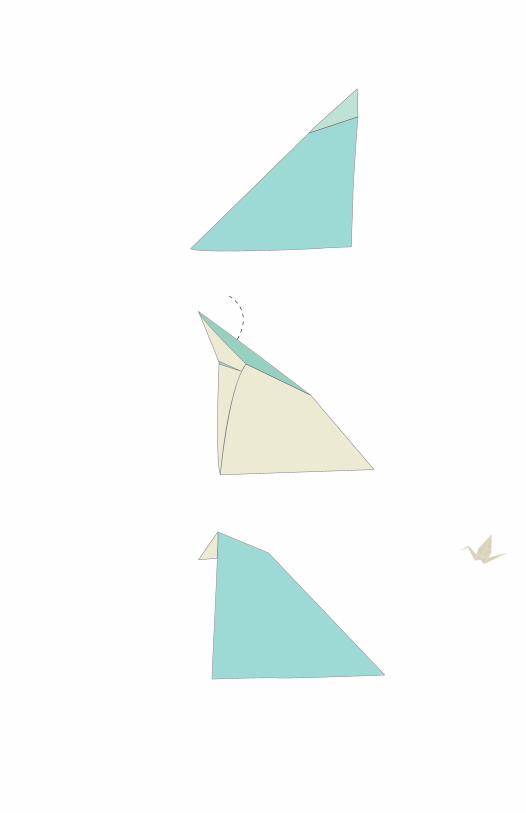
Lift the bottom corner upwards, and fold along the crease lines as shown and flatten to form a triangle.
Your bird base is now half done. Flip the piece over.
Repeat steps 3 & 4. Fold in the three corners to make crease marks. Crease well then unfold.
Now lift the bottom corner and do another petal fold.
The bird base is now complete
5
6
7
4


orig
ami p
aper
cra
nes
Inside Reverse Fold:
1
2
3
Make a mountain fold. Crease well and unfold.
Flip paper over. When you make a mountain fold on one side, that same fold is a valley fold on the other side. Pinch the fold so that it becomes a mountain fold.
Push the tip of the mountain down so that it is in between the two sides of the paper.Press paper flat. You have now completed the inside reverse fold!
Starter Folds

orig
ami p
aper
cra
nes
Fold both sides of the base to the middle.
Flip paper over.
Now fold both side to the middle just as you did in Step 2.
We’re now going to make inside reverse folds. This is a commonly used technique in origami. To do so, we need to first make a diagonal crease. Let’s begin with the right side.
*** make sure the paper is well-creased on both sides.
Start with a 6” (15cm) square origami paper and fold the origami bird base. This is a commonly used base in origami.
1
2
3
4
Origami Crane:
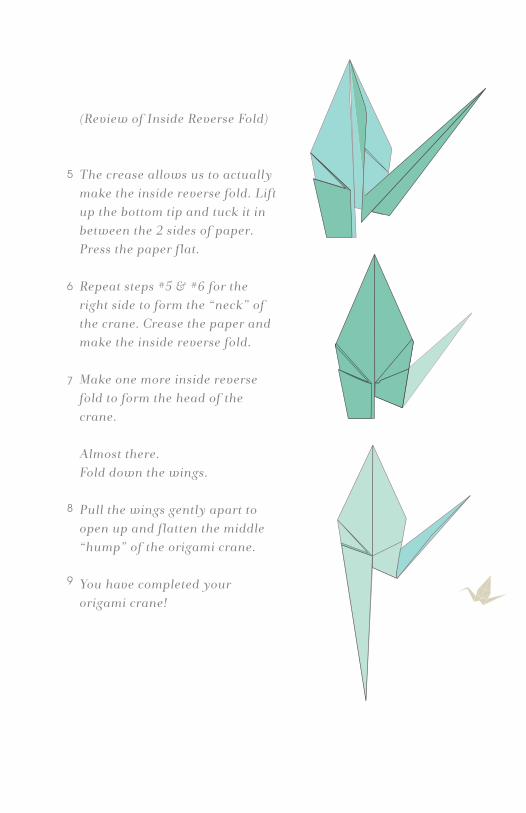
(Review of Inside Reverse Fold)
The crease allows us to actually make the inside reverse fold. Lift up the bottom tip and tuck it in between the 2 sides of paper. Press the paper flat.
Repeat steps #5 & #6 for the right side to form the “neck” of the crane. Crease the paper and make the inside reverse fold.
Make one more inside reverse fold to form the head of the crane.
Almost there. Fold down the wings.
Pull the wings gently apart to open up and flatten the middle “hump” of the origami crane.
You have completed your origami crane!
5
6
7
8
9

orig
ami p
aper
cra
nes

Glue paper crane upright to the inside fo the lid.
Fill jar with glycerin or baby oil almost to the top.
Carefully screw on lid careful not to let the liquid material overflow.
Enjoy your snow globe!
Paper Crane Globe
Materials:
1
2
3
Leak proof glass jar
16oz. glycerin, or baby oil
2-15 Paper cranes
Glitter/sequins or light material that will float

orig
ami p
aper
cra
nes

Rod, stick or pole the length or width of the doorway or window you wish to hang your curtain.
1000 cranes or enough to accomodate approx 25 chains of paper cranes.
Fish line, or heavy sewing thread.
1 substantial sewing needle
Curtain of Paper Cranes
Materials:
orig
ami p
aper
cra
nes
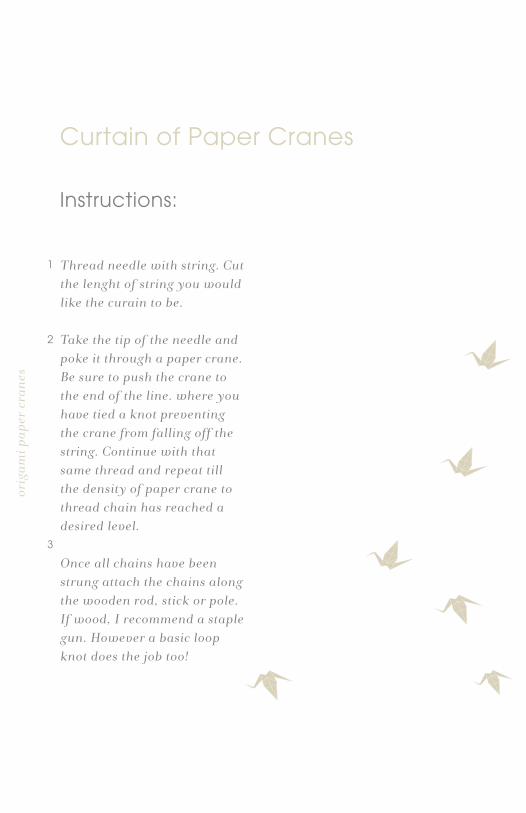
Thread needle with string. Cut the lenght of string you would like the curain to be.
Take the tip of the needle and poke it through a paper crane. Be sure to push the crane to the end of the line. where you have tied a knot preventing the crane from falling off the string. Continue with that same thread and repeat till the density of paper crane to thread chain has reached a desired level.
Once all chains have been strung attach the chains along the wooden rod, stick or pole. If wood, I recommend a staple gun. However a basic loop knot does the job too!
Instructions:
Curtain of Paper Cranes
1
2
3
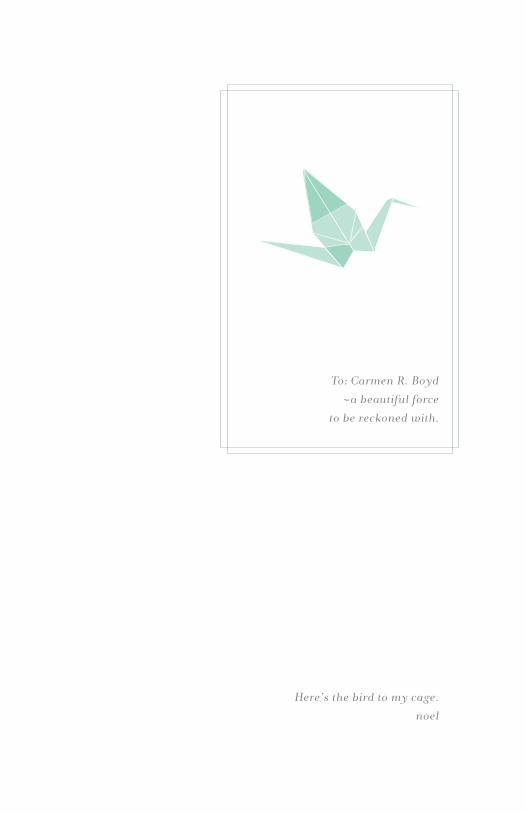
To: Carmen R. Boyd ~a beautiful force
to be reckoned with.
Here’s the bird to my cage. noel


![Dr Vijay Khole joins Jaro Education [ Board of Academic Visionaries]](https://img.pdfslide.us/doc/110x75/54b969594a79594c0d8b461e/dr-vijay-khole-joins-jaro-education-board-of-academic-visionaries.jpg)