Embed Size (px)
DESCRIPTION
The 2015 Summer Issue
Citation preview
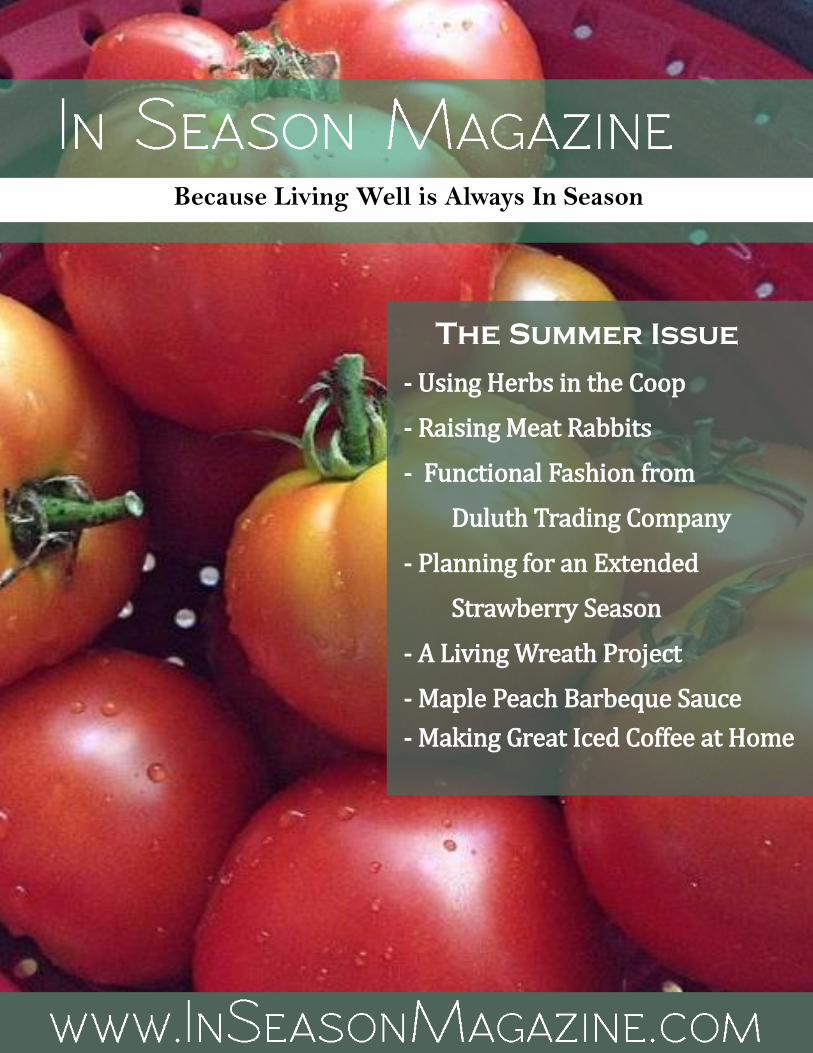
Because Living Well is Always In Season
The Summer Issue
- Using Herbs in the Coop
- Raising Meat Rabbits
- Functional Fashion from
Duluth Trading Company
- Planning for an Extended
Strawberry Season
- A Living Wreath Project
- Maple Peach Barbeque Sauce
- Making Great Iced Coffee at Home

In Season Magazine accepts advertising in the form of rented
space for image ads. We also accept products to be evaluated
and reviewed or offered as giveaways to our readers. We
believe in honesty of relationship, opinion and identity.
Compensation received from sponsors will not influence the
topics or content of this magazine. Product reviews will
include our honest opinions about the product(s) reviewed.
Products that do not meet our standards of daily use will not
be reviewed.
Affiliate links are included in this issue. If you make a
purchase as a result of clicking on affiliate links, our
contributors may receive a small portion of that sale. This
will in no way increase the product(s) cost to you.
Participating in these affiliate programs enables us to continue
sharing In Season Magazine for FREE with our readers and
rewards our contributors for sharing their fantastic content
with us.
Subscriber’s
Giveaway
Thanks to our friends at
Sasquatch Books, we have
a copy of The Lemon
Cookbook to give away this
month. One subscriber
will be randomly selected
on Monday, July 27th. All
In Season Magazine
Subscr ibers wi l l be
automatically entered to
win.
Good luck!
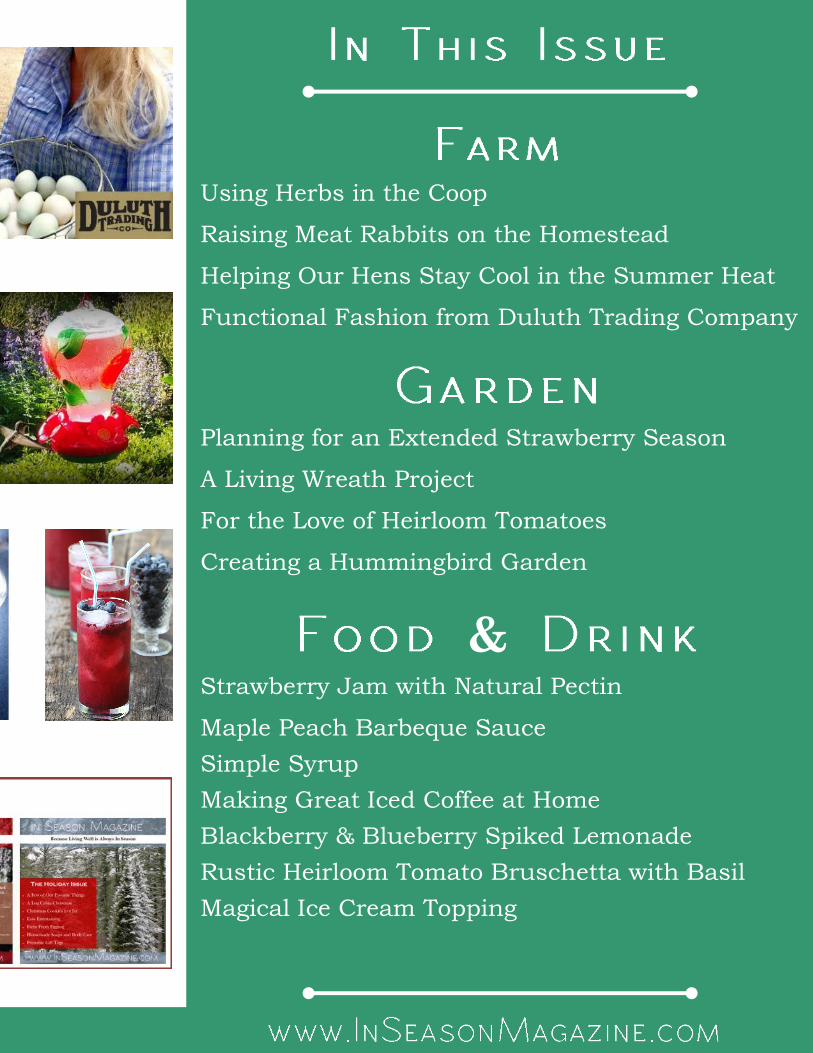
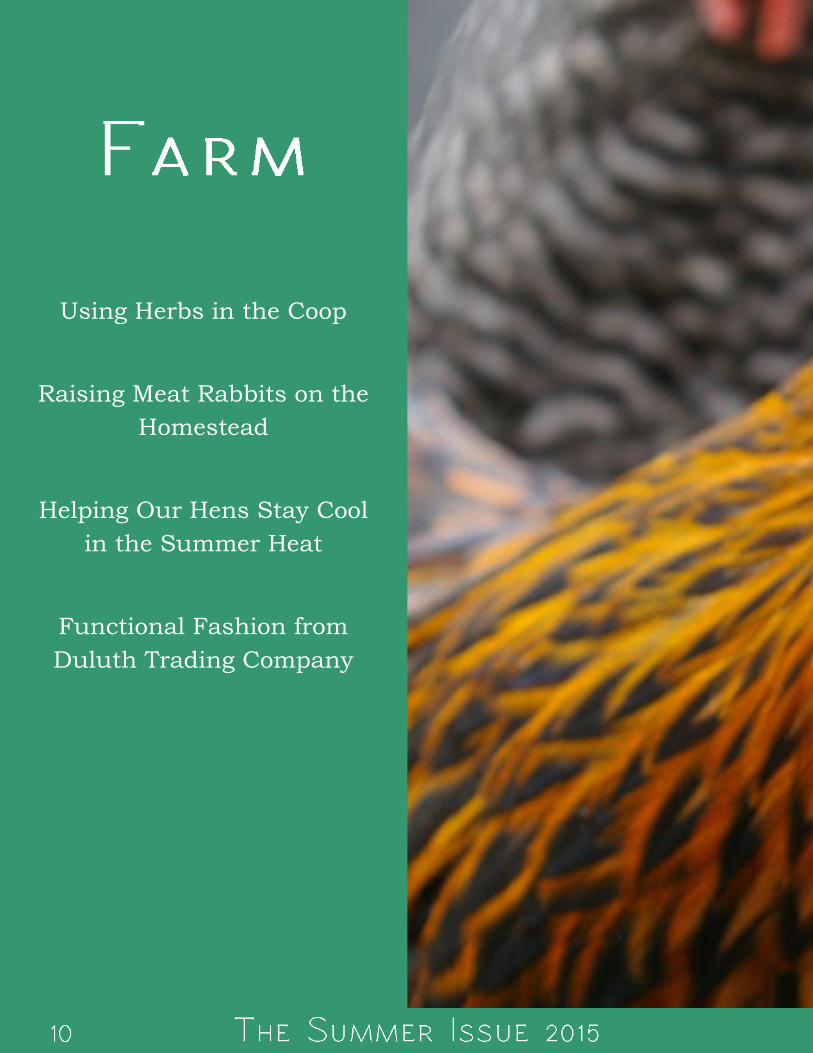
Using Herbs in the Coop
Raising Meat Rabbits on the Homestead
Helping Our Hens Stay Cool in the Summer Heat
Functional Fashion from Duluth Trading Company
Planning for an Extended Strawberry Season
A Living Wreath Project
For the Love of Heirloom Tomatoes
Creating a Hummingbird Garden
&Strawberry Jam with Natural Pectin
Maple Peach Barbeque Sauce
Simple Syrup
Making Great Iced Coffee at Home
Blackberry & Blueberry Spiked Lemonade
Rustic Heirloom Tomato Bruschetta with Basil
Magical Ice Cream Topping

Lisa Steele is the creative mind behind Fresh
Eggs Daily®, the popular destination for
natural chicken keeping advice and one of the Top 10 Gardening Blogs for 2014 as
named by Better Homes & Gardens
magazine. She is a fifth-generation chicken
keeper and certified herbalist who has been
raising her own backyard flock since 2009
and sharing her farming adventures on her blog and Facebook pages.
Jennifer Burcke lives and writes at the
intersection of family, food, and farming at
1840 Farm in Southern New Hampshire. Three generations of her family call the farm
home along with their heritage breed hens,
Nigerian Dwarf goats, and one dapper French
Angora Rabbit named Herbert Menninger.
We believe that our contributors create the best content for their blogs and the pages of our publication. We invite you to visit their blogs, shops, and social media profiles through the links on this page and throughout each issue.
We hope that you will take a moment to see for yourself why we are so proud to work with them. We know that you will love their posts, recipes, and photos as much as we do!
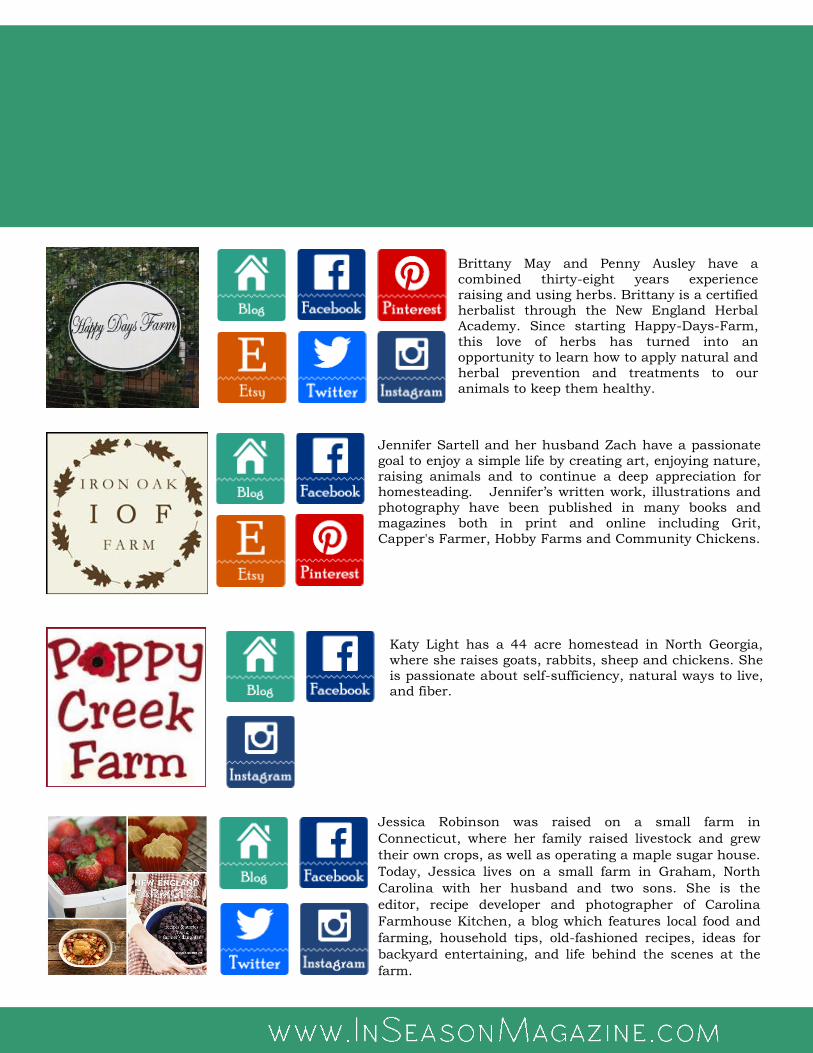
Katy Light has a 44 acre homestead in North Georgia,
where she raises goats, rabbits, sheep and chickens. She
is passionate about self-sufficiency, natural ways to live, and fiber.
Brittany May and Penny Ausley have a
combined thirty-eight years experience
raising and using herbs. Brittany is a certified herbalist through the New England Herbal
Academy. Since starting Happy-Days-Farm,
this love of herbs has turned into an
opportunity to learn how to apply natural and
herbal prevention and treatments to our
animals to keep them healthy.
Jennifer Sartell and her husband Zach have a passionate
goal to enjoy a simple life by creating art, enjoying nature,
raising animals and to continue a deep appreciation for homesteading. Jennifer’s written work, illustrations and
photography have been published in many books and
magazines both in print and online including Grit,
Capper's Farmer, Hobby Farms and Community Chickens.
Jessica Robinson was raised on a small farm in
Connecticut, where her family raised livestock and grew
their own crops, as well as operating a maple sugar house.
Today, Jessica lives on a small farm in Graham, North
Carolina with her husband and two sons. She is the
editor, recipe developer and photographer of Carolina
Farmhouse Kitchen, a blog which features local food and
farming, household tips, old-fashioned recipes, ideas for
backyard entertaining, and life behind the scenes at the
farm.
H ello Summer,
we’re so glad to
see you! After a
winter that
seemed like it
might never end
and a spring that brought seesawing
temperatures and precipitation, it is
a real treat to finally feel like
summer has arrived. We’re
celebrating summer by sharing our
favorite seasonal content with you in
our very first Summer Issue.
You’ll find articles for the farm that
include tips for using herbs in your
coop and keeping your hens cool in
hot weather. If you’ve ever
considered raising meat for your
family’s table, you won’t want to
miss our article about raising meat
rabbits on your homestead.
Summer is Gardening Season, a
truly magical time of year for those
of us who enjoy the work of
transforming tiny seeds into
delicious homegrown meals. We
have plenty of content to share in
this issue from methods for
extending your strawberry season to
making your own living wreath that
can be enjoyed all season long.
You’ll also learn about creating a
hummingbird garden so that you
can enjoy watching them flit about.
If you’re looking for a little
inspiration in the kitchen, then look
no further than our Food & Drink
section. You’ll find recipes for
strawberry jam and heirloom tomato
bruschetta to highlight the best of
what’s growing in your garden.
You’ll also learn how to make simple
syrup and use it to sweeten a great
homemade iced coffee or a delicious
blackberry & blueberry spiked
lemonade.
No matter how you celebrate
summer, we hope that you enjoy
every last minute. We plan to fill
our weeks with time spent outside in
the garden and meals shared with
friends and family. In between, we’ll
find plenty of time to gather up great
content for our Fall Issue so that we
can share it with you in a few
months!
T he Summer I s sue 2015

T he Summer I s sue
What would you like to see in our Fall Issue?
We want to know what you would like to see in our Fall Issue. We can’t wait
to hear all about it!
Using Herbs in the Coop
Raising Meat Rabbits on the
Homestead
Helping Our Hens Stay Cool
in the Summer Heat
Functional Fashion from
Duluth Trading Company
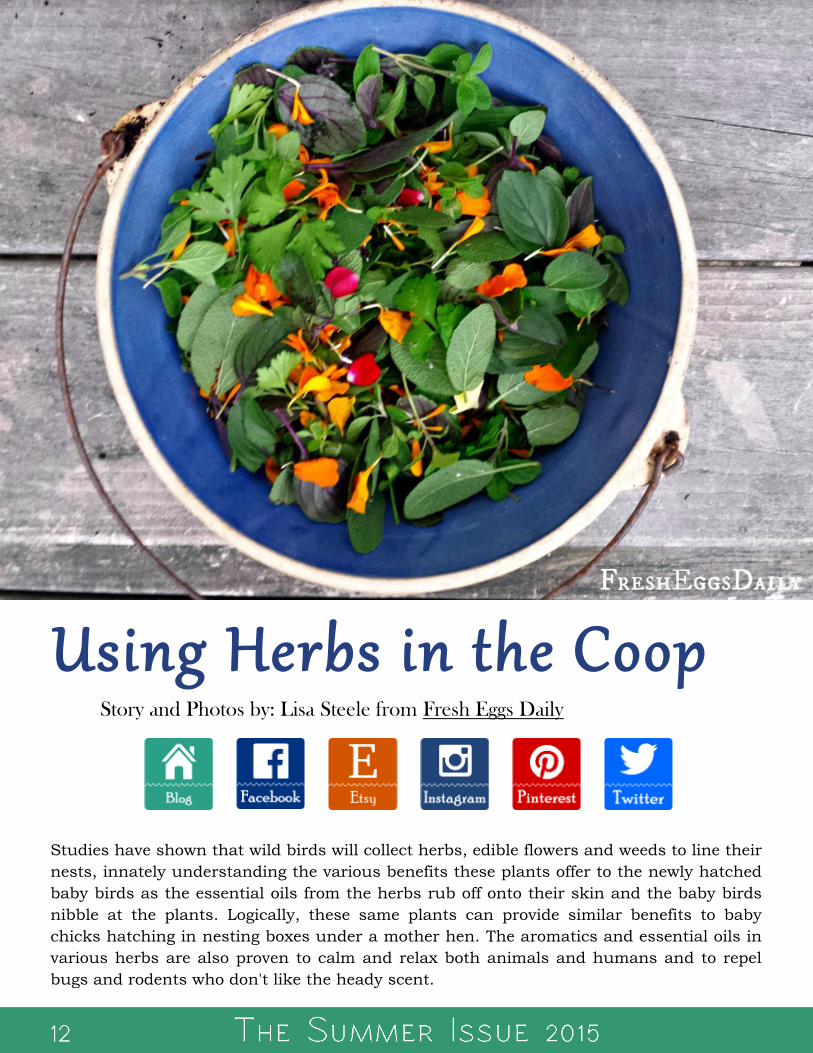
Using Herbs in the Coop
Studies have shown that wild birds will collect herbs, edible flowers and weeds to line their
nests, innately understanding the various benefits these plants offer to the newly hatched
baby birds as the essential oils from the herbs rub off onto their skin and the baby birds
nibble at the plants. Logically, these same plants can provide similar benefits to baby
chicks hatching in nesting boxes under a mother hen. The aromatics and essential oils in
various herbs are also proven to calm and relax both animals and humans and to repel
bugs and rodents who don't like the heady scent.
Story and Photos by: Lisa Steele from Fresh Eggs Daily
A blend of fresh or dried aromatic herbs
and edible flowers in your chicken coop
and nesting boxes will act as natural
insect and rodent repellents, stress
relievers and laying stimulants for your
chickens. They also have antibacterial
properties. Calming herbs help a laying
hen feel safe and relaxed while she is
sitting. Broodies have a tendency to get
mites and other bugs since they don't get
out to dust bathe often as they should, if
at all, and the warm, dark space
underneath them is a breeding ground for
parasites. Certain types of herbs safely
and naturally prevent that as well. As an
added benefit, your coop will never smell
better!
The herbal blend below has been
specifically formulated to keep your
nesting boxes insect- and rodent-free
while providing calming and other health
benefits to your hens. The herbs are all
edible, so if your hens nibble at them
while they are sitting, that’s okay too.
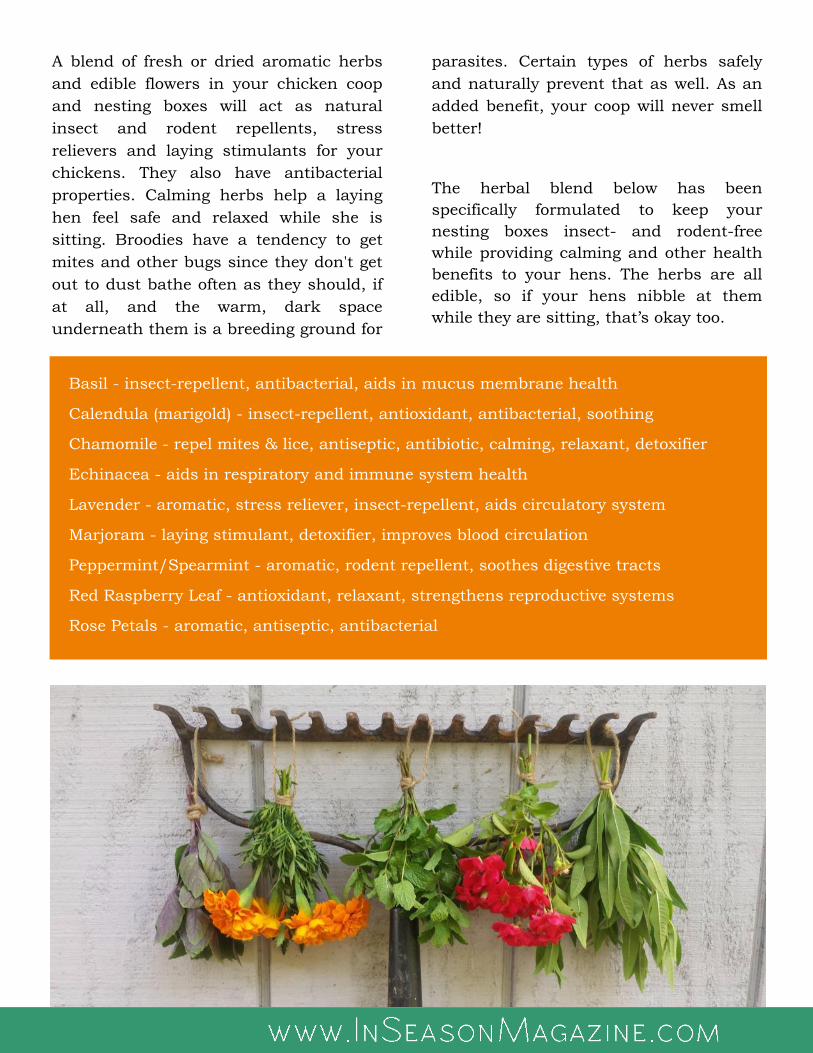
Basil - insect-repellent, antibacterial, aids in mucus membrane health
Calendula (marigold) - insect-repellent, antioxidant, antibacterial, soothing
Chamomile - repel mites & lice, antiseptic, antibiotic, calming, relaxant, detoxifier
Echinacea - aids in respiratory and immune system health
Lavender - aromatic, stress reliever, insect-repellent, aids circulatory system
Marjoram - laying stimulant, detoxifier, improves blood circulation
Peppermint/Spearmint - aromatic, rodent repellent, soothes digestive tracts
Red Raspberry Leaf - antioxidant, relaxant, strengthens reproductive systems
Rose Petals - aromatic, antiseptic, antibacterial
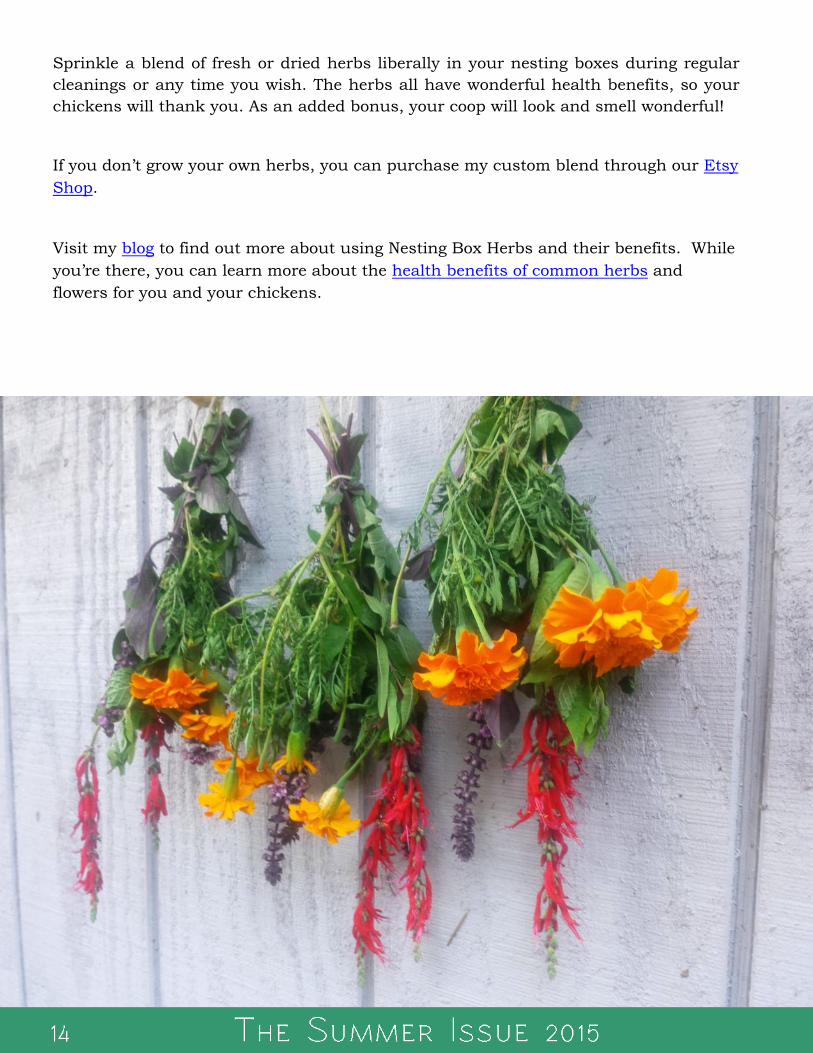
Sprinkle a blend of fresh or dried herbs liberally in your nesting boxes during regular
cleanings or any time you wish. The herbs all have wonderful health benefits, so your
chickens will thank you. As an added bonus, your coop will look and smell wonderful!
If you don’t grow your own herbs, you can purchase my custom blend through our Etsy
Shop.
Visit my blog to find out more about using Nesting Box Herbs and their benefits. While
you’re there, you can learn more about the health benefits of common herbs and
flowers for you and your chickens.
Raising Meat Rabbits
on the Homestead
Rabbits on the homestead are a
controversial subject, because the bunny has lived for so long as the quintessential
children’s pet; think Peter Rabbit and the adorable cartoon and sentiment of ‘Guess how much I love you’. But if you can let
go of that, and consider rabbits as a low maintenance and high production way to produce protein on your homestead, then
you’re on to a winner.
I was discussing my farm with a family at a party last week and, after we had exhausted gardening as a subject he
asked me, “So, what do you do for protein?” I explained that we sent extra
ram lambs to freezer camp, and that I also raised meat rabbits. Nodding sagely, he couldn’t quite hide his alarm. “See, I
don’t think my wife and kids would go for that.” My suggestion was that he could purchase a pet rabbit for his kids, and
then explain that the other rabbits were for meat. He remained unconvinced. With
respect to the lambs, I didn’t even have to make this suggestion; his concerns were solely directed towards the raising of
rabbits. Meat isn’t the only thing that rabbits are
useful for; for several years I raised Angora rabbits for fiber, but as the sheep
and goats and garden began to take up more and more of my time, I wasn’t enjoying keeping up with the maintenance
and grooming required to keep their fiber
useable. There are people who cull their pet quality Angoras for meat, and find
them productive, but I chose not to take that route.
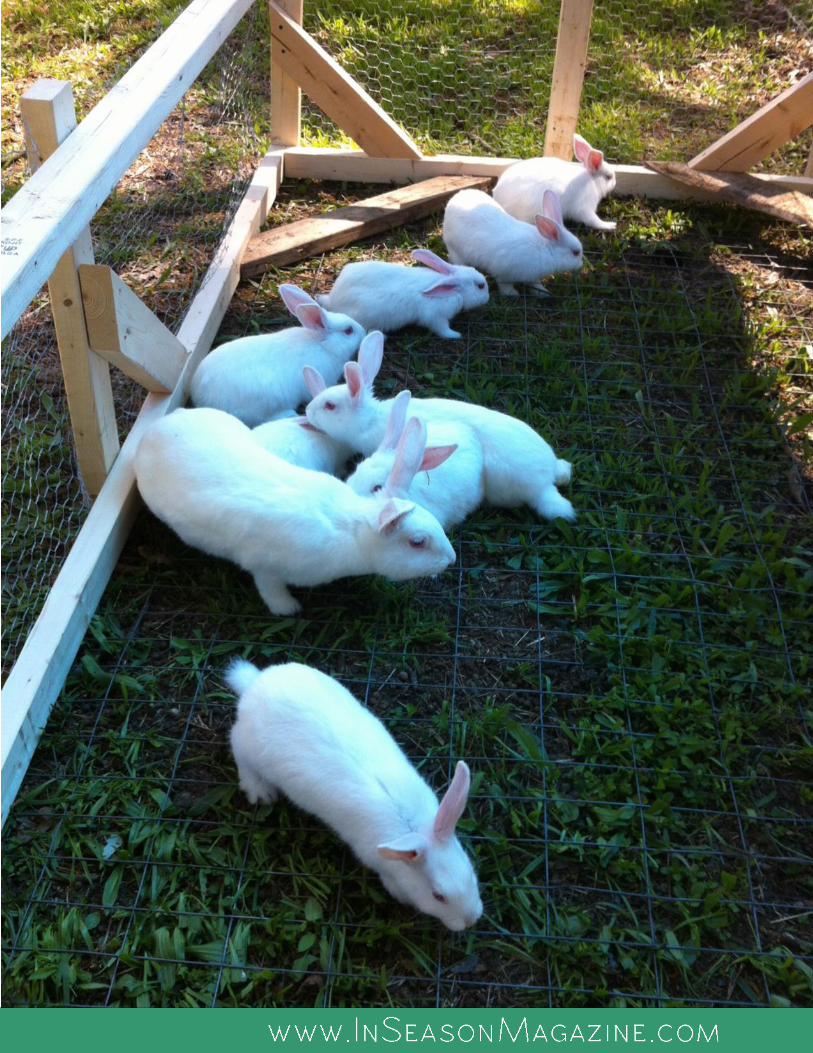
For meat, I chose New Zealand Whites. They’re a large rabbit, maturing at 9-12 pounds, and I have found them to be good
mothers to large litters. Their temperament, however, leaves much to be
desired. Despite extensive handling as kits for the does I intend to retain, I frequently suffer scratches and they
would be challenging for a child to handle due to their size. But for me, the pros
outweigh the cons, and I simply avoid too much handling wherever possible.
According to statistics from the Penn State College of Agricultural Science, an adult doe can produce 125-250 pounds of
meat a year, compared to the average 400 pound dressed yield of a year old steer,
and their feed conversion is superior. From Mother Earth News:
“According to the U.S. Department of Agriculture, a rabbit needs 4 pounds of feed to make 1 pound of meat. In comparison, beef cattle need 7 pounds of feed or more to create 1 pound of meat, reports Michigan State University’s Department of Animal Science.”
Story and Photos by: Katy Light from Poppy Creek Farm
Nutrition wise, rabbit is a low calorie, low fat, high protein meat, adding to its
appeal as a family meat source for the homestead.
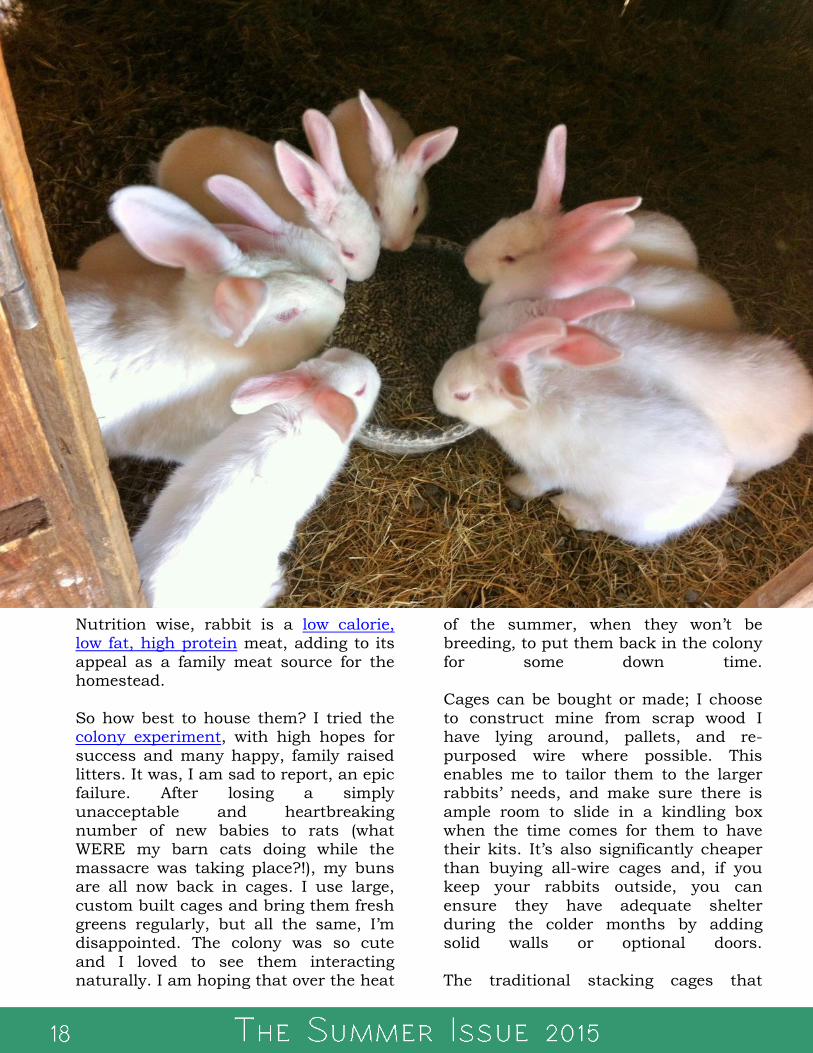
So how best to house them? I tried the colony experiment, with high hopes for
success and many happy, family raised litters. It was, I am sad to report, an epic failure. After losing a simply
unacceptable and heartbreaking number of new babies to rats (what WERE my barn cats doing while the
massacre was taking place?!), my buns are all now back in cages. I use large,
custom built cages and bring them fresh greens regularly, but all the same, I’m disappointed. The colony was so cute
and I loved to see them interacting naturally. I am hoping that over the heat
of the summer, when they won’t be breeding, to put them back in the colony
for some down time. Cages can be bought or made; I choose
to construct mine from scrap wood I have lying around, pallets, and re-
purposed wire where possible. This enables me to tailor them to the larger rabbits’ needs, and make sure there is
ample room to slide in a kindling box when the time comes for them to have their kits. It’s also significantly cheaper
than buying all-wire cages and, if you keep your rabbits outside, you can
ensure they have adequate shelter during the colder months by adding solid walls or optional doors.
The traditional stacking cages that
many breeders use are an option, but
they will need to be housed inside in these and, if you look to buy them new,
or even lightly used, they’re almost prohibitively expensive to get ones truly large enough for a meat sized rabbit to
have a good life. Not to mention, if you are looking to raise rabbits for meat, you’re probably cost-conscious, and this
kind of outlay starts your venture off at high cost!
I guess the big appeal for me in the homestead sense, is that anyone has
space for rabbits. Many people are now raising an impressive amount of
vegetables in a relatively small space, and are also factoring eggs into their self-provision by keeping a few chickens.
Hens could become even more necessary should the avian influenza outbreak spread and cause even wider egg
rationing. But this still leaves the average homesteader short a protein,
unless they were to hatch eggs and raise up extra birds as fryers.
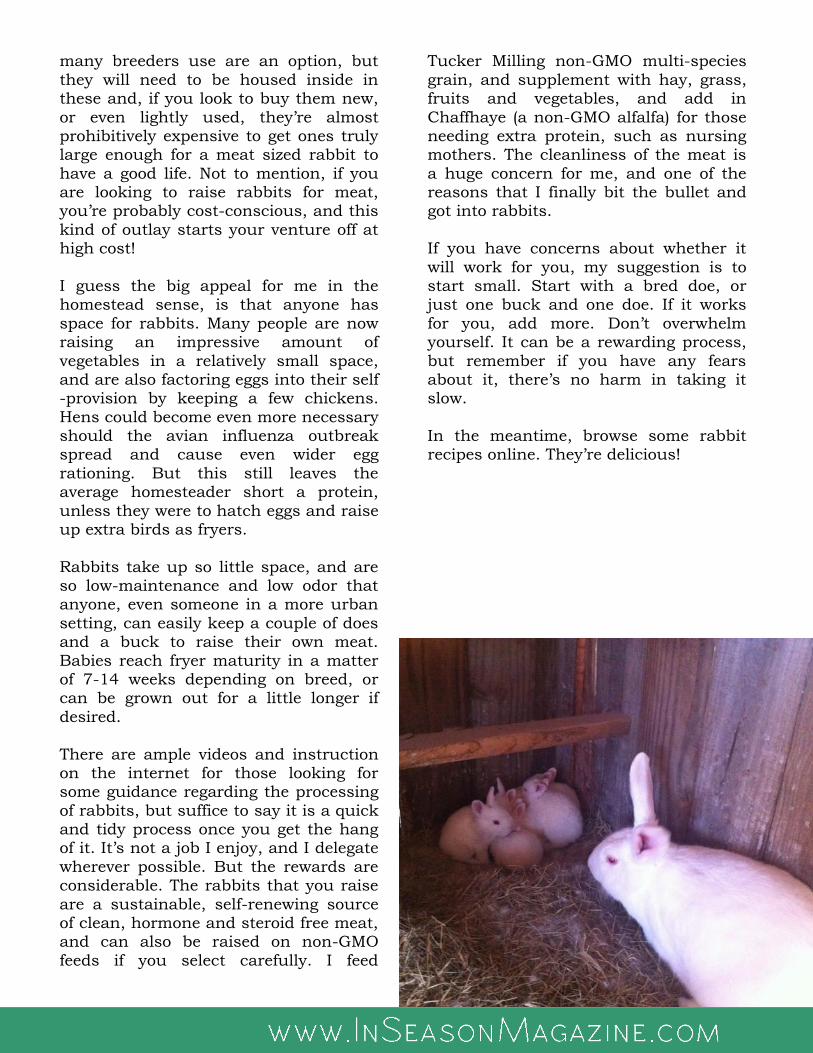
Rabbits take up so little space, and are so low-maintenance and low odor that anyone, even someone in a more urban
setting, can easily keep a couple of does and a buck to raise their own meat.
Babies reach fryer maturity in a matter of 7-14 weeks depending on breed, or can be grown out for a little longer if
desired.
There are ample videos and instruction on the internet for those looking for some guidance regarding the processing
of rabbits, but suffice to say it is a quick and tidy process once you get the hang of it. It’s not a job I enjoy, and I delegate
wherever possible. But the rewards are considerable. The rabbits that you raise
are a sustainable, self-renewing source of clean, hormone and steroid free meat, and can also be raised on non-GMO
feeds if you select carefully. I feed
Tucker Milling non-GMO multi-species
grain, and supplement with hay, grass, fruits and vegetables, and add in
Chaffhaye (a non-GMO alfalfa) for those needing extra protein, such as nursing mothers. The cleanliness of the meat is
a huge concern for me, and one of the reasons that I finally bit the bullet and got into rabbits.
If you have concerns about whether it
will work for you, my suggestion is to start small. Start with a bred doe, or just one buck and one doe. If it works
for you, add more. Don’t overwhelm yourself. It can be a rewarding process,
but remember if you have any fears about it, there’s no harm in taking it slow.
In the meantime, browse some rabbit recipes online. They’re delicious!

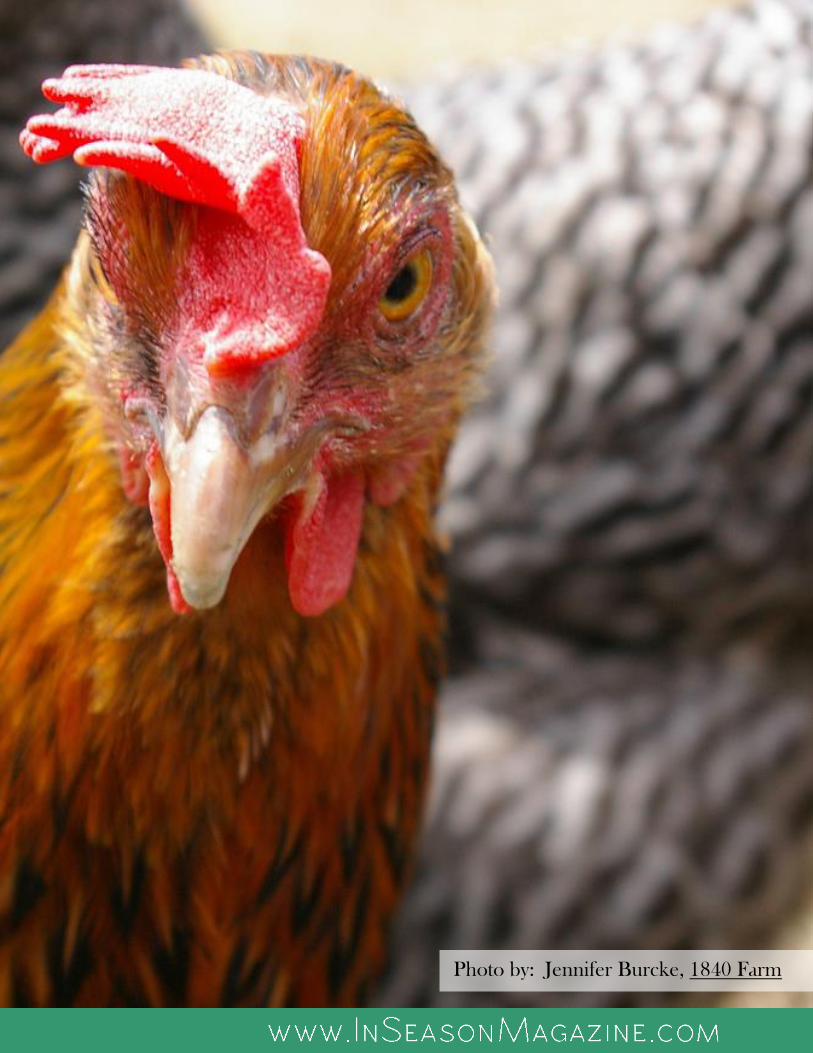
Helping our Hens Stay Cool
i n t he Summer Heat Story and Photos by: Jennifer Burcke from 1840 Farm
Here in New England, we spend more of our
calendar days with frigid temperatures than intense heat. Yet, we can count on several days above 90
degrees each summer and seem to see more of them each year. Summer only officially began a few weeks ago, but we have already seen several days with
temperatures and sunshine that brought temperatures inside the hoop house above 120 degrees.
On hot days, we’ll be employing strategies for
helping our animals and gardens to cope with the heat. We’ll make regular rounds to the coop, barn, hoop house and garden with fresh, cold water to
help everyone and everything battle the heat. We’ll also utilize the design of our coop and share a few
helpful, cooling treats with our flock. Together, these actions will help them to endure the high temperatures.
The hens spend their days outside in their shaded runs. We take full advantage of the cross ventilation we built into the design of our coop. The back vent will be opened to the
full position, the front window opened wide, and the side door secured in the open position to capture any fresh, cooling breeze that might pass by. On a day with temperatures in the
90s, even the slightest breeze blowing through the nearby maple tree is helpful. On my regular rounds, I will replace the water that has grown hot in the goat stall and top
off the BriteTap Chicken Waterer that keeps our hen’s water cool and fresh. On a hot day, the volume of water consumed by our animals is staggering. When I freshen the water, I can count on the chickens and goats to line up for a sip of cool refreshment.
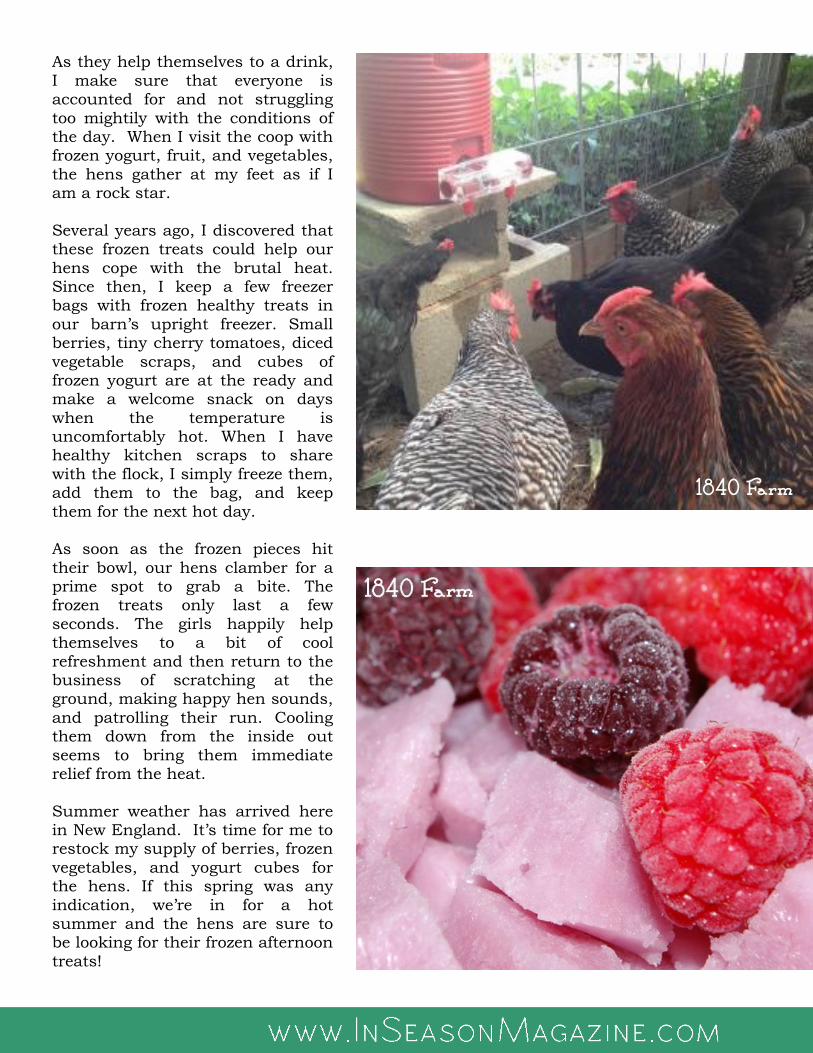
As they help themselves to a drink,
I make sure that everyone is accounted for and not struggling
too mightily with the conditions of the day. When I visit the coop with frozen yogurt, fruit, and vegetables,
the hens gather at my feet as if I am a rock star.
Several years ago, I discovered that these frozen treats could help our
hens cope with the brutal heat. Since then, I keep a few freezer bags with frozen healthy treats in
our barn’s upright freezer. Small berries, tiny cherry tomatoes, diced
vegetable scraps, and cubes of frozen yogurt are at the ready and make a welcome snack on days
when the temperature is uncomfortably hot. When I have healthy kitchen scraps to share
with the flock, I simply freeze them, add them to the bag, and keep
them for the next hot day. As soon as the frozen pieces hit
their bowl, our hens clamber for a prime spot to grab a bite. The frozen treats only last a few
seconds. The girls happily help themselves to a bit of cool
refreshment and then return to the business of scratching at the ground, making happy hen sounds,
and patrolling their run. Cooling them down from the inside out
seems to bring them immediate relief from the heat.
Summer weather has arrived here in New England. It’s time for me to restock my supply of berries, frozen
vegetables, and yogurt cubes for the hens. If this spring was any
indication, we’re in for a hot summer and the hens are sure to be looking for their frozen afternoon
treats!
1840 Farm
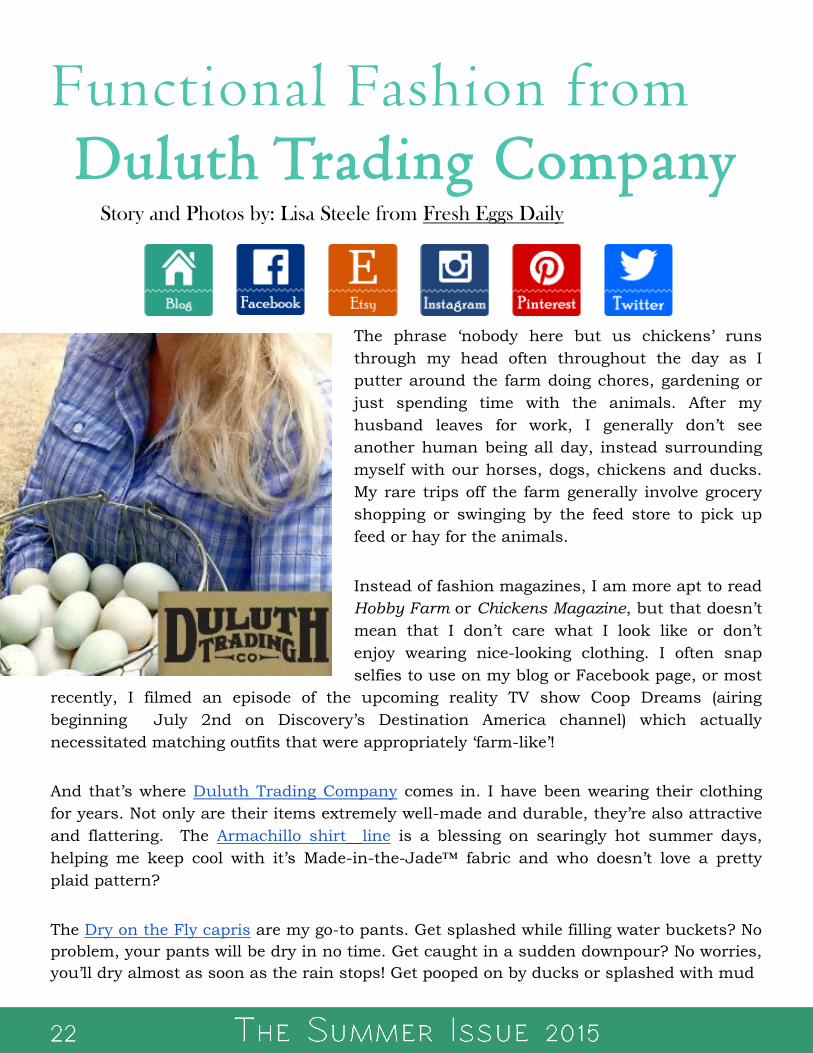
The phrase ‘nobody here but us chickens’ runs
through my head often throughout the day as I
putter around the farm doing chores, gardening or
just spending time with the animals. After my
husband leaves for work, I generally don’t see
another human being all day, instead surrounding
myself with our horses, dogs, chickens and ducks.
My rare trips off the farm generally involve grocery
shopping or swinging by the feed store to pick up
feed or hay for the animals.
Instead of fashion magazines, I am more apt to read
Hobby Farm or Chickens Magazine, but that doesn’t
mean that I don’t care what I look like or don’t
enjoy wearing nice-looking clothing. I often snap
selfies to use on my blog or Facebook page, or most
recently, I filmed an episode of the upcoming reality TV show Coop Dreams (airing
beginning July 2nd on Discovery’s Destination America channel) which actually
necessitated matching outfits that were appropriately ‘farm-like’!
And that’s where Duluth Trading Company comes in. I have been wearing their clothing
for years. Not only are their items extremely well-made and durable, they’re also attractive
and flattering. The Armachillo shirt line is a blessing on searingly hot summer days,
helping me keep cool with it’s Made-in-the-Jade™ fabric and who doesn’t love a pretty
plaid pattern?
The Dry on the Fly capris are my go-to pants. Get splashed while filling water buckets? No
problem, your pants will be dry in no time. Get caught in a sudden downpour? No worries,
you’ll dry almost as soon as the rain stops! Get pooped on by ducks or splashed with mud
Story and Photos by: Lisa Steele from Fresh Eggs Daily
Functional Fashion from Duluth Trading Company
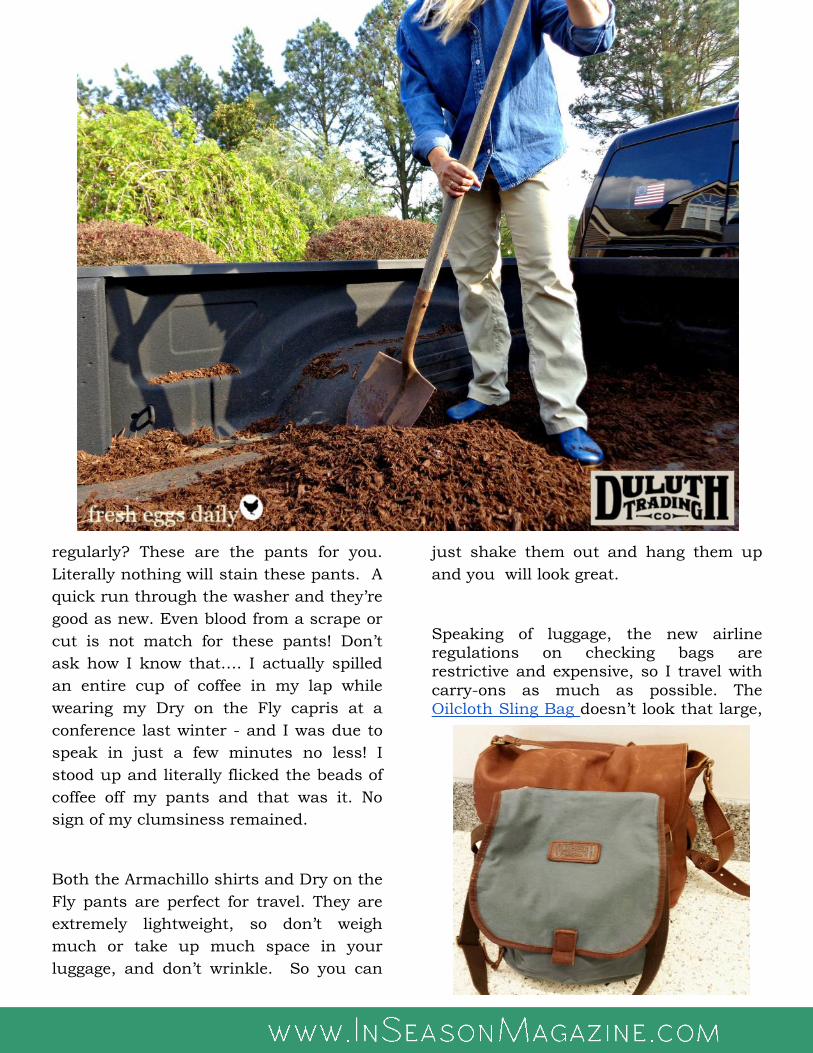
regularly? These are the pants for you.
Literally nothing will stain these pants. A
quick run through the washer and they’re
good as new. Even blood from a scrape or
cut is not match for these pants! Don’t
ask how I know that…. I actually spilled
an entire cup of coffee in my lap while
wearing my Dry on the Fly capris at a
conference last winter - and I was due to
speak in just a few minutes no less! I
stood up and literally flicked the beads of
coffee off my pants and that was it. No
sign of my clumsiness remained.
Both the Armachillo shirts and Dry on the
Fly pants are perfect for travel. They are
extremely lightweight, so don’t weigh
much or take up much space in your
luggage, and don’t wrinkle. So you can
just shake them out and hang them up
and you will look great.
Speaking of luggage, the new airline regulations on checking bags are restrictive and expensive, so I travel with
carry-ons as much as possible. The Oilcloth Sling Bag doesn’t look that large,
but I manage to fit my netbook, Kindle and cell phone, plus cords for them all, in it along
with my wallet and a ball of yarn and my knitting needles! And I packed everything I would
need for the three-day trip to film the TV show in the Leather Messenger Bag, including
my hot rollers!
I pretty much live in my Duluth
Trading Company clothing
because it’s just so easy to wear.
I wasn’t sure about the Heirloom
Convertible Overalls at first,
since it’s probably been a good
30 years since I’ve worn a pair!
But I put them on and realized I
had forgotten just how
comfortable overalls are! I ended
up wearing them all day.
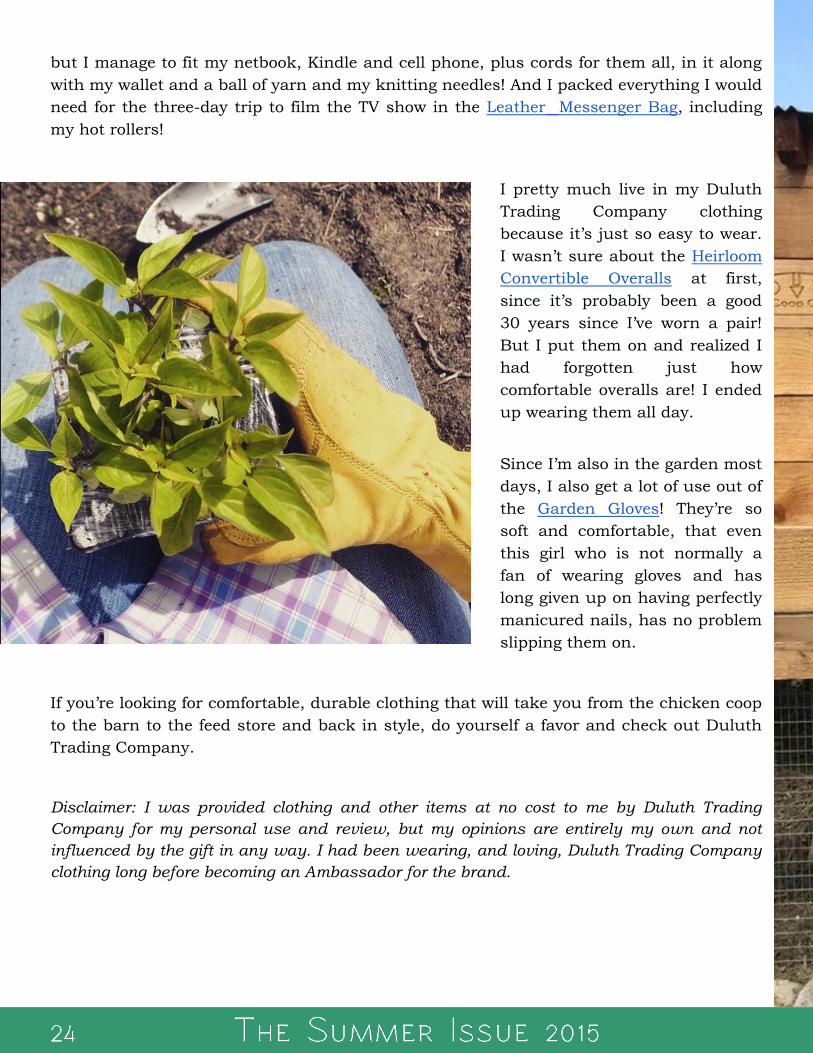
Since I’m also in the garden most
days, I also get a lot of use out of
the Garden Gloves! They’re so
soft and comfortable, that even
this girl who is not normally a
fan of wearing gloves and has
long given up on having perfectly
manicured nails, has no problem
slipping them on.
If you’re looking for comfortable, durable clothing that will take you from the chicken coop
to the barn to the feed store and back in style, do yourself a favor and check out Duluth
Trading Company.
Disclaimer: I was provided clothing and other items at no cost to me by Duluth Trading
Company for my personal use and review, but my opinions are entirely my own and not
influenced by the gift in any way. I had been wearing, and loving, Duluth Trading Company
clothing long before becoming an Ambassador for the brand.
Planning for an Extended
Strawberry Season
A Living Wreath Project
For the Love of Heirloom
Tomatoes
Creating a Hummingbird
Garden
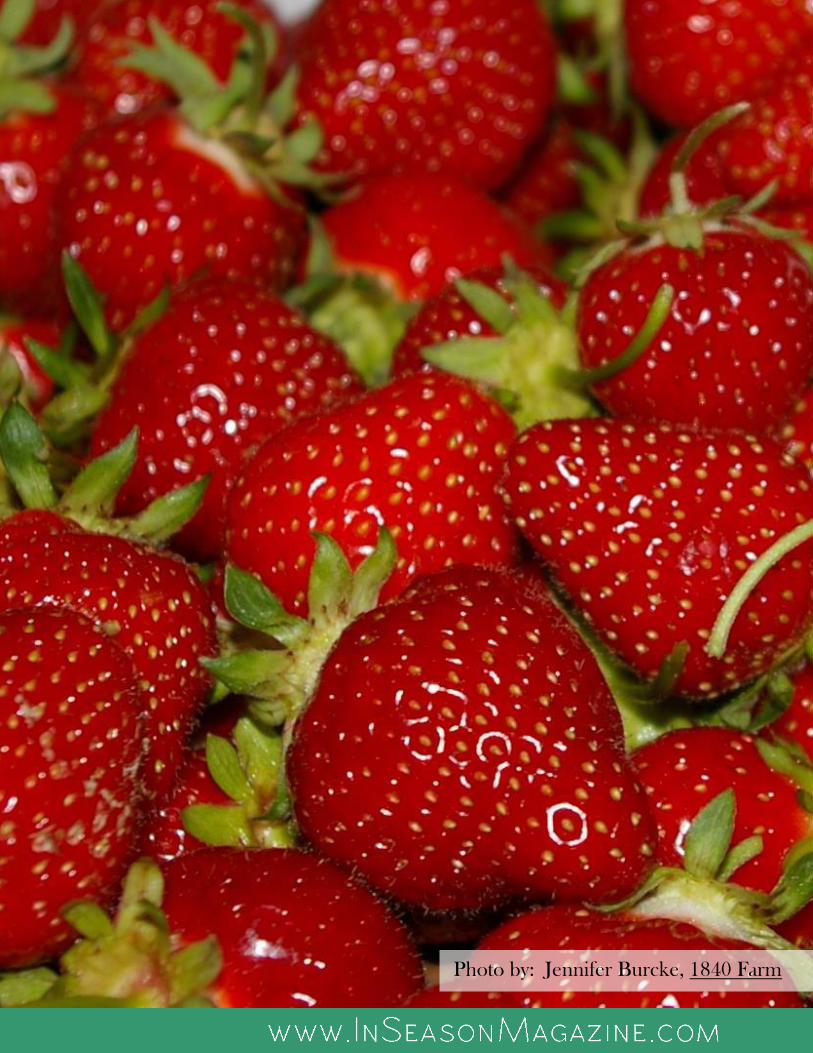
PLANNING FOR AN EXTENDED
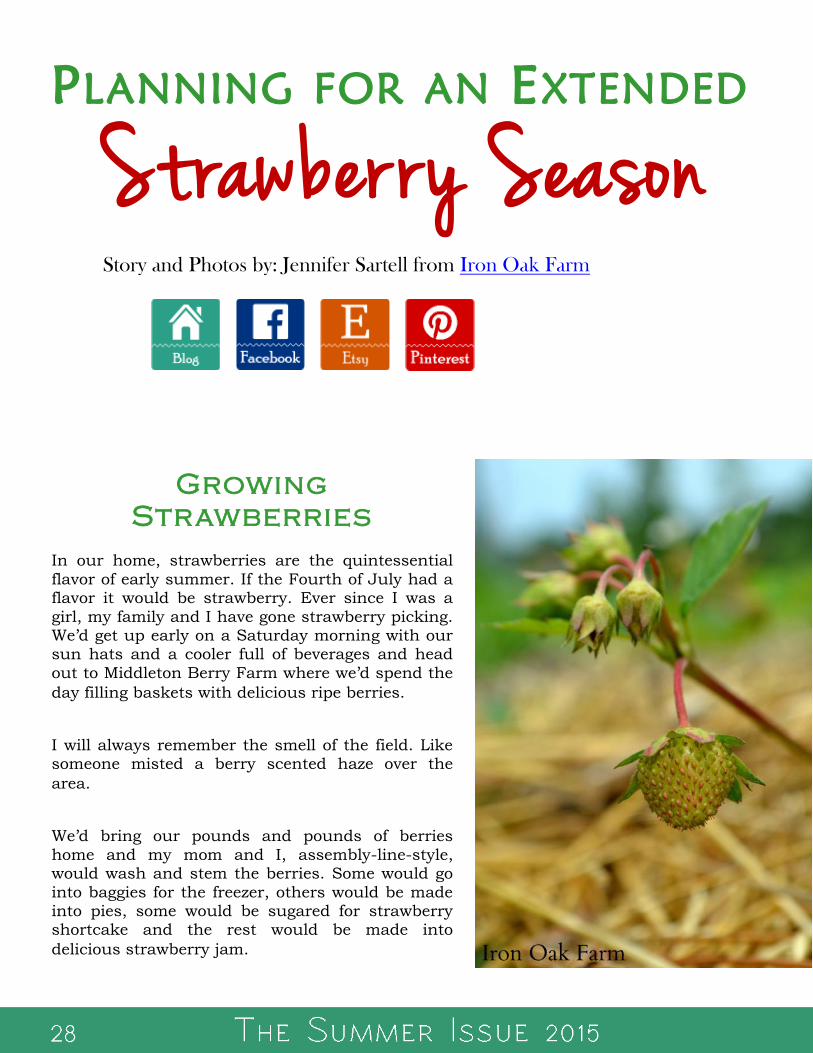
In our home, strawberries are the quintessential
flavor of early summer. If the Fourth of July had a flavor it would be strawberry. Ever since I was a
girl, my family and I have gone strawberry picking. We’d get up early on a Saturday morning with our sun hats and a cooler full of beverages and head
out to Middleton Berry Farm where we’d spend the
day filling baskets with delicious ripe berries.
I will always remember the smell of the field. Like someone misted a berry scented haze over the
area.
We’d bring our pounds and pounds of berries
home and my mom and I, assembly-line-style, would wash and stem the berries. Some would go
into baggies for the freezer, others would be made into pies, some would be sugared for strawberry shortcake and the rest would be made into
delicious strawberry jam.
Growing
Strawberries
Story and Photos by: Jennifer Sartell from Iron Oak Farm
Strawber r y Season
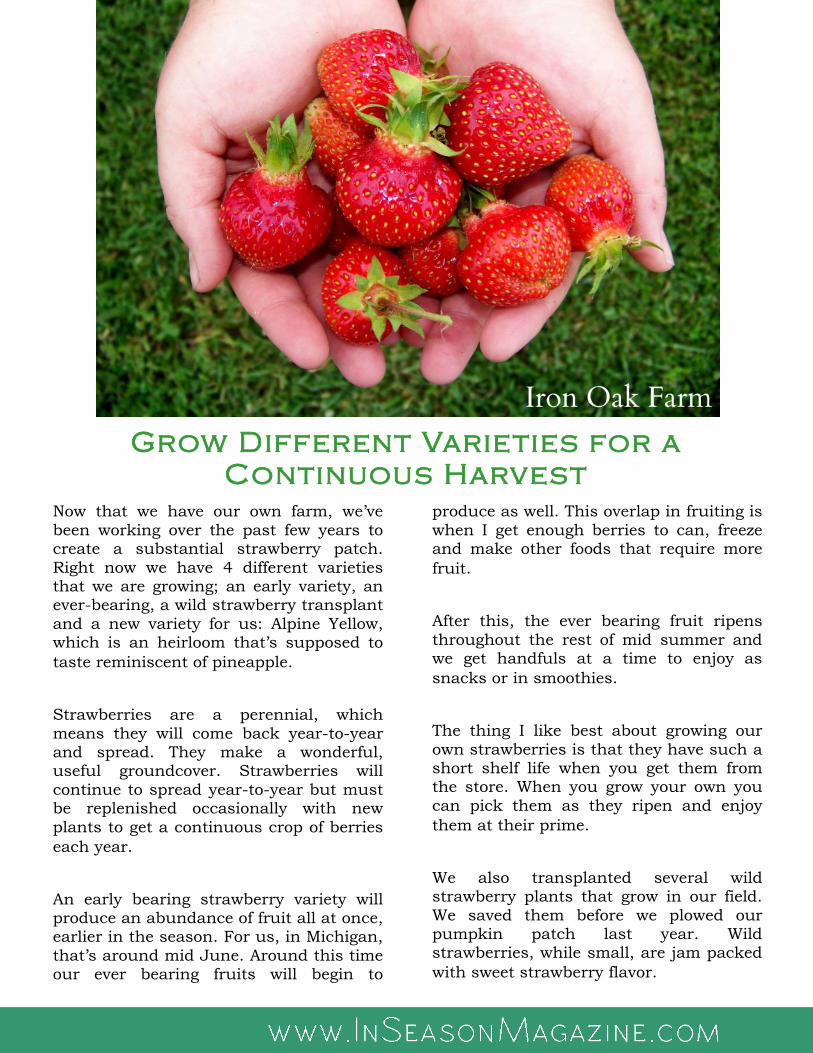
Grow Different Varieties for a
Continuous Harvest
Now that we have our own farm, we’ve
been working over the past few years to create a substantial strawberry patch.
Right now we have 4 different varieties that we are growing; an early variety, an ever-bearing, a wild strawberry transplant
and a new variety for us: Alpine Yellow, which is an heirloom that’s supposed to
taste reminiscent of pineapple.
Strawberries are a perennial, which
means they will come back year-to-year and spread. They make a wonderful, useful groundcover. Strawberries will
continue to spread year-to-year but must be replenished occasionally with new
plants to get a continuous crop of berries
each year.
An early bearing strawberry variety will produce an abundance of fruit all at once, earlier in the season. For us, in Michigan,
that’s around mid June. Around this time our ever bearing fruits will begin to
produce as well. This overlap in fruiting is
when I get enough berries to can, freeze and make other foods that require more
fruit.
After this, the ever bearing fruit ripens
throughout the rest of mid summer and we get handfuls at a time to enjoy as
snacks or in smoothies.
The thing I like best about growing our
own strawberries is that they have such a short shelf life when you get them from the store. When you grow your own you
can pick them as they ripen and enjoy
them at their prime.
We also transplanted several wild strawberry plants that grow in our field.
We saved them before we plowed our pumpkin patch last year. Wild strawberries, while small, are jam packed
with sweet strawberry flavor.
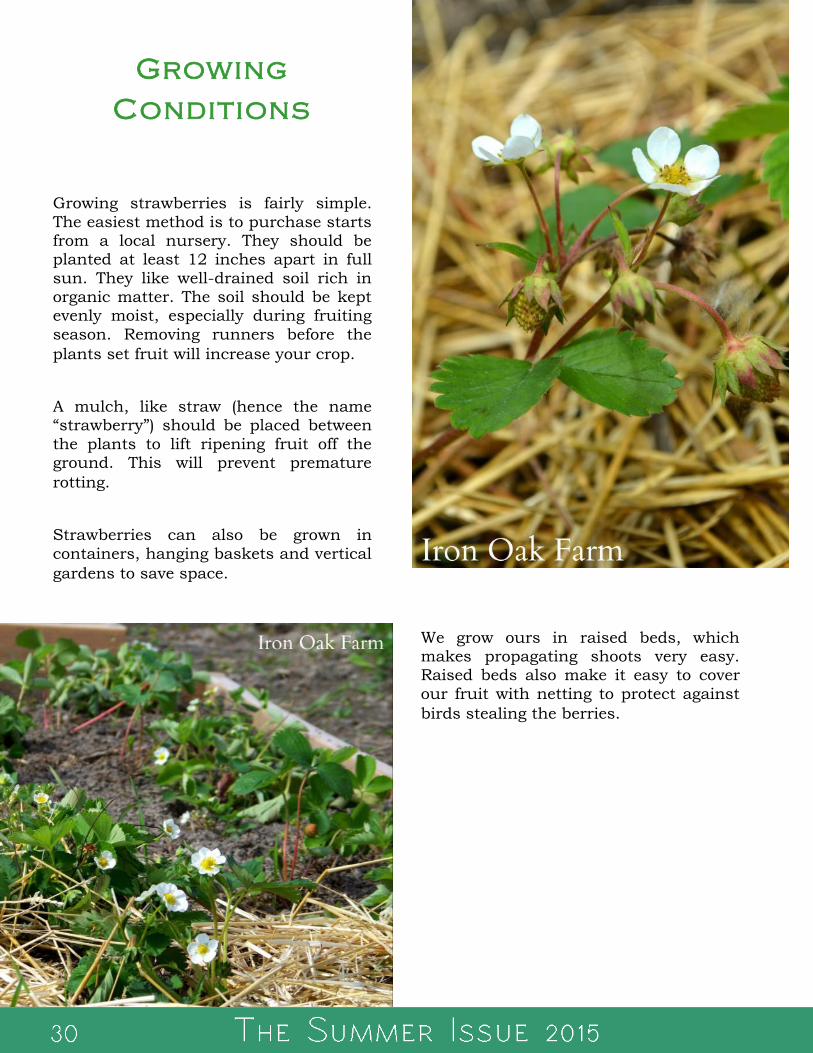
Growing
Conditions
Growing strawberries is fairly simple.
The easiest method is to purchase starts from a local nursery. They should be planted at least 12 inches apart in full
sun. They like well-drained soil rich in organic matter. The soil should be kept evenly moist, especially during fruiting
season. Removing runners before the
plants set fruit will increase your crop.
A mulch, like straw (hence the name “strawberry”) should be placed between
the plants to lift ripening fruit off the ground. This will prevent premature
rotting.
Strawberries can also be grown in
containers, hanging baskets and vertical
gardens to save space.
We grow ours in raised beds, which makes propagating shoots very easy. Raised beds also make it easy to cover
our fruit with netting to protect against
birds stealing the berries.
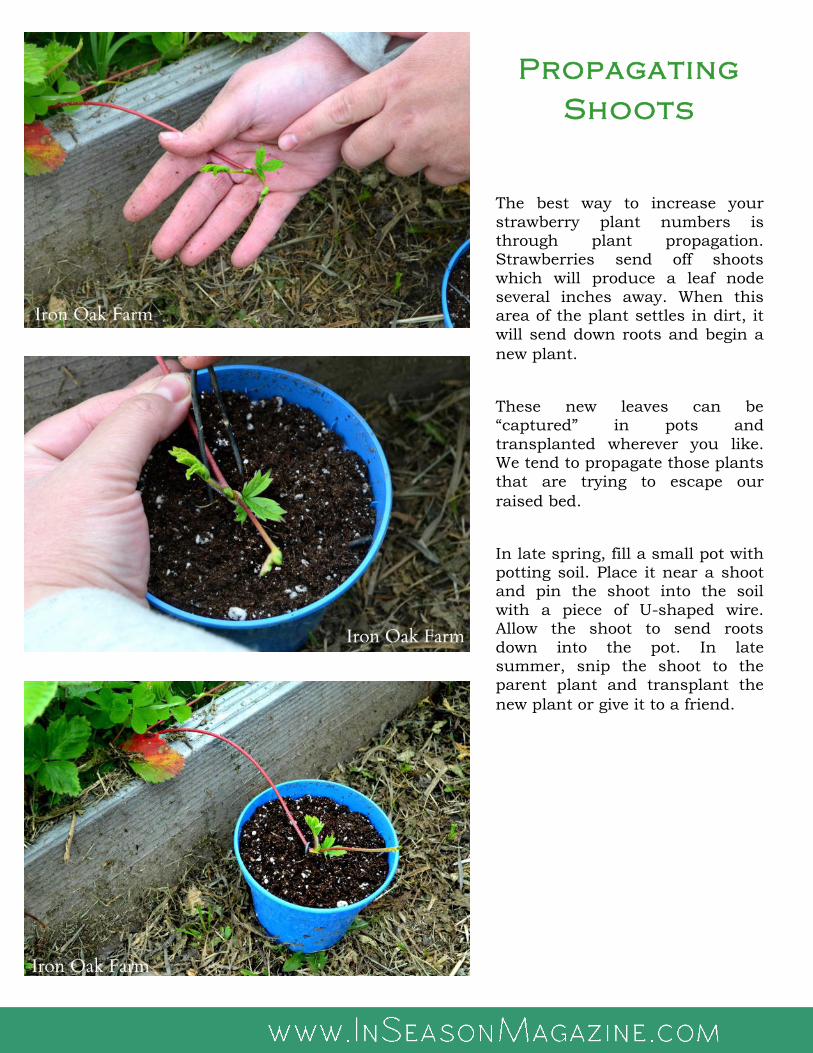
Propagating
Shoots
The best way to increase your
strawberry plant numbers is through plant propagation. Strawberries send off shoots
which will produce a leaf node several inches away. When this area of the plant settles in dirt, it
will send down roots and begin a
new plant.
These new leaves can be “captured” in pots and
transplanted wherever you like. We tend to propagate those plants
that are trying to escape our
raised bed.
In late spring, fill a small pot with potting soil. Place it near a shoot and pin the shoot into the soil
with a piece of U-shaped wire. Allow the shoot to send roots
down into the pot. In late summer, snip the shoot to the parent plant and transplant the
new plant or give it to a friend.
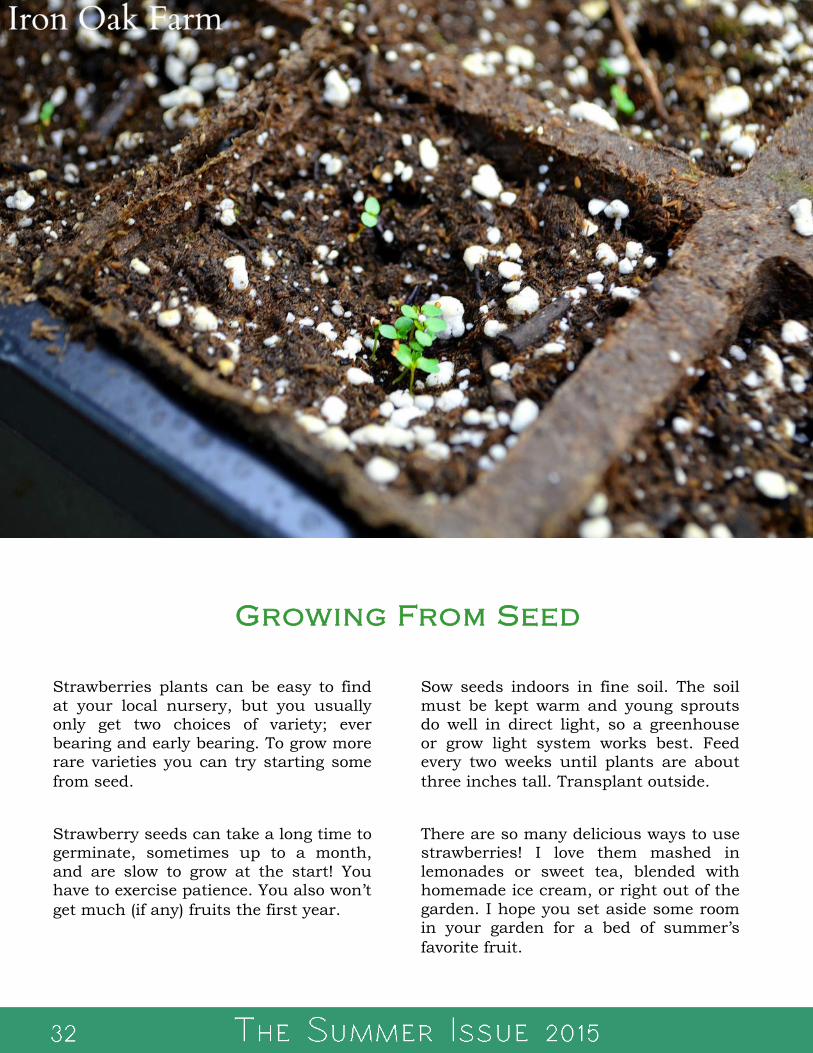
Strawberries plants can be easy to find
at your local nursery, but you usually only get two choices of variety; ever
bearing and early bearing. To grow more rare varieties you can try starting some
from seed.
Strawberry seeds can take a long time to germinate, sometimes up to a month,
and are slow to grow at the start! You have to exercise patience. You also won’t
get much (if any) fruits the first year.
Sow seeds indoors in fine soil. The soil
must be kept warm and young sprouts do well in direct light, so a greenhouse
or grow light system works best. Feed every two weeks until plants are about
three inches tall. Transplant outside.
There are so many delicious ways to use strawberries! I love them mashed in
lemonades or sweet tea, blended with homemade ice cream, or right out of the
garden. I hope you set aside some room in your garden for a bed of summer’s
favorite fruit.
Growing From Seed
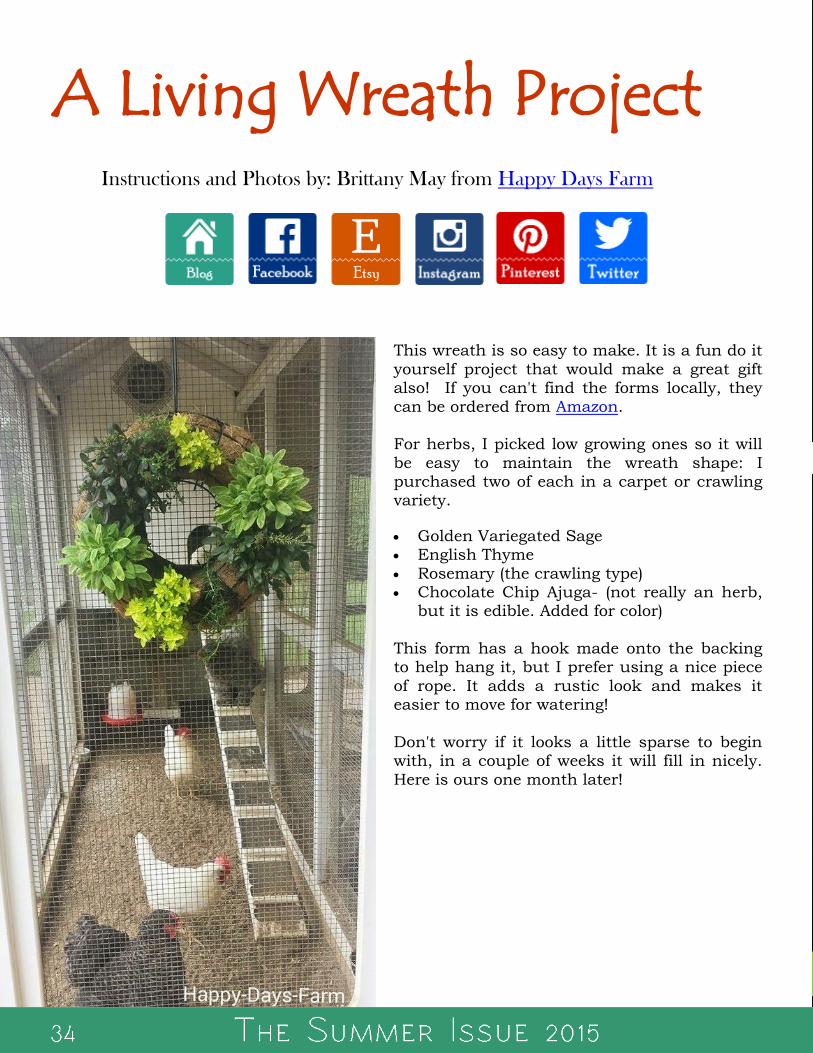
This wreath is so easy to make. It is a fun do it
yourself project that would make a great gift also! If you can't find the forms locally, they
can be ordered from Amazon. For herbs, I picked low growing ones so it will
be easy to maintain the wreath shape: I purchased two of each in a carpet or crawling variety.
Golden Variegated Sage English Thyme
Rosemary (the crawling type) Chocolate Chip Ajuga- (not really an herb,
but it is edible. Added for color)
This form has a hook made onto the backing to help hang it, but I prefer using a nice piece
of rope. It adds a rustic look and makes it easier to move for watering!
Don't worry if it looks a little sparse to begin with, in a couple of weeks it will fill in nicely.
Here is ours one month later!
A Living Wreath Project Instructions and Photos by: Brittany May from Happy Days Farm
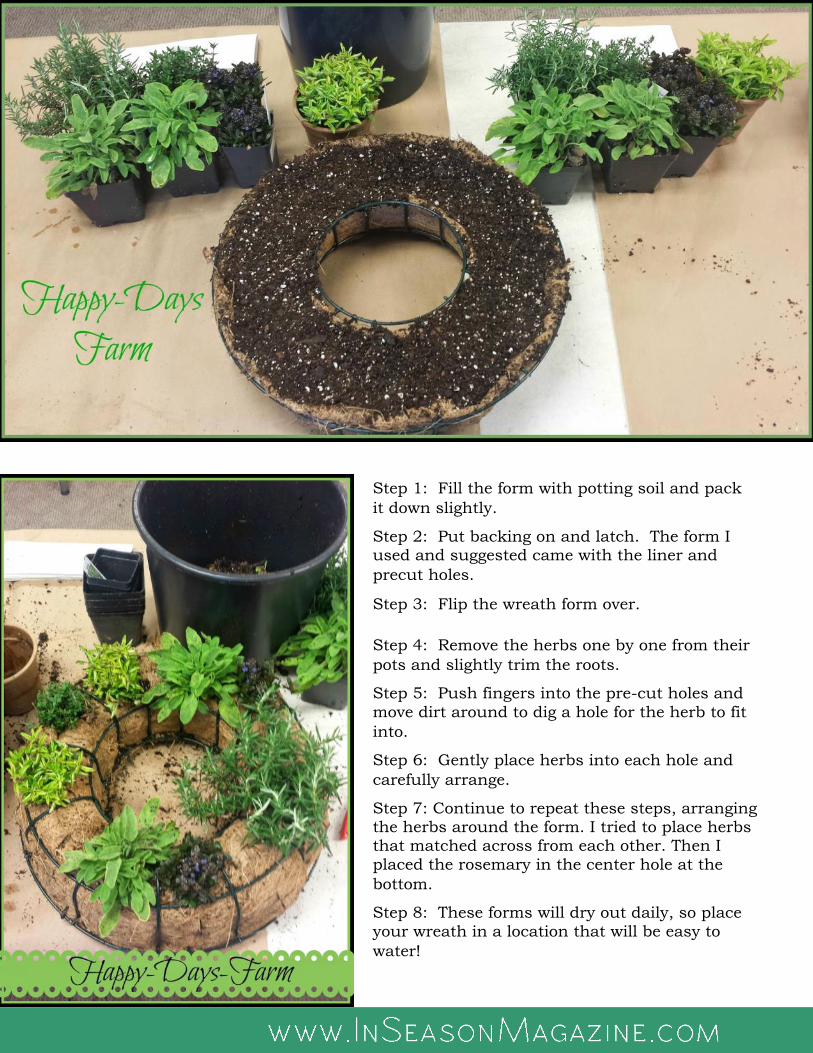
Step 1: Fill the form with potting soil and pack
it down slightly.
Step 2: Put backing on and latch. The form I used and suggested came with the liner and
precut holes.
Step 3: Flip the wreath form over.
Step 4: Remove the herbs one by one from their
pots and slightly trim the roots.
Step 5: Push fingers into the pre-cut holes and
move dirt around to dig a hole for the herb to fit
into.
Step 6: Gently place herbs into each hole and
carefully arrange.
Step 7: Continue to repeat these steps, arranging the herbs around the form. I tried to place herbs that matched across from each other. Then I
placed the rosemary in the center hole at the
bottom.
Step 8: These forms will dry out daily, so place
your wreath in a location that will be easy to
water!

For the Love of
Story and Photos by: Jennifer Burcke from 1840 Farm
I can trace my love of gardening back to a single plant. It was a Julia Child heirloom
tomato. When I read about the process of her selecting a plant to bear her name, I felt the
need to buy a packet of seeds and embark on the journey to plant heirlooms in our new
garden here at 1840 Farm.
I didn’t really know what I was getting myself into. It was our first summer living on the
farm. We had two small children, a circa 1840 farmhouse that we were trying to bring
back from its abandoned state, and a small square of soil next to the barn that seemed
like as good a spot as any for a garden. It would have made a lot more sense for me to
just pick up a few tomato plants from the local nursery, but I wanted the heirlooms that
were accompanied by
interesting stories and
origins. Heirloom
seeds were nowhere to
be found, so I went to
the Internet.
I ordered six packets of
heirloom tomato seeds
online that year. We
waited anxiously for
them to arrive. When
they appeared in our
mailbox, we began the
process of starting our
seeds inside the
farmhouse and then
tending to the
Heir l o om Tomat oes
seedlings that developed. It took months before they were strong enough to plant in the
warm garden soil.
I learned so much that year. I learned to heed the number of days for each variety to
reach maturity. Here in New England, our growing season is painfully short. I have
learned to choose varieties that don’t require more time to produce than our geography
allows. While I can slightly extend our season by using our unheated hoop house, I have
accepted that I just can’t win that battle with Mother Nature. I learned that supplemental
lighting above our seedlings was the key to consistently raising strong, healthy seedlings
with vigorous root systems.
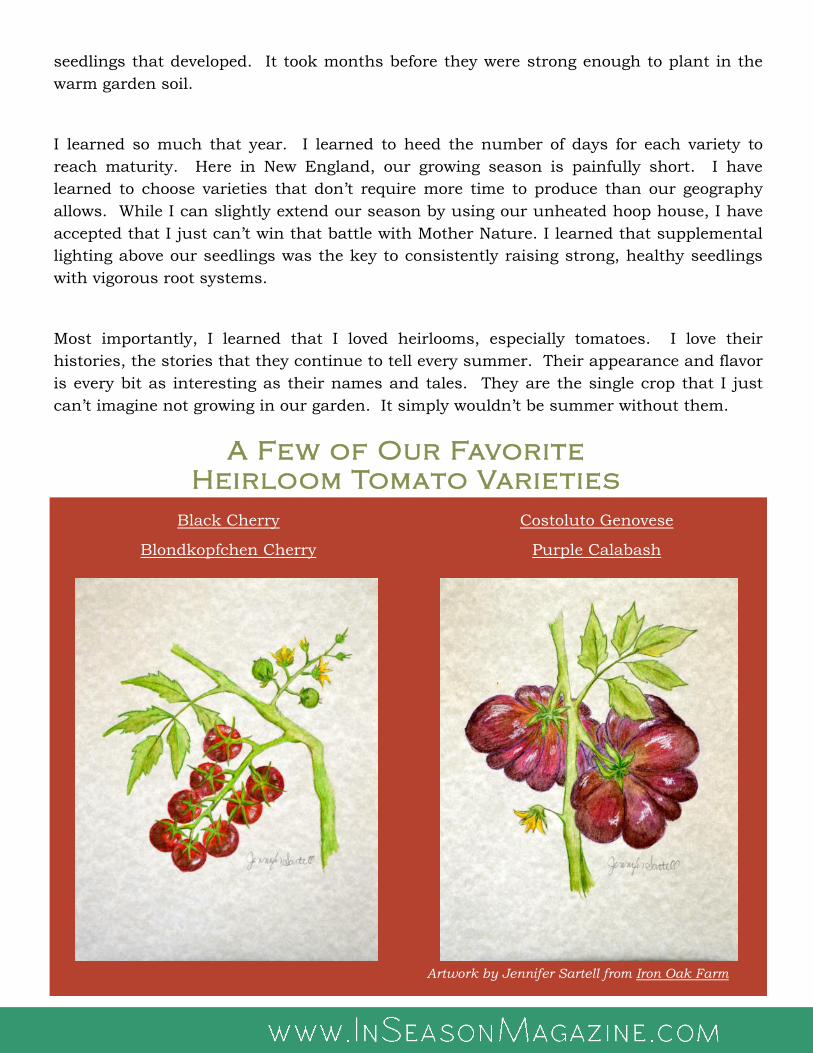
Most importantly, I learned that I loved heirlooms, especially tomatoes. I love their
histories, the stories that they continue to tell every summer. Their appearance and flavor
is every bit as interesting as their names and tales. They are the single crop that I just
can’t imagine not growing in our garden. It simply wouldn’t be summer without them.
Black Cherry
Blondkopfchen Cherry
Costoluto Genovese
Purple Calabash
Artwork by Jennifer Sartell from Iron Oak Farm
A Few of Our Favorite
Heirloom Tomato Varieties

Hummingbirds eat nectar, tree sap, and small bugs. Aphids, gnats, mosquito, and spiders
are all on their menu. Make sure you do not use any type of pesticides in your garden. Not only do these pesticides remove a valuable food source for your hummingbirds, but it also
could kill them if ingested. Once you have a team of hummingbirds in your garden, you will not need the pesticides anyway. They will remove the bugs for you!
Hummingbirds can flap their wings at an impressive 80 times per second. They have an
extremely high metabolism, and require lots of food daily, so the more you provide, the
more likely they are to remain in your yard and claim it as their territory. Plant lots of
beautiful colorful flowers in your yard and garden this year and the hummingbirds will be
sure to follow.
Creating a
Hummingbird Garden Instructions and Photos by: Brittany May from Happy Days Farm
There are a few things to consider as you begin to decide where to set up a hummingbird
garden.
Make sure you plant your garden in an area that you can see and enjoy! Make sure that the garden will have sun and shade. Hummingbirds have amazing sight, and are attracted to bright colors,
especially red. So, adding a red hummingbird feeder, as well as brightly colored flowering plants, will help draw them.
Offer more than one hummingbird feeder because they are territorial.
Add a small bird bath so that they have access to fresh water.
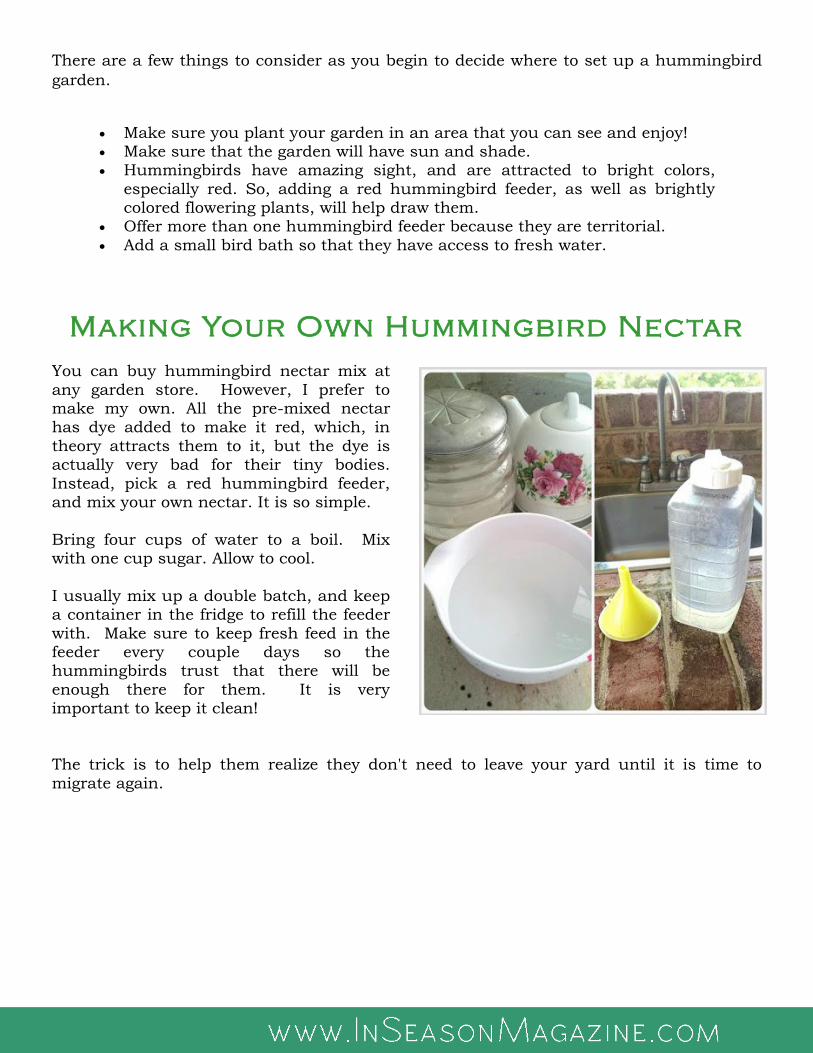
Making Your Own Hummingbird Nectar
You can buy hummingbird nectar mix at
any garden store. However, I prefer to make my own. All the pre-mixed nectar has dye added to make it red, which, in
theory attracts them to it, but the dye is actually very bad for their tiny bodies.
Instead, pick a red hummingbird feeder, and mix your own nectar. It is so simple.
Bring four cups of water to a boil. Mix with one cup sugar. Allow to cool.
I usually mix up a double batch, and keep a container in the fridge to refill the feeder
with. Make sure to keep fresh feed in the feeder every couple days so the hummingbirds trust that there will be
enough there for them. It is very important to keep it clean!
The trick is to help them realize they don't need to leave your yard until it is time to
migrate again.

&
Strawberry Jam with Natural
Pectin
Maple Peach Barbeque Sauce
Simple Syrup
Making Great Iced Coffee at Home
Blackberry & Blueberry Spiked
Lemonade
Rustic Heirloom Tomato
Bruschetta with Basil
Magical Ice Cream Topping
&
Strawberry Jam
with Natural Pectin Story and Photos by: Jennifer Burcke from 1840 Farm
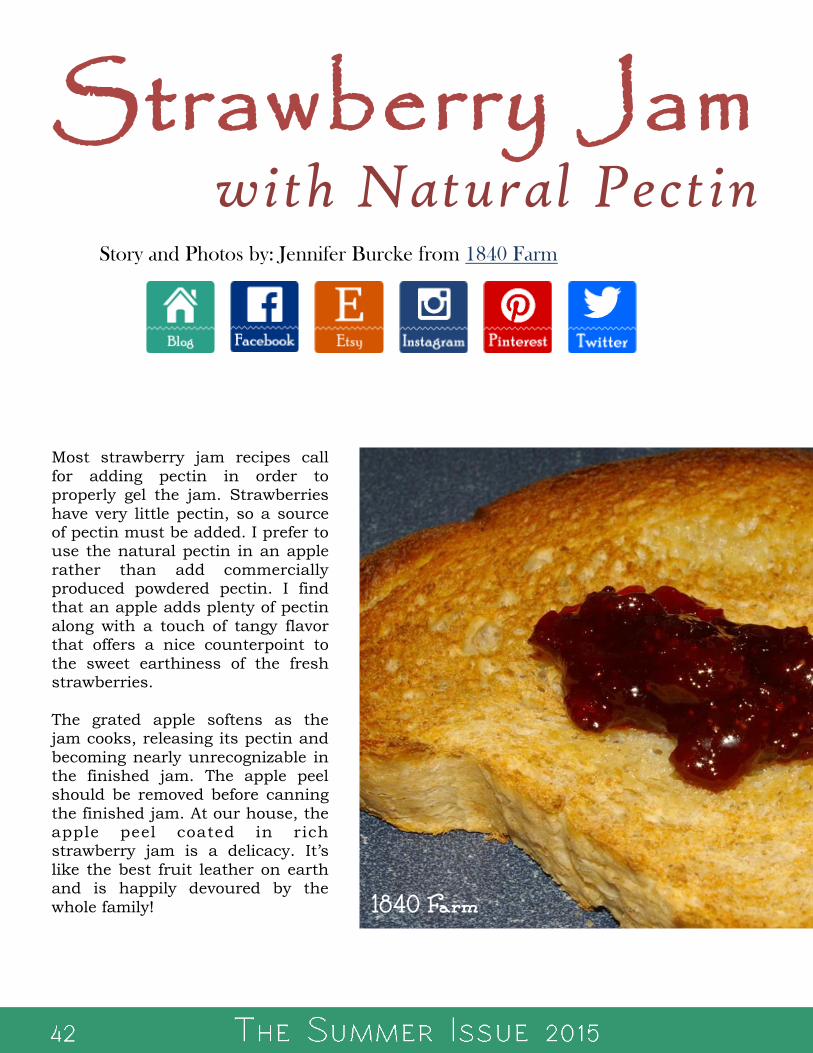
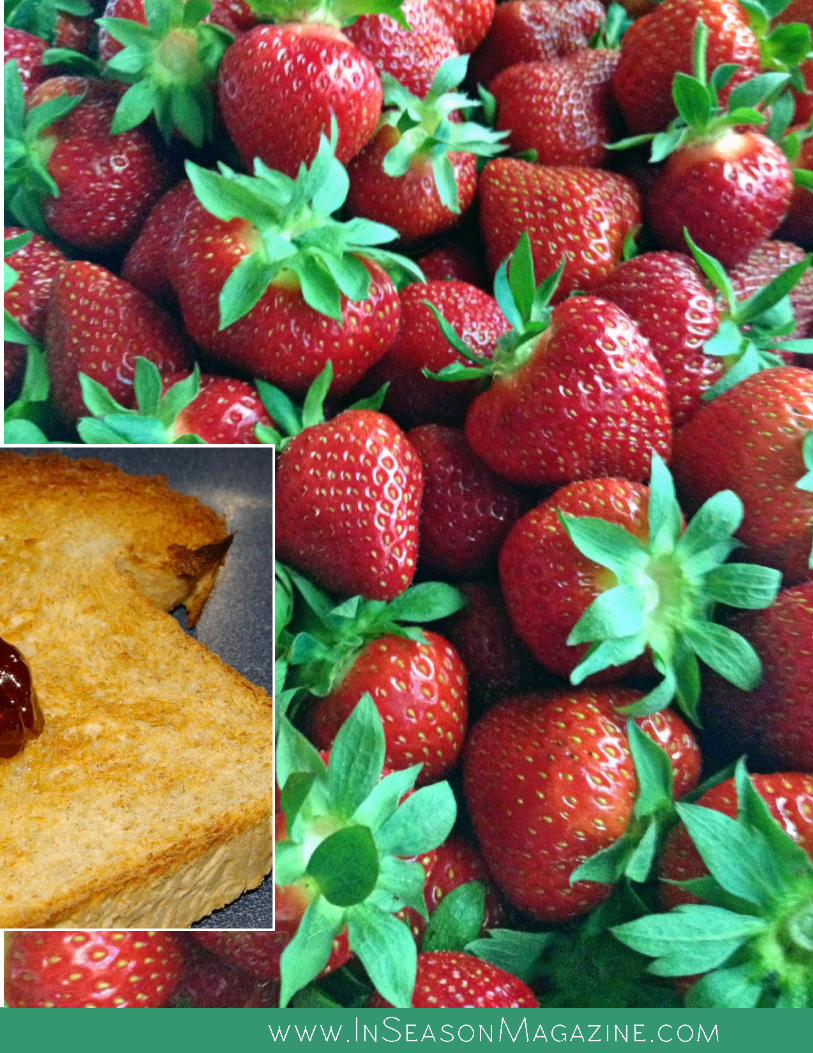
Most strawberry jam recipes call
for adding pectin in order to properly gel the jam. Strawberries
have very little pectin, so a source of pectin must be added. I prefer to use the natural pectin in an apple
rather than add commercially produced powdered pectin. I find that an apple adds plenty of pectin
along with a touch of tangy flavor that offers a nice counterpoint to
the sweet earthiness of the fresh strawberries.
The grated apple softens as the jam cooks, releasing its pectin and
becoming nearly unrecognizable in the finished jam. The apple peel should be removed before canning
the finished jam. At our house, the apple peel coated in rich strawberry jam is a delicacy. It’s
like the best fruit leather on earth and is happily devoured by the
whole family! 1840 Farm
Most strawberry jam recipes call
for adding pectin in order to properly gel the jam. Strawberries
have very little pectin, so a source of pectin must be added. I prefer to use the natural pectin in an apple
rather than add commercially produced powdered pectin. I find that an apple adds plenty of pectin
along with a touch of tangy flavor that offers a nice counterpoint to
the sweet earthiness of the fresh strawberries.
The grated apple softens as the jam cooks, releasing its pectin and
becoming nearly unrecognizable in the finished jam. The apple peel should be removed before canning
the finished jam. At our house, the apple peel coated in rich strawberry jam is a delicacy. It’s
like the best fruit leather on earth and is happily devoured by the
whole family!
Place several plates or large spoons in the
freezer for use in gel test. If you are planning to can the jam, ready your
canning pot, jars, lids, rings, and canning equipment. I like to use 4 or 8 ounce canning jars when processing this jam.
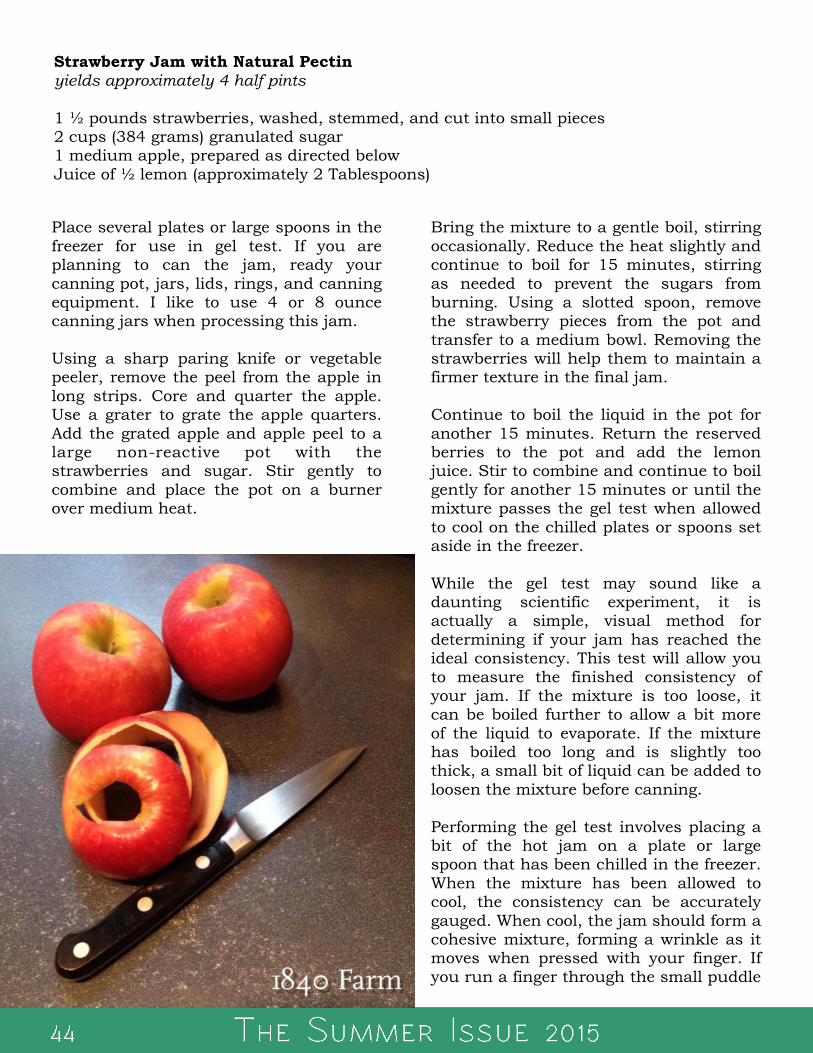
Using a sharp paring knife or vegetable peeler, remove the peel from the apple in
long strips. Core and quarter the apple. Use a grater to grate the apple quarters.
Add the grated apple and apple peel to a large non-reactive pot with the strawberries and sugar. Stir gently to
combine and place the pot on a burner over medium heat.
Bring the mixture to a gentle boil, stirring
occasionally. Reduce the heat slightly and continue to boil for 15 minutes, stirring
as needed to prevent the sugars from burning. Using a slotted spoon, remove the strawberry pieces from the pot and
transfer to a medium bowl. Removing the strawberries will help them to maintain a firmer texture in the final jam.
Continue to boil the liquid in the pot for
another 15 minutes. Return the reserved berries to the pot and add the lemon juice. Stir to combine and continue to boil
gently for another 15 minutes or until the mixture passes the gel test when allowed
to cool on the chilled plates or spoons set aside in the freezer.
While the gel test may sound like a daunting scientific experiment, it is actually a simple, visual method for
determining if your jam has reached the ideal consistency. This test will allow you
to measure the finished consistency of your jam. If the mixture is too loose, it can be boiled further to allow a bit more
of the liquid to evaporate. If the mixture has boiled too long and is slightly too thick, a small bit of liquid can be added to
loosen the mixture before canning.
Performing the gel test involves placing a bit of the hot jam on a plate or large spoon that has been chilled in the freezer.
When the mixture has been allowed to cool, the consistency can be accurately
gauged. When cool, the jam should form a cohesive mixture, forming a wrinkle as it moves when pressed with your finger. If
you run a finger through the small puddle
Strawberry Jam with Natural Pectin
yields approximately 4 half pints
1 ½ pounds strawberries, washed, stemmed, and cut into small pieces 2 cups (384 grams) granulated sugar 1 medium apple, prepared as directed below
Juice of ½ lemon (approximately 2 Tablespoons)
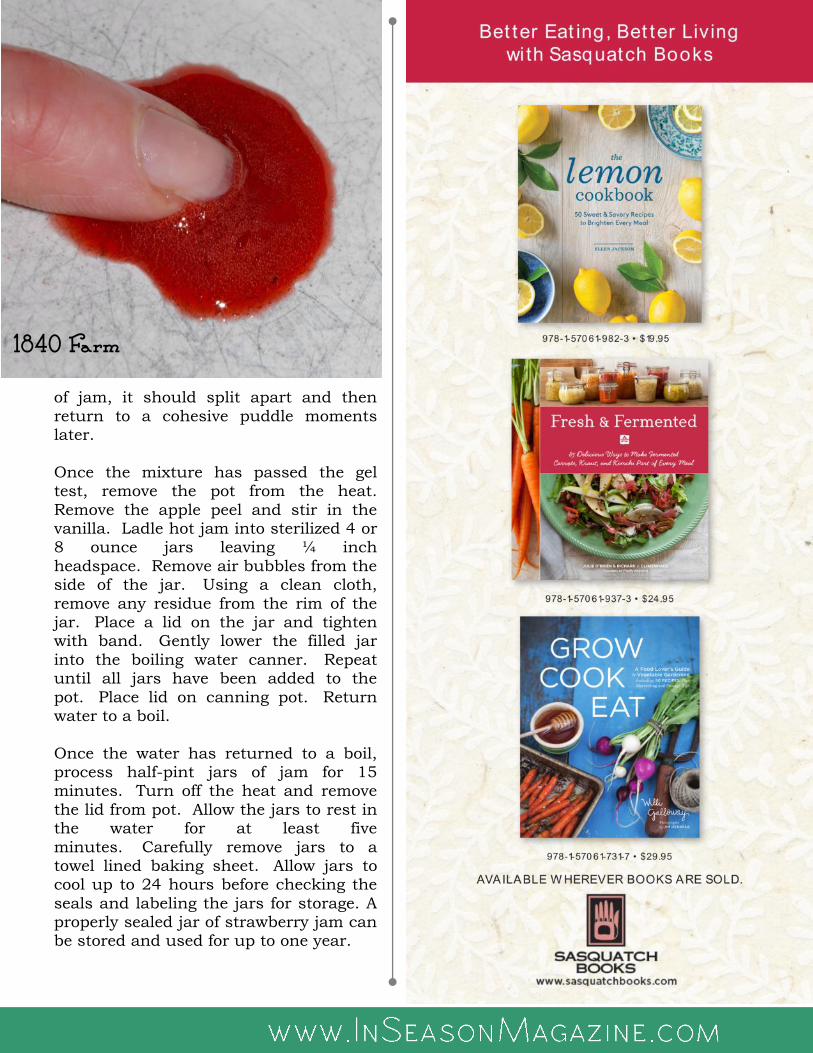
of jam, it should split apart and then
return to a cohesive puddle moments later.
Once the mixture has passed the gel test, remove the pot from the heat.
Remove the apple peel and stir in the vanilla. Ladle hot jam into sterilized 4 or 8 ounce jars leaving ¼ inch
headspace. Remove air bubbles from the side of the jar. Using a clean cloth,
remove any residue from the rim of the jar. Place a lid on the jar and tighten with band. Gently lower the filled jar
into the boiling water canner. Repeat until all jars have been added to the
pot. Place lid on canning pot. Return water to a boil.
Once the water has returned to a boil, process half-pint jars of jam for 15 minutes. Turn off the heat and remove
the lid from pot. Allow the jars to rest in the water for at least five
minutes. Carefully remove jars to a towel lined baking sheet. Allow jars to cool up to 24 hours before checking the
seals and labeling the jars for storage. A properly sealed jar of strawberry jam can be stored and used for up to one year.
1840 Farm
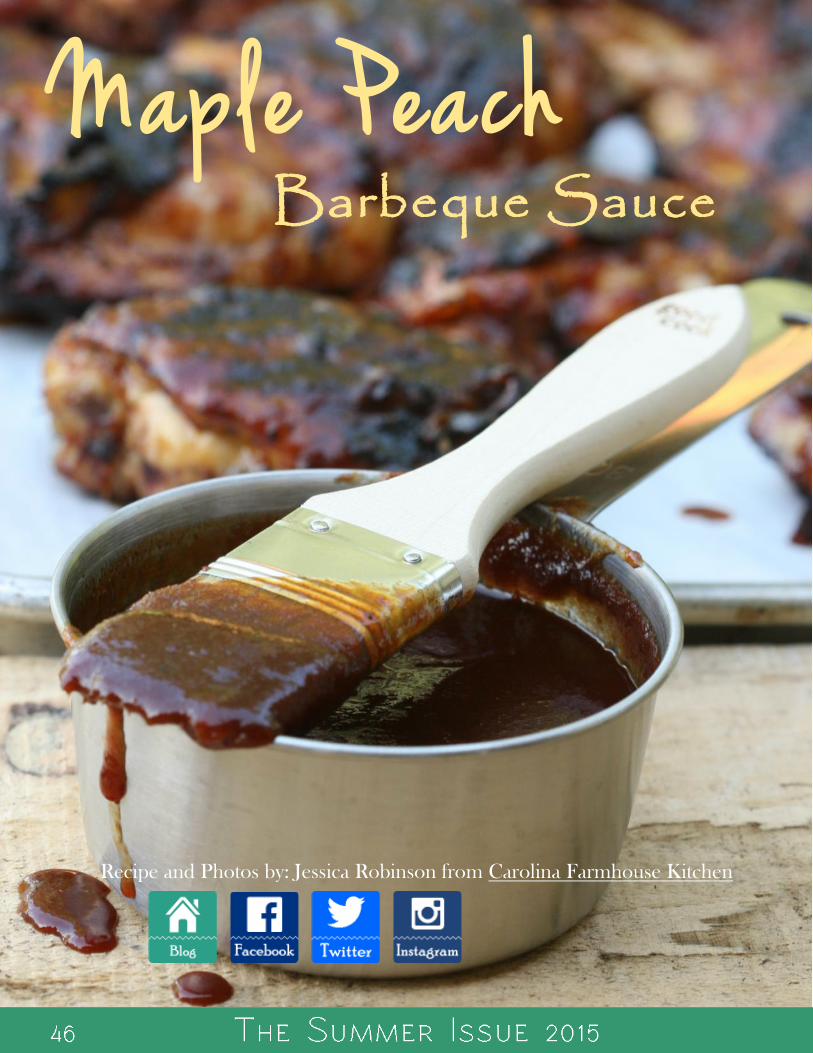
Maple Peach
Recipe and Photos by: Jessica Robinson from Carolina Farmhouse Kitchen
Barbeque Sauce
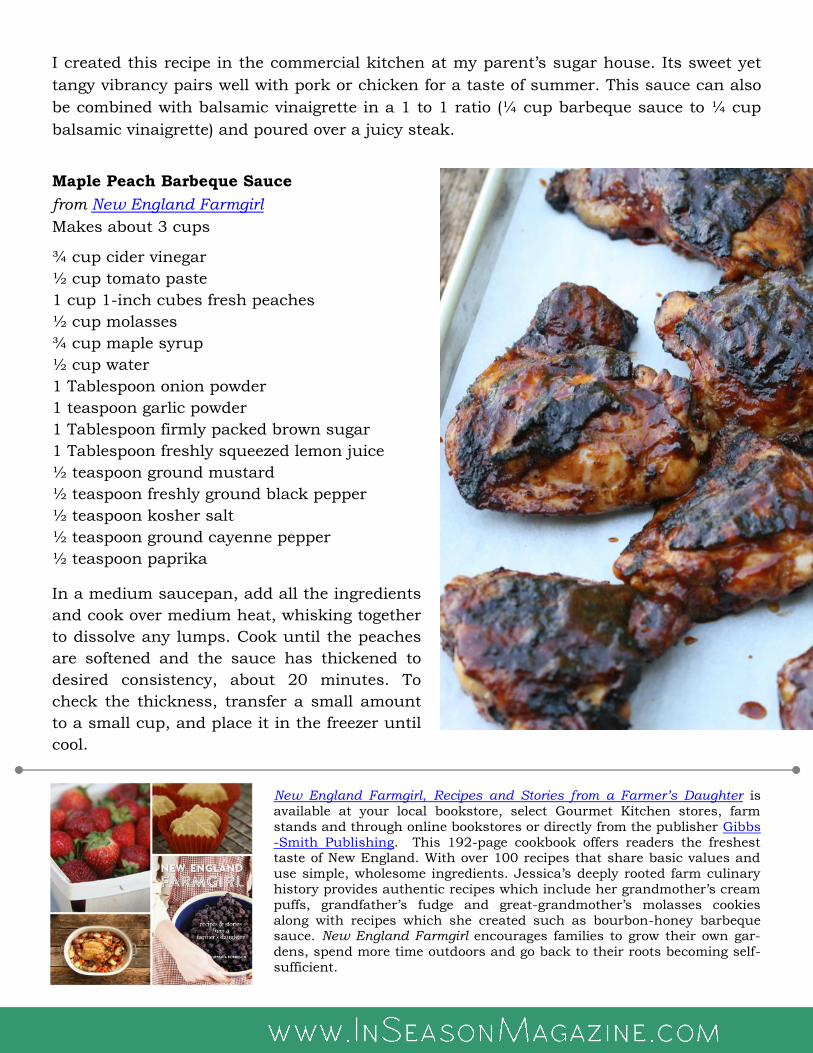
I created this recipe in the commercial kitchen at my parent’s sugar house. Its sweet yet
tangy vibrancy pairs well with pork or chicken for a taste of summer. This sauce can also
be combined with balsamic vinaigrette in a 1 to 1 ratio (¼ cup barbeque sauce to ¼ cup
balsamic vinaigrette) and poured over a juicy steak.
Maple Peach Barbeque Sauce
from New England Farmgirl
Makes about 3 cups
¾ cup cider vinegar
½ cup tomato paste
1 cup 1-inch cubes fresh peaches
½ cup molasses
¾ cup maple syrup
½ cup water
1 Tablespoon onion powder
1 teaspoon garlic powder
1 Tablespoon firmly packed brown sugar
1 Tablespoon freshly squeezed lemon juice
½ teaspoon ground mustard
½ teaspoon freshly ground black pepper
½ teaspoon kosher salt
½ teaspoon ground cayenne pepper
½ teaspoon paprika
In a medium saucepan, add all the ingredients
and cook over medium heat, whisking together
to dissolve any lumps. Cook until the peaches
are softened and the sauce has thickened to
desired consistency, about 20 minutes. To
check the thickness, transfer a small amount
to a small cup, and place it in the freezer until
cool.
New England Farmgirl, Recipes and Stories from a Farmer’s Daughter is
available at your local bookstore, select Gourmet Kitchen stores, farm
stands and through online bookstores or directly from the publisher Gibbs
-Smith Publishing. This 192-page cookbook offers readers the freshest taste of New England. With over 100 recipes that share basic values and
use simple, wholesome ingredients. Jessica’s deeply rooted farm culinary
history provides authentic recipes which include her grandmother’s cream
puffs, grandfather’s fudge and great-grandmother’s molasses cookies
along with recipes which she created such as bourbon-honey barbeque sauce. New England Farmgirl encourages families to grow their own gar-
dens, spend more time outdoors and go back to their roots becoming self-
sufficient.

Simple Syrup Story and Photos by: Jennifer Burcke from 1840 Farm
This recipe is a staple in our kitchen all year long. I
always have it on hand in the refrigerator, waiting to be called into action. With a small amount, I can add
sweetness to summer berries or cold drinks. Simple syrup is also my favorite way to sweeten cold
drinks and cocktails. Using simple syrup is the perfect way to sweeten and enhance iced coffee and iced tea in the summer without ending up with a pile of
undissolved sugar in the bottom of your glass.
Making simple syrup couldn’t be any easier. Equal parts of sugar and water are warmed enough to fully dissolve the sugar. You can halve or double this recipe
based on your needs. You can also flavor your syrup with a bit of vanilla extract, a vanilla bean pod, or fresh
summer berries. Simply add them to the pot with the sugar and water and strain out the solids before storing your syrup in the refrigerator. The possibilities are
delicious and nearly endless!
Simple Syrup
1 cup granulated sugar 1 cup water
Add the sugar and water in a small pot and stir to combine. Place the pot over low heat and bring to a temperature just below a simmer, stirring occasionally. Continue cooking
over low heat until the sugar has completely dissolved, approximately 5 minutes. Remove the pot from the heat and allow the syrup to cool to room temperature.
The syrup can be stored in the refrigerator for up to one month. I like to store mine in a clean, repurposed bottle with a pourer spout in the refrigerator.

Do you have an idea, photo, or story
to contribute to our next issue?
We’re always looking for great recipes, photos, and articles to share in our magazine. We hope that you’ll tell us exactly what you’d like to read. We
can’t wait to hear what you’d like to see in our next issue!

Making Great Iced Coffee at Home
Story and Photos by: Jennifer Burcke from 1840 Farm
During the heat of the summer, I try to avoid doing anything that is sure to raise the
temperature in our farmhouse. I do make one exception: the coffee maker. I can live with a cold salad for dinner. I can do laundry at midnight when the temperature has fallen a
few degrees. I cannot, under any circumstances, live without coffee. True, the coffee maker doesn’t generate too
much heat. On a hot and humid summer day, I’m not in any rush to drink something hot. Luckily, I mastered the art of making
iced coffee at home several years ago.
Making a great iced coffee is easy. You don’t need special equipment and the technique is simple. If you take your coffee black, then
you only need to chill the hot coffee and serve over ice. If, like me, you prefer your
coffee regular with cream and sugar, then you might need a little trial and error to perfect the amount of sweetener and milk
that is just to your liking. Trust me; it’s not a bad way to spend a very hot day.
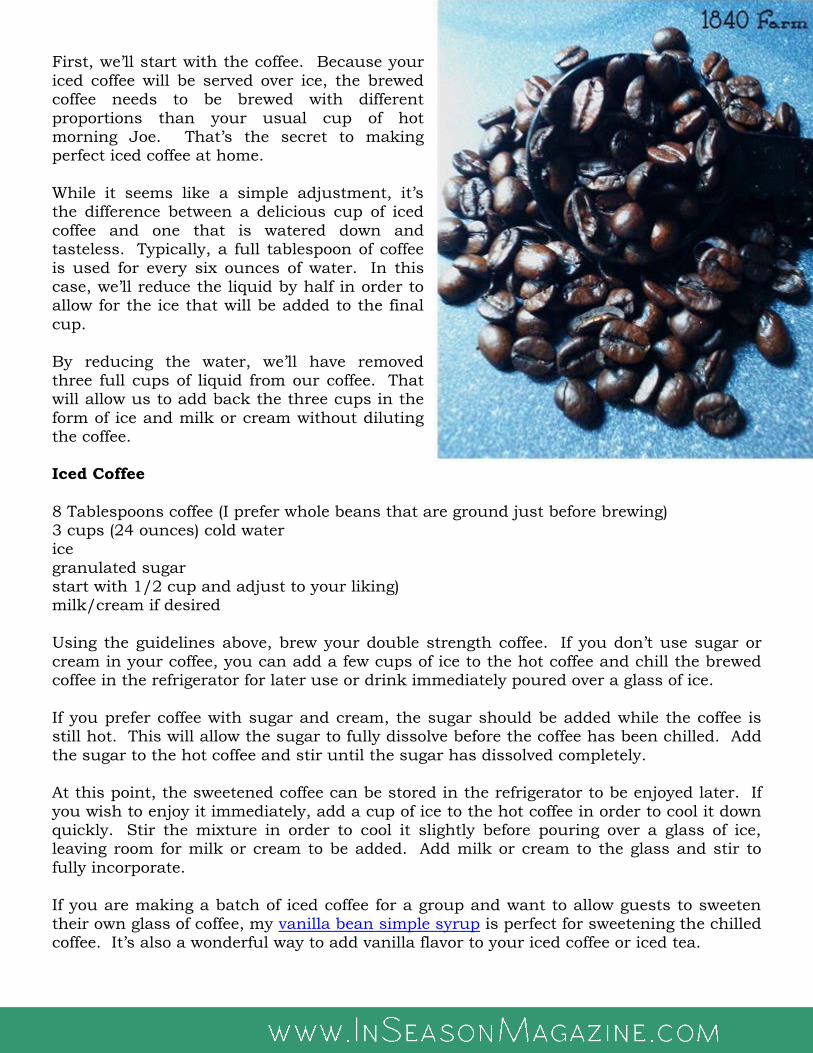
First, we’ll start with the coffee. Because your
iced coffee will be served over ice, the brewed coffee needs to be brewed with different
proportions than your usual cup of hot morning Joe. That’s the secret to making perfect iced coffee at home.
While it seems like a simple adjustment, it’s the difference between a delicious cup of iced
coffee and one that is watered down and tasteless. Typically, a full tablespoon of coffee
is used for every six ounces of water. In this case, we’ll reduce the liquid by half in order to allow for the ice that will be added to the final
cup.
By reducing the water, we’ll have removed three full cups of liquid from our coffee. That will allow us to add back the three cups in the
form of ice and milk or cream without diluting the coffee. Iced Coffee
8 Tablespoons coffee (I prefer whole beans that are ground just before brewing) 3 cups (24 ounces) cold water ice
granulated sugar start with 1/2 cup and adjust to your liking) milk/cream if desired
Using the guidelines above, brew your double strength coffee. If you don’t use sugar or
cream in your coffee, you can add a few cups of ice to the hot coffee and chill the brewed coffee in the refrigerator for later use or drink immediately poured over a glass of ice.
If you prefer coffee with sugar and cream, the sugar should be added while the coffee is still hot. This will allow the sugar to fully dissolve before the coffee has been chilled. Add
the sugar to the hot coffee and stir until the sugar has dissolved completely. At this point, the sweetened coffee can be stored in the refrigerator to be enjoyed later. If
you wish to enjoy it immediately, add a cup of ice to the hot coffee in order to cool it down quickly. Stir the mixture in order to cool it slightly before pouring over a glass of ice, leaving room for milk or cream to be added. Add milk or cream to the glass and stir to
fully incorporate.
If you are making a batch of iced coffee for a group and want to allow guests to sweeten their own glass of coffee, my vanilla bean simple syrup is perfect for sweetening the chilled coffee. It’s also a wonderful way to add vanilla flavor to your iced coffee or iced tea.

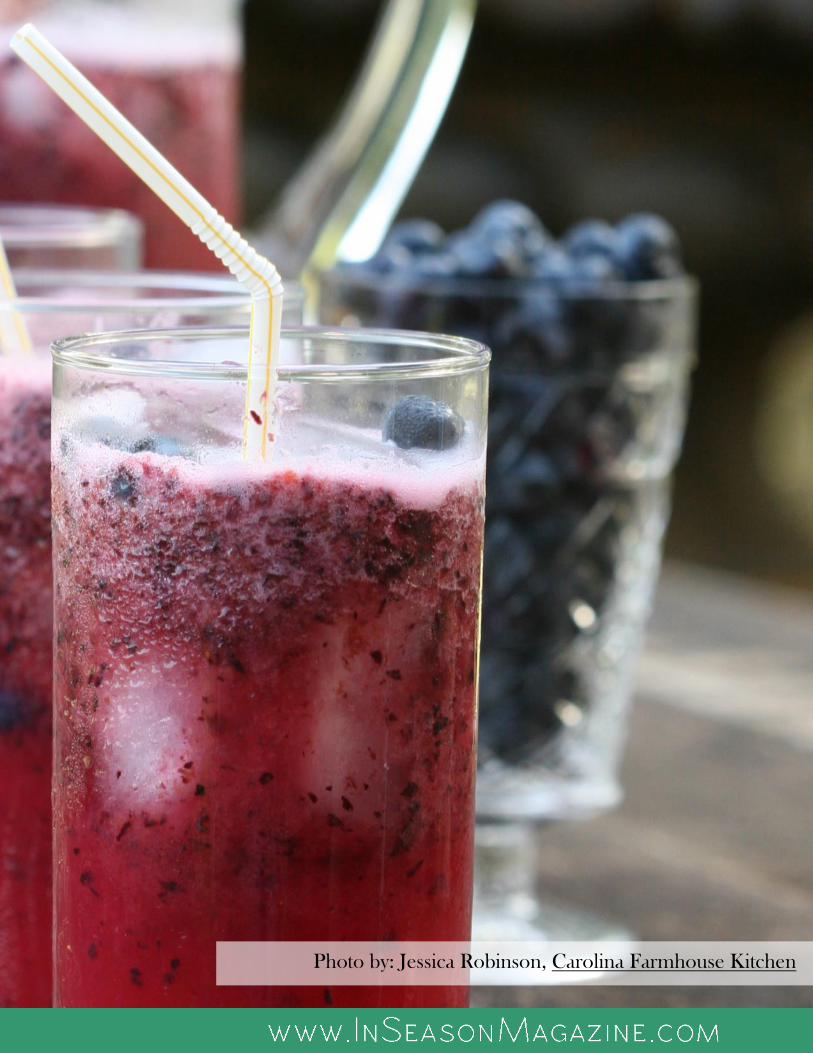
Blackberry & Blueberry Blackberry & Blueberry Blackberry & Blueberry
Spiked LemonadeSpiked LemonadeSpiked Lemonade
Recipe and Photos by: Jessica Robinson from Carolina Farmhouse Kitchen

This refreshing berry lemonade is
inspired by my father’s love of blackberry brandy. What better
way to quench your thirst than with blueberries and a splash of lemon, with the extra bonus of
enjoying each other’s company after a hard day on the farm? Blackberry & Blueberry
Spiked Lemonade
from New England Farmgirl
Serves 12 to 14
2 cups simple syrup 1 cup freshly squeezed lemon
juice 2 cups blueberries, plus more for garnish
1 (9.6-ounce) bottle guava nectar 1 ½ cups blackberry brandy
1 bottle inexpensive white wine (Chardonnay or Sauvignon Blanc), chilled
Lemon slices, for garnish
In a blender, combine the simple syrup, lemon juice, blueberries, and guava nectar until the berries
are pureed. Pour the blueberry mixture, brandy, and wine into a glass or plastic drink dispenser,
adjusting the alcohol as you see fit. Add lemon slices and
blueberries for garnish. Serve cold with plenty of ice.
New England Farmgirl, Recipes and Stories from a Farmer’s Daughter is
available at your local bookstore, select Gourmet Kitchen stores, farm
stands and through online bookstores or directly from the publisher Gibbs
-Smith Publishing. This 192-page cookbook offers readers the freshest taste of New England. With over 100 recipes that share basic values and
use simple, wholesome ingredients. Jessica’s deeply rooted farm culinary
history provides authentic recipes which include her grandmother’s cream
puffs, grandfather’s fudge and great-grandmother’s molasses cookies
along with recipes which she created such as bourbon-honey barbeque sauce. New England Farmgirl encourages families to grow their own gar-
dens, spend more time outdoors and go back to their roots becoming self-
sufficient.

wit h Basi l Rustic Heirloom Tomato
Bruschetta
This recipe is a family favorite during heirloom tomato season. When the day is long and
I’m tired from a full day’s work on the farm, I make this simple, rustic version of bruschetta. I don’t slice the bread and toast it in the oven. Instead, I place the whole loaf
in a 400 degree oven for about 10 minutes to warm it slightly while I prepare the tomatoes. By the time the bread is warm, the topping is ready and we can start enjoying that delicious combination of earthy heirloom tomatoes, bright basil, and a great loaf of
crusty bread.
Recipe and Photos by: Jennifer Burcke from 1840 Farm
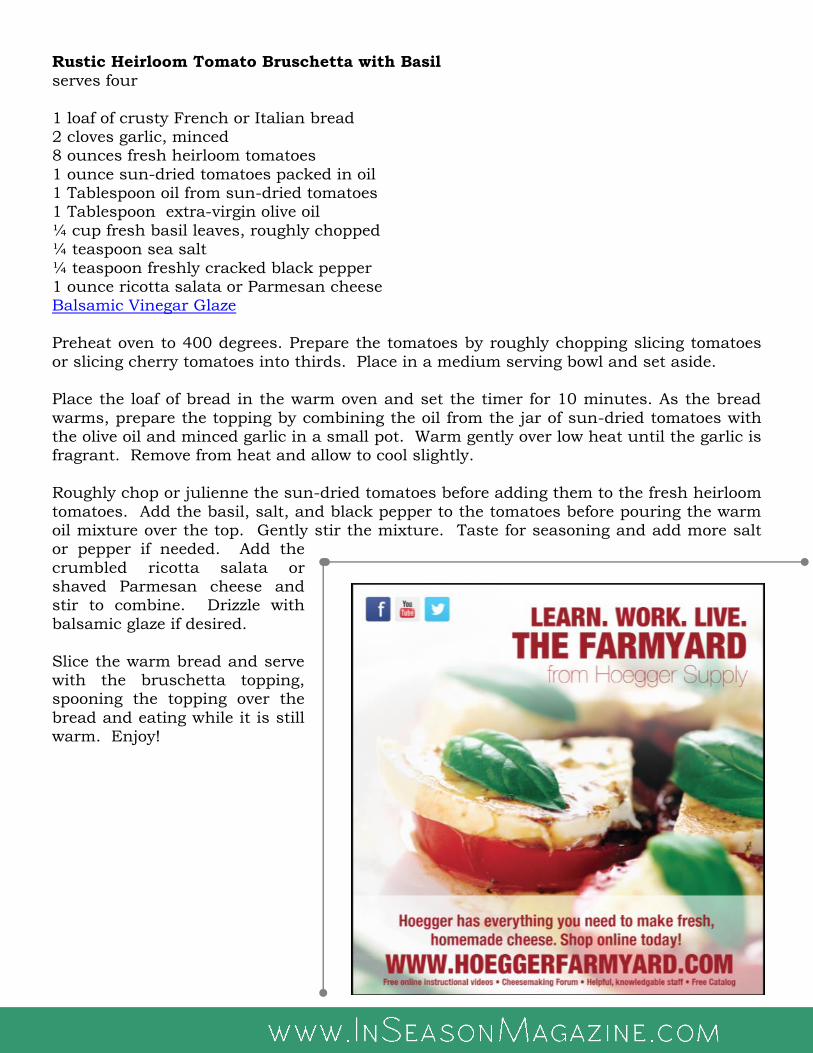
Rustic Heirloom Tomato Bruschetta with Basil
serves four
1 loaf of crusty French or Italian bread 2 cloves garlic, minced 8 ounces fresh heirloom tomatoes
1 ounce sun-dried tomatoes packed in oil 1 Tablespoon oil from sun-dried tomatoes 1 Tablespoon extra-virgin olive oil
¼ cup fresh basil leaves, roughly chopped ¼ teaspoon sea salt
¼ teaspoon freshly cracked black pepper 1 ounce ricotta salata or Parmesan cheese Balsamic Vinegar Glaze
Preheat oven to 400 degrees. Prepare the tomatoes by roughly chopping slicing tomatoes
or slicing cherry tomatoes into thirds. Place in a medium serving bowl and set aside. Place the loaf of bread in the warm oven and set the timer for 10 minutes. As the bread
warms, prepare the topping by combining the oil from the jar of sun-dried tomatoes with the olive oil and minced garlic in a small pot. Warm gently over low heat until the garlic is fragrant. Remove from heat and allow to cool slightly.
Roughly chop or julienne the sun-dried tomatoes before adding them to the fresh heirloom
tomatoes. Add the basil, salt, and black pepper to the tomatoes before pouring the warm oil mixture over the top. Gently stir the mixture. Taste for seasoning and add more salt or pepper if needed. Add the
crumbled ricotta salata or shaved Parmesan cheese and stir to combine. Drizzle with
balsamic glaze if desired.
Slice the warm bread and serve with the bruschetta topping, spooning the topping over the
bread and eating while it is still warm. Enjoy!
Magical Ice Cream Topping
Story and Photos by: Jennifer Burcke from 1840 Farm
There’s something magical about pouring a liquid topping over a scoop of ice cream. It
comes out of the bottle as a shiny liquid, hits the cold surface of the ice cream and transforms into a matte, solid topping right before your eyes. I loved it when I was a
child and my children feel the same way. A few years ago, I happened upon a recipe for a homemade version of this magical
concoction. It only required two ingredients, both of which I happened to have on hand. The process was as simple as warming the ingredients and stirring them until they formed a congruous mixture.
I take great pride in finding new ways to replace store bought items with simple
homemade alternatives. As a family living around multiple food allergies, I am always looking for a new recipe to add to our collection to replace a product that can be difficult for us to purchase at the store and safely enjoy at home. If the process can also be used
as a homeschool science lesson, all the better.
In moments, I had assembled my children and the ingredients to make our own version of the crispy, magical ice cream shell topping. A few minutes later, we gathered around bowls of ice cream for the moment of truth. I spooned a bit of the liquid topping
over the first scoop. We all waited, eager to see if magic would happen. It did, producing a lovely, solid shell over the top of each scoop. We used our spoons to crack open the shell and take the first taste.
The flavor of the topping was extraordinary. The subtle flavor of coconut paired
beautifully with our homemade vanilla extract and the dark chocolate chips we had used. We all agreed that this homemade version was delicious. We couldn’t wait to try it with different chocolates, white chocolate, and other flavored baking chips we had in the
pantry. The possibilities were endless and sure to put smiles on my children’s faces. Now that’s magic!

Magical Ice Cream Topping adapted from Two-Ingredient Magic Shell by Food52 We used chocolate chips in this recipe,
but you could use chopped chocolate with equally delicious results. Both the coconut oil and chocolate are liquid when
heated and solid at room temperature. Should your mixture
become too thick to spoon over ice cream, simply warm it for a few seconds in the microwave and stir before using.
3/4 cup (120 grams) chocolate chips or
chopped chocolate 1/3 cup (80 grams) coconut oil 1/2 teaspoon vanilla extract
Place the chocolate and coconut oil in a microwave safe bowl. Microwave for 30
second increments, stirring each time, until smooth. Add the vanilla extract and
stir to combine. Allow the mixture to cool slightly before pouring over ice cream. Store at room temperature,
warming if necessary to re-liquefy.
1840 Farm
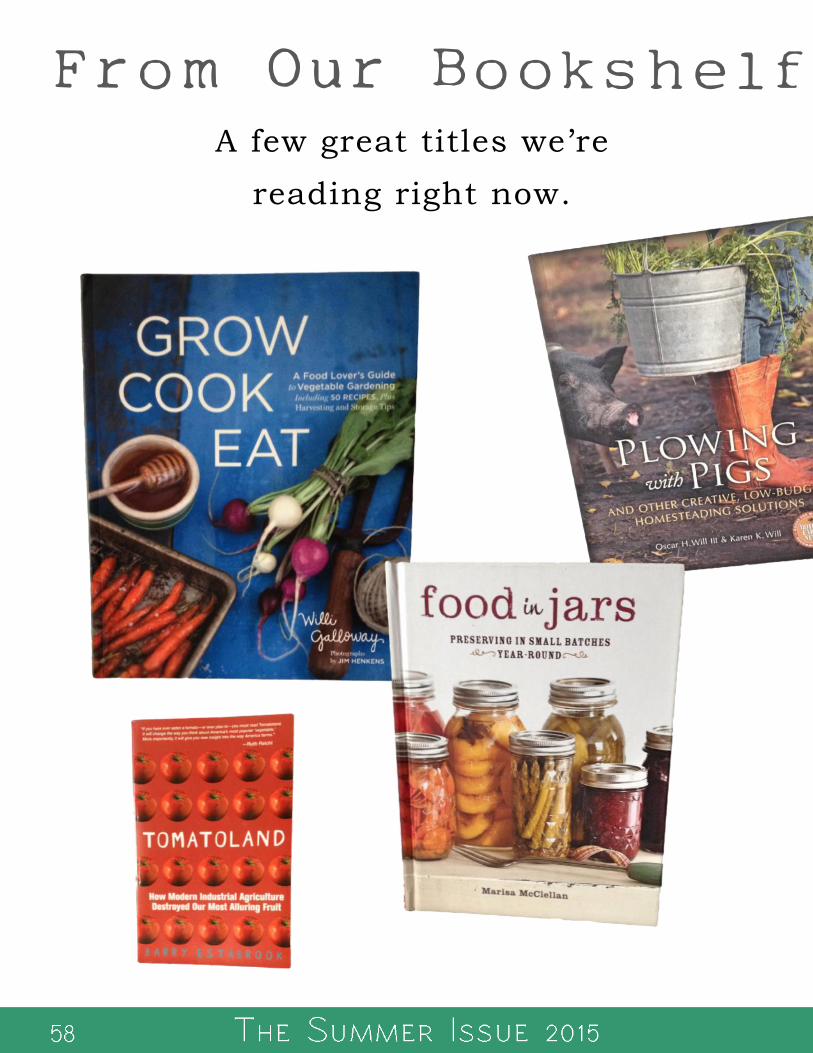
From Our Bookshelf to Yours
A few great titles we’re
reading right now.
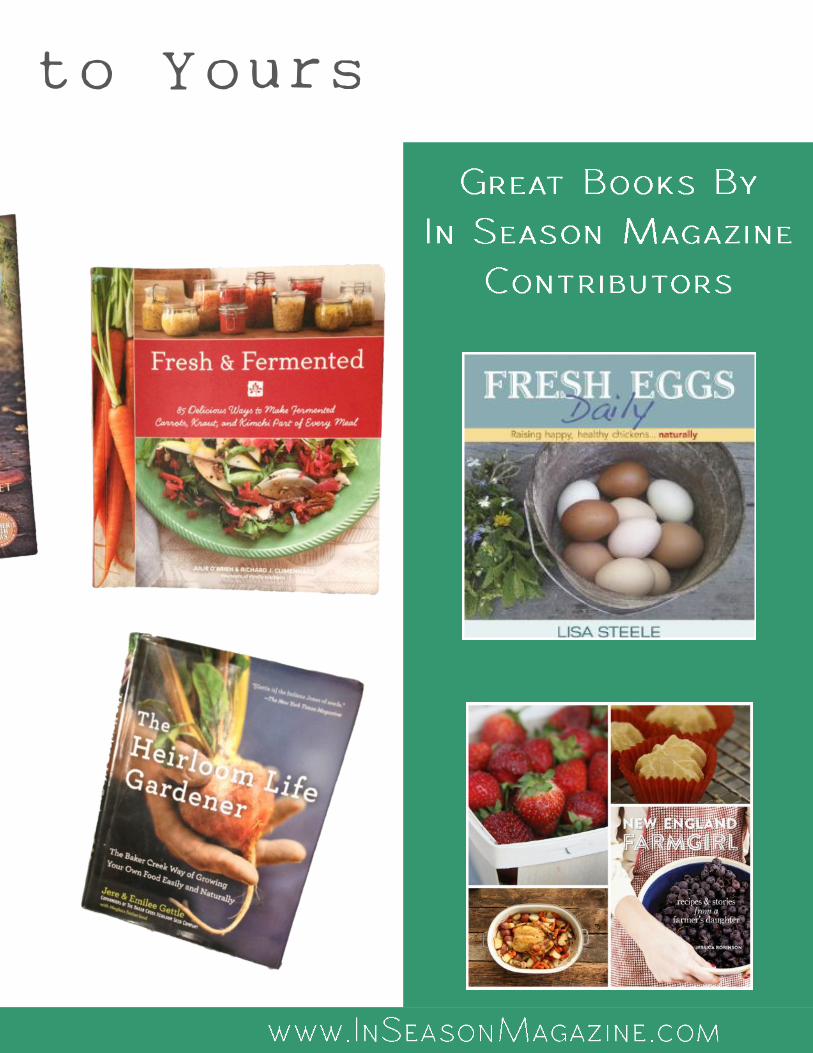
From Our Bookshelf to Yours

In Season Magazine is a quarterly publication that
celebrates the promise of living well and enjoying
the adventure of each distinct season. Subscribe
for FREE and celebrate each season with us!