Embed Size (px)
Citation preview
EMC® Storage Monitoring and ReportingVersion 4.1
Installation and Configuration GuideP/N 302-003-743
REV 01
Copyright © 2017 Dell Inc. or its subsidiaries All rights reserved.
Published July 2017
Dell believes the information in this publication is accurate as of its publication date. The information is subject to change without notice.
THE INFORMATION IN THIS PUBLICATION IS PROVIDED “AS-IS.“ DELL MAKES NO REPRESENTATIONS OR WARRANTIES OF ANY KIND
WITH RESPECT TO THE INFORMATION IN THIS PUBLICATION, AND SPECIFICALLY DISCLAIMS IMPLIED WARRANTIES OF
MERCHANTABILITY OR FITNESS FOR A PARTICULAR PURPOSE. USE, COPYING, AND DISTRIBUTION OF ANY DELL SOFTWARE DESCRIBED
IN THIS PUBLICATION REQUIRES AN APPLICABLE SOFTWARE LICENSE.
Dell, EMC, and other trademarks are trademarks of Dell Inc. or its subsidiaries. Other trademarks may be the property of their respective owners.
Published in the USA.
EMC CorporationHopkinton, Massachusetts 01748-91031-508-435-1000 In North America 1-866-464-7381www.EMC.com
2 EMC Storage Monitoring and Reporting 4.1 Installation and Configuration Guide
Installing the Virtual Appliance 5Installing the Storage Monitoring and Reporting vApp................................. 6Starting the vApp......................................................................................... 8
Installing Using the Binary Installer 9Installing on Linux........................................................................................10
Configuring the user process limits for a Linux installation............. 10Installing on Windows Server....................................................................... 11
Configuring virus-scanning software.............................................. 12
Uploading License Files 13Uploading license files................................................................................. 14
SolutionPack for EMC Unity/VNX/VNXe 15Overview.....................................................................................................16VNX prerequisites....................................................................................... 16
Preparing your VNX for discovery and data collection....................16Adding and configuring devices in Discovery Center.................................. 20Changing VNX object credentials using Discovery Center...........................21Troubleshooting..........................................................................................22
Resolving collector communication errors..................................... 23Resolving creating stream errors................................................... 24
Limitations..................................................................................................25
SolutionPack for EMC VPLEX 27Overview.................................................................................................... 28Adding and configuring devices in Discovery Center.................................. 28
Troubleshooting performance data collection issues..................... 29Configure VPLEX SNMP............................................................................ 29Limitations..................................................................................................29
Logging into the User Interface 31Logging in to the user interface..................................................................32
Chapter 1
Chapter 2
Chapter 3
Chapter 4
Chapter 5
Chapter 6
CONTENTS
EMC Storage Monitoring and Reporting 4.1 Installation and Configuration Guide 3

CONTENTS
4 EMC Storage Monitoring and Reporting 4.1 Installation and Configuration Guide

CHAPTER 1
Installing the Virtual Appliance
This chapter includes the following topics:
l Installing the Storage Monitoring and Reporting vApp......................................... 6l Starting the vApp.................................................................................................8
Installing the Virtual Appliance 5
Installing the Storage Monitoring and Reporting vAppStorage Monitoring and Reporting is installed as an all-in-one virtual appliance (vApp)with a frontend, backend, and collector on a single VM. You deploy the StorageMonitoring and Reporting vApp from an OVF template using vSphere Client.
Before you begin
l Ensure that DRS is enabled.
l Ensure that the ports listed in the Ports Usage Matrix are enabled and not blockedby the firewall.
l Gather the following information:
n vCenter location where you plan to deploy the appliance
n Datastore that you can use for deployment
n Static IP address to assign to your appliance
n Gateway
n Netmask
n DNS Servers
l vApp installations require VMware vSphere 5.x or 6.x.
l The vApp is based on SuSE Enterprise Linux 11 SP3.
l The MySQL version included with the product is 5.7.17 MySQL Community Server(GPL)
l The following separate software products are pre-installed with ViPR SRM: ViPRSRM 4.0.2 SOFTWARE IMAGE (453-010-807) and SLES 11 SP3 SW GPL3 OPENSOURCE SOFTWARE (453-010-808).
Procedure
1. Navigate to the Support by Product page for Storage Monitoring and Reporting(https://support.emc.com/downloads/40532_EMC-Storage-Monitoring-and-Reporting).
2. Click Downloads.
3. Download the Storage Monitoring and Reporting <version number> vAppDeployment zip file.
The host being connected to the vCenter should be local to the ESX servers forthe quickest deployment. Locate the OVF deployment file on the host runningthe vCenter client or place the files on the DataStore.
4. Open vSphere Client and connect to the vCenter Server that manages yourVMware environment.
5. Select the Resource Pool where you want to deploy the VM for StorageMonitoring and Reporting.
6. Select File > Deploy OVF Template.
7. In the Source step, locate the OVF template file.
8. Click Next.
To save time, deploy the appliance in the same local area network (LAN) thatyour VMware ESX/ESXi servers share. Deployment across a WAN can takemuch longer than a local deployment.
Installing the Virtual Appliance
6 EMC Storage Monitoring and Reporting 4.1 Installation and Configuration Guide
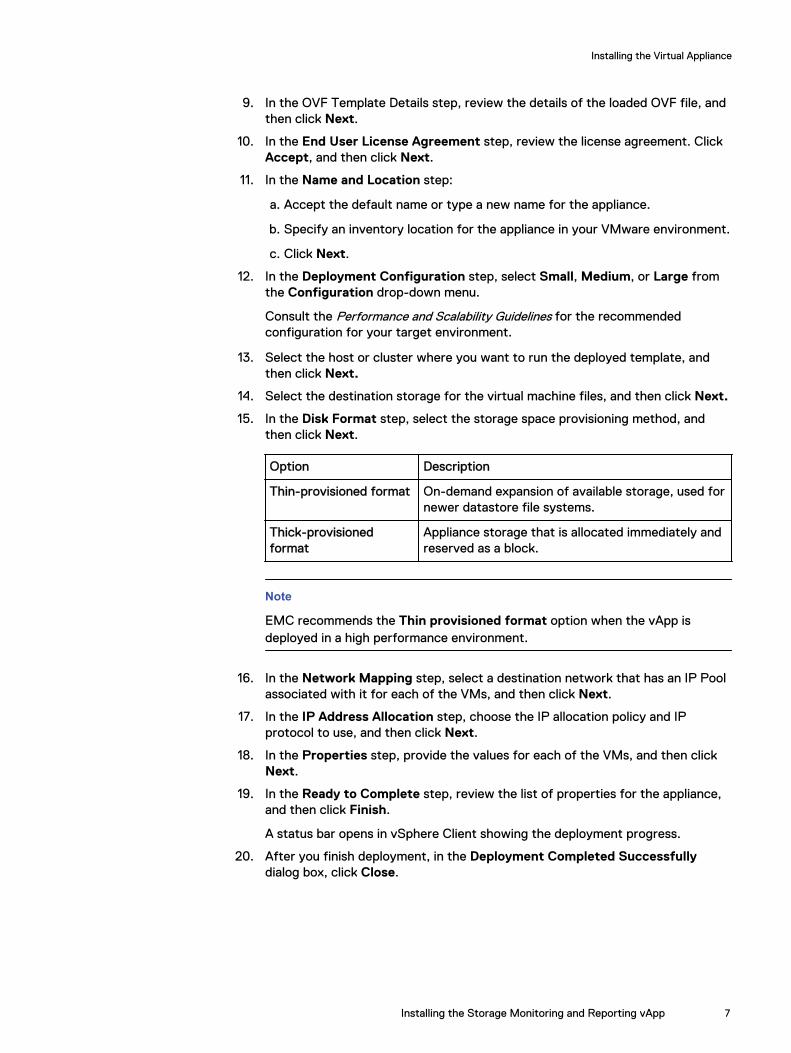
9. In the OVF Template Details step, review the details of the loaded OVF file, andthen click Next.
10. In the End User License Agreement step, review the license agreement. ClickAccept, and then click Next.
11. In the Name and Location step:
a. Accept the default name or type a new name for the appliance.
b. Specify an inventory location for the appliance in your VMware environment.
c. Click Next.
12. In the Deployment Configuration step, select Small, Medium, or Large fromthe Configuration drop-down menu.
Consult the Performance and Scalability Guidelines for the recommendedconfiguration for your target environment.
13. Select the host or cluster where you want to run the deployed template, andthen click Next.
14. Select the destination storage for the virtual machine files, and then click Next.
15. In the Disk Format step, select the storage space provisioning method, andthen click Next.
Option Description
Thin-provisioned format On-demand expansion of available storage, used fornewer datastore file systems.
Thick-provisionedformat
Appliance storage that is allocated immediately andreserved as a block.
Note
EMC recommends the Thin provisioned format option when the vApp isdeployed in a high performance environment.
16. In the Network Mapping step, select a destination network that has an IP Poolassociated with it for each of the VMs, and then click Next.
17. In the IP Address Allocation step, choose the IP allocation policy and IPprotocol to use, and then click Next.
18. In the Properties step, provide the values for each of the VMs, and then clickNext.
19. In the Ready to Complete step, review the list of properties for the appliance,and then click Finish.
A status bar opens in vSphere Client showing the deployment progress.
20. After you finish deployment, in the Deployment Completed Successfullydialog box, click Close.
Installing the Virtual Appliance
Installing the Storage Monitoring and Reporting vApp 7
Starting the vAppUse vSphere Client to start the vApp.
Procedure
1. In vSphere Client, navigate to the Host and Cluster view.
2. From the configured Resource Pool, find the Resource Pool that you selectedfor the appliance.
3. Click the VM, and then click Power on the virtual machine in the right-handpane.
After the initial startup and module installations are complete, the systemdisplays the login prompt.
Installing the Virtual Appliance
8 EMC Storage Monitoring and Reporting 4.1 Installation and Configuration Guide

CHAPTER 2
Installing Using the Binary Installer
This chapter includes the following topics:
l Installing on Linux............................................................................................... 10l Installing on Windows Server...............................................................................11
Installing Using the Binary Installer 9
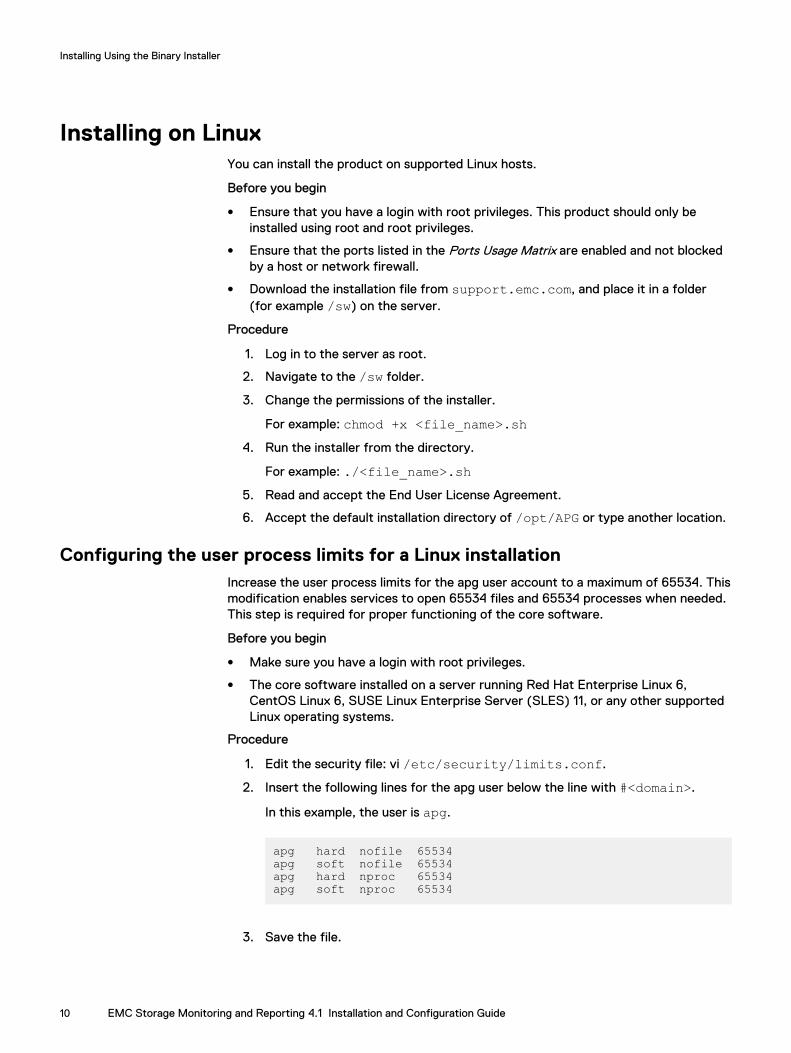
Installing on LinuxYou can install the product on supported Linux hosts.
Before you begin
l Ensure that you have a login with root privileges. This product should only beinstalled using root and root privileges.
l Ensure that the ports listed in the Ports Usage Matrix are enabled and not blockedby a host or network firewall.
l Download the installation file from support.emc.com, and place it in a folder(for example /sw) on the server.
Procedure
1. Log in to the server as root.
2. Navigate to the /sw folder.
3. Change the permissions of the installer.
For example: chmod +x <file_name>.sh4. Run the installer from the directory.
For example: ./<file_name>.sh5. Read and accept the End User License Agreement.
6. Accept the default installation directory of /opt/APG or type another location.
Configuring the user process limits for a Linux installationIncrease the user process limits for the apg user account to a maximum of 65534. Thismodification enables services to open 65534 files and 65534 processes when needed.This step is required for proper functioning of the core software.
Before you begin
l Make sure you have a login with root privileges.
l The core software installed on a server running Red Hat Enterprise Linux 6,CentOS Linux 6, SUSE Linux Enterprise Server (SLES) 11, or any other supportedLinux operating systems.
Procedure
1. Edit the security file: vi /etc/security/limits.conf.
2. Insert the following lines for the apg user below the line with #<domain>.
In this example, the user is apg.
apg hard nofile 65534apg soft nofile 65534apg hard nproc 65534apg soft nproc 65534
3. Save the file.
Installing Using the Binary Installer
10 EMC Storage Monitoring and Reporting 4.1 Installation and Configuration Guide
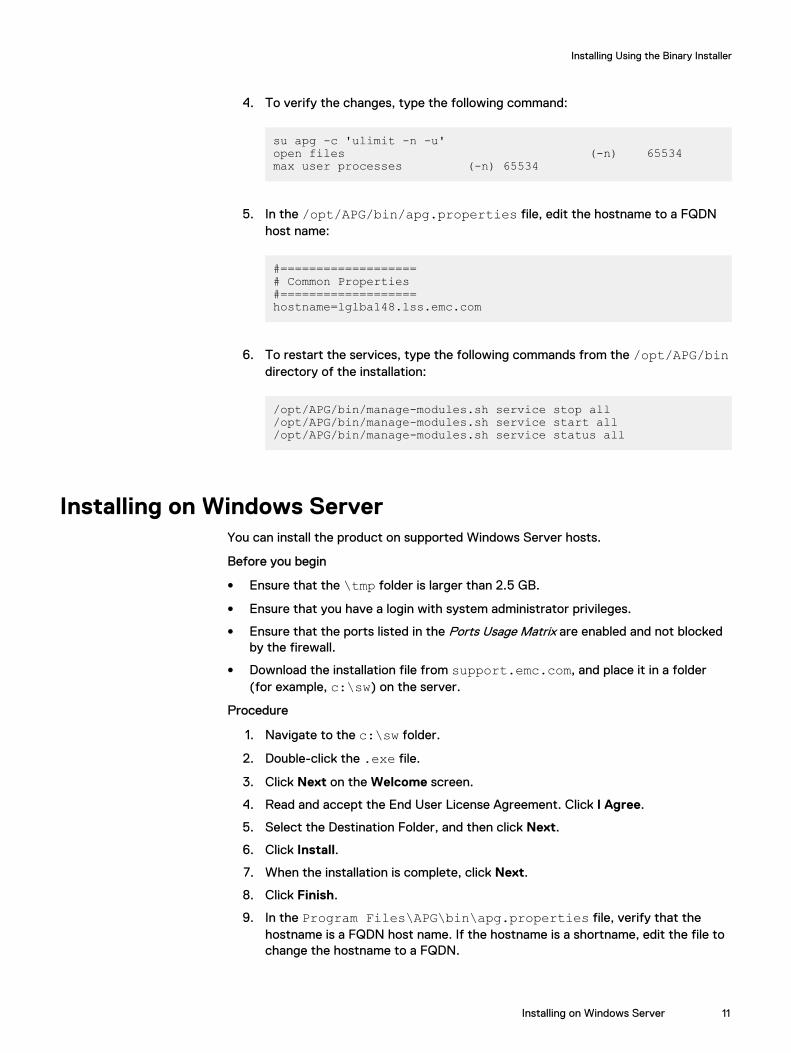
4. To verify the changes, type the following command:
su apg -c 'ulimit -n -u'open files (-n) 65534max user processes (-n) 65534
5. In the /opt/APG/bin/apg.properties file, edit the hostname to a FQDNhost name:
#===================# Common Properties#===================hostname=lglba148.lss.emc.com
6. To restart the services, type the following commands from the /opt/APG/bindirectory of the installation:
/opt/APG/bin/manage-modules.sh service stop all/opt/APG/bin/manage-modules.sh service start all/opt/APG/bin/manage-modules.sh service status all
Installing on Windows ServerYou can install the product on supported Windows Server hosts.
Before you begin
l Ensure that the \tmp folder is larger than 2.5 GB.
l Ensure that you have a login with system administrator privileges.
l Ensure that the ports listed in the Ports Usage Matrix are enabled and not blockedby the firewall.
l Download the installation file from support.emc.com, and place it in a folder(for example, c:\sw) on the server.
Procedure
1. Navigate to the c:\sw folder.
2. Double-click the .exe file.
3. Click Next on the Welcome screen.
4. Read and accept the End User License Agreement. Click I Agree.
5. Select the Destination Folder, and then click Next.
6. Click Install.
7. When the installation is complete, click Next.
8. Click Finish.
9. In the Program Files\APG\bin\apg.properties file, verify that thehostname is a FQDN host name. If the hostname is a shortname, edit the file tochange the hostname to a FQDN.
Installing Using the Binary Installer
Installing on Windows Server 11
10. In the c:\windows\System32\drivers\etc\hosts file, verify that thefirst uncommented line is this host's IP-address, FQDN, and shortname. If this isnot first uncommented line, edit the file.
11. STOP: Repeat the ViPR SRM installation and configuration process for all ofthe servers in this deployment before proceeding.
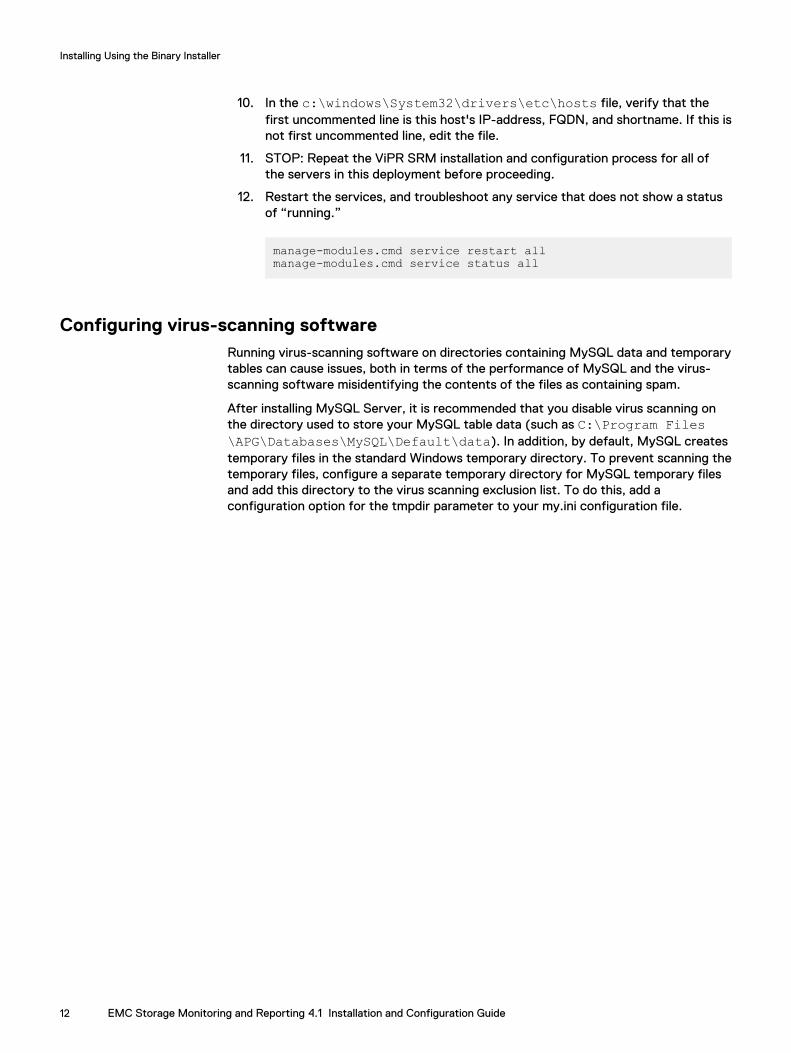
12. Restart the services, and troubleshoot any service that does not show a statusof “running.”
manage-modules.cmd service restart allmanage-modules.cmd service status all
Configuring virus-scanning softwareRunning virus-scanning software on directories containing MySQL data and temporarytables can cause issues, both in terms of the performance of MySQL and the virus-scanning software misidentifying the contents of the files as containing spam.
After installing MySQL Server, it is recommended that you disable virus scanning onthe directory used to store your MySQL table data (such as C:\Program Files\APG\Databases\MySQL\Default\data). In addition, by default, MySQL createstemporary files in the standard Windows temporary directory. To prevent scanning thetemporary files, configure a separate temporary directory for MySQL temporary filesand add this directory to the virus scanning exclusion list. To do this, add aconfiguration option for the tmpdir parameter to your my.ini configuration file.
Installing Using the Binary Installer
12 EMC Storage Monitoring and Reporting 4.1 Installation and Configuration Guide

CHAPTER 3
Uploading License Files
This chapter includes the following topics:
l Uploading license files.........................................................................................14
Uploading License Files 13

Uploading license files
Procedure
1. Download the license file from the license portal.
2. Open a browser and connect to the Storage Monitoring and Reportinginstallation page at the following URL:
http://<Frontend-hostname>:58080The Storage Monitoring and Reporting installation page opens.
3. Provide the license file by dragging it onto the text box or clicking the text boxand navigating to the file. If you provide multiple licenses, use the drop-downmenu to specify which type of instance (VNX or VPLEX) you want to install.
The installer analyzes the license file.
4. Click Next.
5. Enter a username and password for the admin user, confirm the password, andthen click Install.
The installation begins and a status bar shows the progress.
6. When the installation is complete, click Restart application to complete theinstallation.
The system redirects you to Discovery Center to configure your devices.
Uploading License Files
14 EMC Storage Monitoring and Reporting 4.1 Installation and Configuration Guide

CHAPTER 4
SolutionPack for EMC Unity/VNX/VNXe
This chapter includes the following topics:
l Overview............................................................................................................ 16l VNX prerequisites...............................................................................................16l Adding and configuring devices in Discovery Center.......................................... 20l Changing VNX object credentials using Discovery Center.................................. 21l Troubleshooting................................................................................................. 22l Limitations......................................................................................................... 25
SolutionPack for EMC Unity/VNX/VNXe 15
Overview
The SolutionPack collects performance and capacity data from your Unity, VNX, andVNXe systems and displays the data in easy-to-use reports.
With this SolutionPack, you can unify your view of multiple Unity, VNX, and VNXesystems. Capacity reports, such as Raw Capacity Usage, Usable Capacity, and UsableCapacity by Pool, help you to improve the availability of business critical applicationsand services by ensuring that those applications have the storage resources they needto operate effectively. Performance reports provide key performance indicators forsuch fundamental resources as LUNs, Disks, and File Systems.
VNX prerequisitesThe following sections apply when discovering VNX Block Only, VNX Unified/File, andVNX NAS Gateway/eNAS array types. These sections do not apply for Unity/VNXe2array types. There are no discovery prerequisites for Unity/VNXe2 array typesbecause ViPR SRM issues REST API requests to communicate with the arrays, andthis support is built into the devices.
l Preparing your VNX for discovery and data collection
l Configuring simple authentication
l Unisphere security file authentication
l Configuring VNX arrays for file storage discovery
Preparing your VNX for discovery and data collectionIdentify the information required to support resource discovery and data collectionbefore installing the SolutionPack and perform the necessary pre-configuration.
Storage Monitoring and Reporting uses Navisphere Secure CLI (NavisecCLI) toaccess the VNX arrays. NavisecCLI needs to be configured to the "low" security levelto properly communicate with the arrays. In a vApp deployment, this is the defaultsetting. However, for a binary install, be sure that you install NavisecCLI with the"low" security level.
EMC recommends matching Naviseccli versions with Block Operating Environmentversions of VNX systems configured in the Collector. For information on compatibleBlock OE and Naviseccli versions, refer to the VNX OE for Block Release Notes and theUnisphere Host Agent/CLI and Utilities Release Notes on EMC Online Support.
For block and unified data collection, you must enable statistics logging on the array.To enable statistics logging, refer to Unisphere documentation.
To prevent Storage Monitoring and Reporting discovery issues after a VNX controlstation failover, ensure that the srmuser home directory exists on both the active andsecondary control stations. When a Global or LDAP user is first created on a VNX, theuser's home directory is created on the active control station. When the first failoverto the secondary control station occurs, the VNX does not create the user's homedirectory on the secondary control station. Manually create the home directory on thesecondary control station if needed.
SolutionPack for EMC Unity/VNX/VNXe
16 EMC Storage Monitoring and Reporting 4.1 Installation and Configuration Guide

Specifying a non-default NavisecCLI installation locationIf NavisecCLI is installed in a non-default location, you must modify the location usingthe command line.
The default installation locations are:
l vApp – /opt/Navisphere/bin/navisecclil Windows binary – C:\Program Files(x86)\EMC\Navisphere CLI\l Linux binary – /opt/Navisphere/bin/naviseccli/Procedure
1. Open an SSH (Linux) or RDP (Windows) session to the Storage Monitoring andReporting server.
2. Navigate to <install_location>/APG/bin.
3. Type the following command:
Linux: ./manage-modules.sh update emc-vnx-collect emc-vnxWindows: manage-modules.cmd update emc-vnx-collect emc-vnx
4. At each system prompt, accept the default with the following exceptions:
l At the Enter the step to modify, 'yes' to accept them, or'no' to cancel the operation prompt, type yes.
l At the Do you want to modify the module configuration?prompt, type yes.
l At the Specify custom naviseccli path prompt, type yes.
5. At the Naviseccli Path prompt, type the NavisecCLI path and hit Enter.
6. At the Do you want to specify another Unity/VNX system?prompt, type yes, and then keep accepting the defaults. This ensures that anydevices that were previously provided are kept after modifying the NavisecCLIpath.
Results
When you reach the end of the devices, the system restarts the collector with theupdated NavisecCLI path.
./manage-modules.sh update emc-vnx-collect emc-vnxRequired dependencies, in processing order: [1] java '8.0.92' v8.0.92 [2] topology-mapping-service 'Default' v1.4u1 [3] module-manager '1.10u1' v1.10u1 [4] license-manager 'Default' v5.6 [5] collector-manager 'emc-vnx' v5.8u1 [6] failover-filter 'emc-vnx' v5.2 [7] cross-referencing-filter 'emc-vnx' v1.6u1 [8] group-filter 'emc-vnx' v2.1u2 [9] variable-handling-filter 'emc-vnx' v1.15u1 [10] inline-calculation-filter 'emc-vnx' v6.3u1 [11] stream-collector 'emc-vnx' v1.3u1 [12] jdbc-drivers 'Default' v2.7u1 [13] script-engine 'Default' v1.4u1 [14] property-tagging-filter 'emc-vnx' v2.10u1
SolutionPack for EMC Unity/VNX/VNXe
Preparing your VNX for discovery and data collection 17
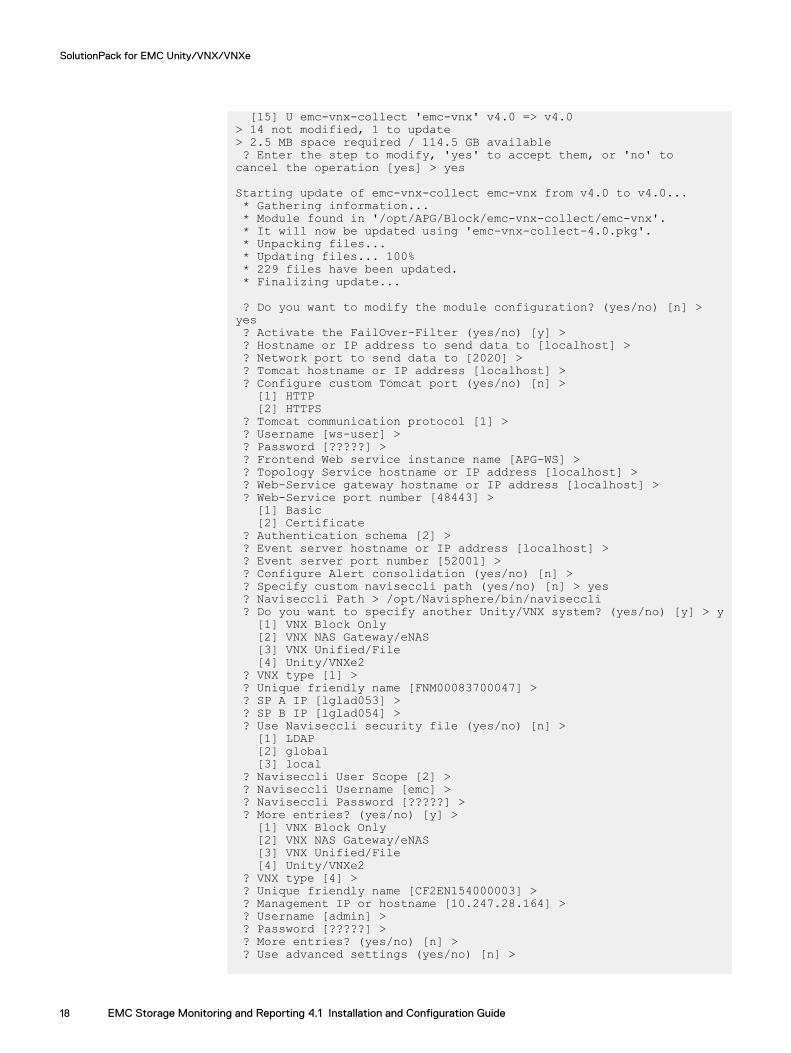
[15] U emc-vnx-collect 'emc-vnx' v4.0 => v4.0> 14 not modified, 1 to update> 2.5 MB space required / 114.5 GB available ? Enter the step to modify, 'yes' to accept them, or 'no' to cancel the operation [yes] > yes
Starting update of emc-vnx-collect emc-vnx from v4.0 to v4.0... * Gathering information... * Module found in '/opt/APG/Block/emc-vnx-collect/emc-vnx'. * It will now be updated using 'emc-vnx-collect-4.0.pkg'. * Unpacking files... * Updating files... 100% * 229 files have been updated. * Finalizing update...
? Do you want to modify the module configuration? (yes/no) [n] > yes ? Activate the FailOver-Filter (yes/no) [y] > ? Hostname or IP address to send data to [localhost] > ? Network port to send data to [2020] > ? Tomcat hostname or IP address [localhost] > ? Configure custom Tomcat port (yes/no) [n] > [1] HTTP [2] HTTPS ? Tomcat communication protocol [1] > ? Username [ws-user] > ? Password [?????] > ? Frontend Web service instance name [APG-WS] > ? Topology Service hostname or IP address [localhost] > ? Web-Service gateway hostname or IP address [localhost] > ? Web-Service port number [48443] > [1] Basic [2] Certificate ? Authentication schema [2] > ? Event server hostname or IP address [localhost] > ? Event server port number [52001] > ? Configure Alert consolidation (yes/no) [n] > ? Specify custom naviseccli path (yes/no) [n] > yes ? Naviseccli Path > /opt/Navisphere/bin/naviseccli ? Do you want to specify another Unity/VNX system? (yes/no) [y] > y [1] VNX Block Only [2] VNX NAS Gateway/eNAS [3] VNX Unified/File [4] Unity/VNXe2 ? VNX type [1] > ? Unique friendly name [FNM00083700047] > ? SP A IP [lglad053] > ? SP B IP [lglad054] > ? Use Naviseccli security file (yes/no) [n] > [1] LDAP [2] global [3] local ? Naviseccli User Scope [2] > ? Naviseccli Username [emc] > ? Naviseccli Password [?????] > ? More entries? (yes/no) [y] > [1] VNX Block Only [2] VNX NAS Gateway/eNAS [3] VNX Unified/File [4] Unity/VNXe2 ? VNX type [4] > ? Unique friendly name [CF2EN154000003] > ? Management IP or hostname [10.247.28.164] > ? Username [admin] > ? Password [?????] > ? More entries? (yes/no) [n] > ? Use advanced settings (yes/no) [n] >
SolutionPack for EMC Unity/VNX/VNXe
18 EMC Storage Monitoring and Reporting 4.1 Installation and Configuration Guide

* Updating service 'collector-manager emc-vnx'... [ updated ] * Starting 'collector-manager emc-vnx'... [ OK ]Update complete.
Configuring simple authenticationYou can configure simple authentication with VNX arrays using the default StorageMonitoring and Reporting account.
In order to poll and collect performance statistics from a VNX array, administratorprivileges are required for the user account used to access the arrays.
Note
The preferred method for secure polling and collection of data from VNX arrays is toconfigure authentication using a Unisphere security file. Refer to Unisphere securityfile authentication.
Procedure
1. Configure the default Storage Monitoring and Reporting account (apg) withadministrator privileges to access the VNX array as described in the Unispheredocumentation.
2. Validate access to the VNX array by running the following block command:naviseccli -h (host) -user username -password password -scope 0getagent
Unisphere security file authenticationA Unisphere security file is the preferred method to provide secure polling and datacollection from VNX arrays.
When you create a security file, the username you use to log in to the current host isautomatically stored in the security file, or you can specify an alternative username forthe security file in the -AddUserSecurity request using the optional -user switch.If you omit the -user switch, the security file uses your current username. You canalso target the security file at a specific storage system using the -ip option.
You can store the security file on the Collector host and edit parser XML files toinclude this path which will provide the required authentication to access the arrays.
Note the following:
l By default, the security file is stored in your default home directory. WithNavisecCLI, you can specify an alternative file path using the optional -secfilepath switch.
l Security files are generated exclusively for use by the user who creates them. Bydefault, the EMC VNX collector manager runs under the accounts apg (for Linux)or SYSTEM (for Windows). In order to use a Navisphere CLI security file in thisdefault configuration, the security file must be created using the aboveaccount(s). If the collector is configured to run as a different user (such as in thescenario described in the EMC White Paper Running Windows Collector ServicesUsing Least Privileges, https://community.emc.com/docs/DOC-36060), the
SolutionPack for EMC Unity/VNX/VNXe
Preparing your VNX for discovery and data collection 19
security file to be used by the collector must have also been created by that sameuser account.
l Important: For VNX collectors running on Windows, explicitly specifying the fullsecurity file path is required when configuring VNX discoveries, even if thesecurity file resides in the default %USERPROFILE% directory.
l Once the security file exists, you can edit XML configuration files that are used topoll and collect data to specify the path to the security file on the Collector host.The security file handles authentication.
l For details on configuring a security file on a host, refer to the Unispheredocumentation.
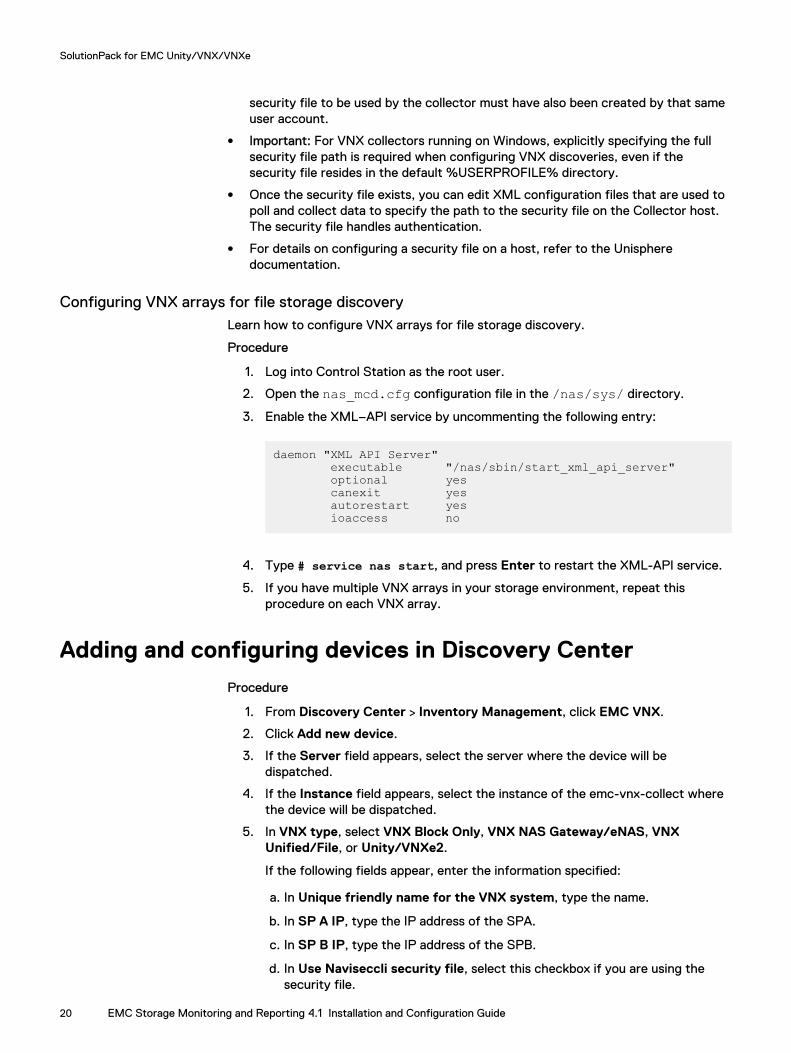
Configuring VNX arrays for file storage discoveryLearn how to configure VNX arrays for file storage discovery.
Procedure
1. Log into Control Station as the root user.
2. Open the nas_mcd.cfg configuration file in the /nas/sys/ directory.
3. Enable the XML–API service by uncommenting the following entry:
daemon "XML API Server" executable "/nas/sbin/start_xml_api_server" optional yes canexit yes autorestart yes ioaccess no
4. Type # service nas start, and press Enter to restart the XML-API service.
5. If you have multiple VNX arrays in your storage environment, repeat thisprocedure on each VNX array.
Adding and configuring devices in Discovery Center
Procedure
1. From Discovery Center > Inventory Management, click EMC VNX.
2. Click Add new device.
3. If the Server field appears, select the server where the device will bedispatched.
4. If the Instance field appears, select the instance of the emc-vnx-collect wherethe device will be dispatched.
5. In VNX type, select VNX Block Only, VNX NAS Gateway/eNAS, VNXUnified/File, or Unity/VNXe2.
If the following fields appear, enter the information specified:
a. In Unique friendly name for the VNX system, type the name.
b. In SP A IP, type the IP address of the SPA.
c. In SP B IP, type the IP address of the SPB.
d. In Use Naviseccli security file, select this checkbox if you are using thesecurity file.
SolutionPack for EMC Unity/VNX/VNXe
20 EMC Storage Monitoring and Reporting 4.1 Installation and Configuration Guide
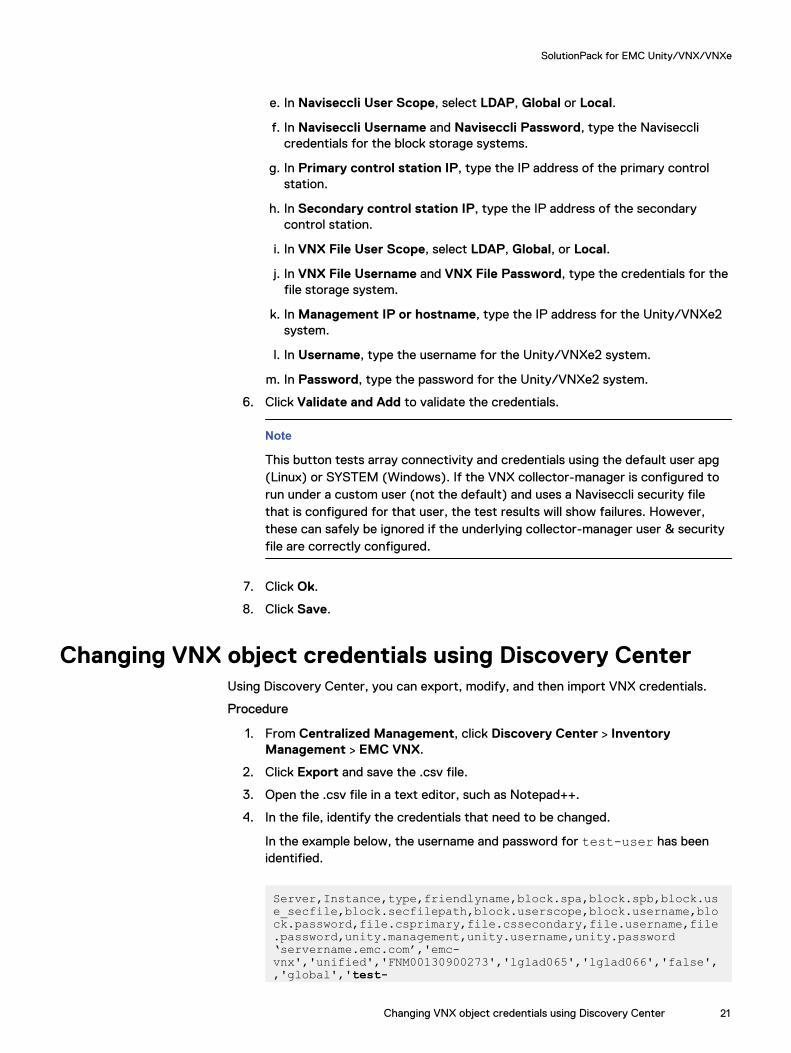
e. In Naviseccli User Scope, select LDAP, Global or Local.
f. In Naviseccli Username and Naviseccli Password, type the Navisecclicredentials for the block storage systems.
g. In Primary control station IP, type the IP address of the primary controlstation.
h. In Secondary control station IP, type the IP address of the secondarycontrol station.
i. In VNX File User Scope, select LDAP, Global, or Local.
j. In VNX File Username and VNX File Password, type the credentials for thefile storage system.
k. In Management IP or hostname, type the IP address for the Unity/VNXe2system.
l. In Username, type the username for the Unity/VNXe2 system.
m. In Password, type the password for the Unity/VNXe2 system.
6. Click Validate and Add to validate the credentials.
Note
This button tests array connectivity and credentials using the default user apg(Linux) or SYSTEM (Windows). If the VNX collector-manager is configured torun under a custom user (not the default) and uses a Naviseccli security filethat is configured for that user, the test results will show failures. However,these can safely be ignored if the underlying collector-manager user & securityfile are correctly configured.
7. Click Ok.
8. Click Save.
Changing VNX object credentials using Discovery CenterUsing Discovery Center, you can export, modify, and then import VNX credentials.
Procedure
1. From Centralized Management, click Discovery Center > InventoryManagement > EMC VNX.
2. Click Export and save the .csv file.
3. Open the .csv file in a text editor, such as Notepad++.
4. In the file, identify the credentials that need to be changed.
In the example below, the username and password for test-user has beenidentified.
Server,Instance,type,friendlyname,block.spa,block.spb,block.use_secfile,block.secfilepath,block.userscope,block.username,block.password,file.csprimary,file.cssecondary,file.username,file.password,unity.management,unity.username,unity.password ‘servername.emc.com’,'emc-vnx','unified','FNM00130900273','lglad065','lglad066','false',,'global','test-
SolutionPack for EMC Unity/VNX/VNXe
Changing VNX object credentials using Discovery Center 21
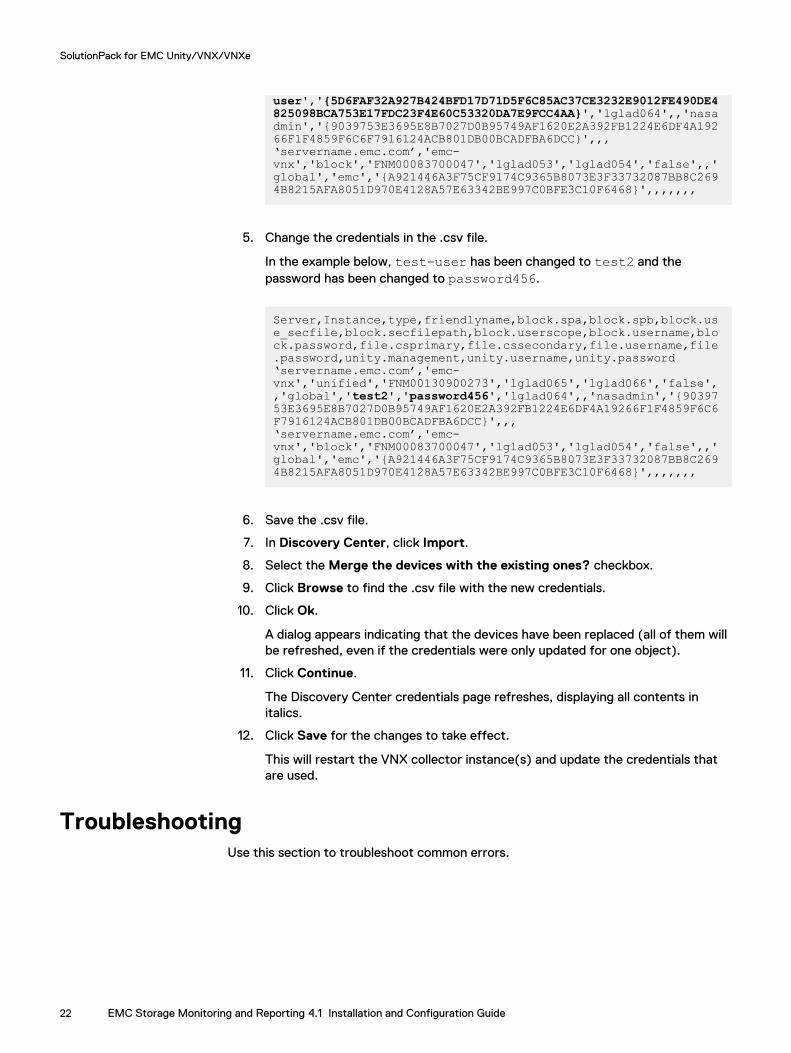
user','{5D6FAF32A927B424BFD17D71D5F6C85AC37CE3232E9012FE490DE4825098BCA753E17FDC23F4E60C53320DA7E9FCC4AA}','lglad064',,'nasadmin','{9039753E3695E8B7027D0B95749AF1620E2A392FB1224E6DF4A19266F1F4859F6C6F7916124ACB801DB00BCADFBA6DCC}',,, ‘servername.emc.com’,'emc-vnx','block','FNM00083700047','lglad053','lglad054','false',,'global','emc','{A921446A3F75CF9174C9365B8073E3F33732087BB8C2694B8215AFA8051D970E4128A57E63342BE997C0BFE3C10F6468}',,,,,,,
5. Change the credentials in the .csv file.
In the example below, test-user has been changed to test2 and thepassword has been changed to password456.
Server,Instance,type,friendlyname,block.spa,block.spb,block.use_secfile,block.secfilepath,block.userscope,block.username,block.password,file.csprimary,file.cssecondary,file.username,file.password,unity.management,unity.username,unity.password‘servername.emc.com’,'emc-vnx','unified','FNM00130900273','lglad065','lglad066','false',,'global','test2','password456','lglad064',,'nasadmin','{9039753E3695E8B7027D0B95749AF1620E2A392FB1224E6DF4A19266F1F4859F6C6F7916124ACB801DB00BCADFBA6DCC}',,,‘servername.emc.com’,'emc-vnx','block','FNM00083700047','lglad053','lglad054','false',,'global','emc','{A921446A3F75CF9174C9365B8073E3F33732087BB8C2694B8215AFA8051D970E4128A57E63342BE997C0BFE3C10F6468}',,,,,,,
6. Save the .csv file.
7. In Discovery Center, click Import.
8. Select the Merge the devices with the existing ones? checkbox.
9. Click Browse to find the .csv file with the new credentials.
10. Click Ok.
A dialog appears indicating that the devices have been replaced (all of them willbe refreshed, even if the credentials were only updated for one object).
11. Click Continue.
The Discovery Center credentials page refreshes, displaying all contents initalics.
12. Click Save for the changes to take effect.
This will restart the VNX collector instance(s) and update the credentials thatare used.
TroubleshootingUse this section to troubleshoot common errors.
SolutionPack for EMC Unity/VNX/VNXe
22 EMC Storage Monitoring and Reporting 4.1 Installation and Configuration Guide
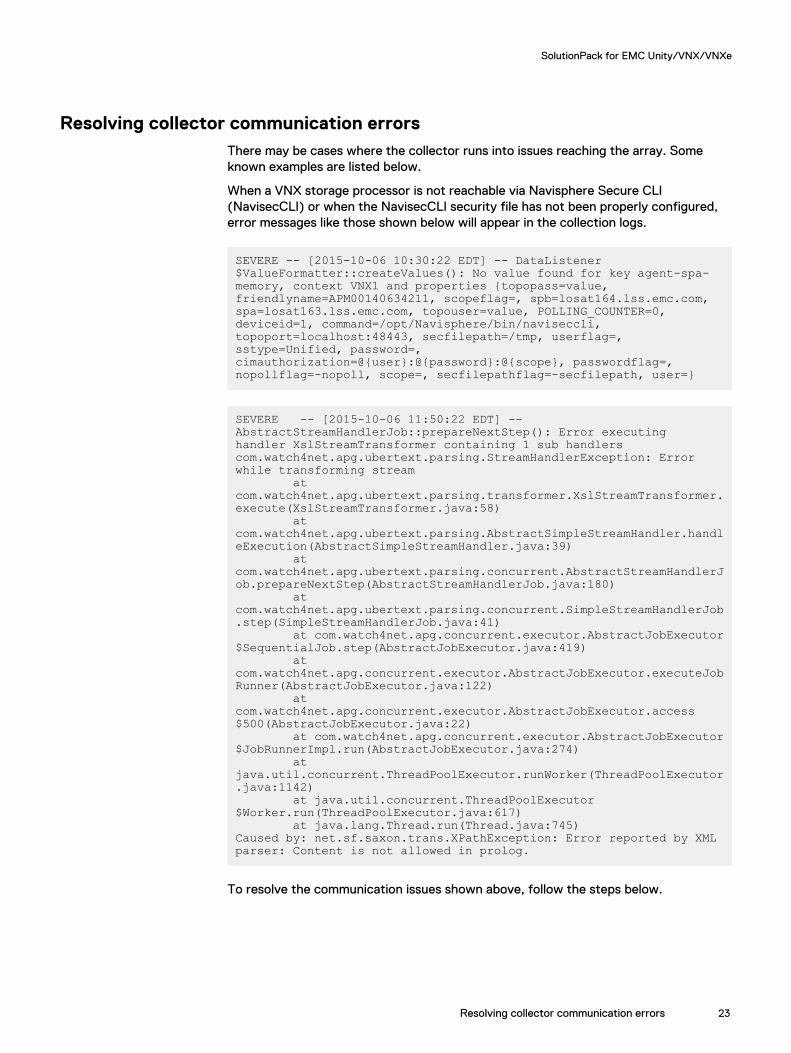
Resolving collector communication errorsThere may be cases where the collector runs into issues reaching the array. Someknown examples are listed below.
When a VNX storage processor is not reachable via Navisphere Secure CLI(NavisecCLI) or when the NavisecCLI security file has not been properly configured,error messages like those shown below will appear in the collection logs.
SEVERE -- [2015-10-06 10:30:22 EDT] -- DataListener$ValueFormatter::createValues(): No value found for key agent-spa-memory, context VNX1 and properties {topopass=value, friendlyname=APM00140634211, scopeflag=, spb=losat164.lss.emc.com, spa=losat163.lss.emc.com, topouser=value, POLLING_COUNTER=0, deviceid=1, command=/opt/Navisphere/bin/naviseccli, topoport=localhost:48443, secfilepath=/tmp, userflag=, sstype=Unified, password=, cimauthorization=@{user}:@{password}:@{scope}, passwordflag=, nopollflag=-nopoll, scope=, secfilepathflag=-secfilepath, user=}
SEVERE -- [2015-10-06 11:50:22 EDT] -- AbstractStreamHandlerJob::prepareNextStep(): Error executing handler XslStreamTransformer containing 1 sub handlerscom.watch4net.apg.ubertext.parsing.StreamHandlerException: Error while transforming stream at com.watch4net.apg.ubertext.parsing.transformer.XslStreamTransformer.execute(XslStreamTransformer.java:58) at com.watch4net.apg.ubertext.parsing.AbstractSimpleStreamHandler.handleExecution(AbstractSimpleStreamHandler.java:39) at com.watch4net.apg.ubertext.parsing.concurrent.AbstractStreamHandlerJob.prepareNextStep(AbstractStreamHandlerJob.java:180) at com.watch4net.apg.ubertext.parsing.concurrent.SimpleStreamHandlerJob.step(SimpleStreamHandlerJob.java:41) at com.watch4net.apg.concurrent.executor.AbstractJobExecutor$SequentialJob.step(AbstractJobExecutor.java:419) at com.watch4net.apg.concurrent.executor.AbstractJobExecutor.executeJobRunner(AbstractJobExecutor.java:122) at com.watch4net.apg.concurrent.executor.AbstractJobExecutor.access$500(AbstractJobExecutor.java:22) at com.watch4net.apg.concurrent.executor.AbstractJobExecutor$JobRunnerImpl.run(AbstractJobExecutor.java:274) at java.util.concurrent.ThreadPoolExecutor.runWorker(ThreadPoolExecutor.java:1142) at java.util.concurrent.ThreadPoolExecutor$Worker.run(ThreadPoolExecutor.java:617) at java.lang.Thread.run(Thread.java:745)Caused by: net.sf.saxon.trans.XPathException: Error reported by XML parser: Content is not allowed in prolog.
To resolve the communication issues shown above, follow the steps below.
SolutionPack for EMC Unity/VNX/VNXe
Resolving collector communication errors 23
Procedure
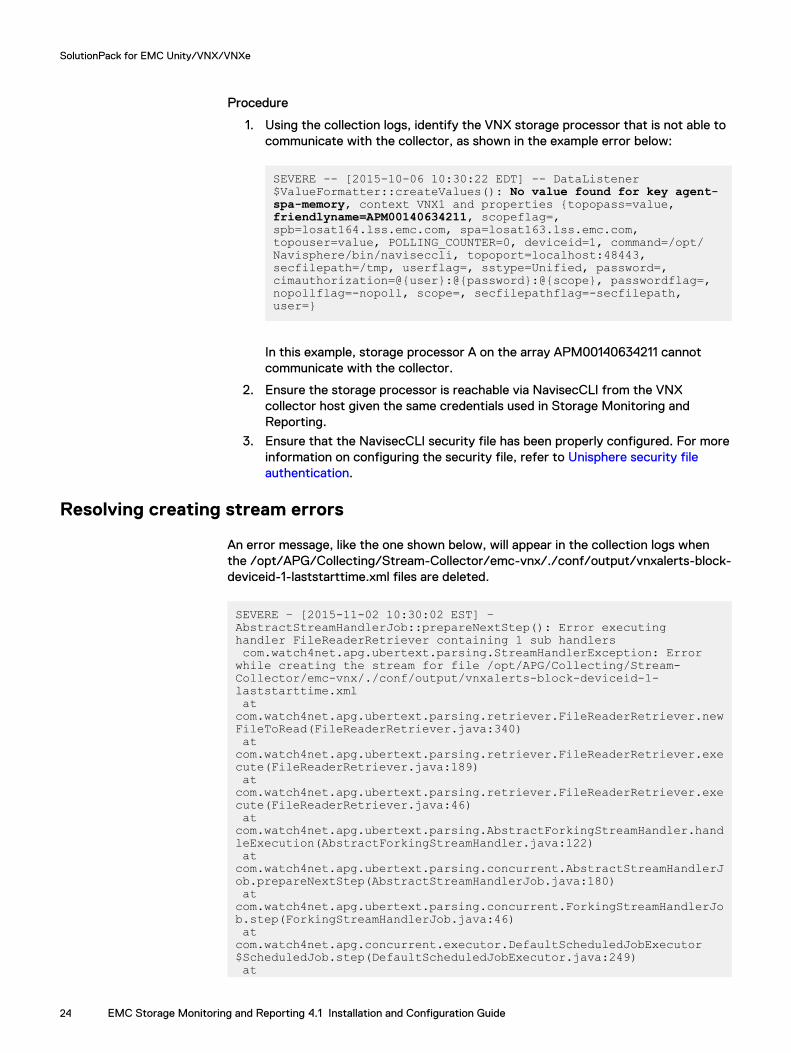
1. Using the collection logs, identify the VNX storage processor that is not able tocommunicate with the collector, as shown in the example error below:
SEVERE -- [2015-10-06 10:30:22 EDT] -- DataListener$ValueFormatter::createValues(): No value found for key agent-spa-memory, context VNX1 and properties {topopass=value, friendlyname=APM00140634211, scopeflag=, spb=losat164.lss.emc.com, spa=losat163.lss.emc.com, topouser=value, POLLING_COUNTER=0, deviceid=1, command=/opt/Navisphere/bin/naviseccli, topoport=localhost:48443, secfilepath=/tmp, userflag=, sstype=Unified, password=, cimauthorization=@{user}:@{password}:@{scope}, passwordflag=, nopollflag=-nopoll, scope=, secfilepathflag=-secfilepath, user=}
In this example, storage processor A on the array APM00140634211 cannotcommunicate with the collector.
2. Ensure the storage processor is reachable via NavisecCLI from the VNXcollector host given the same credentials used in Storage Monitoring andReporting.
3. Ensure that the NavisecCLI security file has been properly configured. For moreinformation on configuring the security file, refer to Unisphere security fileauthentication.
Resolving creating stream errors
An error message, like the one shown below, will appear in the collection logs whenthe /opt/APG/Collecting/Stream-Collector/emc-vnx/./conf/output/vnxalerts-block-deviceid-1-laststarttime.xml files are deleted.
SEVERE – [2015-11-02 10:30:02 EST] – AbstractStreamHandlerJob::prepareNextStep(): Error executing handler FileReaderRetriever containing 1 sub handlers com.watch4net.apg.ubertext.parsing.StreamHandlerException: Error while creating the stream for file /opt/APG/Collecting/Stream-Collector/emc-vnx/./conf/output/vnxalerts-block-deviceid-1-laststarttime.xml at com.watch4net.apg.ubertext.parsing.retriever.FileReaderRetriever.newFileToRead(FileReaderRetriever.java:340) at com.watch4net.apg.ubertext.parsing.retriever.FileReaderRetriever.execute(FileReaderRetriever.java:189) at com.watch4net.apg.ubertext.parsing.retriever.FileReaderRetriever.execute(FileReaderRetriever.java:46) at com.watch4net.apg.ubertext.parsing.AbstractForkingStreamHandler.handleExecution(AbstractForkingStreamHandler.java:122) at com.watch4net.apg.ubertext.parsing.concurrent.AbstractStreamHandlerJob.prepareNextStep(AbstractStreamHandlerJob.java:180) at com.watch4net.apg.ubertext.parsing.concurrent.ForkingStreamHandlerJob.step(ForkingStreamHandlerJob.java:46) at com.watch4net.apg.concurrent.executor.DefaultScheduledJobExecutor$ScheduledJob.step(DefaultScheduledJobExecutor.java:249) at
SolutionPack for EMC Unity/VNX/VNXe
24 EMC Storage Monitoring and Reporting 4.1 Installation and Configuration Guide

com.watch4net.apg.concurrent.executor.AbstractJobExecutor.executeJobRunner(AbstractJobExecutor.java:122) at com.watch4net.apg.concurrent.executor.AbstractJobExecutor.access$500(AbstractJobExecutor.java:22) at com.watch4net.apg.concurrent.executor.AbstractJobExecutor$JobRunnerImpl.run(AbstractJobExecutor.java:274) at java.util.concurrent.ThreadPoolExecutor.runWorker(ThreadPoolExecutor.java:1142) at java.util.concurrent.ThreadPoolExecutor$Worker.run(ThreadPoolExecutor.java:617) at java.lang.Thread.run(Thread.java:745) Caused by: java.io.FileNotFoundException: /opt/APG/Collecting/Stream-Collector/emc-vnx/./conf/output/vnxalerts-block-deviceid-1-laststarttime.xml (No such file or directory) at java.io.FileInputStream.open0(Native Method) at java.io.FileInputStream.open(FileInputStream.java:195) at java.io.FileInputStream.<init>(FileInputStream.java:138) at com.watch4net.apg.ubertext.parsing.retriever.FileReaderRetriever.newFileToRead(FileReaderRetriever.java:336) ... 12 more
To resolve this issue, follow the steps below.
Procedure
1. From Centralized Management, click SolutionPacks > Storage > EMC VNX.
2. Click the pencil icon for the Data collection component to reconfigure theSolutionPack.
The missing files are recreated.
Limitations
l VNX Free Raw Disk Capacity values are not the same as EMC Unisphere Free RawCapacity values. Unisphere Free Raw Capacity counts both internal operationspace (vault drives) and the space available for user LUNs. Free Raw DiskCapacity only counts the space available for user LUNs.
l Hot Spare values are incorrect for VNX arrays running Operating Environment forBlock / FLARE 05.33.x. In that version, the VNX series supports a new hot sparepolicy where any unbound disk is available for use as a hot spare. Therefore, disksare not specifically marked as hot spares, but rather as unbound disks. As a result,hot spare disks are incorrectly counted as unconfigured capacity.
l VNX Statistics Logging will stop when VNX Performance Logging stops ifPerformance Logging was enabled before Statistics Logging was enabled. Toprevent this from happening, manually enable Statistics Logging via Unisphere orNaviCLI (using the setstats -on command) before enabling PerformanceLogging (which is optional). In this way, even if the optional Performance Loggingstops, performance metrics will continue to be collected.
l The following error message appears in the logs during the first couple pollingcycles when an array is discovered; after that the message will stop:
SEVERE -- [2016-01-28 10:44:39 EST] -- FileDownloadingTask::run():
SolutionPack for EMC Unity/VNX/VNXe
Limitations 25
com.watch4net.apg.ssh.api.exception.SSHException: Remote directory './emc-srm/server_2/3600' does not exist. com.watch4net.apg.file.retriever.ClientException: com.watch4net.apg.ssh.api.exception.SSHException: Remote directory './emc-srm/server_2/3600' does not exist.
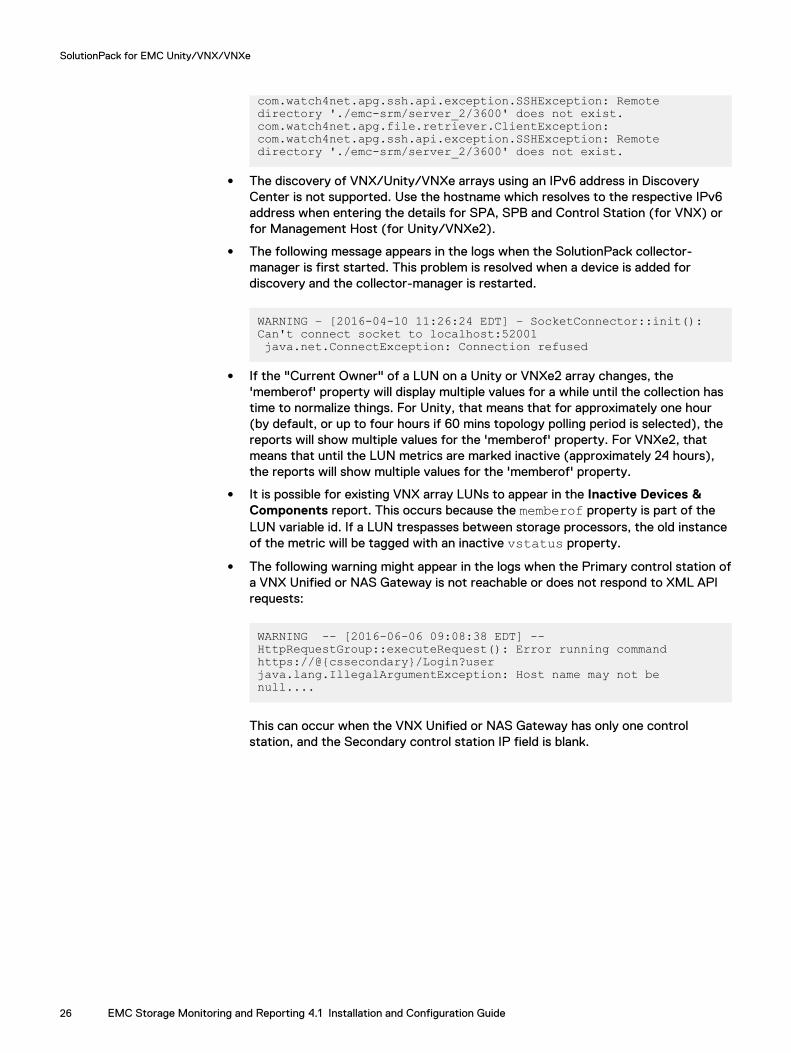
l The discovery of VNX/Unity/VNXe arrays using an IPv6 address in DiscoveryCenter is not supported. Use the hostname which resolves to the respective IPv6address when entering the details for SPA, SPB and Control Station (for VNX) orfor Management Host (for Unity/VNXe2).
l The following message appears in the logs when the SolutionPack collector-manager is first started. This problem is resolved when a device is added fordiscovery and the collector-manager is restarted.
WARNING – [2016-04-10 11:26:24 EDT] – SocketConnector::init(): Can't connect socket to localhost:52001 java.net.ConnectException: Connection refused
l If the "Current Owner" of a LUN on a Unity or VNXe2 array changes, the'memberof' property will display multiple values for a while until the collection hastime to normalize things. For Unity, that means that for approximately one hour(by default, or up to four hours if 60 mins topology polling period is selected), thereports will show multiple values for the 'memberof' property. For VNXe2, thatmeans that until the LUN metrics are marked inactive (approximately 24 hours),the reports will show multiple values for the 'memberof' property.
l It is possible for existing VNX array LUNs to appear in the Inactive Devices &Components report. This occurs because the memberof property is part of theLUN variable id. If a LUN trespasses between storage processors, the old instanceof the metric will be tagged with an inactive vstatus property.
l The following warning might appear in the logs when the Primary control station ofa VNX Unified or NAS Gateway is not reachable or does not respond to XML APIrequests:
WARNING -- [2016-06-06 09:08:38 EDT] -- HttpRequestGroup::executeRequest(): Error running command https://@{cssecondary}/Login?userjava.lang.IllegalArgumentException: Host name may not be null....
This can occur when the VNX Unified or NAS Gateway has only one controlstation, and the Secondary control station IP field is blank.
SolutionPack for EMC Unity/VNX/VNXe
26 EMC Storage Monitoring and Reporting 4.1 Installation and Configuration Guide
CHAPTER 5
SolutionPack for EMC VPLEX
This chapter includes the following topics:
l Overview............................................................................................................28l Adding and configuring devices in Discovery Center.......................................... 28l Configure VPLEX SNMP....................................................................................29l Limitations......................................................................................................... 29
SolutionPack for EMC VPLEX 27
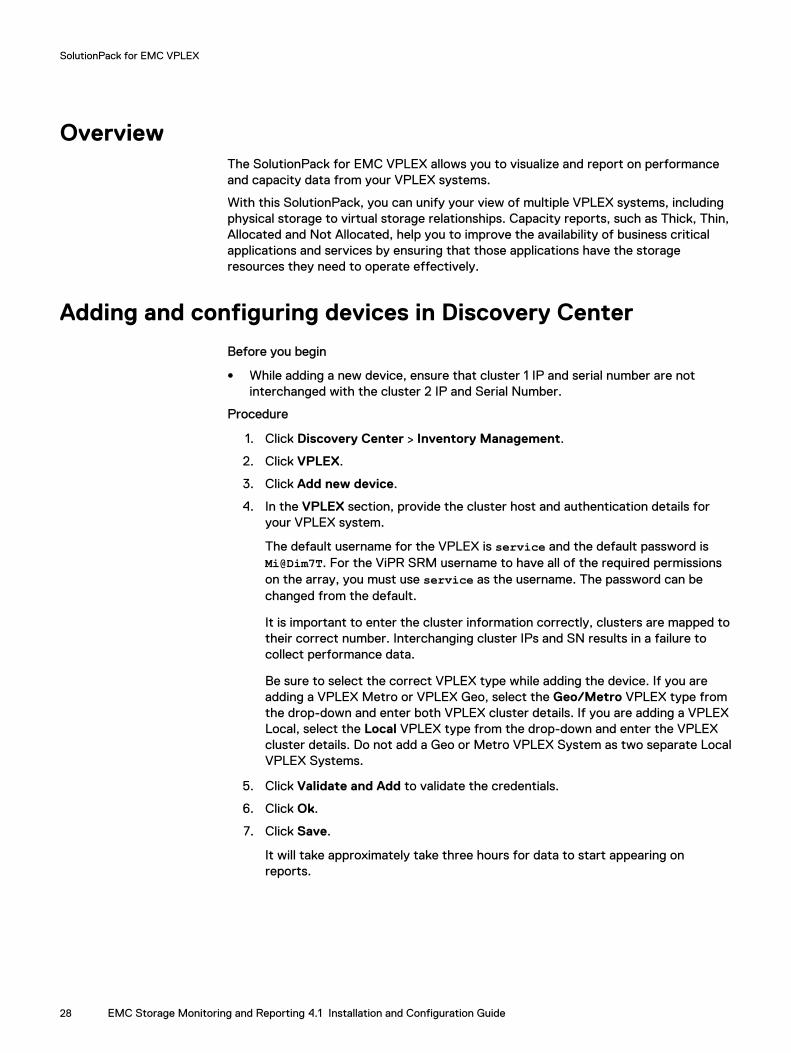
OverviewThe SolutionPack for EMC VPLEX allows you to visualize and report on performanceand capacity data from your VPLEX systems.
With this SolutionPack, you can unify your view of multiple VPLEX systems, includingphysical storage to virtual storage relationships. Capacity reports, such as Thick, Thin,Allocated and Not Allocated, help you to improve the availability of business criticalapplications and services by ensuring that those applications have the storageresources they need to operate effectively.
Adding and configuring devices in Discovery Center
Before you begin
l While adding a new device, ensure that cluster 1 IP and serial number are notinterchanged with the cluster 2 IP and Serial Number.
Procedure
1. Click Discovery Center > Inventory Management.
2. Click VPLEX.
3. Click Add new device.
4. In the VPLEX section, provide the cluster host and authentication details foryour VPLEX system.
The default username for the VPLEX is service and the default password isMi@Dim7T. For the ViPR SRM username to have all of the required permissionson the array, you must use service as the username. The password can bechanged from the default.
It is important to enter the cluster information correctly, clusters are mapped totheir correct number. Interchanging cluster IPs and SN results in a failure tocollect performance data.
Be sure to select the correct VPLEX type while adding the device. If you areadding a VPLEX Metro or VPLEX Geo, select the Geo/Metro VPLEX type fromthe drop-down and enter both VPLEX cluster details. If you are adding a VPLEXLocal, select the Local VPLEX type from the drop-down and enter the VPLEXcluster details. Do not add a Geo or Metro VPLEX System as two separate LocalVPLEX Systems.
5. Click Validate and Add to validate the credentials.
6. Click Ok.
7. Click Save.
It will take approximately take three hours for data to start appearing onreports.
SolutionPack for EMC VPLEX
28 EMC Storage Monitoring and Reporting 4.1 Installation and Configuration Guide

After you finish
Note
Threshold based alerts are disabled by default. To manually enable threshold basedalerts, go to Administration > Modules > Alerting > Alert Definitions > EMC VPLEXAlert Definitions. (SNMP based alerts are enabled by default.)
Troubleshooting performance data collection issues
Ensure that on each VPLEX cluster, VPLEX Perpetual monitors are not stopped andare logging director and virtual volume performance data. To do this, login to VPLEXand look for the Perpetual Monitor log files located at /var/log/VPlex/cli/director*PERPETUAL*.log. There are separate perpetual monitor log files forVPLEX Directors and VPLEX virtual volumes. And for each type, there is one log fileper director. These log files are used to collect performance data. Ensure that the lastmodified time stamp for all such log files is not older than a few minutes.
In case the perpetual monitor log files are old, it means that the perpetual monitorshave stopped and you may not this data be collected. VPLEX KB articles have moreinformation on how to resolve this issue.
Configure VPLEX SNMPConfigure your VPLEX server to send SNMP traps to Storage Monitoring andReporting on port 2041.
For more information about configuring SNMP on VPLEX, refer to the EMC VPLEXAdministration Guide.
Procedure
1. Log into the VPLEX CLI.
2. From the VPlexcli:/> prompt, enter: cd notifications/call-home/snmp-traps/
3. Create a trap using the command: create <trap-name>Where <trap-name> is any string that you want to use.
4. cd to <trap-name>.
5. Configure the trap to send notifications to Storage Monitoring and Reportingusing the command: set remote-host <IP address>Where <IP address> is the IP address of the server receiving the traps. Forexample, on a four VM deployment, this is the IP address of the PrimaryBackend.
6. Configure the trap to send data to port 2041 using the command: set remote-port 2041
7. Start sending notifications by using the command: set started true
Limitations
Only encapsulated virtual volumes are supported. LVM virtual volumes are notsupported.
SolutionPack for EMC VPLEX
Troubleshooting performance data collection issues 29

SolutionPack for EMC VPLEX
30 EMC Storage Monitoring and Reporting 4.1 Installation and Configuration Guide

CHAPTER 6
Logging into the User Interface
This chapter includes the following topics:
l Logging in to the user interface......................................................................... 32
Logging into the User Interface 31
Logging in to the user interfaceLog in to the user interface to view, schedule, and export reports.
Procedure
1. Open a browser and type the following URL:
http://<Frontend-hostname>:58080/APG2. Type the login credentials that you provided during the License Upload step of
the installation.
3. Click Sign In.
Note
You are automatically logged off after four hours.
Logging into the User Interface
32 EMC Storage Monitoring and Reporting 4.1 Installation and Configuration Guide