Embed Size (px)
Citation preview
Computer Skills (1)
Word Processing

Computer Skills1 by Maram Bani Younes
Word Processing Environment1
32
4
10
6
7
8
9
Computer Skills1 by Maram Bani Younes
Title Bar
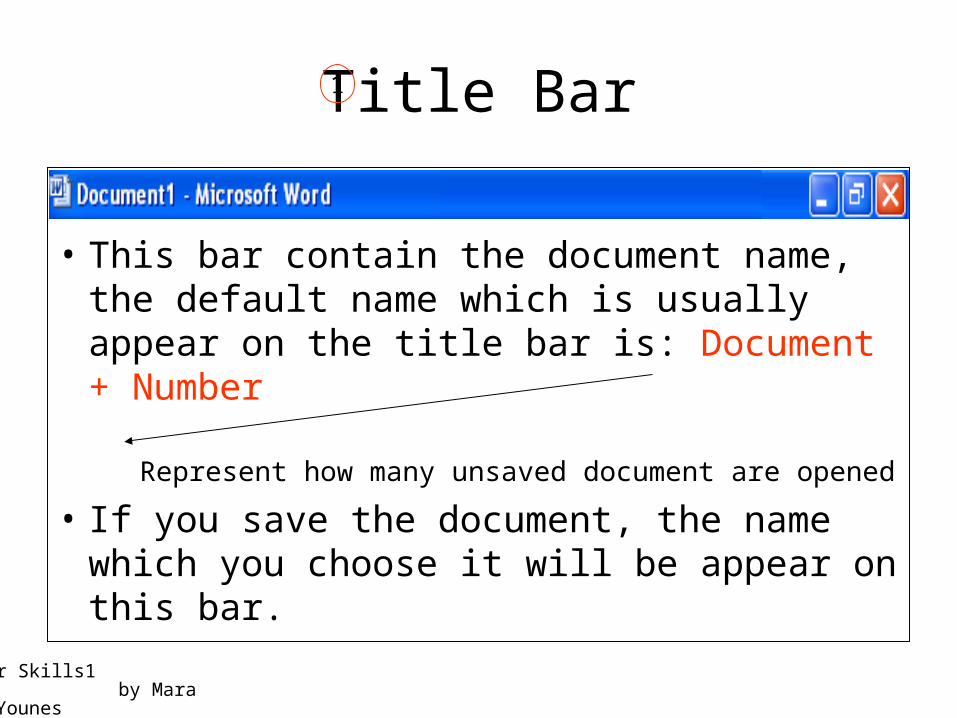
• This bar contain the document name, the default name which is usually appear on the title bar is: Document + Number
Represent how many unsaved document are opened
• If you save the document, the name which you choose it will be appear on this bar.
1

Computer Skills1 by Maram Bani Younes
• The three icons which are appeared at the end of this bar are:
1. Exit : used to exit the word application.
2. Minimize : used to minimize the window as a small icon on the task bar.
3. Restore : used to minimize the word window.
4. Maximize : used to maximize the word window to be full the screen.
The End of the Title Bar
Computer Skills1 by Maram Bani Younes
Menu Bar
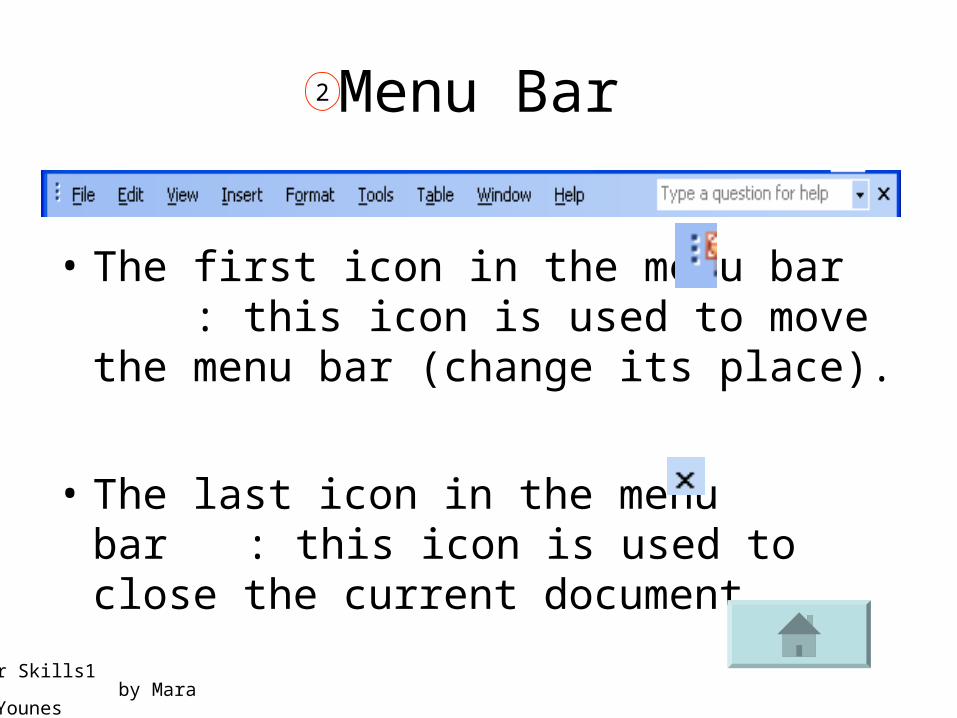
• The first icon in the menu bar : this icon is used to move the menu bar (change its place).
• The last icon in the menu bar : this icon is used to close the current document.
2
Computer Skills1 by Maram Bani Younes
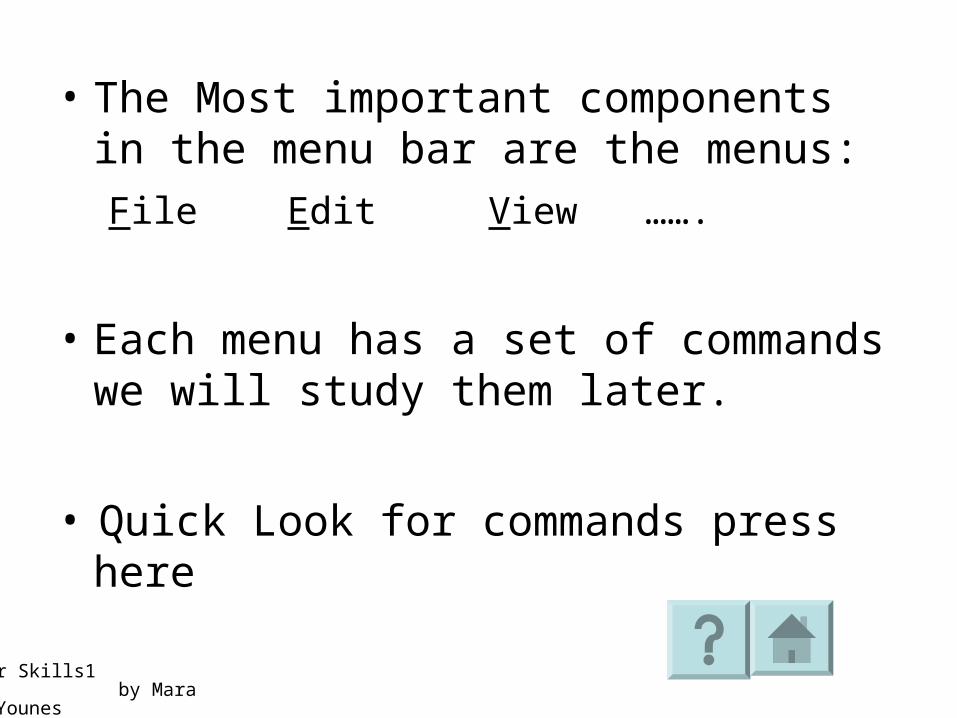
• The Most important components in the menu bar are the menus:
File Edit View …….
• Each menu has a set of commands we will study them later.
• Quick Look for commands press here

Computer Skills1 by Maram Bani Younes
The ways to open any menu from:
1. Mouse Click on the menu.
2. Alt + Arrow keys ( →← ) + Enter.
3. Alt + the underlined character in the menu name.
Computer Skills1 by Maram Bani Younes
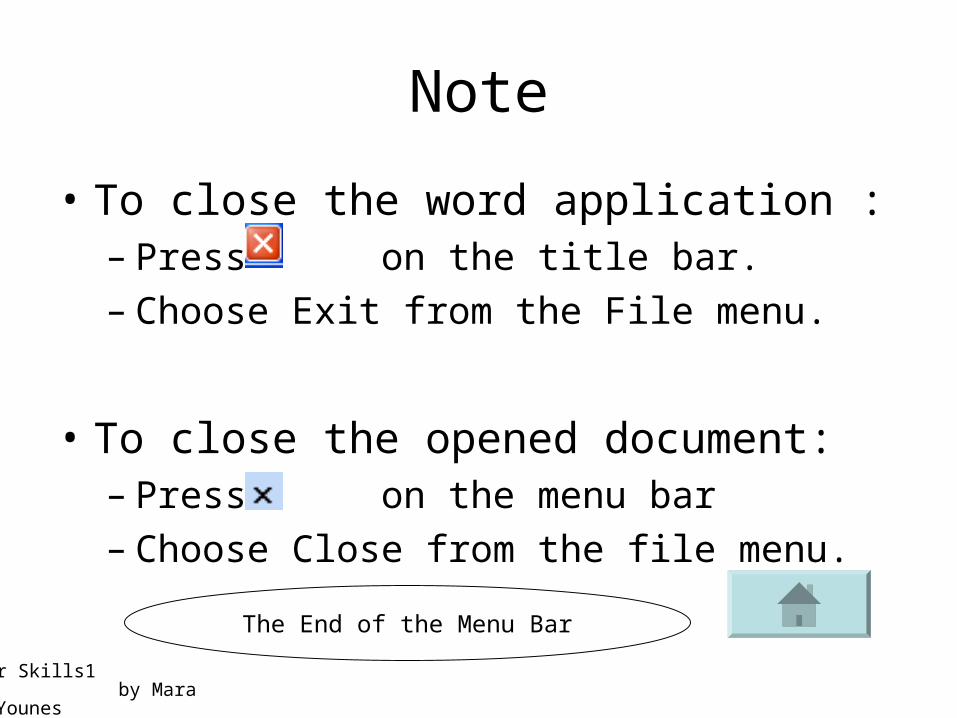
Note
• To close the word application :– Press on the title bar.– Choose Exit from the File menu.
• To close the opened document:– Press on the menu bar– Choose Close from the file menu.
The End of the Menu Bar
Computer Skills1 by Maram Bani Younes
Tools bars
1. Standard Tools Bar.
2. Formatting Tools Bar.
3 4
Computer Skills1 by Maram Bani Younes
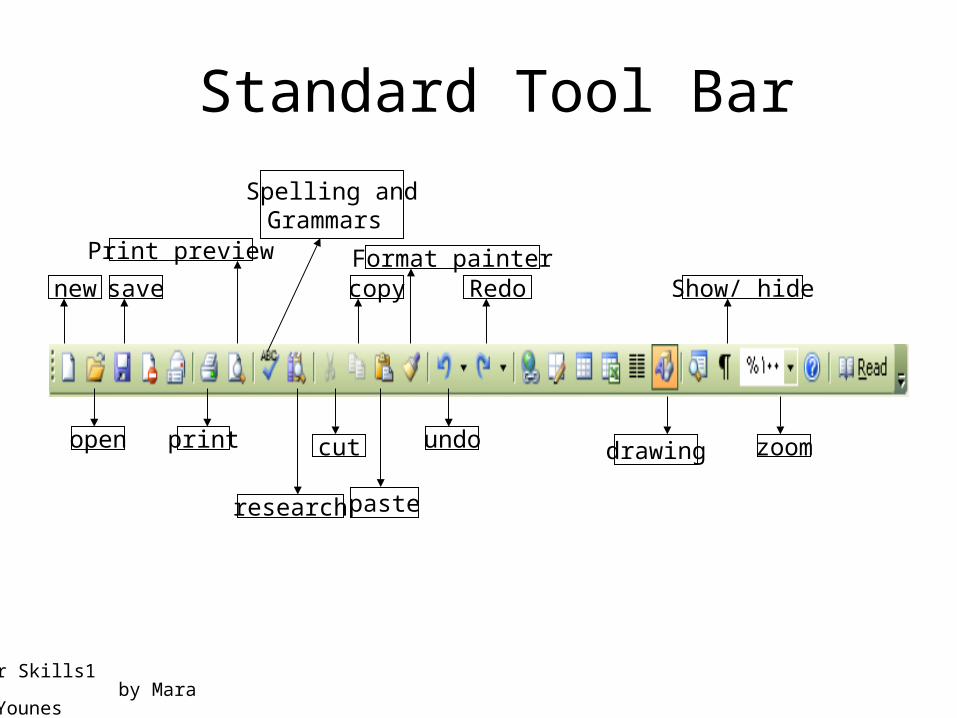
Standard Tool Bar
new
research
copy
paste
Format painter
undo
Redo
drawing
Show/ hide
zoom
save
Print preview
open print cut
Spelling and Grammars

Computer Skills1 by Maram Bani Younes
Formatting Tool Bar
Font name
Language
Font size
Alignment
Line spacing
Paragraph Orientation
bold
Italic underline
Font color
bullets
numbering
Indent
Computer Skills1 by Maram Bani Younes
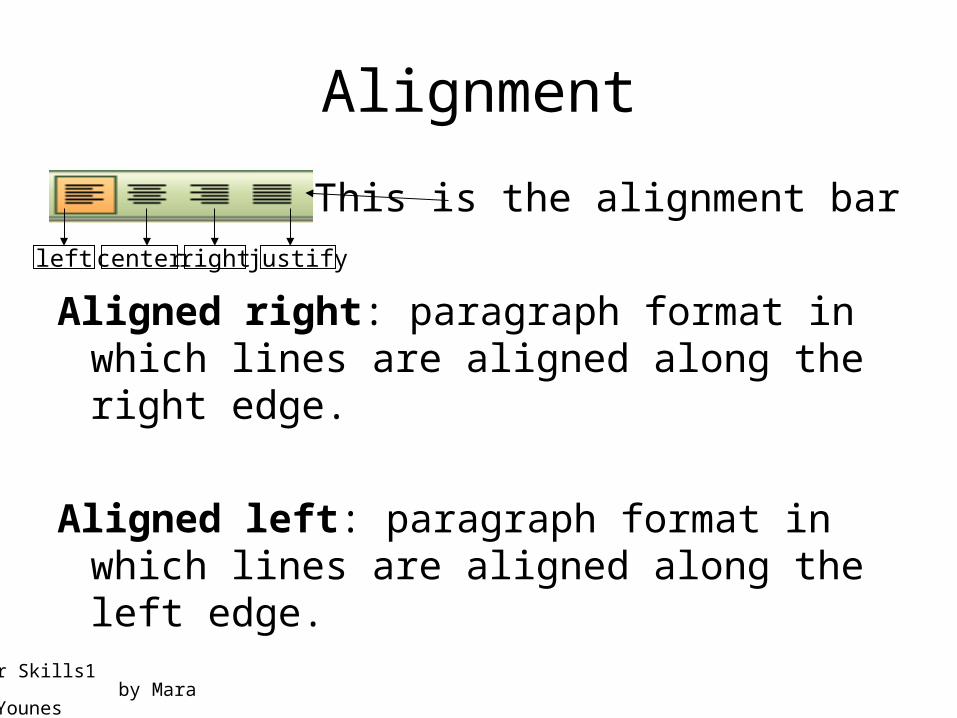
Alignment
This is the alignment bar
Aligned right: paragraph format in which lines are aligned along the right edge.
Aligned left: paragraph format in which lines are aligned along the left edge.
left center right justify

Computer Skills1 by Maram Bani Younes
Centered Alignment: paragraph format in which lines are centered between margins edge.
justified Alignment : paragraph format in which lines are aligned along both left and right edges.
Full justification: has an even margin on both left and right sides to justify text along both edges.

Computer Skills1 by Maram Bani Younes
Scroll Bar
• Vertical Scroll Bar. • Horizontal scroll Bar. At the end of the vertical scroll bar there are the
following three icons. “ select browse object”
When you click this icon a new box contain 12 icon will appear as shown on the next slide.
7

Computer Skills1 by Maram Bani Younes
If you choose any icon
the next and previous icons
will move the page into the
next {page, table, diagram,
Picture…etc} or previous one.
Computer Skills1 by Maram Bani Younes
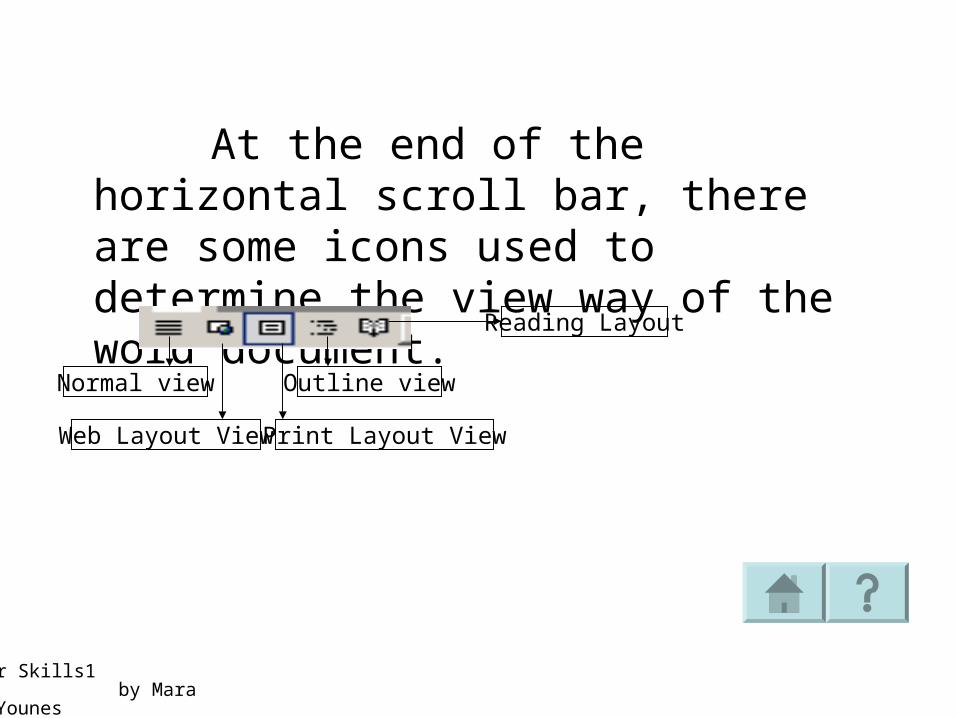
At the end of the horizontal scroll bar, there are some icons used to determine the view way of the word document.
Normal view
Web Layout View Print Layout View
Outline view
Reading Layout
Computer Skills1 by Maram Bani Younes
Way to view a document
You can see the ways of view your document in the view menu.
• Print Layout View: A view of document as it will appear when you print it. This view is useful for editing header and footers, and for adjusting margins, and for working with columns and drawing objects.

Computer Skills1 by Maram Bani Younes
• Normal View: A view that shows text formatting a simplified page layout so that you can type and edit quickly. Page boundaries, header and footers, drawing object and pictures do not appear.
• Outline: makes it easy to work with master documents such as a book.
• Web Layout: A view of a document as it will appear in a web browser.
• Reading Layout:
Computer Skills1 by Maram Bani Younes
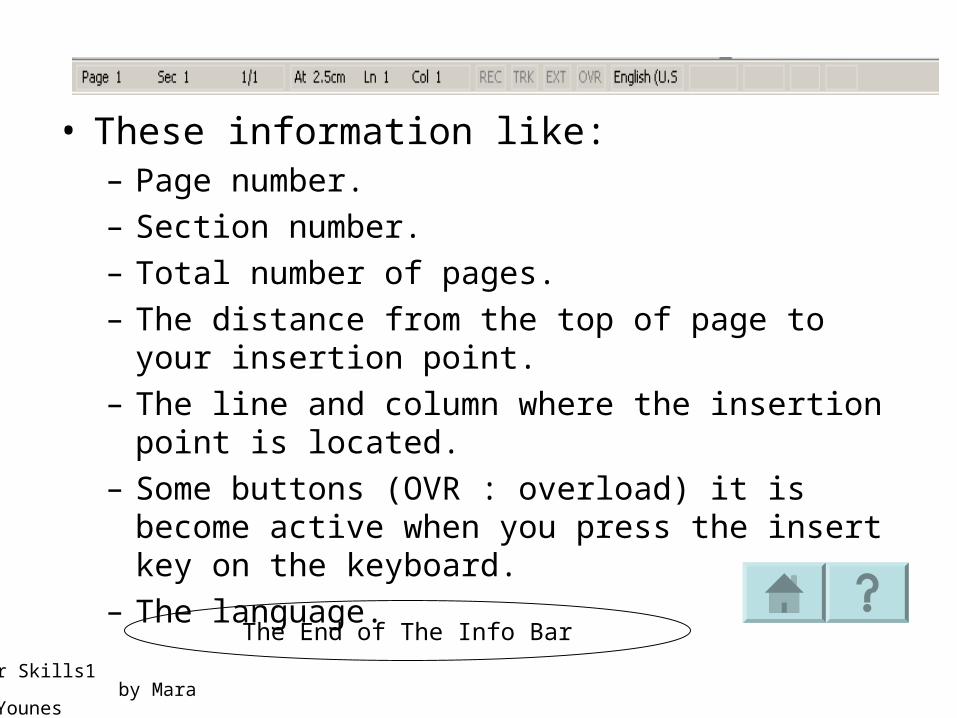
Info Bar
Info → Information
The Info Bar provides some information about the current state of what you are viewing.
6
Computer Skills1 by Maram Bani Younes
• These information like:– Page number.– Section number.– Total number of pages.– The distance from the top of page to your insertion
point.– The line and column where the insertion point is
located.– Some buttons (OVR : overload) it is become active
when you press the insert key on the keyboard.– The language.
The End of The Info Bar

Computer Skills1 by Maram Bani Younes
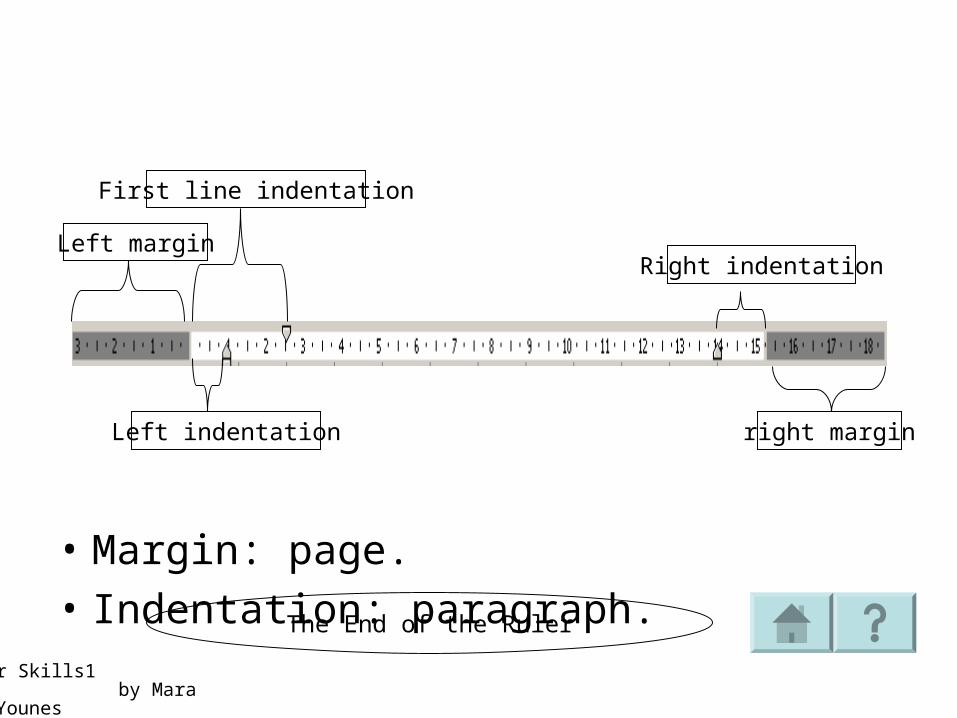
Ruler
You can display or hide the ruler from the View Menu choose Ruler and put the tick or remove it.
The ruler display the margins stops and tab stops (Indentation : the distance between the end of the margin and the begging of the writing).
8
Computer Skills1 by Maram Bani Younes
Left margin
right marginLeft indentation
Right indentation
First line indentation
• Margin: page.
• Indentation: paragraph.The End of the Ruler

Computer Skills1 by Maram Bani Younes
Task Pane
The part which is located on
the left side of the word window.
You can view this part or hide
From the View Menu by put the
tick beside it or remove it.
10
Close the Task Pane

Computer Skills1 by Maram Bani Younes
You can switch between the task
Pane parts.
The Task Pane parts are shown
on the next picture (like help,
Clip Art, …).
The End of the Task Pane
Computer Skills1 by Maram Bani Younes
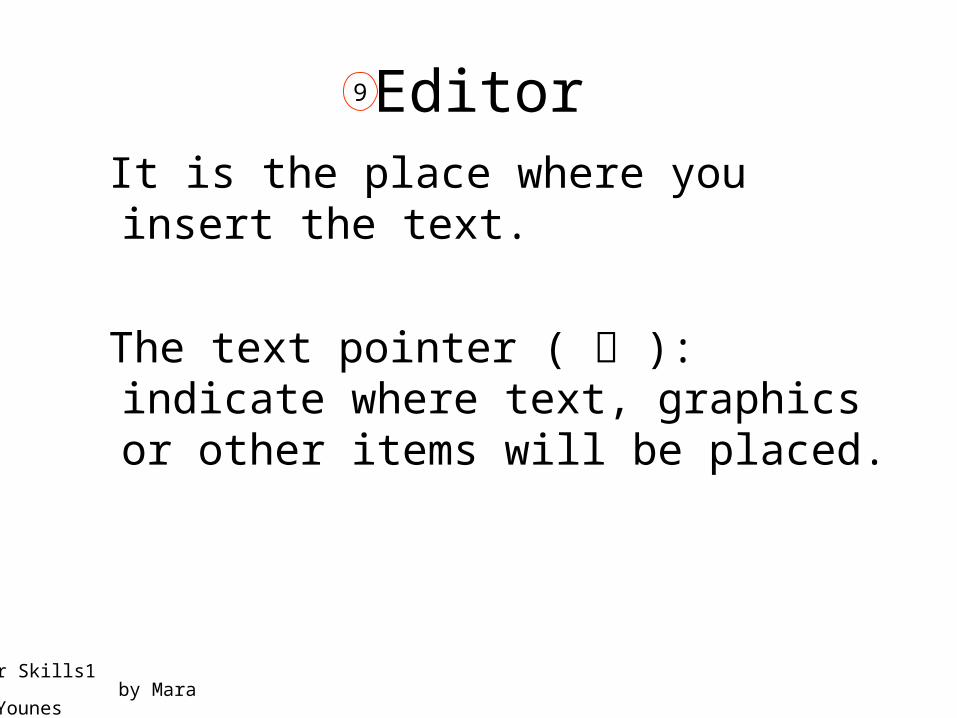
Editor It is the place where you insert the text.
The text pointer ( ): indicate where text, graphics or other items will be placed.
9

Computer Skills1 by Maram Bani Younes
To insert text in the editor:a. Position the text pointer where you want to
insert the paragraph.b. Choose the paragraph orientation (Arabic/
English).• Arabic : Ctrl+Shift (right) keyboard
: from the tool bar.
• English : Ctrl+Shift (left) keyboard : from the tool bar.
c. Choose the language to write• Arabic : Alt + shift (right).
: from the tool bar
• English: Alt + shift (left). : from the tool bar

Computer Skills1 by Maram Bani Younes
keyboard
• Enter: to make a paragraph ending and start a new paragraph.
• Space Bar: it is a button used to make additional space.
• Insert: a key on a keyboard to overtype and replace an existing text.
• Back space + Delete: – Delete: delete the next of the insertion point ( next
character)– Backspace: delete the character preceding the
insertion point (previous character).
Computer Skills1 by Maram Bani Younes
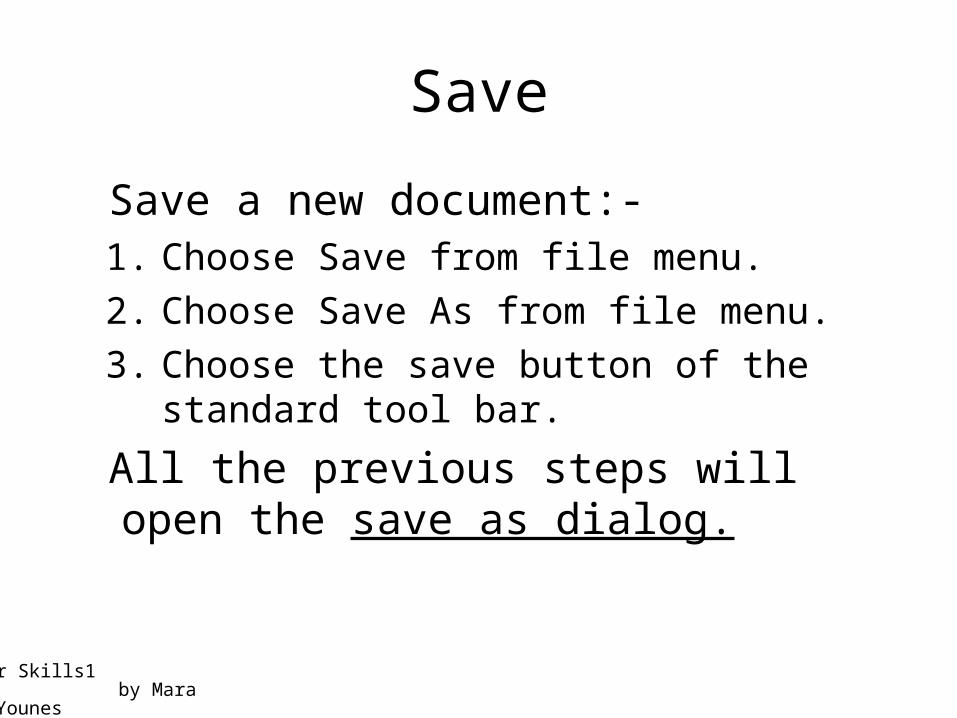
Save
Save a new document:-1. Choose Save from file menu.
2. Choose Save As from file menu.
3. Choose the save button of the standard tool bar.
All the previous steps will open the save as dialog.
Computer Skills1 by Maram Bani Younes
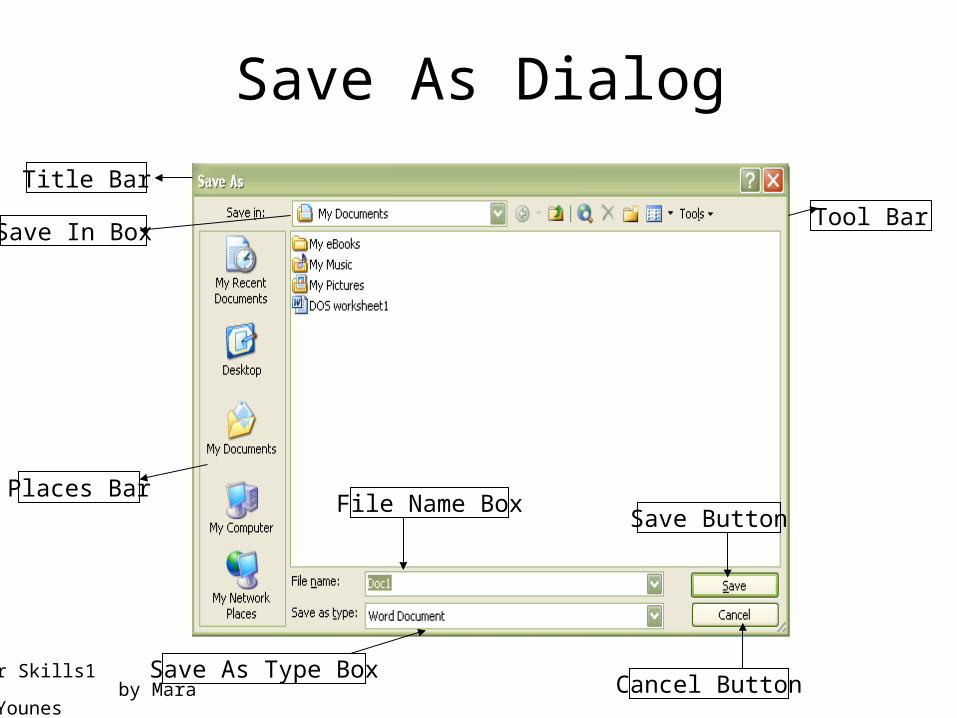
Title Bar
Tool Bar
Places Bar
Save In Box
File Name Box
Save As Type Box
Save Button
Cancel Button
Save As Dialog
Computer Skills1 by Maram Bani Younes
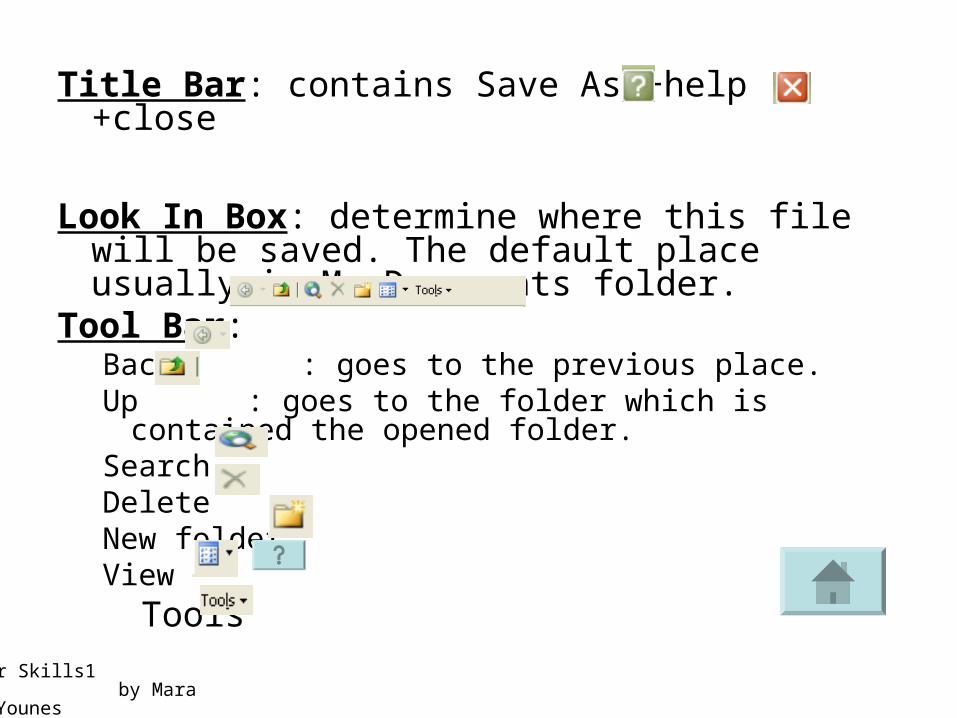
Title Bar: contains Save As +help +close
Look In Box: determine where this file will be saved. The default place usually is My Documents folder.
Tool Bar:Back : goes to the previous place.Up : goes to the folder which is contained the
opened folder.Search Delete New folderView
Tools
Computer Skills1 by Maram Bani Younes
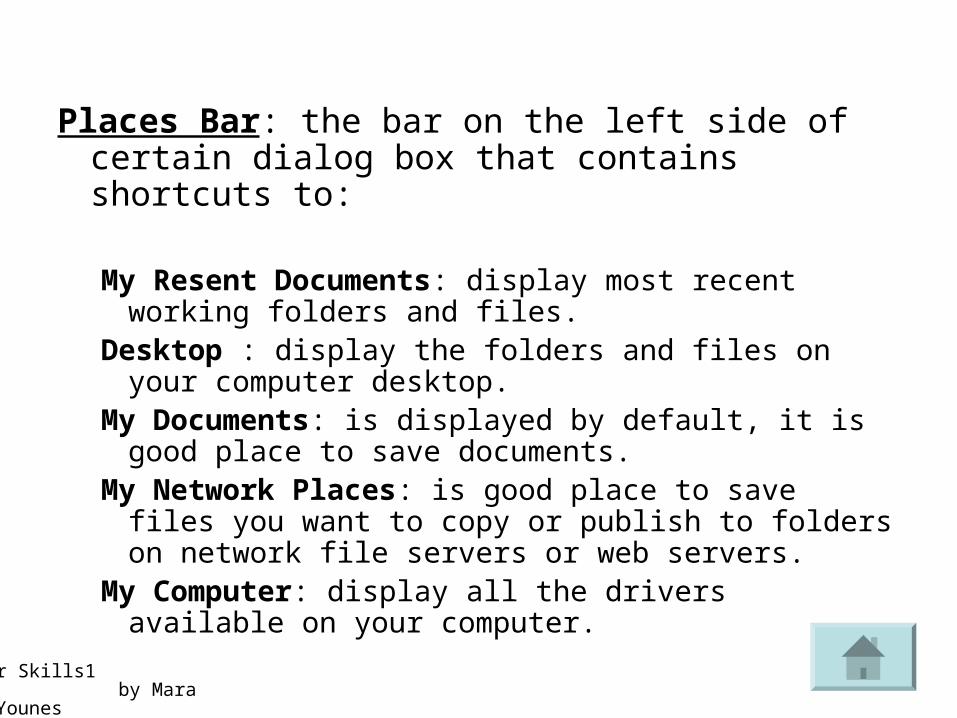
Places Bar: the bar on the left side of certain dialog box that contains shortcuts to:
My Resent Documents: display most recent working folders and files.
Desktop : display the folders and files on your computer desktop.
My Documents: is displayed by default, it is good place to save documents.
My Network Places: is good place to save files you want to copy or publish to folders on network file servers or web servers.
My Computer: display all the drivers available on your computer.
Computer Skills1 by Maram Bani Younes
File Name Box: enable you to insert the file name.
Save Button: to save this file on the determined place (save in), the determined name (file name) and type (save as type).
Cancel Button: to cancel the save process.
Computer Skills1 by Maram Bani Younes
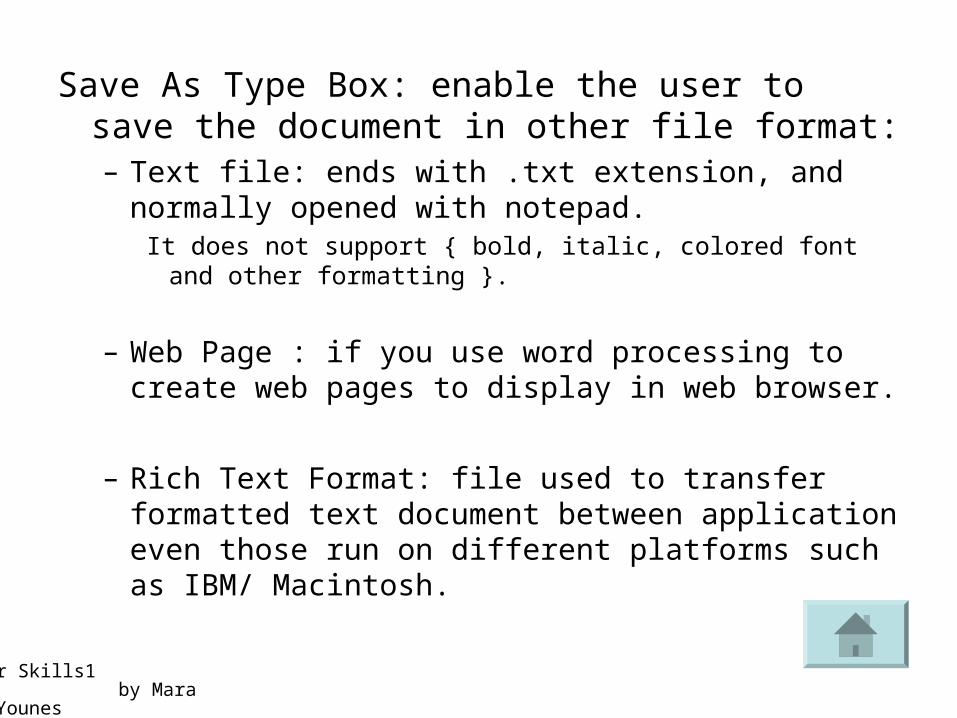
Save As Type Box: enable the user to save the document in other file format:– Text file: ends with .txt extension, and normally
opened with notepad.It does not support { bold, italic, colored font and other
formatting }.
– Web Page : if you use word processing to create web pages to display in web browser.
– Rich Text Format: file used to transfer formatted text document between application even those run on different platforms such as IBM/ Macintosh.
Computer Skills1 by Maram Bani Younes
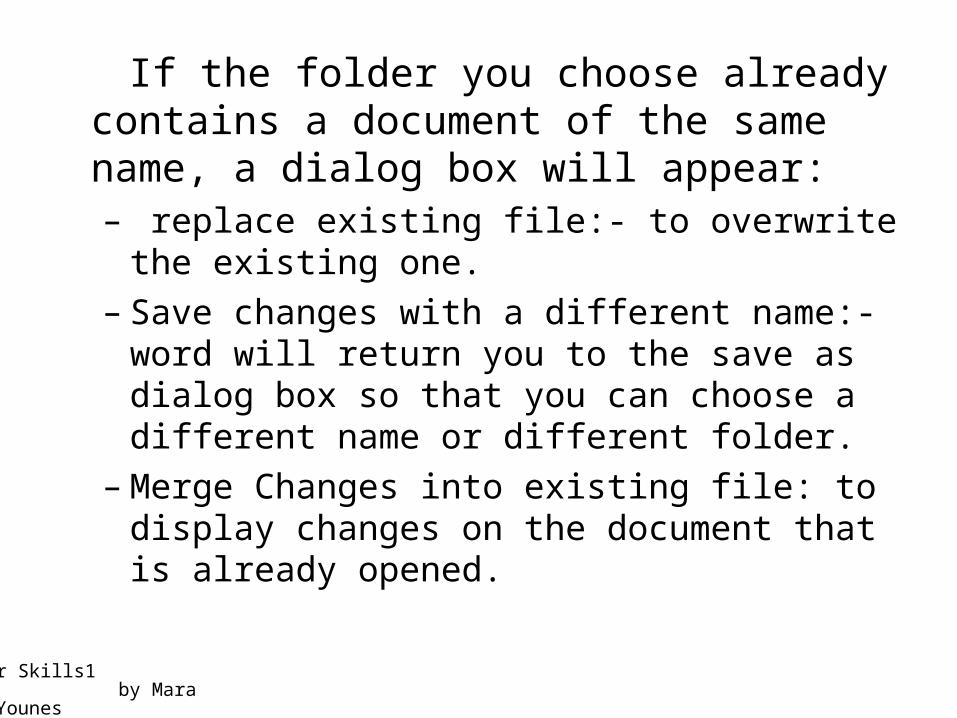
If the folder you choose already contains a document of the same name, a dialog box will appear:– replace existing file:- to overwrite the existing
one.– Save changes with a different name:- word
will return you to the save as dialog box so that you can choose a different name or different folder.
– Merge Changes into existing file: to display changes on the document that is already opened.
Computer Skills1 by Maram Bani Younes
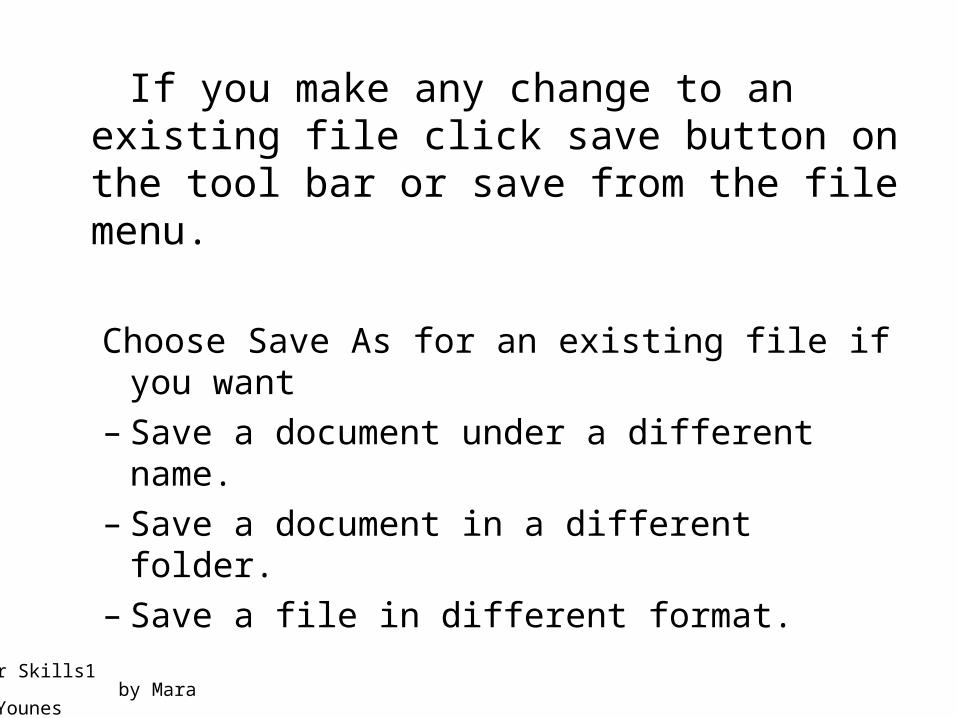
If you make any change to an existing file click save button on the tool bar or save from the file menu.
Choose Save As for an existing file if you want– Save a document under a different name.– Save a document in a different folder.– Save a file in different format.
Computer Skills1 by Maram Bani Younes
open
To retrieve a document you saved for revision or printing.
Choose file →open or open button from the tool bar.
Computer Skills1 by Maram Bani Younes
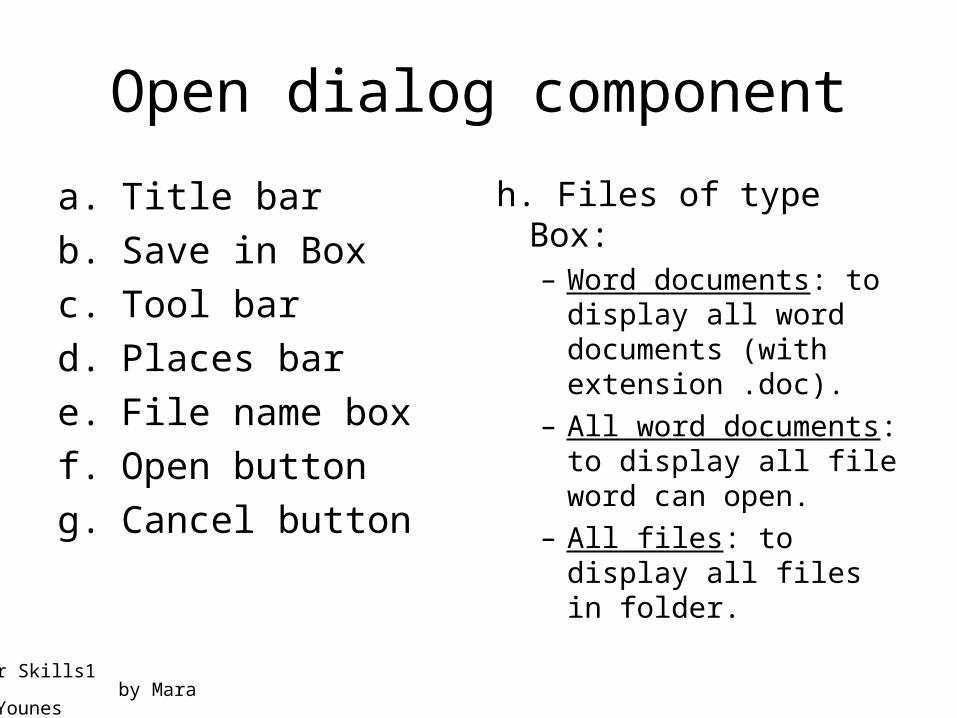
Open dialog component
a. Title bar
b. Save in Box
c. Tool bar
d. Places bar
e. File name box
f. Open button
g. Cancel button
h. Files of type Box:– Word documents: to
display all word documents (with extension .doc).
– All word documents: to display all file word can open.
– All files: to display all files in folder.
Computer Skills1 by Maram Bani Younes
Switching from document window to another.
• Use the window menu and then select the document you want to view.
• Task bar: all opened documents will be represented in one icon on the task bar use the arrow beside it and choose the document you want.
• Alt + tab.
Computer Skills1 by Maram Bani Younes
Selecting a Text
The general rule in word:
(Always select and then do).
Computer Skills1 by Maram Bani Younes
1. Select a word: double clicking a word.
2. Selecting a line of text: move the pointer to the left of line until it changes to right pointing arrow and then click OR shift + → arrow.
3. Selecting a sentence : hold down Ctrl and then click any where in the sentence.
Computer Skills1 by Maram Bani Younes
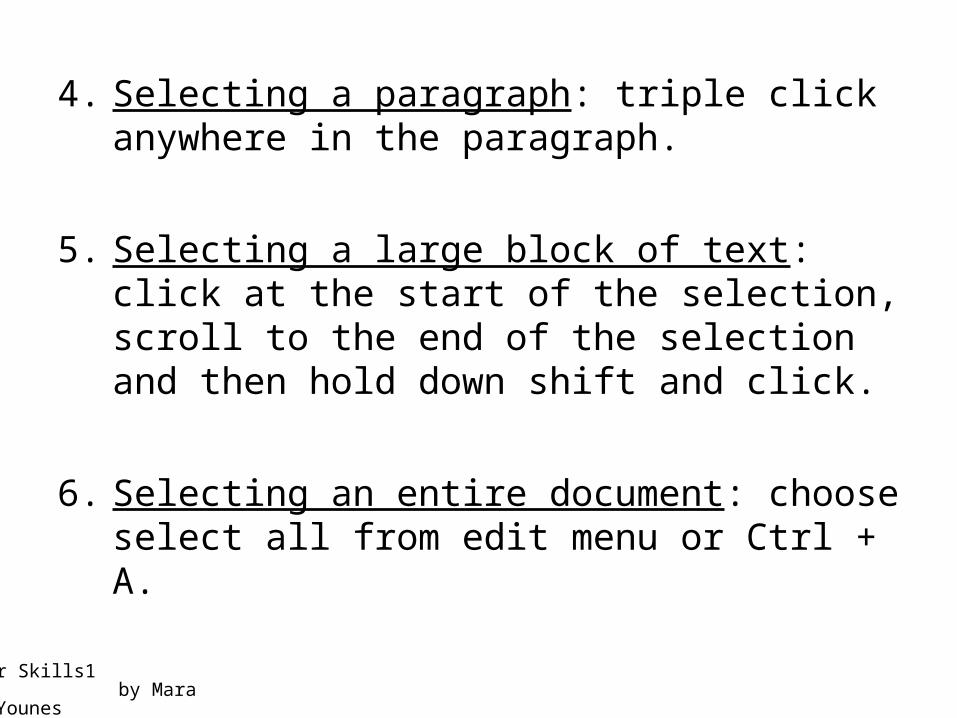
4. Selecting a paragraph: triple click anywhere in the paragraph.
5. Selecting a large block of text: click at the start of the selection, scroll to the end of the selection and then hold down shift and click.
6. Selecting an entire document: choose select all from edit menu or Ctrl + A.
Computer Skills1 by Maram Bani Younes
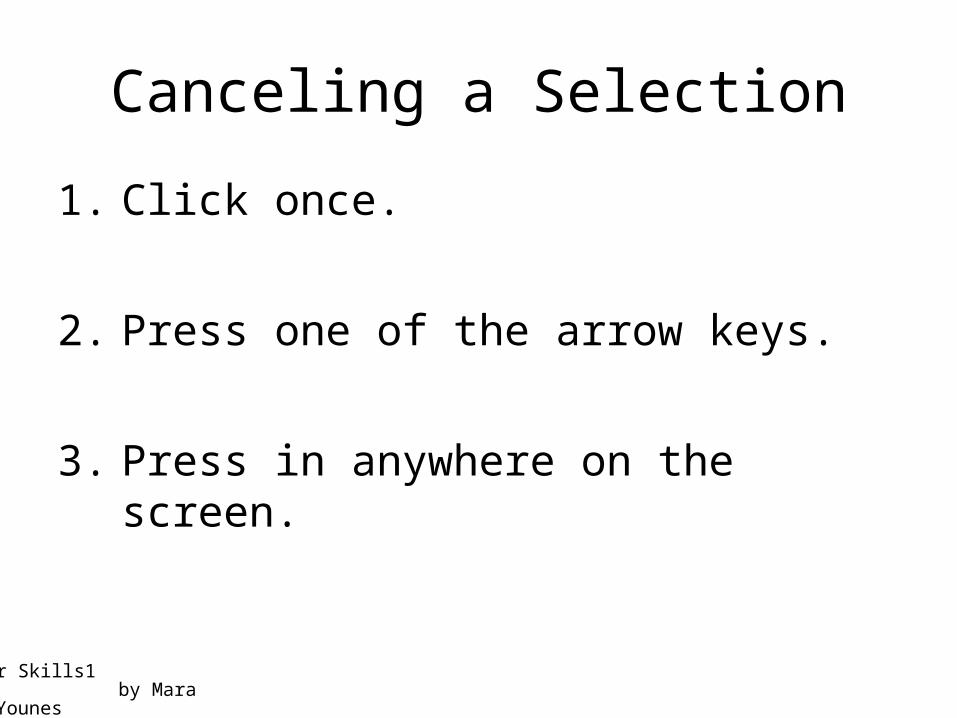
Canceling a Selection
1. Click once.
2. Press one of the arrow keys.
3. Press in anywhere on the screen.

Computer Skills1 by Maram Bani Younes
copy
To make more than one copy of some text.
• Select the text.• Select copy from edit menu OR copy button on the standard tool bar OR Ctrl + C.3. Move to the new place4. Select past: edit →paste OR paste button on the standard
- tool bar OR Ctrl + V

Computer Skills1 by Maram Bani Younes
Alternatively,
1. Hold down the Ctrl key on the keyboard.
2. Drag the selected text.
3. Drop to the new location and then release the mouse button.
Alternatively,
1. Hold down the Ctrl key on the keyboard.
2. Drag the selected text.
3. Drop to the new location and then release the mouse button.
Computer Skills1 by Maram Bani Younes
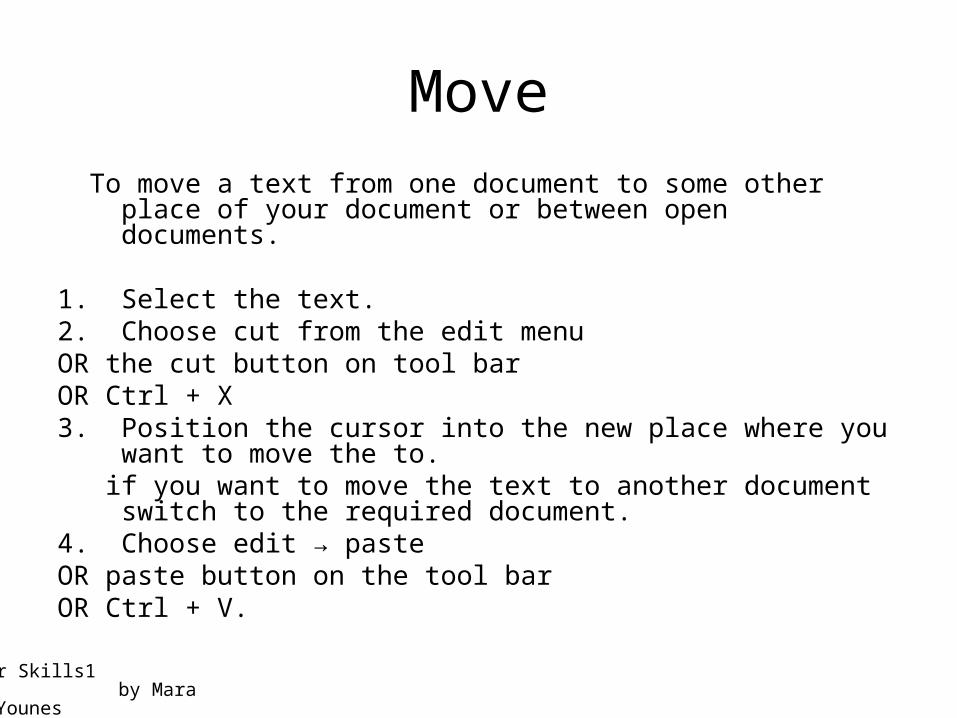
Move To move a text from one document to some other place of your
document or between open documents.
1. Select the text.2. Choose cut from the edit menuOR the cut button on tool barOR Ctrl + X3. Position the cursor into the new place where you want to move
the to. if you want to move the text to another document switch to the
required document.4. Choose edit → pasteOR paste button on the tool barOR Ctrl + V.
Computer Skills1 by Maram Bani Younes
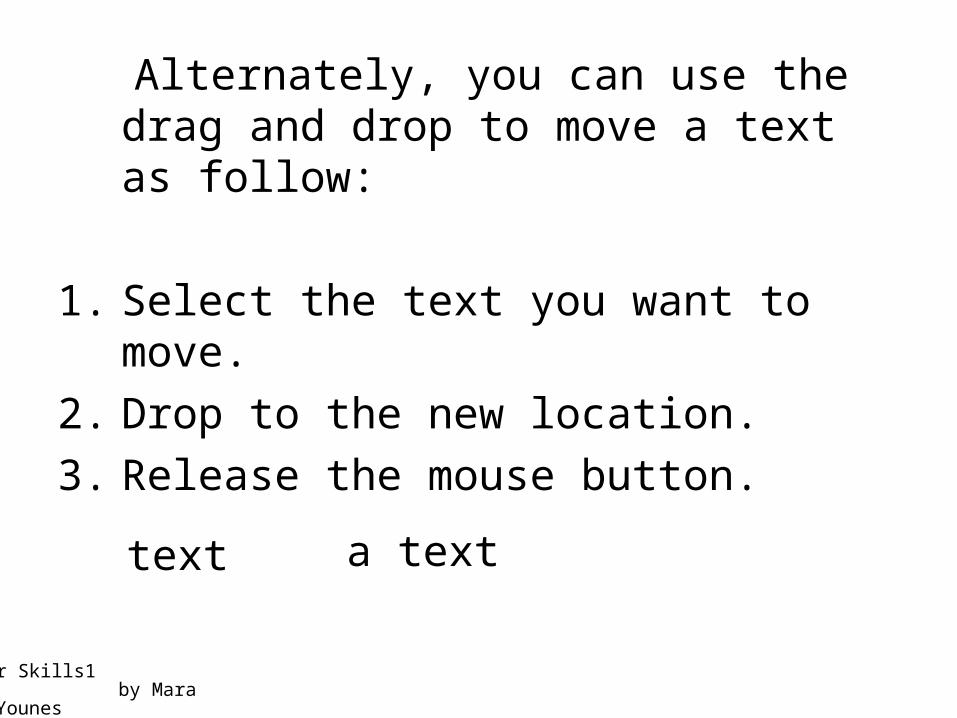
Alternately, you can use the drag and drop to move a text as follow:
1. Select the text you want to move.
2. Drop to the new location.
3. Release the mouse button.
a text text
Computer Skills1 by Maram Bani Younes
Paste
1. Edit menu → paste.
2. Paste button on the standard tool bar.
3. Ctrl + V.
Computer Skills1 by Maram Bani Younes
When you paste information into Microsoft word, the paste options button appears just below your pasted selection after you paste a text.
1. Keep source formatting: to keep the text to it is original formatting.
2. Match Destination Formatting: to format text like surrounding text.
3. Keep text only: to paste the text only without any formatting

Computer Skills1 by Maram Bani Younes
To turn on OR off the paste option button.
1. Click options on the tools menu.
2. Click Edit tab.
3. Select OR Clear the ( show paste options buttons) check box.
Computer Skills1 by Maram Bani Younes
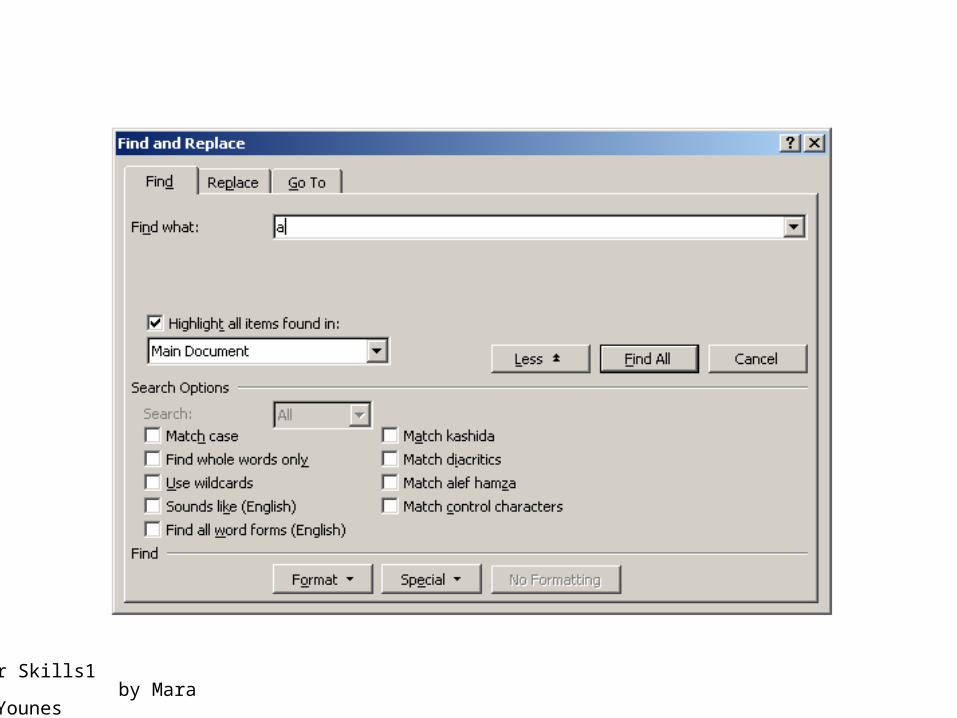
Find
To find a text to adjust it or to replace it with another text.
When you choose find from the edit menu the find and replace dialog is opened.
Computer Skills1 by Maram Bani Younes
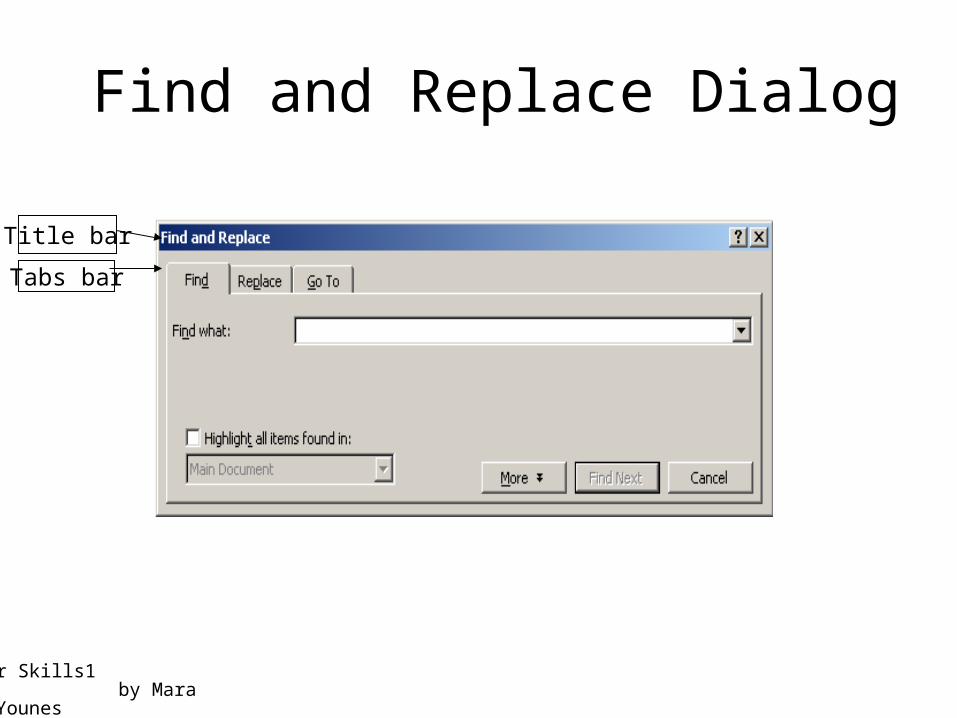
Find and Replace Dialog
Title bar
Tabs bar

Computer Skills1 by Maram Bani Younes
• Find tab
Computer Skills1 by Maram Bani Younes
Computer Skills1 by Maram Bani Younes
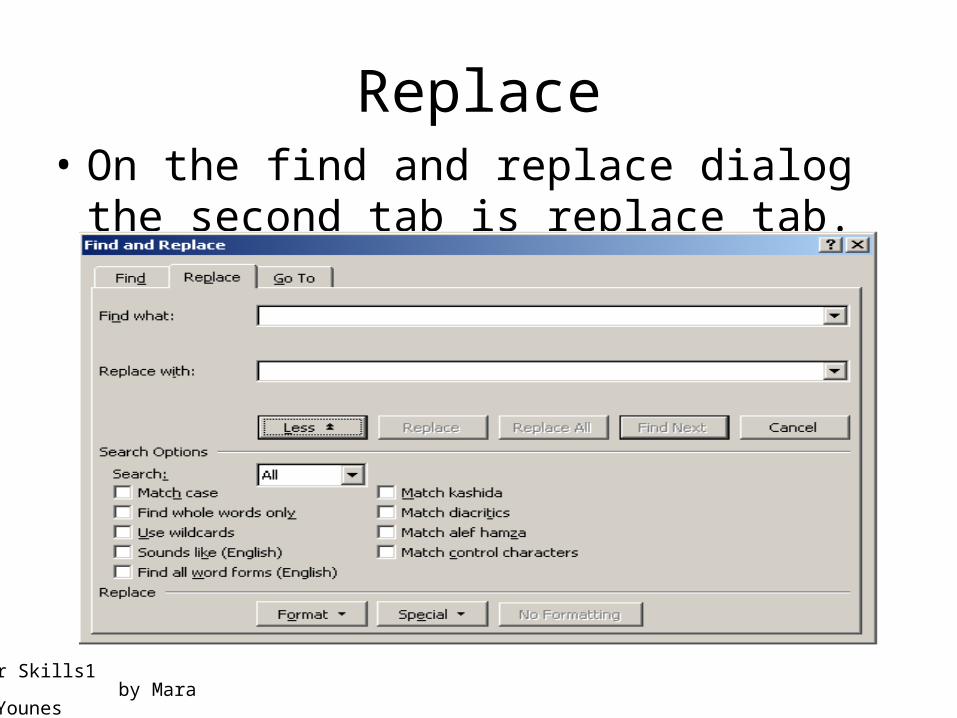
Replace• On the find and replace dialog the second
tab is replace tab.
Computer Skills1 by Maram Bani Younes
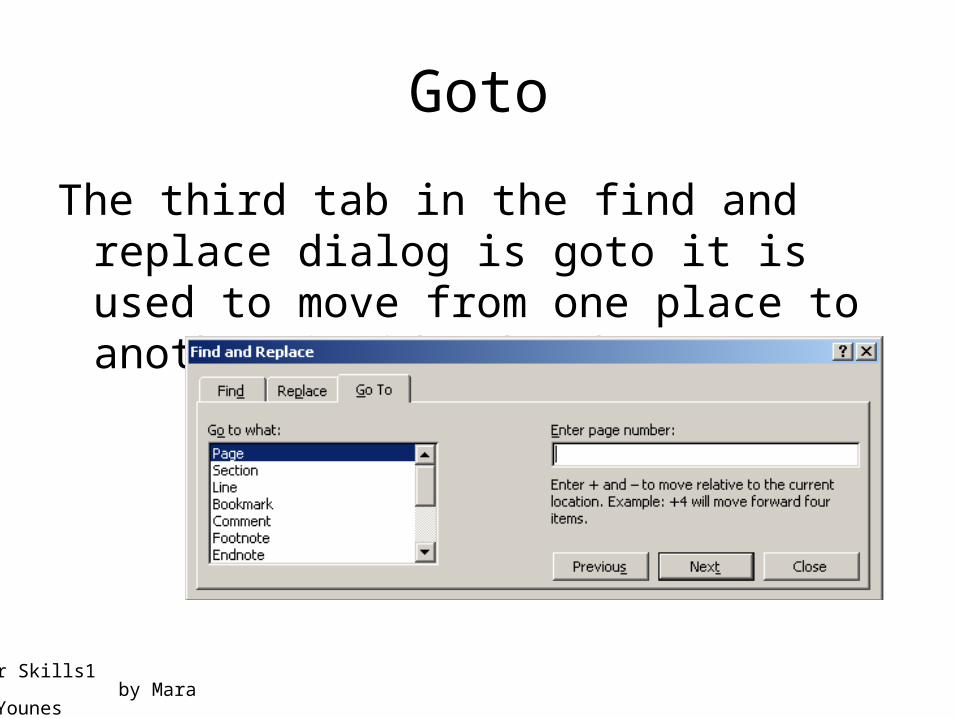
Goto
The third tab in the find and replace dialog is goto it is used to move from one place to another inside the document.

Computer Skills1 by Maram Bani Younes
Font
Changing the text font:
1. Select the text.
2. Choose the format menu.
3. Select font, to display the font dialog.
Computer Skills1 by Maram Bani Younes
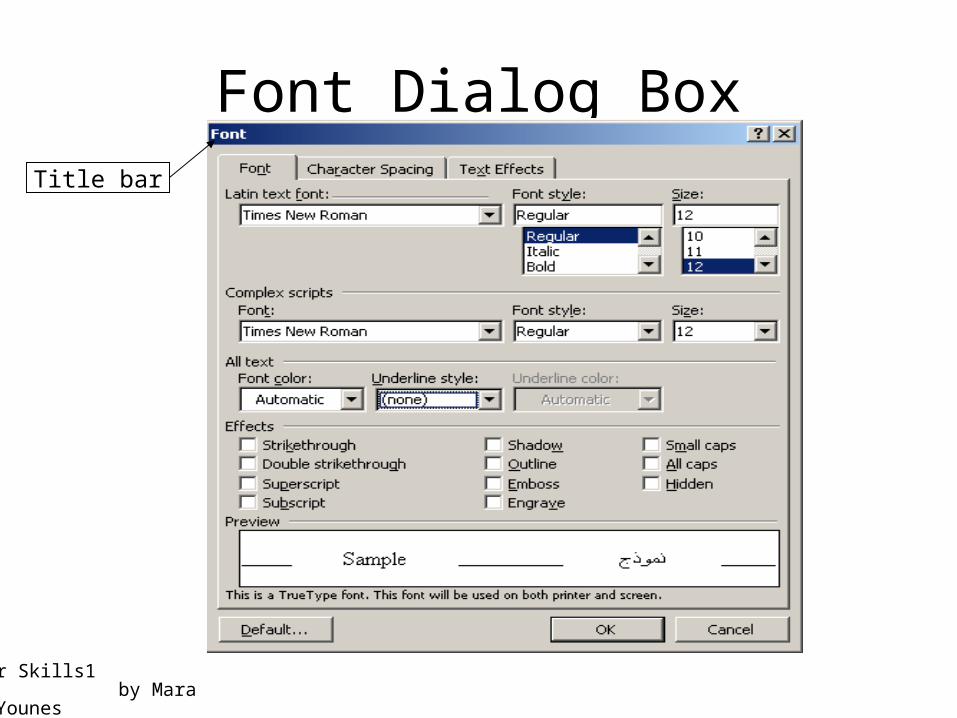
Font Dialog Box
Title bar
Computer Skills1 by Maram Bani Younes
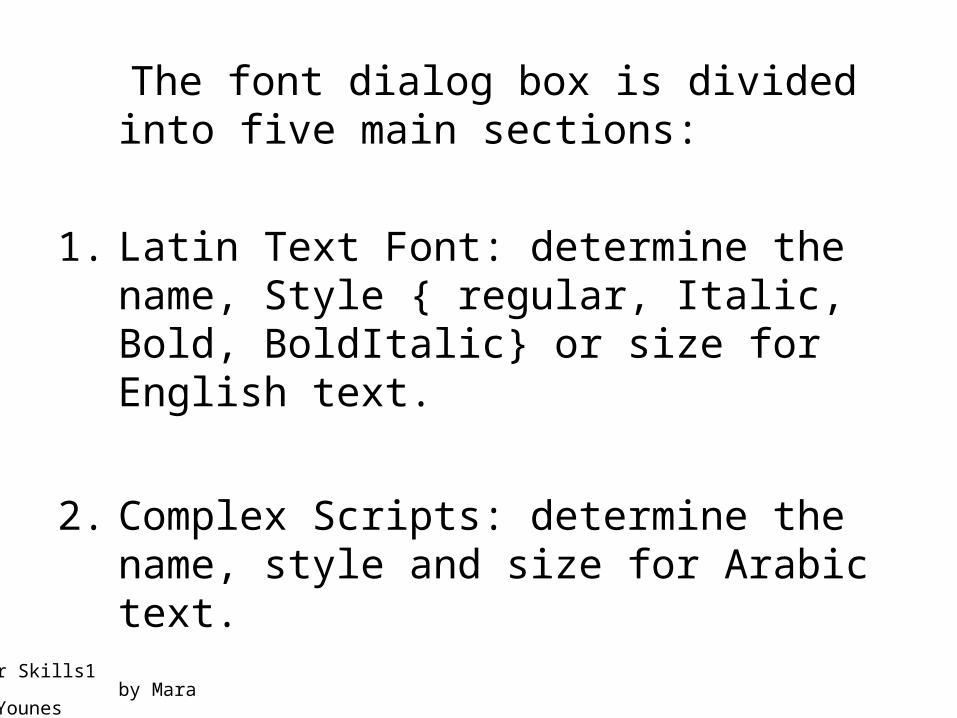
The font dialog box is divided into five main sections:
1. Latin Text Font: determine the name, Style { regular, Italic, Bold, BoldItalic} or size for English text.
2. Complex Scripts: determine the name, style and size for Arabic text.
Computer Skills1 by Maram Bani Younes
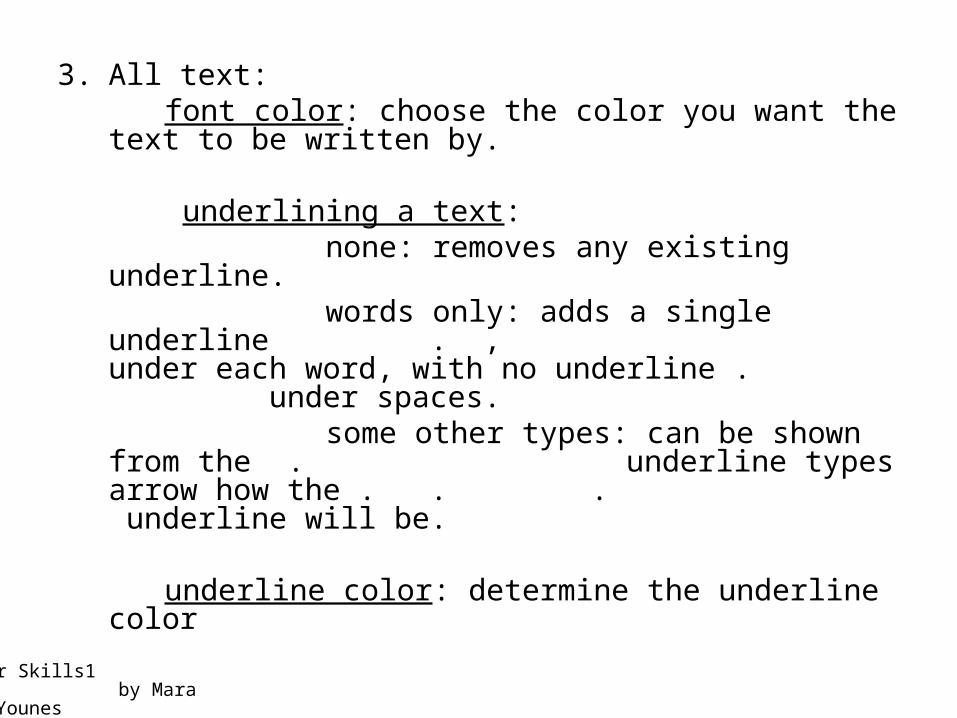
3. All text: font color: choose the color you want the text
to be written by.
underlining a text: none: removes any existing underline. words only: adds a single underline .
, under each word, with no underline . under spaces.
some other types: can be shown from the . underline types arrow how the . . . underline will be.
underline color: determine the underline color

Computer Skills1 by Maram Bani Younes
4. Effects:
The effects which could be applied on a text like (Strikethrough, Double Strikethrough..).
To understand any effect job: choose it and look to the preview box.
Write ( H2O & H2).
5. Preview:
A box contains a sample word and show any change on this word.
Computer Skills1 by Maram Bani Younes
Changing Case:
1. Select the text you want to change.
2. Choose format menu, select change case.
3. The change case dialog box will appear which is contain the following options.

Computer Skills1 by Maram Bani Younes
Sentence Case: to change the first letter in the sentence into capital.
Lower Case: to change the selected text to small letters.
Upper Case: to change the selected text to capital letters.
Title Case: to change the first letter of every word in the selected text into capital.
Toggle Case: to change the capital letters into small, and small letters to capital.
Computer Skills1 by Maram Bani Younes
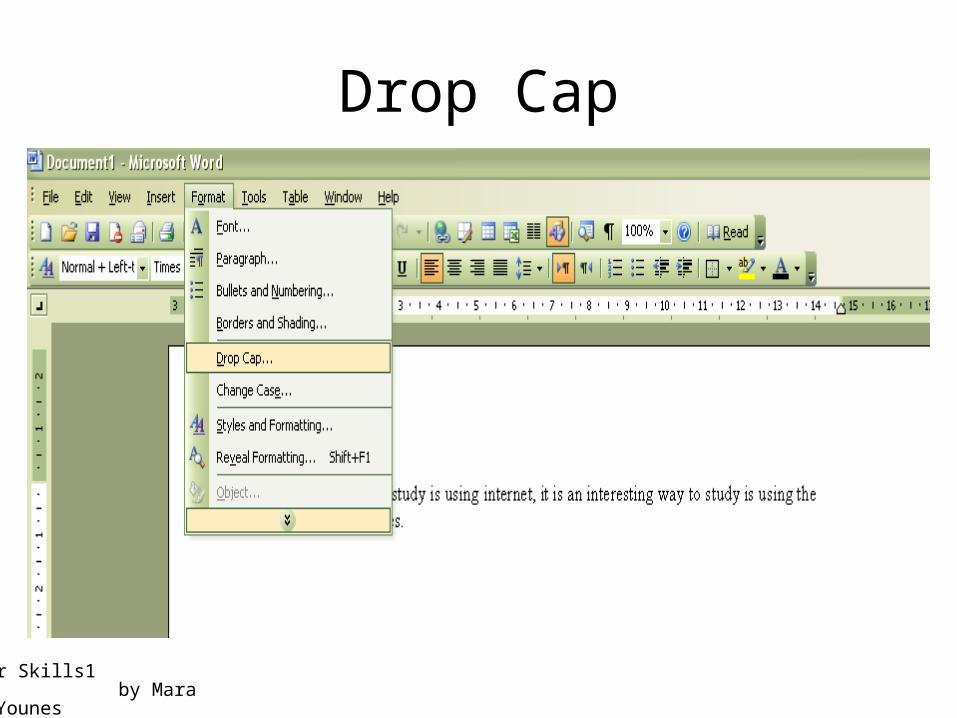
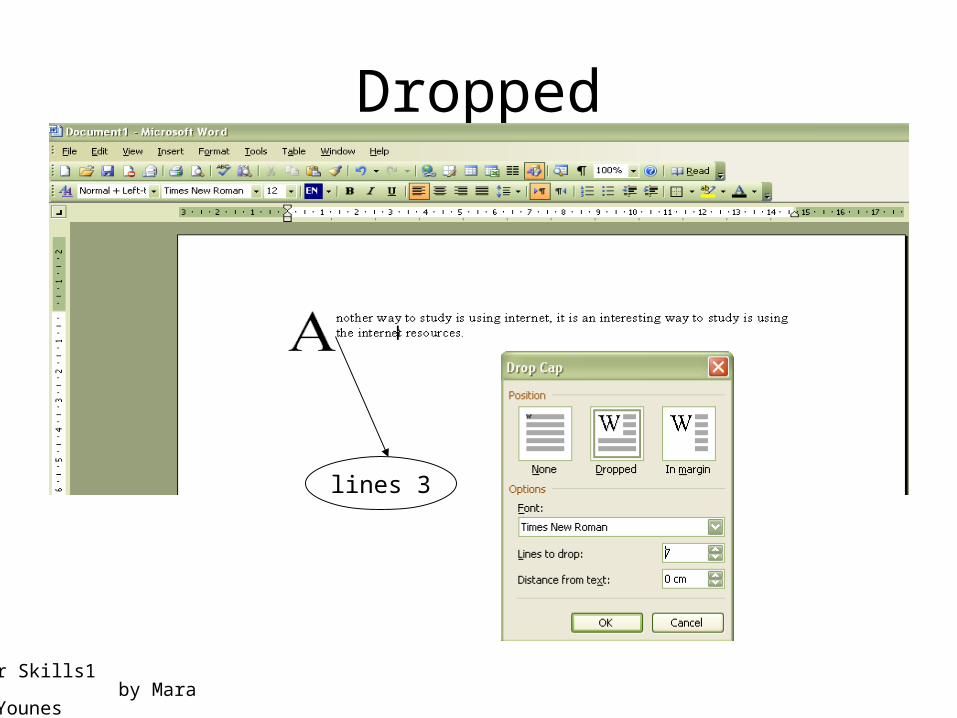
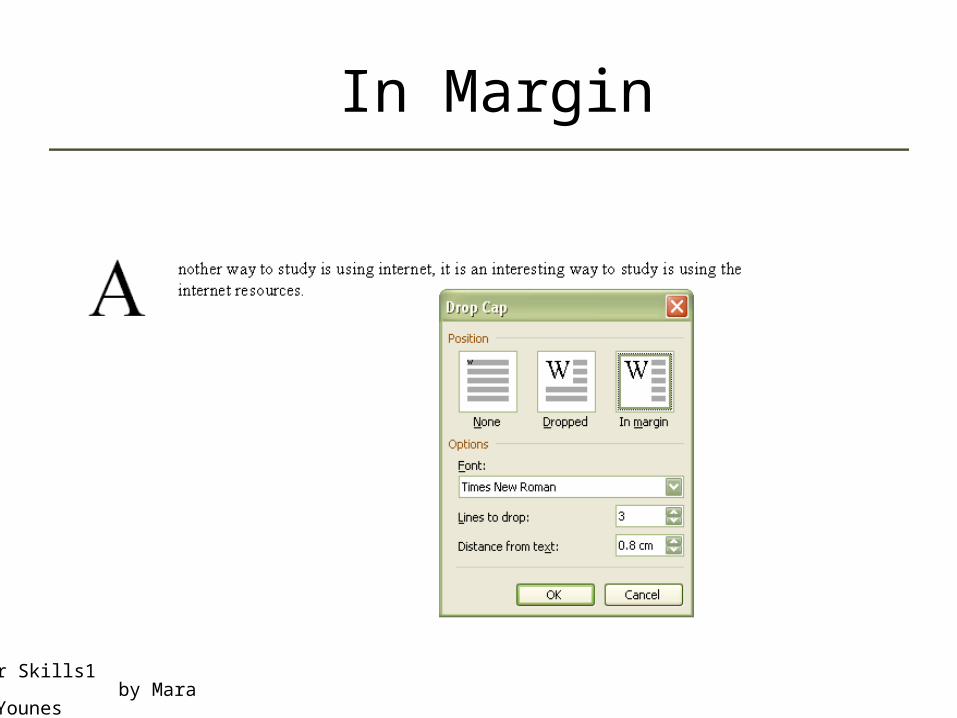
Drop Cap

Computer Skills1 by Maram Bani Younes

Computer Skills1 by Maram Bani Younes
None
Computer Skills1 by Maram Bani Younes
Dropped
3 lines

Computer Skills1 by Maram Bani Younes
7 lines
Computer Skills1 by Maram Bani Younes
In Margin

Computer Skills1 by Maram Bani Younes
Page Setup
• From the File menu we could open the page setup dialog box.

Computer Skills1 by Maram Bani Younes
Page Setup Dialog Box
This dialog box contains
three main tabs as shown
In the picture:
‾ Margins
‾ Paper
‾ Layout
Computer Skills1 by Maram Bani Younes
Margins
• Margins: are the areas of space between the edge of the paper and the edges of the text.
• There are four margins on every page: top, bottom, left and right.
• From the first section in the margin tab you can set each of these four margins individually. also you can set the gutter margin.
Computer Skills1 by Maram Bani Younes
• Gutter margin: add extra space to the side or top margin of the document you plan to bind.
• Gutter Position: determine from where this extra margin have to be. It can be from the left, right or top.

Computer Skills1 by Maram Bani Younes
Paper Orientation
• This is the second part of the margin tab in the page setup dialog box, the page orientation can be either:
– Portrait: taller than it is wide.– Landscape: wider than it is tall.

Computer Skills1 by Maram Bani Younes
Preview and Apply box
• The Preview Section: show how the paper will be will be displayed if you print it.
• Apply to Box: from this box you can determine on which you apply these page setup on the whole document or on a specific page.

Computer Skills1 by Maram Bani Younes
Paper and Layout Tabs
Computer Skills1 by Maram Bani Younes
Numbering
to create a number list:1. Type 1. OR 1- to start a number list, and
then press Spacebar and type any text.
2. Press Enter to add the next list item. Word automatically inserts the next number.
3. To finish the list, press Enter twice, or press Enter and the Backspace to delete the last number in the list.
Computer Skills1 by Maram Bani Younes
to add numbering to an existing text:Select the list items and then select the
numbering icon on the tool bar.To eliminate the numbering, select this icon
again.
Changing the format of numbering:1. Select the list items ►choose Bullets and
Numbering on the format menu. The Bullets and Numbering dialog box will be appeared.
2. Select Numbered tab.3. Choose the numbering format which is you
want.
Computer Skills1 by Maram Bani Younes
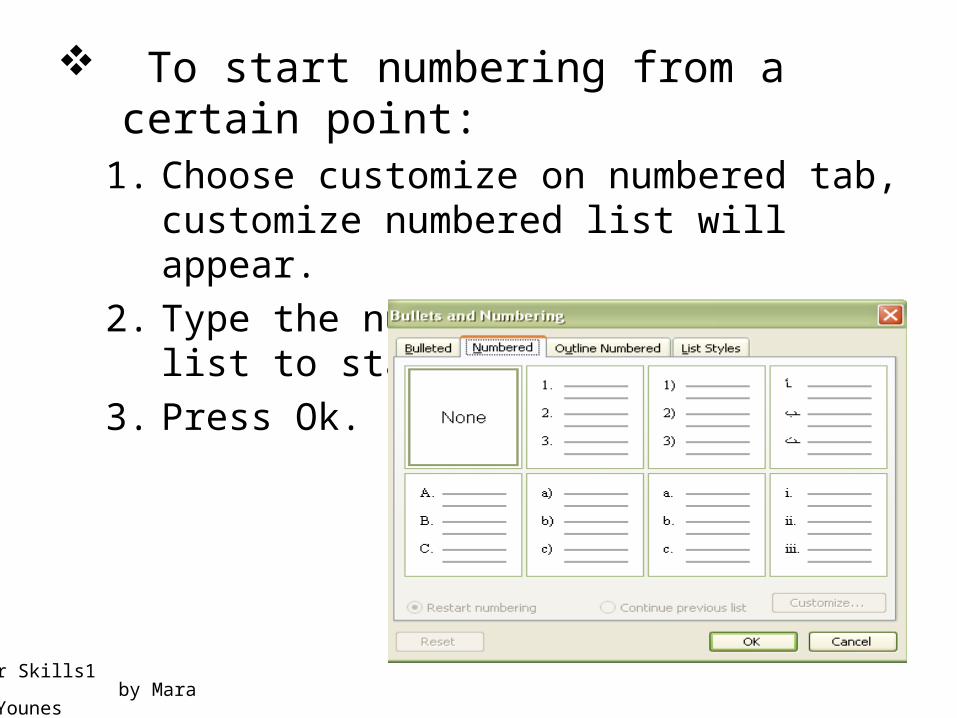
To start numbering from a certain point:1. Choose customize on numbered tab,
customize numbered list will appear.
2. Type the number you want your list to start at in start at box.
3. Press Ok.
Computer Skills1 by Maram Bani Younes
Bulleted
to create bulleted list as you type:1. Type asterisk (*) or insert a symbol, and
then press Spacebar, type any text you want.
2. Press Enter to add the next list item, word automatically inserts the next bullet.
3. To finish the list, press Enter twice, or press Backspace to delete the last bullet in the list.

Computer Skills1 by Maram Bani Younes
to create a bulleted list for an existing text:1. Select the items
2. Click on the bullets icon.
To change the format of the bullets:1. Select the list items, and then click Bullets and
Numbering on the Format menu.
2. Select bulleted tab.
3. Choose the style you want.
4. For more bullets style click customize.
5. Chick character to add a symbol.
6. Click the picture button to view more of the bullets.
7. Click ok.

Computer Skills1 by Maram Bani Younes
To convert bullets to numbers and vice versa do the following:
1. Select the items in bullets or numbers formatting you want to change.
2. On the formatting toolbars, click bullets or numbering.
Computer Skills1 by Maram Bani Younes
Print Preview
The print preview gives an idea of how your document will look when it is printed, it shows:
1. Where page number will appear.
2. How headings and margins will look.
Print preview will allow you to make adjustments to any of these setting before printing.
Computer Skills1 by Maram Bani Younes
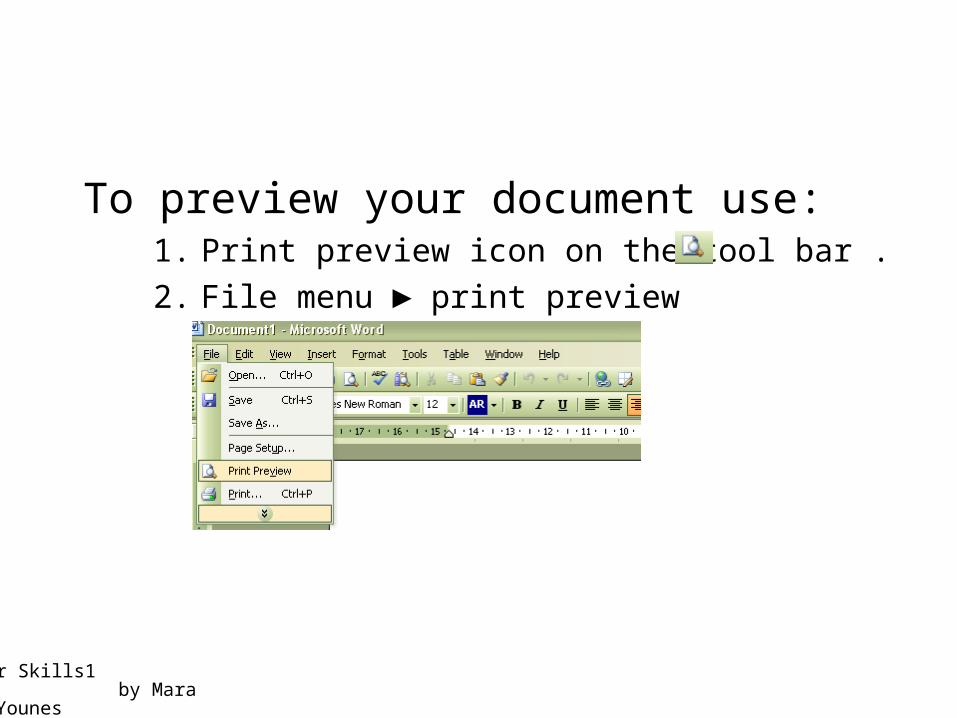
To preview your document use:1. Print preview icon on the tool bar .
2. File menu ► print preview
Computer Skills1 by Maram Bani Younes
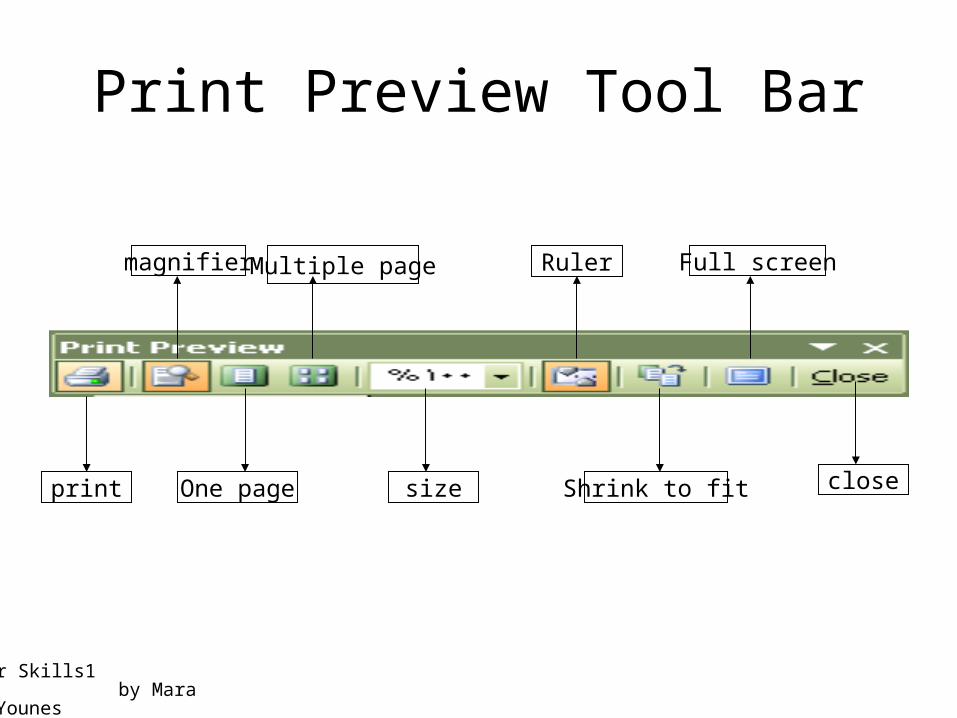
Print Preview Tool Bar
print One page
Ruler Full screen
closeShrink to fitsize
magnifier Multiple page
Computer Skills1 by Maram Bani Younes
1. Print: used to print the document as it is shown in the print preview.
2. Magnifier: change the pointer from zooming tool into text pointer, if you want to update the print preview and vice versa.
3. One page: to view one page.4. Multiple pages: let you specify the number of pages
you want to see simultaneously.5. Size: change the size of the print preview page.6. Shrink to fit: to tighten a document that ends with
white page.7. Full screen: gives the page of print preview as full
screen not a page.8. Close: to close the print preview and return into the
document.

Computer Skills1 by Maram Bani Younes
Printing a Document
If you choose the print icon on the standard tool bar OR on the print preview tool bar the document will be printed without any selections or options.
If you want to set some parameters: choose print from the File Menu OR press
Ctrl+P.
Computer Skills1 by Maram Bani Younes
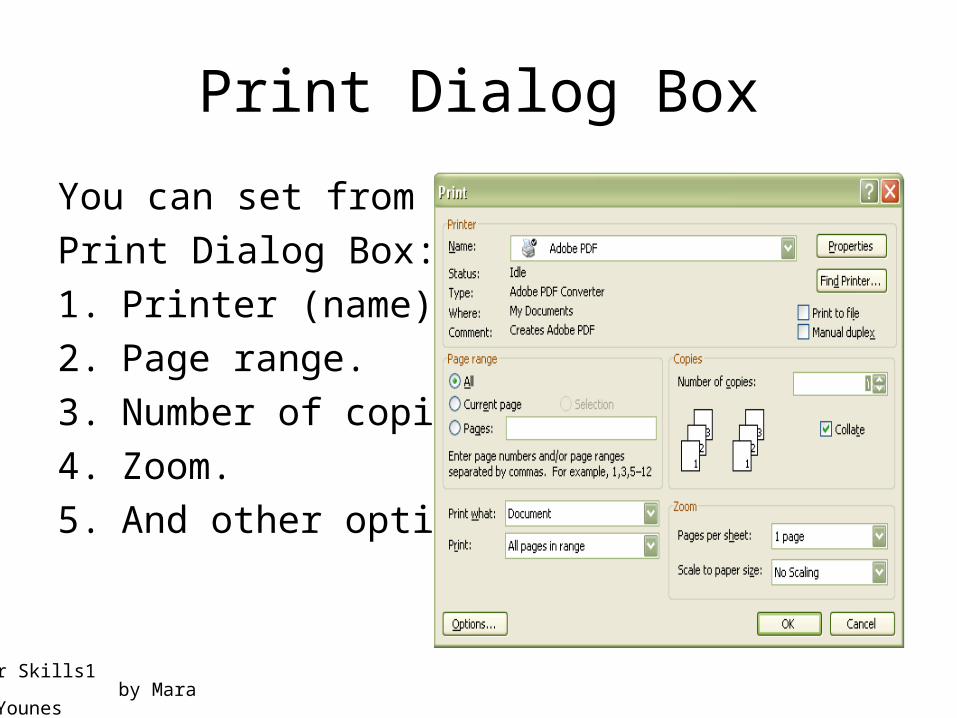
Print Dialog Box
You can set from the
Print Dialog Box:
1. Printer (name).
2. Page range.
3. Number of copies.
4. Zoom.
5. And other options.
Computer Skills1 by Maram Bani Younes
• Page range:– All: print all of the document.– Current page: print the page which contains
the pointer.– Selection: print the selected text.– Pages: enable you to insert the range or
pages number which have to be printed.
Computer Skills1 by Maram Bani Younes
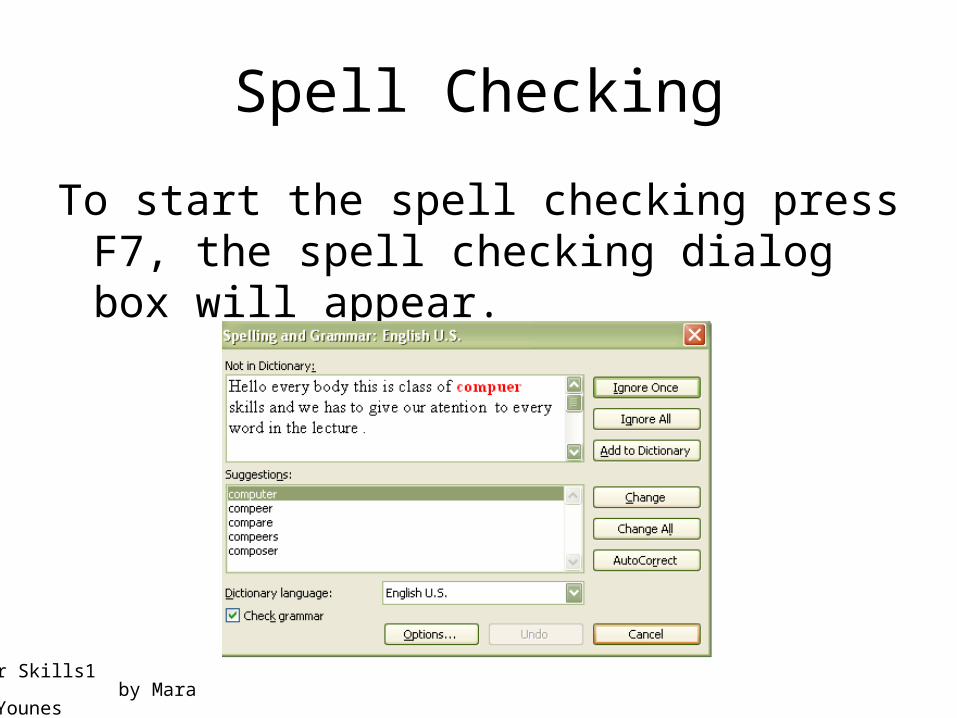
Spell Checking
To start the spell checking press F7, the spell checking dialog box will appear.

Computer Skills1 by Maram Bani Younes
• The first part in the spelling dialog box will report any word, which does not match the dictionary.
• In the second part, there are many suggestions for possible correction.
• Select change to substitute in order to correct the misspelled word. (select the new word from the suggestions).
• Select change All to correct the word whenever it is occurred through the document.
• Select Ignore to accept the word as it is.• Select Add to Dictionary to add this word to the
dictionary.
Computer Skills1 by Maram Bani Younes
to check spelling as you type:
1. Type in the document.
2. Right click a word with a wavy red line under and then select the spelling alternative you want.
The wrong grammar word will have a green wavy line.
Computer Skills1 by Maram Bani Younes
Insertion
• Header and Footer.• Page Number.• Symbol.• Page Break.• Hyperlink.• Picture.• Diagram.• Equation.• Table.

Computer Skills1 by Maram Bani Younes
Header and Footer
To insert Header and footer to the word document :
From the View Menu► Header and Footer.

Computer Skills1 by Maram Bani Younes
The word will give you a place to insert a header at the top of each paper and a footer at the end of each paper.
Also there will be a header and footer tool bar enable you to access these header and footer sections.
Computer Skills1 by Maram Bani Younes
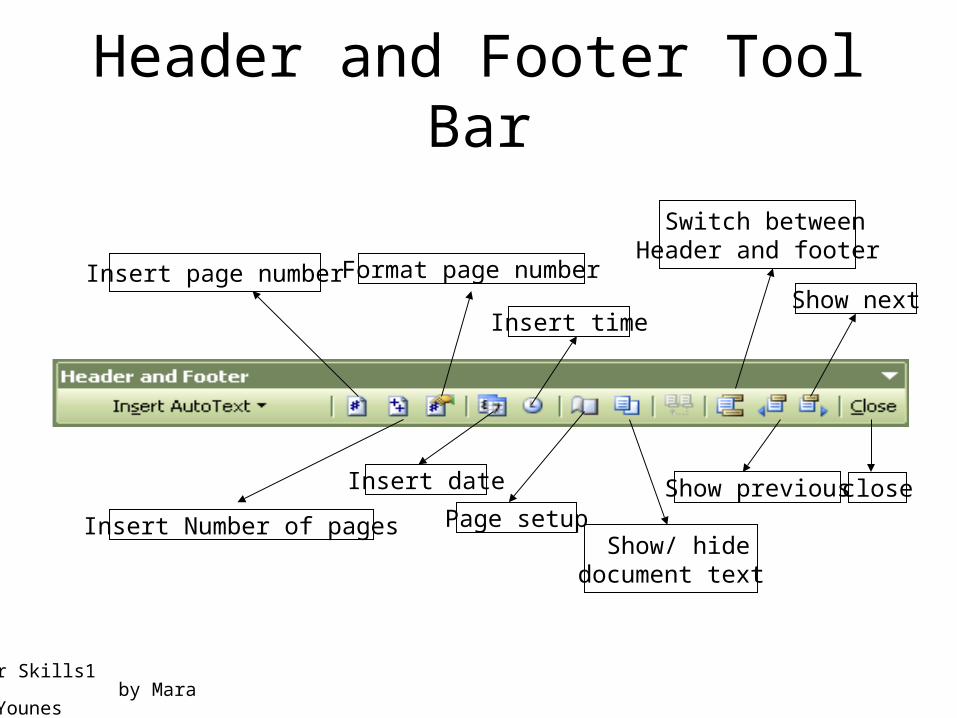
Header and Footer Tool Bar
close
Switch between Header and footer
Show previous
Show nextInsert page number
Insert Number of pages
Format page number
Insert date
Insert time
Page setupShow/ hide
document text

Computer Skills1 by Maram Bani Younes
Computer Skills1 by Maram Bani Younes
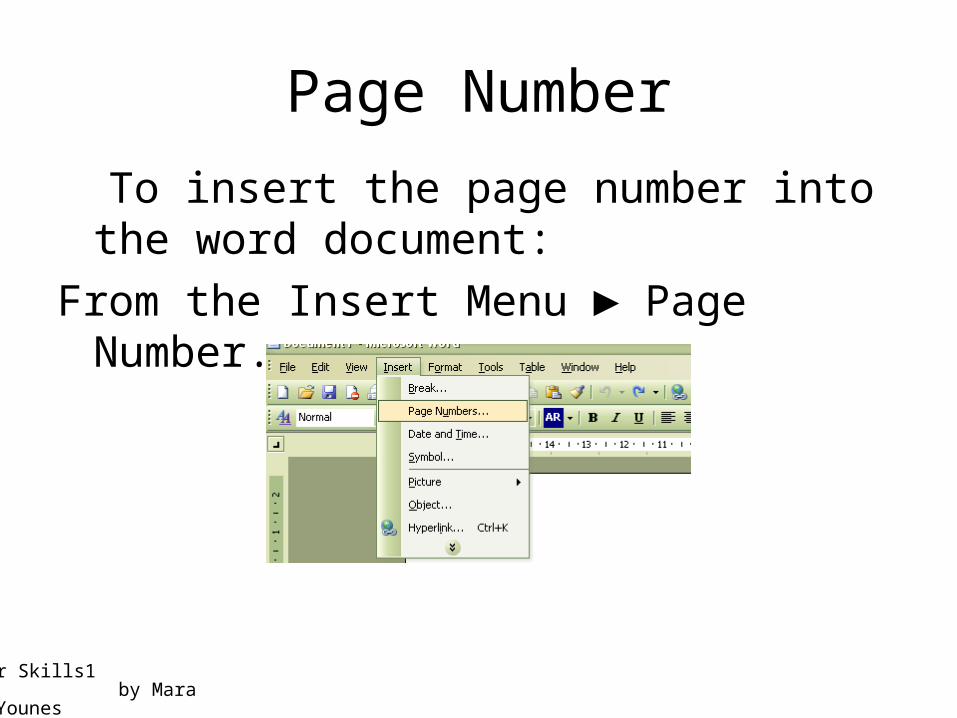
Page Number
To insert the page number into the word document:
From the Insert Menu ► Page Number.

Computer Skills1 by Maram Bani Younes
From the page number dialog box you can choose the page number place either in the header or in the footer of the page.
Also you can choose it alignment.

Computer Skills1 by Maram Bani Younes
From the format button you can determine which format you want to apply on these page numbers, and start from which number.
You can show the number on the first page or hide it. HOW?

Computer Skills1 by Maram Bani Younes
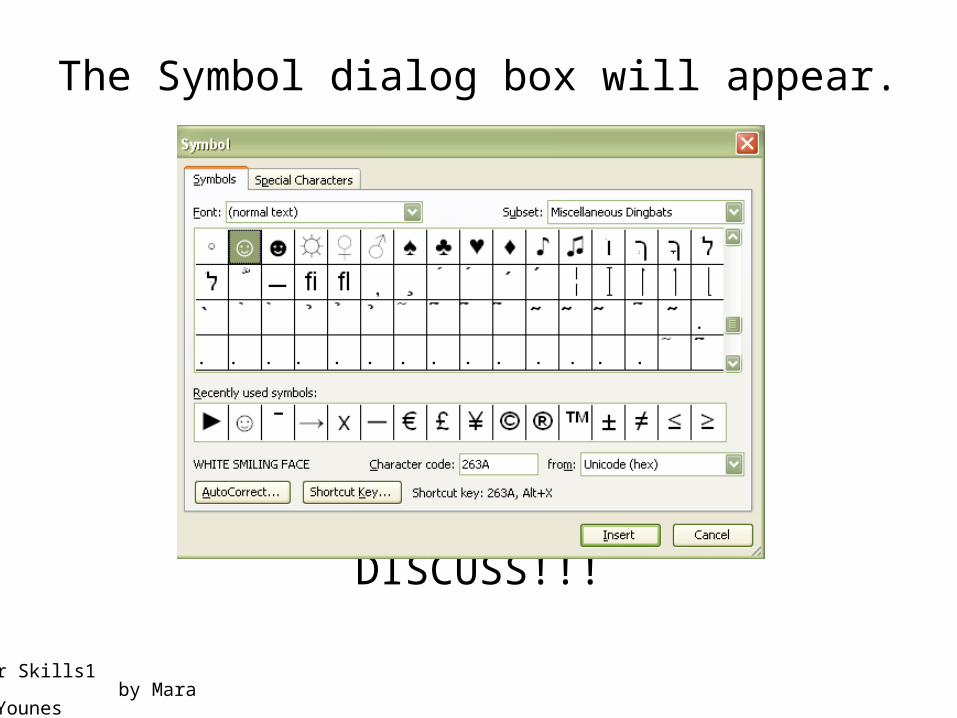
Symbol
You can insert a symbol to the word document:
From the Inert Menu ► Symbol.
Computer Skills1 by Maram Bani Younes
The Symbol dialog box will appear.
DISCUSS!!!
Computer Skills1 by Maram Bani Younes
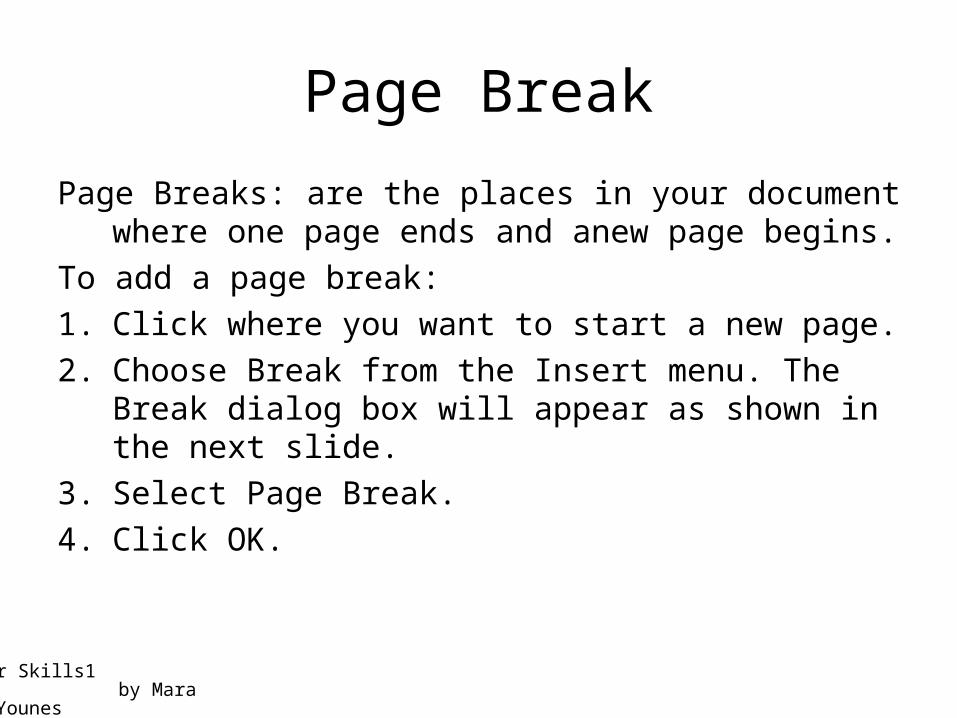
Page Break
Page Breaks: are the places in your document where one page ends and anew page begins.
To add a page break:
1. Click where you want to start a new page.
2. Choose Break from the Insert menu. The Break dialog box will appear as shown in the next slide.
3. Select Page Break.
4. Click OK.

Computer Skills1 by Maram Bani Younes
Words creates a new page with
the pointer on it, ready for you to
begin typing.
Breaks appear as dotted lines in Normal view.
You can delete breaks as you would delete text. Select Break Line and press Del.

Computer Skills1 by Maram Bani Younes
HyperlinkThe Hyperlink enable the user to open
another folder or file by clicking this link (name of the folder or file).
You can insert a hyperlink into your document from the Insertion Menu:

Computer Skills1 by Maram Bani Younes
A new dialog will be opened to choose the folder or file which you want to make a link to it.
DISCUSS!!!
Computer Skills1 by Maram Bani Younes
Picture
The picture can be inserted in different ways:
• Clip Art
• From File
• Auto Shape
• Word Art
Computer Skills1 by Maram Bani Younes
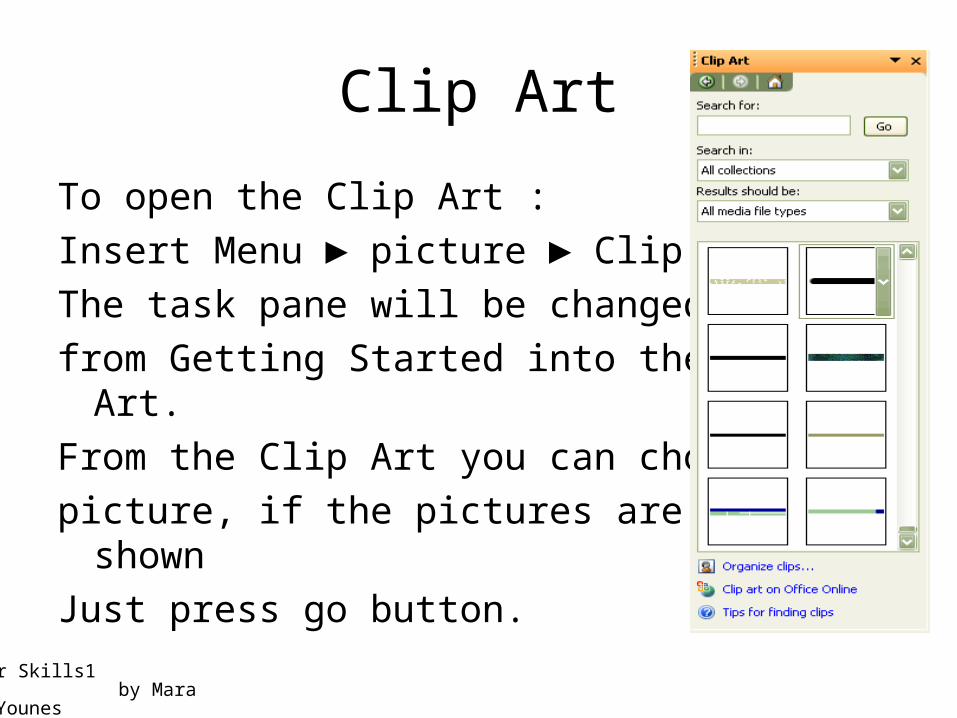
Clip Art
To open the Clip Art :
Insert Menu ► picture ► Clip Art.
The task pane will be changed
from Getting Started into the Clip Art.
From the Clip Art you can choose the
picture, if the pictures are not shown
Just press go button.
Computer Skills1 by Maram Bani Younes
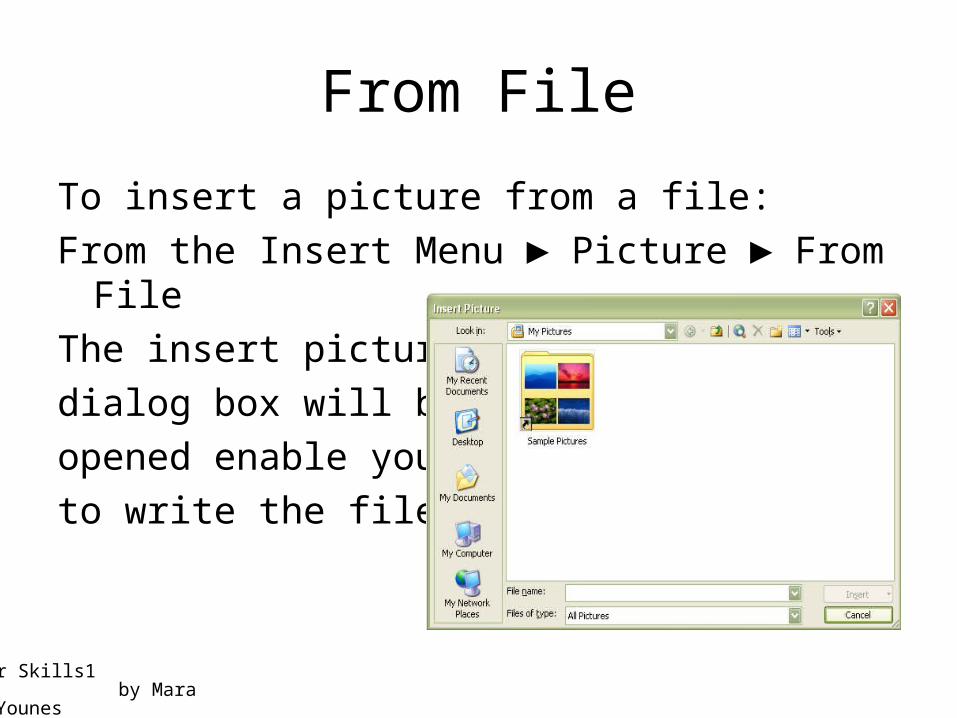
From File
To insert a picture from a file:
From the Insert Menu ► Picture ► From File
The insert picture
dialog box will be
opened enable you
to write the file name.
Computer Skills1 by Maram Bani Younes
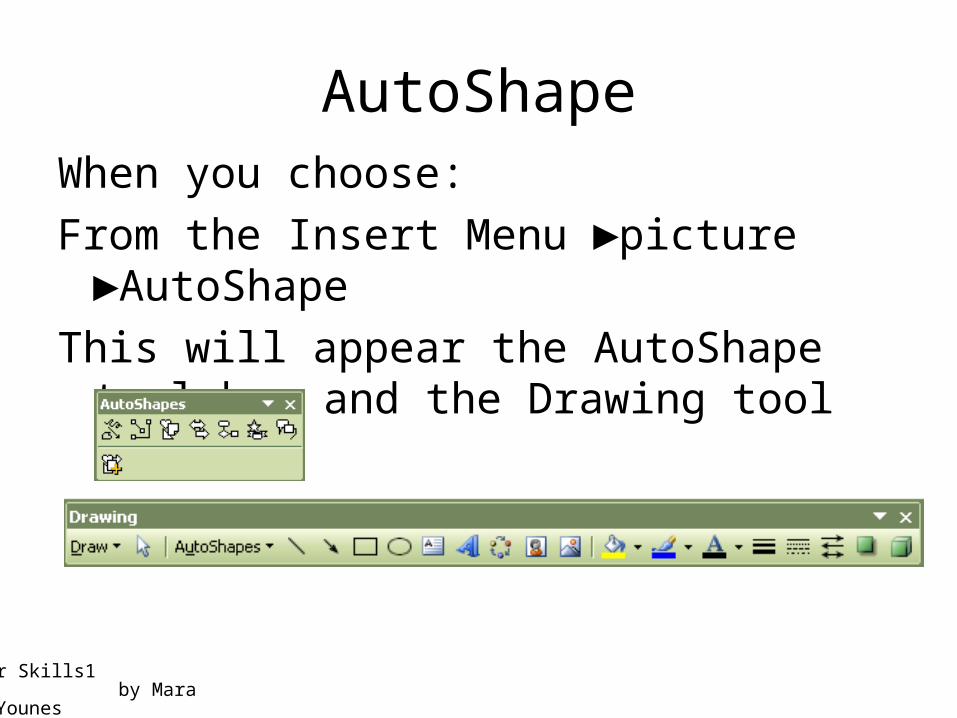
AutoShapeWhen you choose:
From the Insert Menu ►picture ►AutoShape
This will appear the AutoShape tool bar and the Drawing tool bar.
Computer Skills1 by Maram Bani Younes
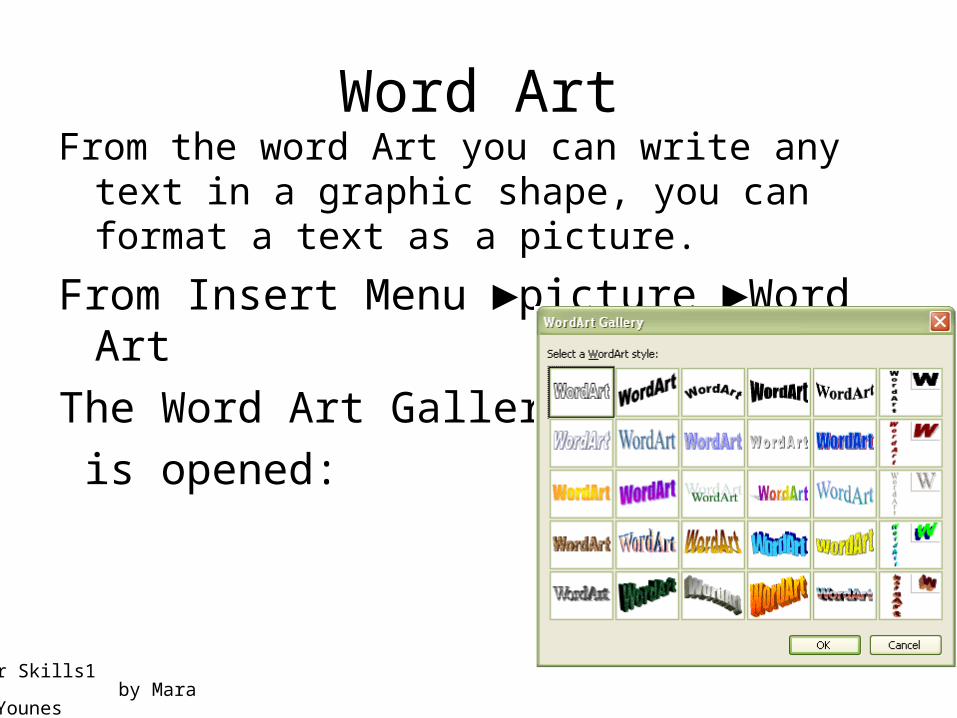
Word ArtFrom the word Art you can write any text in a
graphic shape, you can format a text as a picture.
From Insert Menu ►picture ►Word Art
The Word Art Gallery
is opened:

Computer Skills1 by Maram Bani Younes
The Word Art Gallery enables you choose the graphic design which is applied to your text.
After you choose your design
a new dialog is opened ask you
to insert your text.
Write your text and
Click ok.

Computer Skills1 by Maram Bani Younes
Picture Tool Bar
Text Wrapping
Line Style
Morebrightness
More contrast
crop
Lesscontrast
Insert picture
colorless
brightness Format Picture
Computer Skills1 by Maram Bani Younes
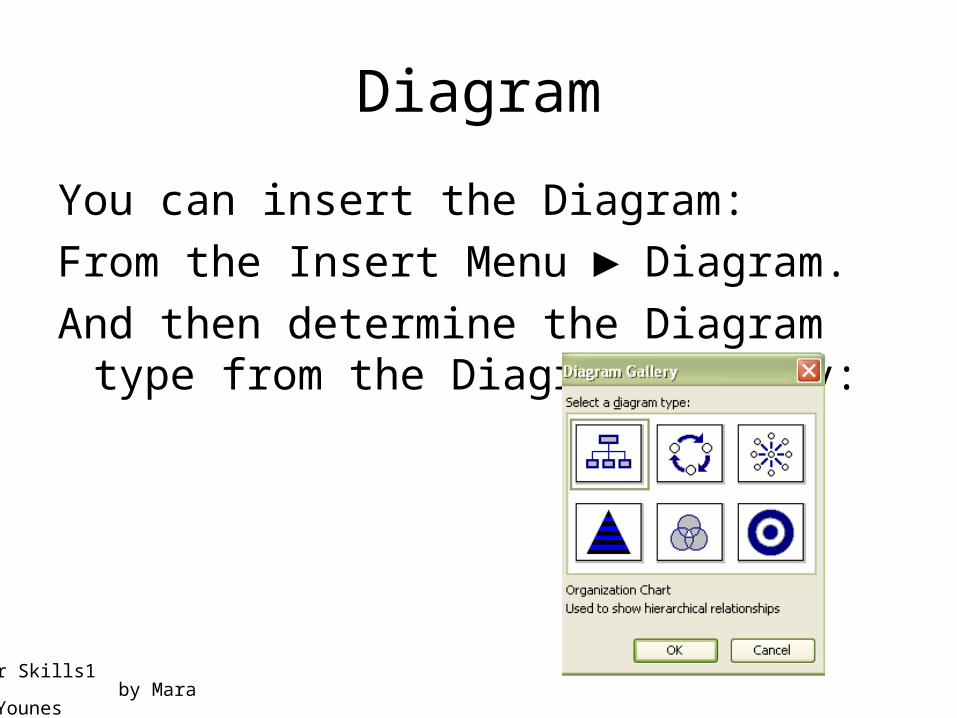
Diagram
You can insert the Diagram:
From the Insert Menu ► Diagram.
And then determine the Diagram type from the Diagram Gallery:

Computer Skills1 by Maram Bani Younes
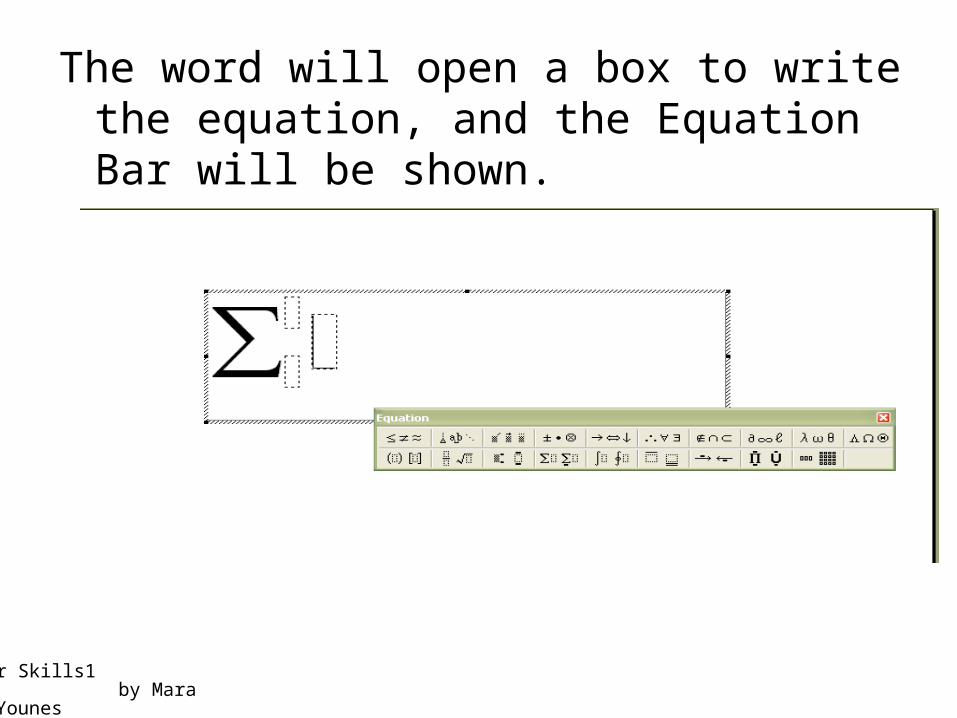
Equation
To insert an Equation
Insert Menu ► Object ► Microsoft Equation 3.0.
Computer Skills1 by Maram Bani Younes
The word will open a box to write the equation, and the Equation Bar will be shown.
Computer Skills1 by Maram Bani Younes
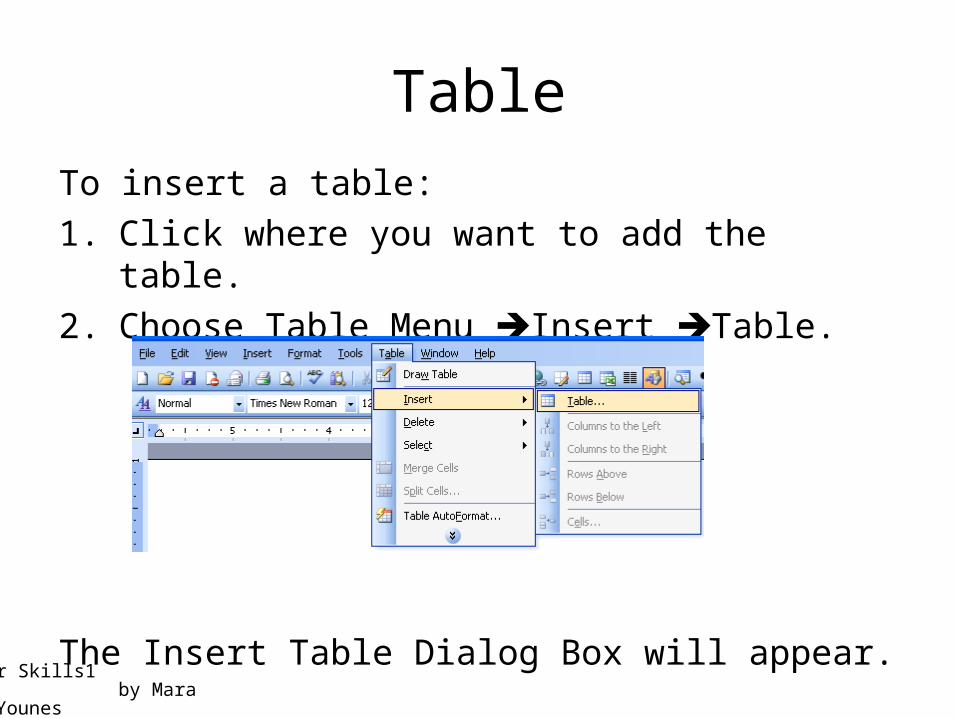
Table
To insert a table:
1. Click where you want to add the table.
2. Choose Table Menu Insert Table.
The Insert Table Dialog Box will appear.
Computer Skills1 by Maram Bani Younes
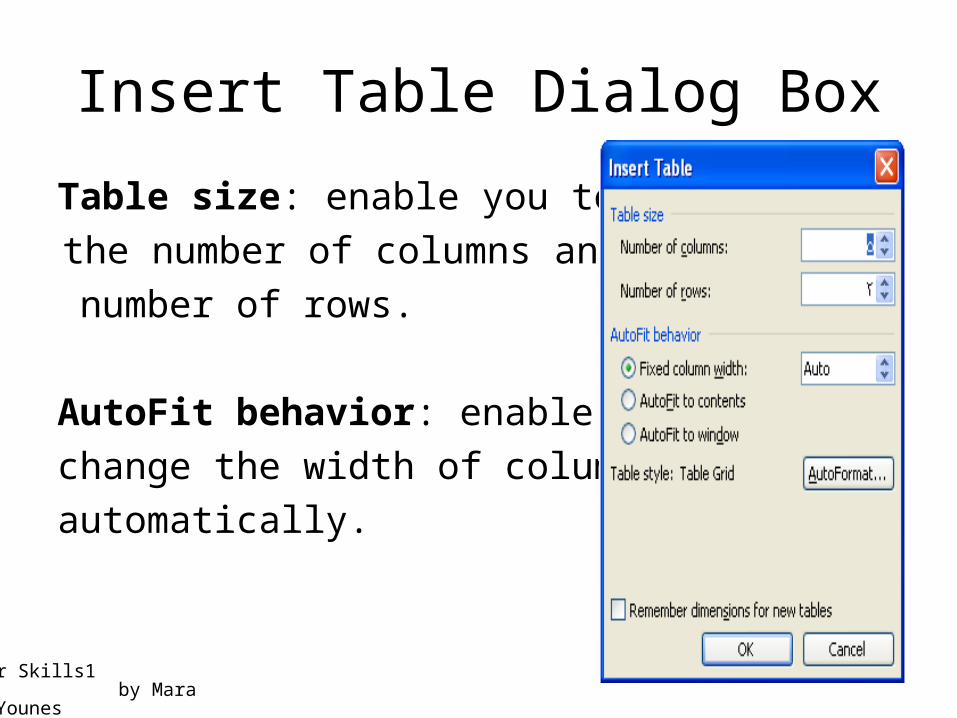
Insert Table Dialog Box
Table size: enable you to insert
the number of columns and the
number of rows.
AutoFit behavior: enable you to
change the width of columns
automatically.
Computer Skills1 by Maram Bani Younes
AutoFit behavior
• AutoFit to contents: to make the columns automatically fit the content.
• Fixed column width: to make multiple rows or columns fixed size.
• AutoFit to window: to resize the table automatically to fit in a window.
Computer Skills1 by Maram Bani Younes
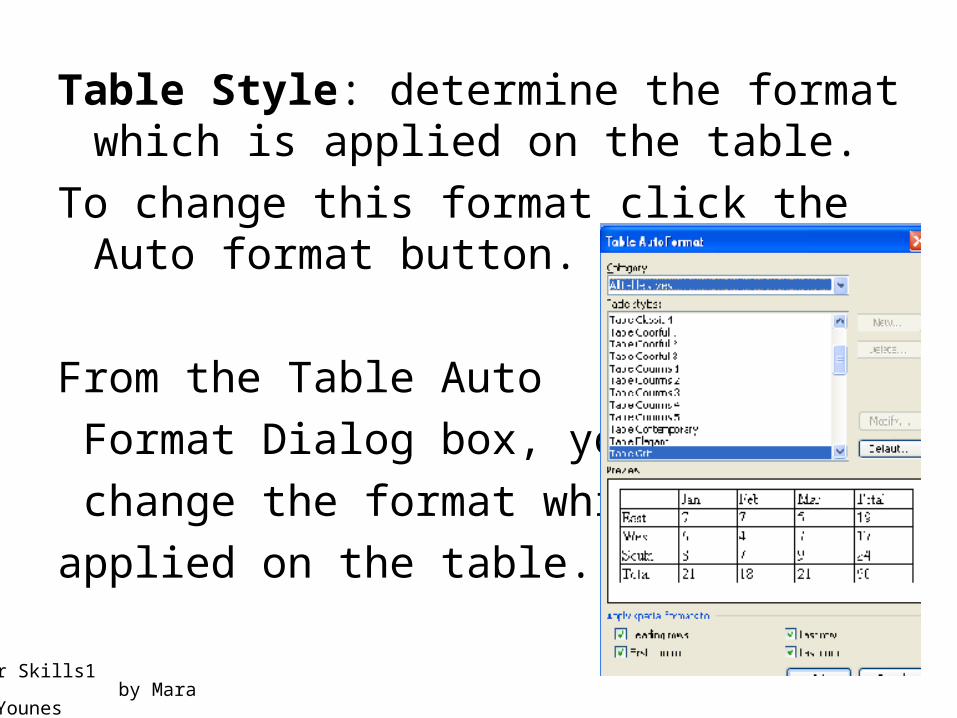
Table Style: determine the format which is applied on the table.
To change this format click the Auto format button.
From the Table Auto
Format Dialog box, you can
change the format which is
applied on the table.
Computer Skills1 by Maram Bani Younes
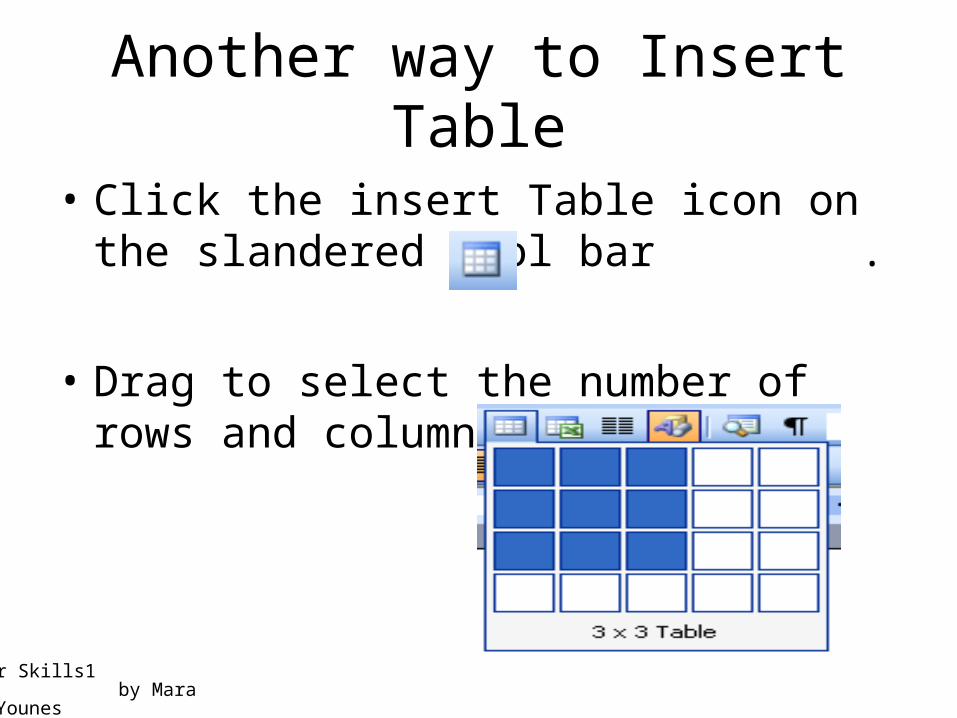
Another way to Insert Table
• Click the insert Table icon on the slandered tool bar .
• Drag to select the number of rows and columns you want.
Computer Skills1 by Maram Bani Younes
Inserting Rows and Columns
Sometimes you need to add a new columns or a new row.
• To add a column:-– To the right: Table Menu Insert Columns to the right.
– To the left: Table Menu Insert Columns to the left.
Computer Skills1 by Maram Bani Younes
• To add a row:-– Rows Above: Table Menu Insert Rows Above.
– To the left: Table Menu Insert Rows below.
• To add a row at the end of a table, click the last cell of the last row, and press the TAB key.
Computer Skills1 by Maram Bani Younes
Selecting
– Row:-1. Table Menu Select Row.
2. Using mouse, click to the left of the row.
3. Select multiple rows: Drag across the columns.
– Column:-1. Table Menu Select Column.
2. Click the column top border,
3. Select multiple columns: drag across the rows.
Computer Skills1 by Maram Bani Younes
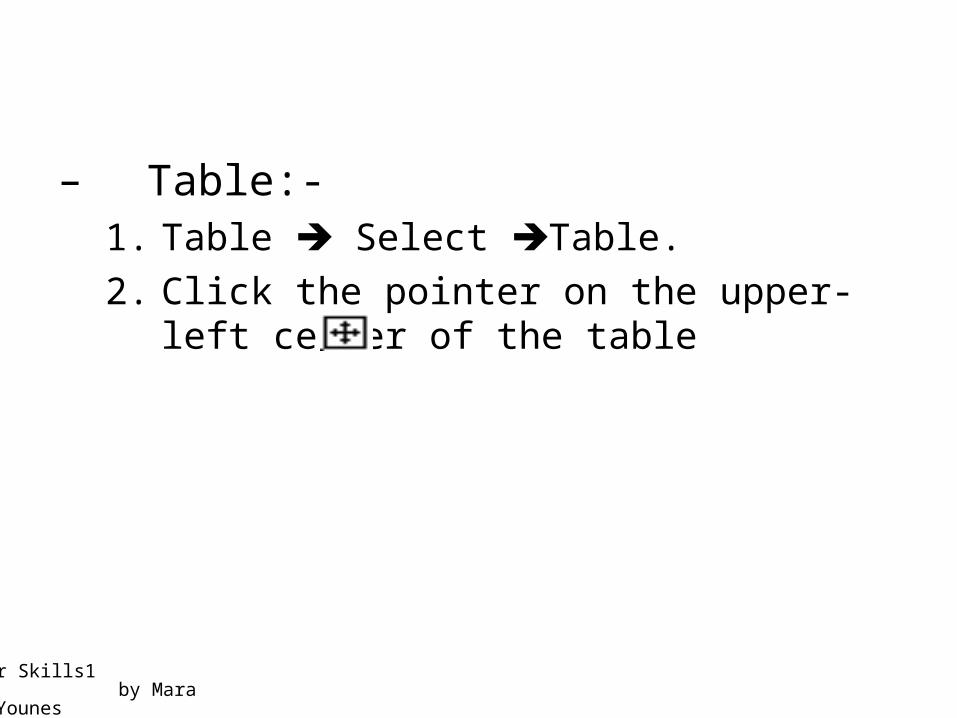
– Table:-1. Table Select Table.
2. Click the pointer on the upper-left center of the table
Computer Skills1 by Maram Bani Younes
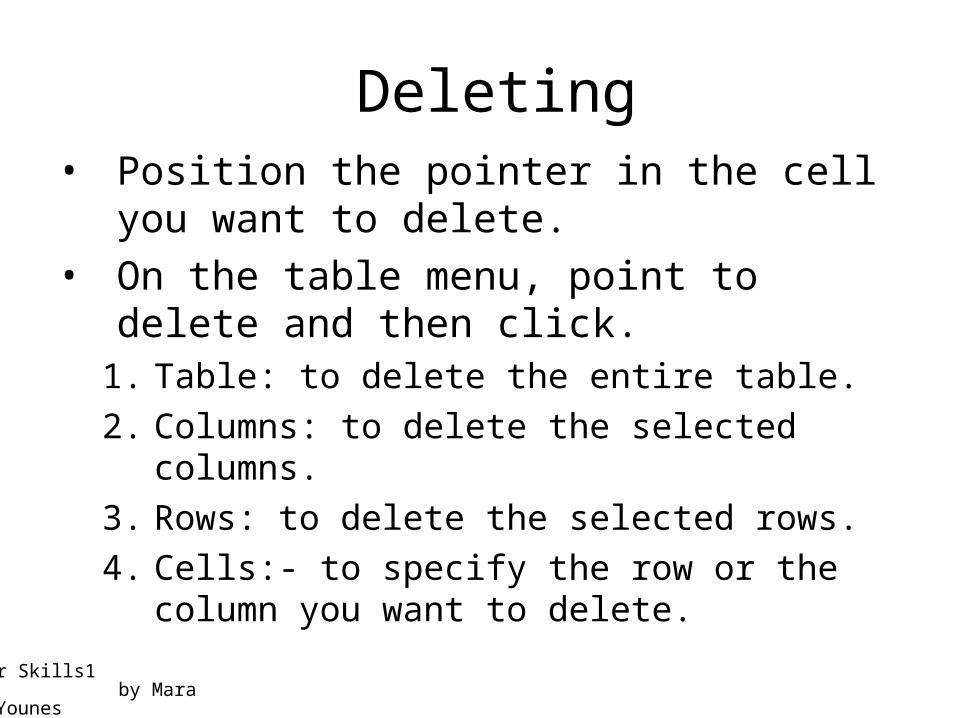
Deleting • Position the pointer in the cell you want
to delete.
• On the table menu, point to delete and then click.
1. Table: to delete the entire table.
2. Columns: to delete the selected columns.
3. Rows: to delete the selected rows.
4. Cells:- to specify the row or the column you want to delete.
Computer Skills1 by Maram Bani Younes
Note: using delete key from keyboard will delete the contents of the cells, but the cells will not be deleted.
Computer Skills1 by Maram Bani Younes
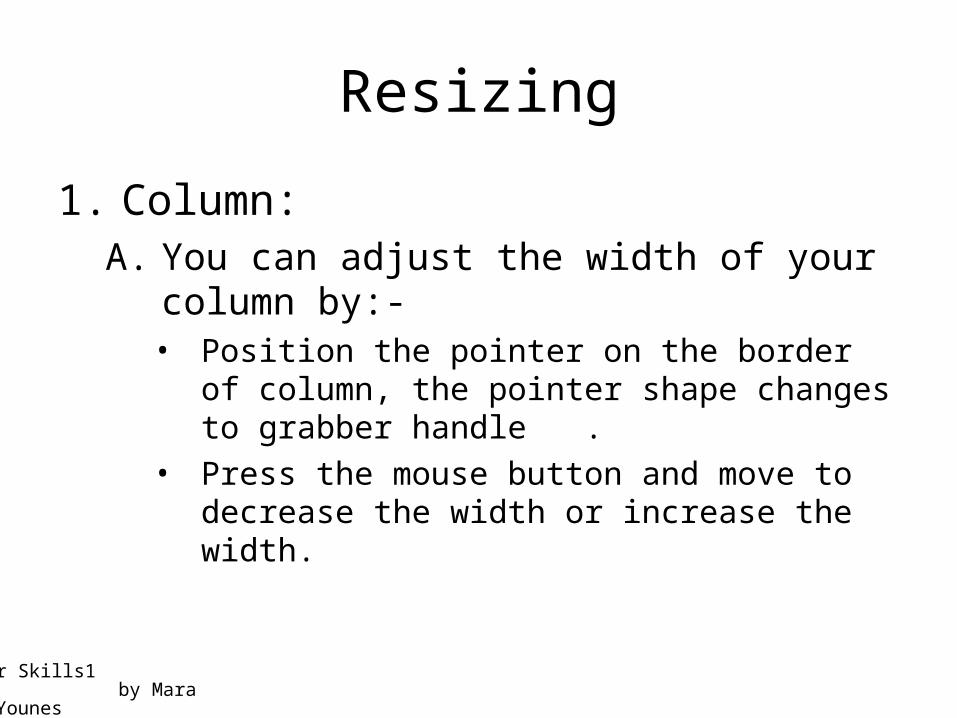
Resizing
1. Column:A. You can adjust the width of your column by:-
• Position the pointer on the border of column, the pointer shape changes to grabber handle .
• Press the mouse button and move to decrease the width or increase the width.

Computer Skills1 by Maram Bani Younes
B. You can specify settings for columns by selecting options in the table properties dialog box.– Position the pointer in the columns you want to
adjust.– On Table Menu, select table properties.– From the table properties dialog box choose the
column tab.– Enter a value for the width in the preferred width
box.– Click Ok.

Computer Skills1 by Maram Bani Younes
2. Row:-
You can adjust the height of your row by the same way but changing the grabber handle will be up and down.
Computer Skills1 by Maram Bani Younes
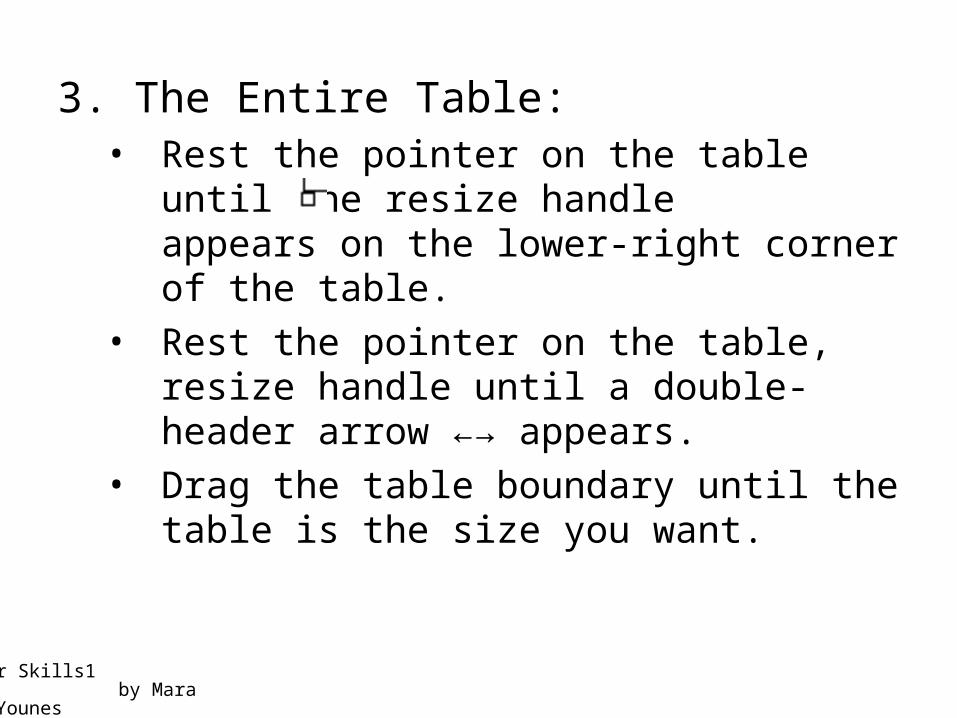
3. The Entire Table:• Rest the pointer on the table until the resize
handle appears on the lower-right corner of the table.
• Rest the pointer on the table, resize handle until a double- header arrow ←→ appears.
• Drag the table boundary until the table is the size you want.

Computer Skills1 by Maram Bani Younes
To specify settings for a table
Position the pointer in the table you want to adjust. Table Menu table properties. The Table Properties Dialog Box
will appear.Contains four tabs:1. Table.2. Row3. Column4. cell

Computer Skills1 by Maram Bani Younes
Table TabFrom the table tab, you can set the following options:
1. Preferred width: specifies the table width.
2. Alignment: to align the table in the page.
3. Text Wrapping: to control the appearance of the text around the table.
• Select None: so as not to wrap text around.• Select Around: to warp text around the table.
4. Table Direction: sets the direction of the table.
5. Option: to open the table options dialog.
6. Borders and Shadings: to open the border and shading dialog box.
Computer Skills1 by Maram Bani Younes
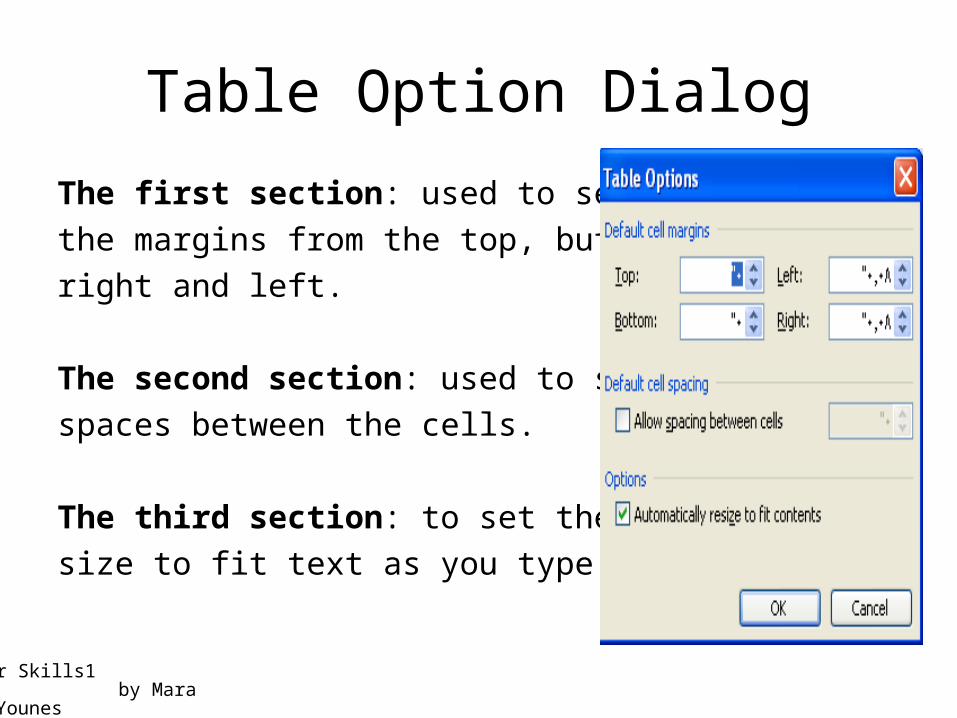
Table Option Dialog
The first section: used to set
the margins from the top, button
right and left.
The second section: used to set the
spaces between the cells.
The third section: to set the column
size to fit text as you type.

Computer Skills1 by Maram Bani Younes
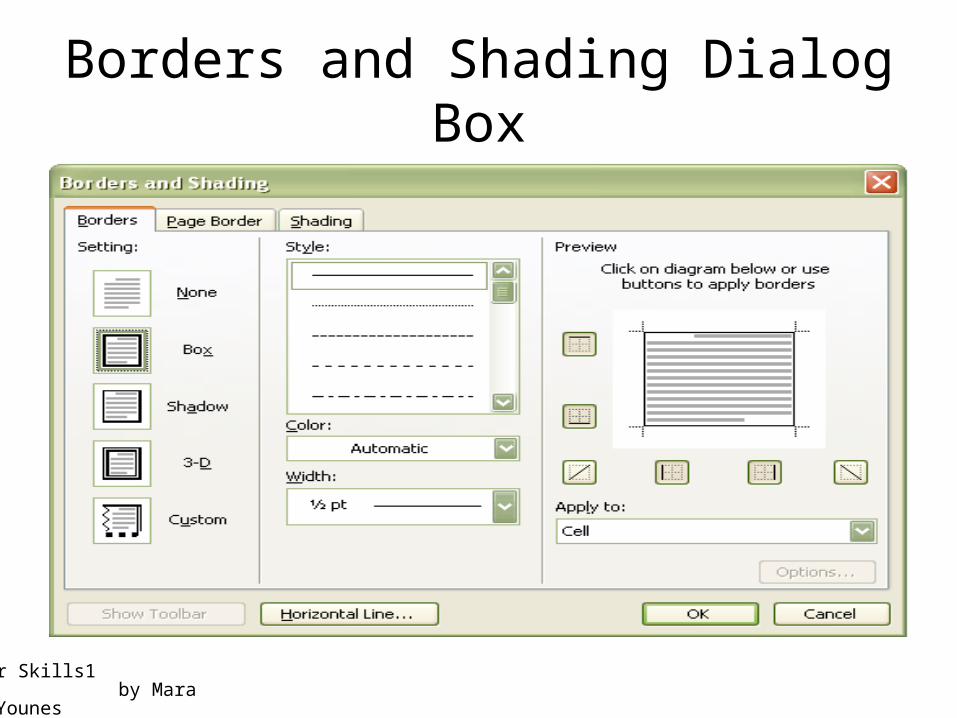
Border and Shading
If a part of your table needs a little more emphasis, you can select it and add borders and shading by using either the tables and borders toolbar OR the border and shading dialog box.
Computer Skills1 by Maram Bani Younes
Borders and Shading Dialog Box
Computer Skills1 by Maram Bani Younes
Merge Cells
You can combine two or more cells in the same row or column into a single cell.
• Select the cells you want to merge.
• From the Table Menu ►Merge Cells.

Computer Skills1 by Maram Bani Younes
Split Cells
To split a cell into multiple cells :1. Select the cell you want to split.2. Select Table Menu ►split cells. The split cells dialog box will appear.
3. Type the number of columns and rows.
4. Click OK.
Computer Skills1 by Maram Bani Younes
The END of the word processing.


![Possessiv..maram 167[1]](https://img.pdfslide.us/doc/110x75/54be60164a79592b698b45e9/possessivmaram-1671.jpg)