Embed Size (px)
DESCRIPTION
Interactive Main Menu. Interactive Front Panel Display. Configurations in System Architect. Updating Firmware. Controls. Diagnostic Information. Wiring and Connectivity. Service Information. Click the Crown Logo at the top of any the screen to return to this Menu. - PowerPoint PPT Presentation
Citation preview

Crown CDi Series Control
Click the Crown Logo at the top of any the screen to return to this Menu
Interactive Main Menu
Interactive Front Panel Display
Updating Firmware
Service Information
Controls
Wiring and Connectivity
Configurations in System Architect
Diagnostic Information

Crown CDi Series Control
Use your mouse to navigate the front panel as if you were pressing the actual buttons
Welcome to the CDi Front Panel

Crown CDi Series Control
Click The Sel / Enter Button
As The Amp Powers Up

Crown CDi Series ControlFactory Default Screen
Click on the Sel / Enter Button To Begin

Crown CDi Series ControlPresets Or Configuration
Use The front Panel Buttons to Navigate
Choose Presets Or Configuration Menu

Crown CDi Series ControlPreset 1 Factory Defaults

Crown CDi Series ControlBlank Preset

Crown CDi Series ControlBlank Preset

Crown CDi Series ControlBlank Preset

Crown CDi Series ControlBlank Preset

Crown CDi Series ControlBlank Preset

Crown CDi Series ControlBlank Preset

Crown CDi Series ControlBlank Preset

Crown CDi Series ControlBlank Preset

Crown CDi Series ControlBlank Preset

Crown CDi Series ControlBlank Preset

Crown CDi Series ControlBlank Preset

Crown CDi Series ControlBlank Preset

Crown CDi Series ControlBlank Preset

Crown CDi Series ControlBlank Preset

Crown CDi Series ControlBlank Preset

Crown CDi Series ControlBlank Preset

Crown CDi Series ControlBlank Preset

Crown CDi Series ControlBlank Preset

Crown CDi Series ControlBlank Preset

Crown CDi Series ControlConfiguration Menu

Crown CDi Series ControlChannel 1 Low Impedance
Crown CDi Series ControlChannel 1 High Z For 70 Volt Operation

Crown CDi Series ControlChannel 2 Low Impedance

Crown CDi Series ControlChannel 2 High Z for 70Volt Operation

Crown CDi Series Control
Click to View Setup In System Architect
Amplifier Set for 70 Volt Both Channels

Crown CDi Series ControlStereo Input
Channel 1 And Channel 2 Inputs Are Independent And Controlled By Individual Gain Controls

Crown CDi Series ControlCH1 + CH2 Input
Channel 1 And Channel 2 Inputs are Summed Together And Controlled By Channel 1 Gain Control
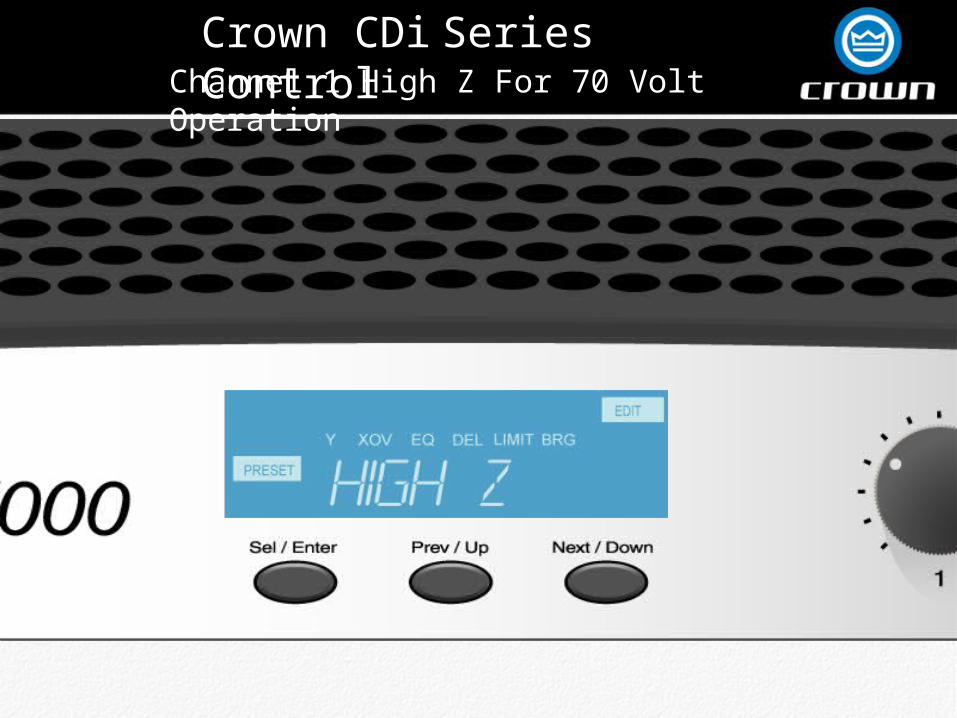
Crown CDi Series ControlInput “Y” Enabled
Channel 1 Input Is Paralleled to Channel 2’s Input Path And Both Are Controlled By Channel 1 Gain Control
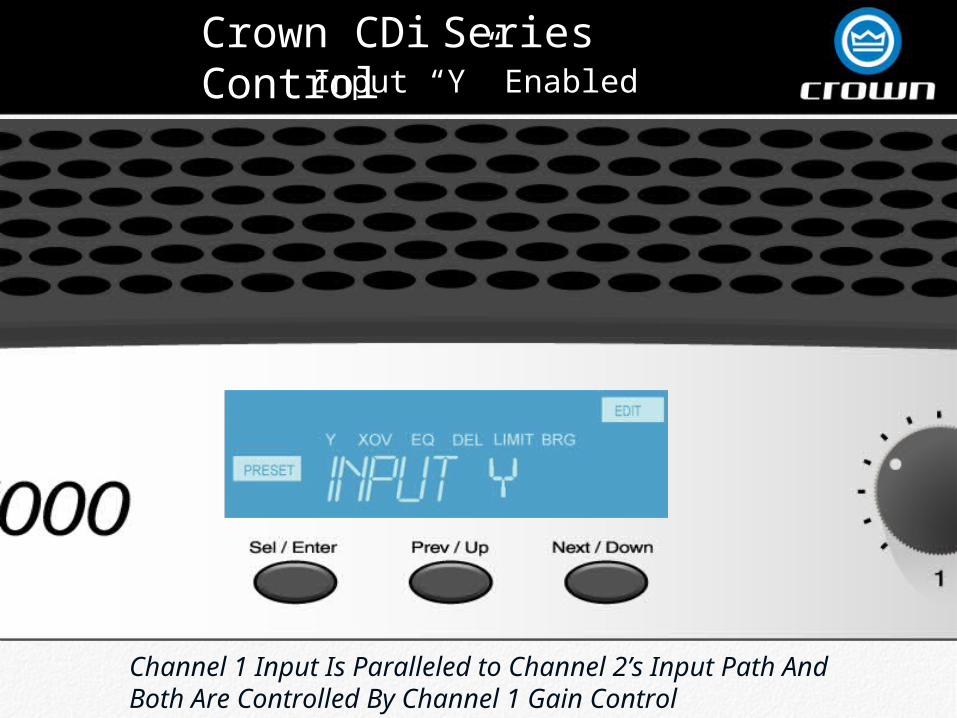
Crown CDi Series ControlAmplifier Crossover Off

Crown CDi Series Control
Click to View Crossover In System Architect
Amplifier Crossover At 90 Hz

Crown CDi Series Control
Click to View Crossover In System Architect
Amplifier Crossover At 100 Hz

Crown CDi Series Control
Click to View Crossover In System Architect
Amplifier Crossover At 1.2kHz

Crown CDi Series Control
Click to View Crossover In System Architect
Amplifier Crossover At 1.5k Hz

Crown CDi Series Control
Click to View Crossover In System Architect
Amplifier Crossover At 2.0kHz

Crown CDi Series Control
Click to View Crossover In System Architect
Amplifier Crossover At 90Hz
Both Channels Output for Subs

Crown CDi Series Control
Click to View EQ In System Architect
Enables Channel 1 EQ Created In System Architect
Channel 1 EQ Enabled

Crown CDi Series ControlChannel 1 EQ Disabled
Disables Channel 1 EQ Created In System Architect

Crown CDi Series Control
Click to View EQ In System Architect
Channel 2 EQ Enabled
Enables Channel 2 EQ Created In System Architect

Crown CDi Series ControlChannel 2 EQ Disabled
Disables Channel 2 EQ Created In System Architect

Crown CDi Series Control
Channel 1 Delay In Milliseconds
Channel 1 Delay 0.0ms

Crown CDi Series ControlChannel 1 Delay 1ms
Channel 1 Delay In Milliseconds

Crown CDi Series ControlChannel 1 Delay 2ms
Channel 1 Delay In Milliseconds

Crown CDi Series ControlChannel 1 Delay 3ms
Channel 1 Delay In Milliseconds

Crown CDi Series ControlChannel 1 Delay 4ms
Channel 1 Delay In Milliseconds

Crown CDi Series ControlChannel 1 Delay 5ms
Channel 1 Delay In Milliseconds

Crown CDi Series ControlChannel 1 Delay 6ms
Channel 1 Delay In Milliseconds

Crown CDi Series ControlChannel 1 Delay 7ms
Channel 1 Delay In Milliseconds

Crown CDi Series ControlChannel 1 Delay 8ms
Channel 1 Delay In Milliseconds

Crown CDi Series ControlChannel 1 Delay 9ms
Channel 1 Delay In Milliseconds

Crown CDi Series ControlChannel 1 Delay 10ms
Channel 1 Delay In Milliseconds

Crown CDi Series ControlChannel 1 Delay 20ms
Channel 1 Delay In Milliseconds

Crown CDi Series ControlChannel 1 Delay 30ms
Channel 1 Delay In Milliseconds

Crown CDi Series ControlChannel 1 Delay 40ms
Channel 1 Delay In Milliseconds

Crown CDi Series ControlChannel 1 Delay 50ms
Channel 1 Delay In Milliseconds

Crown CDi Series ControlChannel 1 Delay Off

Crown CDi Series ControlChannel 2 Delay 0.0ms
Channel 2 Delay In Milliseconds

Crown CDi Series ControlChannel 2 Delay 1ms
Channel 2 Delay In Milliseconds

Crown CDi Series ControlChannel 2 Delay 2ms
Channel 2 Delay In Milliseconds

Crown CDi Series ControlChannel 2 Delay 3ms
Channel 2 Delay In Milliseconds

Crown CDi Series ControlChannel 2 Delay 4ms
Channel 2 Delay In Milliseconds

Crown CDi Series ControlChannel 2 Delay 5ms
Channel 2 Delay In Milliseconds

Crown CDi Series ControlChannel 2 Delay 6ms
Channel 2 Delay In Milliseconds

Crown CDi Series ControlChannel 2 Delay 7ms
Channel 2 Delay In Milliseconds

Crown CDi Series ControlChannel 2 Delay 8ms
Channel 2 Delay In Milliseconds

Crown CDi Series ControlChannel 2 Delay 9ms
Channel 2 Delay In Milliseconds

Crown CDi Series ControlChannel 2 Delay 10ms
Channel 2 Delay In Milliseconds
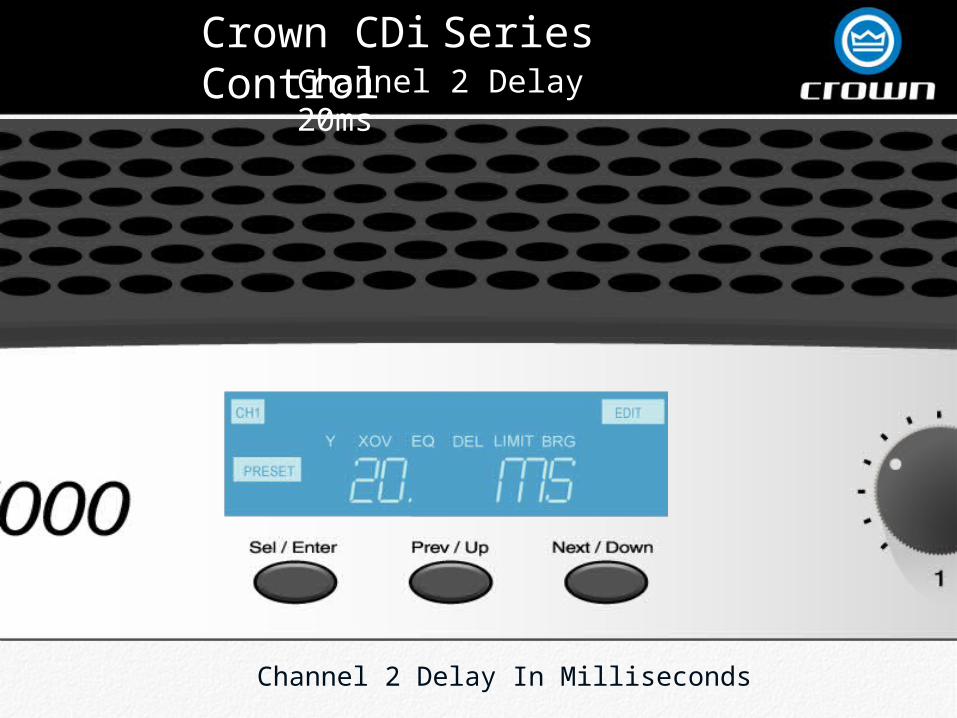
Crown CDi Series ControlChannel 2 Delay 20ms
Channel 2 Delay In Milliseconds

Crown CDi Series ControlChannel 2 Delay 30ms
Channel 2 Delay In Milliseconds

Crown CDi Series ControlChannel 2 Delay 40ms
Channel 2 Delay In Milliseconds

Crown CDi Series ControlChannel 2 Delay 50ms
Channel 2 Delay In Milliseconds

Crown CDi Series ControlChannel 2 Delay Off

Crown CDi Series ControlChannel 1 Limiter OFF

Crown CDi Series ControlChannel 1 Limiter -3dB
Initiates A Limiter On Channel 1 At -3dB Below Clipping

Crown CDi Series ControlChannel 1 Limiter -6dB
Initiates A Limiter On Channel 1 At -6dB Below Clipping
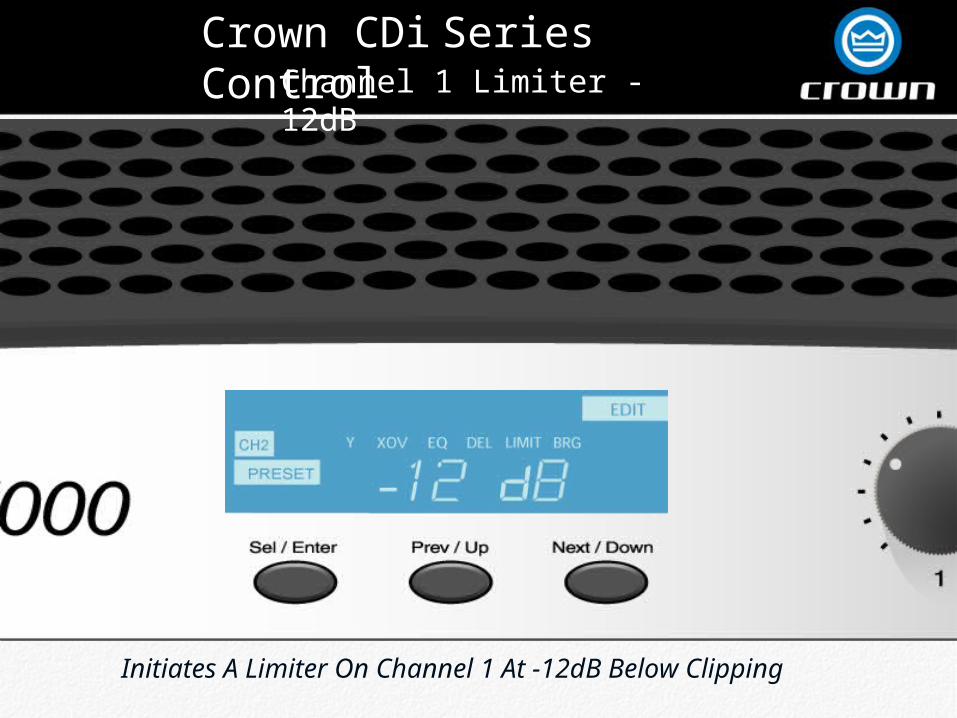
Crown CDi Series ControlChannel 1 Limiter -12dB
Initiates A Limiter On Channel 1 At -12dB Below Clipping

Crown CDi Series ControlChannel 2 Limiter Off

Crown CDi Series ControlChannel 2 Limiter -3dB
Initiates A Limiter On Channel 2 At -3dB Below Clipping

Crown CDi Series ControlChannel 2 Limiter -6dB
Initiates A Limiter On Channel 2 At -6dB Below Clipping
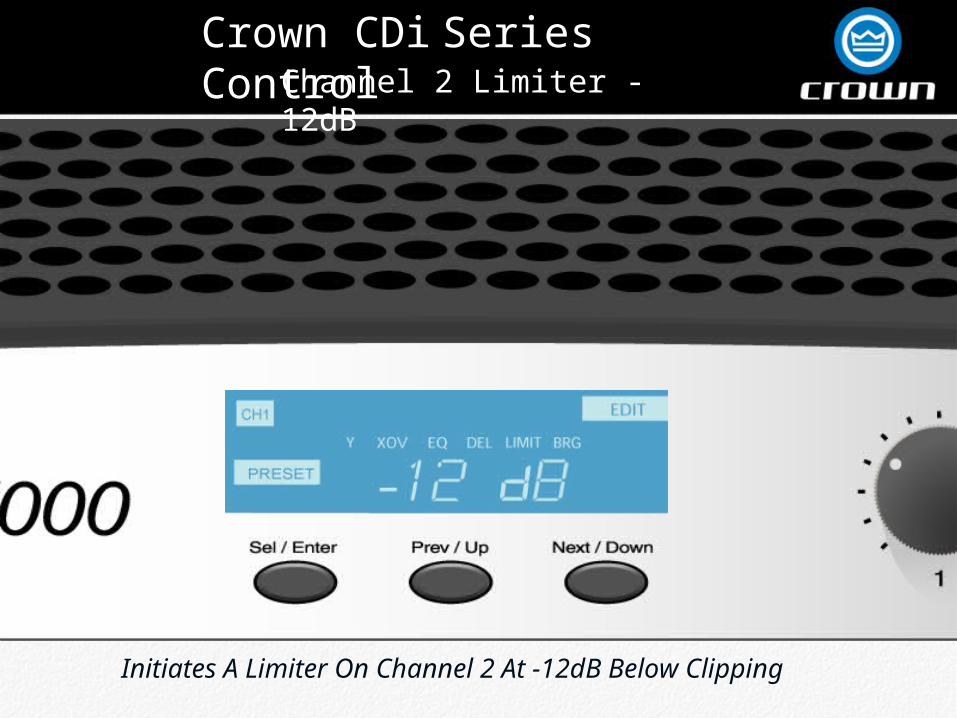
Crown CDi Series ControlChannel 2 Limiter -12dB
Initiates A Limiter On Channel 2 At -12dB Below Clipping
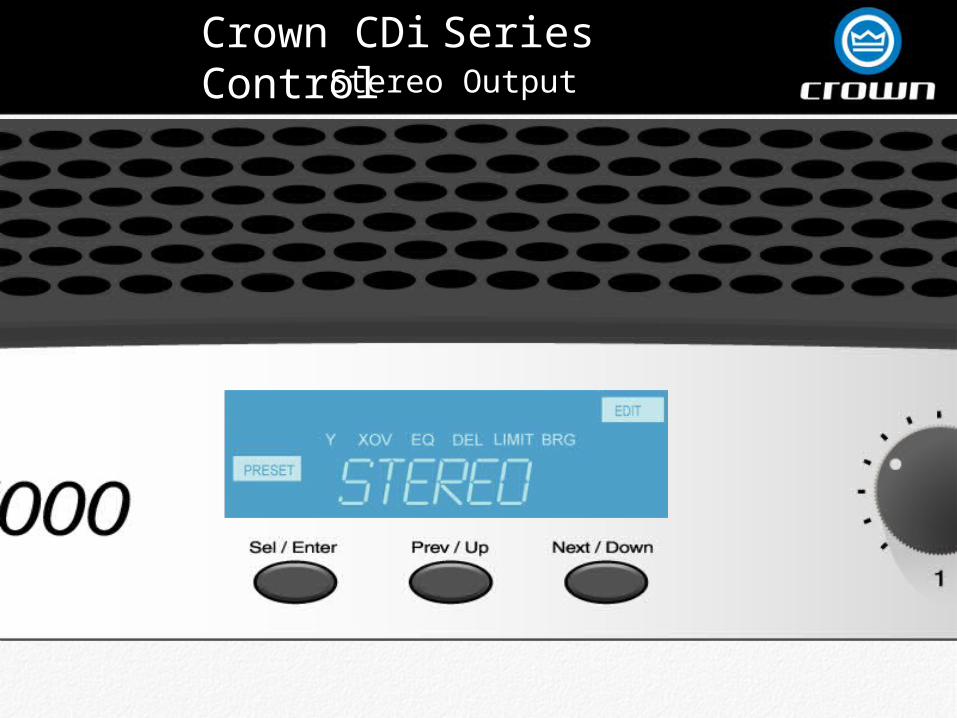
Crown CDi Series ControlStereo Output

Crown CDi Series ControlBridge-Mono Output

Crown CDi Series Control
Back
90Hz Crossover
Lows On Channel 1Mid /Highs On Channel 2 Output

Crown CDi Series Control
100Hz Crossover
Back
Lows On Channel 1Mid /Highs On Channel 2 Output
Crown CDi Series Control
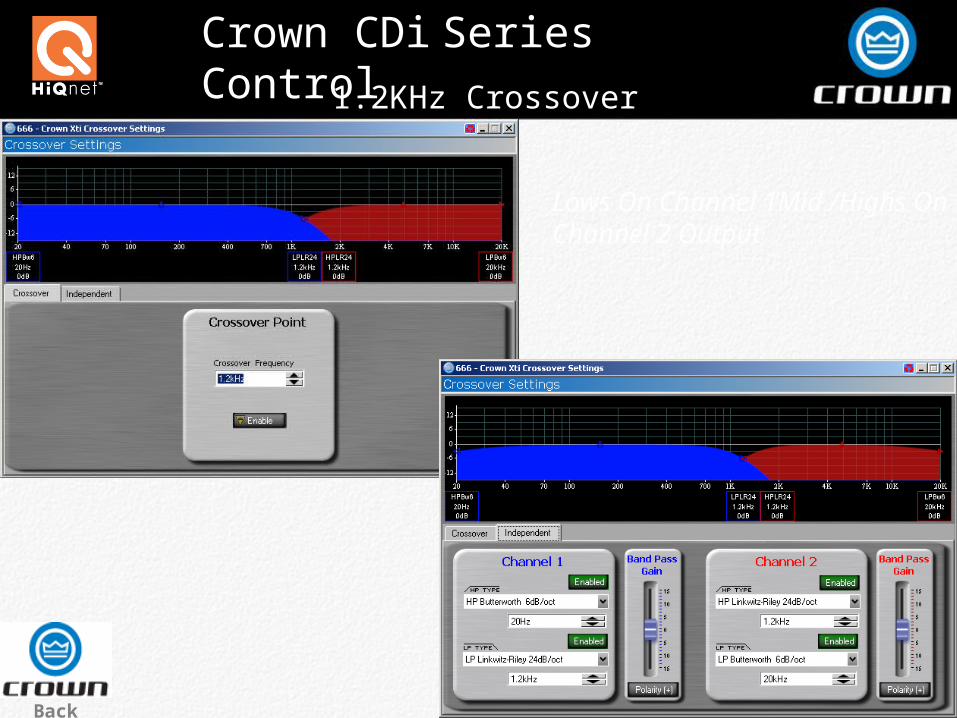
1.2KHz Crossover
Back
Lows On Channel 1Mid /Highs On Channel 2 Output
Crown CDi Series Control
Back
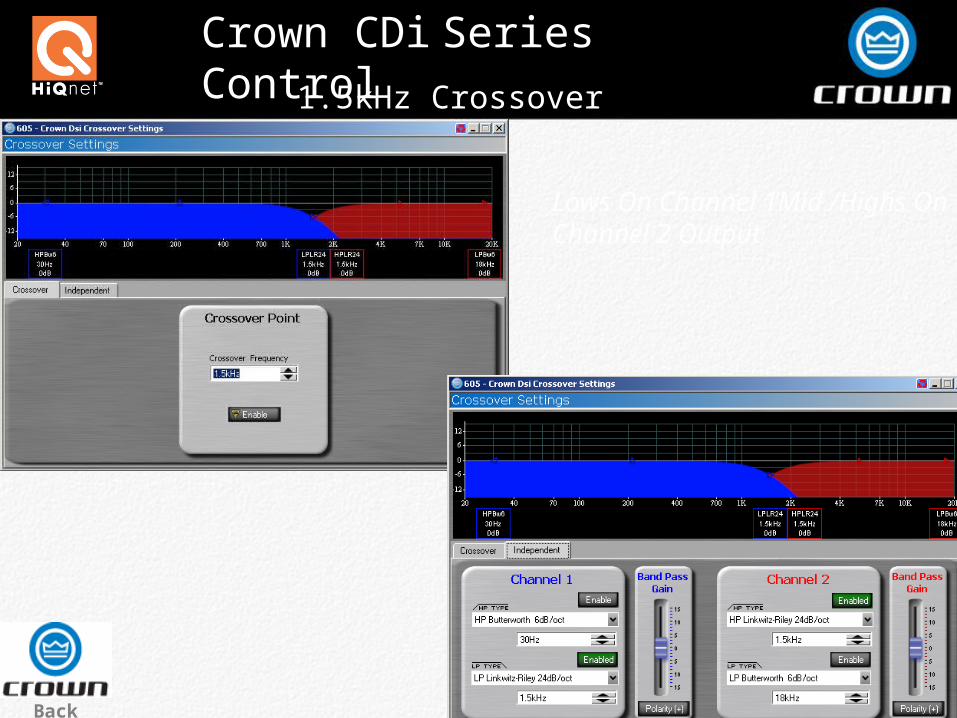
1.5kHz Crossover
Lows On Channel 1Mid /Highs On Channel 2 Output
Crown CDi Series Control
Back
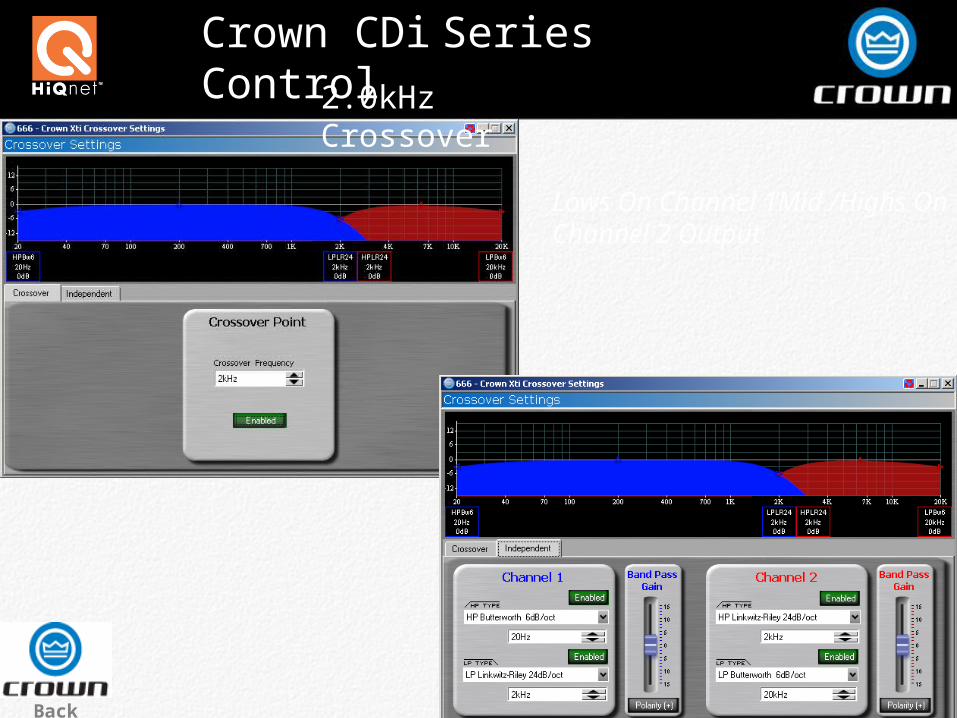
2.0kHz Crossover
Lows On Channel 1Mid /Highs On Channel 2 Output
Crown CDi Series Control
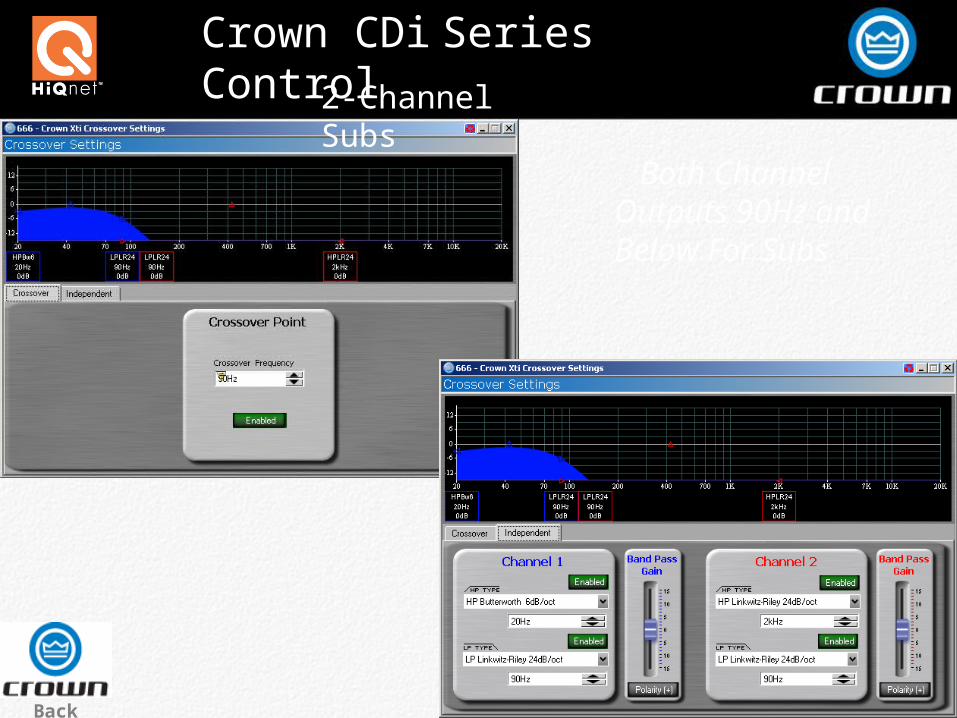
2-Channel Subs
Back
Both Channel Outputs 90Hz and Below For Subs

Crown CDi Series Control
Screenshot Of EQ Setup In System Architect
Back
EQ Programmed in System Architect

Crown CDi Series Control
BackScreenshot Of EQ Setup In System Architect
EQ Programmed in System Architect

Crown CDi Series ControlUpdating Firmware In System Architect
If a newer version of firmware exists, System Architect will ask if you want to update the firmware.

Crown CDi Series ControlUpdating Firmware In System Architect
Check the appropriate update box and then click the “Begin Update” box.

Crown CDi Series Control
After the firmware is updated, you can chose to send the previous settings back to the amplifier or receive the settings from the amplifier which will leave the amplifier back at factory defaults
Updating Firmware In System Architect

Crown CDi Series ControlService Information
In the event that your amplifier should require service, a Service Return Authorization (SRA) is required for
product being sent to the factory for service. You can create the SRA by going to www.crownaudio.com/support/factserv.htm.
If you do not have access to our website, call
1-800-342-6939, extension 8205 and we’ll create the
SRA for you.
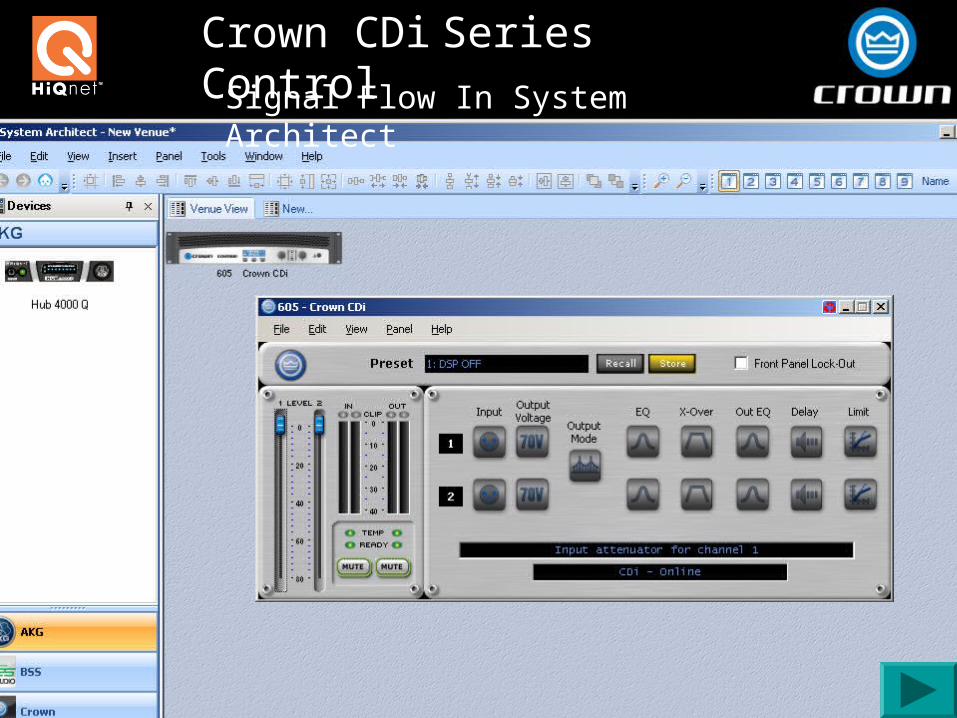
Crown CDi Series Control
Signal Flow In System Architect
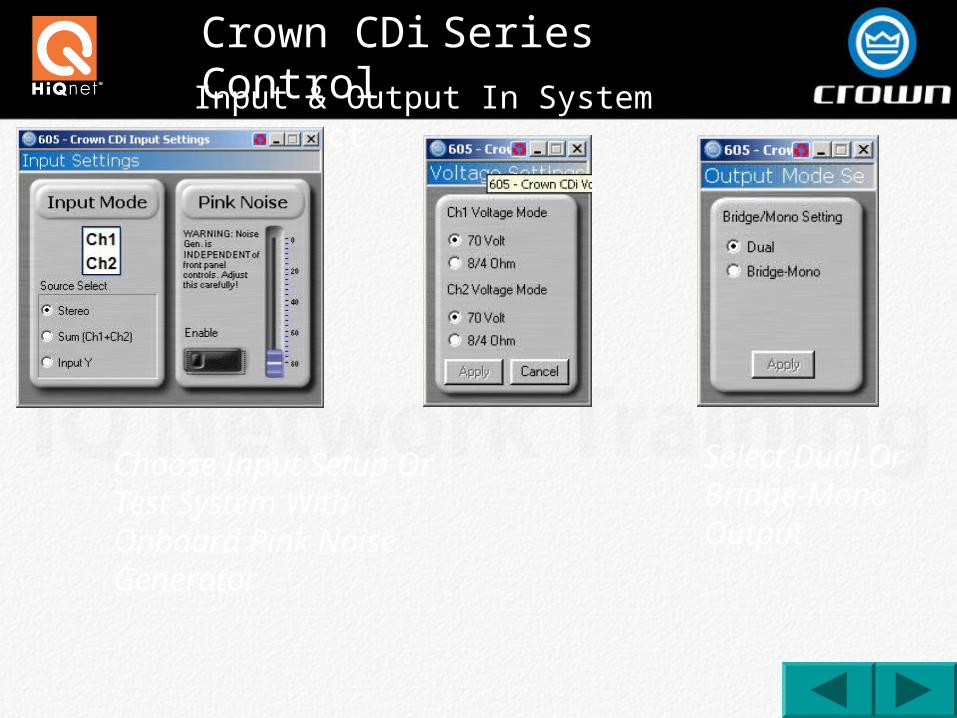
Crown CDi Series Control
Input & Output In System Architect
Choose Input Setup Or Test System With Onboard Pink Noise Generator
Select Dual Or Bridge-Mono Output
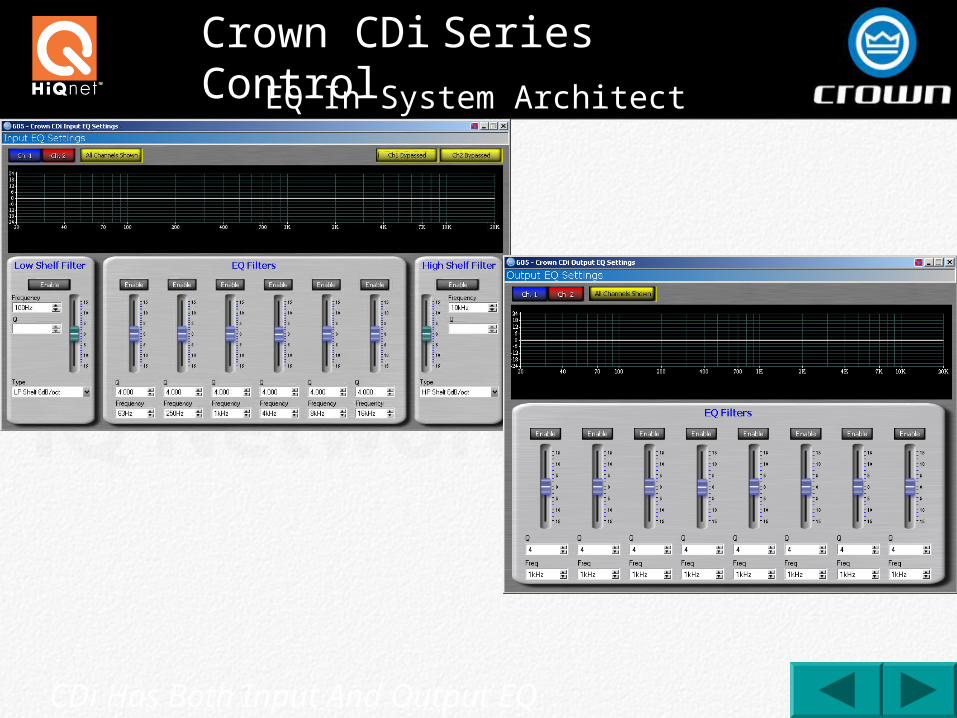
Crown CDi Series Control
EQ In System Architect
CDi Has Both Input And Output EQ
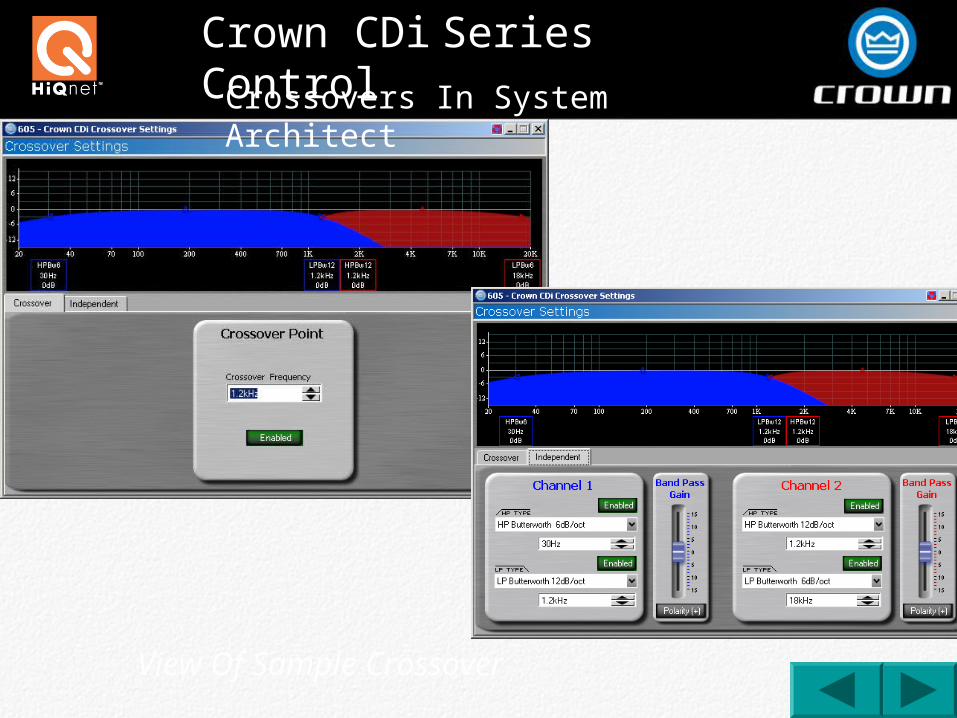
Crown CDi Series Control
Crossovers In System Architect
View Of Sample Crossover

Crown CDi Series Control
Delay & Limiters In System Architect
Select Up To 50ms Of Delay
Selectable Clip Limiting
Crown CDi Series Control
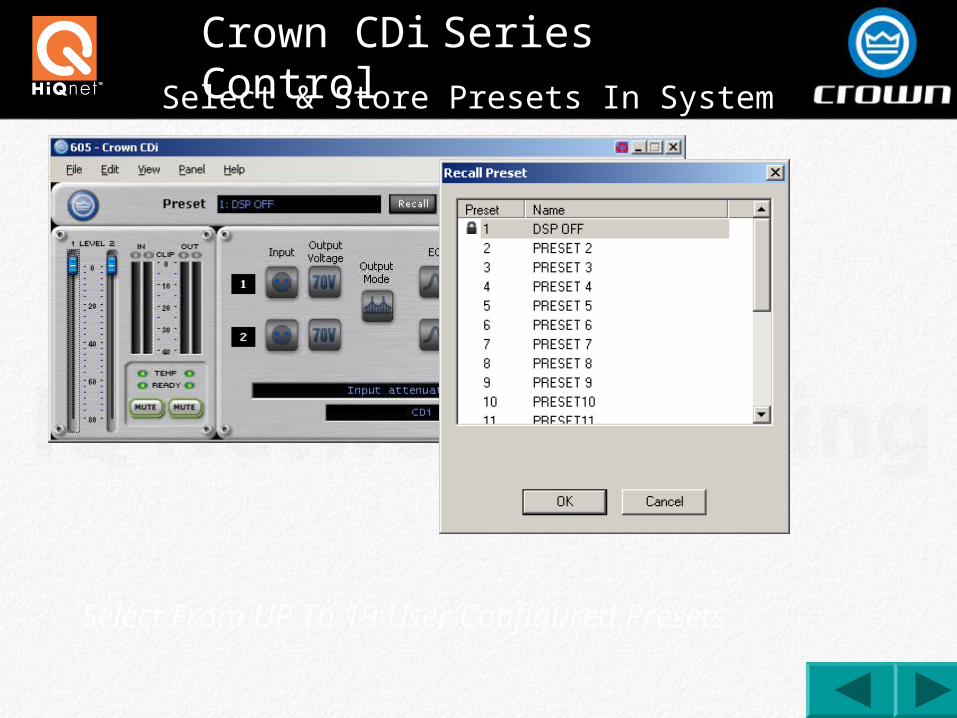
Select & Store Presets In System Architect
Select From UP To 19 User Configured Presets

Crown CDi Series Control
Back
Output Voltage Settings
Choose Between Low and High Impedance Output. Selecting High Impedance (70 Volt) Automatically Enables A 70Hz Hi-Pass Filter
Crown CDi Series Control
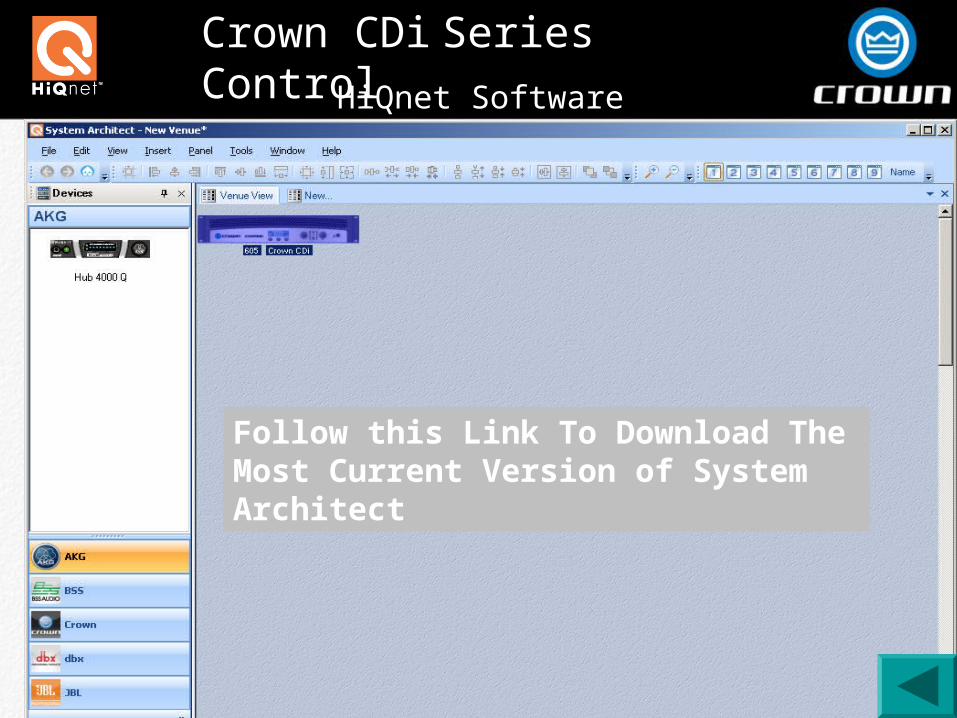
HiQnet Software
http://hiqnet.harmanpro.com/
Follow this Link To Download The Most Current Version of System Architect

Crown CDi Series Control
Input And Output Wiring
Dual Output Wiring Bridge-Mono Output Wiring
CDi Terminal Block Output Wiring

Crown CDi Series Control
Input / Output Wiring
Basic Dual Output Wiring Basic Bridge-Mono Wiring
Crown CDi Series Control
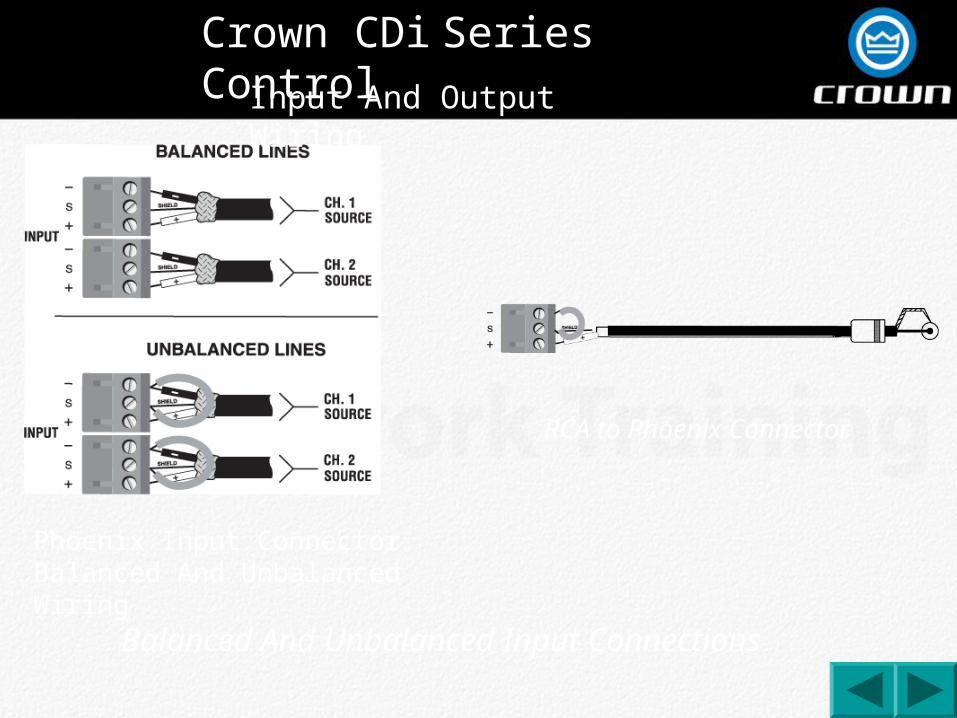
Input And Output Wiring
Phoenix Input Connector Balanced And Unbalanced Wiring
Balanced And Unbalanced Input Connections
RCA to Phoenix Connector

Crown CDi Series Control
Front Panel Controls & Indicators
Power Switch
Blue Power LED
Detented Rotary Gain Controls
Backlit LCD Display Display
Navigation controls
Meter LEDs
Indicates Amplifier Is Ready To Pass Audio
Signal Will Flash With Audio
Flashes When Output Exceeds -20dB Below Clip
Flashes When Output Exceeds -10dB Below Clip
Turns On At Onset Of Audible Distortion
Turns on Under Extreme Thermal Conditions
Crown CDi Series Control
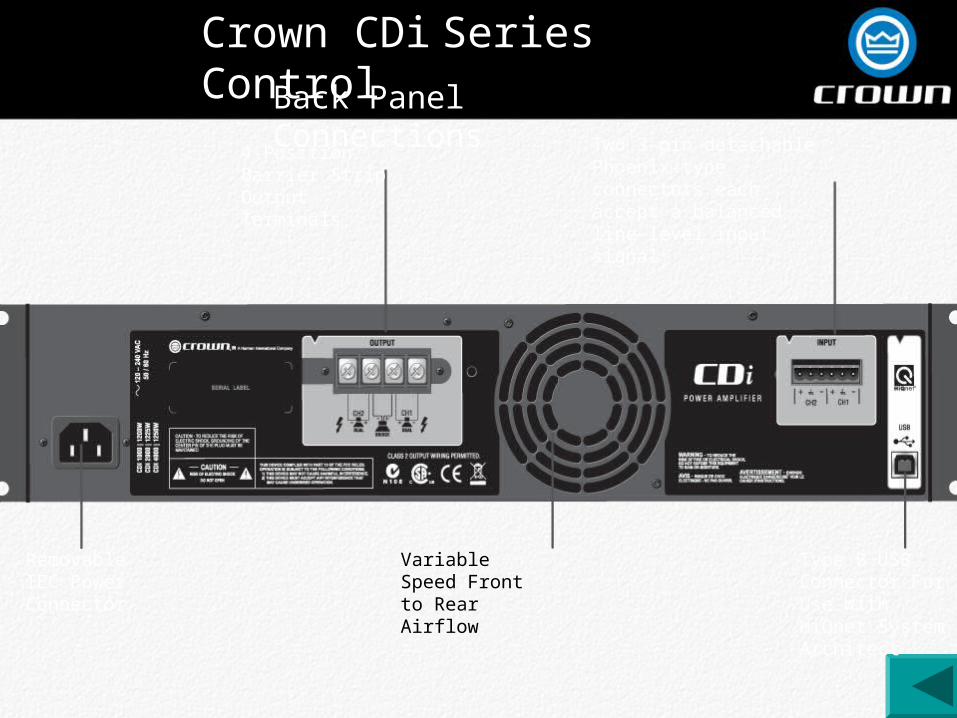
Back Panel Connections
Removable IEC Power Connector
4-Position Barrier Strip Output Terminals
Type B USB Connector For Use With HiQnet System Architect
Variable Speed Front to Rear Airflow
Two 3-pin detachable Phoenix-type connectors each accept a balanced line-level input signal

Crown CDi Series Control
Input And Output Wiring
Typical 70 Volt Wiring
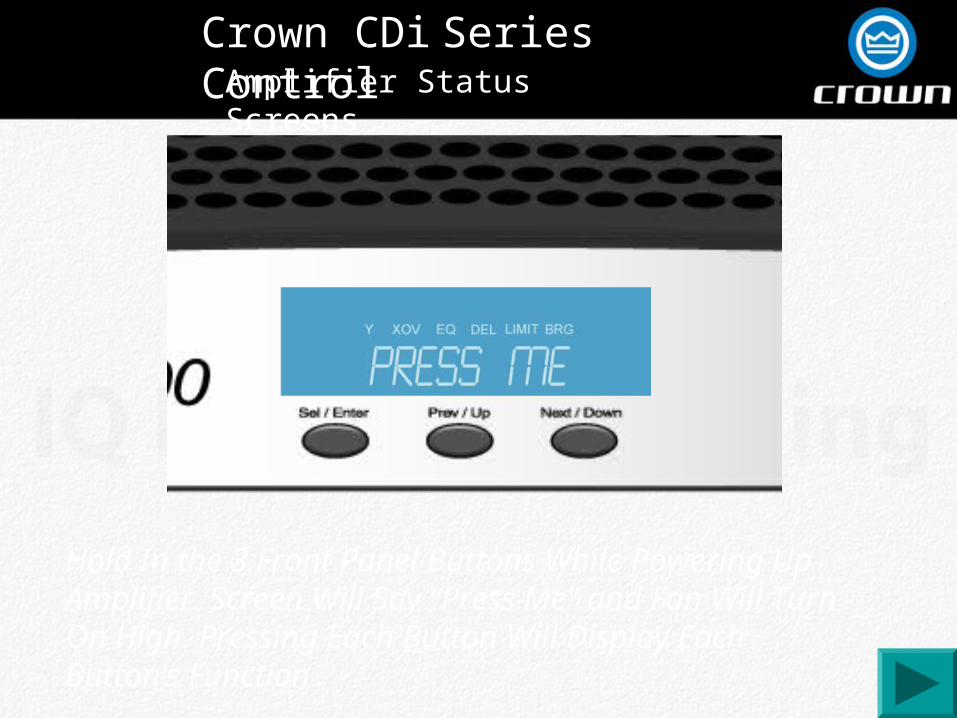
Crown CDi Series ControlAmplifier Status Screens
Hold In the 3 Front Panel Buttons While Powering Up Amplifier. Screen Will Say “Press Me" and Fan Will Turn On High. Pressing Each Button Will Display Each Button’s Function.
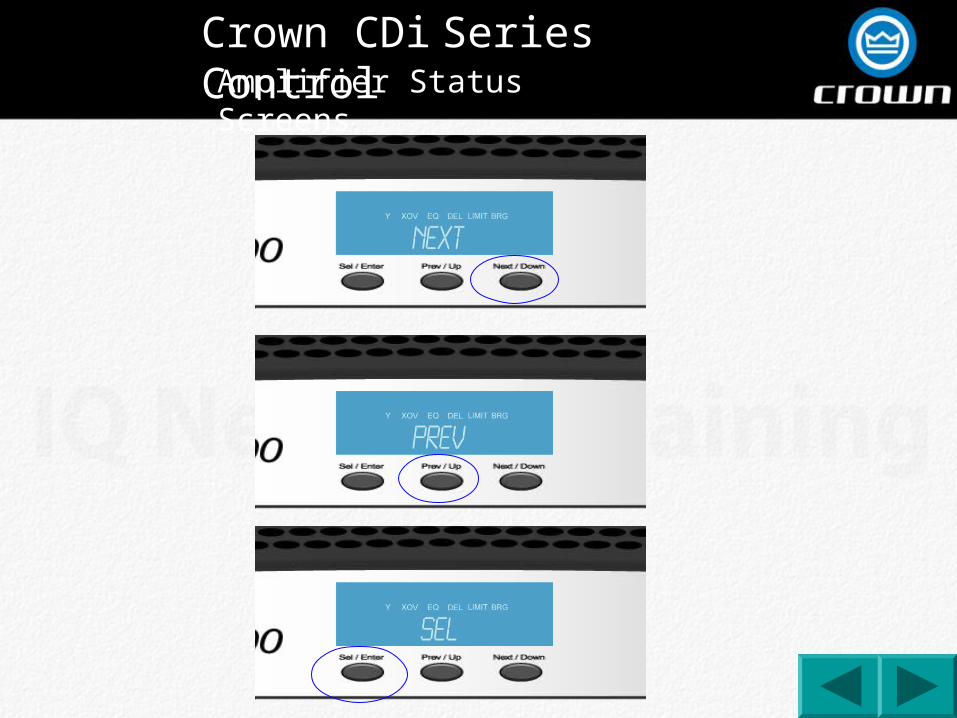
Crown CDi Series ControlAmplifier Status Screens

Crown CDi Series Control
Press The 3 Control Buttons Simultaneously While the Amplifier Is On And Use The Next and Previous buttons to Scroll Through The Status Screens
Channel 1 & 2 Heat Sink Temperature
Amplifier Status Screens

Crown CDi Series Control
Amplifier Firmware Version & System Architect Address
Amplifier Status Screens
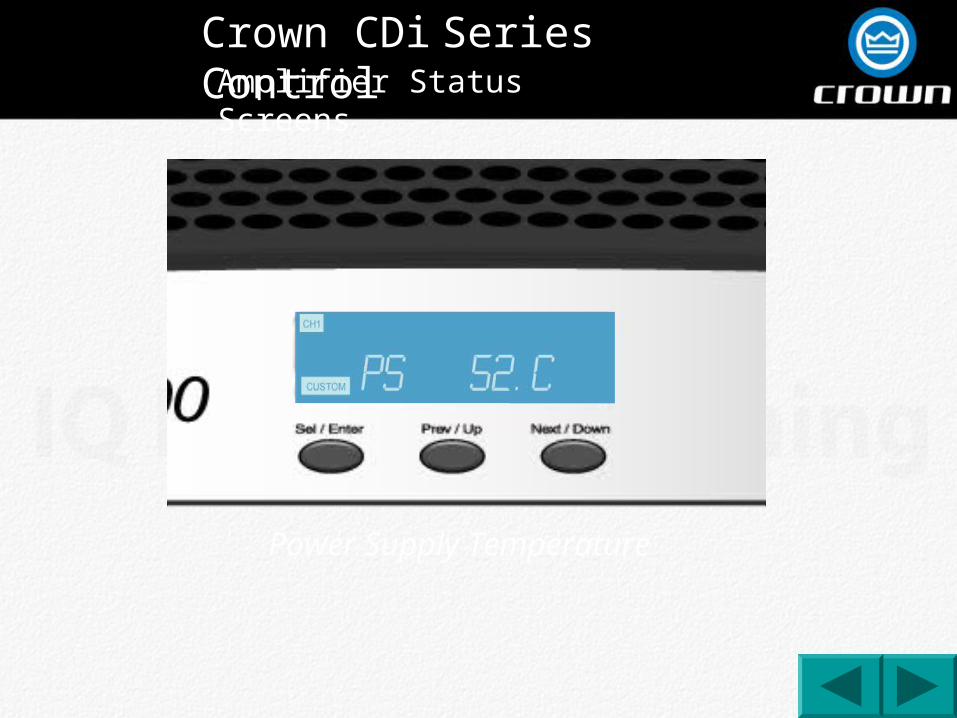
Crown CDi Series Control
Power Supply Temperature
Amplifier Status Screens
Crown CDi Series Control
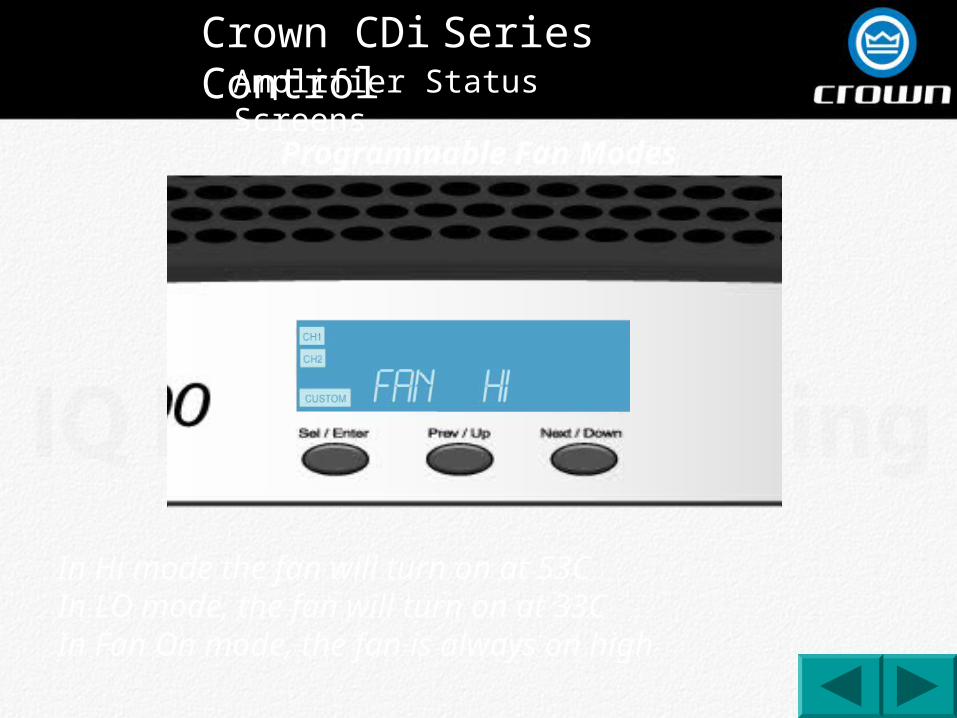
Programmable Fan Modes
In Hi mode the fan will turn on at 53CIn LO mode, the fan will turn on at 33CIn Fan On mode, the fan is always on high
Amplifier Status Screens

Crown CDi Series Control
In XTi, CDi, and DSi amplifiers, the fan will turn on in “Fan Hi” mode when the internal heat sink temperature reaches 53C.
To change the fan mode, the “Next” button is held down at start up. A more sensitive “Fan Lo” will be initiated. The fan will turn on at 33C and off at 23C. To disable it, hold down the “Next” button at start up and the fan will return to normal.
To change to “Fan On” mode, hold down the “Sel” button at start up and the fan will stay on high continuously. To disable it, hold down the “Sel” at start up and the fan will return to normal.
Amplifier Status Screens