Embed Size (px)
Citation preview
PAGE: 1 of 11 Basic DAFO Adjustments (Rev: 01 Oct 01)
© 2001 CASCADE DAFO INC
Our goal is to have each DAFO fit your patient right out of the box. Some minor adjustments may be necessary to assure long term comfort. The following are some simple adjustments that will help fine tune a DAFO and save the time and expense of a return.
BASIC DAFO ADJUSTMENTS
CONTENTS: • Positioning of Toe Pad • Adjusting Dorsum and Instep Regions • Adjusting Distal Trimlines • Adjusting Volume at Malleolus • Trimming Toe Shelf Length • Adjusting Volume at Calcaneus • Adjusting Width at Met Heads • Increasing Dorsiflexion with Foam Shim
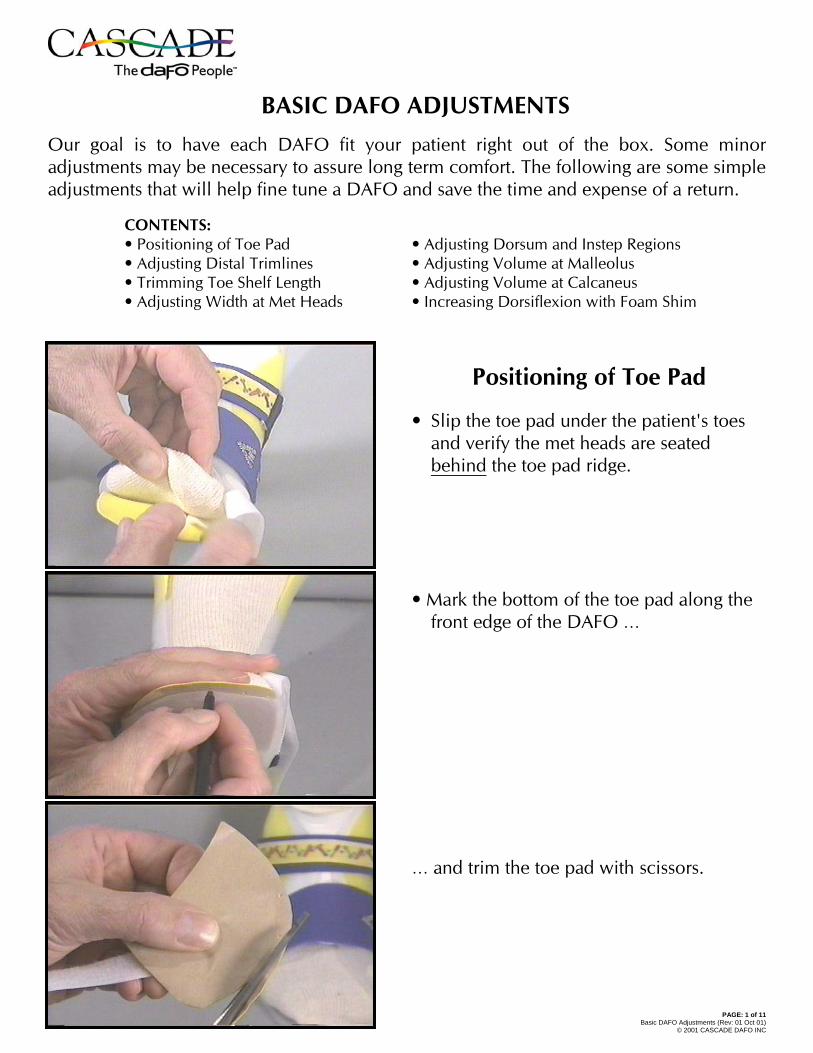
Positioning of Toe Pad
• Slip the toe pad under the patient's toes
and verify the met heads are seated behind the toe pad ridge.
• Mark the bottom of the toe pad along the
front edge of the DAFO … … and trim the toe pad with scissors.
BASIC DAFO ADJUSTMENTS
PAGE: 2 of 11 Basic DAFO Adjustments (Rev: 01 Oct 01)
© 2001 CASCADE DAFO INC
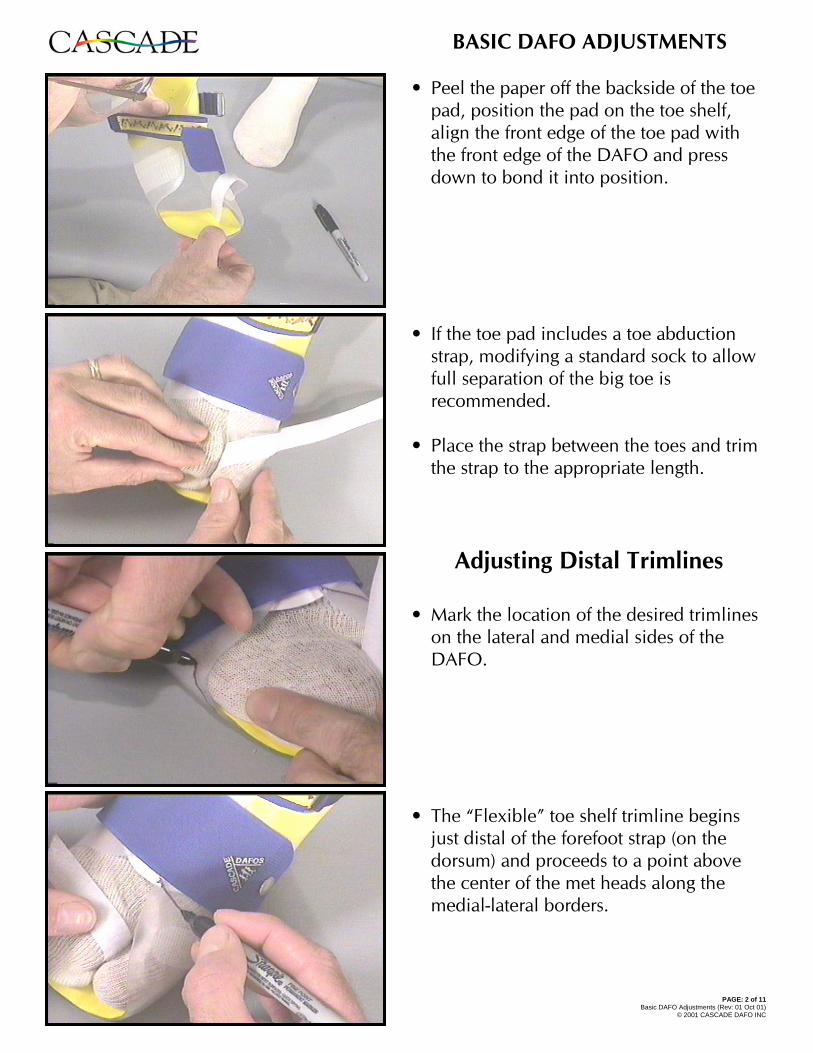
• Peel the paper off the backside of the toe
pad, position the pad on the toe shelf, align the front edge of the toe pad with the front edge of the DAFO and press down to bond it into position.
• If the toe pad includes a toe abduction
strap, modifying a standard sock to allow full separation of the big toe is recommended.
• Place the strap between the toes and trim
the strap to the appropriate length.
Adjusting Distal Trimlines
• Mark the location of the desired trimlines on the lateral and medial sides of the DAFO.
• The “Flexible” toe shelf trimline begins
just distal of the forefoot strap (on the dorsum) and proceeds to a point above the center of the met heads along the medial-lateral borders.
BASIC DAFO ADJUSTMENTS
PAGE: 3 of 11 Basic DAFO Adjustments (Rev: 01 Oct 01)
© 2001 CASCADE DAFO INC
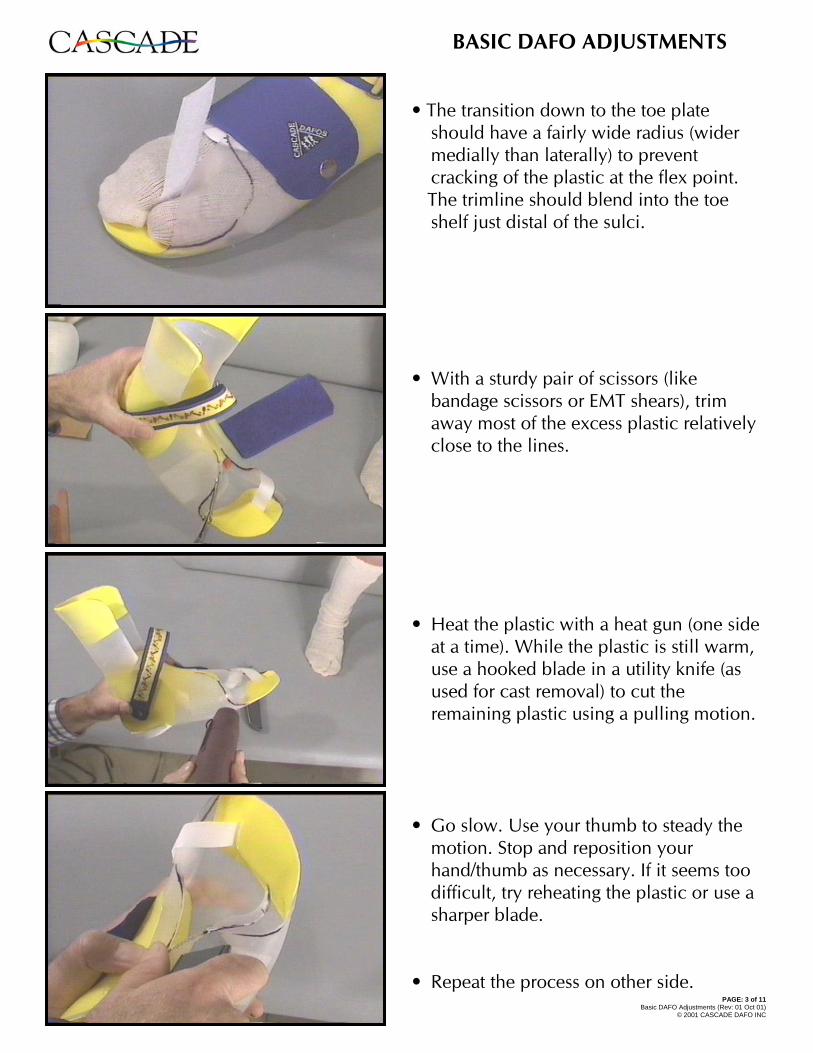
• The transition down to the toe plate
should have a fairly wide radius (wider medially than laterally) to prevent cracking of the plastic at the flex point.
The trimline should blend into the toe shelf just distal of the sulci.
• With a sturdy pair of scissors (like
bandage scissors or EMT shears), trim away most of the excess plastic relatively close to the lines.
• Heat the plastic with a heat gun (one side
at a time). While the plastic is still warm, use a hooked blade in a utility knife (as used for cast removal) to cut the remaining plastic using a pulling motion.
• Go slow. Use your thumb to steady the
motion. Stop and reposition your hand/thumb as necessary. If it seems too difficult, try reheating the plastic or use a sharper blade.
• Repeat the process on other side.
BASIC DAFO ADJUSTMENTS
PAGE: 4 of 11 Basic DAFO Adjustments (Rev: 01 Oct 01)
© 2001 CASCADE DAFO INC
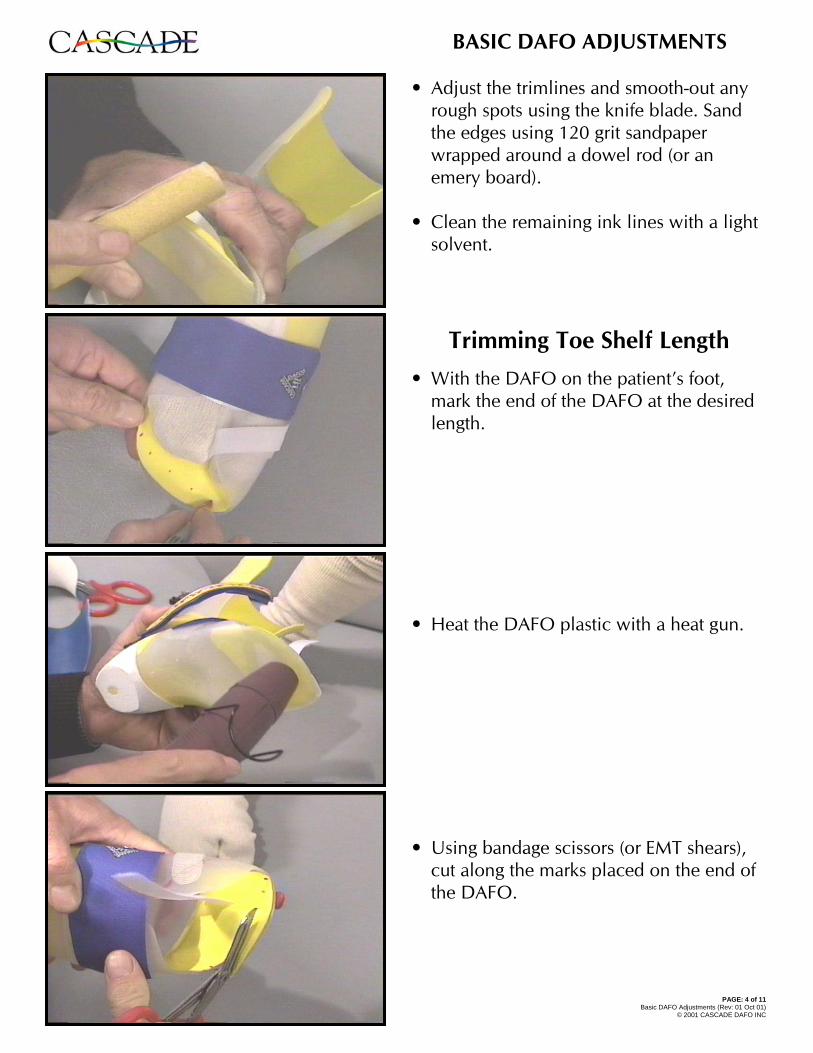
• Adjust the trimlines and smooth-out any
rough spots using the knife blade. Sand the edges using 120 grit sandpaper wrapped around a dowel rod (or an emery board).
• Clean the remaining ink lines with a light
solvent.
Trimming Toe Shelf Length
• With the DAFO on the patient’s foot, mark the end of the DAFO at the desired length.
• Heat the DAFO plastic with a heat gun. • Using bandage scissors (or EMT shears),
cut along the marks placed on the end of the DAFO.
BASIC DAFO ADJUSTMENTS
PAGE: 5 of 11 Basic DAFO Adjustments (Rev: 01 Oct 01)
© 2001 CASCADE DAFO INC
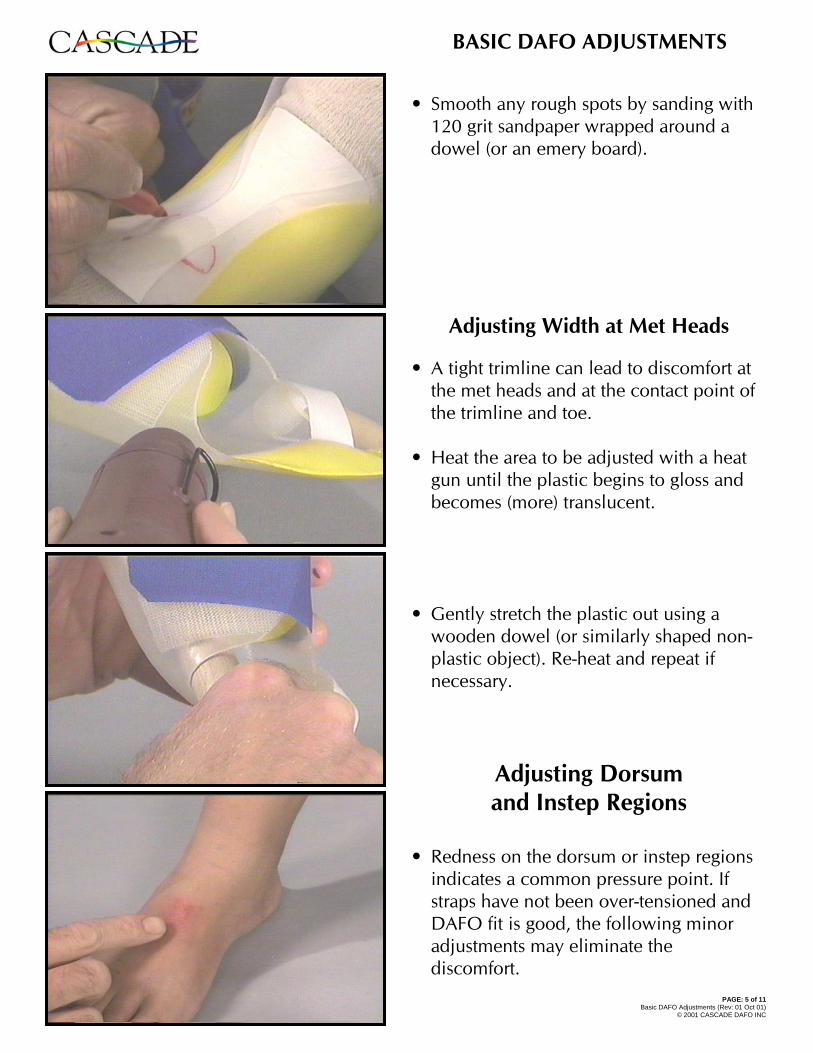
• Smooth any rough spots by sanding with 120 grit sandpaper wrapped around a dowel (or an emery board).
Adjusting Width at Met Heads • A tight trimline can lead to discomfort at
the met heads and at the contact point of the trimline and toe.
• Heat the area to be adjusted with a heat
gun until the plastic begins to gloss and becomes (more) translucent.
• Gently stretch the plastic out using a
wooden dowel (or similarly shaped non-plastic object). Re-heat and repeat if necessary.
Adjusting Dorsum and Instep Regions
• Redness on the dorsum or instep regions
indicates a common pressure point. If straps have not been over-tensioned and DAFO fit is good, the following minor adjustments may eliminate the discomfort.

BASIC DAFO ADJUSTMENTS
PAGE: 6 of 11 Basic DAFO Adjustments (Rev: 01 Oct 01)
© 2001 CASCADE DAFO INC
• With the DAFO on the patient, locate and
mark the area(s) on the DAFO adjacent to the irritated areas.
• Using bandage scissors, cut out a semi-
circular portion of the dorsal edge of the DAFO on one or both sides.
• Sand the cut plastic with 120 grit
sandpaper wrapped around a dowel rod. • If the cut-out alone proves insufficient, or
you believe more intervention is needed, heat the area with a heat gun and gently lift/stretch the plastic with your thumb or a wooden dowel. Careful with the heat … the plastic is very thin in this region.
• Additional cut-outs may be made, as in
the instep region pictured. • If after further wear, the irritation persists,
contact our Technical Support staff for other possible causes and solutions.
BASIC DAFO ADJUSTMENTS
PAGE: 7 of 11 Basic DAFO Adjustments (Rev: 01 Oct 01)
© 2001 CASCADE DAFO INC
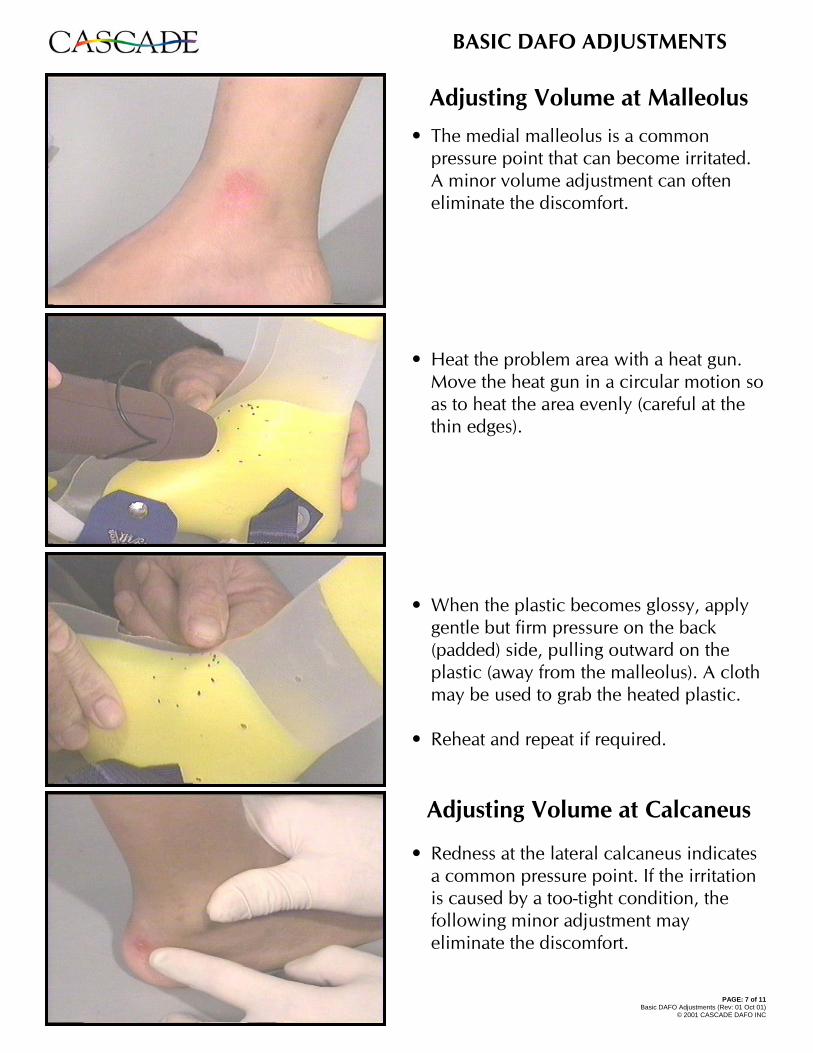
Adjusting Volume at Malleolus
• The medial malleolus is a common pressure point that can become irritated. A minor volume adjustment can often eliminate the discomfort.
• Heat the problem area with a heat gun.
Move the heat gun in a circular motion so as to heat the area evenly (careful at the thin edges).
• When the plastic becomes glossy, apply
gentle but firm pressure on the back (padded) side, pulling outward on the plastic (away from the malleolus). A cloth may be used to grab the heated plastic.
• Reheat and repeat if required.
Adjusting Volume at Calcaneus • Redness at the lateral calcaneus indicates
a common pressure point. If the irritation is caused by a too-tight condition, the following minor adjustment may eliminate the discomfort.
BASIC DAFO ADJUSTMENTS
PAGE: 8 of 11 Basic DAFO Adjustments (Rev: 01 Oct 01)
© 2001 CASCADE DAFO INC
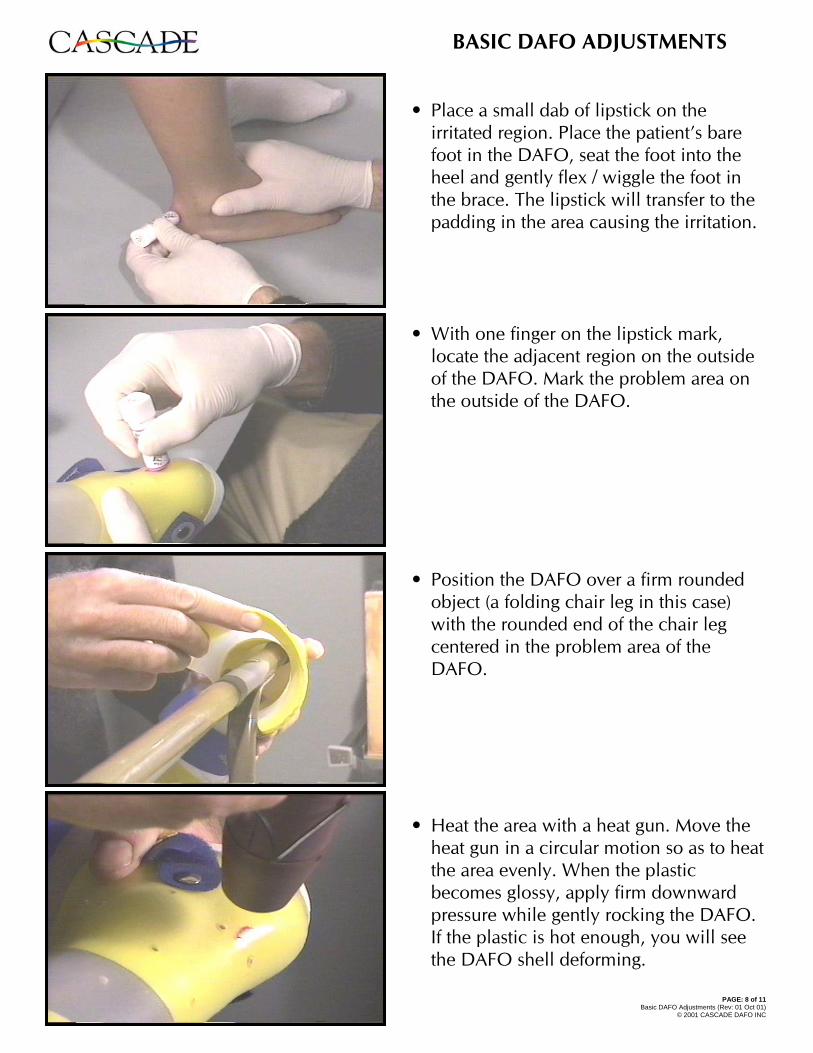
• Place a small dab of lipstick on the
irritated region. Place the patient’s bare foot in the DAFO, seat the foot into the heel and gently flex / wiggle the foot in the brace. The lipstick will transfer to the padding in the area causing the irritation.
• With one finger on the lipstick mark,
locate the adjacent region on the outside of the DAFO. Mark the problem area on the outside of the DAFO.
• Position the DAFO over a firm rounded
object (a folding chair leg in this case) with the rounded end of the chair leg centered in the problem area of the DAFO.
• Heat the area with a heat gun. Move the
heat gun in a circular motion so as to heat the area evenly. When the plastic becomes glossy, apply firm downward pressure while gently rocking the DAFO. If the plastic is hot enough, you will see the DAFO shell deforming.
BASIC DAFO ADJUSTMENTS
PAGE: 9 of 11 Basic DAFO Adjustments (Rev: 01 Oct 01)
© 2001 CASCADE DAFO INC
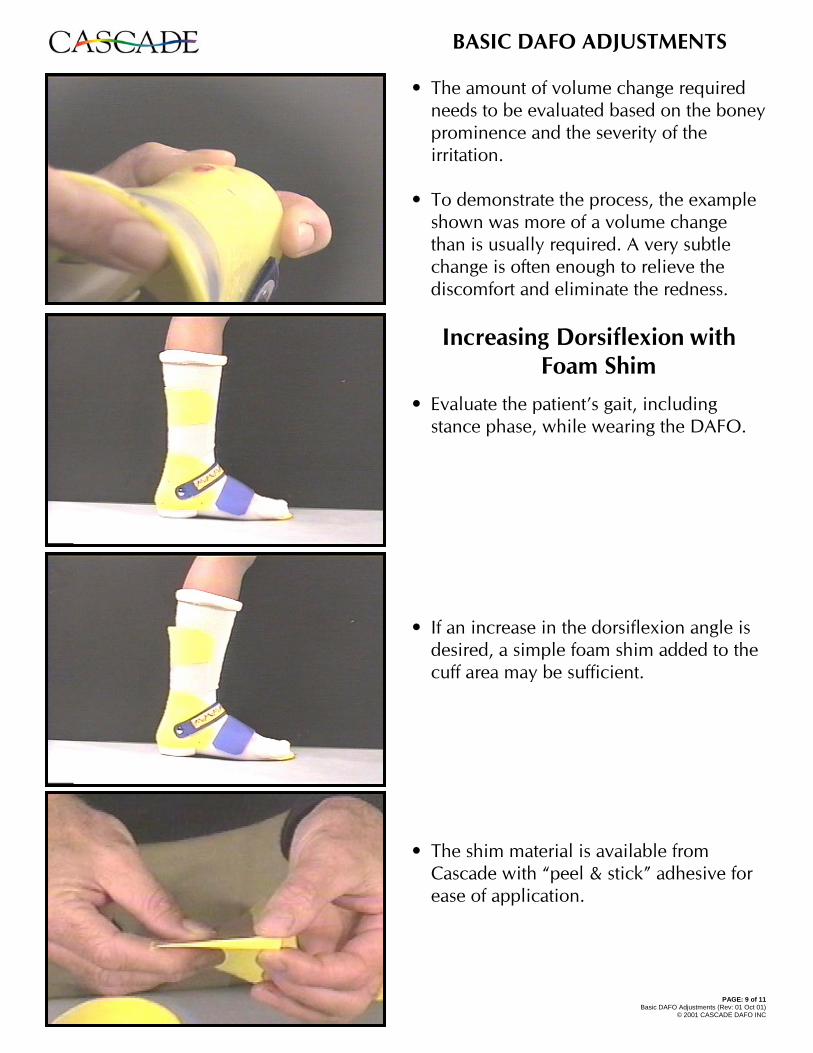
• The amount of volume change required
needs to be evaluated based on the boney prominence and the severity of the irritation.
• To demonstrate the process, the example
shown was more of a volume change than is usually required. A very subtle change is often enough to relieve the discomfort and eliminate the redness.
Increasing Dorsiflexion with
Foam Shim
• Evaluate the patient’s gait, including stance phase, while wearing the DAFO.
• If an increase in the dorsiflexion angle is
desired, a simple foam shim added to the cuff area may be sufficient.
• The shim material is available from
Cascade with “peel & stick” adhesive for ease of application.

BASIC DAFO ADJUSTMENTS
PAGE: 10 of 11 Basic DAFO Adjustments (Rev: 01 Oct 01)
© 2001 CASCADE DAFO INC
• To apply, first roughly estimate the
required length and cut the shim material using scissors.
• Center the shim in the cuff area of the
DAFO and place a “center” mark on the top of the shim and the brace.
• Peel the paper backing off of the shim
pad, fold the non-adhesive ends together and position the shim against the cuff area, aligning the center marks. The adhesive on the shim should be no higher than the cuff pad.
• With your fingers, press and smooth the
upper portion of the shim into position. If the alignment is off, gently pull the shim away and reposition. Smooth out any wrinkle in the lower portion of the shim with your fingers.
BASIC DAFO ADJUSTMENTS
PAGE: 11 of 11 Basic DAFO Adjustments (Rev: 01 Oct 01)
© 2001 CASCADE DAFO INC
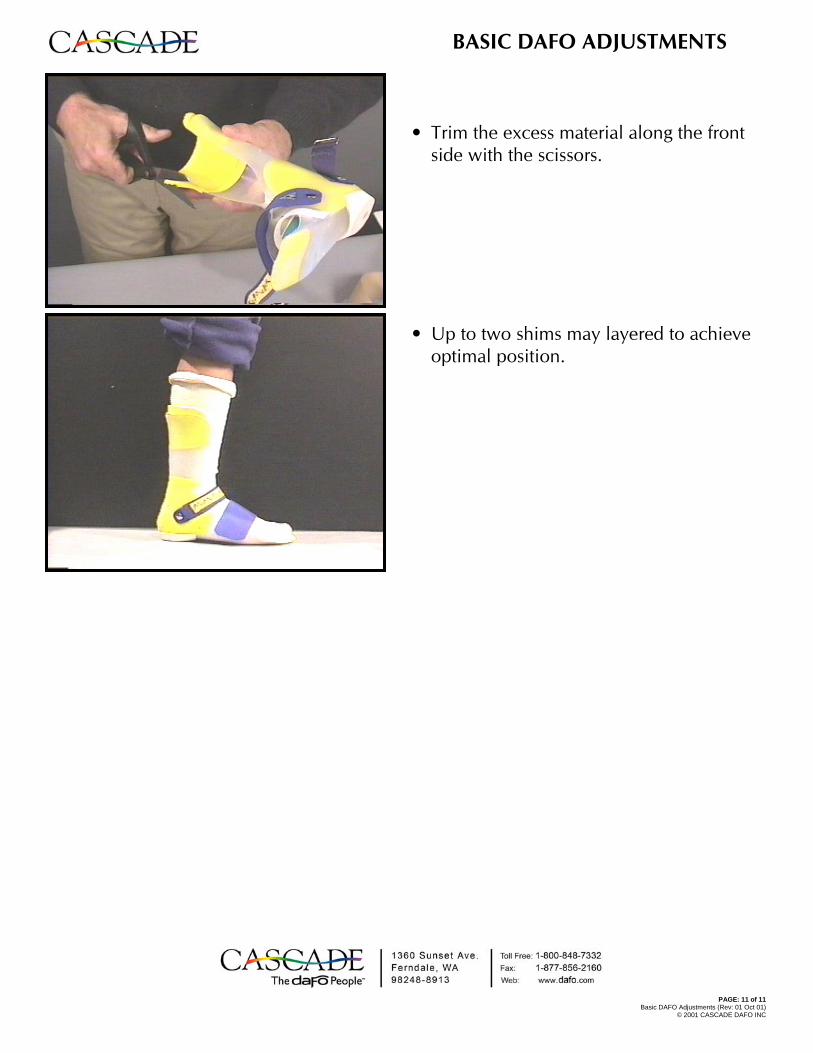
• Trim the excess material along the front
side with the scissors. • Up to two shims may layered to achieve
optimal position.