Embed Size (px)
Citation preview
TECHNOLOGIES USED IN CONSTRUCTION
CA
MER
A A
ND
TR
IPO
D
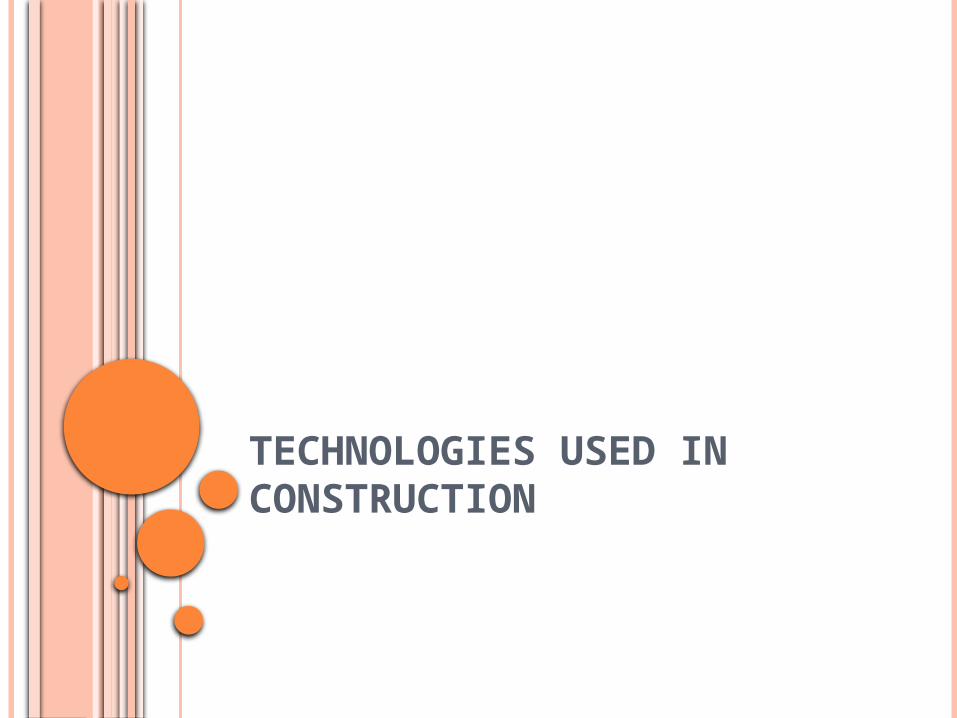
We used a professional Panasonic video camera to record our footage as it was lightweight and portable. These factors were important as we wanted to film our film with a handheld affect like The Blair Witch Project.
The tripod allowed us to shoot any other shots we required such as establishing shots and panning. In addition we improvised and held the camera and tripod as shown in the photo, this allowed us to use it like a steady cam.
LIG
HT P
AN
EL
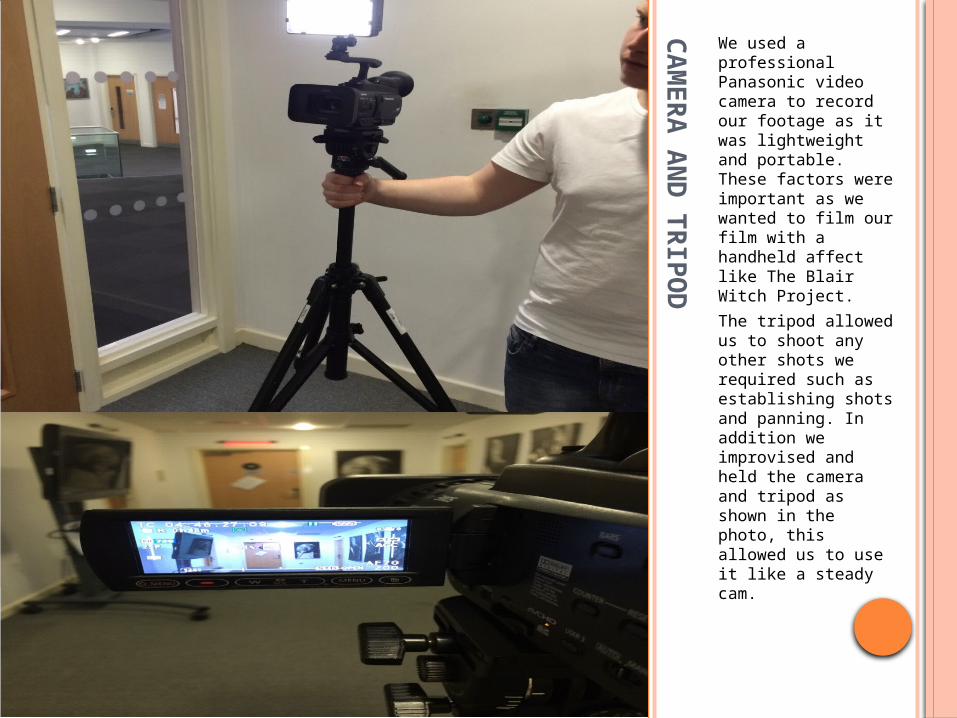
This piece of equipment was as vital as any when filming. This is because the location of the shoot was dark, therefore this provided the light. In addition because the light attached to the top of the camera only where the camera is looking lights up and everywhere else remains dark. This allows us to focus where to audience look by only lighting up where we want the to look. Also the dial on the side allowed us control the intensity of the lighting.
TH
E S
TU
DIO
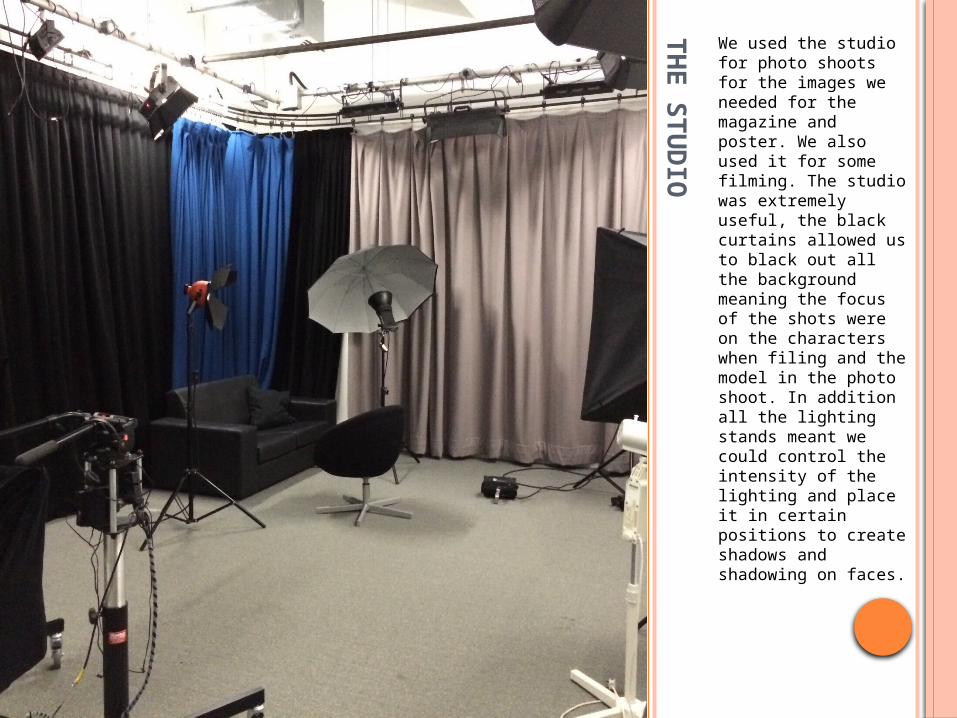
We used the studio for photo shoots for the images we needed for the magazine and poster. We also used it for some filming. The studio was extremely useful, the black curtains allowed us to black out all the background meaning the focus of the shots were on the characters when filing and the model in the photo shoot. In addition all the lighting stands meant we could control the intensity of the lighting and place it in certain positions to create shadows and shadowing on faces.
AD
OB
E P
HO
TO
SH
OP
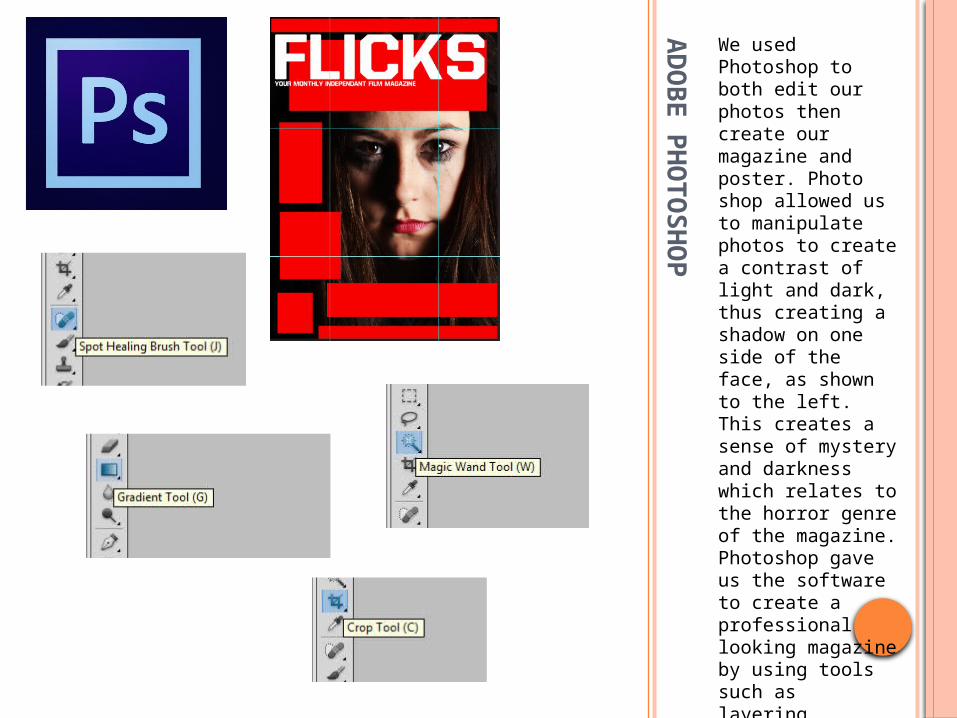
We used Photoshop to both edit our photos then create our magazine and poster. Photo shop allowed us to manipulate photos to create a contrast of light and dark, thus creating a shadow on one side of the face, as shown to the left. This creates a sense of mystery and darkness which relates to the horror genre of the magazine. Photoshop gave us the software to create a professional looking magazine by using tools such as layering, gradient, crop, magic wand and the spot healing brush.
AD
OB
E P
REM
IER
PR
O C
S6
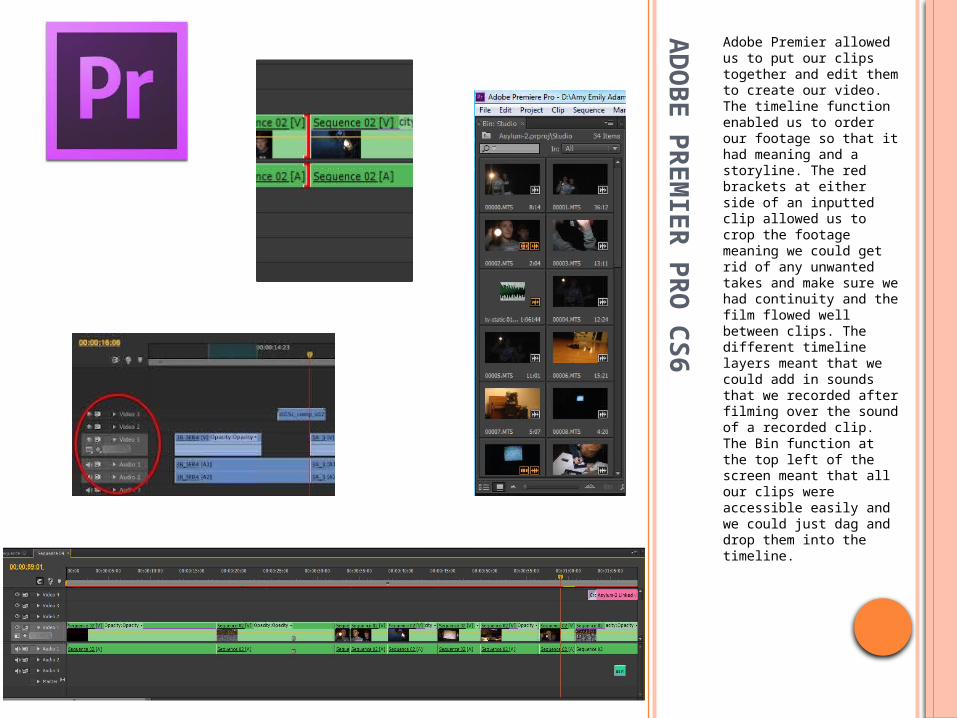
Adobe Premier allowed us to put our clips together and edit them to create our video. The timeline function enabled us to order our footage so that it had meaning and a storyline. The red brackets at either side of an inputted clip allowed us to crop the footage meaning we could get rid of any unwanted takes and make sure we had continuity and the film flowed well between clips. The different timeline layers meant that we could add in sounds that we recorded after filming over the sound of a recorded clip. The Bin function at the top left of the screen meant that all our clips were accessible easily and we could just dag and drop them into the timeline.
AD
OB
E A
FTER
EFFEC
TS
CS
6
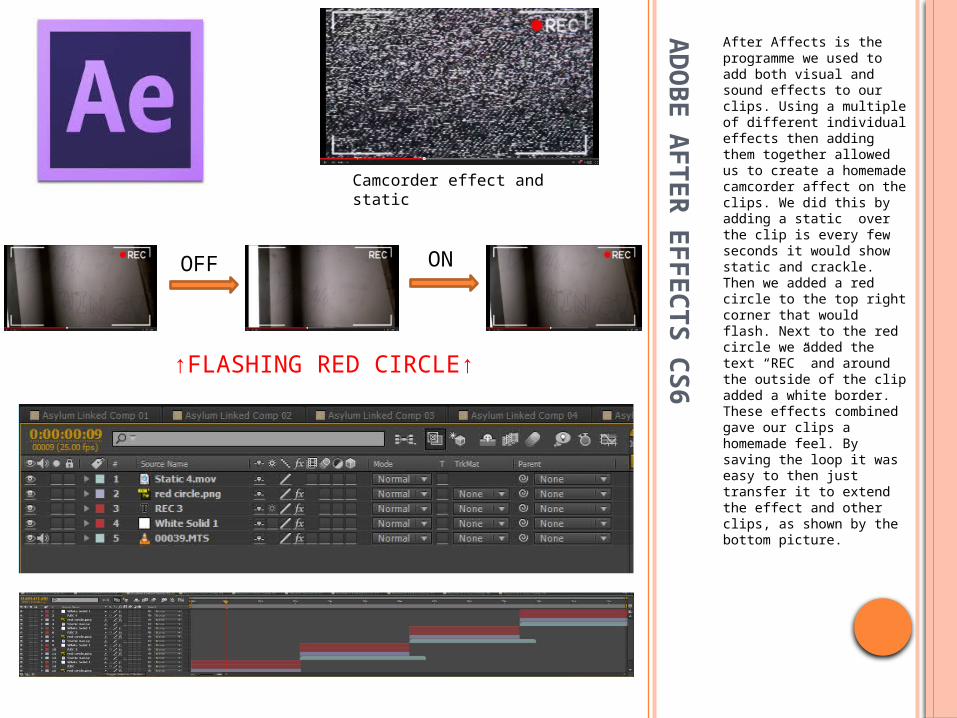
After Affects is the programme we used to add both visual and sound effects to our clips. Using a multiple of different individual effects then adding them together allowed us to create a homemade camcorder affect on the clips. We did this by adding a static over the clip is every few seconds it would show static and crackle. Then we added a red circle to the top right corner that would flash. Next to the red circle we added the text “REC” and around the outside of the clip added a white border. These effects combined gave our clips a homemade feel. By saving the loop it was easy to then just transfer it to extend the effect and other clips, as shown by the bottom picture.
↑FLASHING RED CIRCLE↑
OFF ON
Camcorder effect and static