Embed Size (px)
Citation preview
wishpond HOW-TO
How to Create a Banner Image with GIMP
wishpond EBOOK
This how-to guide will
take you step by step....

Turning This:
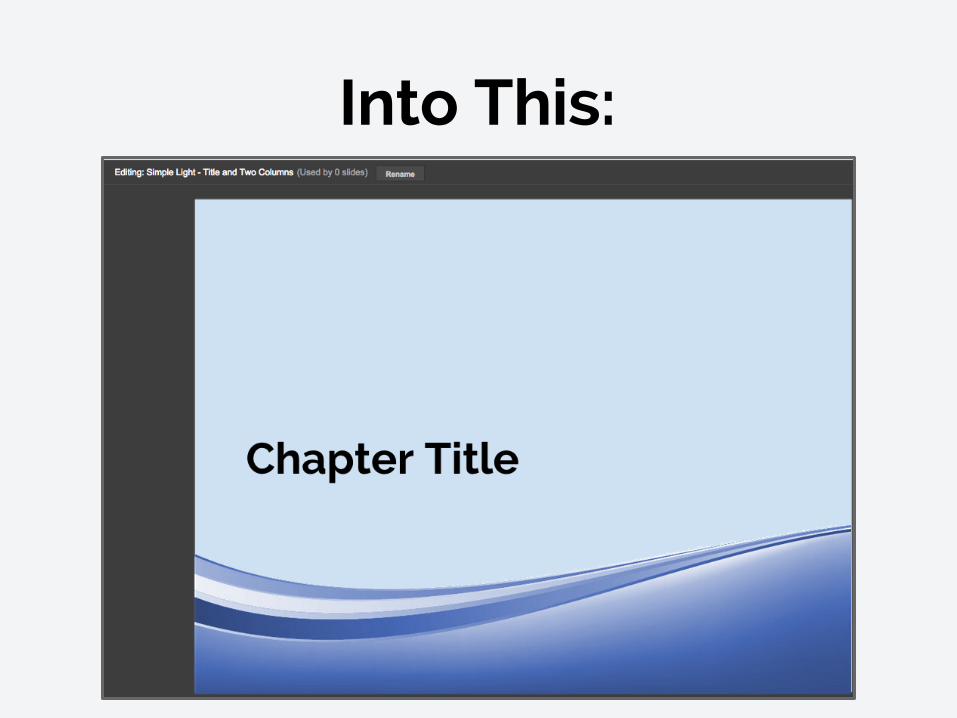
Into This:
wishpond HOW-TO
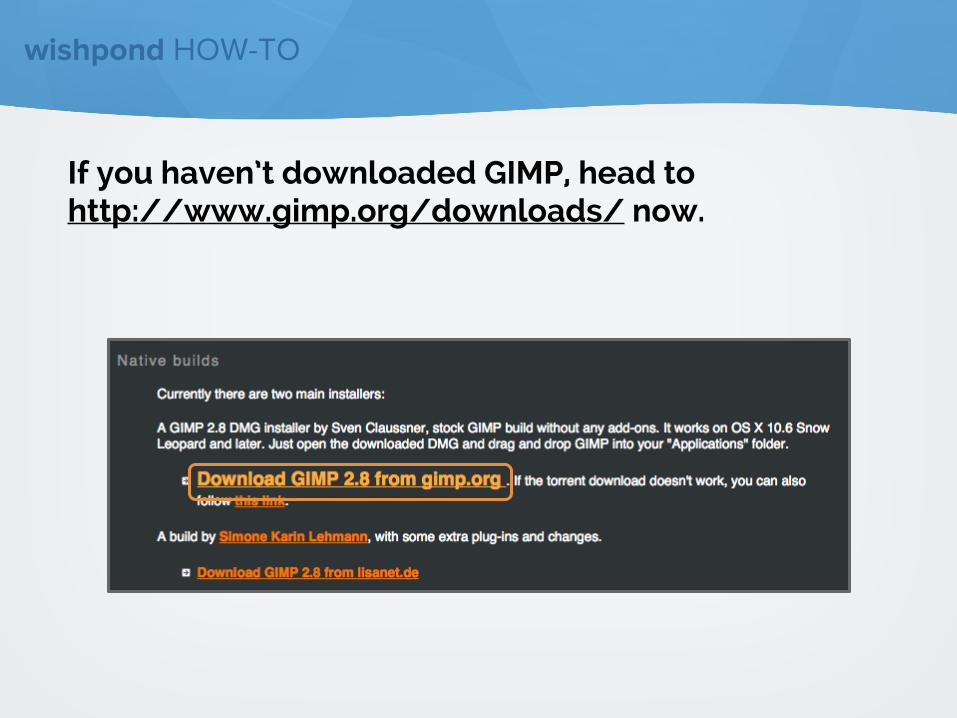
If you haven’t downloaded GIMP, head to http://www.gimp.org/downloads/ now.

wishpond HOW-TO
Now head to your favorite free image provider.
(We like freepik.com)
wishpond HOW-TO
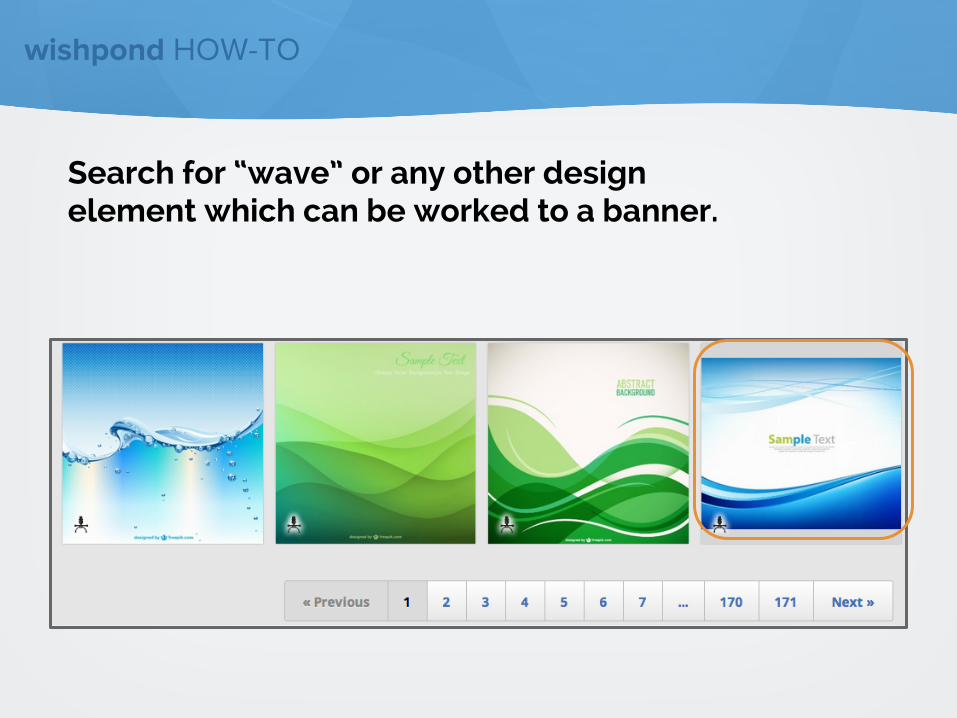
Search for “wave” or any other design element which can be worked to a banner.
wishpond HOW-TO
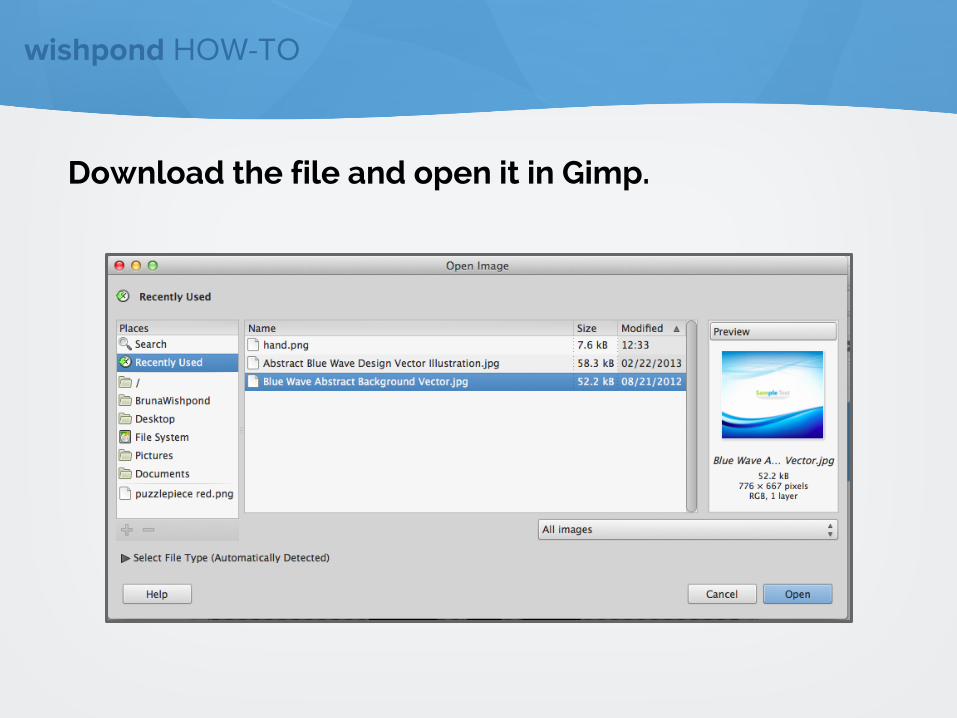
Download the file and open it in Gimp.

wishpond HOW-TO
Before we edit the image, we want to be sure we’ll have a png file (transparent background) when we’re done.
To do this, ensure you’ve added an “Alpha Channel” to your layer.
Simply right click on the layer and choose ‘Add Alpha Channel”.
This means that any erasing we do will give us a transparent background.
wishpond HOW-TO
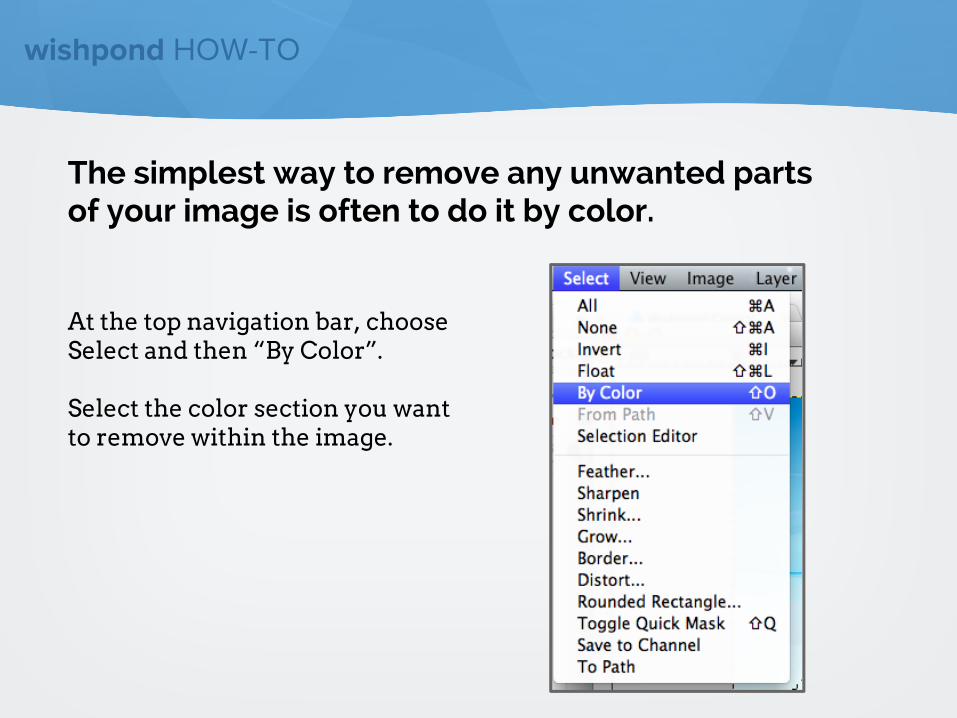
The simplest way to remove any unwanted parts of your image is often to do it by color.
At the top navigation bar, choose Select and then “By Color”.
Select the color section you want to remove within the image.
wishpond HOW-TO
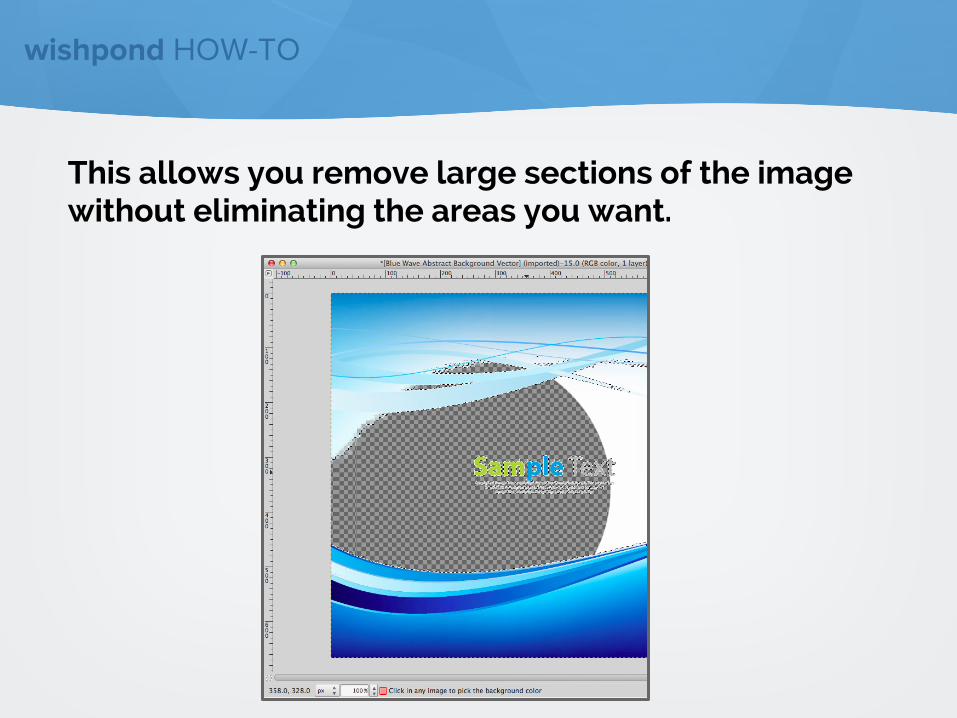
This allows you remove large sections of the image without eliminating the areas you want.

wishpond HOW-TO
Once you’ve erased what you don’t want, resize your image to your desired banner-width.
The easiest way to do this in GIMP is to select the area you want (simply done with the square select tool in your toolbox).
Then head up to Image on the navigation bar and choose “Fit Canvas to Selection.”
wishpond HOW-TO
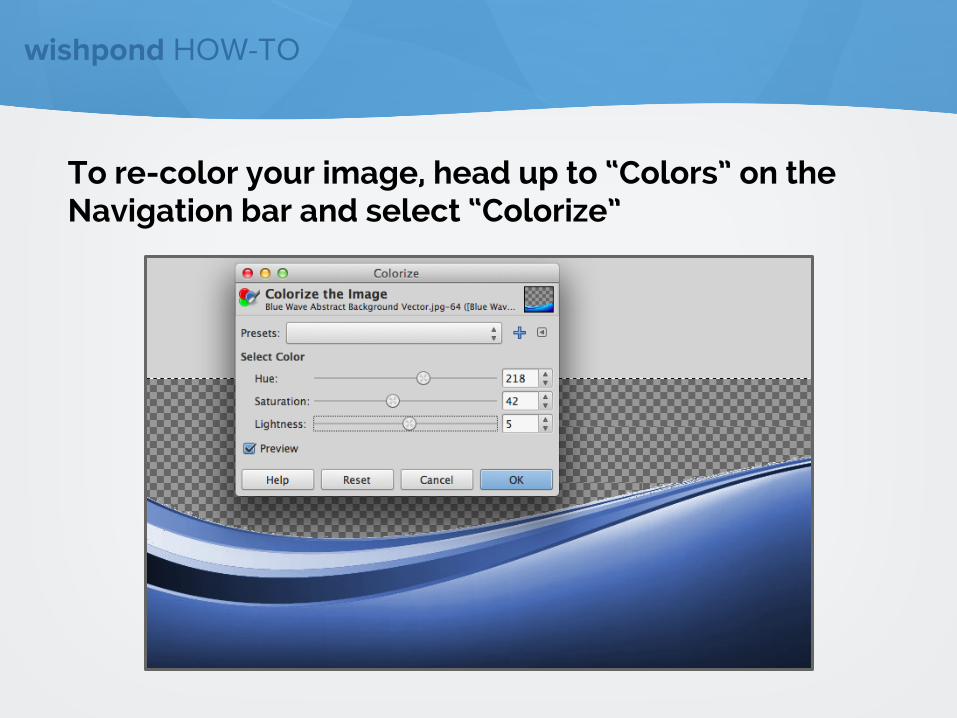
To re-color your image, head up to “Colors” on the Navigation bar and select “Colorize”
wishpond HOW-TO
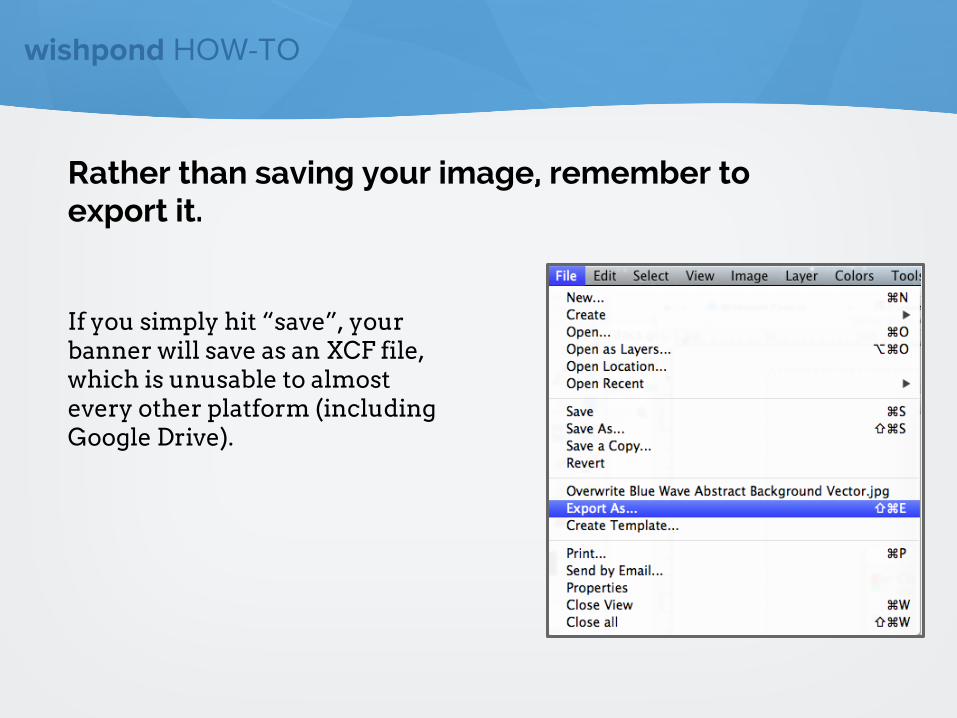
Rather than saving your image, remember to export it.
If you simply hit “save”, your banner will save as an XCF file, which is unusable to almost every other platform (including Google Drive).

wishpond HOW-TO
Import your banner image to your Master Theme in Google Presentations.
wishpond HOW-TO
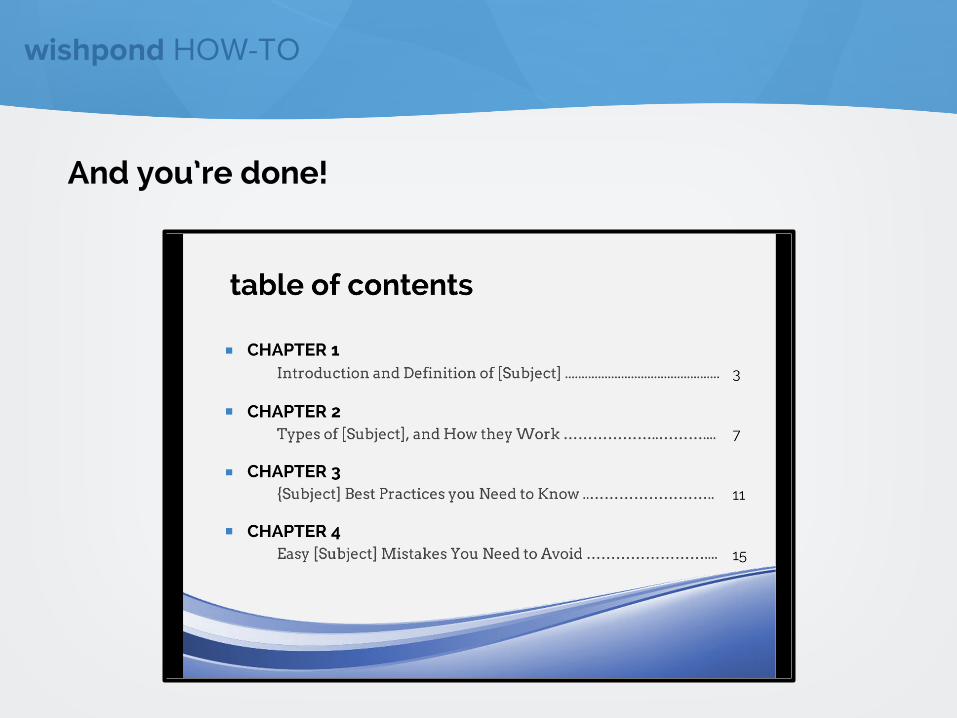
And you’re done!

wishpond HOW-TO
If you have any questions, feel free to send an email to [email protected]. We have a fantastic support team that truly loves helping our readers.
Or, book a one-on-one conversation with one of our marketing success leads and they can help you out.
Thanks for reading!