Embed Size (px)
Citation preview
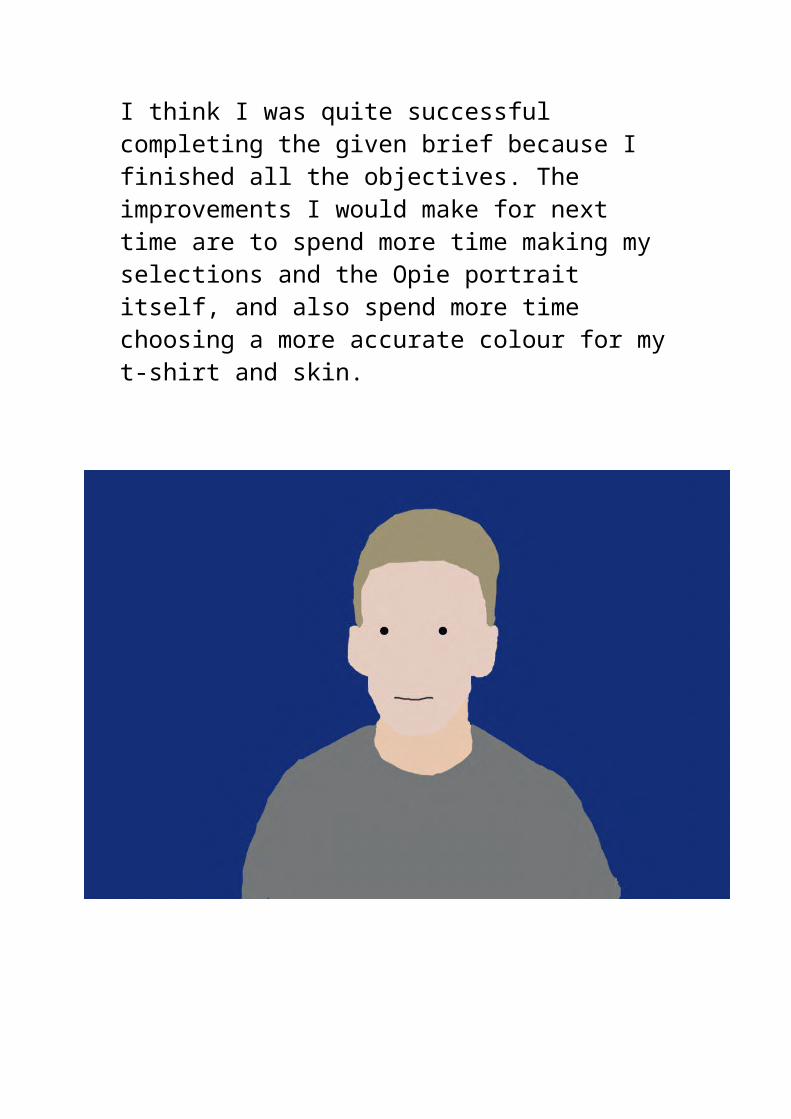
Opie Self Portrait Evaluation
For the Opie style portrait I created in Photoshop, I used the Quick Selection tool to select areas. I like thattool because you can easily add or take away selection and choose the pixel size of the tool.
I also used the Paint Bucket tool to fill in the selections with a colour such as the background.
Another tool I used was the Eye Dropper tool to select which colours such as the skin tone of my face.
One part I found difficult was selecting the correct parts to create new layers from them. I could have zoomed in to get more accurate selections to make my Opie portrait a lot better. To try and fix this I drew over the jagged lines with the Brush tool to make it look smoother.
I think I was quite successful completing the given brief because I finished all the objectives. The improvements I would make for next time are to spend more time making my selections and the Opie portrait itself, and also spend more time choosing a more accurate colour for my t-shirt and skin.