Embed Size (px)
DESCRIPTION
Implementation of various networking protocol on NS2
Citation preview
Implementation of Networking protocol using Network Simulator 2
By:-Nishant Amresh Naman Kumar Gaurav Vikash kumar)
INTRODUCTIONWe perform the simulation of various networking protocol on NS2 like : TCP UDPAd-Hoc routing protocols like : AODV DSR DSDV
Continue…
Implementation of VLAN
And for all its implementation we have used Network Simulator 2 as a platform.
Reasons to choose NS2 as a platform Object Oriented Real time Implementation Discrete - Event Simulation Plumbing makes NS2 a powerful tool Event Scheduler Time Synchronization Cost effective
What is NS2Network Simulator 2, widely known as
NS2, is simply an event-driven simulation tool that has proved useful in studying the dynamic nature of communication networks.
It is written using two language: - Otcl (Object Oriented Tool
Command language) C++ language.
Why two languages?NS2 uses Otcl to create and
configure a network . for configuration, setup, or one time
simulation, to run simulation with existing NS2 modules.
C++ defines the internal mechanism of the simulation objects Used when dealing with a packet Used when need to modify existing NS2 modules.

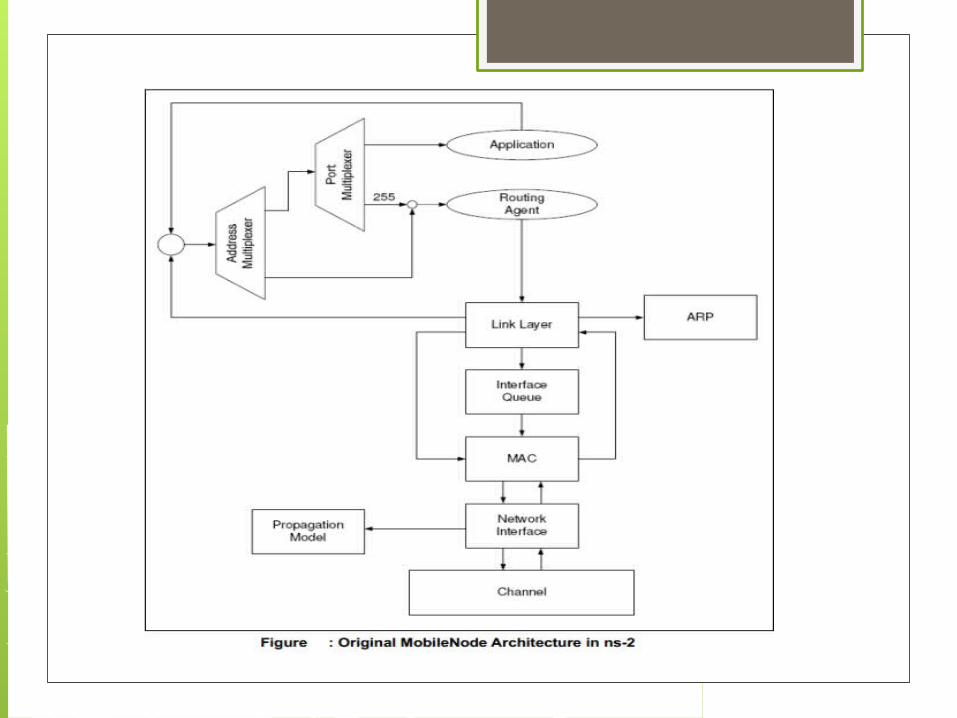
Node used as a Router
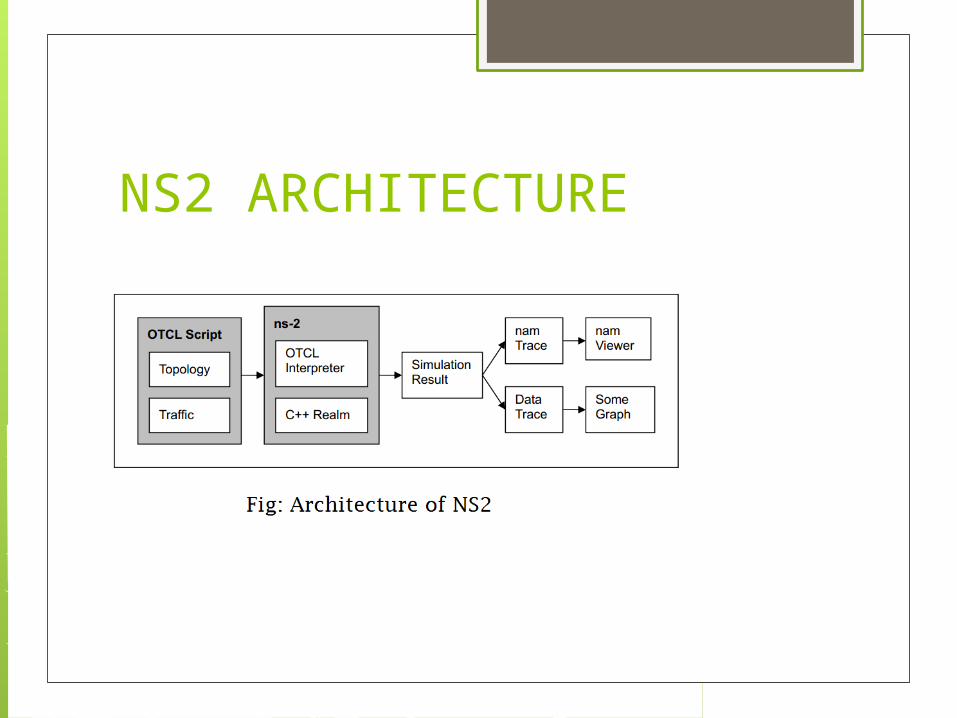
NS2 ARCHITECTURE
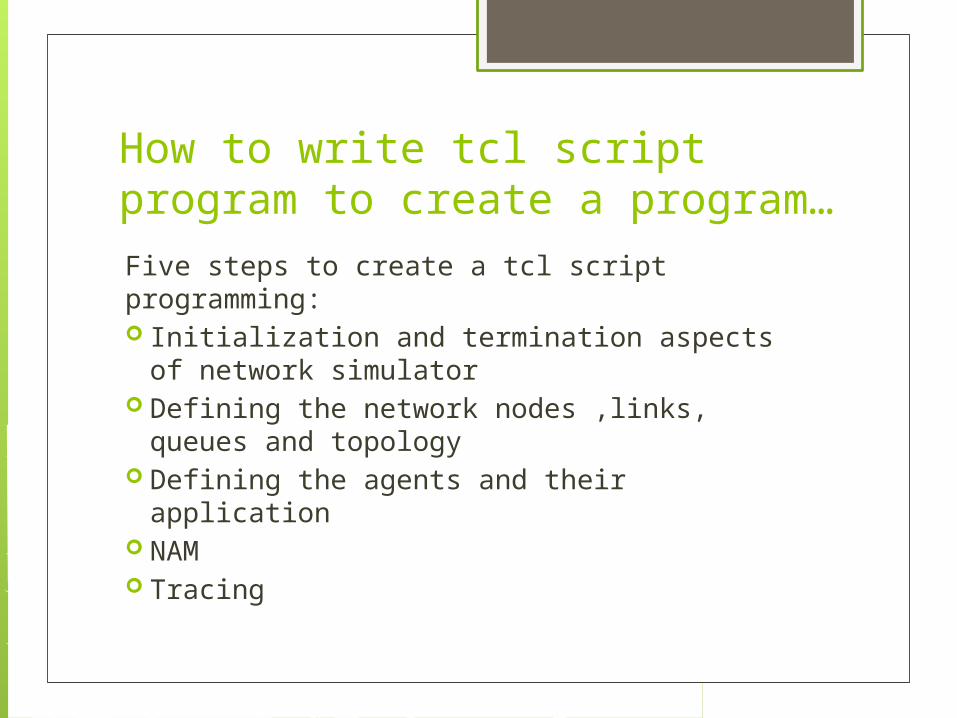
How to write tcl script program to create a program…Five steps to create a tcl script programming: Initialization and termination aspects of
network simulator Defining the network nodes ,links, queues
and topology Defining the agents and their application NAM Tracing
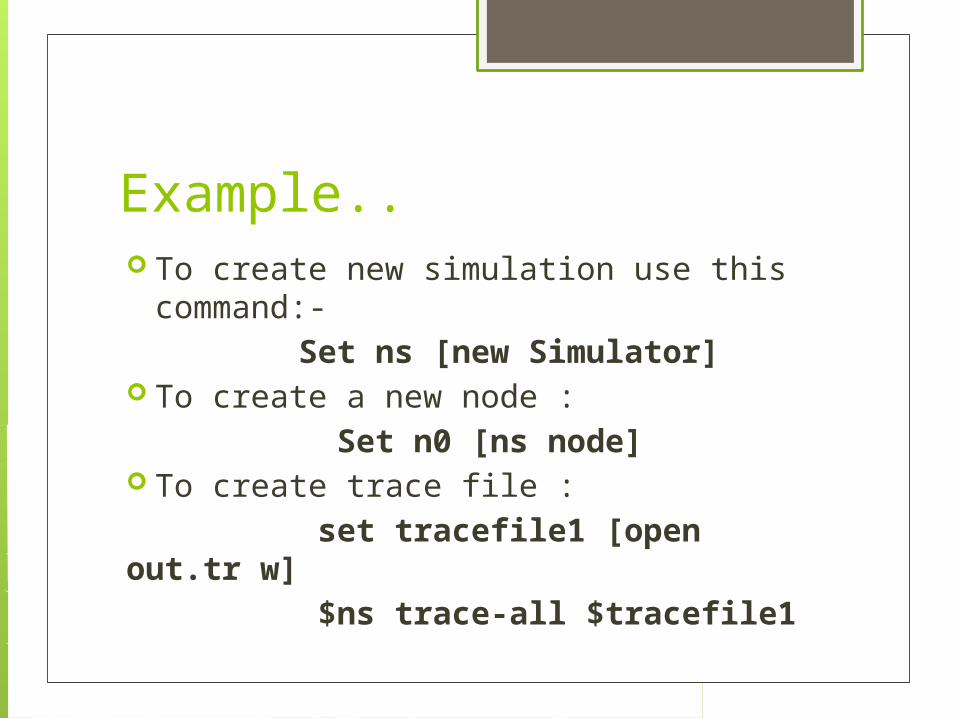
Example.. To create new simulation use this
command:- Set ns [new Simulator] To create a new node : Set n0 [ns node] To create trace file : set tracefile1 [open out.tr w] $ns trace-all $tracefile1
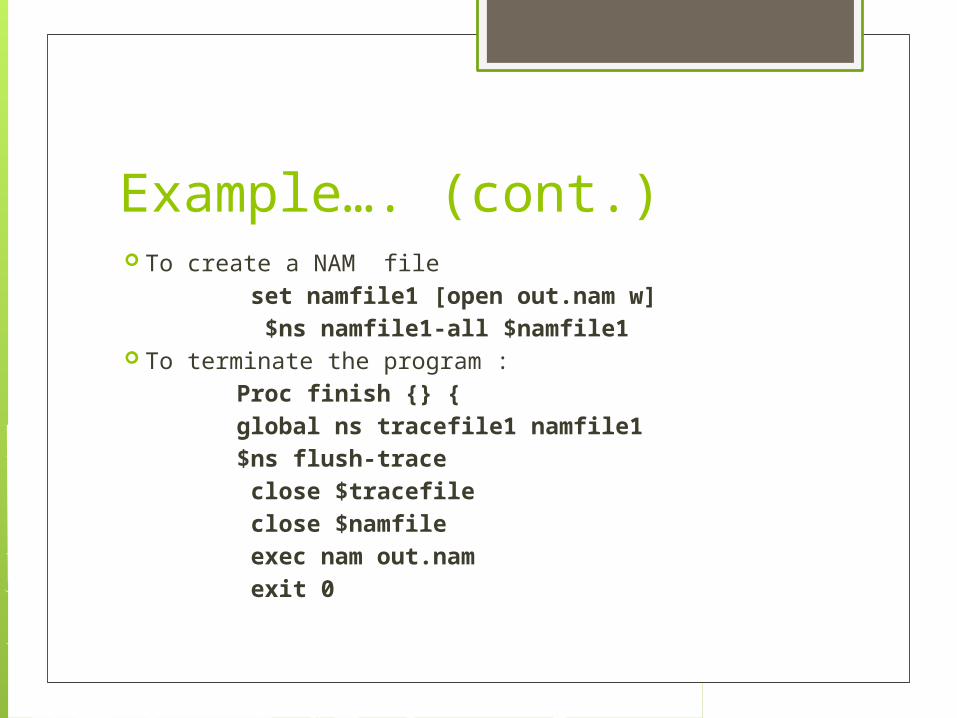
Example…. (cont.) To create a NAM file set namfile1 [open out.nam w] $ns namfile1-all $namfile1 To terminate the program : Proc finish {} { global ns tracefile1 namfile1 $ns flush-trace close $tracefile close $namfile exec nam out.nam exit 0
TCP(Transmission Control Protocol) Connection Oriented Reliable Protocol Consisting of three phases of operation Connection setup Data setup Connection termination
Objective of TCP Adapt the transmission rate of packets to the
available bandwidth. Avoid congestion at the network. Create a reliable connection by
retransmitting lost packet
We measure the performance of TCP on noisy links using Queue monitoring.
How the window size vary in network congestion.
UDP(User Datagram Protocol) Connectionless transport-layer protocol\ No connection setup is needed prior to
data transfer Offers minimal transport layer
functionalities non-guaranteed data delivery gives application a direct access to
network layer
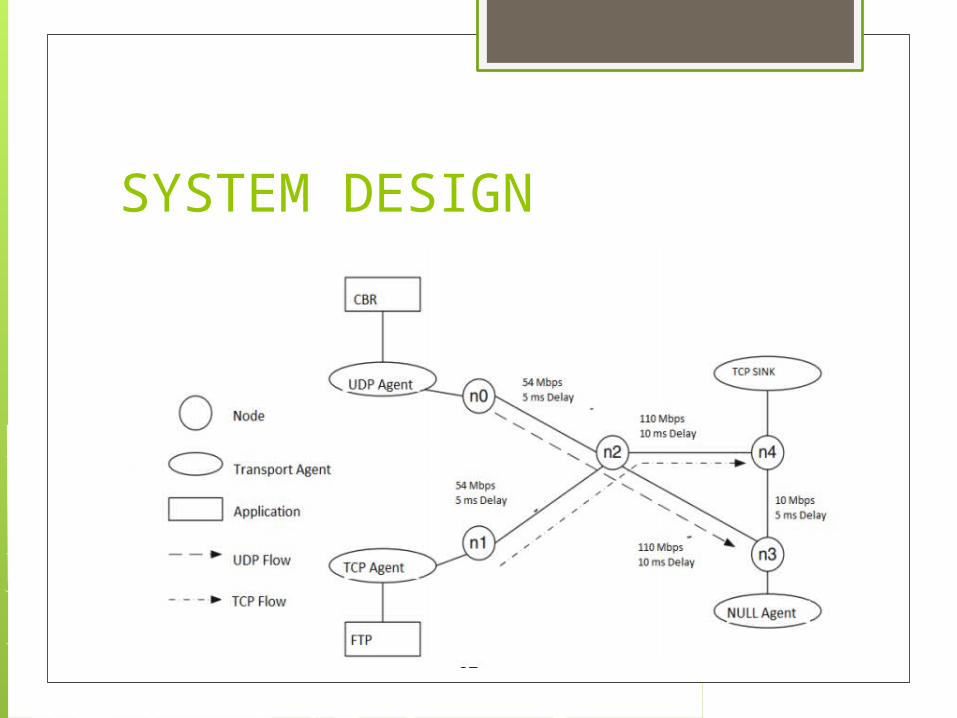
SYSTEM DESIGN
Basic Agents Two types of NS2 agent used for creating or
destroying a packet are : Routing agent
A routing agent creates and receives routing control packets, and commands routing protocols to act accordingly .
Transport-layer agent A transport-layer agent controls the congestionand reliability of a data flow based on an underlying transport layer protocol (e.g.,UDP or TCP)
ADHOC
INTRODUCTION Ad-hoc networks are infrastructure-less. The interconnected nodes coordinate the
transmissions with other nodes and they may have to relay messages among several other nodes in order to reach a destination.
An ad-hoc network is a self-configuring network of wireless links connecting mobile nodes, where these nodes may be routers and/or hosts.
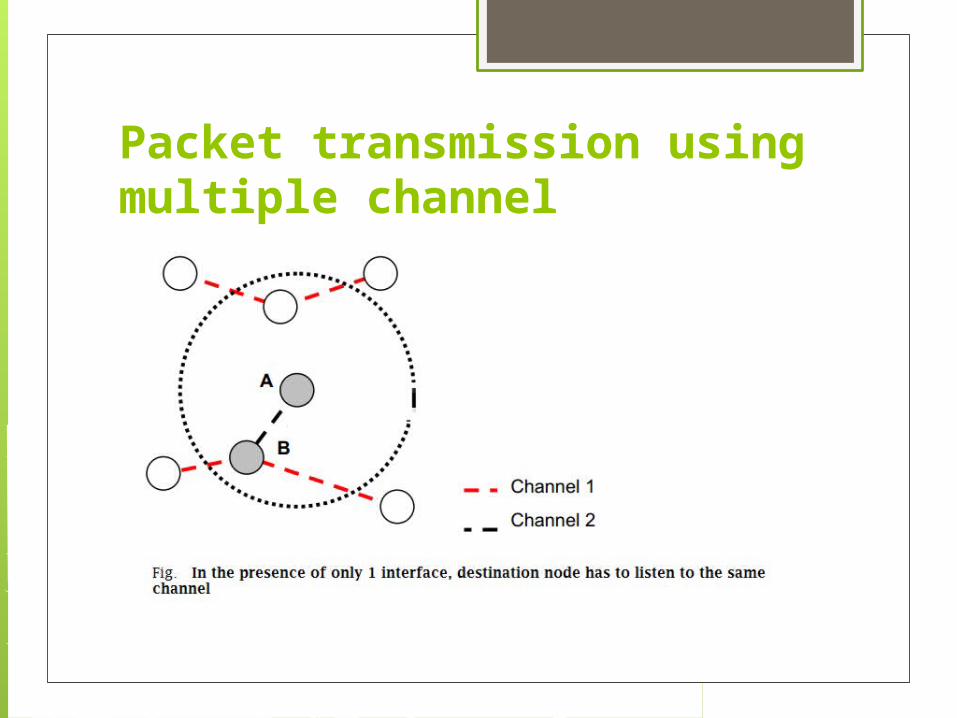
Packet transmission using multiple channel

Multiple Channels and Multiple Interfaces Due to the increasing throughput demand, the
idea of exploiting multiple channels is appealing in ad-hoc wireless networks .
Having more than one interface on a node allows two different nodes communicating in parallel on different channels .
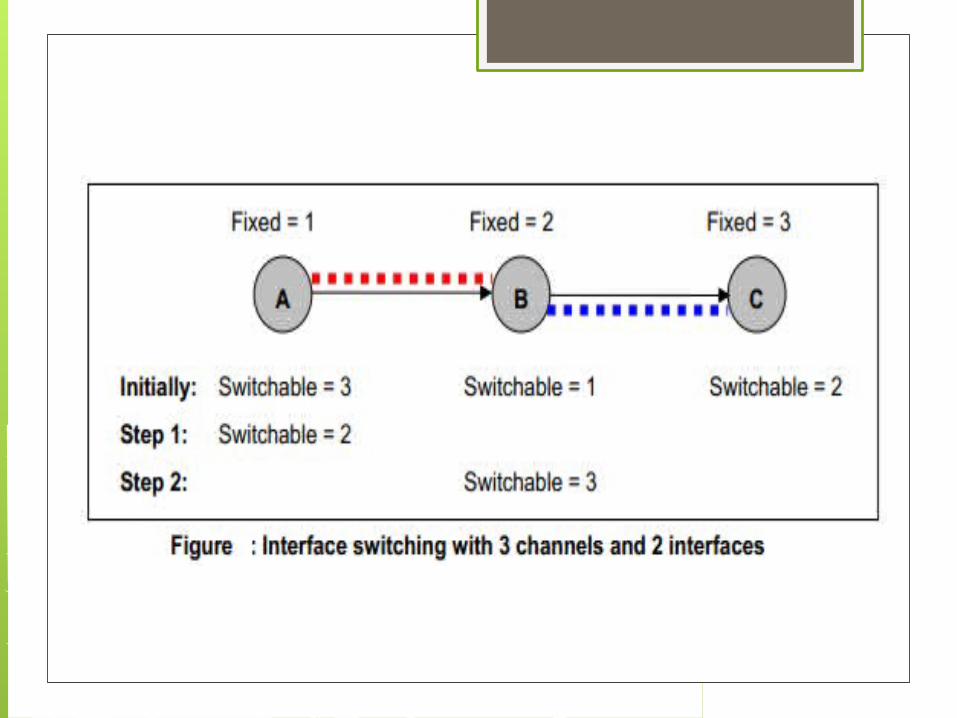
An interface has a capability to dynamically switch to different channels over time.
Two adjacent nodes can communicate with each other if they have at least one interface on a common channel.
Problems occurred In a wireless ad-hoc network consisting
of multiple hops, if each node only uses a single interface, packets may be delayed at some hops if their next hops are not on the same channel.
End-to-end delay increases. Degradation in channel capacity.
Solution A multi-interface solution for exploiting multiple
channels that can be implemented on existing IEEE 802.11 hardware.
An interface assignment strategy using the technique of interface switching , that simplifies coordination among nodes while utilizing multiple available channels.
A routing protocol, namely the Multiple-Channel Routing (MCR), that selects routes with the highest throughput by accounting for channel diversity and interface switching cost.
Interface switching Fixed Interface Switchable Interface

Routing protocols used in AD-HOC networkAODV (Ad-Hoc On Demand
Distance Vector)DSR (Dynamic Source Routing)DSDV (Destination Sequenced
Distance Vector)
AODV Routing protocol for wireless Ad-Hoc
network Reactive routing protocol, meaning that it
establishes a route to a destination only on demand
avoids the counting-to-infinity problem using sequence numbers on route updates
Capable of unicast and multicast routing .
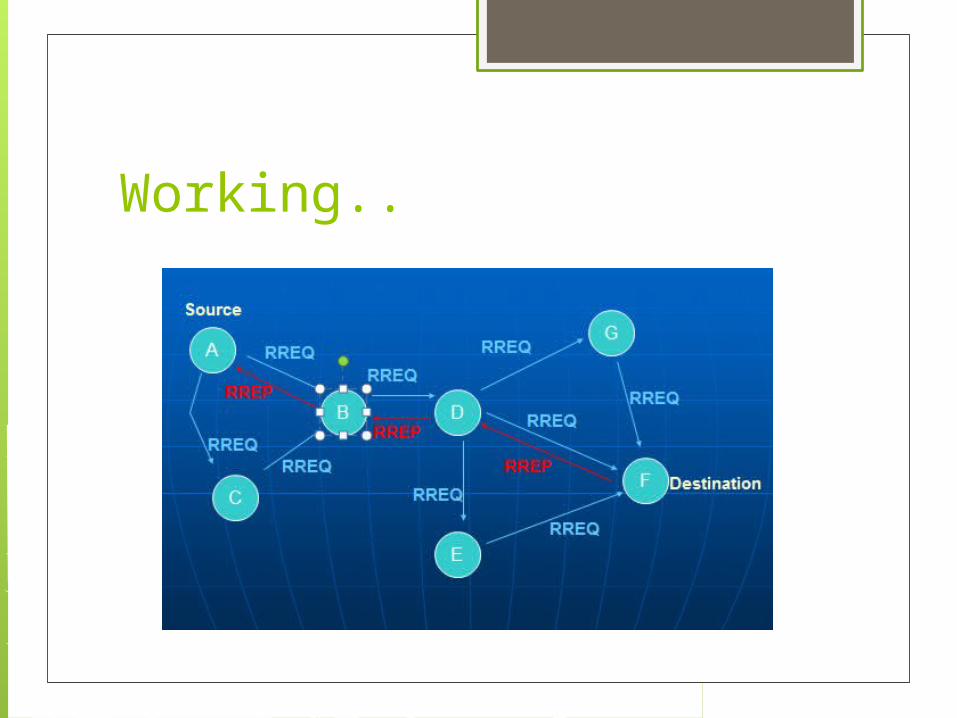
Working..
Features… Routes established on demand and that
destination sequence numbers are applied to find the latest route to the destination
Connection setup delay is lower
DSR (Dynamic Source Routing) DSR is designed for MANETs DSR doesn’t need any network infrastructures
Loop free routing No routing information in the intermediate nodes
Nodes may easily cache this routing information for future use
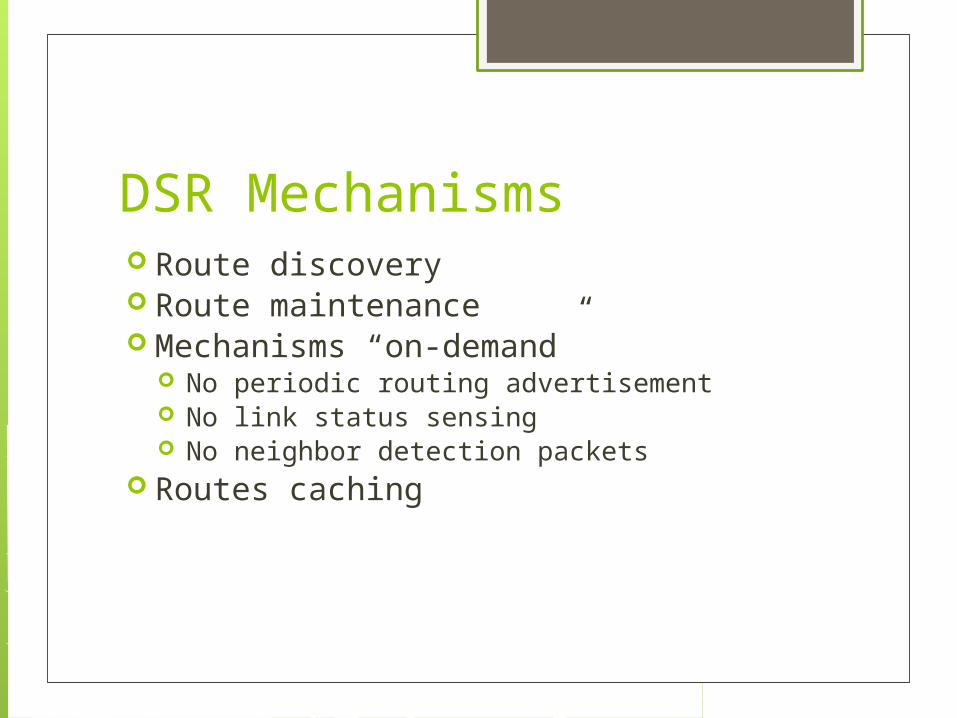
DSR Mechanisms Route discovery Route maintenance Mechanisms “on-demand”
No periodic routing advertisement No link status sensing No neighbor detection packets
Routes caching
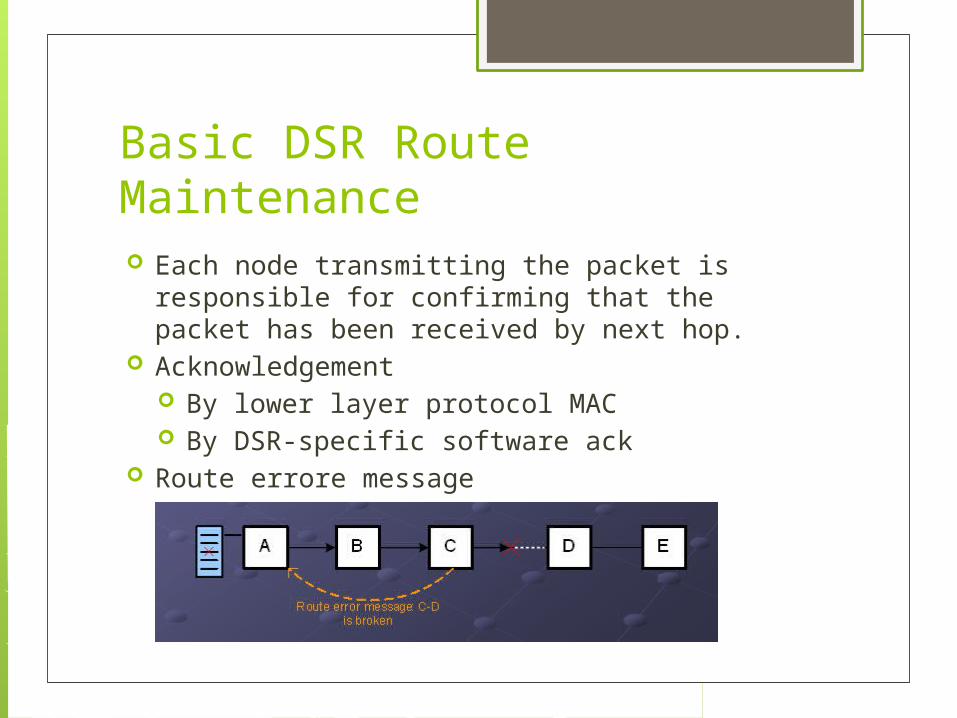
Basic DSR Route Maintenance Each node transmitting the packet is responsible for
confirming that the packet has been received by next hop. Acknowledgement
By lower layer protocol MAC By DSR-specific software ack
Route errore message
DSDV(Destination Sequenced Distance Vector ) Each node maintains a routing table which stores
next hop, cost metric towards each destination a sequence number that is created by the destination itself
Each node periodically forwards routing table to its neighbours Each node increments and appends its sequence number when
sending its local routing table Each route is tagged with a sequence number; routes with greater
sequence numbers are preferred
Each node advertises a monotonically increasing even sequence number for itself
When a node finds that a route is broken, it increments the sequence number of the route and advertises it with infinite metric
Destination advertises new sequence number
Advantages of DSDV DSDV is an efficient protocol for route
discovery. Whenever a route to a new destination is required, it already exists at the source.
Hence, latency for route discovery is very low.
DSDV also guarantees loop-free paths.

Virtual LAN( VLAN): A virtual LAN is a group of devices in the
same broadcast domain or subnet. VLANs are good at logically separating
traffic between different groups of users
VLANs contain/isolate broadcast traffic, where you need a router to move traffic between VLANs.
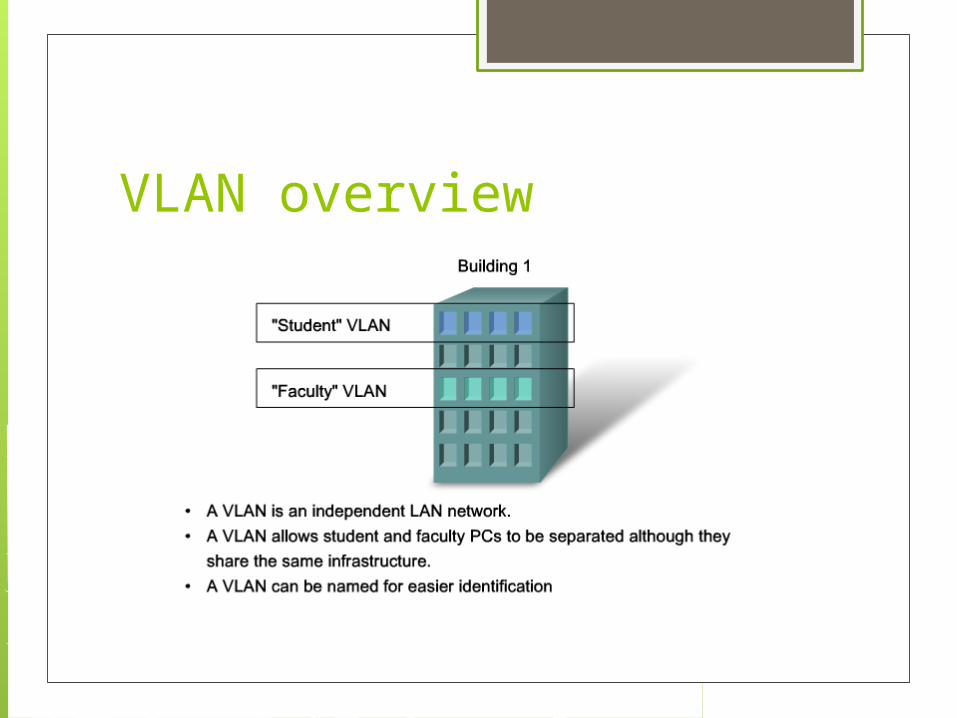
VLAN overview
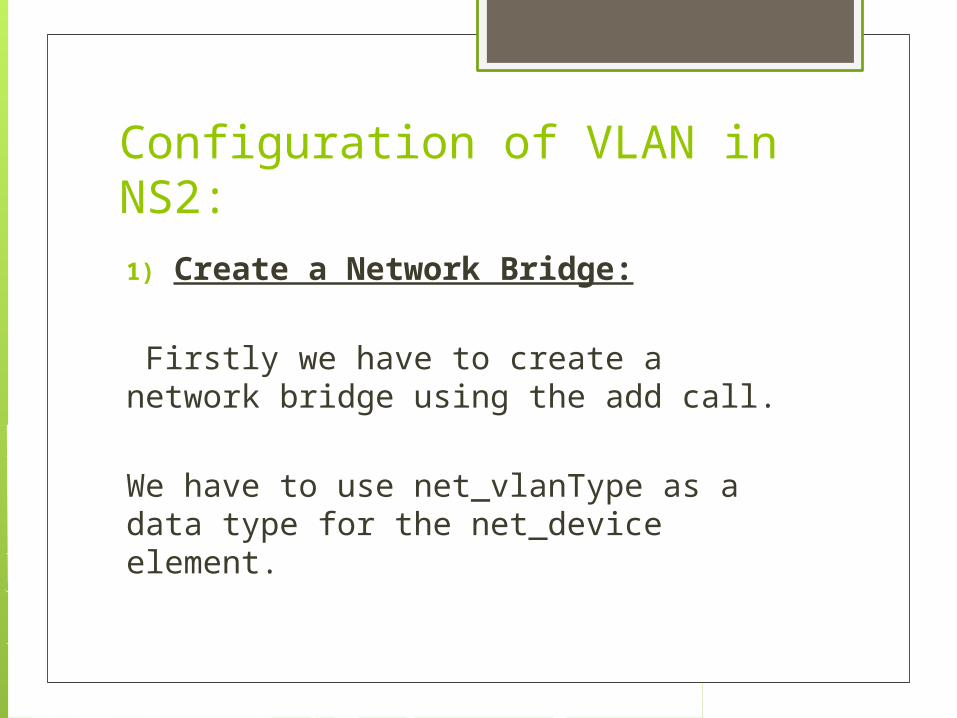
Configuration of VLAN in NS2:1) Create a Network Bridge:
Firstly we have to create a network bridge using the add call.
We have to use net_vlanType as a data type for the net_device element.

To attach an adapter to be a bridge, we have to use following parameter’s :
id: the name of a physical LAN or VLAN adapter that you would like to plug into the bridge (e.g. eth0, eth1.5).
Network_id: a virtual network ID that you would like to attach the network adapter to.
If an adapter is already connected to a bridge and you pass a different network ID, the adapter will be disconnected from the old bridge and connected to the new bridge. To detach an adapter from a bridge, leave the network_id element empty.
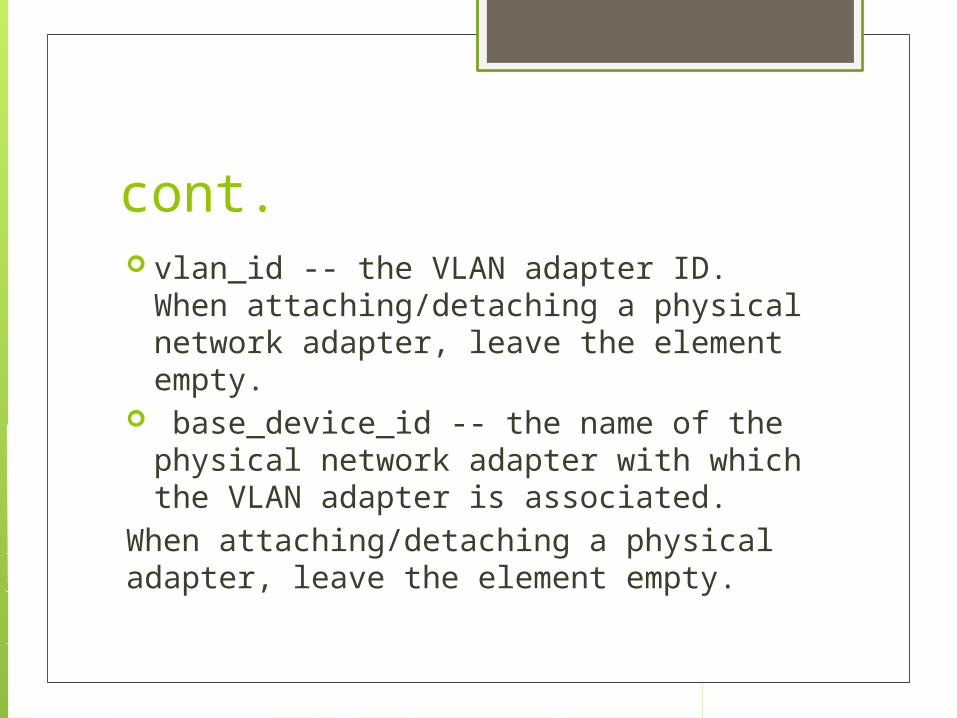
cont. vlan_id -- the VLAN adapter ID. When
attaching/detaching a physical network adapter, leave the element empty.
base_device_id -- the name of the physical network adapter with which the VLAN adapter is associated.
When attaching/detaching a physical adapter, leave the element empty.
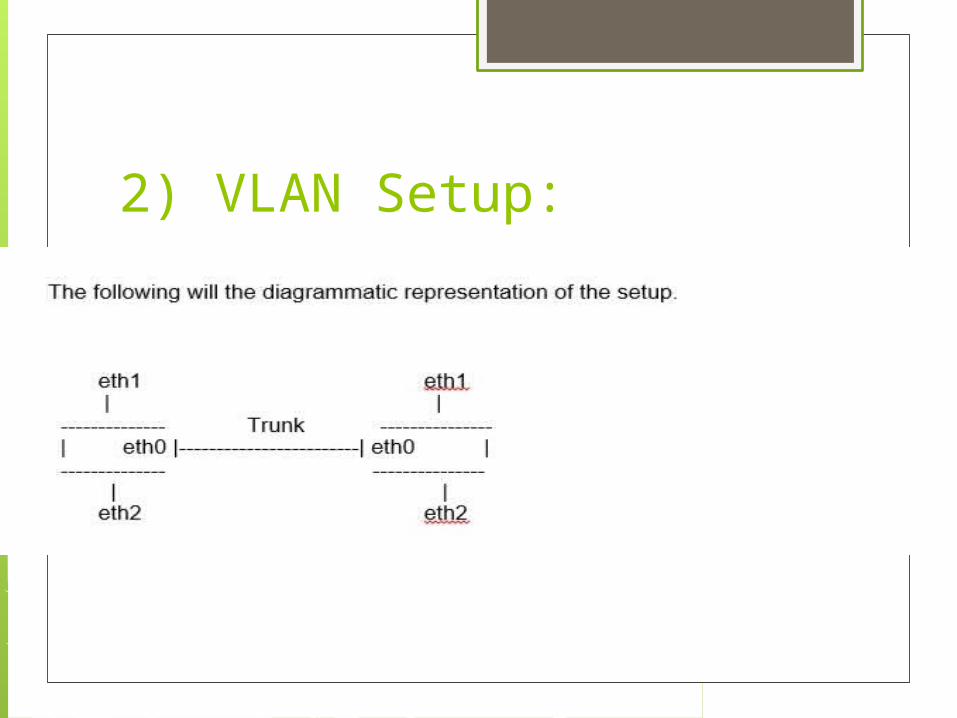
2) VLAN Setup:
eth1.1 bridged with eth0.1 and eth2.2 bridged with eth0.2 This configuration implements a VLAN
switch with two access ports (port eth1 for VLAN 1 and port eth2 for VLAN 2) and a trunk port eth0 capable of carrying frames with VLAN ID either 1 or 2 in its 802.1q tag. Now, consider another switch with exactly the same configuration. Then, the trunk ports of the switches are connected.
Cont. Now device connected to port eth1 of
switch 1 and that connected to port eth1 of switch 2 can interchange frames with VLAN ID 1. The same is the case with eth2 on both the switches.
Two VLANs span across 2 switches. There is no bridging/routing 'between' these two VLANs. So, this works like a perfect VLAN switch.
What is actually happening is : All the untagged frames from eth1 pass
through the bridge and goes out of eth0 as untagged frame.
All the frames with VLAN ID 2 entering eth2 gets untagged at eth2.2, gets bridged to eth0.2, gets tagged with VLAN ID 2 at eth0 and goes out of the trunk as tagged frame.
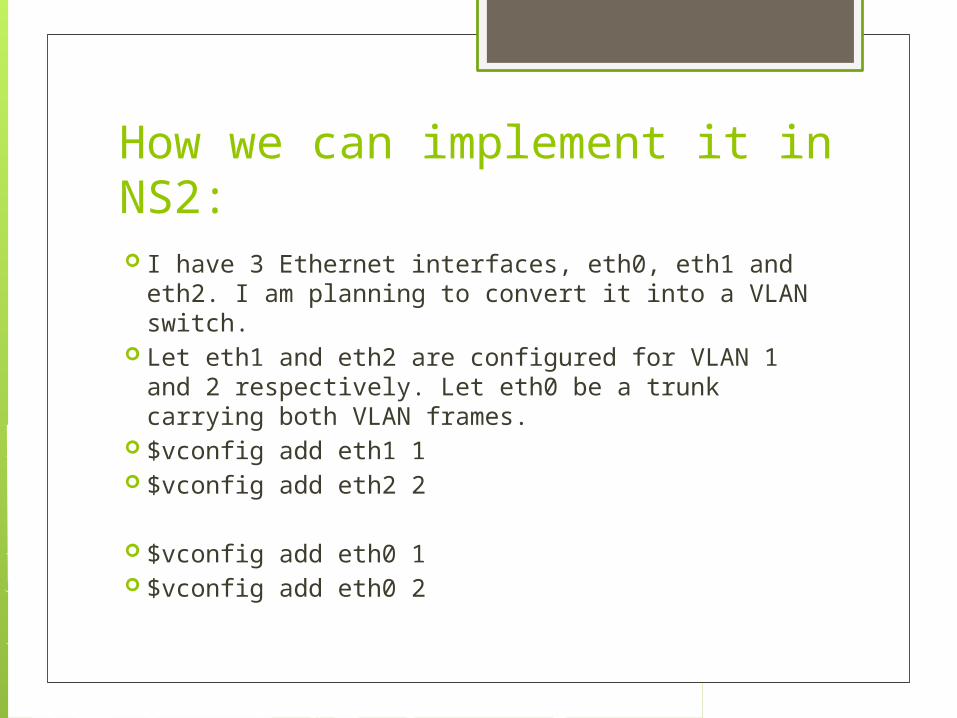
How we can implement it in NS2: I have 3 Ethernet interfaces, eth0, eth1 and eth2.
I am planning to convert it into a VLAN switch. Let eth1 and eth2 are configured for VLAN 1 and
2 respectively. Let eth0 be a trunk carrying both VLAN frames.
$vconfig add eth1 1 $vconfig add eth2 2
$vconfig add eth0 1 $vconfig add eth0 2
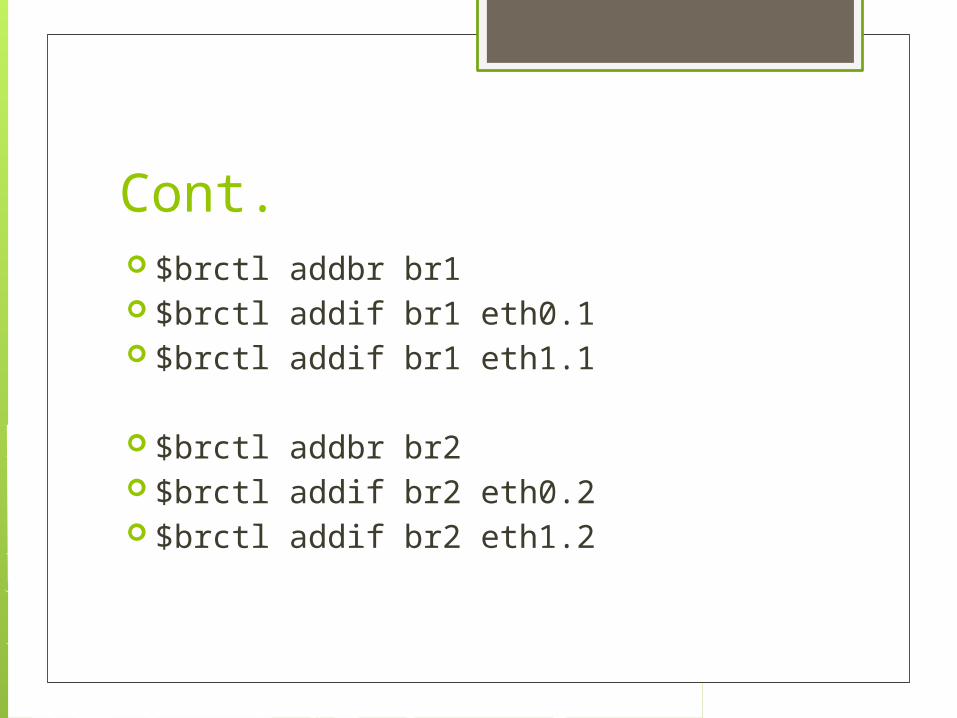
Cont. $brctl addbr br1 $brctl addif br1 eth0.1 $brctl addif br1 eth1.1
$brctl addbr br2 $brctl addif br2 eth0.2 $brctl addif br2 eth1.2
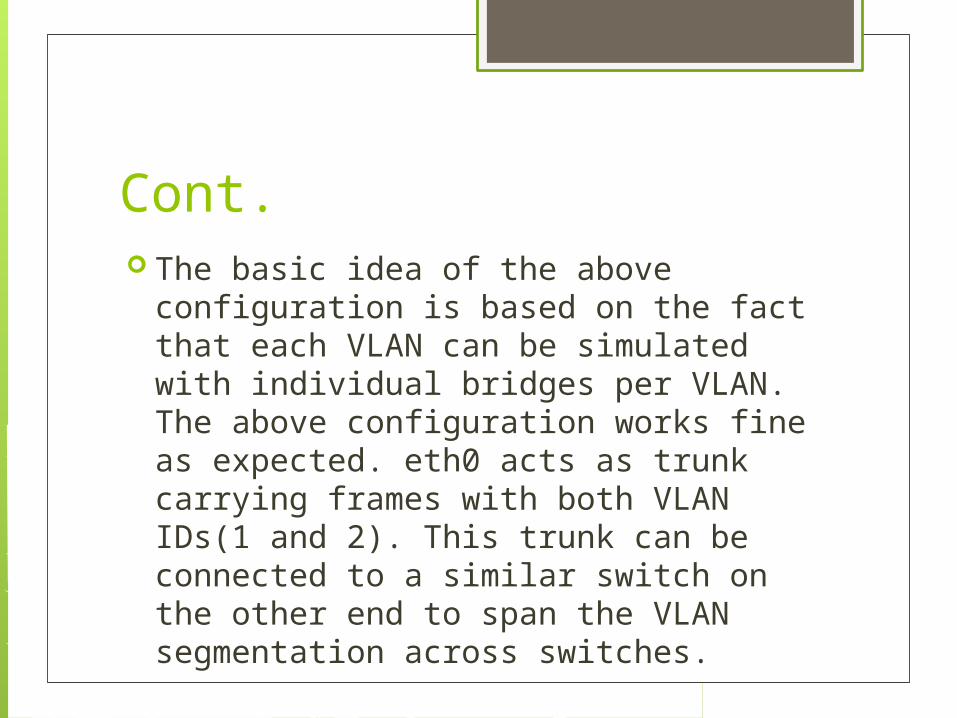
Cont. The basic idea of the above
configuration is based on the fact that each VLAN can be simulated with individual bridges per VLAN. The above configuration works fine as expected. eth0 acts as trunk carrying frames with both VLAN IDs(1 and 2). This trunk can be connected to a similar switch on the other end to span the VLAN segmentation across switches.
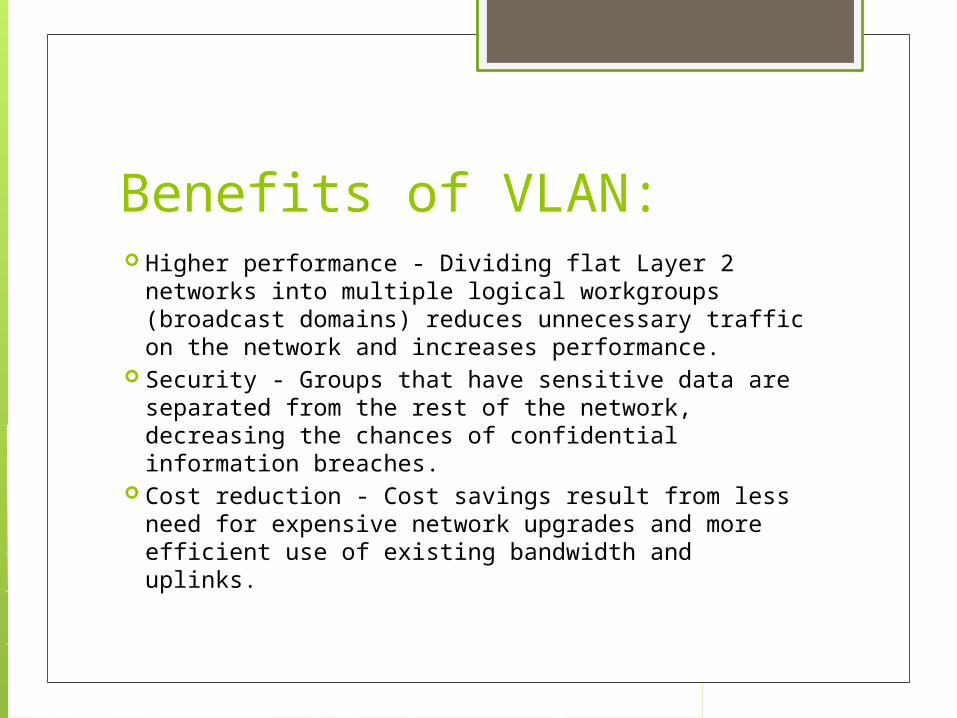
Benefits of VLAN: Higher performance - Dividing flat Layer 2
networks into multiple logical workgroups (broadcast domains) reduces unnecessary traffic on the network and increases performance.
Security - Groups that have sensitive data are separated from the rest of the network, decreasing the chances of confidential information breaches.
Cost reduction - Cost savings result from less need for expensive network upgrades and more efficient use of existing bandwidth and uplinks.

THANK YOU……