Embed Size (px)
Citation preview
How to use Invoicable.co

Overview
Invoiceable.co is an
online software tool that

Lets you create an invoice
in a fast

And simple way

Lets Start the Tutorial
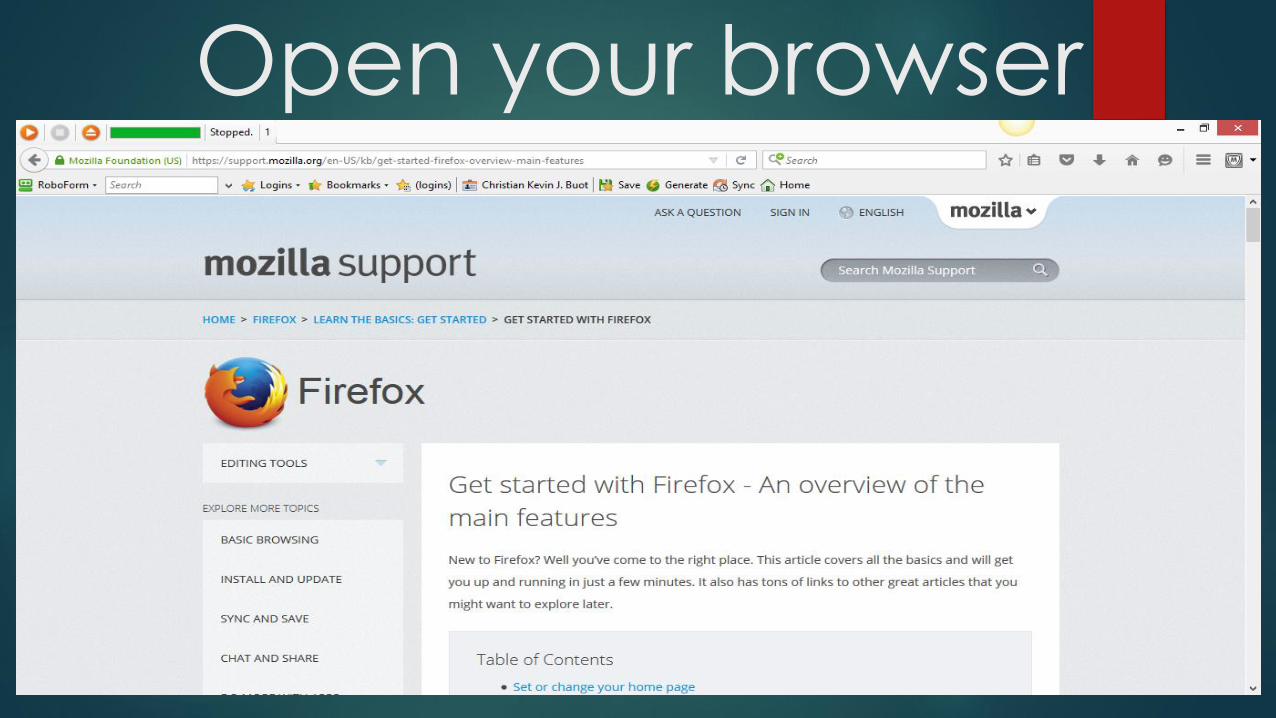
Open your browser

Type: google.com

Click this box

Type: invoiceable.co

Click the first website
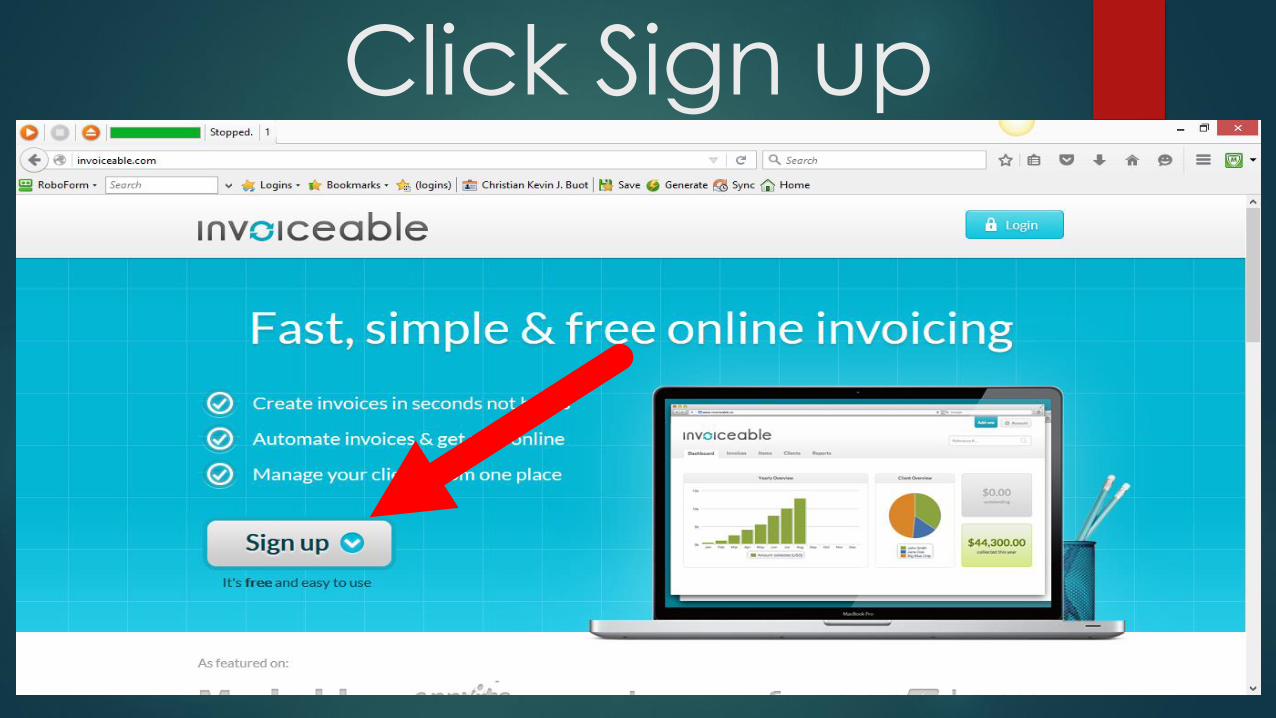
Click Sign up

Type your Name here
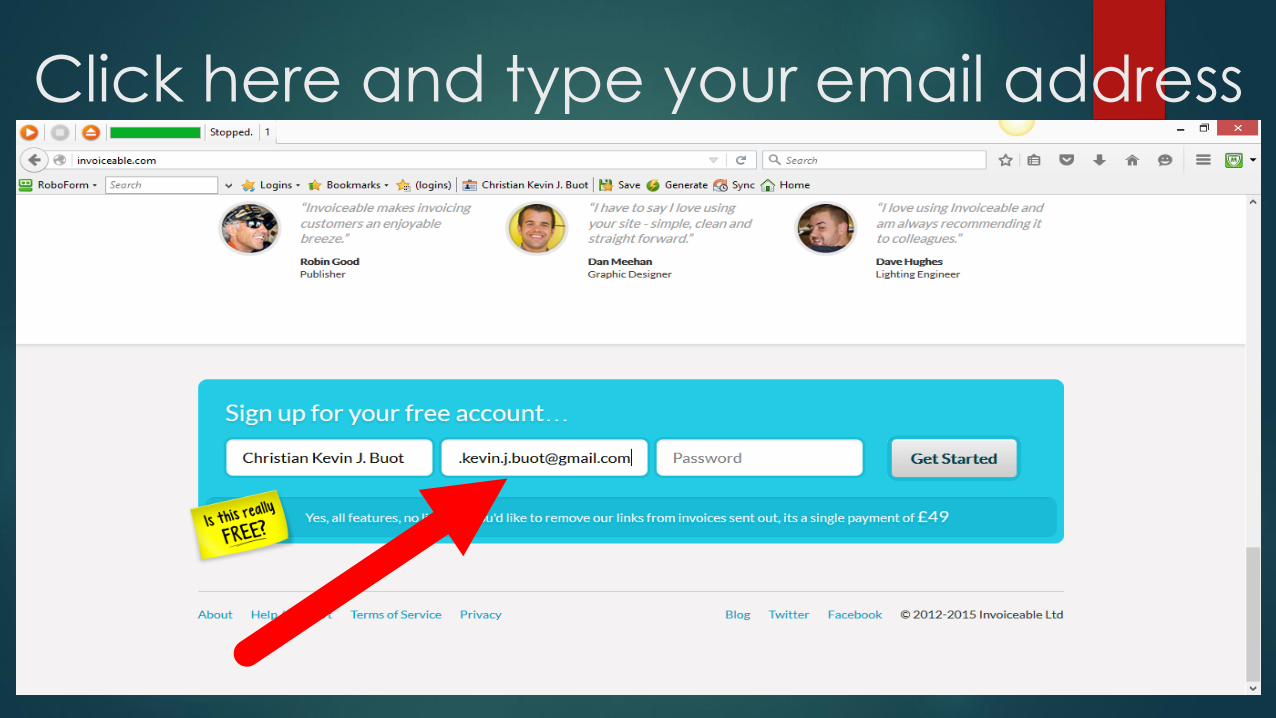
Click here and type your email address
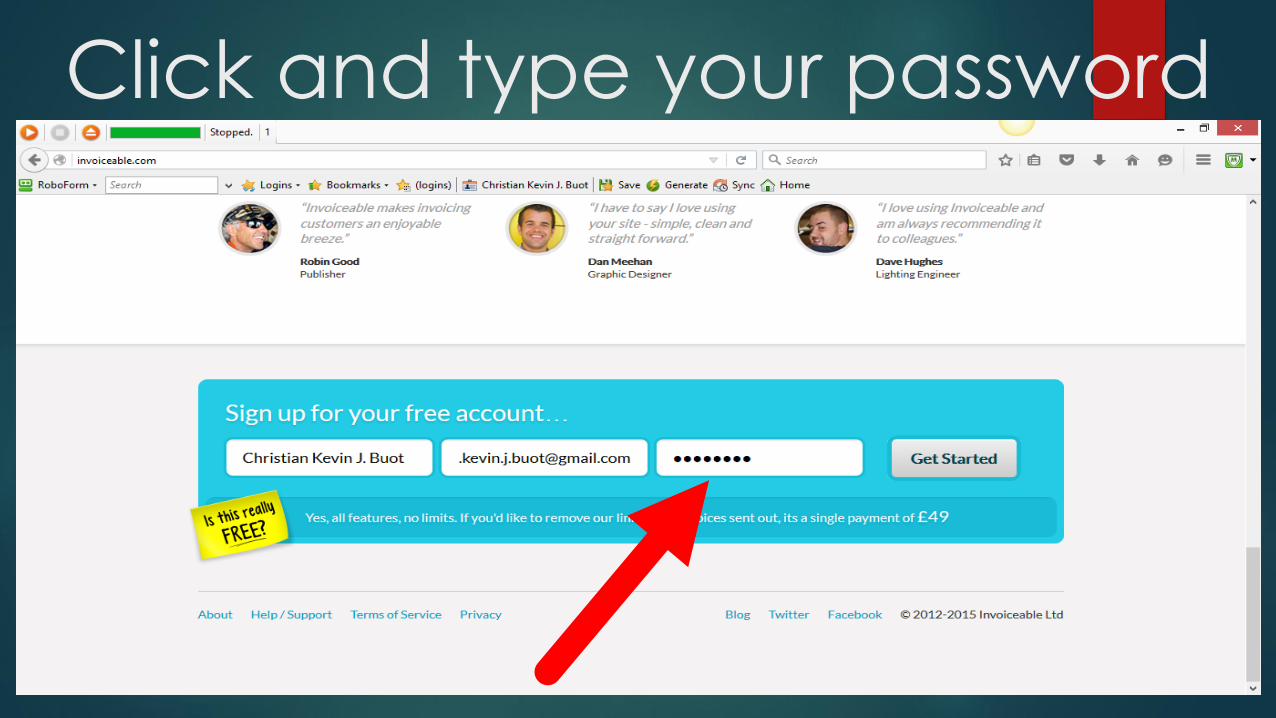
Click and type your password
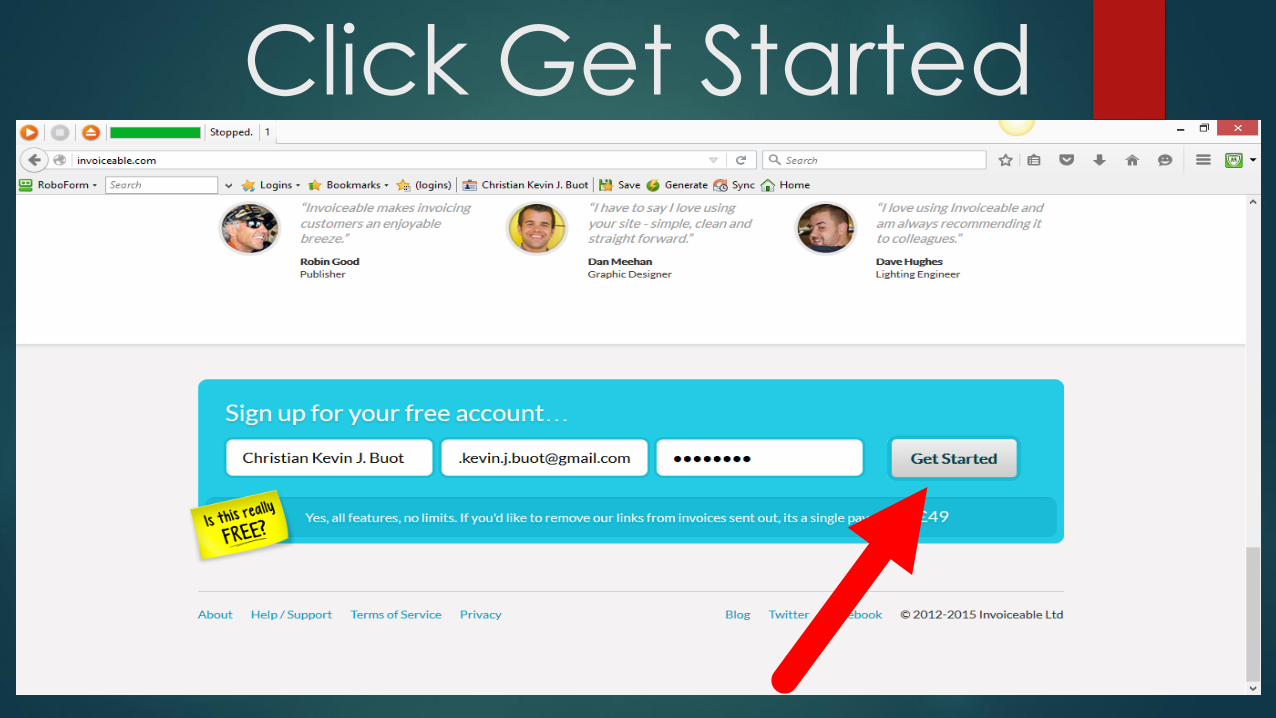
Click Get Started
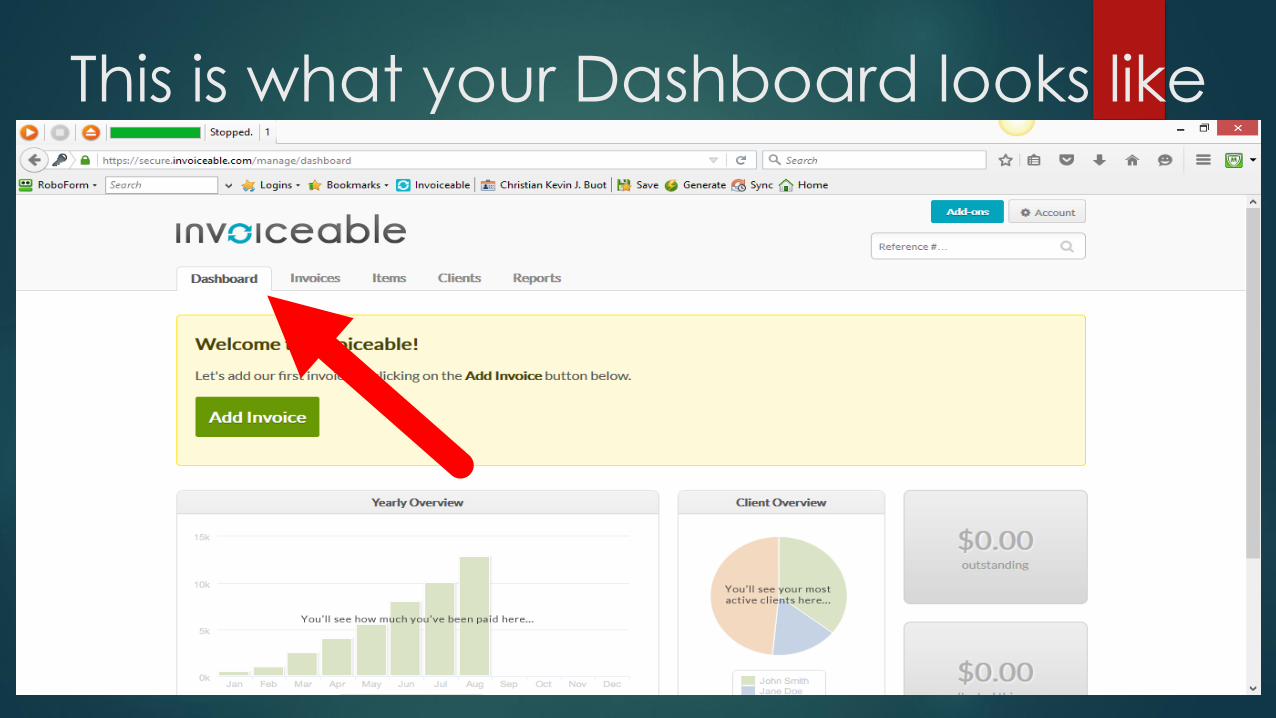
This is what your Dashboard looks like

This is your Yearly Overview

This is your Client Overview
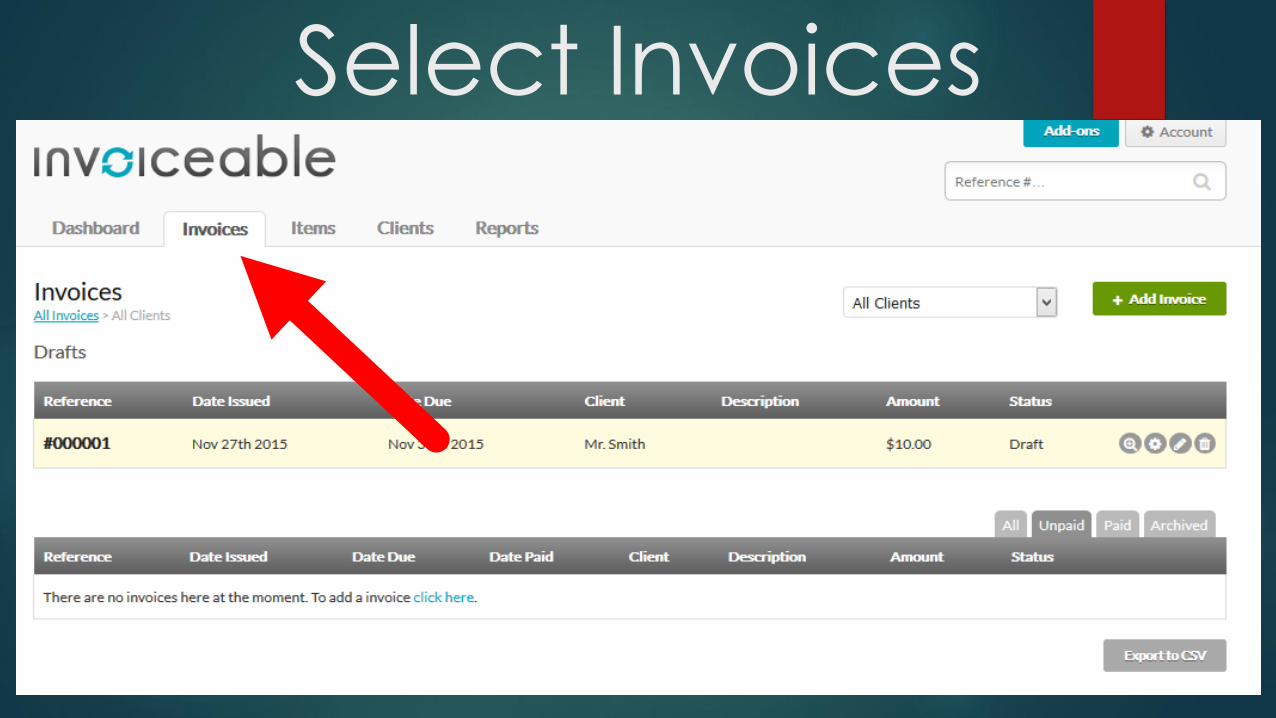
Lets create an invoice
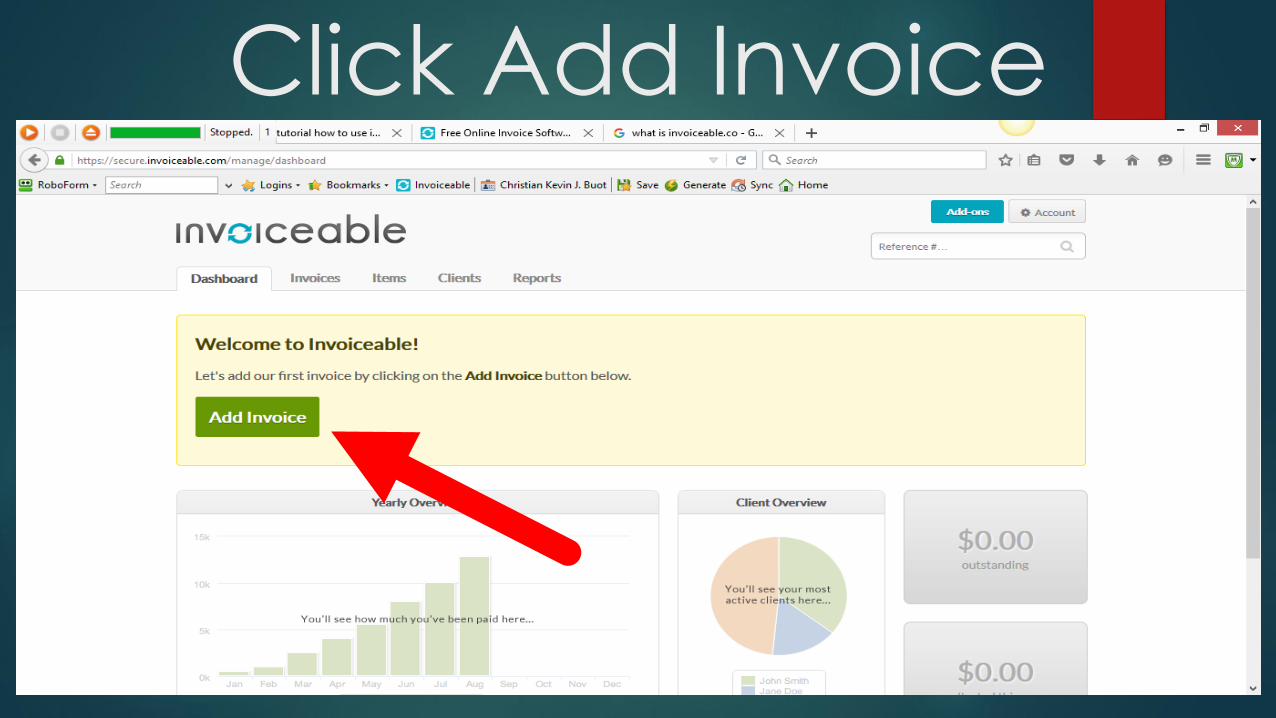
Click Add Invoice

You will be directed to a
new page

Fill-up this box

You may edit the Reference No.

Click the drop down button under Client:
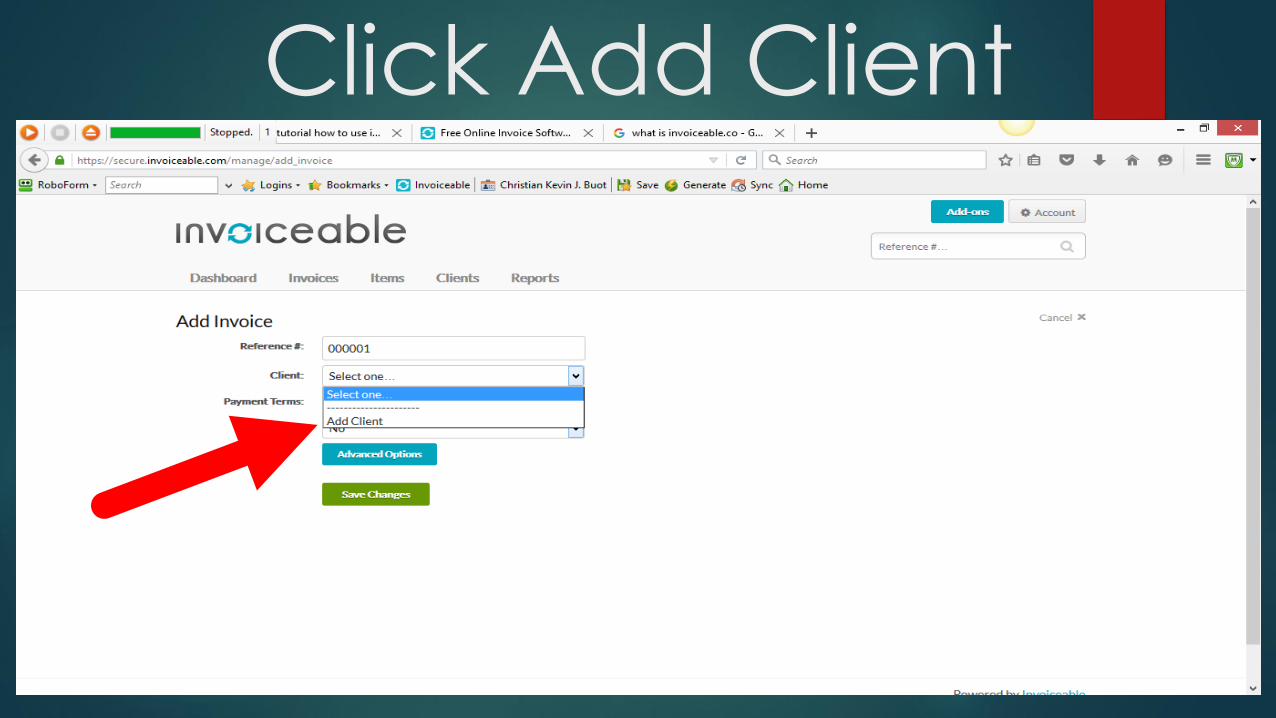
Click Add Client

Type: Name of Client

Click OK

Click the drop down arrow under Payment
Terms

Select Days
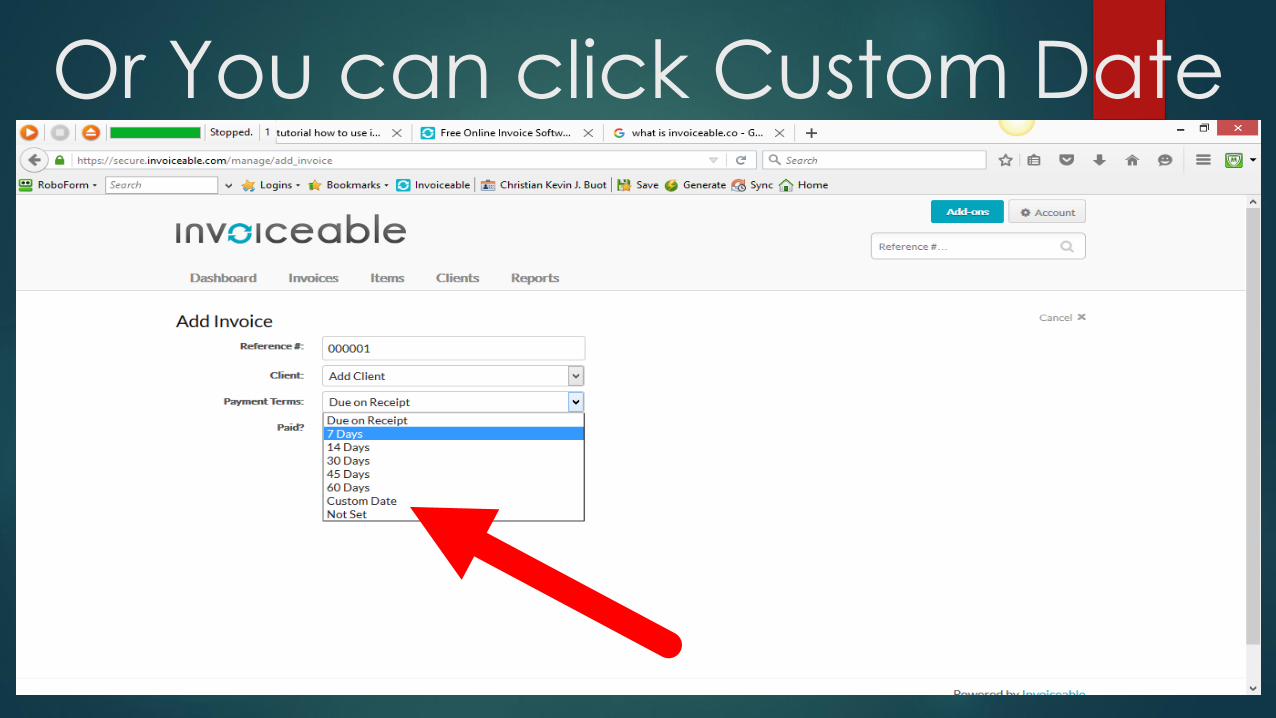
Or You can click Custom Date
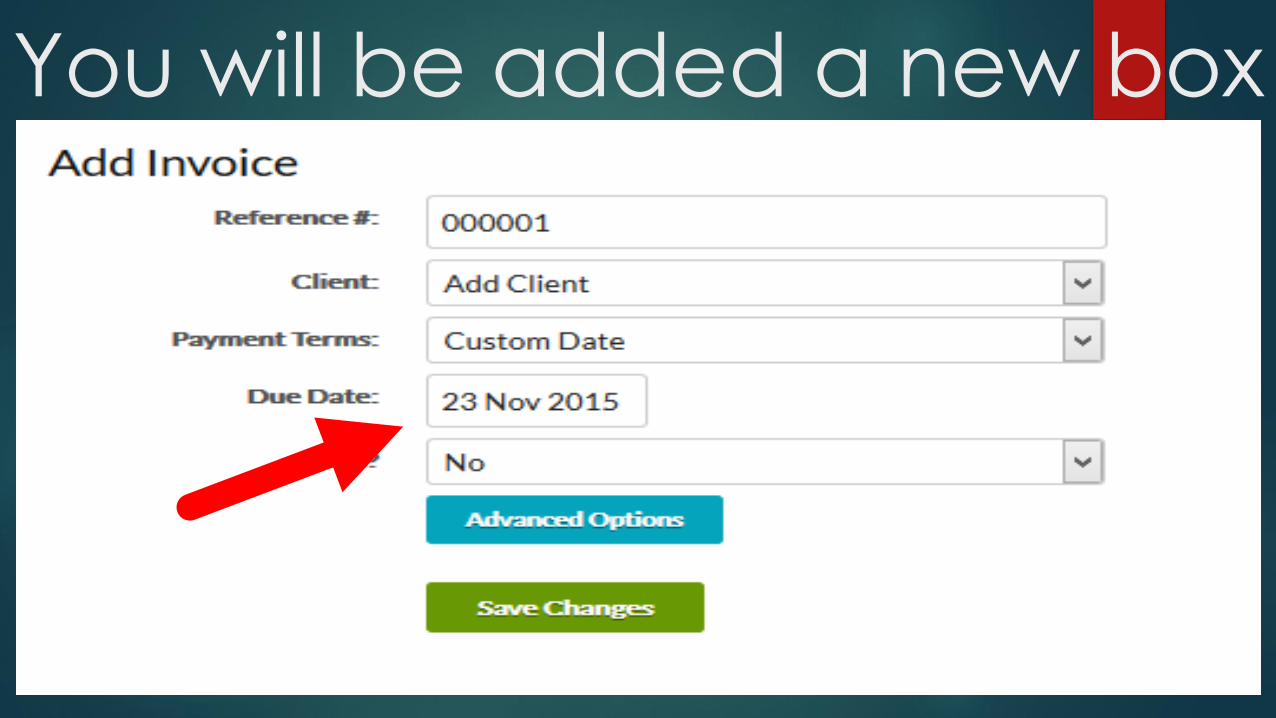
You will be added a new box

Click this box
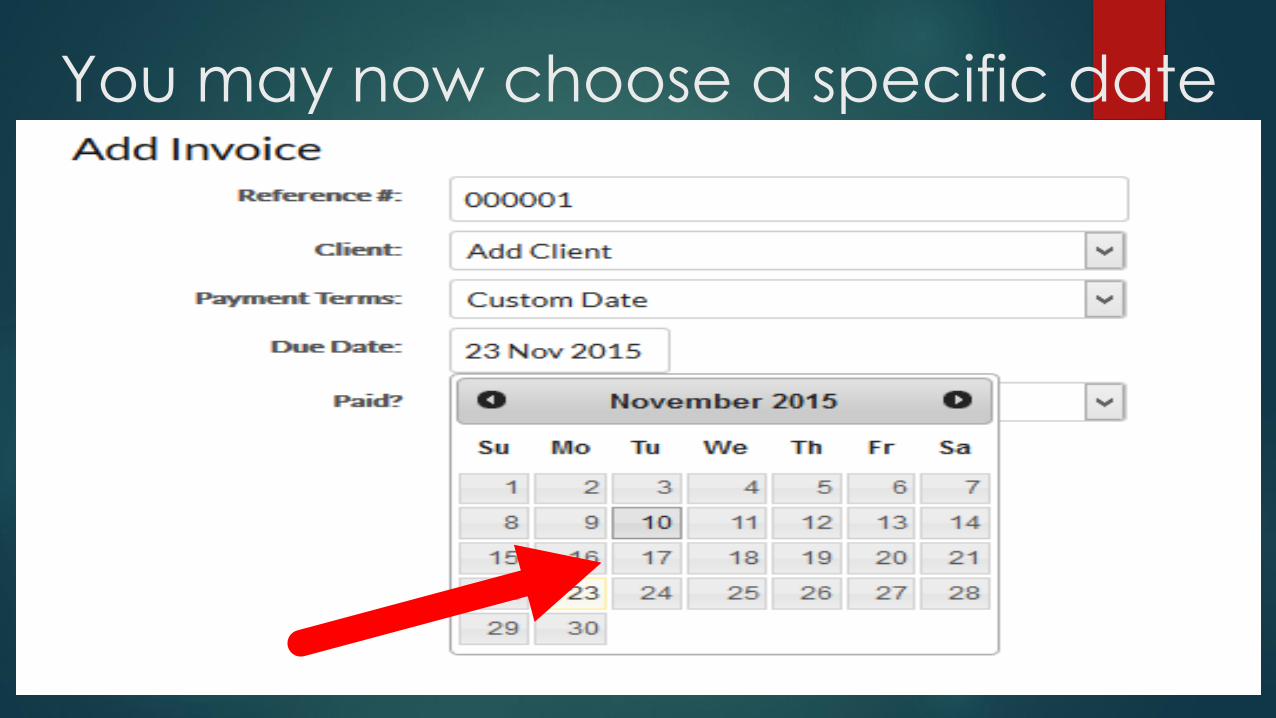
You may now choose a specific date

Choose Yes or No

Click Advanced Options

In Advance option their will be
additional fields
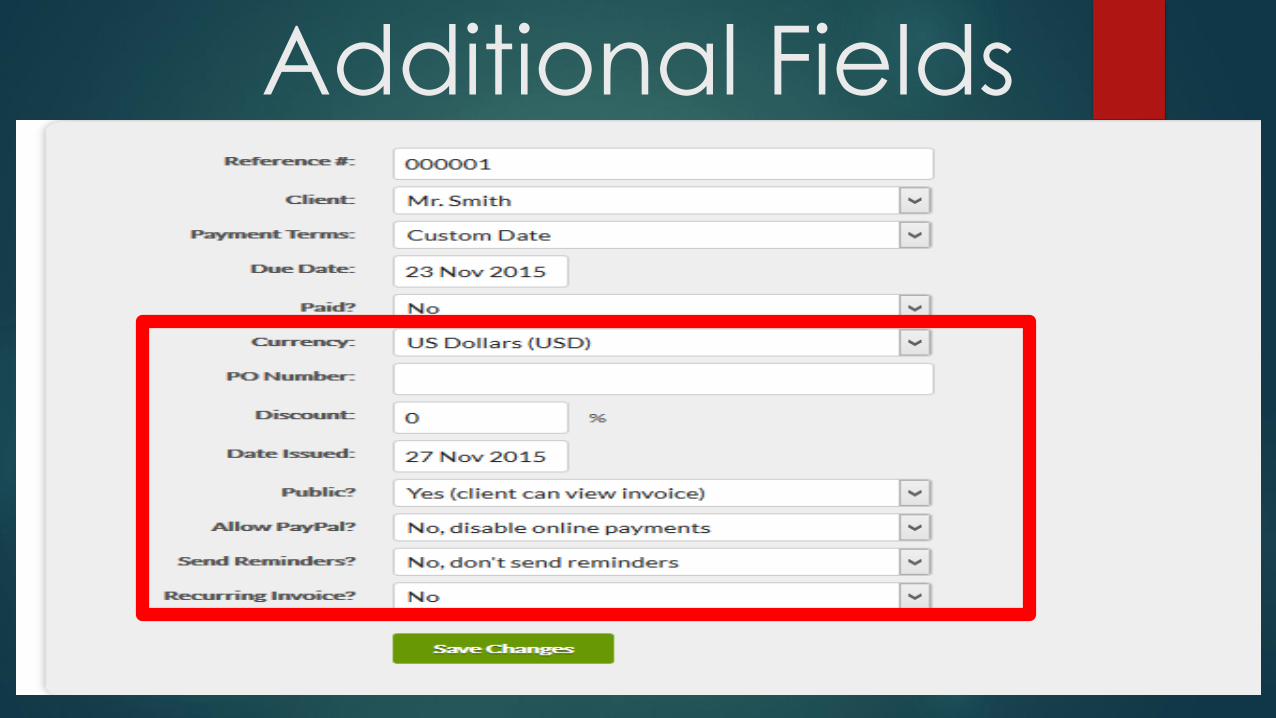
Additional Fields

Choose Currency

Enter PO Number

Enter Discount
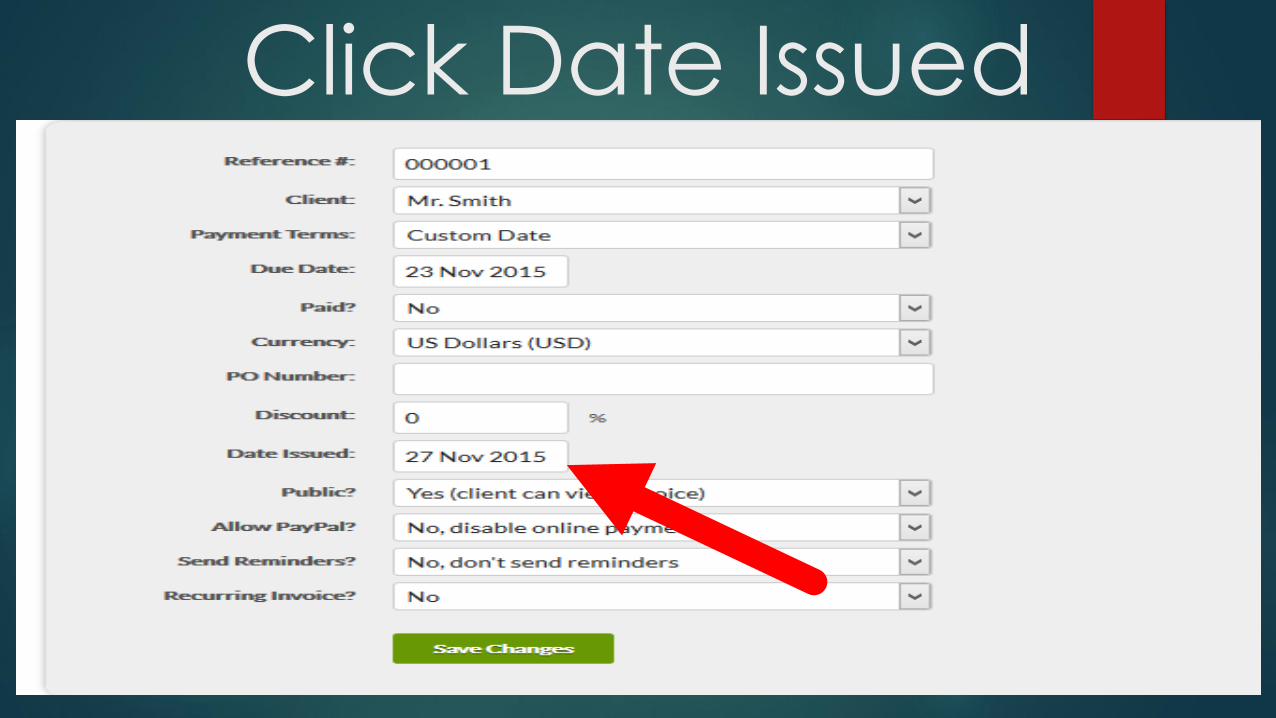
Click Date Issued

Select Date from the Calendar

In Public, select Yes (client can view invoice) or

No (keep invoice private)

In Allow Paypal? Select No, disable online payments or
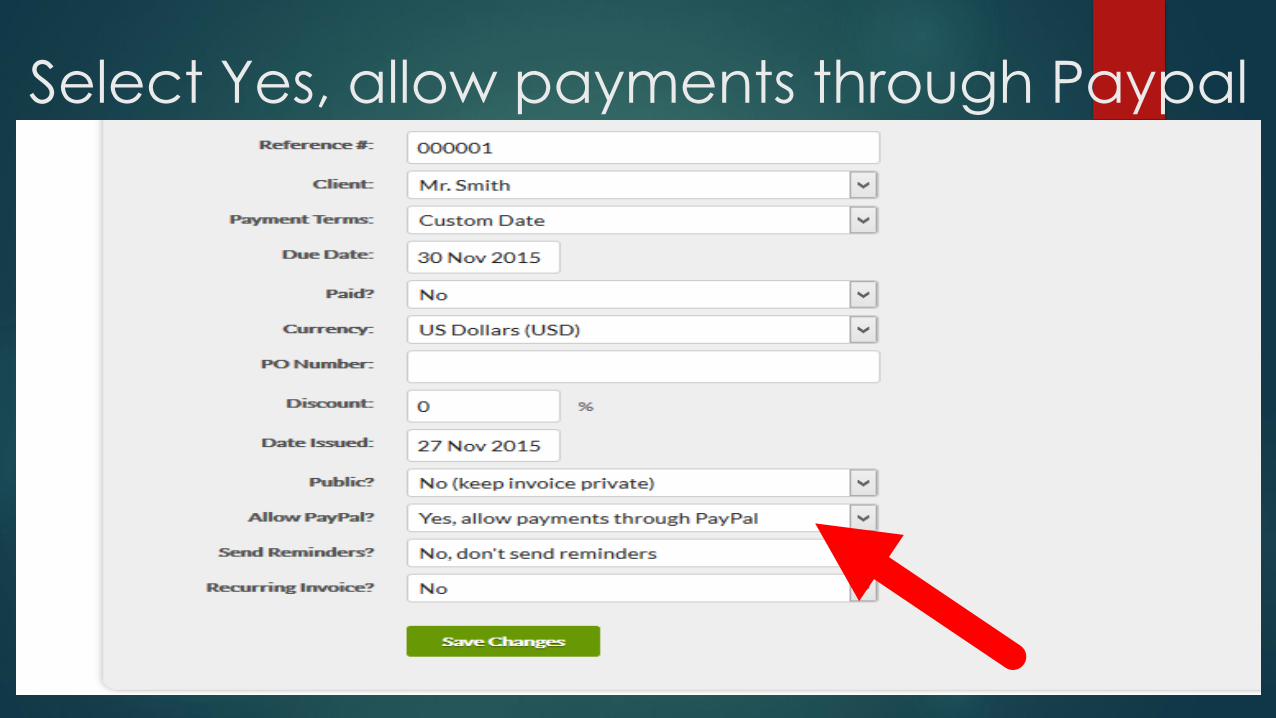
Select Yes, allow payments through Paypal

In Send Reminders? Select No, don’t send reminders
or

Yes, send reminders once a week

In Recurring Invoice? Select No or

Yes, however

Another question will be ask

Select Frequency and

Click13 .17
1.2613 .17
q.26
Choose the following:

Click
In Auto Send? Select Yes or
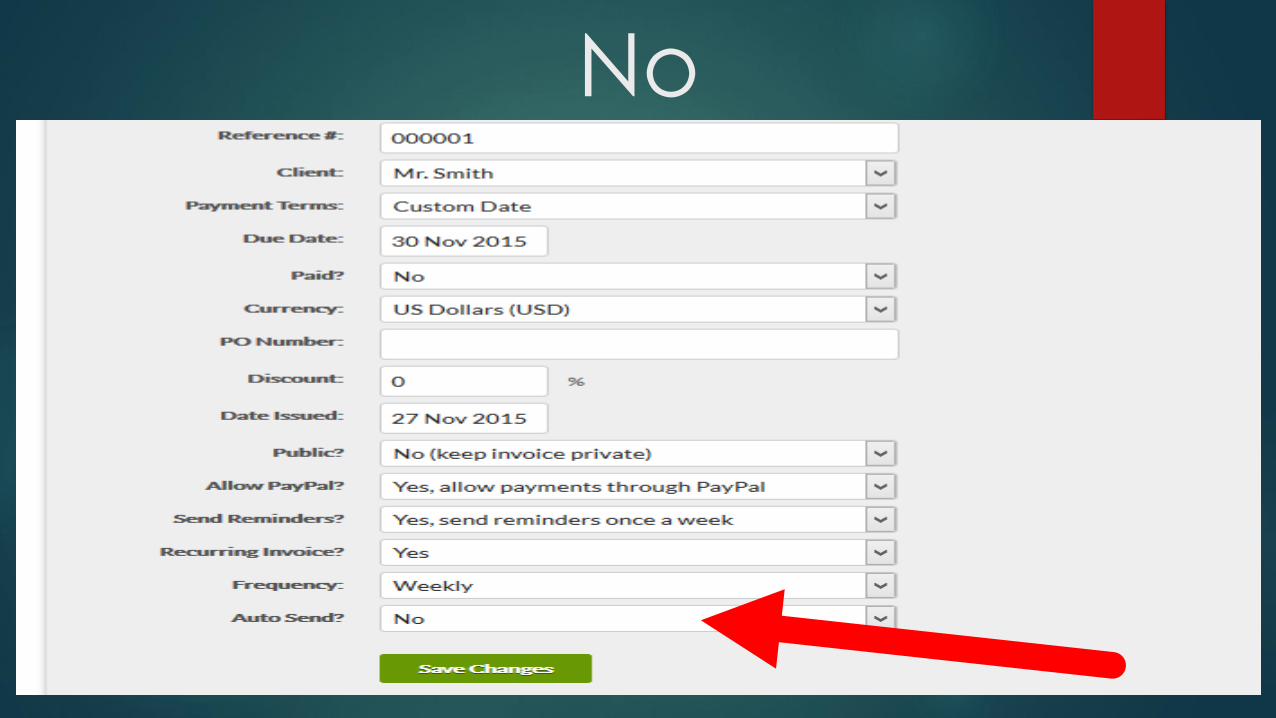
Click
No

Click Save Changes

You will be directed to
another page

You will now be adding the items in your invoice
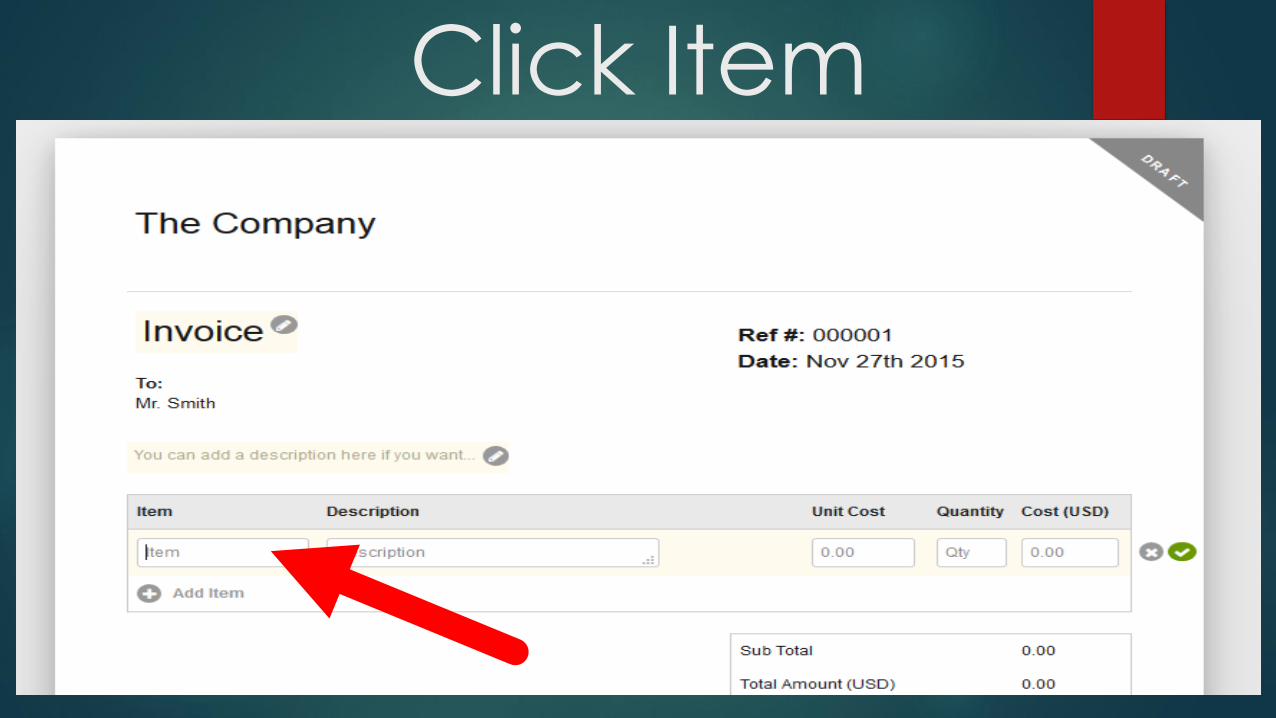
Click Item

Ex. Type: Apple

Click Description
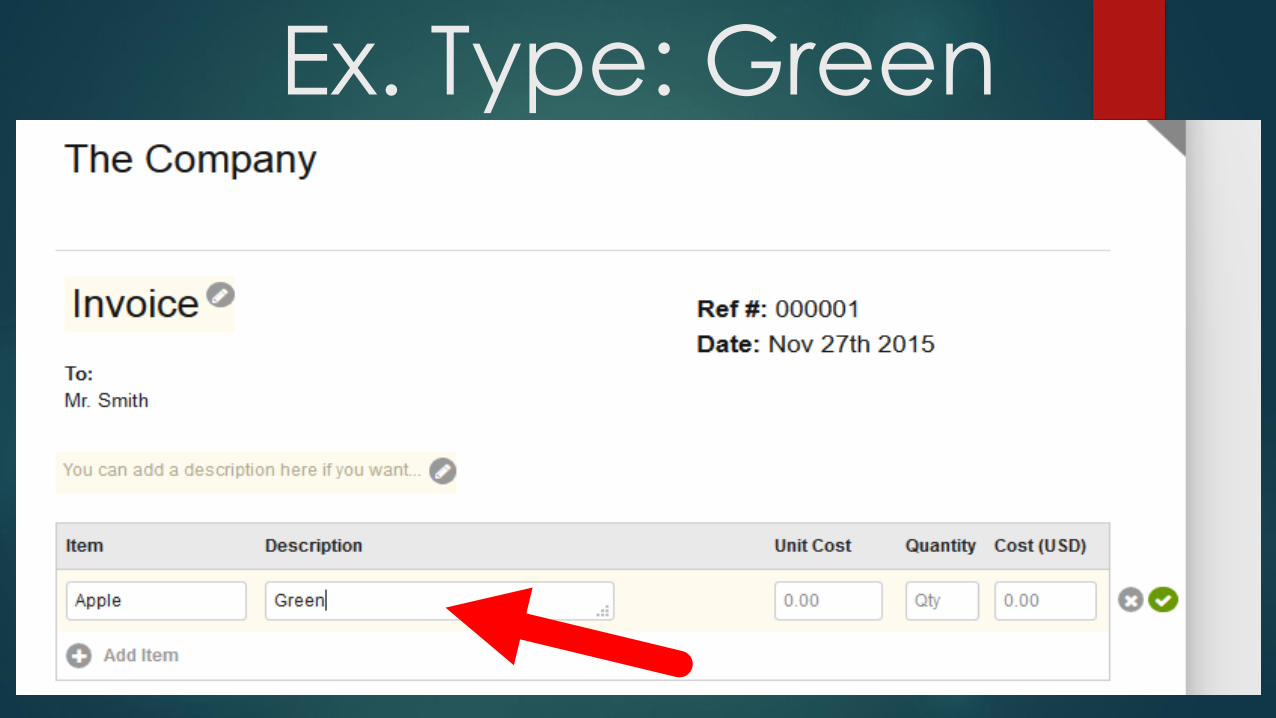
Ex. Type: Green

In Unit cost type: “1”

In Quantity type: 10
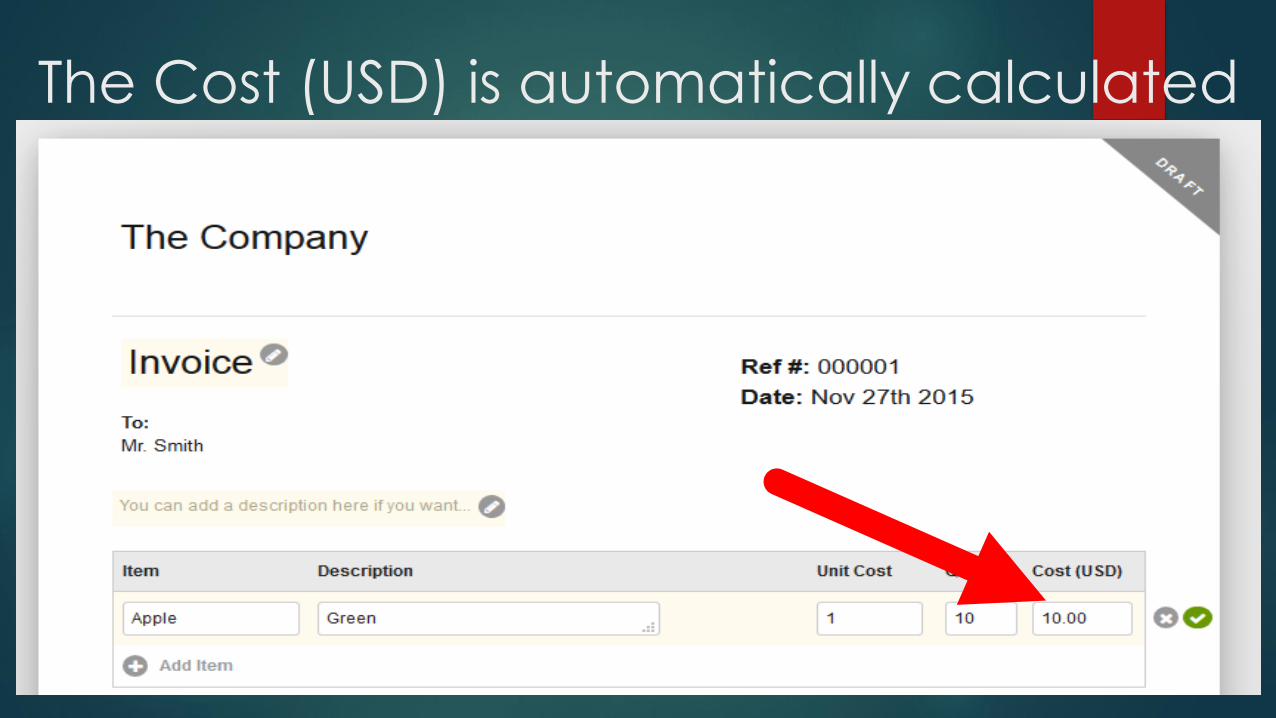
The Cost (USD) is automatically calculated
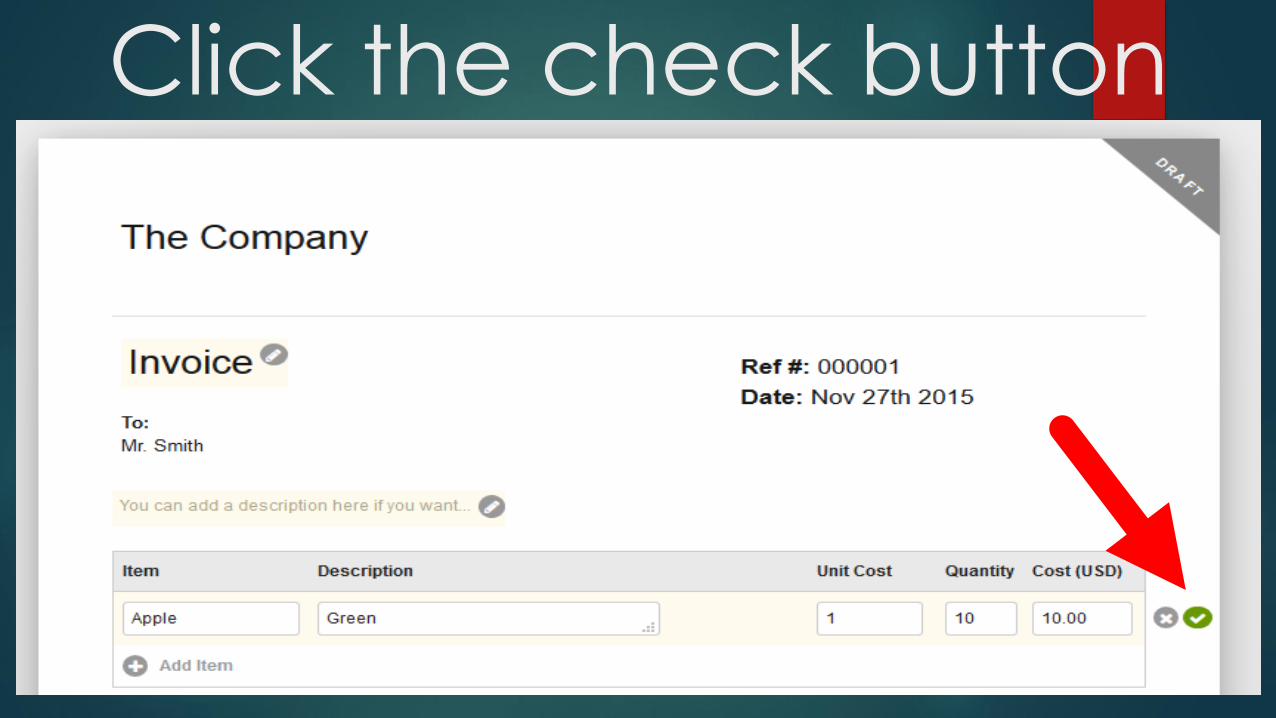
Click the check button
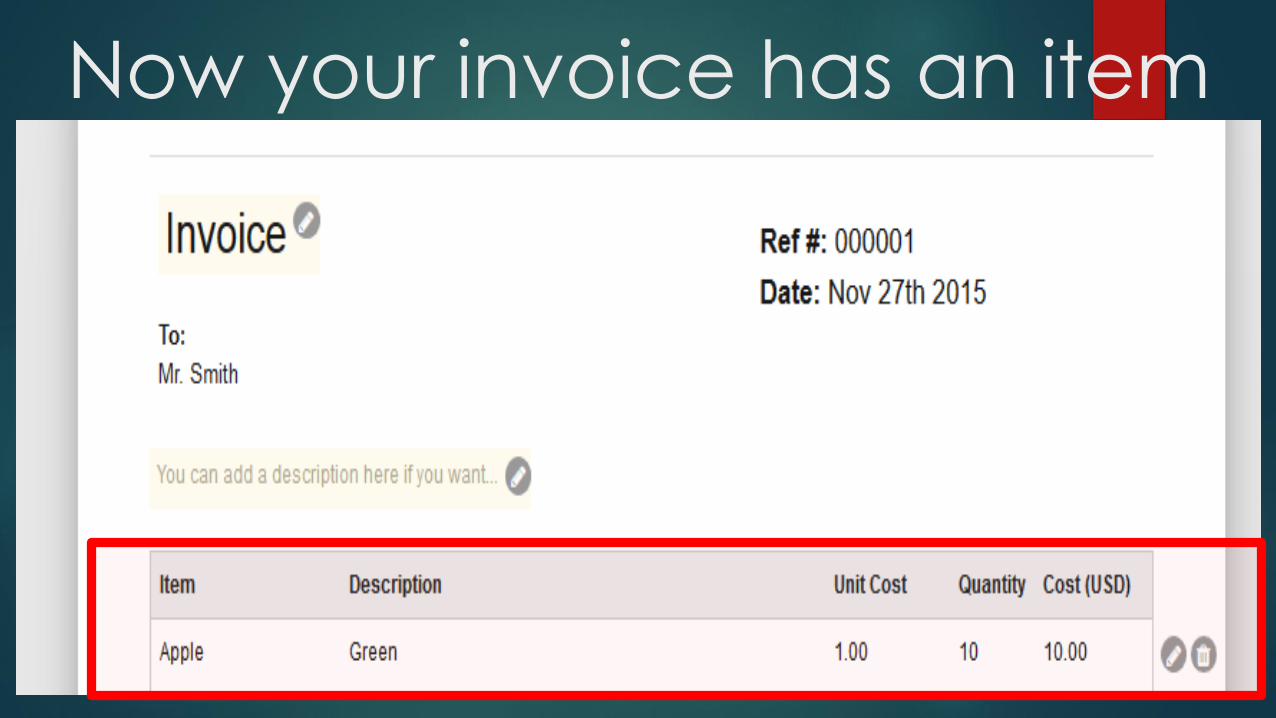
Now your invoice has an item
ADDING MORE INVOICES
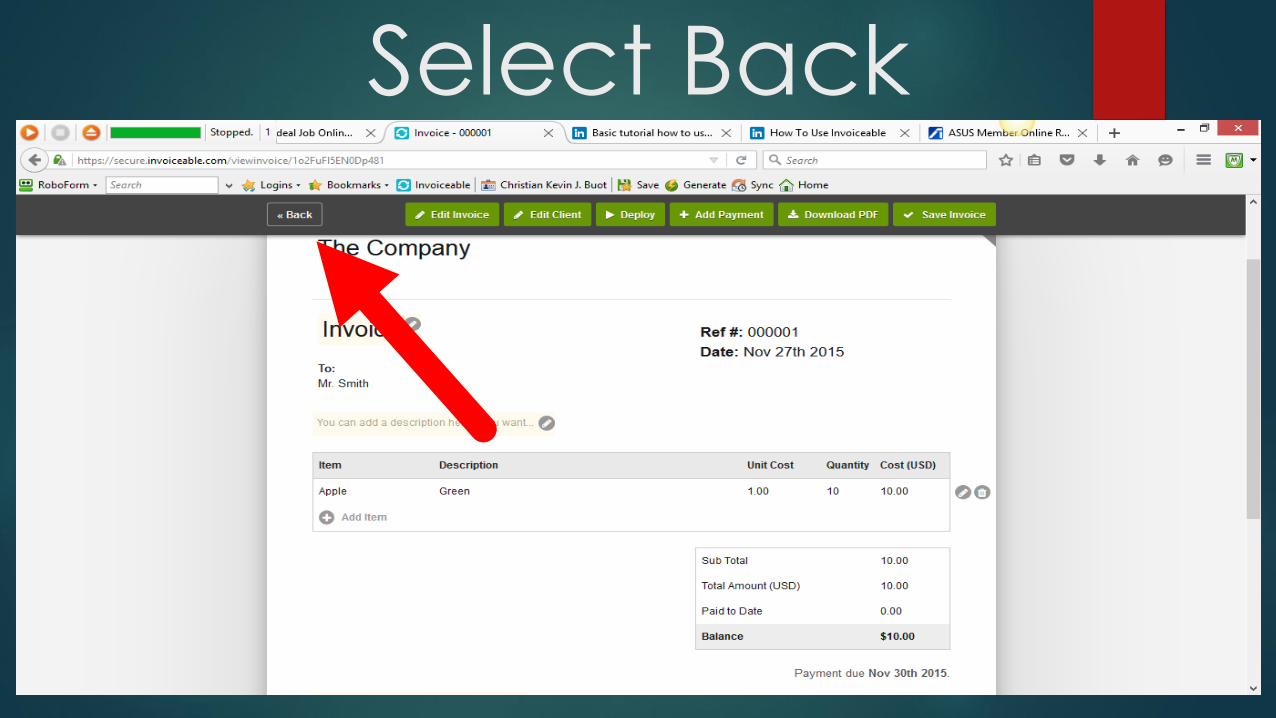
Select Back
Select Invoices

Click +Add Invoice
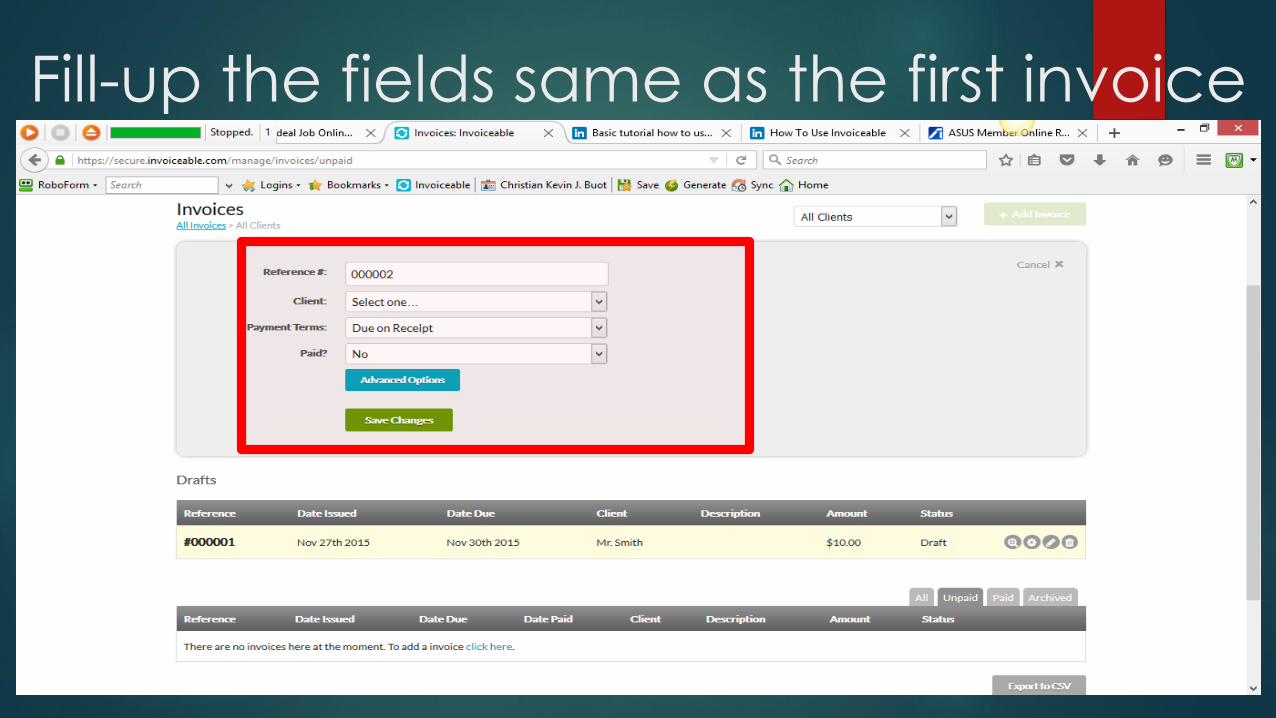
Fill-up the fields same as the first invoice

Now the reference no is : 000002
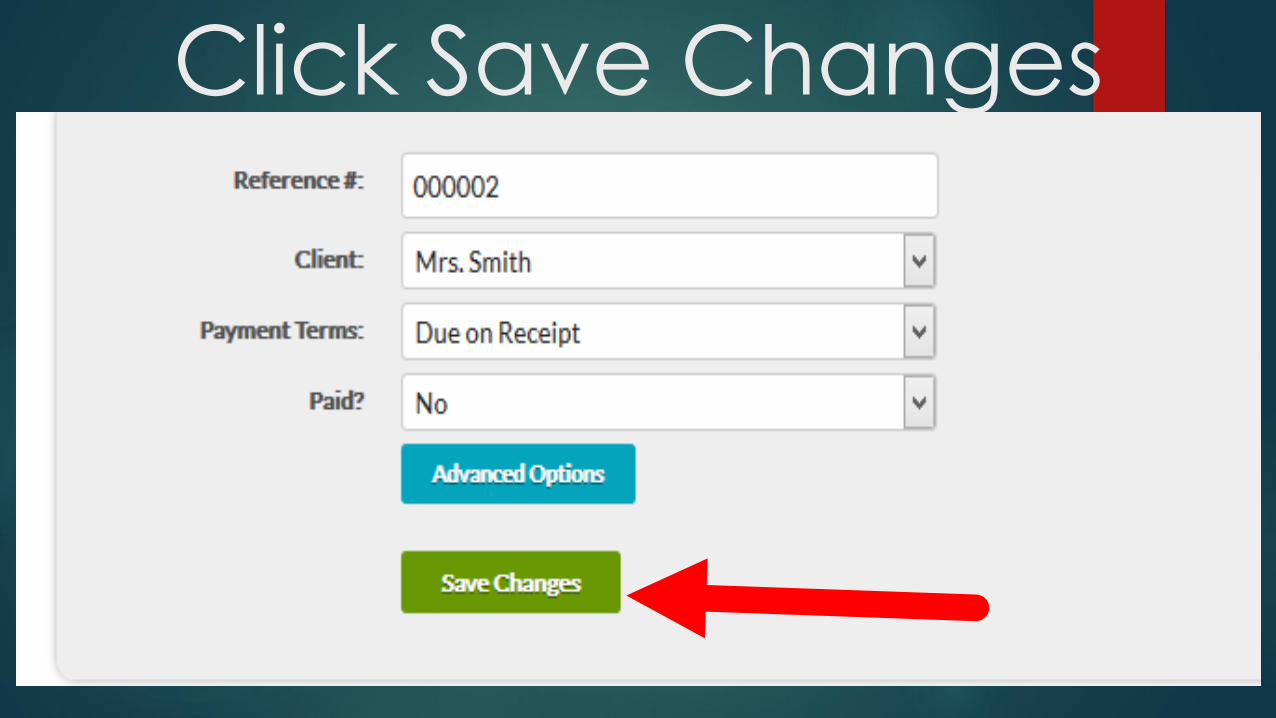
Click Save Changes

Fill up again the form

Click the check button

To add more item Click this button

Fill up the form
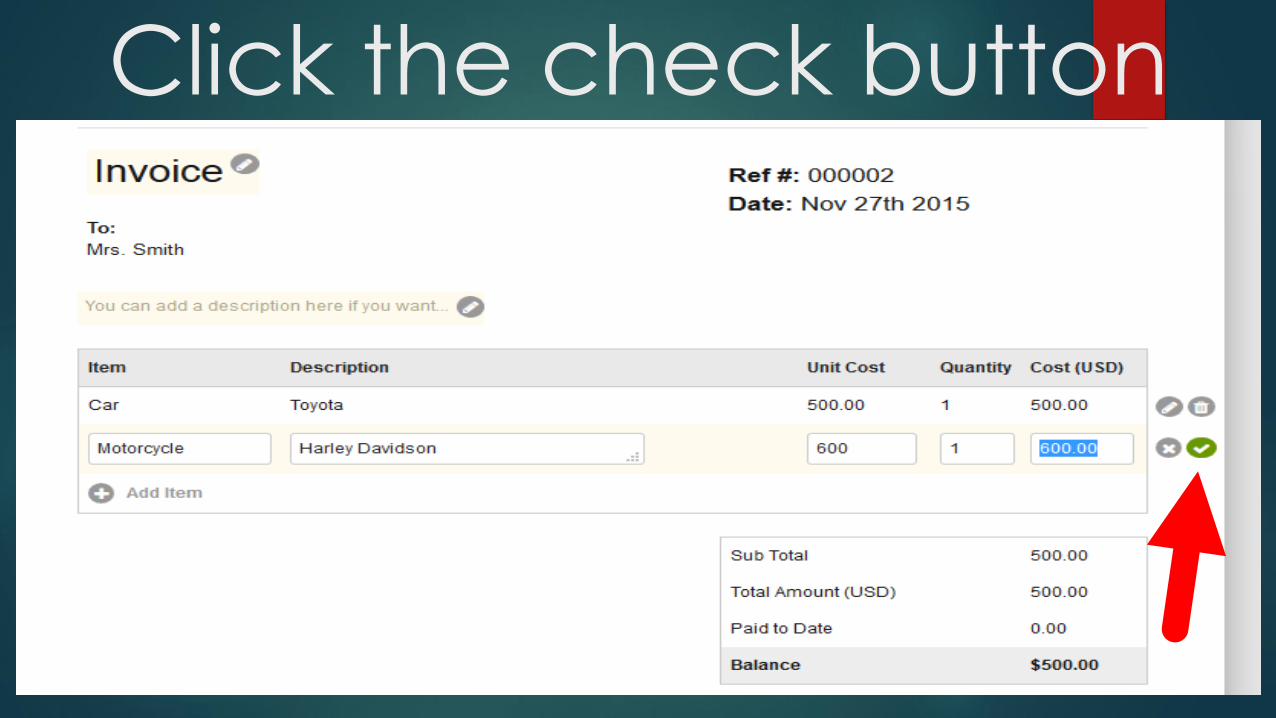
Click the check button

Click this to edit the item

Click this to delete the item

EDITTING AN INVOICE
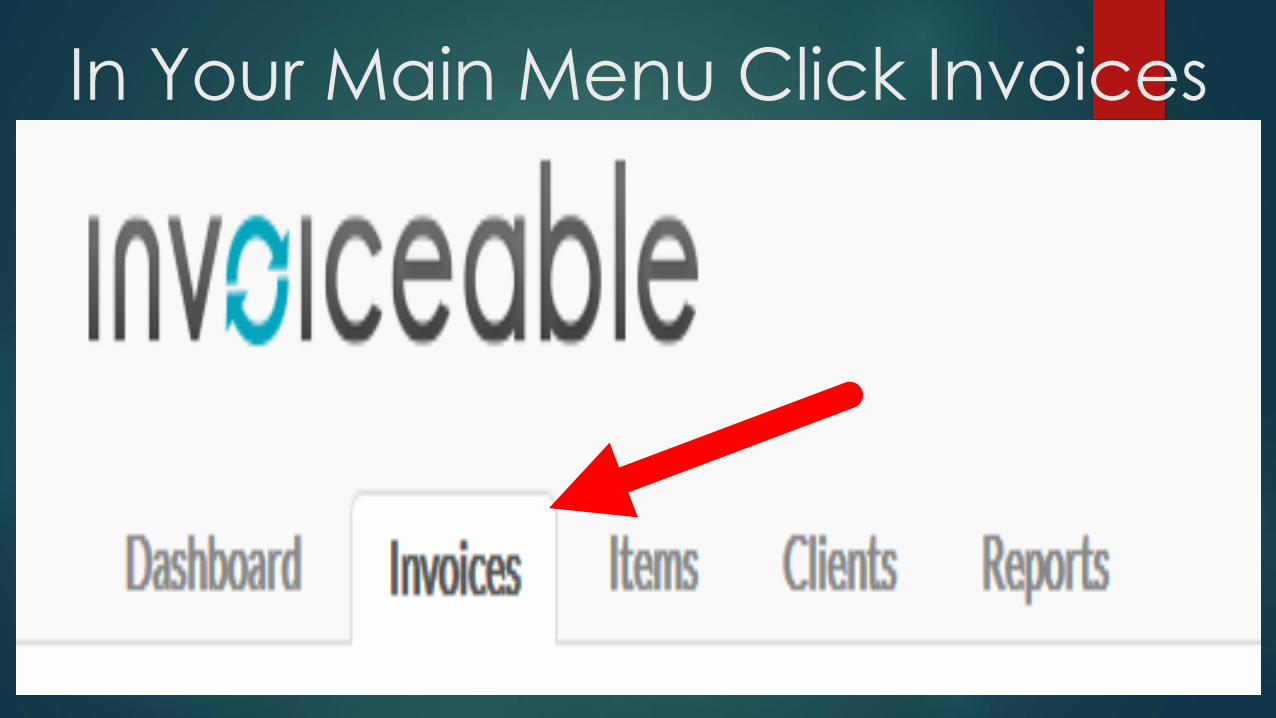
In Your Main Menu Click Invoices

Select which invoice to edit

Click the reference no
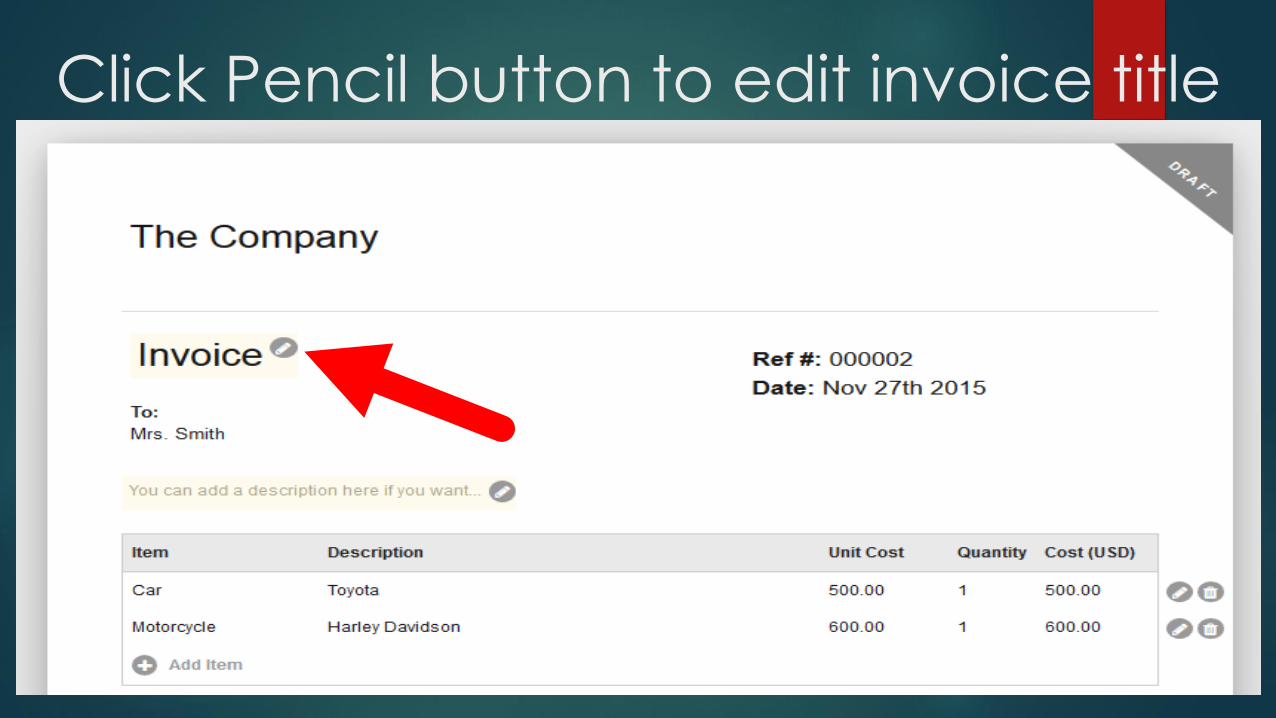
Click Pencil button to edit invoice title

Click the check button to save
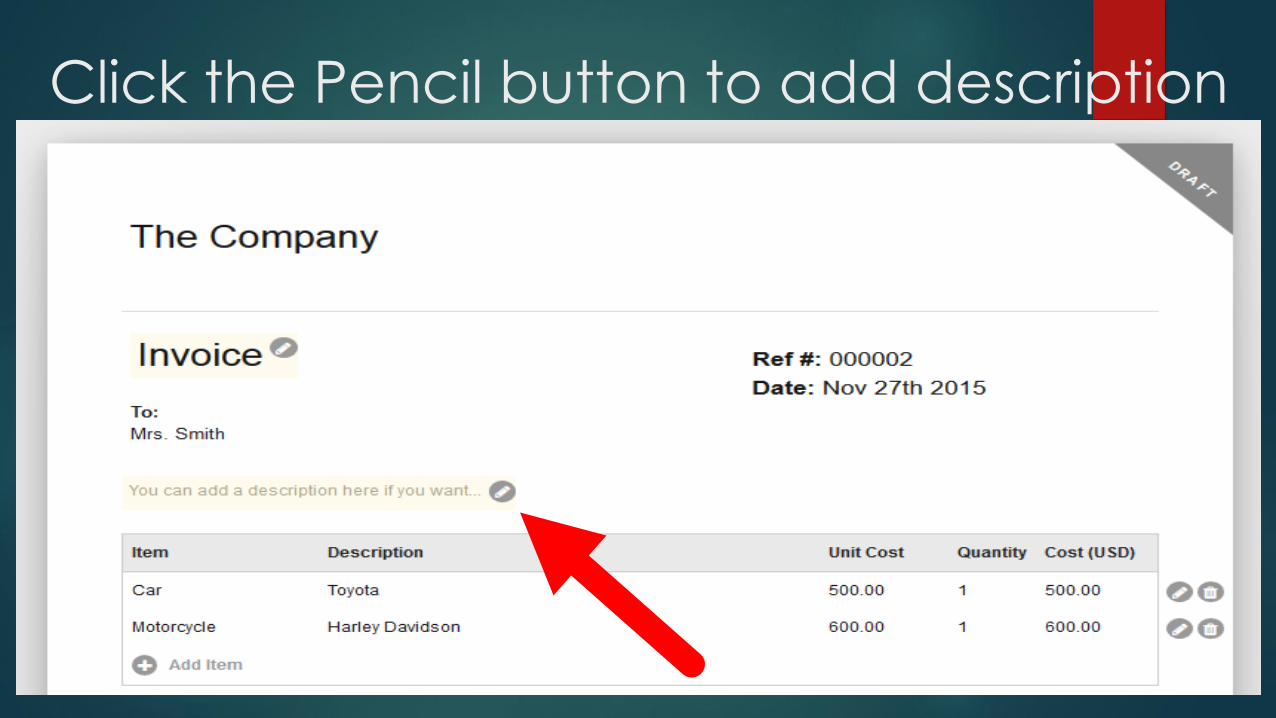
Click the Pencil button to add description
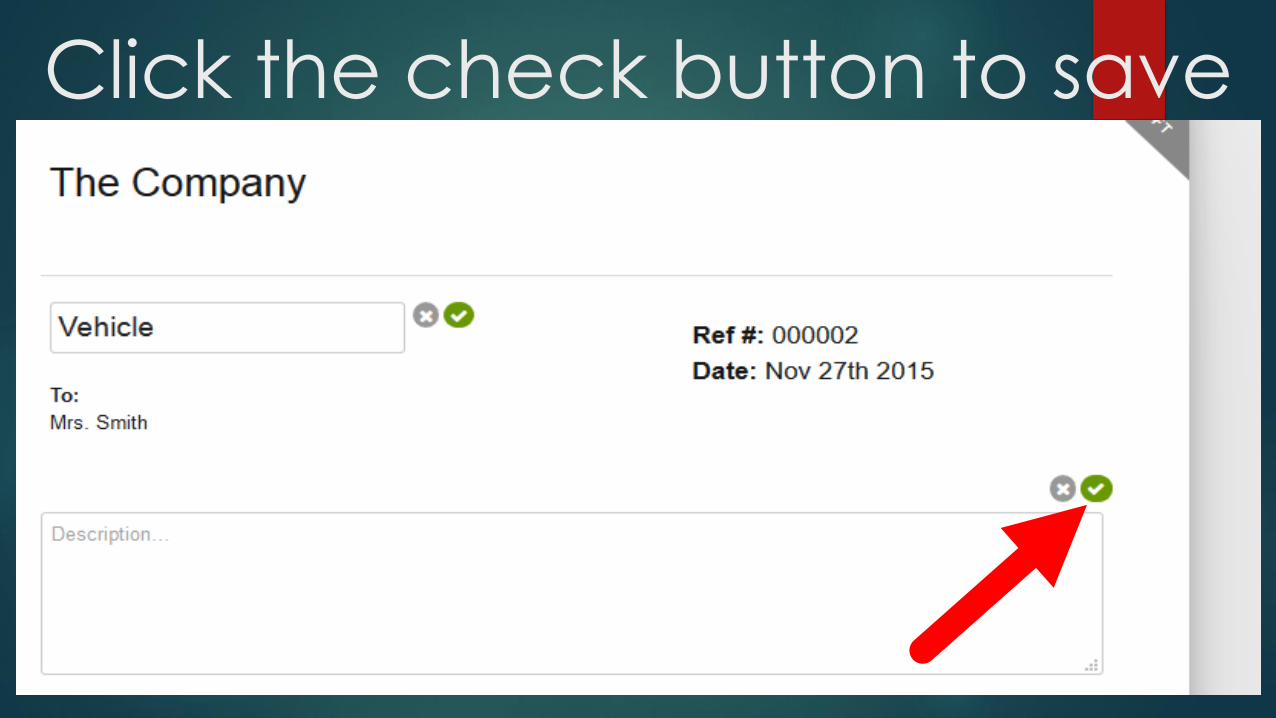
Click the check button to save
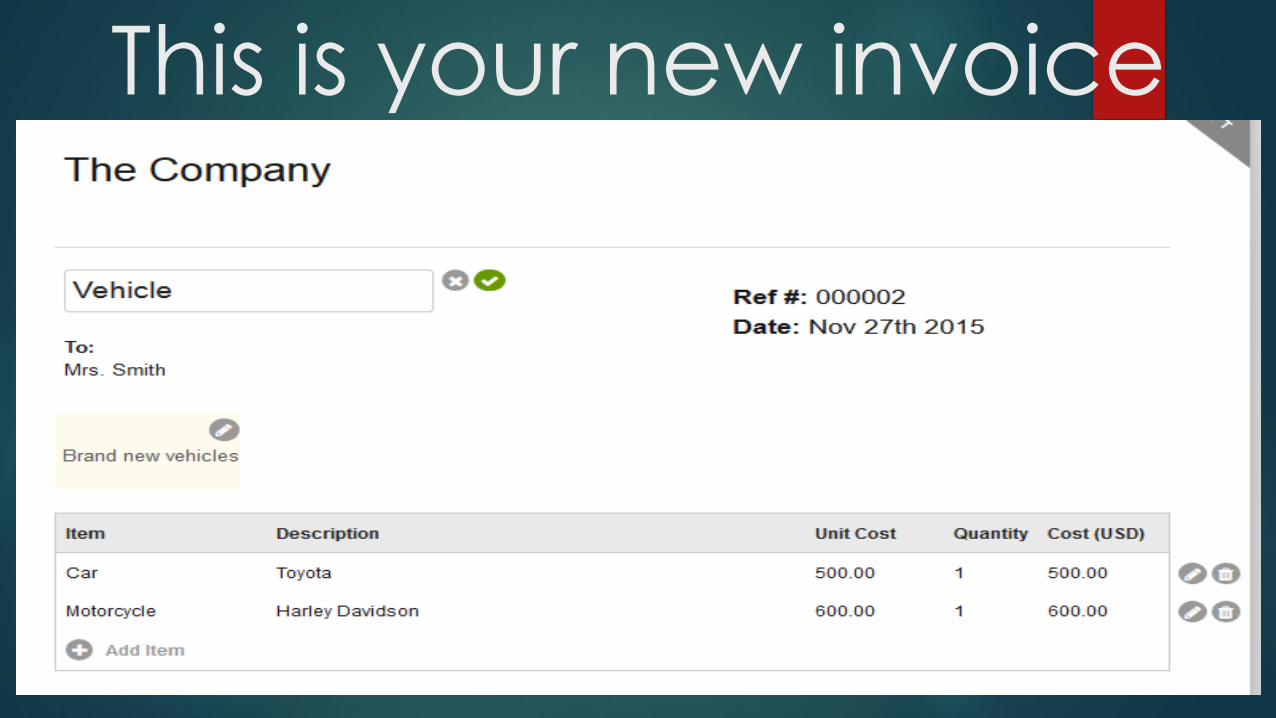
This is your new invoice

ADDING MORE CLIENTS
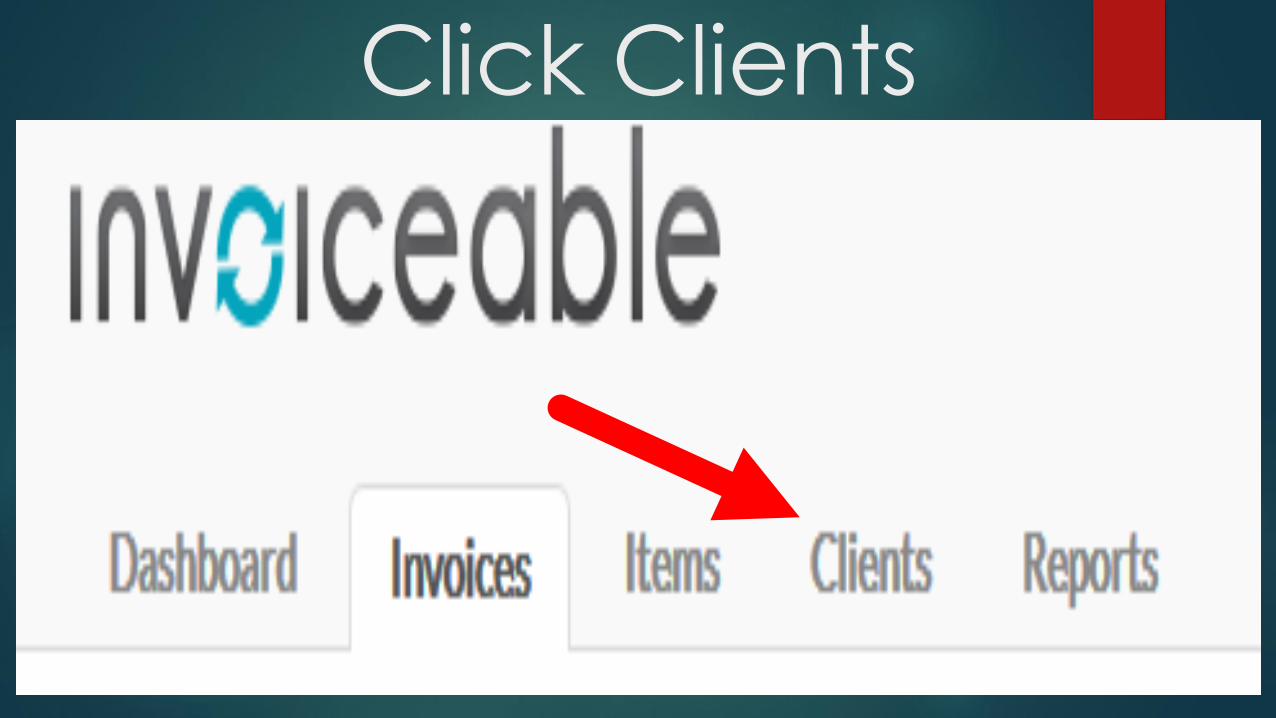
Click Clients
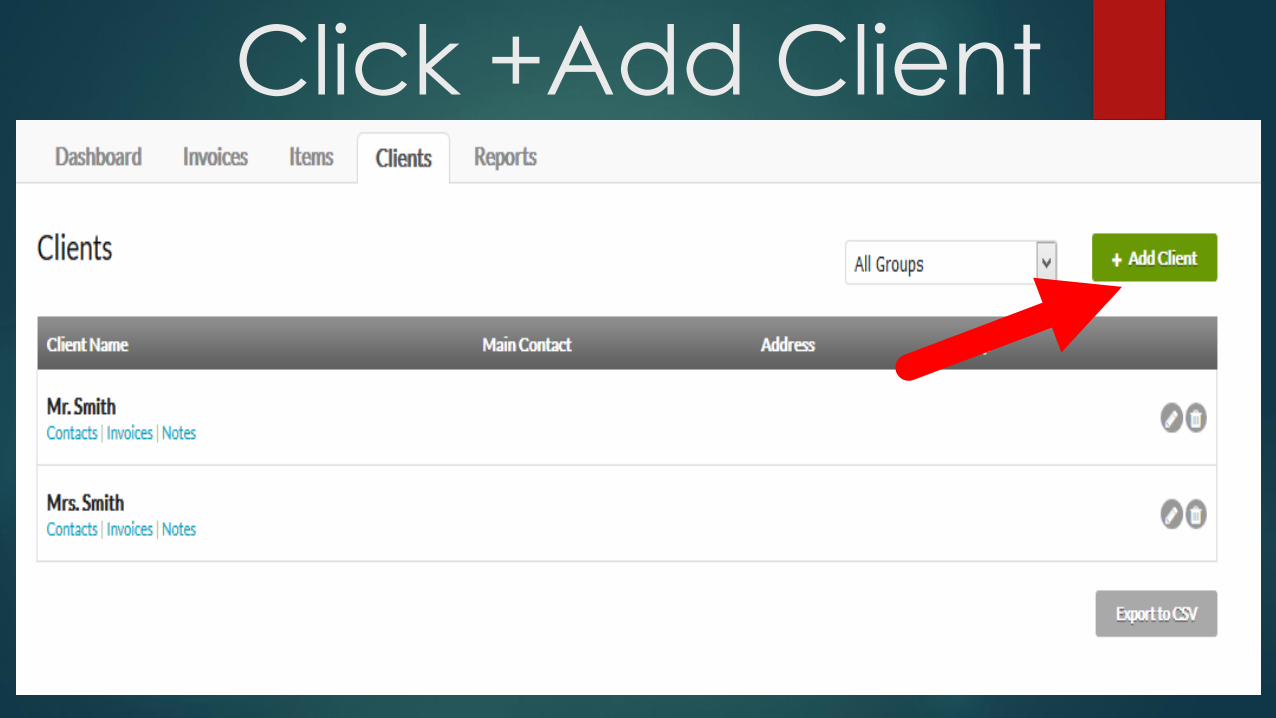
Click +Add Client

Fill-up the form
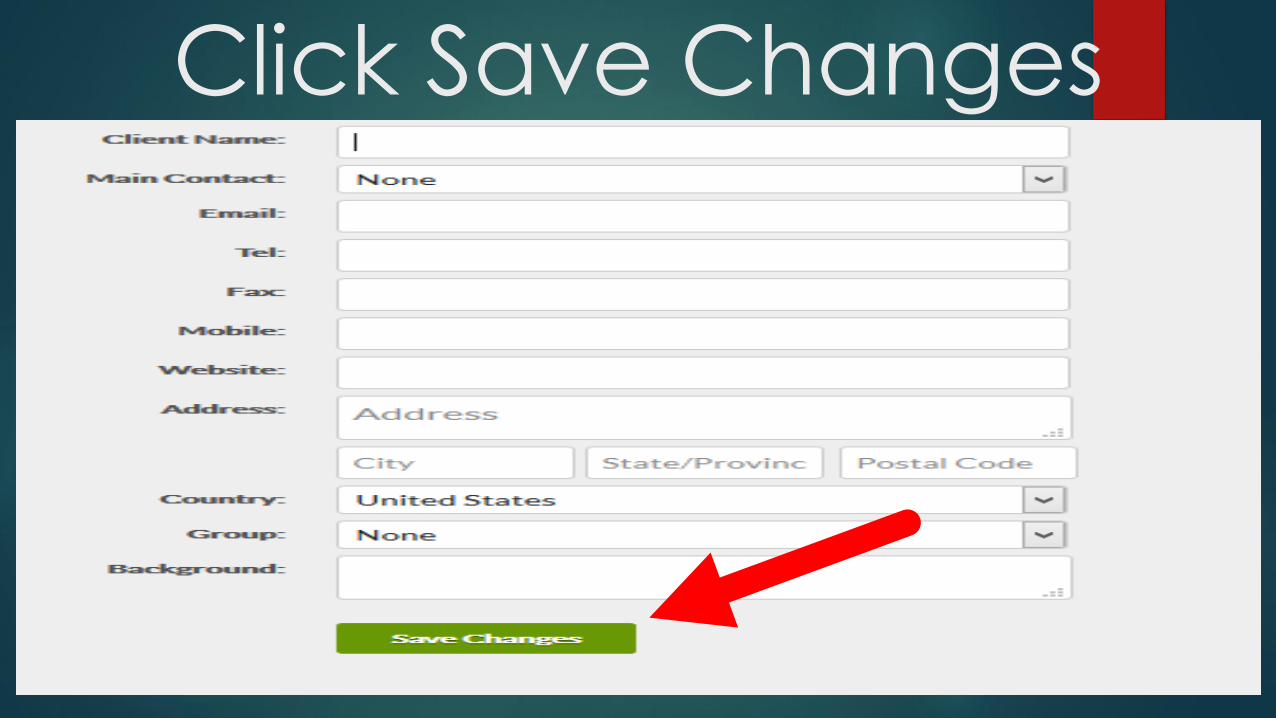
Click Save Changes
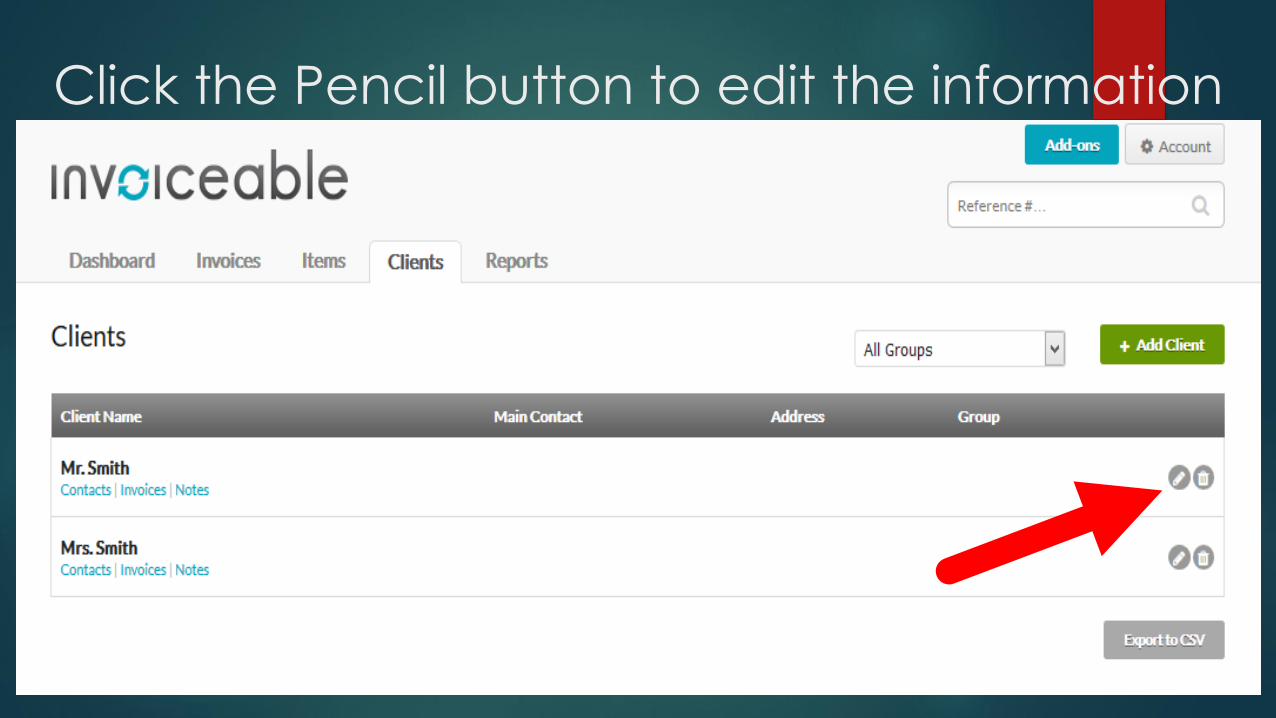
Click the Pencil button to edit the information
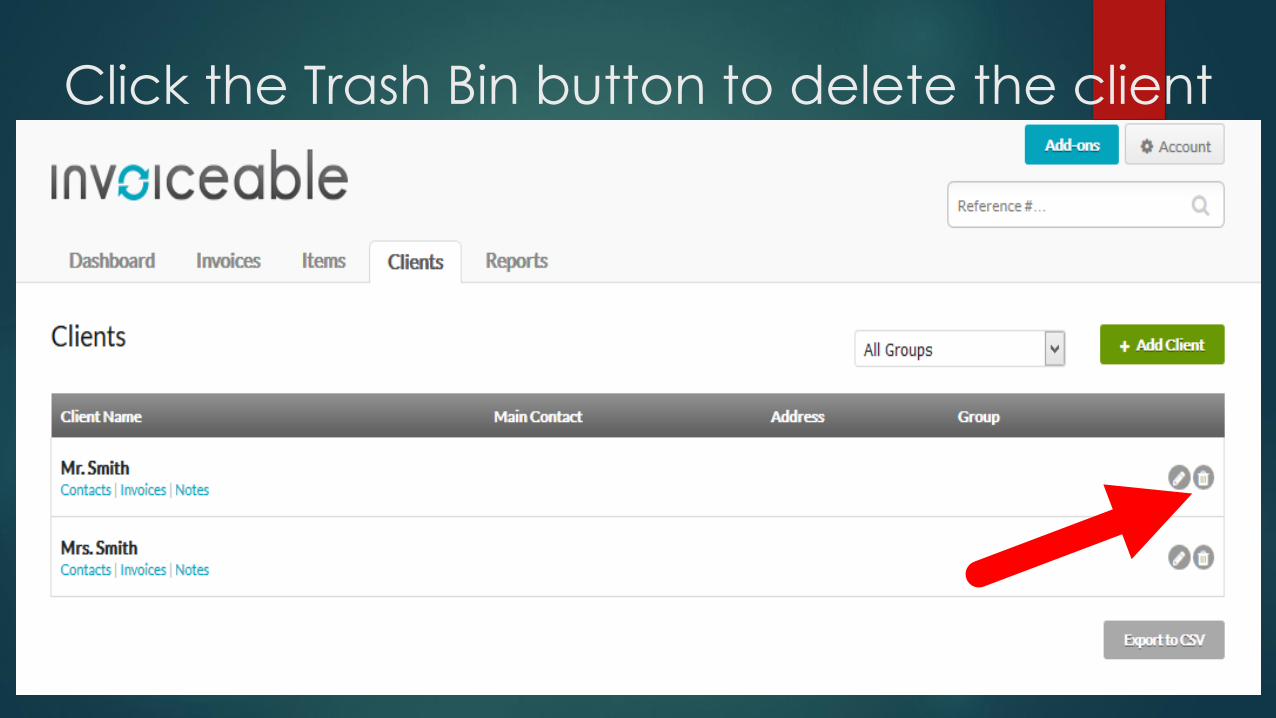
Click the Trash Bin button to delete the client

ADDING REPORTS
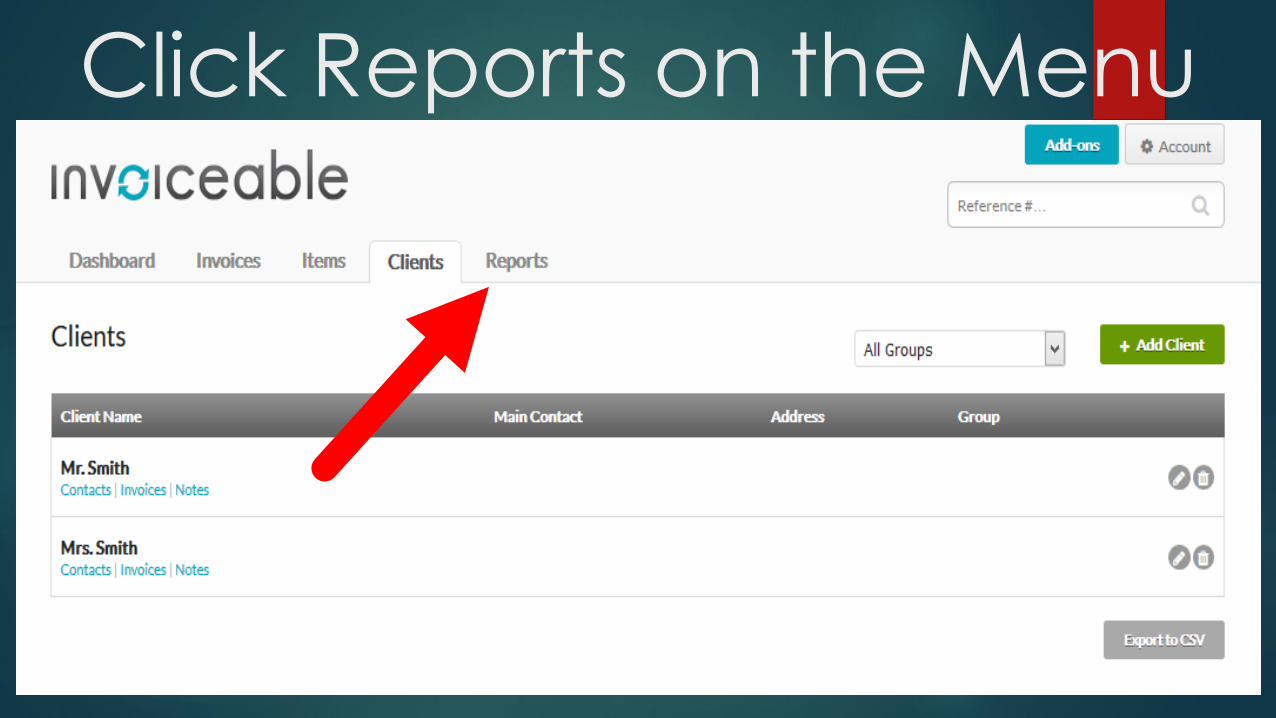
Click Reports on the Menu
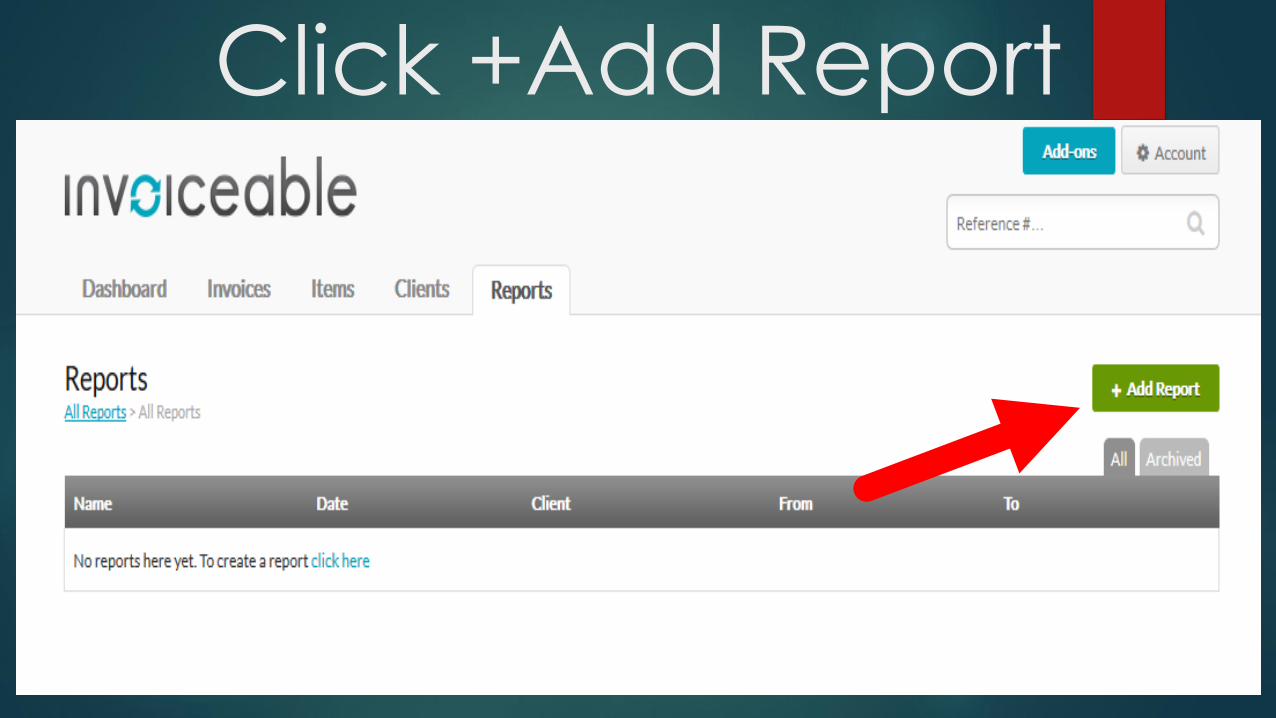
Click +Add Report
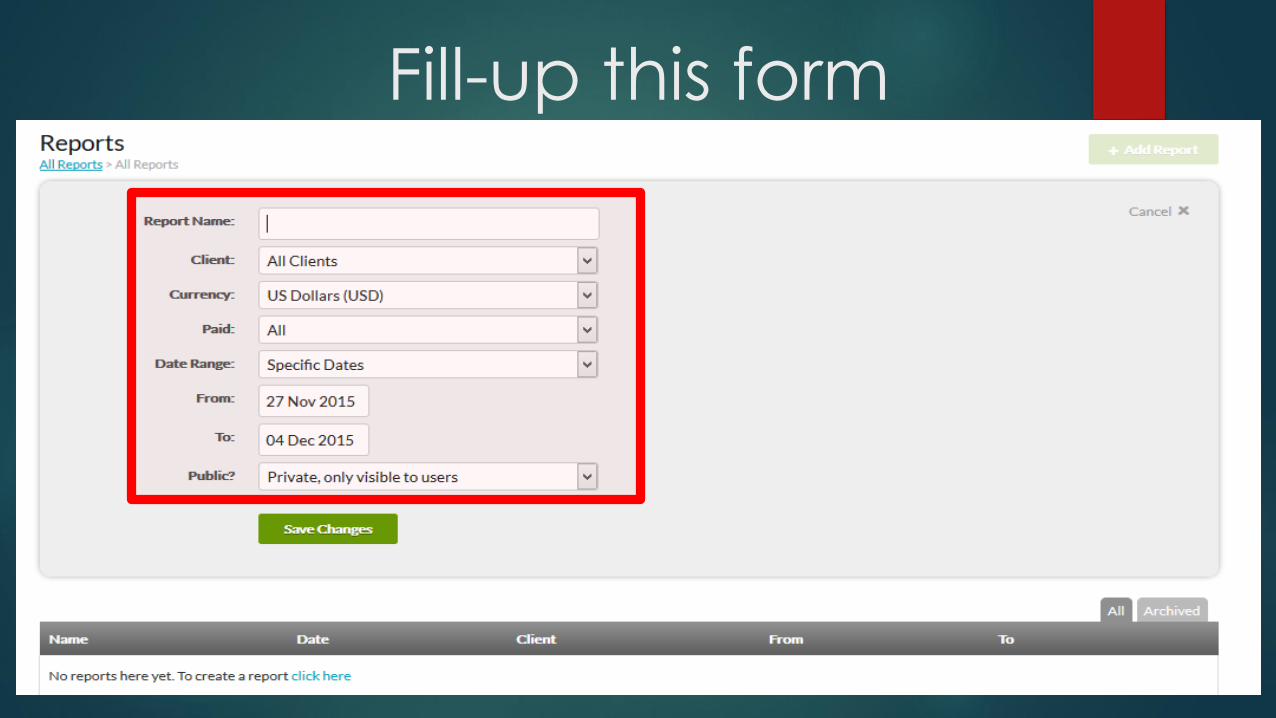
Fill-up this form
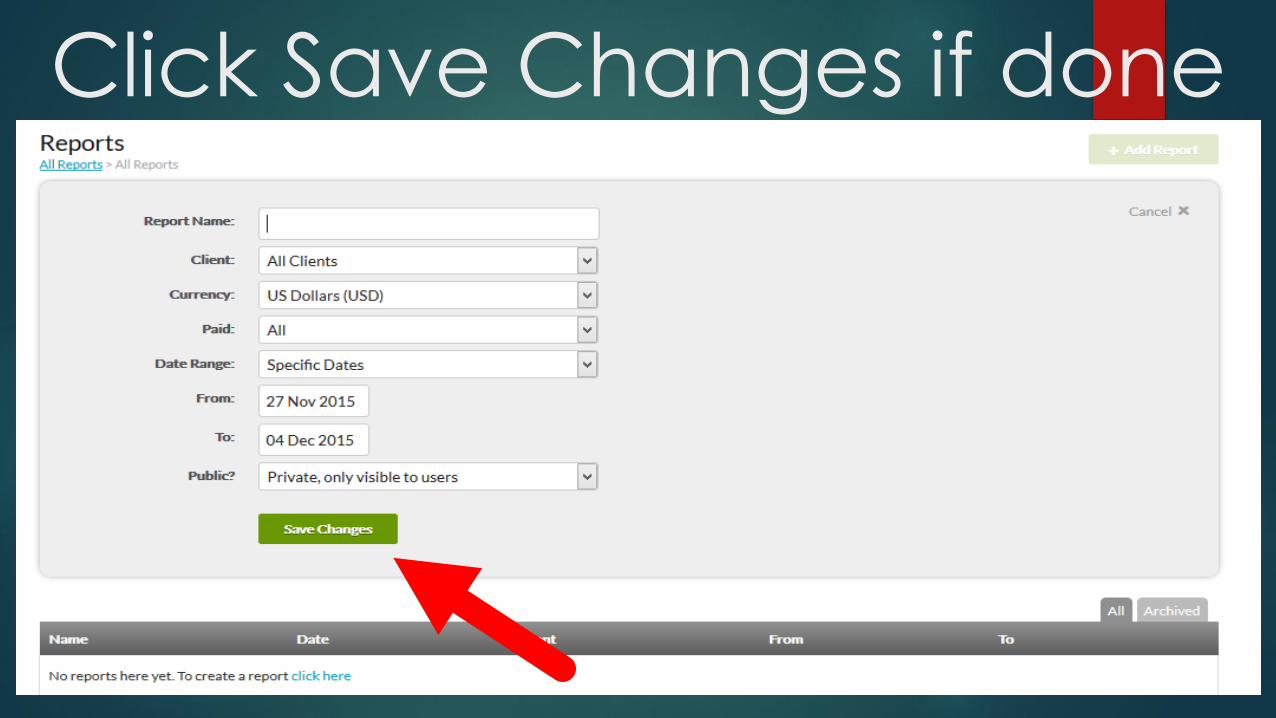
Click Save Changes if done

Click the magnifying button to view the report
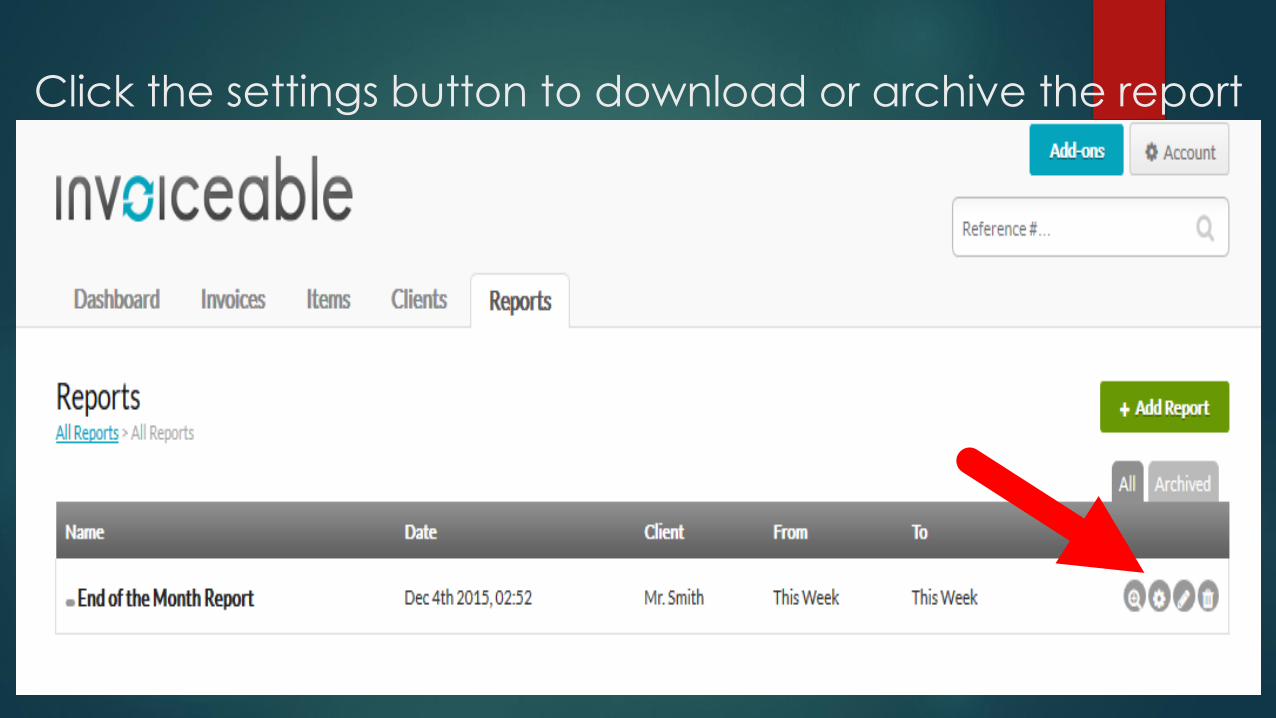
Click the settings button to download or archive the report
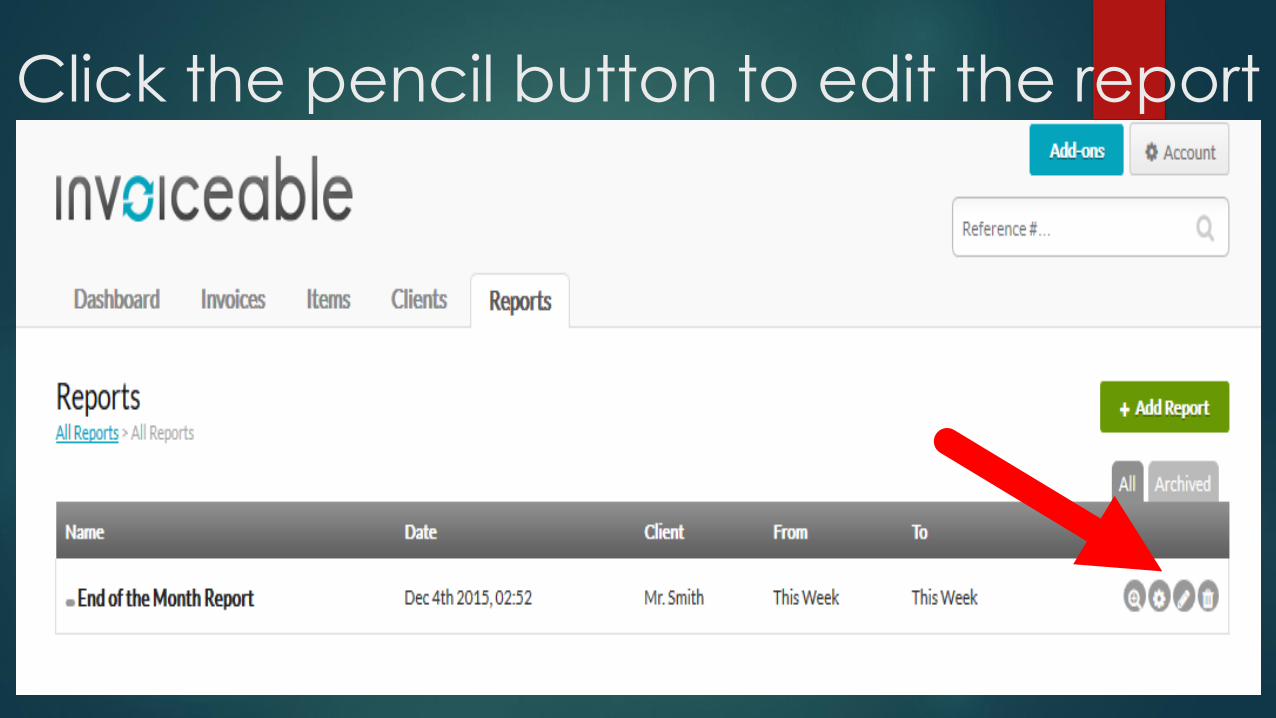
Click the pencil button to edit the report
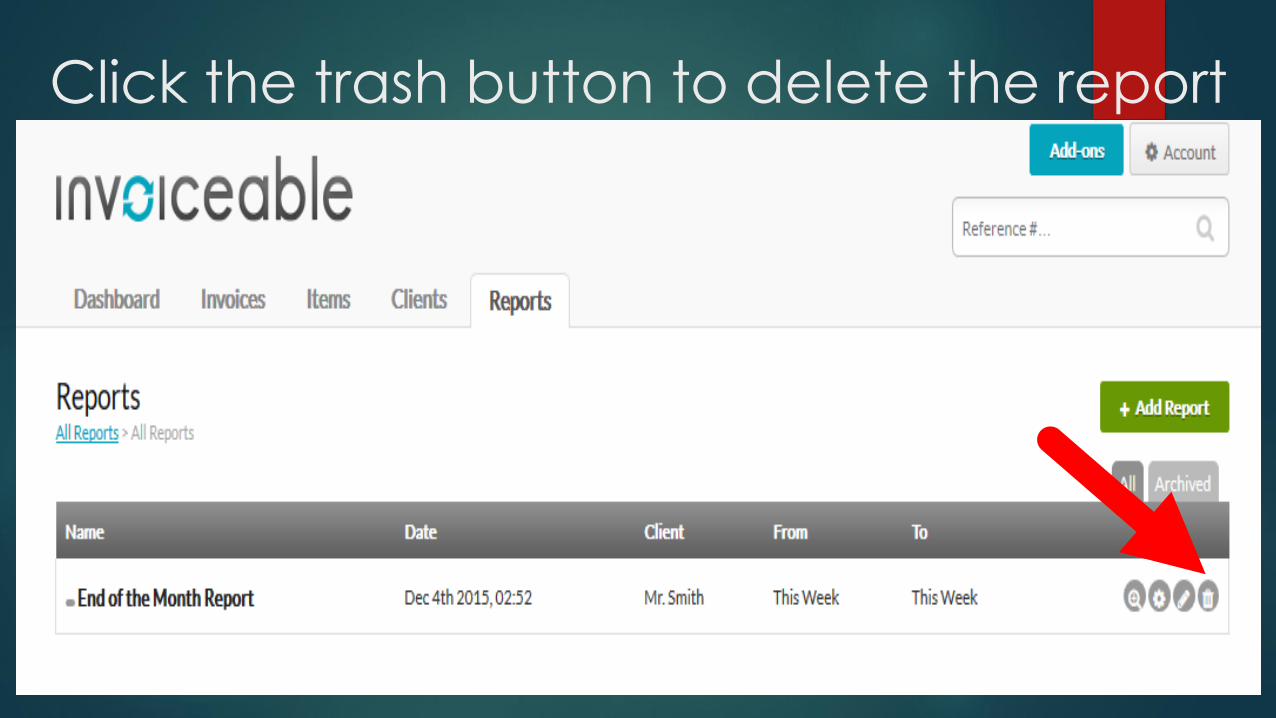
Click the trash button to delete the report

SENDING THE INVOICE TO
YOUR CLIENTS

Click Invoices in the main menu so that

Click the reference no of the invoice
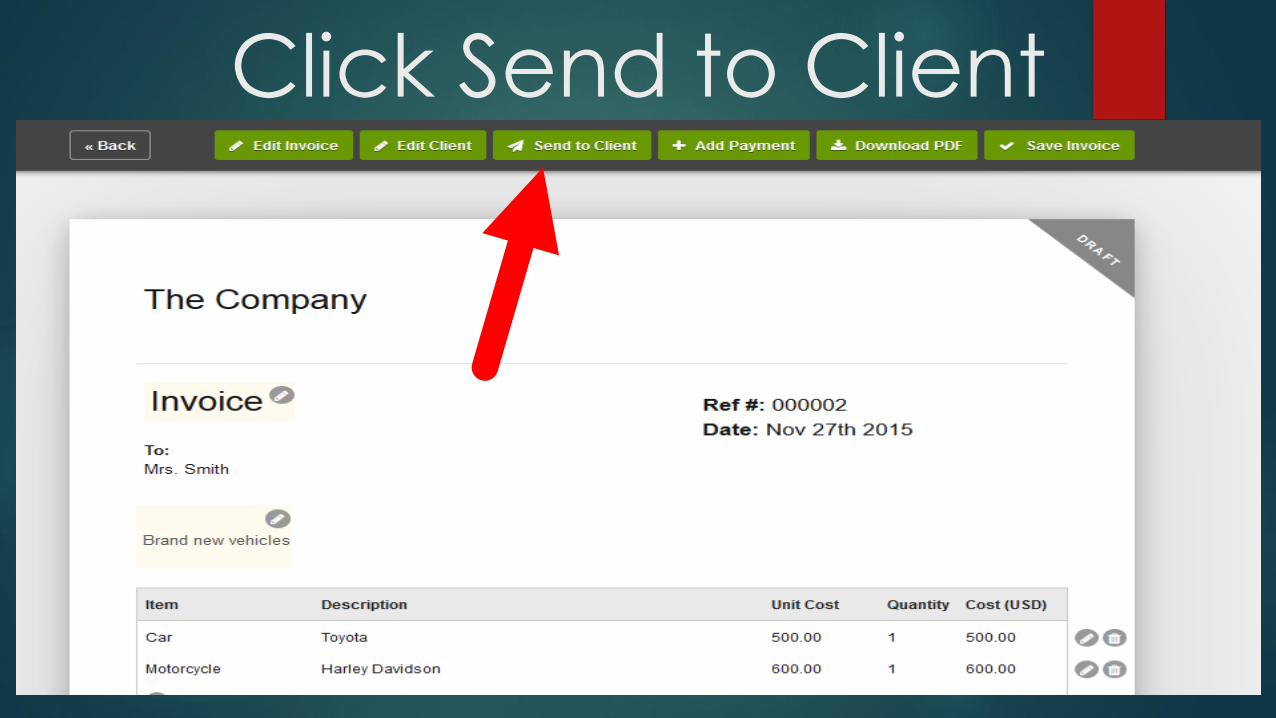
Click Send to Client
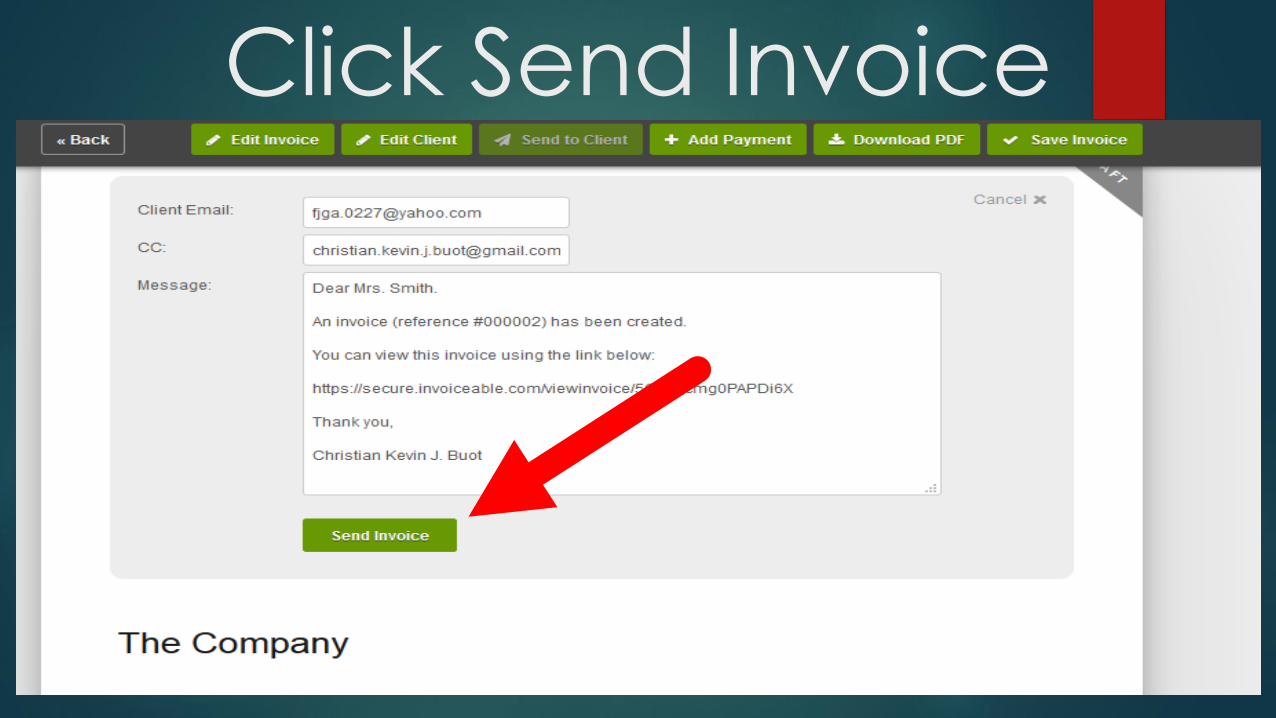
Click here to set up
the email address
of your client
Click Send Invoice
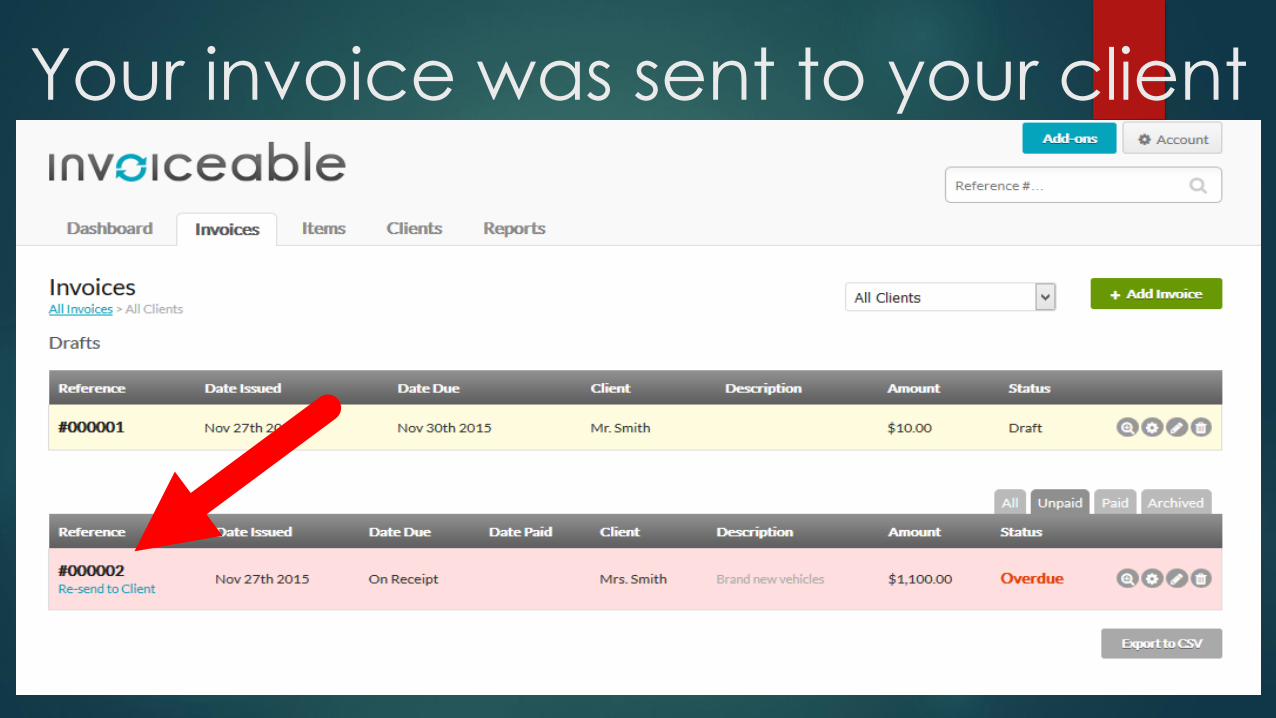
Your invoice was sent to your client

END OF TUTORIAL