Word ProcessingADE100- Computer Literacy
Lecture 12
Knowledge test
•What do you know by word processing?•What are the operations performed during text editing?• List some operations performed during text formatting?• List some operations of paragraph formatting?• List some operations of document formatting?
Topics covered
• Print preferences, printer properties and printing a document•Using preset and advance features
Printing document
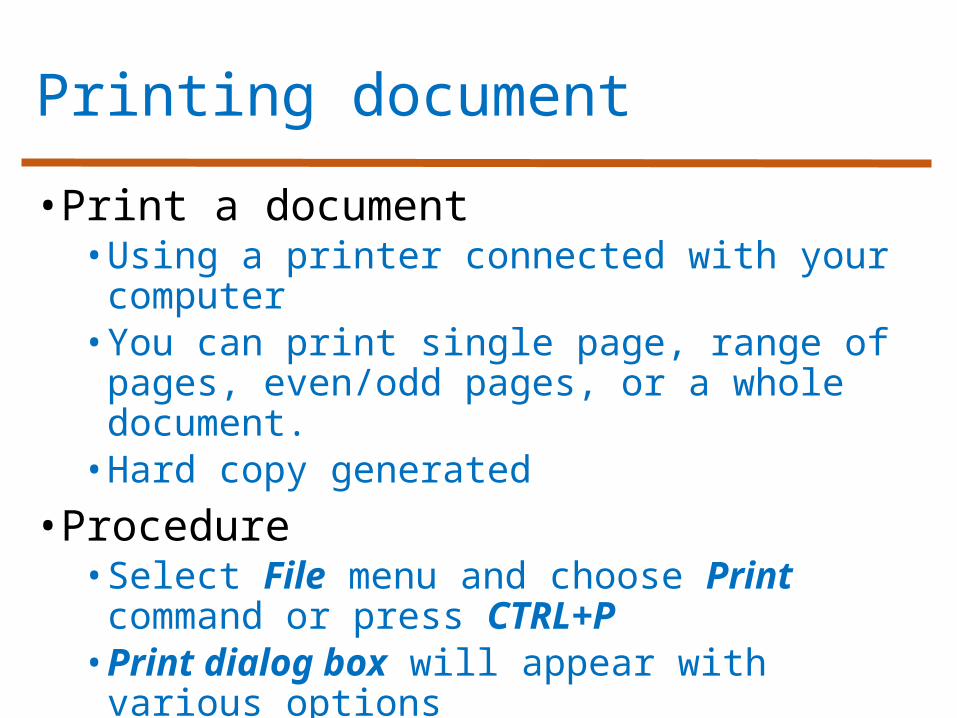
• Print a document• Using a printer connected with your
computer• You can print single page, range of pages,
even/odd pages, or a whole document.• Hard copy generated
• Procedure• Select File menu and choose Print
command or press CTRL+P• Print dialog box will appear with various
options• Click OK after selecting your options• If your printer is ready, printing is started
Direct Printing
• If print icon on toolbar is clicked• Then whole document is printed without showing print dialog box•One copy of document is printed.
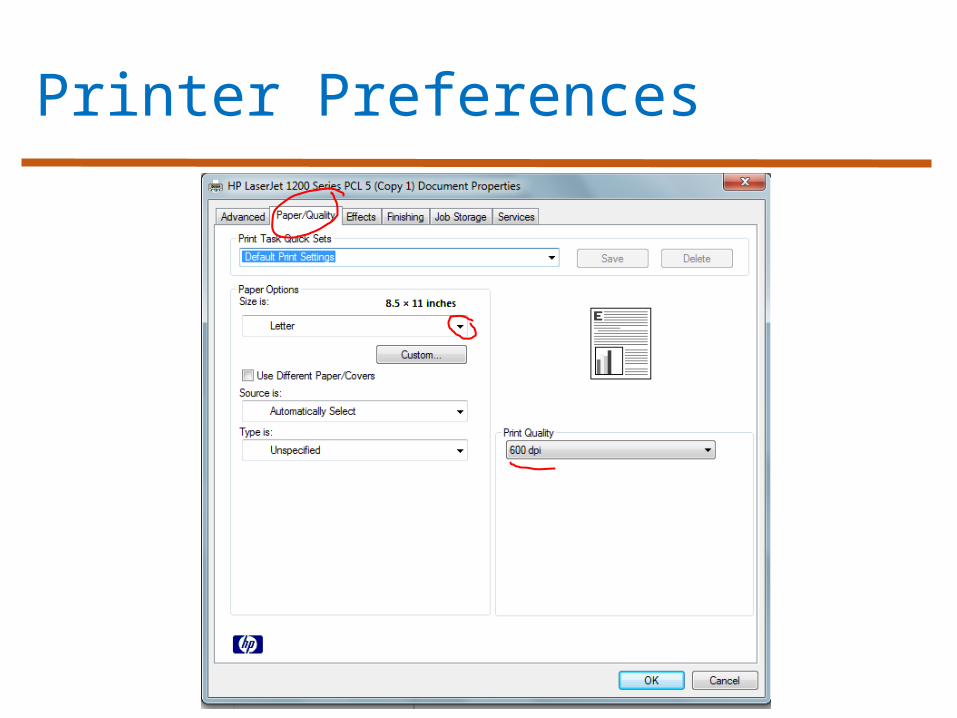
Printer Preferences
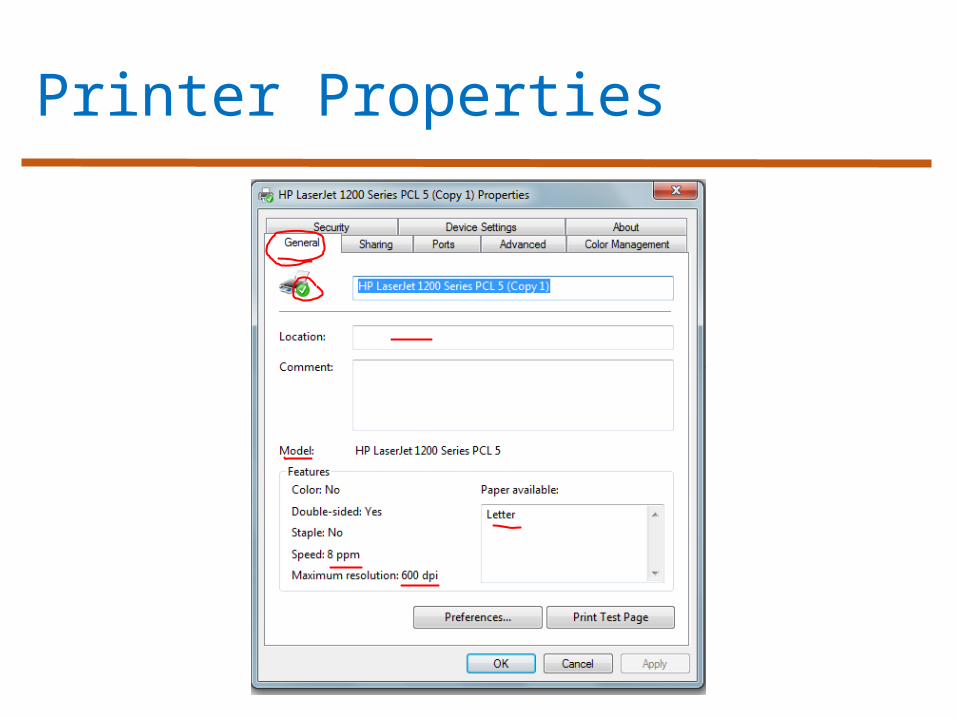
Printer Properties
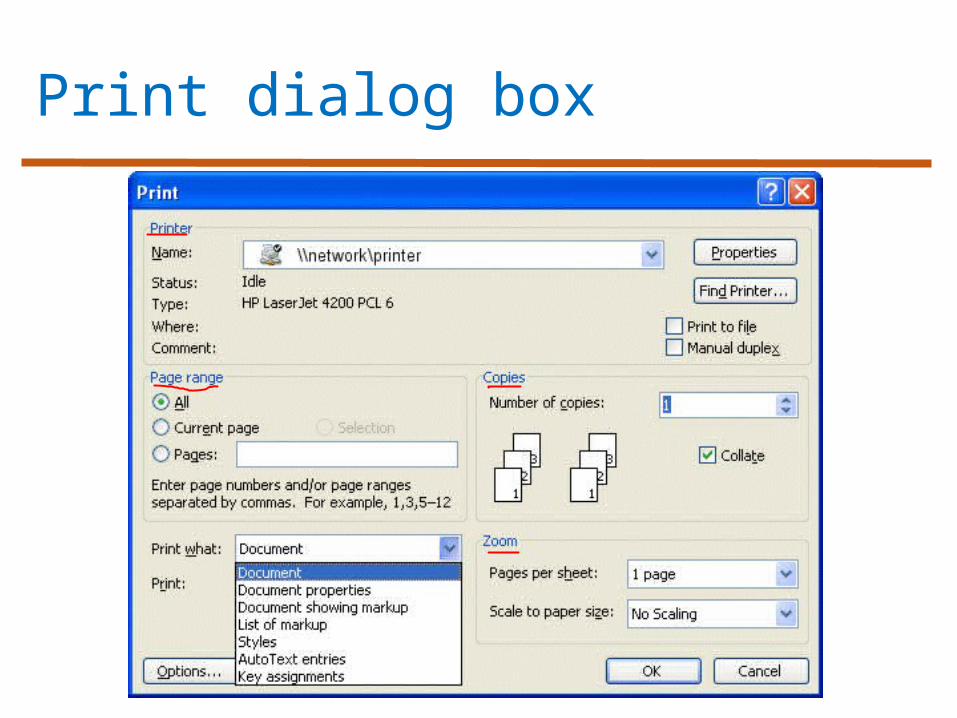
Print dialog box
Print dialog box options
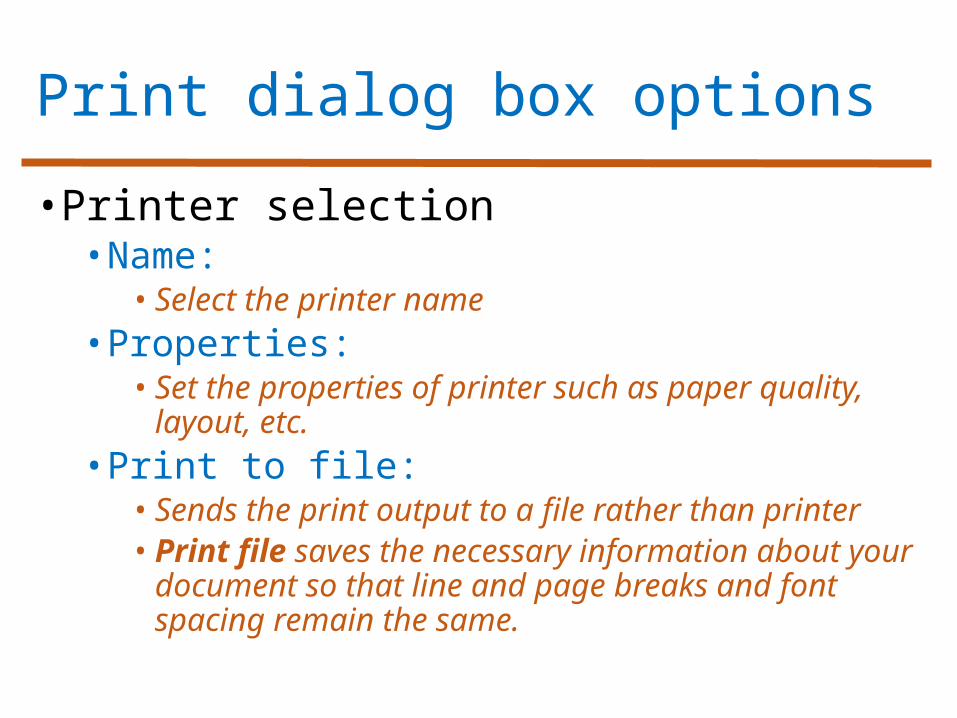
• Printer selection• Name: • Select the printer name
• Properties: • Set the properties of printer such as paper
quality, layout, etc.• Print to file: • Sends the print output to a file rather than
printer• Print file saves the necessary information
about your document so that line and page breaks and font spacing remain the same.
Print dialog box options
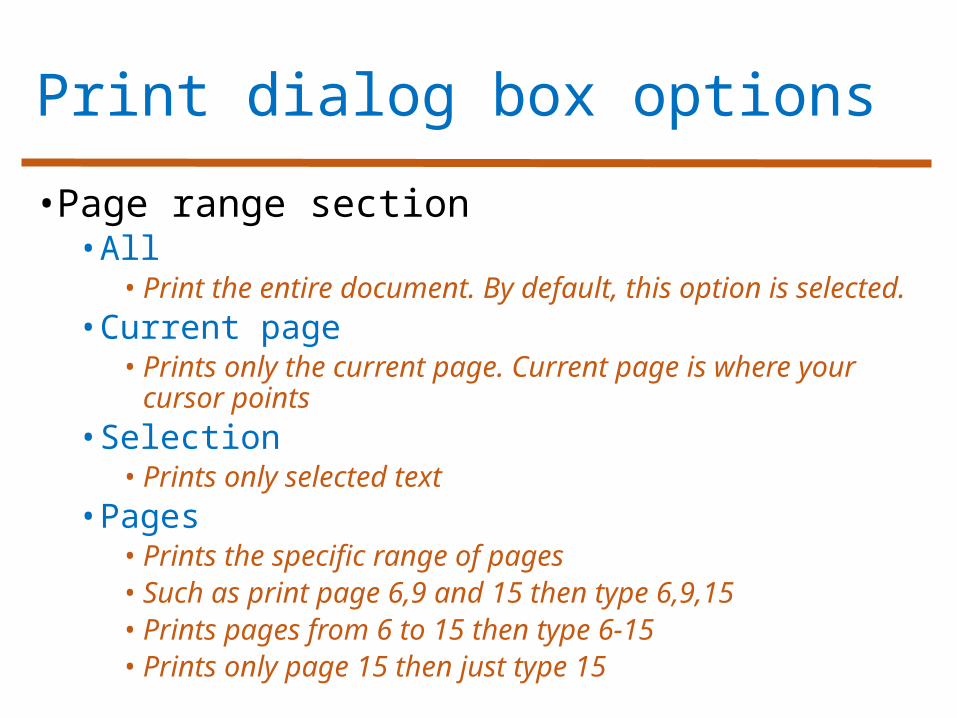
• Page range section• All
• Print the entire document. By default, this option is selected.
• Current page• Prints only the current page. Current page is where
your cursor points• Selection
• Prints only selected text• Pages
• Prints the specific range of pages • Such as print page 6,9 and 15 then type 6,9,15• Prints pages from 6 to 15 then type 6-15• Prints only page 15 then just type 15

Print dialog box
• Copies selection• Number of copies• Specify the no. of copies of document required
• Collate• Print a complete set/copy of the entire
document before the first page of next copy is printed.• If not selected, then all copies of each page will
be printed
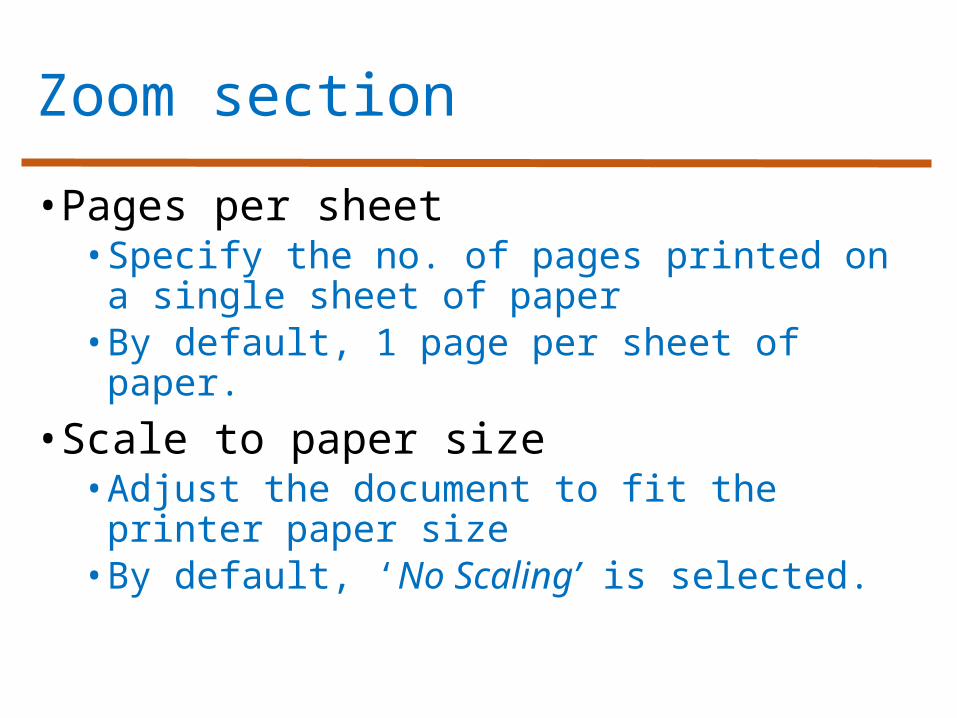
Zoom section
• Pages per sheet• Specify the no. of pages printed on a single
sheet of paper• By default, 1 page per sheet of paper.
• Scale to paper size• Adjust the document to fit the printer
paper size• By default, ‘No Scaling’ is selected.
Print Preview
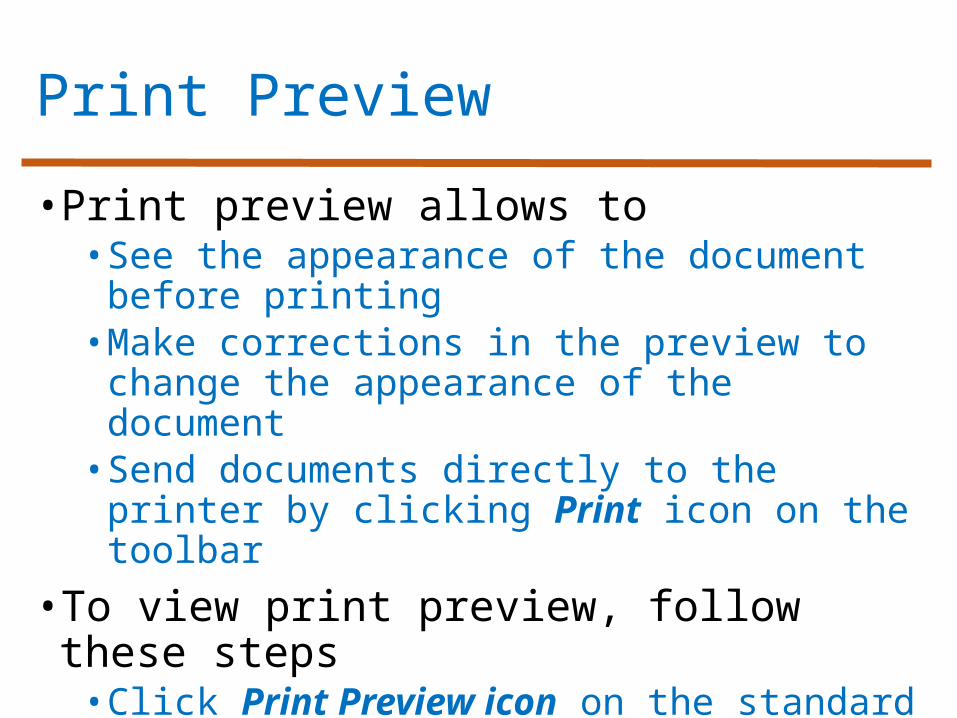
• Print preview allows to• See the appearance of the document
before printing• Make corrections in the preview to change
the appearance of the document• Send documents directly to the printer by
clicking Print icon on the toolbar
• To view print preview, follow these steps• Click Print Preview icon on the standard
toolbar or• Select Print Preview command from File
menu
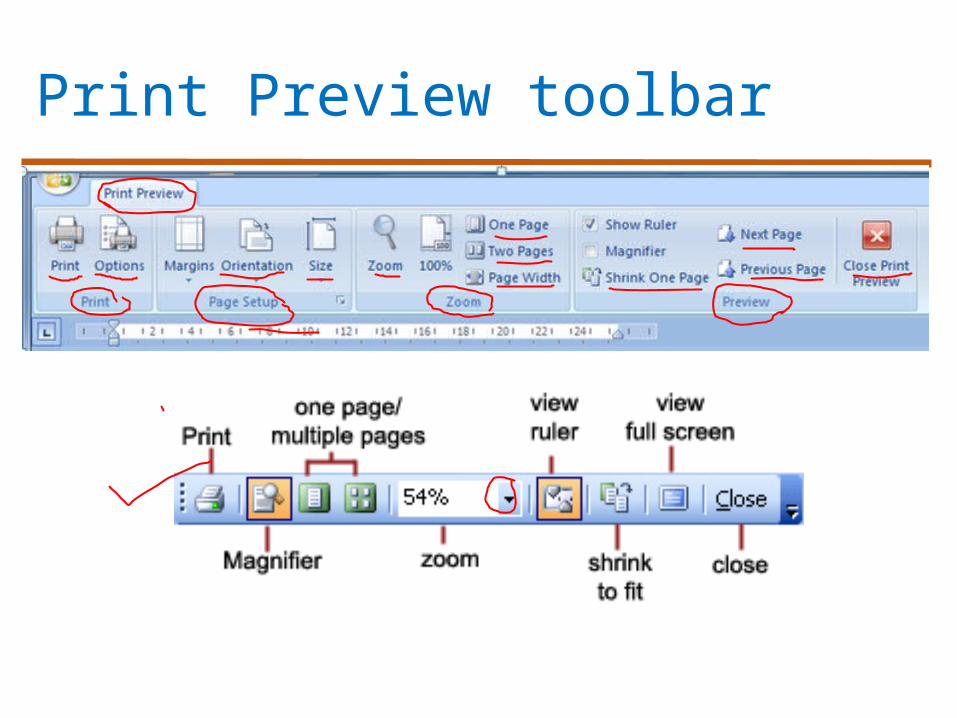
Print Preview toolbar
Print Preview toolbar
• Print• Send the document to the printer
•Magnifier• To enlarge/reduce the document view in Preview
window
•One page• Display one page at a time in Preview window
•Multiple pages• Display multiple pages at a time
• Zoom control• Select different magnification from 10% to 400%
Print Preview toolbar
• View ruler• Display or hide the horizontal and vertical rulers
• Shrink to fit• Shrink the document to fit on one or less pages if
the last page has only few lines of text
• Full screen• Display a document on full screen in Print Preview
• Close• Close the Print Preview
• Help• Get help about options of Print Preview toolbar
Editing in Print Preview mode
• It is possible to edit document in print preview mode.• Click One Page button of print preview toolbar• Then start editing process
Changing the document margins• You can change margins in print preview, using horizontal and vertical rulers• The changes will apply to the whole document• The margins are changed by dragging the margin boundary
Using preset features
• Preset features• Default settings of your word document• Set by the developer not user• You can modify them
• For example,• Page margins=normal 1 inch• Alignment= left• Font= Calibri, size=11• Page View= print layout• Background= null • Document name= document1
Tables
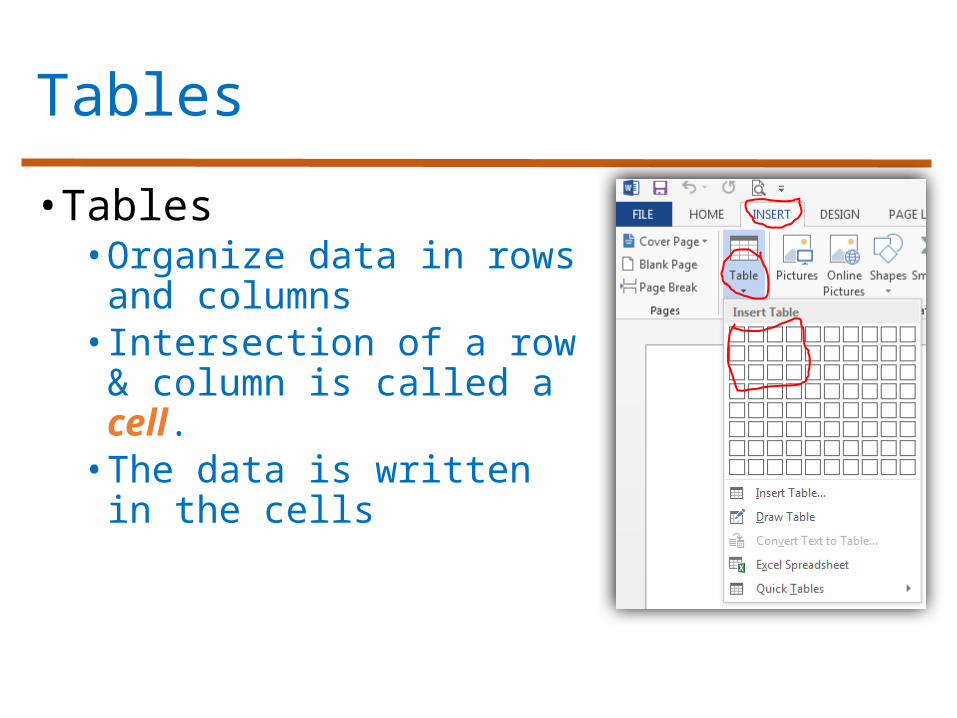
• Tables• Organize data in rows
and columns• Intersection of a row &
column is called a cell.• The data is written in the
cells
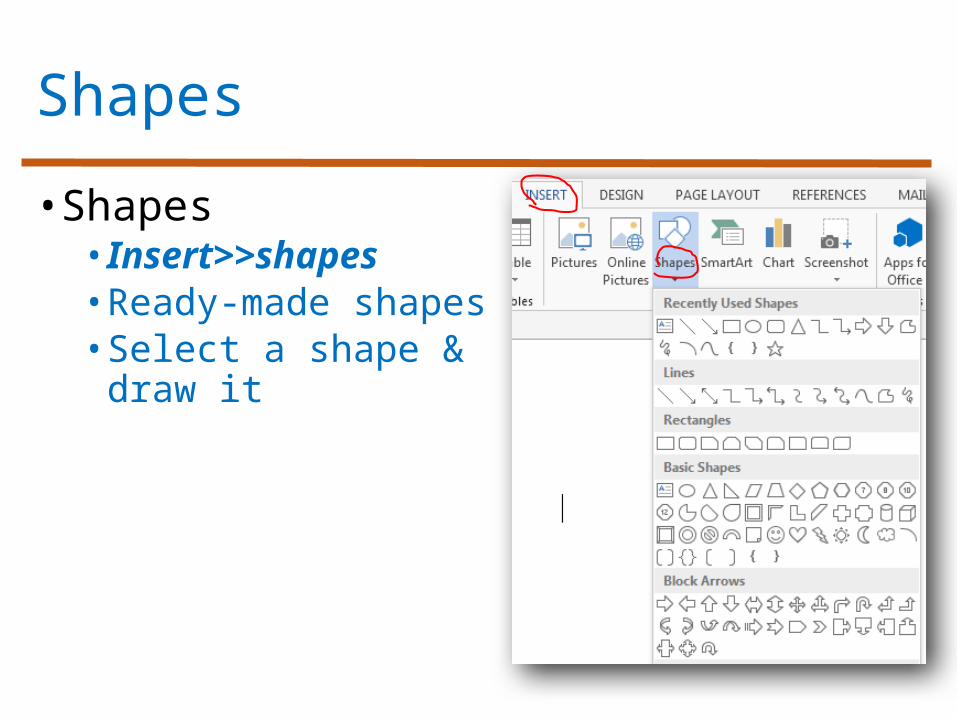
Shapes
• Shapes• Insert>>shapes• Ready-made shapes• Select a shape &
draw it

SmartArt Graphic
• Insert>>SmartArt
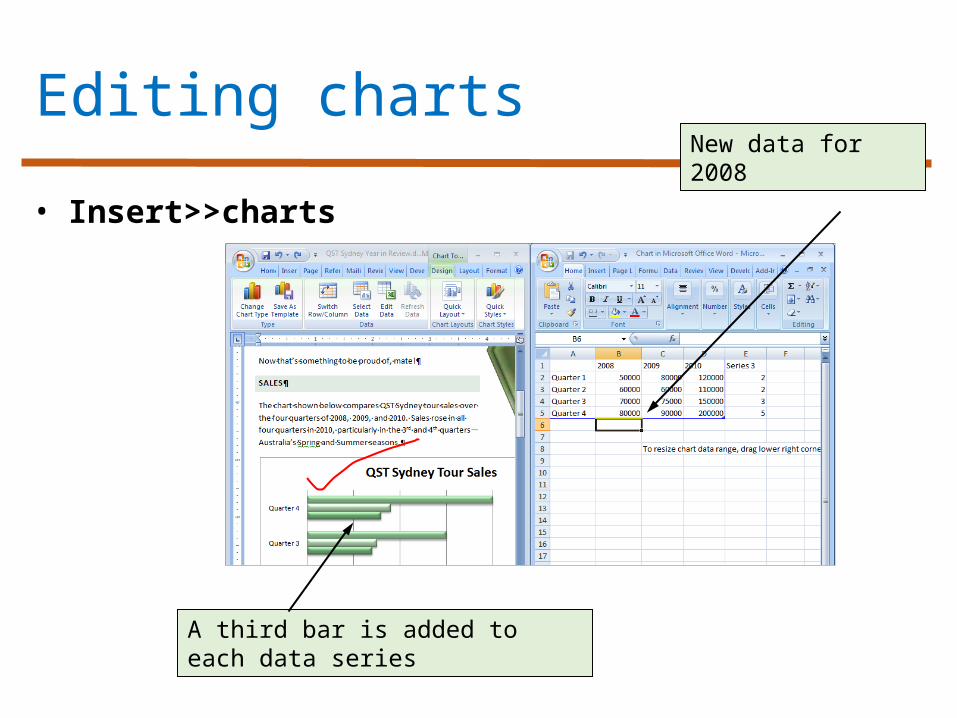
Editing charts
A third bar is added to each data series
New data for 2008
• Insert>>charts
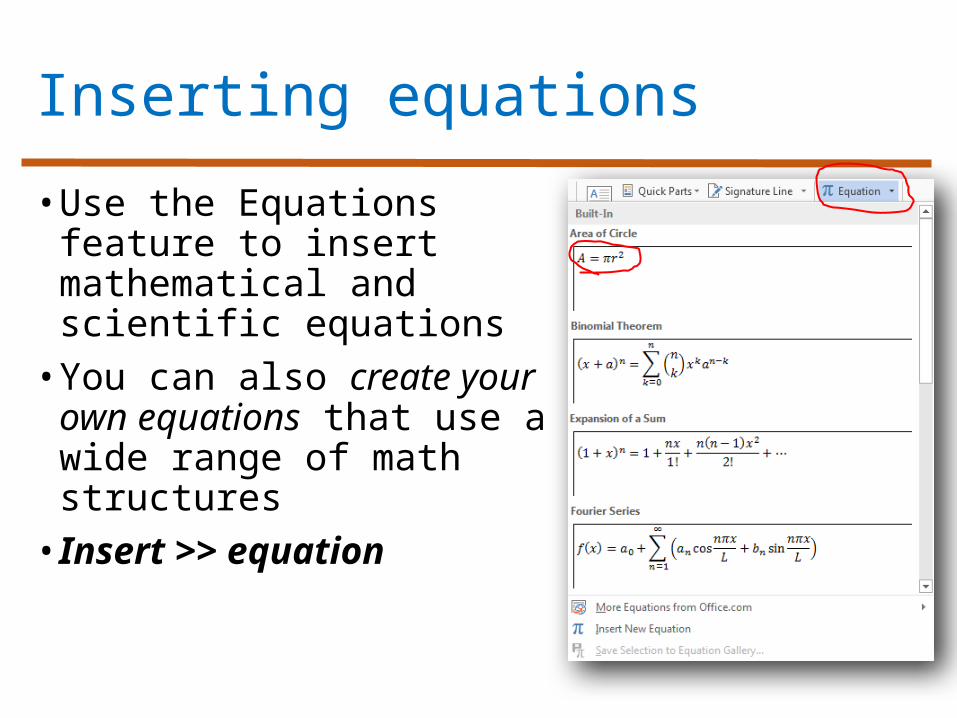
Inserting equations
• Use the Equations feature to insert mathematical and scientific equations• You can also create your
own equations that use a wide range of math structures• Insert >> equation
Working with sections
•Multi-page documents often consist of two or more sections, each of which can be formatted differently• Header text and page numbers can be
different in each section• Deselect the Link to Previous button
when you change the text of a header in a new section
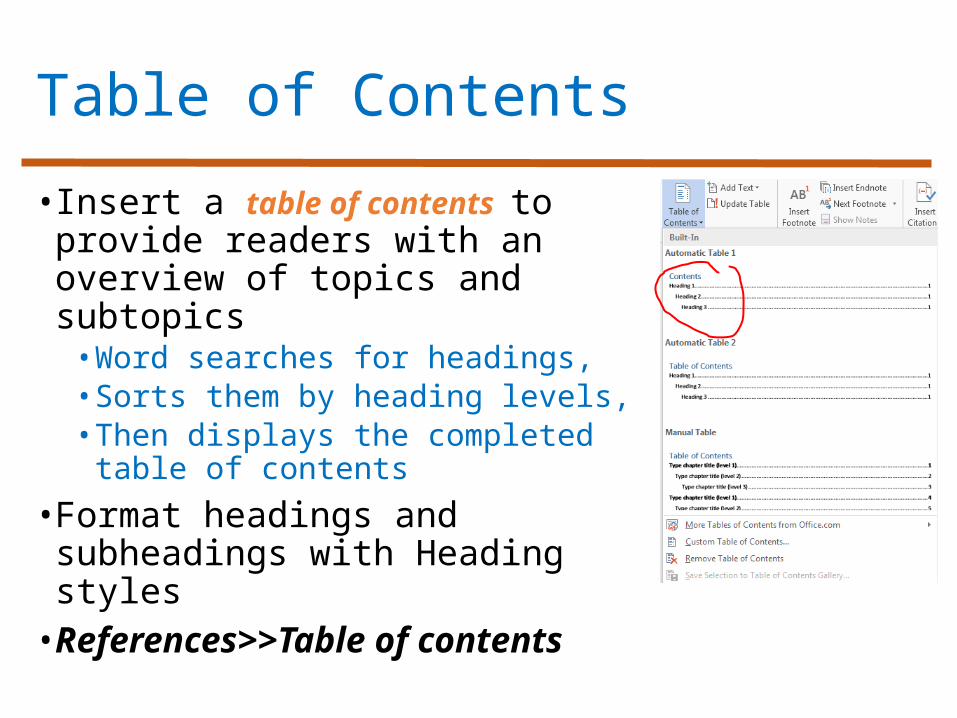
Table of Contents
• Insert a table of contents to provide readers with an overview of topics and subtopics• Word searches for headings, • Sorts them by heading levels,• Then displays the completed
table of contents
• Format headings and subheadings with Heading styles• References>>Table of contents

Adding a Cover Page
•Use one of Word’s preset cover page designs• Add text to content controls• Remove unwanted content controls
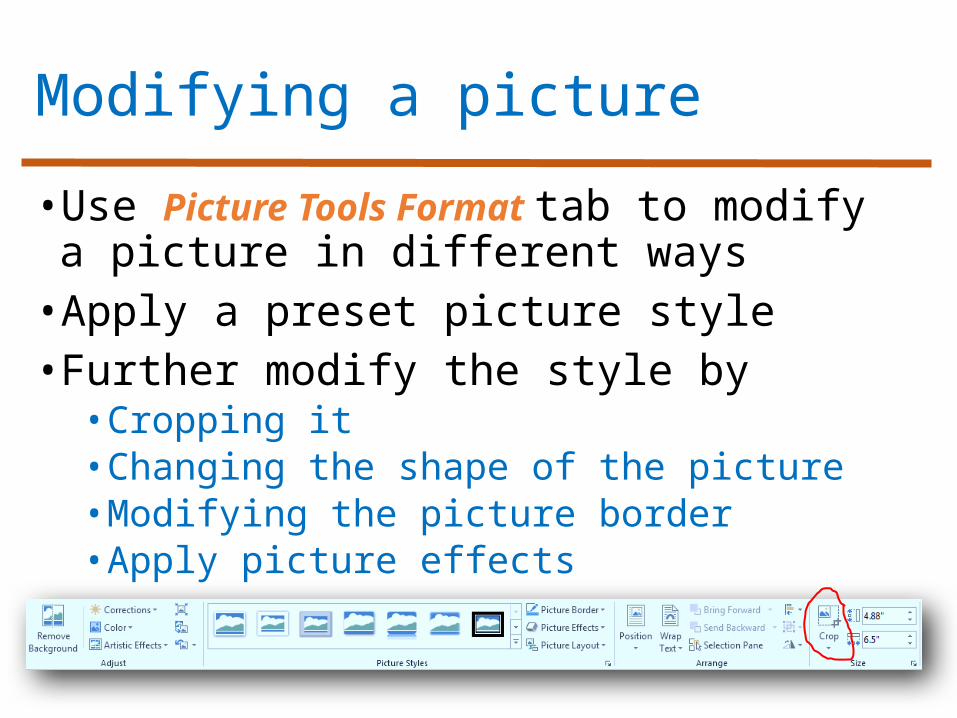
Modifying a picture
•Use Picture Tools Format tab to modify a picture in different ways• Apply a preset picture style• Further modify the style by• Cropping it• Changing the shape of the picture• Modifying the picture border• Apply picture effects
Activity-(20 minutes)
• View and explore printer properties and print preferences.• View and explore print preview options.• Take a print of word document from your printer. Troubleshoot the problem if error in printing.• Insert a picture and modify it using Format options.• Insert & modify a chart in your word document.• Add a cover page to your document.• Create table of contents of a word document.
Activity-(20 minutes)
• Insert a mathematical equation like • Insert a shape in the document and enter some text in it.• Change preset features of a word document.
Further reading
• PM series- Introduction to information technology by Riaz Shahid• Chapter 8: Microsoft Word
Thanks End of Lecture 12
Allah Hafiz
Recommended