Embed Size (px)
Citation preview
Everyone Wants To Paint Water - Take 225th-26th May 2013
Workshop NotesDay One:
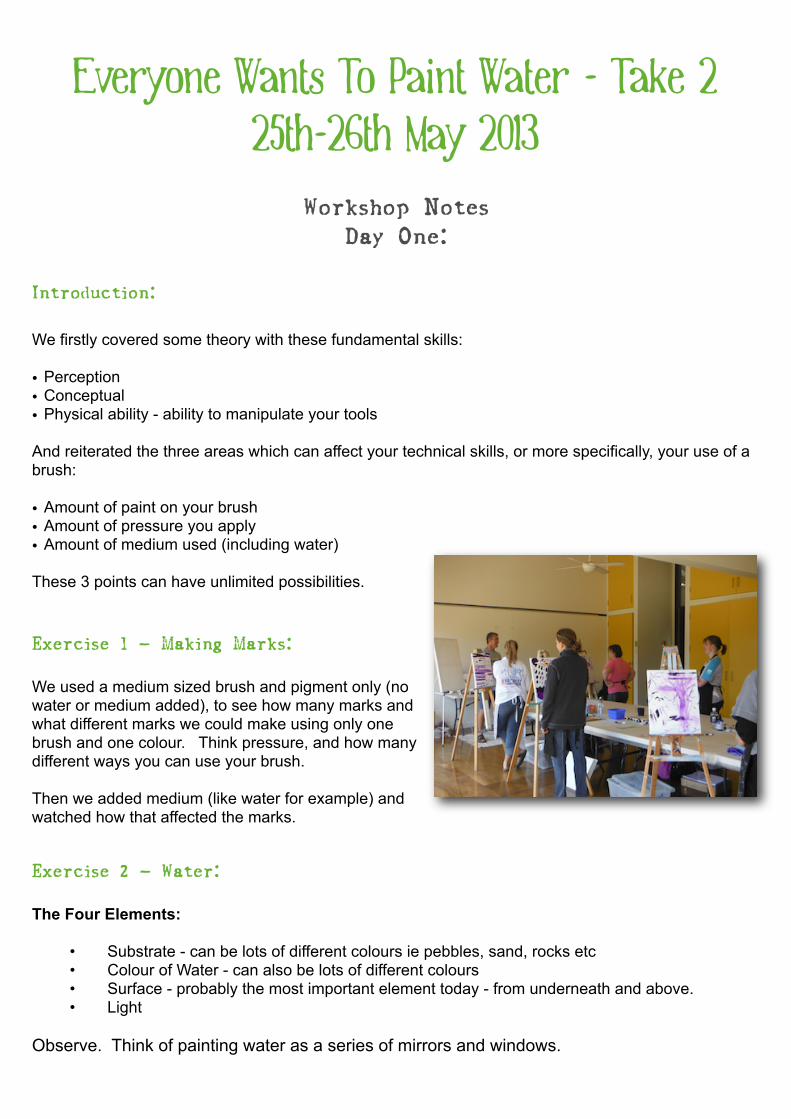
Introduction:
We firstly covered some theory with these fundamental skills:
• Perception• Conceptual• Physical ability - ability to manipulate your tools
And reiterated the three areas which can affect your technical skills, or more specifically, your use of a brush:
• Amount of paint on your brush• Amount of pressure you apply• Amount of medium used (including water)
These 3 points can have unlimited possibilities.
Exercise 1 - Making Marks:
We used a medium sized brush and pigment only (no water or medium added), to see how many marks and what different marks we could make using only one brush and one colour. Think pressure, and how many different ways you can use your brush.
Then we added medium (like water for example) and watched how that affected the marks.
Exercise 2 - Water:
The Four Elements:
• Substrate - can be lots of different colours ie pebbles, sand, rocks etc• Colour of Water - can also be lots of different colours• Surface - probably the most important element today - from underneath and above.• Light
Observe. Think of painting water as a series of mirrors and windows.
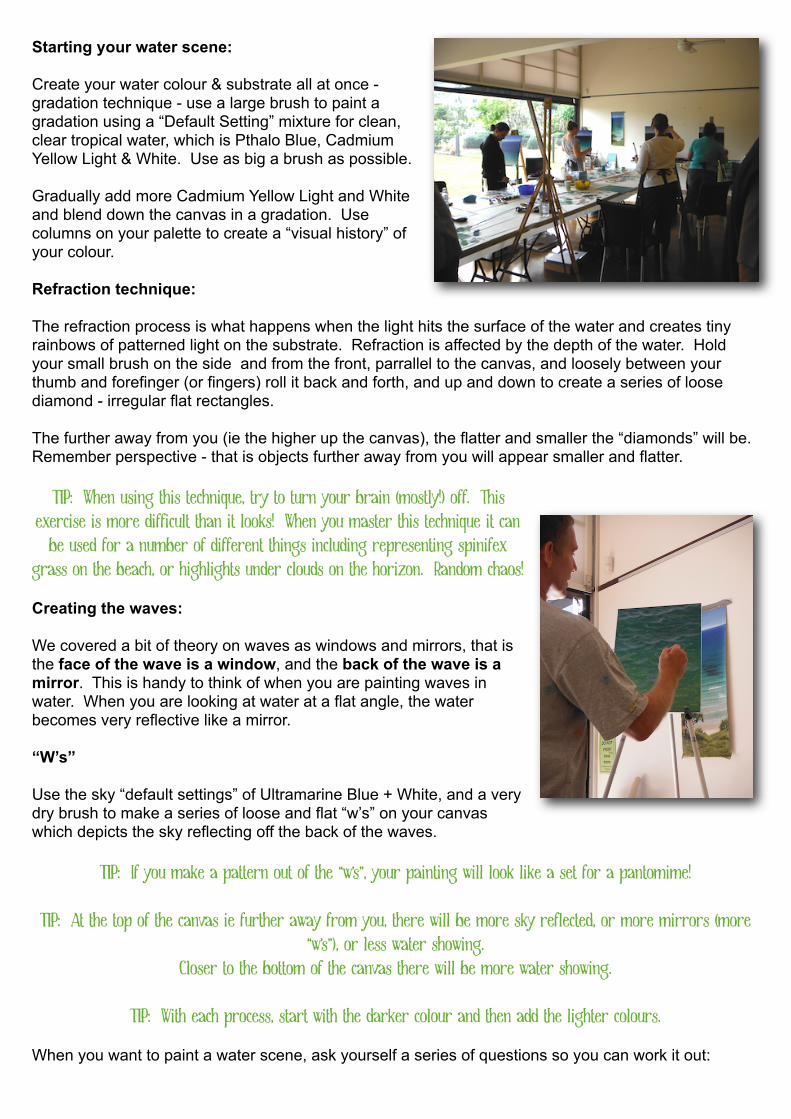
Starting your water scene:
Create your water colour & substrate all at once - gradation technique - use a large brush to paint a gradation using a “Default Setting” mixture for clean, clear tropical water, which is Pthalo Blue, Cadmium Yellow Light & White. Use as big a brush as possible.
Gradually add more Cadmium Yellow Light and White and blend down the canvas in a gradation. Use columns on your palette to create a “visual history” of your colour.
Refraction technique:
The refraction process is what happens when the light hits the surface of the water and creates tiny rainbows of patterned light on the substrate. Refraction is affected by the depth of the water. Hold your small brush on the side and from the front, parrallel to the canvas, and loosely between your thumb and forefinger (or fingers) roll it back and forth, and up and down to create a series of loose diamond - irregular flat rectangles.
The further away from you (ie the higher up the canvas), the flatter and smaller the “diamonds” will be. Remember perspective - that is objects further away from you will appear smaller and flatter.
TIP: When using this technique, try to turn your brain (mostly!) off. This exercise is more difficult than it looks! When you master this technique it can
be used for a number of different things including representing spinifex grass on the beach, or highlights under clouds on the horizon. Random chaos!
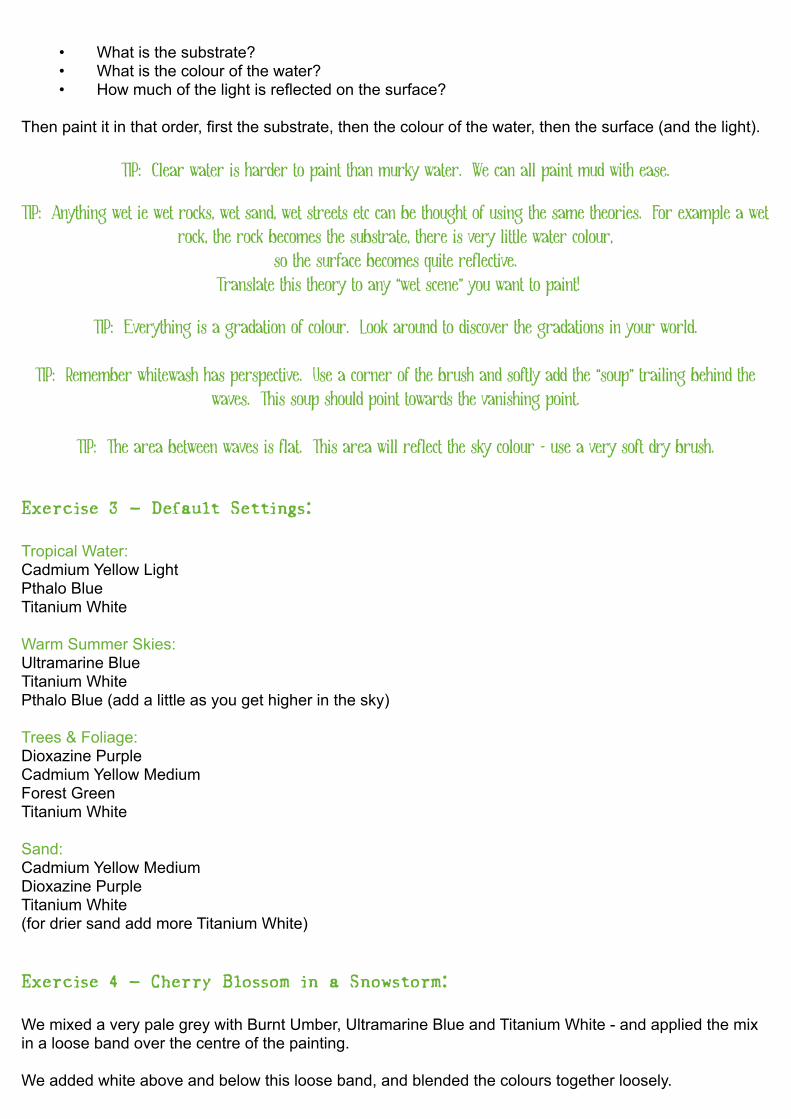
Creating the waves:
We covered a bit of theory on waves as windows and mirrors, that is the face of the wave is a window, and the back of the wave is a mirror. This is handy to think of when you are painting waves in water. When you are looking at water at a flat angle, the water becomes very reflective like a mirror.
“W’s”
Use the sky “default settings” of Ultramarine Blue + White, and a very dry brush to make a series of loose and flat “w’s” on your canvas which depicts the sky reflecting off the back of the waves.
TIP: If you make a pattern out of the “w’s”, your painting will look like a set for a pantomime!
TIP: At the top of the canvas ie further away from you, there will be more sky reflected, or more mirrors (more “w’s”), or less water showing.
Closer to the bottom of the canvas there will be more water showing.
TIP: With each process, start with the darker colour and then add the lighter colours.
When you want to paint a water scene, ask yourself a series of questions so you can work it out:
• What is the substrate?• What is the colour of the water?• How much of the light is reflected on the surface?
Then paint it in that order, first the substrate, then the colour of the water, then the surface (and the light).
TIP: Clear water is harder to paint than murky water. We can all paint mud with ease.
TIP: Anything wet ie wet rocks, wet sand, wet streets etc can be thought of using the same theories. For example a wet rock, the rock becomes the substrate, there is very little water colour,
so the surface becomes quite reflective. Translate this theory to any “wet scene” you want to paint!
TIP: Everything is a gradation of colour. Look around to discover the gradations in your world.
TIP: Remember whitewash has perspective. Use a corner of the brush and softly add the “soup” trailing behind the waves. This soup should point towards the vanishing point.
TIP: The area between waves is flat. This area will reflect the sky colour - use a very soft dry brush.
Exercise 3 - Default Settings:
Tropical Water:Cadmium Yellow LightPthalo BlueTitanium White
Warm Summer Skies:Ultramarine BlueTitanium WhitePthalo Blue (add a little as you get higher in the sky)
Trees & Foliage:Dioxazine PurpleCadmium Yellow MediumForest GreenTitanium White
Sand:Cadmium Yellow MediumDioxazine PurpleTitanium White(for drier sand add more Titanium White)
Exercise 4 - Cherry Blossom in a Snowstorm:
We mixed a very pale grey with Burnt Umber, Ultramarine Blue and Titanium White - and applied the mix in a loose band over the centre of the painting.
We added white above and below this loose band, and blended the colours together loosely.
A smidge of Cadmium Yellow Medium and a touch of Napthol Red Light was added, and dragged loosely through the scene to create the impression of a bit of sunlight in the sky.
Then we used the edge of a loaded brush to create the impression of tree trunks and branches - using Burnt Umber. As the paint diminished on the brush the trees in the background were painted so they appeared much softer and pushed into the background.
We mixed up a murky green colour, very wet and used the edge of the brush to flick paint at the canvas, creating the leaves. (A dark and a light version).
We then mixed up some cool red (Alizaren for example) and flicked it again to suggest blossoms.
The final stage was white being flicked over the whole picture to create the illusion of snow.
Workshop NotesDay Two:
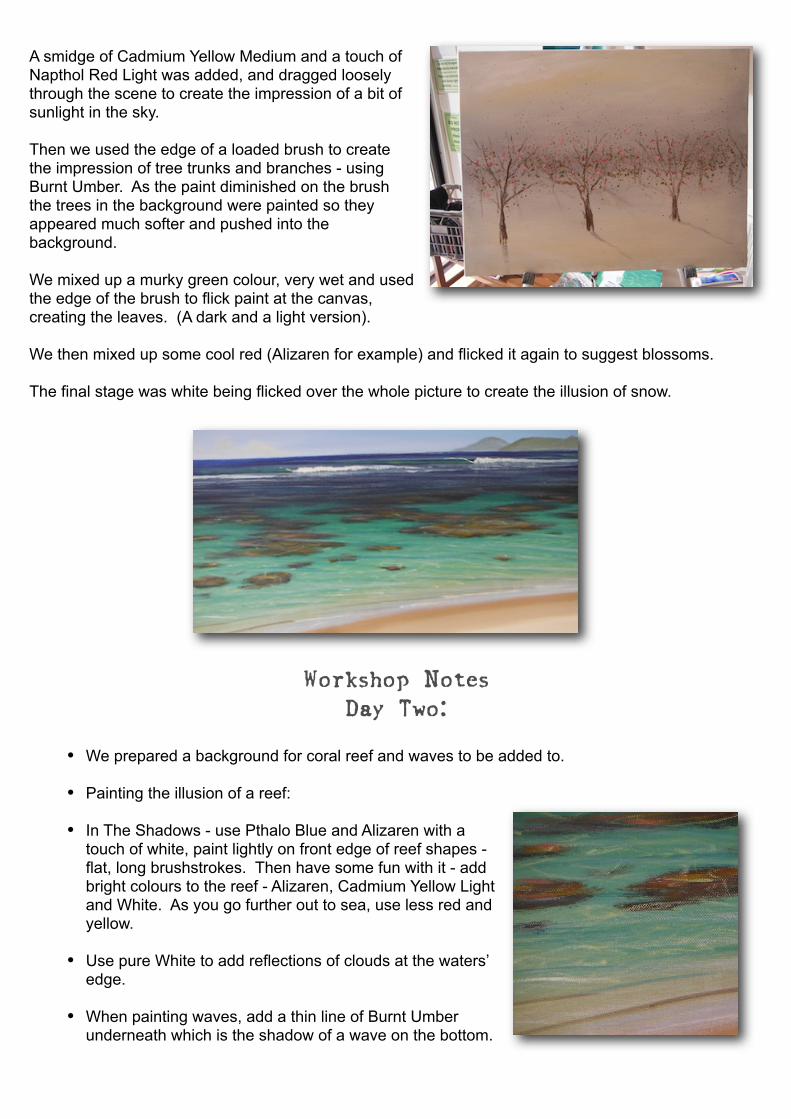
• We prepared a background for coral reef and waves to be added to.
• Painting the illusion of a reef:
• In The Shadows - use Pthalo Blue and Alizaren with a touch of white, paint lightly on front edge of reef shapes - flat, long brushstrokes. Then have some fun with it - add bright colours to the reef - Alizaren, Cadmium Yellow Light and White. As you go further out to sea, use less red and yellow.
• Use pure White to add reflections of clouds at the waters’ edge.
• When painting waves, add a thin line of Burnt Umber underneath which is the shadow of a wave on the bottom.
• When painting the horizon, you want to have a transition - add a smidge of a cooler blue (Pthalo Blue) as you gradually work your way down the canvas. Warmer closer to the horizon (sky colour reflecting into the water).
• Adding lots of white to your shallow water avoids it looking too “lolly”.
• “Shallowify” water by adding a touch of Cadmium Yellow Light.
• For sand, start with White and add the tint or pigment you need - much easier to add colour to White than the other way around when dealing with pale tones!
• The default setting for dry sand is almost neat White.
• To “unpinkify”, add yellow.
• If something has too much green - add red.
• When painting tropical water, Pthalo Blue really is your best friend.
• Shadows point away from the light source!
Thanks to everyone for a wonderful weekend on the Sunshine Coast!For support material about what you learnt today, check out these pages:
www.explore-acrylic-painting.com/how-to-paint-water.htmlwww.explore-acrylic-painting.com/painting-waves.htmlwww.explore-acrylic-painting.com/gradation.htmlwww.explore-acrylic-painting.com/brush-technique.htmlwww.explore-acrylic-painting.com/acrylic-glazing.htmlhttp://www.explore-acrylic-painting.com/ocean-landscapes.htmlwww.explore-acrylic-painting.com/support-files/aa013defaultsettingtropicalwater.pdfhttp://www.explore-acrylic-painting.com/support-files/AA007SSDefaultSettings.pdfhttp://www.explore-acrylic-painting.com/support-files/default-settings-trees.pdf
and these video clips!:
How to Paint Water - Refraction on our Youtube channel ExploreAcrylics:www.youtube.com/watch?v=xzCGPAUXJOg&feature=player_embedded
How to Paint Trees - Default Settings on our Youtube channel ExploreAcrylics:http://www.youtube.com/watch?v=rXbtL9HrgUs
How to Paint Wet Rocks - on our Youtube channel ExploreAcrylics:http://www.youtube.com/watch?v=y4qv1uzfW7E
Acrylic Painting Techniques - Glazing - How to Paint Water:http://www.youtube.com/watch?v=spJETxwJsdk
How To Paint Shadows | Over The Shoulder with Mark Waller: http://www.youtube.com/watch?v=lDut2Tma1QU
Overheard in class:
“part of the joy is in surrendering”“it’s the ultimate in trickery and skullduggery”
“the more you try and paint it, the more you get in your own way”