Embed Size (px)
Citation preview
When acquiring archery equipment, one usually thinks first of a bow and arrows
followed by other items such as quivers, arm guards and shooting gloves. But after many
years and two back surgeries, I have come to think of bow stringers as far more important
than one might think.
First, a bow stringer is easier on the human. One need not endanger one’s ankles,
knees, hips, lower back or shoulders in the process of hip-stringing a bow.
Second, a bow stringer is easier on the bow. The most common damage to a bow
from hip-stringing is limb twist which can become so bad that the bow unstrings itself
when the archer draws the bow. There is also the potential to damage to the tips of the
bow. Most archers grind the tip of the bow against the ground during hip stringing.
Third, a bow stringer is much cheaper than a new bow. By using a bow stringer
religiously I have extended the lives of my bows for years allowing me to hand bows
along to new archers.
The problem with bow stringers is finding one that works with your bow. There
are commercially available stringers and occasionally an archer gets lucky and finds the
perfect one ready to use. But, commercially available stringers only come in two flavors
– recurve and longbow – and one size does not fit all.
The good thing about bow stringers is how easy it is to make your own.
What you will need to make a bow stringer.
1. About a square foot of leather strong enough not to stretch but flexible enough to
work with. Salvaged leather purses work well.
2. Lacing or waxed cord and a needle.
3. Lacing punch and/or rotary punch.
4. Paper for pattern and pen or pencil to mark leather.
5. Cord with a load rating higher than the draw weight of your bow.
6. Tape measure
7. Leather scissors, paper scissors and cigarette lighter.
Step One
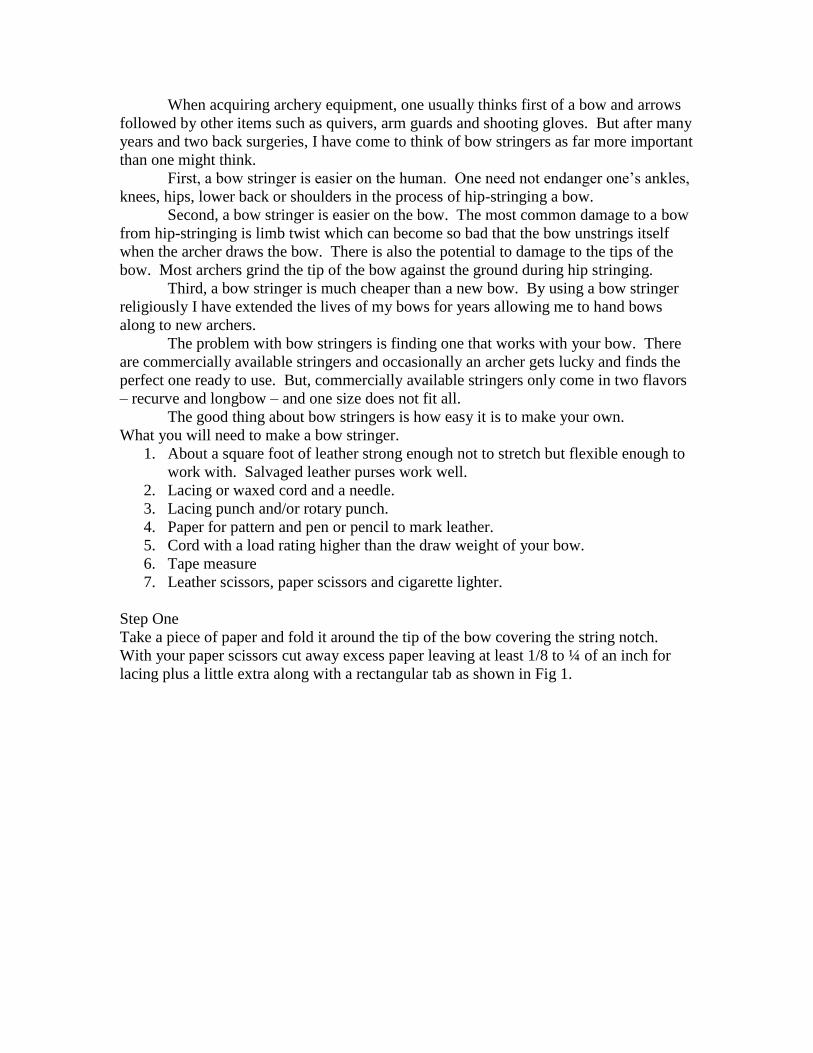
Take a piece of paper and fold it around the tip of the bow covering the string notch.
With your paper scissors cut away excess paper leaving at least 1/8 to ¼ of an inch for
lacing plus a little extra along with a rectangular tab as shown in Fig 1.
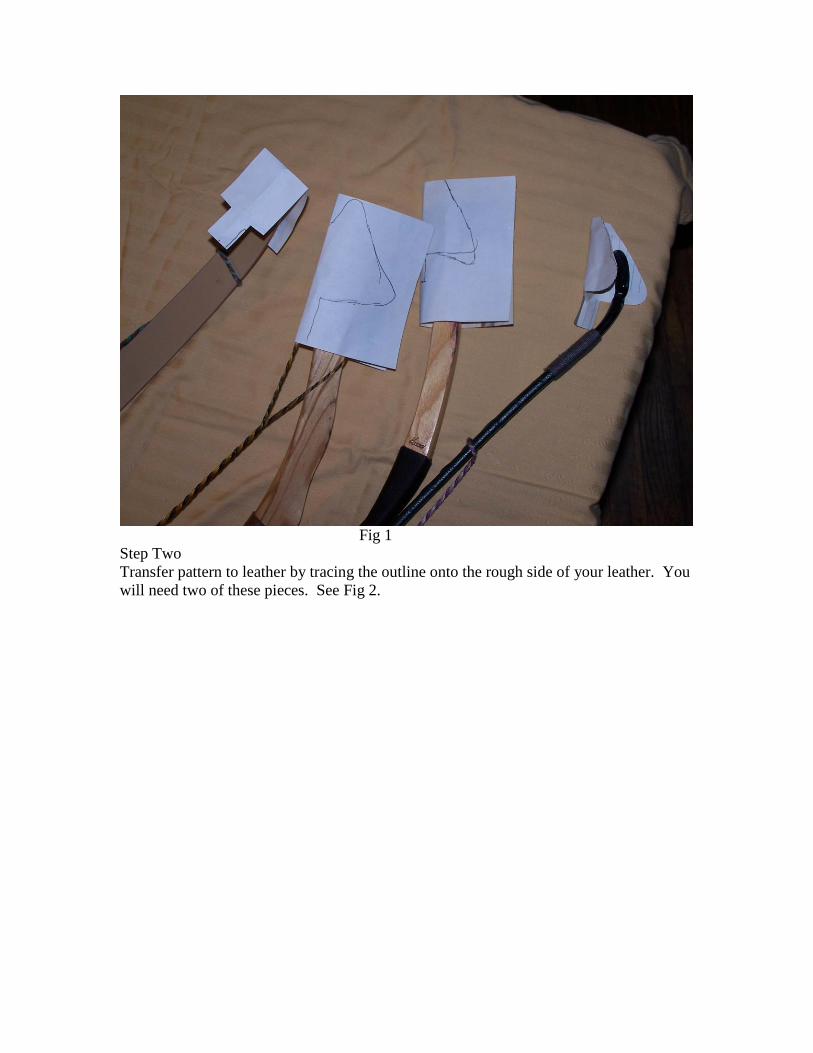
Fig 1
Step Two
Transfer pattern to leather by tracing the outline onto the rough side of your leather. You
will need two of these pieces. See Fig 2.
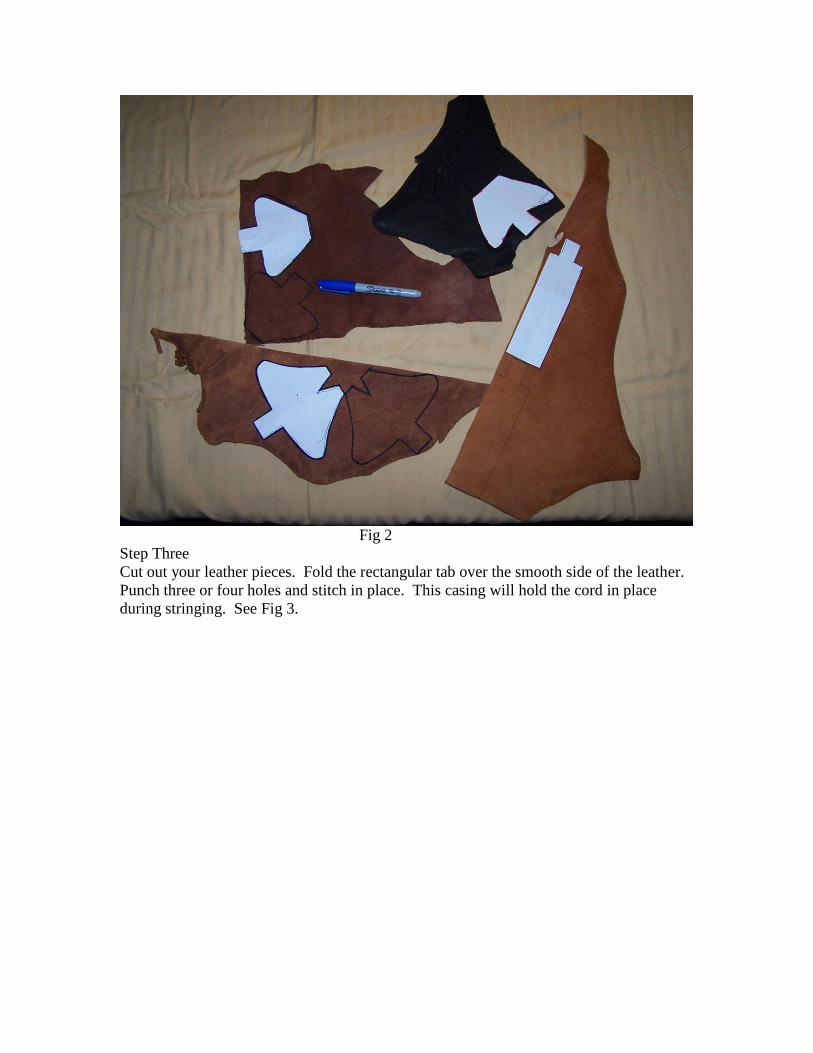
Fig 2
Step Three
Cut out your leather pieces. Fold the rectangular tab over the smooth side of the leather.
Punch three or four holes and stitch in place. This casing will hold the cord in place
during stringing. See Fig 3.

Fig 3
Step Four
Fold the leather, rough side in. Punch lacing holes and, using the largest punch on your
rotary punch, one large hole at the corners of both pieces corresponding to the cord case.
See Fig 4.
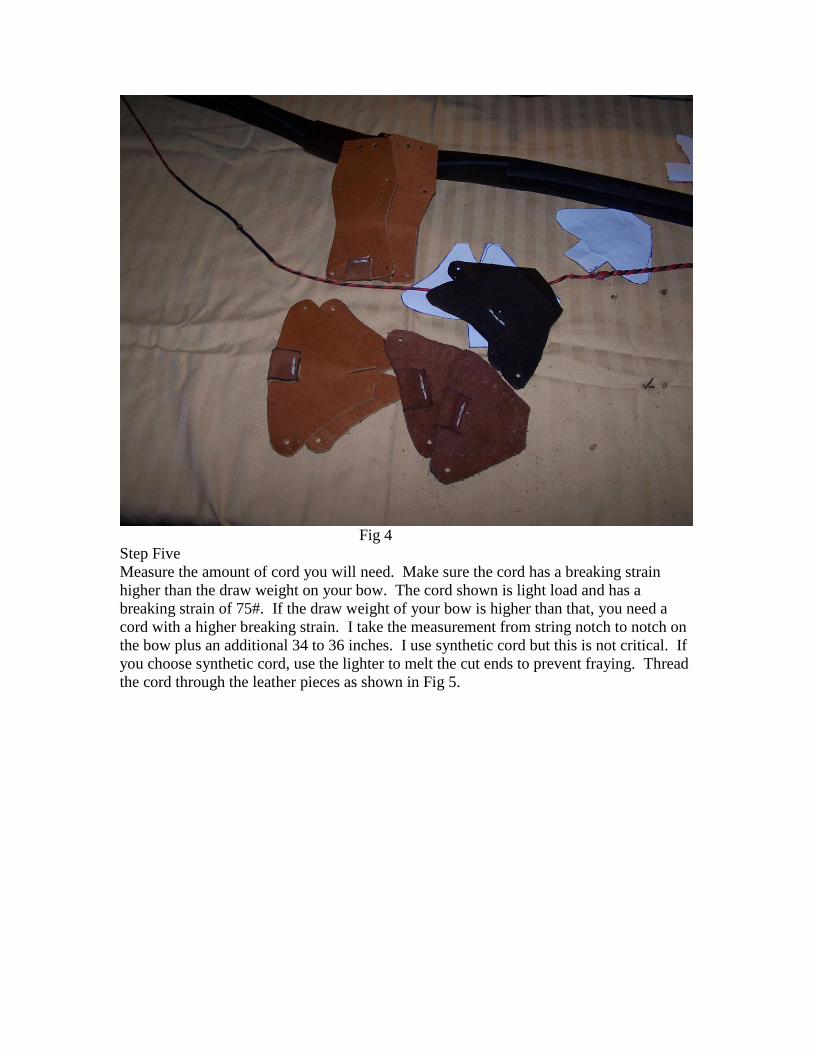
Fig 4
Step Five
Measure the amount of cord you will need. Make sure the cord has a breaking strain
higher than the draw weight on your bow. The cord shown is light load and has a
breaking strain of 75#. If the draw weight of your bow is higher than that, you need a
cord with a higher breaking strain. I take the measurement from string notch to notch on
the bow plus an additional 34 to 36 inches. I use synthetic cord but this is not critical. If
you choose synthetic cord, use the lighter to melt the cut ends to prevent fraying. Thread
the cord through the leather pieces as shown in Fig 5.
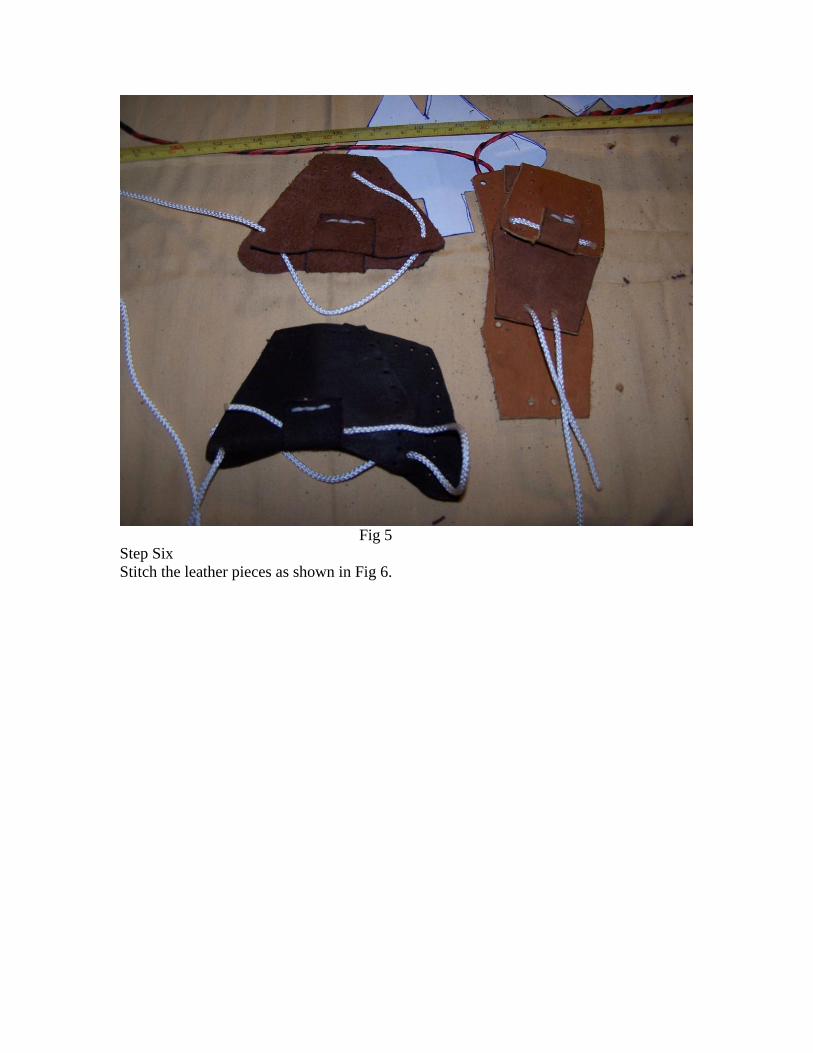
Fig 5
Step Six
Stitch the leather pieces as shown in Fig 6.
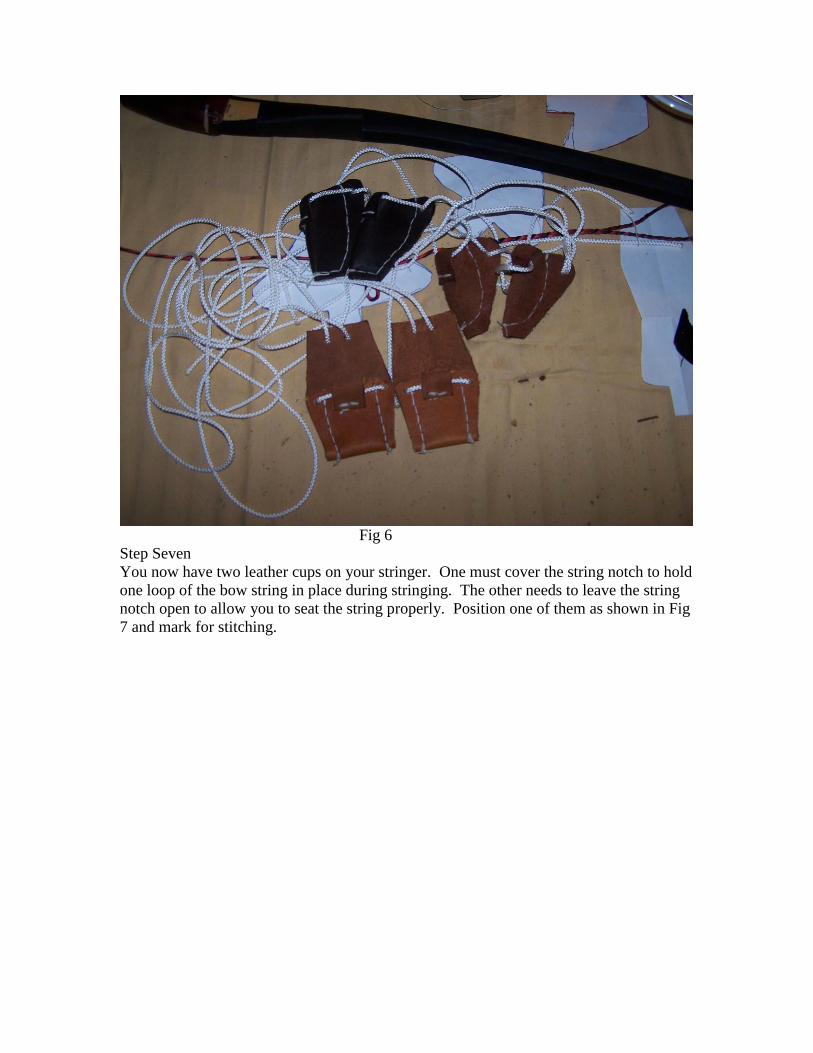
Fig 6
Step Seven
You now have two leather cups on your stringer. One must cover the string notch to hold
one loop of the bow string in place during stringing. The other needs to leave the string
notch open to allow you to seat the string properly. Position one of them as shown in Fig
7 and mark for stitching.
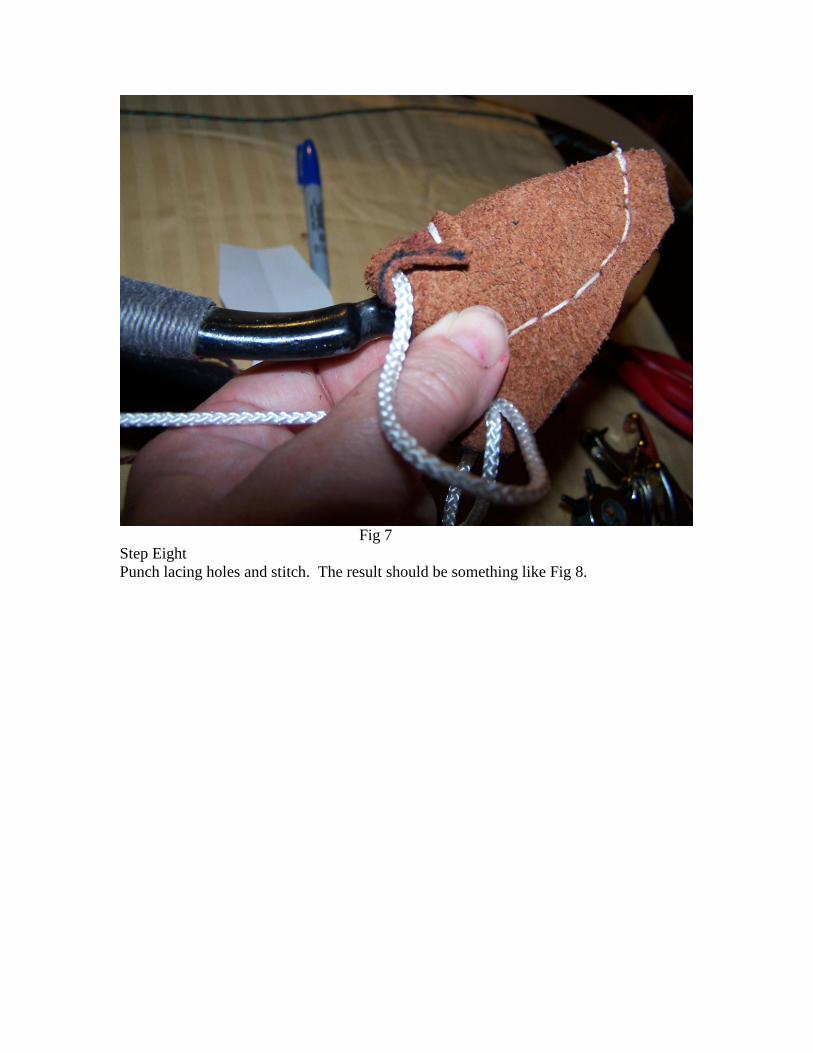
Fig 7
Step Eight
Punch lacing holes and stitch. The result should be something like Fig 8.
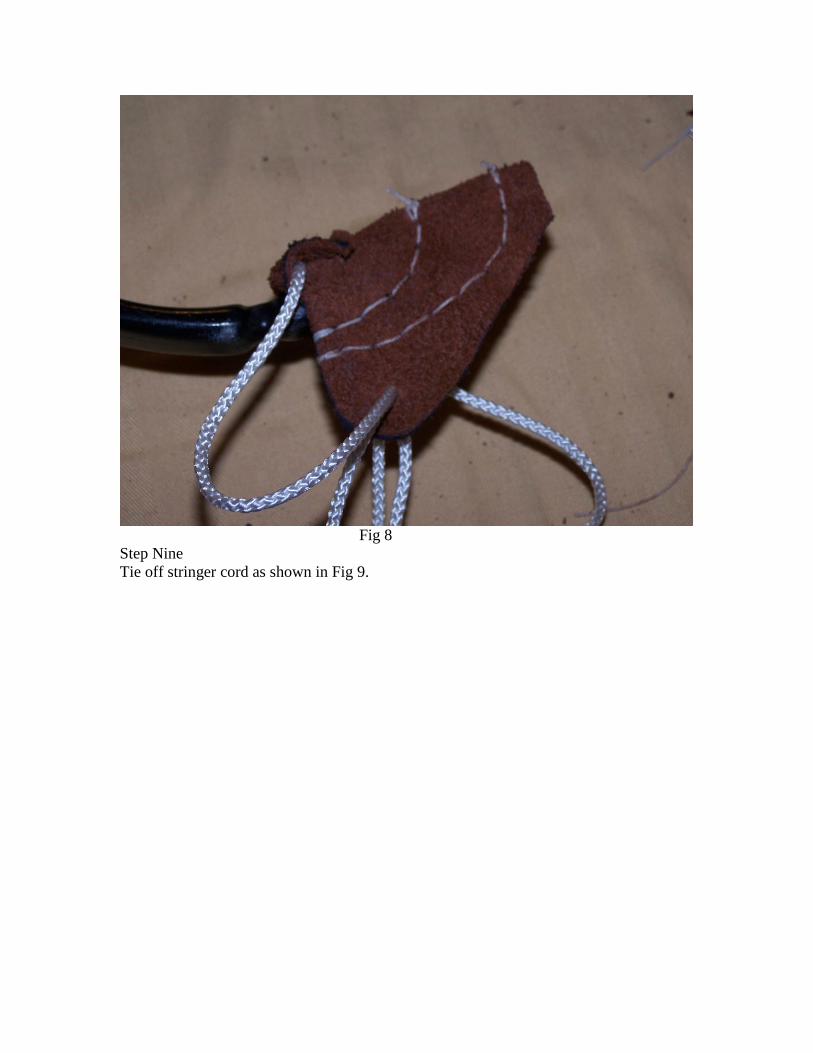
Fig 8
Step Nine
Tie off stringer cord as shown in Fig 9.
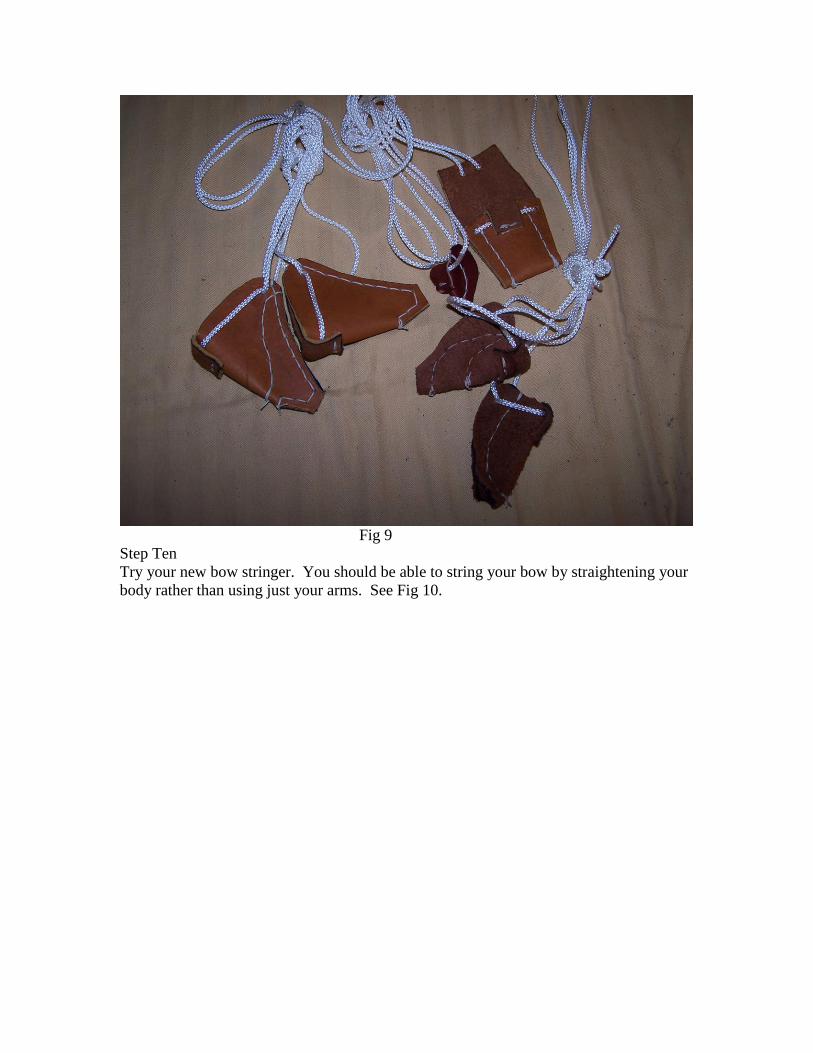
Fig 9
Step Ten
Try your new bow stringer. You should be able to string your bow by straightening your
body rather than using just your arms. See Fig 10.
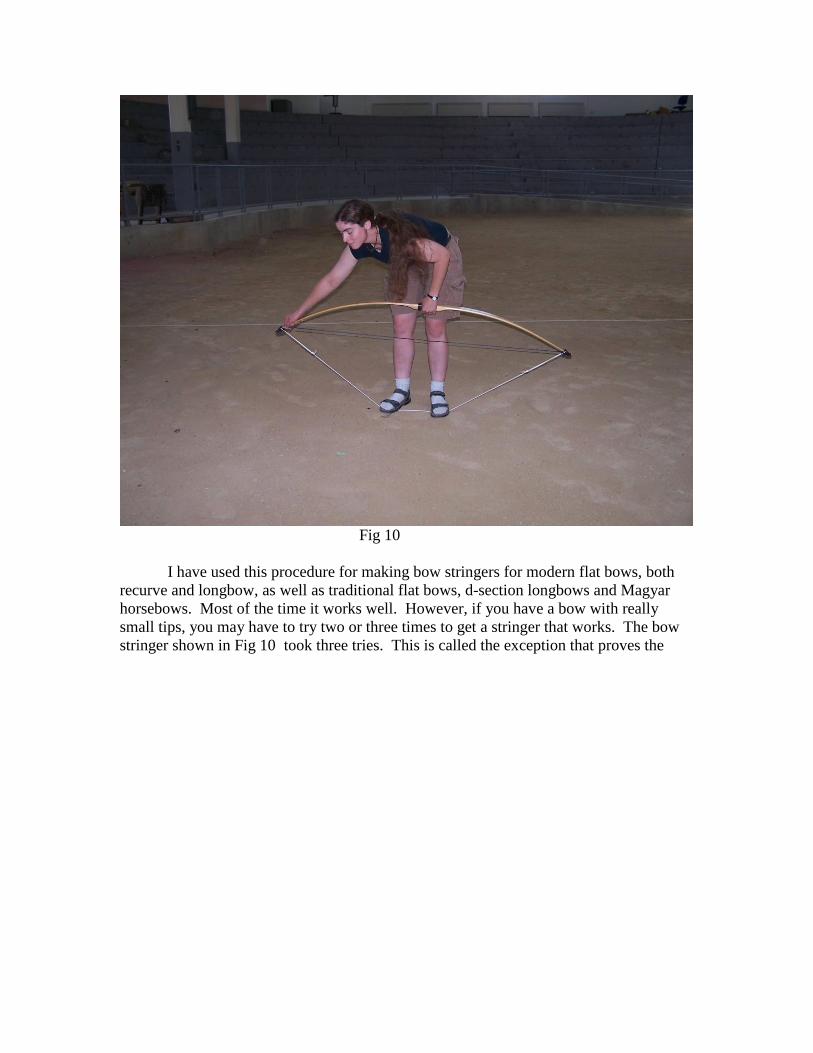
Fig 10
I have used this procedure for making bow stringers for modern flat bows, both
recurve and longbow, as well as traditional flat bows, d-section longbows and Magyar
horsebows. Most of the time it works well. However, if you have a bow with really
small tips, you may have to try two or three times to get a stringer that works. The bow
stringer shown in Fig 10 took three tries. This is called the exception that proves the
rule.
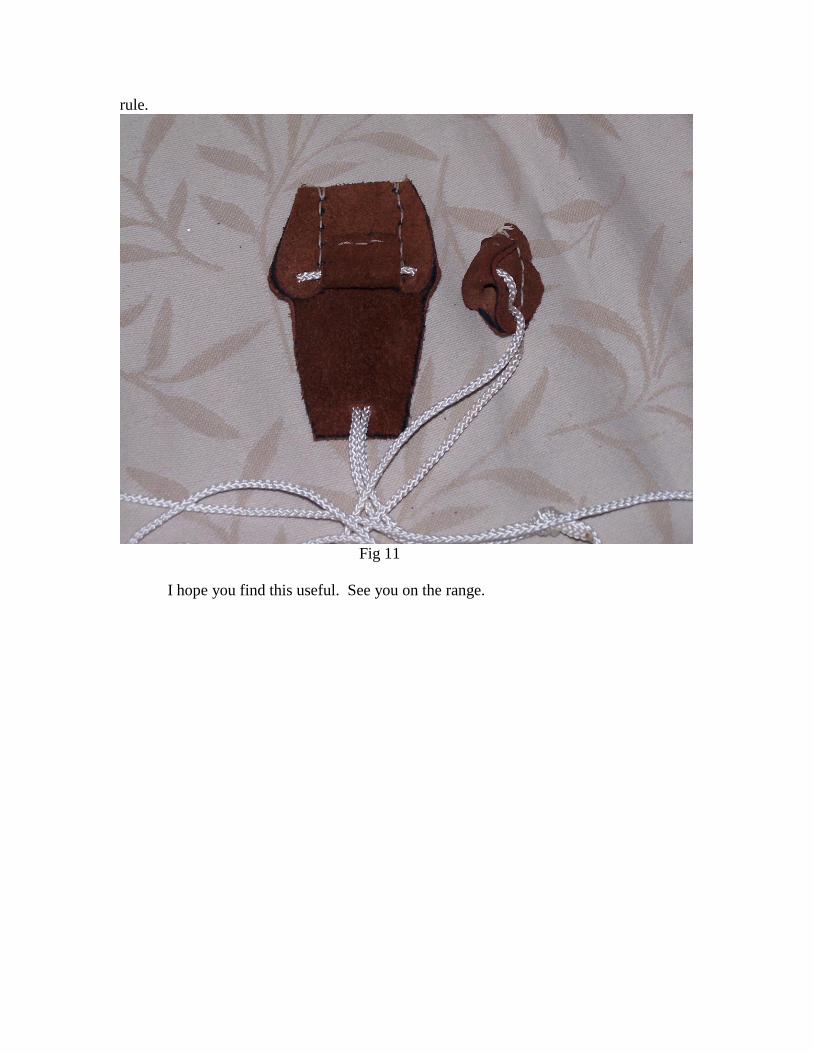
Fig 11
I hope you find this useful. See you on the range.