Embed Size (px)
Citation preview
Welcome to the Reale Tutorial
I’ll be there on every page to help you!

Creating a Reale book is as easy as 1-2-3!
1. When your storyboard is complete, you’re ready to create your Reale book, using this guide.
2. Follow the directions at your own pace.
My My Reale Book3. When you complete this tutorial,
you will have published your own Reale Book! Have fun! Learn lots!
Use feedback screenshots to really
understand each step!

How this tutorial is organized
• Each section is numbered: 1 for getting started, 2 for the directions, and 3 for publishing.
• Go through the tutorial in order, or skip to the section you need using these hyperlinks:
1. Getting Started
2. DirectionsDescribe your bookAdding ImagesAdding Text
3. PublishingPrinting Assembling
You always know what section
you’re in by the number on the
slide!

1. Storyboard complete? You’re ready to get started!• Log in to the network
• Double click the Reale icon:
• Think of a title for your book
Your title should give an idea about
the content of your book

2a. Now follow the directions on the following slides at your own pace
Click the Template button
Start here

2b. Select a template
First, click here to highlight
Then, click Select

2c. Describe your book:(This slide plus 3 more: 4 total)
First, Type your title here

2c. Then,(slide 2 of 4 to describe your book)
Type your name for each of these 3

2c. Then,(slide 3 of 4 to describe your book)
Type the year and your name

2c. Then, (slide 4 of 4 to describe your book)
Type a 1-sentence description of your
book
Finally, click Update Book

2d. Add Images(This slide plus 7 more: 8 total)
Click the Create tab to get to this page

2d. Then,(slide 2 of 8 for adding images)
Click Add Images

2d. Then(slide 3 of 8 for adding images)
The program will automatically access the My Pictures file on your computer, showing your folders and individual images.

2d. Then,(slide 4 of 8 for adding images)
If your images are in a different place, you’ll have to browse to them (Click Browse)

2d. Then,(slide 5 of 8 for adding images)
There will now be a Browse Folder window open. 1. Scroll to the file you want.2. Click on the file to highlight it.3. Click Select.
Scrolling in the browse folder goes really S-L-O-W-L-Y…be
patient.

2d. Then,(slide 6 of 8 for adding images)
The images from your file will now be visible.Click Add All

2d. Then,(slide 7 of 8 for adding images)
Images will move to the Chosen Images window. Click OK

2d. Then(slide 8 of 8 for adding images)
Now images are in the Image Organizer. Use your mouse to drag and drop images into your Reale Book from there.

2e. Adding Text(This slide plus 7 more: 8 total)
Click the blue arrow to navigate to the page where you wish to add text

2e. Then,(slide 2 of 8 for adding text)
Click on the page where you wish to add text—the page should now be outlined in blue

2e. Then,(slide 3 of 8 for adding text)
Click on the Design tab for the word processing tools
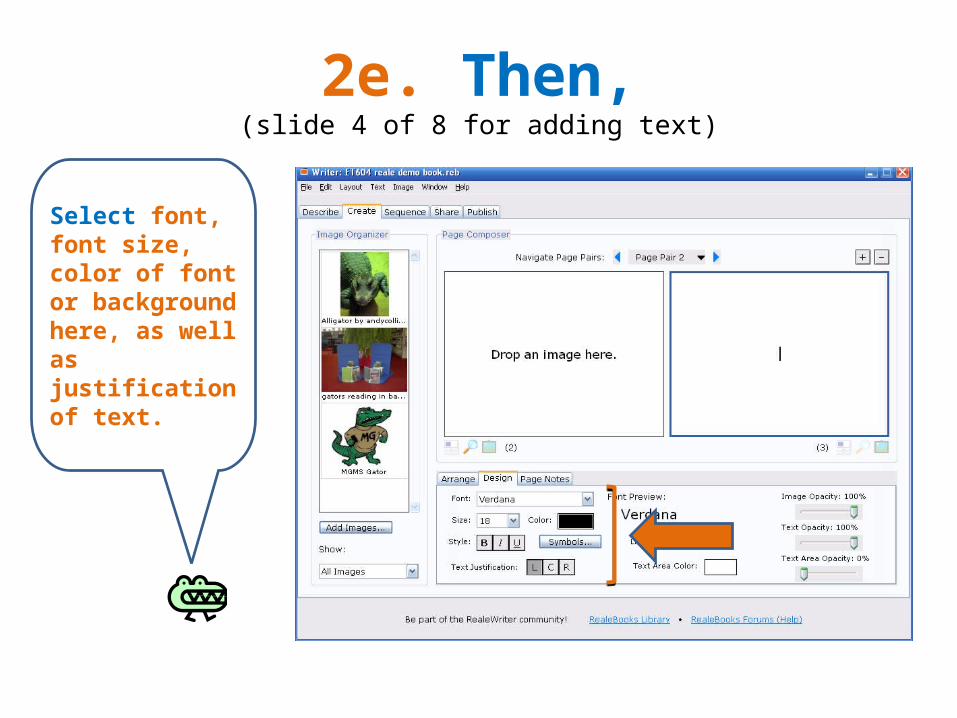
2e. Then,(slide 4 of 8 for adding text)
Select font, font size, color of font or background here, as well as justification of text.

2e. Then,(slide 5 of 8 for adding text)
Type!

2e. Then,(slide 6 of 8 for adding text)
Continue in this way, going to other pages, adding images and/ or text until you are finished.

2e. Then,(slide 7 of 8 for adding text)
If you need more pages for your book, click the Sequence tab.

2e. Then,(slide 8 of 8 for adding text)
Click Add (+) Page Pair

3a. Publishing: Printing(This slide plus 9 more: 10 total)
Book finished? Everything where you want it? Spell checked? Time to Publish!
Click the Publish tab

3a. Then,(slide 2 of 10 for printing)
Print RealeBook should already be highlighted—leave it that way.

3a. Then,(slide 3 of 10 for printing)
Select Classic from the size dropdown menu

3a. Then,(slide 4 of 10 for printing)
Select RealeBook from the layout dropdown menu

3a. Then,(slide 5 of 10 for printing)
The rest of the set up is done for you. Now click Print Setup Wizard.

3a. Then,(slide 6 of 10 for printing)
This task window will open. Click yes for duplexer and then click next.

3a. Then,(slide 7 of 10 for printing)
Click Print

3a. Then,(slide 8 of 10 for printing)
The printer window will open. Select Library Color and then Preferences.

3a. Then,(slide 9 of 10 for printing)
The preferences window will open. Select flip on Long Edge From the duplex dropdown menu, and then click OK.

3a. Then,(slide 10 of 10 for printing)
Click Print!

3b. Assembling(This slide plus 5 more: 6 total)
Using a paper cutter •carefully line up your pages, making sure they are “square”•cut all pages at the same time along the bisector (use the ruler at the top, align the paper to cut at 4 ¼ “) of the short sides:
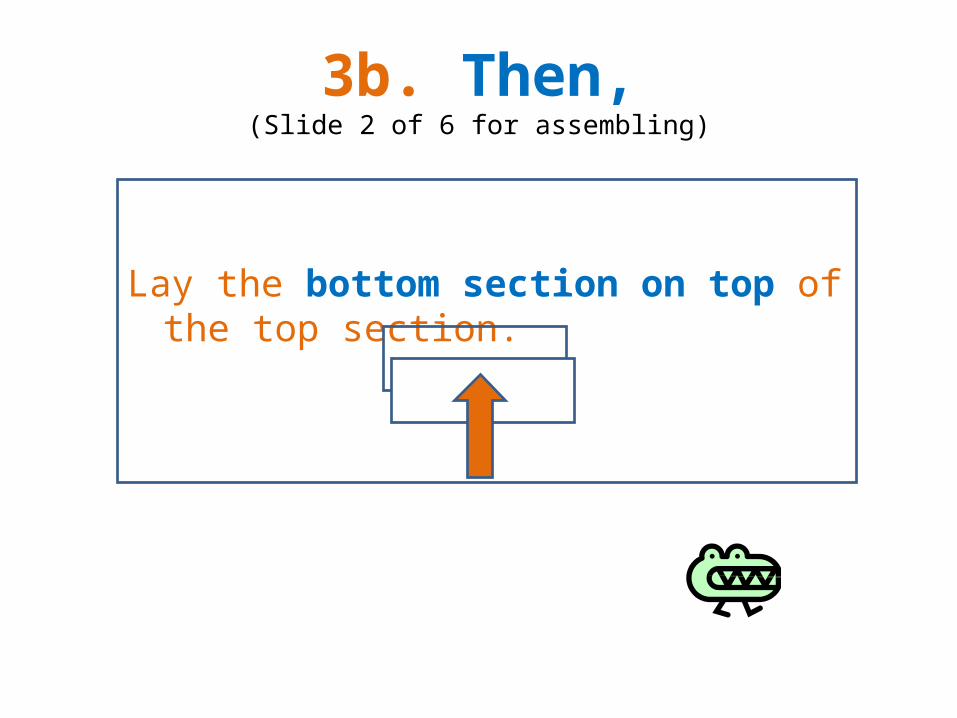
3b. Then,(Slide 2 of 6 for assembling)
Lay the bottom section on top of the top section.
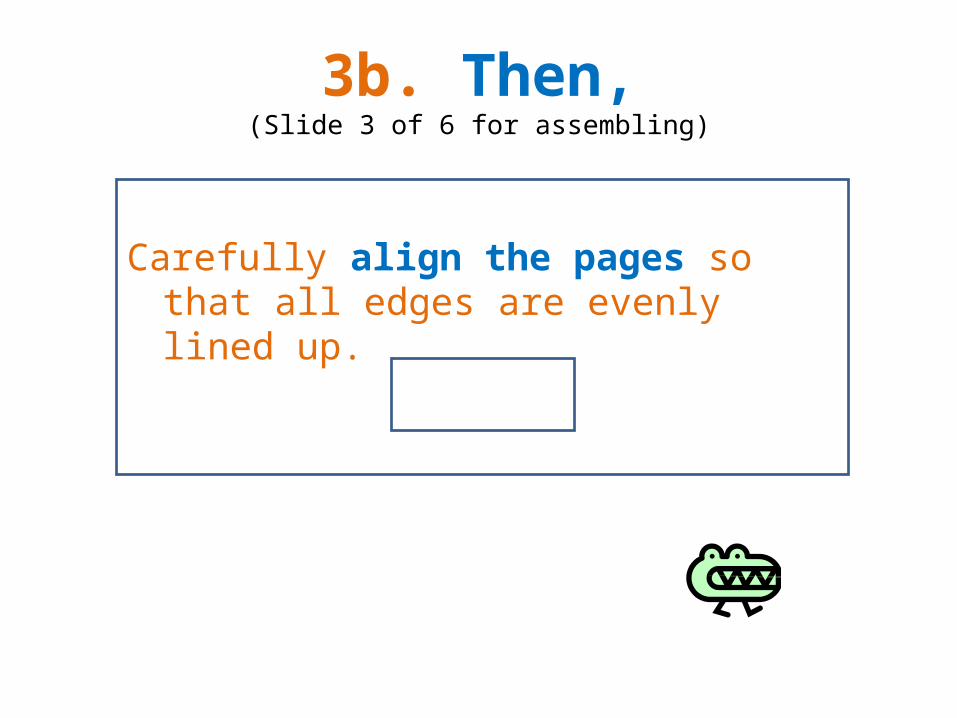
3b. Then,(Slide 3 of 6 for assembling)
Carefully align the pages so that all edges are evenly lined up.

3b. Then,(Slide 4 of 6 for assembling)
Carefully fold your RealeBook in half, so the cover is on top. Be sure it is all lined up and crease it.

3b. Then,(Slide 5 of 6 for assembling)
Open the book to the center pages, and use the big library stapler to put 2 staples: one near the top, one near the bottom, along the crease into your book.

3b. Finally,(Slide 6 of 6 for assembling)
Fold your book back and you’re finished! Congratulations! You’ve created and published a RealeBook!