Embed Size (px)
Citation preview

User Guide
RWRemote v2 revision 1.4 – 02.2013

RWRemote v2
2013
2
SUMMARY
TECHNICAL FEATURES ........................................................................................................... 3
COMPATIBLE OS AND DEVICES ........................................................................................... 4
CONNECTING THE WI-FI REMOTE TO THE ROBOT ......................................................... 5
WORKING WI-FI MODES ......................................................................................................... 6
HOTSPOT MODE ........................................................................................................................... 6
HOME WI-FI MODE ....................................................................................................................... 6
RECONFIGURATION MODE (TRANSITORY) ................................................................................... 6
OPERARATION BY FLASHING LED ................................................................................................. 7
RESTORING THE DEFAULT HOT-SPOT MODE ................................................................................ 7
CHECKING THE CONNECTION WITH A PC OR MAC ........................................................ 8
STEP-BY-STEP INSTALLATION ............................................................................................. 9
REMOTE CONTROL FROM WINDOWS .............................................................................. 10
REMOTE CONTROL FROM OTHER PLATFORMS ............................................................ 10
TRANSPARENT MODE - GATEWAY ................................................................................... 11
DEFAULT VALUES .................................................................................................................. 12

RWRemote v2
2013
3
TECHNICAL FEATURES
• Power consumption: 200mA @ Roomba Battery Voltage ( 17V approx.)
• iRobot Roomba interface:
o Physical Layer: MINI-DIN 7 PINS - PS/2.
o Application Layer: SCI iRobot Roomba Protocol in standalone mode
or defined by user’s software in Gateway Mode.
• User Interface:
o Physical Layer: Wi-Fi IEEE 802.11b
o Application Layer:
� Web Server through HTTP TCP Port (80)
� TCP Socket Server for client-server applications
o Supported Protocols and Standards:
� XML: Read-only with data refresh of 500ms.
� JSON: Read-only with data refresh of 500ms.
� AJAX Request through GET Calls and text format output.
• Operating Systems & Compatible devices:
o Android >=2.0
o iOs >=3.1
o Blackberry
o WebOs
o Windows Phone
o Linux
o MacOs
o Windows.
• Wi-Fi 802.11 Interface
o IEEE Std. 802.11-compliant RF Transceiver
o IEEE Std. 802.11 b/g/n compatible
o ISM Band 2.400-2.484 GHz operation
o External antenna option with ultra miniature coaxial connector
o Range: Up to 400m.
o Baud rate: 1 and 2 Mbps.
o Encryption: AES128.
o Supports 802.1x, 802.1u security:
� Open for self generation and external Wi-Fi connections
� WPA-PSK Personal for external Wi-Fi connections
� WPA2-PSK Personal for external Wi-Fi connections
o Radio regulation certification:
� FCC for EUA
� IC for Canada
� ETSI for Europe
� ARIB for Japan

RWRemote v2
2013
4
COMPATIBLE OS AND DEVICES
• Smartphones and Tablets with iOS:
o iPhone 3GS, 4, 4S, 5.
o iPad, iPad 2, iPad3
o iPod Touch 2
• Smartphones and Tablets with Android 2.0 o later *
• Desktop, netbooks and laptops with Linux & MAC operating systems with
next web browsers:
o Mozilla Firefox (recommended)
o Google Chrome (recommended)
o Opera
o Apple Safari
• Desktop, netbooks and laptops with Windows operating systems with
next web browsers:
o Internet Explorer (version >=7)
o Mozilla Firefox (recommended)
o Google Chrome (recommended)
o Opera
o Apple Safari
* By default Android devices not allowed to connect to Ad-Hoc infrastructures, to do this first connection
needed to be Root (not recommended) or configure the device using a laptop, PC, Mac,… After the home
Wi-Fi network configuration process you could access to the device completely

RWRemote v2
2013
5
CONNECTING THE WI-FI REMOTE TO THE ROBOT
It’s important to follow the next steps to avoid making any short circuit when
connecting the RwRemote board through the PS/2 connector of your robot.
Connecting the board to the robot is very simple. Each Roomba (all versions)
has a PS/2 port. It is usually located on the top of the robot. Sometimes it is
protected with a plastic (500 series), sometimes it is underneath a cover and
sometimes it is not hidden by any protection. Each RwRemote board has a PS/2
connector to plug it directly to your robot. In the next images you can see some
examples:
500 series
700 series
Once the board is placed correctly the RwRemote board will start working.

RWRemote v2
2013
6
WORKING WI-FI MODES
RwRemote has different working modes. Don’t worry if you didn’t configure
well the connection or if you changed your home router or location. RwRemote is
able to detect wrong configurations and it will restore itself to default values.
RwRemote can work in two different states. Also has an extra transitory state
just for configuration.
HOTSPOT MODE RwRemote generates his own Wi-Fi network (Ad-Hoc). This configuration
mode allows users to connect directly to the RwRemote. In this mode the device is
totally autonomous from other Wi-Fi network and doesn’t have Internet connection.
To be sure you are in this operation mode check if the LED blinks every
second.
HOME WI-F I MODE RwRemote is connected through a domestic/home Wi-Fi network. This mode
allows users several new ways to connect to the device:
• You can access to the RwRemote from outside your local network. So,
users will be able to control their robots from the Internet.
• Control the robot from any device that has a web browser connected
to the local net.
To be sure you are working in this mode check if the LED blinks every three
seconds.
RECONFIGURATION MODE (TRANSITORY) RwRemote has a state that indicates when it is trying to configure itself and
connect to a domestic/home Wi-Fi network generated from a router. The LED will
blink faster, more or less three times per second. This process can last up to 2
minutes and 30 seconds.
If any error occurs during the process of the router configuration, then
RwRemote will go back to the initial state, the default configuration (HOTSPOT
mode) and the Wi-Fi configuration web page of the internal Web Server will show the
possible issue during the connection process.

RWRemote v2
2013
7
OPERATION BY FLASHING LED As explained in previous points RwRemote has a LED to show users in which
state the device is working on.
In the following table find attach the different working modes looking at the
blinking frequency.
FLASHING LED WORKING MODE
1 time per second
The RwRemote is creating his own
hotspot network. This operation mode
doesn’t have internet connection.
3 times per second
The RwRemote is connecting to your
domestic Wi-Fi. The RwRemote will retry
the connection during 2.5 minutes. If the
connection fails after this time, the
RwRemote will create a Hotspot
network.
Every 3 seconds
The RwRemote has connected
successfully to the domestic Wi-Fi. The
internet connection will be dependant
on the router configuration.
RESTORING THE DEFAULT HOT-SPOT MODE The RwRemote enables you to restore the default Wi-Fi mode (Hot-Spot)
manually if any problem exists during the connection or other.
To restore the default Wi-Fi parameters only need to push the button over
the RwRemote during 6 seconds. After this event will see how the Led is blinking 1
time per second. This procedure doesn’t change the user/password properties of the
webserver.

RWRemote v2
2013
8
CHECKING THE CONNECTION WITH A PC OR MAC
RwRemote has an internal ICMP server. This allows the user check if the
RwRemote is connected properly. Just open your terminal and use the ping
command. There are two different ways to use the ping command:
• >> ping <name_of_the_device>
• >> ping <device_IP>

RWRemote v2
2013
9
STEP-BY-STEP INSTALLATION
We recommend use Google Chrome or Mozilla Firefox web browser due its load speed in
webpages coded with HTML5. Some routers can decrease the refresh speed when using DHCP, so
using Google Chrome will compensate this lack of time.
1. Connect the RwRemote to the iRobot Roomba and wait until the LED blinks once
each second.
2. Search a Wi-Fi network named ROOMBA WR
3. Connect to the Wi-Fi and wait until the connection is properly done.
1. With mobile devices this step may take more time than when it is done from a PC or
laptop.
2. Check your IP address if isn’t 10.0.0.2, write manually these parameters: IP-10.0.0.2,
Gateway-10.0.0.1, and Netmask-255.255.255.0.
4. Open the web browser and:
1. Windows OS: Write the address in your browser http://roomba/
2. Others: write the address in your browser http://10.0.0.1/
3. User information:
i. User: admin
ii. Password: roombawifi
5. Wait until the web has been totally loaded and click on “Setup Wi-Fi
Configuration” of the main menu.
6. Configure the parameters of your Wi-Fi network. (Remember to disable the
option that enables an own Wi-Fi and be sure that all parameters are entered
correctly). Once all the parameters are entered Accept with the Save/Reboot
button and accept the popup dialog box. (We recommend DHCP checked for the
first connection)
If you choose the option to connect to the RwRemote through another Wi-Fi:
• Connect to your local Wi-Fi. Wait until the device LED stops blinking in little
intervals and starts doing it every 3 seconds. a. NOTE: If after 3 minutes the LED starts blinking every 2 seconds some error occurred. In this
case the device will start again in default mode and you can start again with the first step
making sure that all entered parameters are correct.
b. Once you have configured your RwRemote it’s not necessary to follow the above steps if the
scenario doesn’t change anymore. This is possible because all the values are stored in the
internal ROM of the microcontroller.
RWRemote v2
2013
10
REMOTE CONTROL FROM WINDOWS
The RwRemote device has NBNS to make name addressing through Windows
Operating Systems.
Thanks to this property you can connect directly to the RwRemote interface
using directly the device name without the need of his IP. To be able to use this
feature follow the next steps:
1. Open your web browser.
2. In the navigation bar write: http://device_name/
a. NOTE: roomba is the default name of the device
3. Add this link to your favourites bar.
REMOTE CONTROL FROM OTHER PLATFORMS If you are not using a Windows Operating System the NBNS feature has no
effect if any special software was installed previously. In these cases follow the steps:
1. Open your web browser.
2. In the navigation bar write: http://ip_address_of_your_device/
3. Add this link to your favourites bar.
RWRemote v2
2013
11
TRANSPARENT MODE - GATEWAY
RwRemote is an easy way to start developing applications to communicate
with a device using standard TCP / IP Sockets. User completely forgets about the
physical layer and accesses directly the robot through software developed (or not) by
himself to send the SCI commands.
When RwRemote module is working, it waits for a remote connection on TCP
port 9001 (independently of the connection status with web server). When the
connection is established, the web interface controls are disabled and the Wi-Fi
Remote module becomes a Gateway between application and your iRobot Roomba
like through the SCI interface directly.
Using the Gateway Mode, Wi-Fi Remote stops being Transparent only when it
detects a Wake-Up command.
From the user side, to make a Wake-Up command to the robot it just has to
send a unique Wake-up command. In this moment, the robot starts the process to be
able to receive the next commands.
NOTE 1: Wi-Fi Remote uses an 115200 link to communicate with the iRobot Roomba. If this value
has been modified, be sure to reboot Roomba with the Clean button or rebooting the Socket to let the
iRobot reconfigure the transmission rate automatically. (Read SCI Manual from iRobot).
NOTE 2: Please read the SCI iRobot Specification because some specific SCI commands put the
robot in idle modes disabling the correct operation of Clean, Spot and Dock functions when the buttons are
pressed. If you want to manage your iRobot Roomba using the embedded web server remember to close the
TCP/IP Socket.
RWRemote v2
2013
12
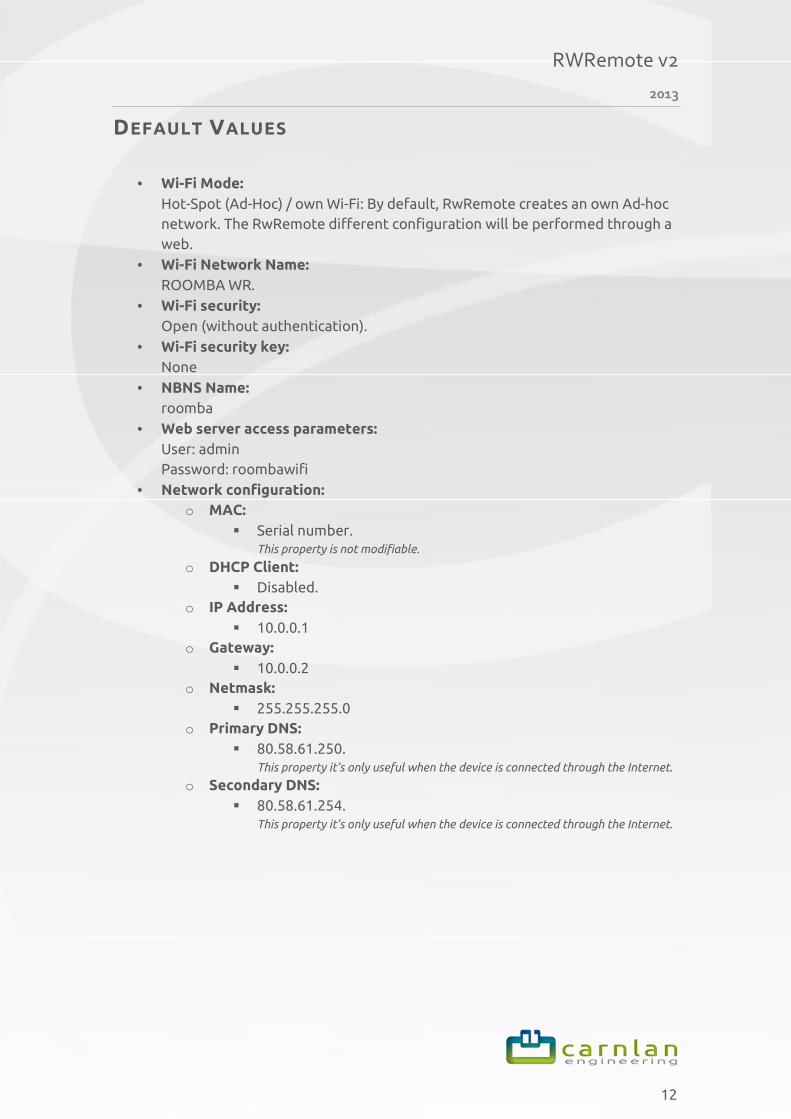
DEFAULT VALUES
• Wi-Fi Mode:
Hot-Spot (Ad-Hoc) / own Wi-Fi: By default, RwRemote creates an own Ad-hoc
network. The RwRemote different configuration will be performed through a
web.
• Wi-Fi Network Name:
ROOMBA WR.
• Wi-Fi security:
Open (without authentication).
• Wi-Fi security key:
None
• NBNS Name:
roomba
• Web server access parameters:
User: admin
Password: roombawifi
• Network configuration:
o MAC:
� Serial number. This property is not modifiable.
o DHCP Client:
� Disabled.
o IP Address:
� 10.0.0.1
o Gateway:
� 10.0.0.2
o Netmask:
� 255.255.255.0
o Primary DNS:
� 80.58.61.250. This property it’s only useful when the device is connected through the Internet.
o Secondary DNS:
� 80.58.61.254. This property it’s only useful when the device is connected through the Internet.