Embed Size (px)
Citation preview

UFO DroneCreated by Ruiz Brothers
Last updated on 2018-08-22 03:57:01 PM UTC

23334
5666
88888
121212131314151515
Guide Contents
Guide ContentsOverview
Prerequisite GuidesPartsTools & Supplies
Circuit Diagram3D Printing
Download and 3D PrintMaterials & Slice Settings
CodeGetting Code Onto TrinketInstall Adafruit NeoPixel LibraryUploading Code to BoardConnect USB Data Cable to Trinket
AssembleSet up Neopixel ringMounting the TrinketAttaching NeoPixel RingSolder Ring to TrinketAttach the clipPowerFlyingLighting effects
© Adafruit Industries https://learn.adafruit.com/ufo-drone Page 2 of 16

OverviewIn this project we’ll show you how we added NeoPixels to our drone to make it look like a it has a tractor beam.
This is really simple project just in time for Halloween or even lighting effects for a video.
All you’ll need to build this project is an Adafruit Trinket and a 24 NeoPixel ring.
We designed and 3D printed a custom mount to attach to the landing gear of a DJI Phantom 4. The Phantom 4 is ableto power the trinket through the USB port on the side and the 3d printed clips holds all of the parts.
Prerequisite Guides
We suggest walking through the following guides to get a better understanding of the components and Arduino IDE.We also have great tutorials on learning how to solder.
Collin's Lab: Soldering (https://adafru.it/noE)Adafruit's Uber NeoPixel Guide (https://adafru.it/dhw)Adafruit Trinket (https://adafru.it/rBg)
Parts
All of the components used in this project are listed below and in the right hand sidebar.
Adafruit Trinket (http://adafru.it/1500)NeoPixel Ring - 24 x (http://adafru.it/1586)Filament for 3D Printers in Various Colors and Types (http://adafru.it/2080)USB OTG Host Cable - MicroB OTG male to A female (http://adafru.it/1099)USB cable - 6" A/MicroB (http://adafru.it/898)
© Adafruit Industries https://learn.adafruit.com/ufo-drone Page 3 of 16

Tools & Supplies
You'll need some tools and supplies to complete this project, but feel free to improvise and use any materials you like.
3D Printer (https://adafru.it/diH) & Filament (http://adafru.it/2080)Soldering Iron (https://adafru.it/doU) & SolderWire Strippers (http://adafru.it/527) / Cutters (http://adafru.it/152)Panavise Jr. (http://adafru.it/151) / Helping Third Hands (http://adafru.it/291)USB Cable & Wire (https://adafru.it/rBh)
© Adafruit Industries https://learn.adafruit.com/ufo-drone Page 4 of 16

Circuit Diagram
Follow the diagram above to connect the NeoPixel Ring to the Trinket. You can measure the wire lengths by mountingthe ring and Trinket to the 3d part and then cutting the required sizes for each pin.
To keep the wires nice and short, rotate the ring so the pins are close to the pins on the Trinket.
GND on the Ring connects to ground on the Trinket
5v on the Ring connects to USB on the Trinket
DIN on the Ring connects to pin #0 on the Trinket
© Adafruit Industries https://learn.adafruit.com/ufo-drone Page 5 of 16

3D Printing
Download and 3D Print
The 3D printed parts can be downloaded from the links below.
https://adafru.it/sd7
https://adafru.it/sd7
https://adafru.it/sd8
https://adafru.it/sd8
https://adafru.it/sd9
https://adafru.it/sd9
You can also edit the designs if you have a different drone model or if you just need parts references for the NeoPixelRing or Trinket mouting holes.
https://adafru.it/sda
https://adafru.it/sda
Materials & Slice Settings
This project with any material like PLA, ABS or Nylon. Reference the slice settings in the table below – We're usingSimplify3D to slice the parts.
© Adafruit Industries https://learn.adafruit.com/ufo-drone Page 6 of 16

We use a .6mm to speed up print times, but a standard .4mm nozzle should work.
UFO-clip.stl
PLA 225c extruder
0.6mm Nozzle
20% infill
No Supports
50mm/s print speed
120mm/s travel speed
.72mm Extrusion width
The clip take about 30 minutes to print when using a
.6mm nozzle
© Adafruit Industries https://learn.adafruit.com/ufo-drone Page 7 of 16

CodeThe LED animations are from the NeoPixel library but you can write your own or customize them in the Arduino Sketch.
Getting Code Onto Trinket
In this portion of the guide, we'll get code uploaded to the Adafruit Trinket micro-controller. If you don't write /understand code, don't to worry! You don't need to be a programmer to be able to upload prewritten code :-)
We'll walk you through the whole process.
First, visit the Trinket tutorial page by clicking the button below. Follow the instructions to download & setup theArduino IDE and install drivers.
GETTING STARTED WITH TRINKET!
(https://adafru.it/rBF)
Make sure you are able to get sketches compiled and uploaded, especially the blink example in the tutorial. Once youare comfortable with using the Trinket, you can continue!
Install Adafruit NeoPixel Library
Next, we need to add support for NeoPixels.
Visit the Adafruit NeoPixel tutorial to install the NeoPixel library!
INSTALL NEOPIXEL LIBRARY
(https://adafru.it/nBF)
Uploading Code to Board
Now that we have the Adafruit boards & NeoPixel library installed, we can get our code ready to upload onto theboard. Select all of the code listed below in the black box and copy it to your clip board. Then, in Arduino IDE, paste itin the sketch window (making sure to overwrite anything currently there). Next, goto the Tools menu > Board andselect Adafruit Trinket 8Mhz. Now you can click on the "check mark" icon to verify the code. If it's all good, we cancontinue to upload the code to the board.
Connect USB Data Cable to Trinket
Be sure to use a micro USB cable that can transfer data - A USB cable that ONLY charges devices will simply notwork.
Plug it into the microUSB port on the Adafruit Trinket board and the USB port on your computer (try to avoidconnecting to a USB hub). As soon as you plug it in, you'll see a red LED blink on the Adaruit Trinket - This let's youknow the board is ready to except code. While the LED is blinking, click on the Upload button (It's a right arrow icon,next to the chekc mark). The Arduino IDE will notify you if the upload is successful and completed.
#include <Adafruit_NeoPixel.h>#ifdef __AVR__ #include <avr/power.h>#endif
#define PIN 0
© Adafruit Industries https://learn.adafruit.com/ufo-drone Page 8 of 16
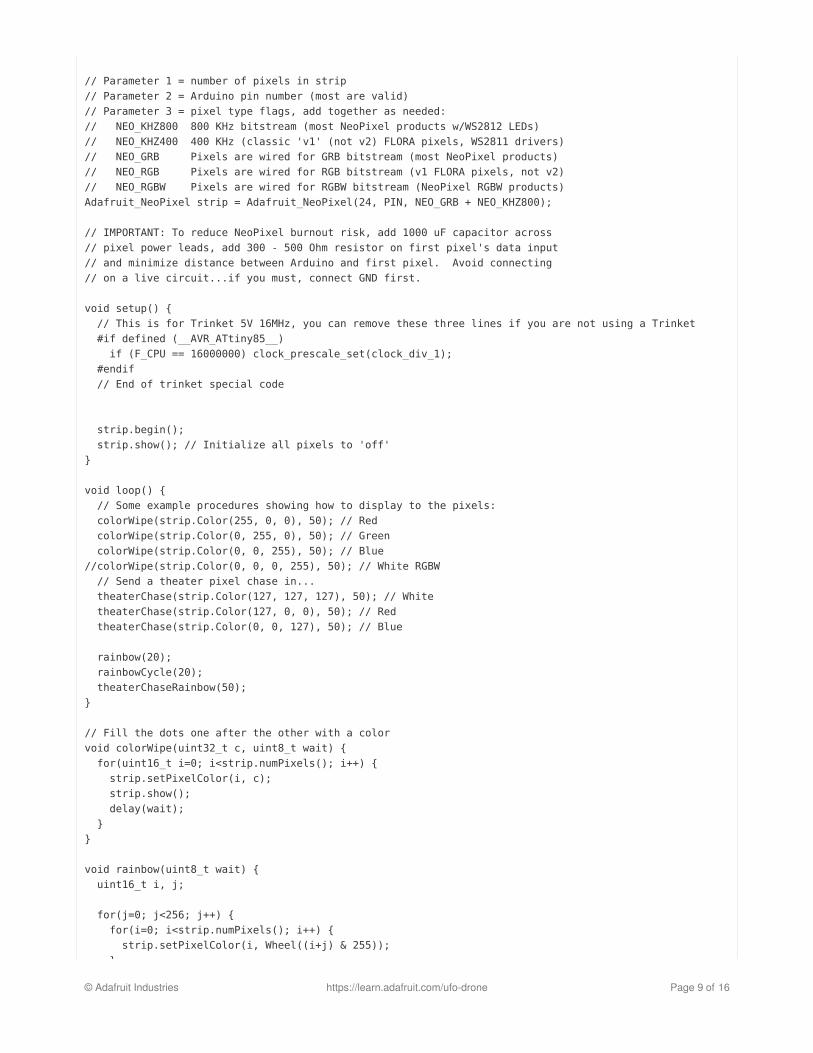
// Parameter 1 = number of pixels in strip// Parameter 2 = Arduino pin number (most are valid)// Parameter 3 = pixel type flags, add together as needed:// NEO_KHZ800 800 KHz bitstream (most NeoPixel products w/WS2812 LEDs)// NEO_KHZ400 400 KHz (classic 'v1' (not v2) FLORA pixels, WS2811 drivers)// NEO_GRB Pixels are wired for GRB bitstream (most NeoPixel products)// NEO_RGB Pixels are wired for RGB bitstream (v1 FLORA pixels, not v2)// NEO_RGBW Pixels are wired for RGBW bitstream (NeoPixel RGBW products)Adafruit_NeoPixel strip = Adafruit_NeoPixel(24, PIN, NEO_GRB + NEO_KHZ800);
// IMPORTANT: To reduce NeoPixel burnout risk, add 1000 uF capacitor across// pixel power leads, add 300 - 500 Ohm resistor on first pixel's data input// and minimize distance between Arduino and first pixel. Avoid connecting// on a live circuit...if you must, connect GND first.
void setup() { // This is for Trinket 5V 16MHz, you can remove these three lines if you are not using a Trinket #if defined (__AVR_ATtiny85__) if (F_CPU == 16000000) clock_prescale_set(clock_div_1); #endif // End of trinket special code
strip.begin(); strip.show(); // Initialize all pixels to 'off'}
void loop() { // Some example procedures showing how to display to the pixels: colorWipe(strip.Color(255, 0, 0), 50); // Red colorWipe(strip.Color(0, 255, 0), 50); // Green colorWipe(strip.Color(0, 0, 255), 50); // Blue//colorWipe(strip.Color(0, 0, 0, 255), 50); // White RGBW // Send a theater pixel chase in... theaterChase(strip.Color(127, 127, 127), 50); // White theaterChase(strip.Color(127, 0, 0), 50); // Red theaterChase(strip.Color(0, 0, 127), 50); // Blue
rainbow(20); rainbowCycle(20); theaterChaseRainbow(50);}
// Fill the dots one after the other with a colorvoid colorWipe(uint32_t c, uint8_t wait) { for(uint16_t i=0; i<strip.numPixels(); i++) { strip.setPixelColor(i, c); strip.show(); delay(wait); }}
void rainbow(uint8_t wait) { uint16_t i, j;
for(j=0; j<256; j++) { for(i=0; i<strip.numPixels(); i++) { strip.setPixelColor(i, Wheel((i+j) & 255)); }
© Adafruit Industries https://learn.adafruit.com/ufo-drone Page 9 of 16
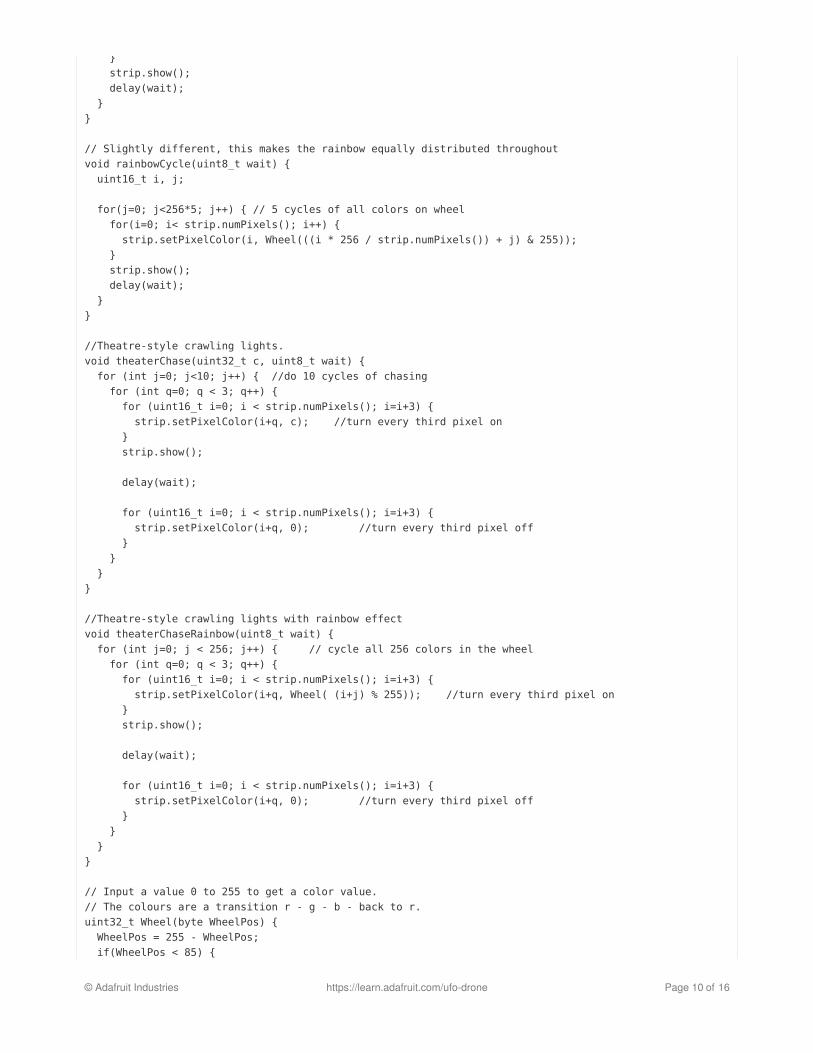
} strip.show(); delay(wait); }}
// Slightly different, this makes the rainbow equally distributed throughoutvoid rainbowCycle(uint8_t wait) { uint16_t i, j;
for(j=0; j<256*5; j++) { // 5 cycles of all colors on wheel for(i=0; i< strip.numPixels(); i++) { strip.setPixelColor(i, Wheel(((i * 256 / strip.numPixels()) + j) & 255)); } strip.show(); delay(wait); }}
//Theatre-style crawling lights.void theaterChase(uint32_t c, uint8_t wait) { for (int j=0; j<10; j++) { //do 10 cycles of chasing for (int q=0; q < 3; q++) { for (uint16_t i=0; i < strip.numPixels(); i=i+3) { strip.setPixelColor(i+q, c); //turn every third pixel on } strip.show();
delay(wait);
for (uint16_t i=0; i < strip.numPixels(); i=i+3) { strip.setPixelColor(i+q, 0); //turn every third pixel off } } }}
//Theatre-style crawling lights with rainbow effectvoid theaterChaseRainbow(uint8_t wait) { for (int j=0; j < 256; j++) { // cycle all 256 colors in the wheel for (int q=0; q < 3; q++) { for (uint16_t i=0; i < strip.numPixels(); i=i+3) { strip.setPixelColor(i+q, Wheel( (i+j) % 255)); //turn every third pixel on } strip.show();
delay(wait);
for (uint16_t i=0; i < strip.numPixels(); i=i+3) { strip.setPixelColor(i+q, 0); //turn every third pixel off } } }}
// Input a value 0 to 255 to get a color value.// The colours are a transition r - g - b - back to r.uint32_t Wheel(byte WheelPos) { WheelPos = 255 - WheelPos; if(WheelPos < 85) {
© Adafruit Industries https://learn.adafruit.com/ufo-drone Page 10 of 16

return strip.Color(255 - WheelPos * 3, 0, WheelPos * 3); } if(WheelPos < 170) { WheelPos -= 85; return strip.Color(0, WheelPos * 3, 255 - WheelPos * 3); } WheelPos -= 170; return strip.Color(WheelPos * 3, 255 - WheelPos * 3, 0);}
© Adafruit Industries https://learn.adafruit.com/ufo-drone Page 11 of 16

Assemble
Set up Neopixel ring
To set up the LEDs we’ll measure, cut, tin and solder silicone wires to the power, ground and data on the neopixel ring.
Mounting the Trinket
Postion the Trinket so the USB port faces towards the outside of the ring.
Next we can use 2.5mm screws to mount the trinket to the 3d printed clip. You can tap holes for screws first to makemouting easier.
© Adafruit Industries https://learn.adafruit.com/ufo-drone Page 12 of 16

Attaching NeoPixel Ring
The NeoPixel Ring snaps onto the 3d part with the LEDs facing outward. Carefully fit the wires through the slits on thering mount and snap the ring onto the part. You can use tweezers to fit the wires through the slits.
Solder Ring to Trinket
You may need to rotate the ring so that each pin is close to the pins on the Trinket.
Tin pins #0, ground and USB on the Trinket and then solder each connection from the ring. Use tweezers to holdwires while soldering.
© Adafruit Industries https://learn.adafruit.com/ufo-drone Page 13 of 16

Attach the clip
To install, we simply press the clips on both ends to the landing gear. The tolerances are nice and tight, but you canstill have the option to adjust the position by sliding it.
There’s just enough clearance for the camera but we made sure to position it away from the proximity sensors.
© Adafruit Industries https://learn.adafruit.com/ufo-drone Page 14 of 16

Power
We can power the whole circuit using the micro USB port on the side of the Phantom 4.
The NeoPixels light up immediately after turning the Phantom 4 on and actually doesn’t affect the flight time so itdoesn’t draw that much power.
Flying
The whole assembly is nicely contained and easy to carry around and we noticed the same amount of flight time,about 18 minutes.
The ring will get in the way of the camera view when you look down, but it’s out of the way otherwise!
Lighting effects
© Adafruit Industries https://learn.adafruit.com/ufo-drone Page 15 of 16

To get the cool light beam effects it's best to fly when it's foggy. We used a fog machine machine when shooting thevideo, but if you shooting on location you could use atmosphere aerosol (https://adafru.it/sdb) to create light rays.
© Adafruit Industries Last Updated: 2018-08-22 03:56:57 PM UTC Page 16 of 16