Embed Size (px)
DESCRIPTION
Training Seminar May 30 th , 2008. Seminar Itinerary. 9am – 9:30am Meet and Greet- Continental breakfast provided 9:30am – 9:45amIntroduction to CAT 5 Hurricane Screens / Company Background - Wayne Bennett 9:45am – 10:30amProduction – Measuring, Screen Specs, Production - PowerPoint PPT Presentation
Citation preview

Training SeminarMay 30th, 2008

• 9am – 9:30am Meet and Greet- Continental breakfast provided
• 9:30am – 9:45am Introduction to CAT 5 Hurricane Screens / Company Background
- Wayne Bennett• 9:45am – 10:30am Production – Measuring, Screen Specs, Production
- Kevin Luescher• 10:30am – 12:00pm Installation- installing CAT 5 Screens per code- mock install
- Joe Esposito• 12:00pm – 1:00pm Lunch- Provided in Kitchen area with Refreshments
• 1:00pm – 2:00pm Ordering- Completing the ordering process-- Rosalie Bennett
• 2:00pm – 3:00pm Sales – Maximizing your profits with CAT 5 sales- Wayne Bennett
Seminar Itinerary
Page 1

13474 Chambord StreetBrooksville, FL 34613352-597-7207866-597-7207 toll free352-597-7228 faxwww.cat5screens.com
Contacts:Sales, Dealer Relations: Wayne Bennett
Madeleine MacRaeOperations Mgr./Order Processing: Rosalie Bennett
Sales/Order Processing: Tracy Hebert
Production Manager: Kevin Hoefer

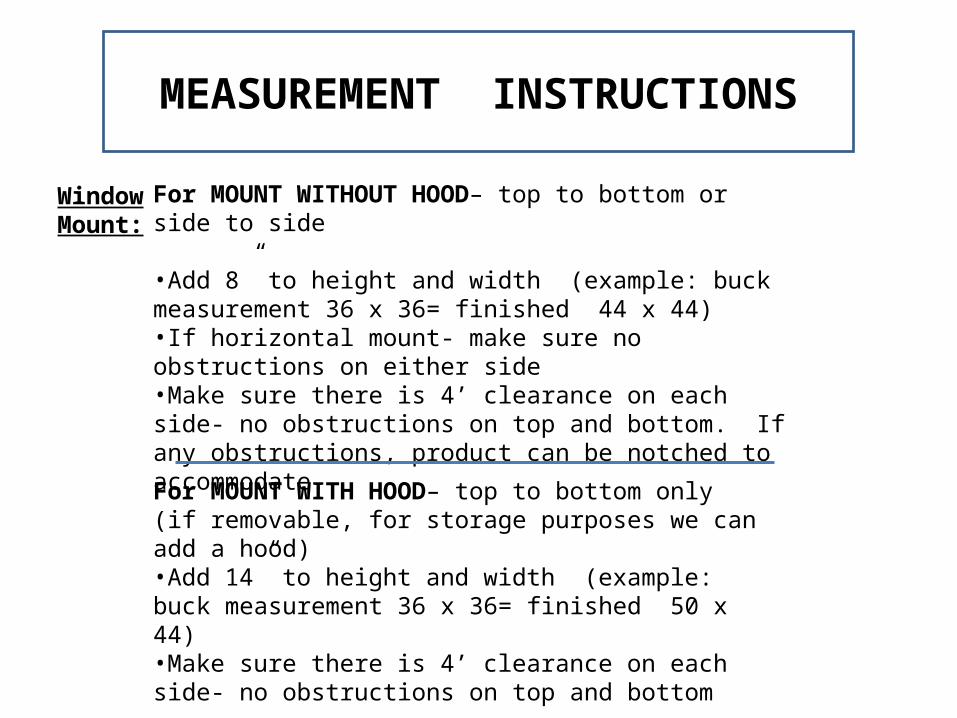
MEASUREMENT INSTRUCTIONS
For MOUNT WITHOUT HOOD– top to bottom or side to side
•Add 8” to height and width (example: buck measurement 36 x 36= finished 44 x 44)•If horizontal mount- make sure no obstructions on either side•Make sure there is 4’ clearance on each side- no obstructions on top and bottom. If any obstructions, product can be notched to accommodate.
Window Mount:
For MOUNT WITH HOOD– top to bottom only(if removable, for storage purposes we can add a hood)•Add 14” to height and width (example: buck measurement 36 x 36= finished 50 x 44)•Make sure there is 4’ clearance on each side- no obstructions on top and bottom
For mount without hood – top to bottom•Add 8” to width of buck opening•Add 5 ½ “ to height- the bottom bar makes it’s own angle.
For mount with hood-•Add 11”to13” to height of buck opening (to accommodate the hood)•Add 8” to width (unless trap opening)•Hood measurement is: same as width
***If mounting screens together for large opening…add 4” to one screen (on the side that attaches) for overlapping.
For Mounting to Floor -(lanai, entryway, porches, garages)

Production
1.Fill out Cut Sheet- Attached
2.Make Sure ALL information is complete
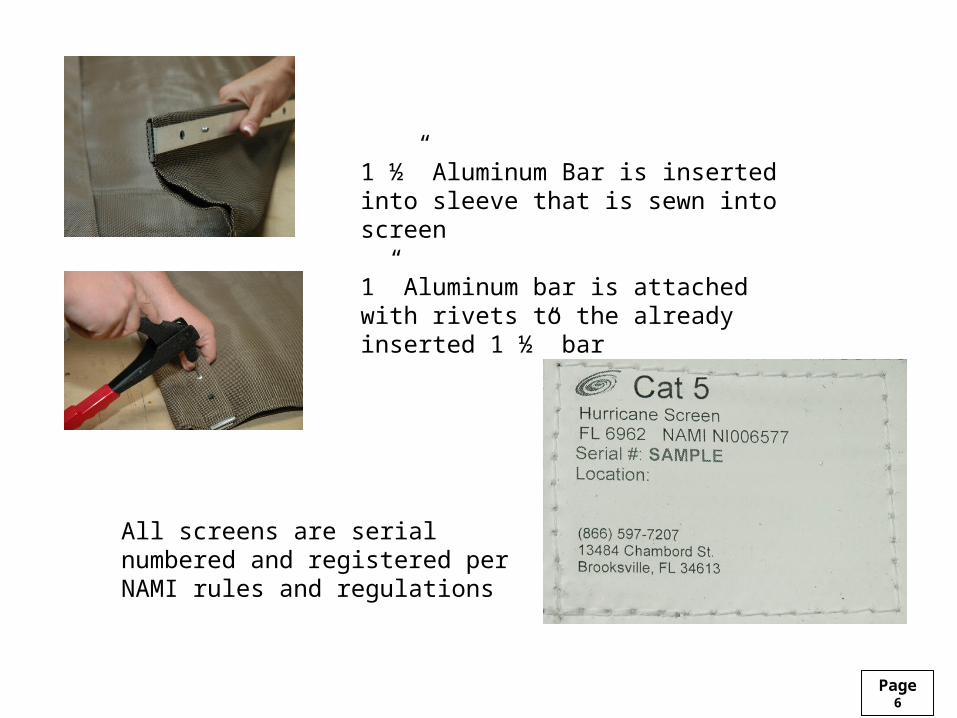
1 ½” Aluminum Bar is inserted into sleeve that is sewn into screen
1” Aluminum bar is attached with rivets to the already inserted 1 ½” bar
All screens are serial numbered and registered per NAMI rules and regulations
Page 6
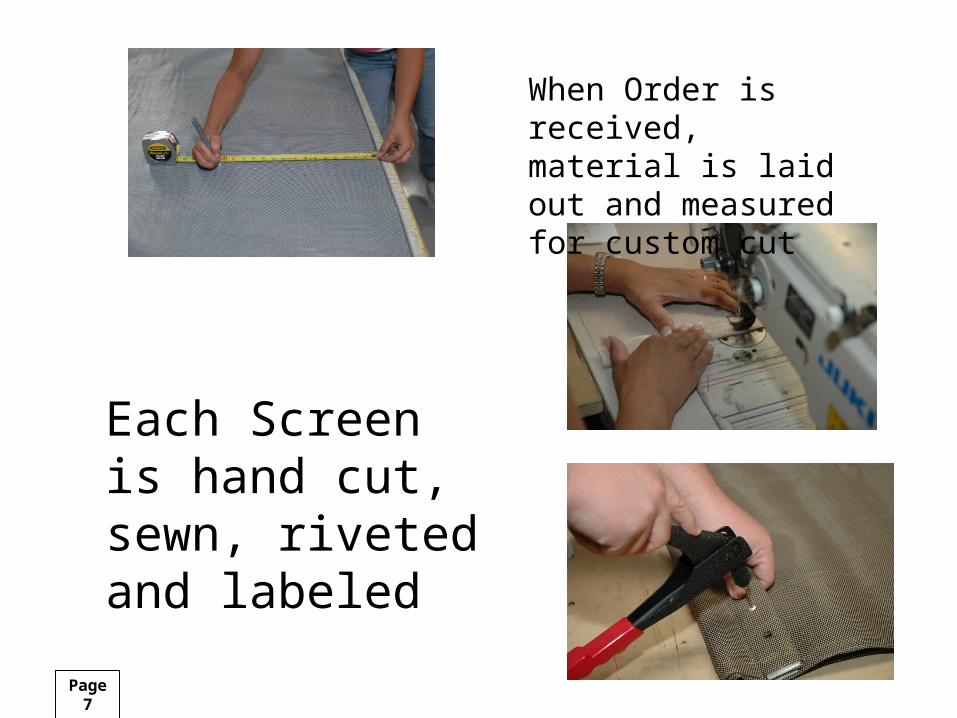
When Order is received, material is laid out and measured for custom cut
Each Screen is hand cut, sewn, riveted and labeled
Page 7
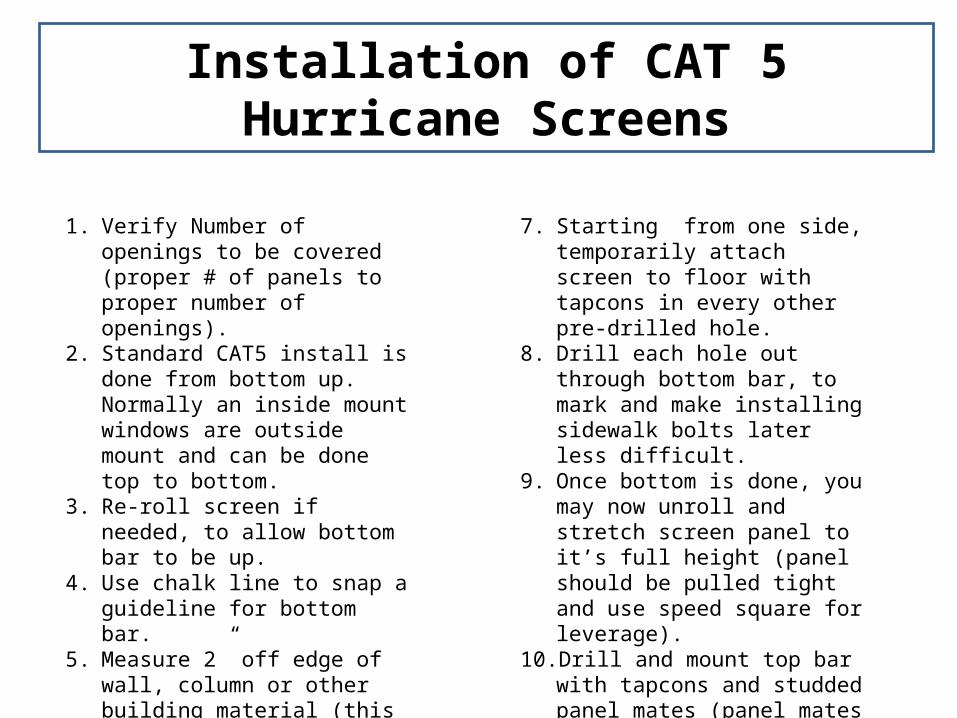
Installation of CAT 5 Hurricane Screens
1. Verify Number of openings to be covered (proper # of panels to proper number of openings).
2. Standard CAT5 install is done from bottom up. Normally an inside mount windows are outside mount and can be done top to bottom.
3. Re-roll screen if needed, to allow bottom bar to be up.
4. Use chalk line to snap a guideline for bottom bar.
5. Measure 2” off edge of wall, column or other building material (this is to start fastening)
6. Make sure screen panel is even on each side or centered properly on a trapped opening.
7. Starting from one side, temporarily attach screen to floor with tapcons in every other pre-drilled hole.
8. Drill each hole out through bottom bar, to mark and make installing sidewalk bolts later less difficult.
9. Once bottom is done, you may now unroll and stretch screen panel to it’s full height (panel should be pulled tight and use speed square for leverage).
10. Drill and mount top bar with tapcons and studded panel mates (panel mates ore needed to hold hood in place). The panel mates are pre-marked on the bar to match up with grommets in the hood.
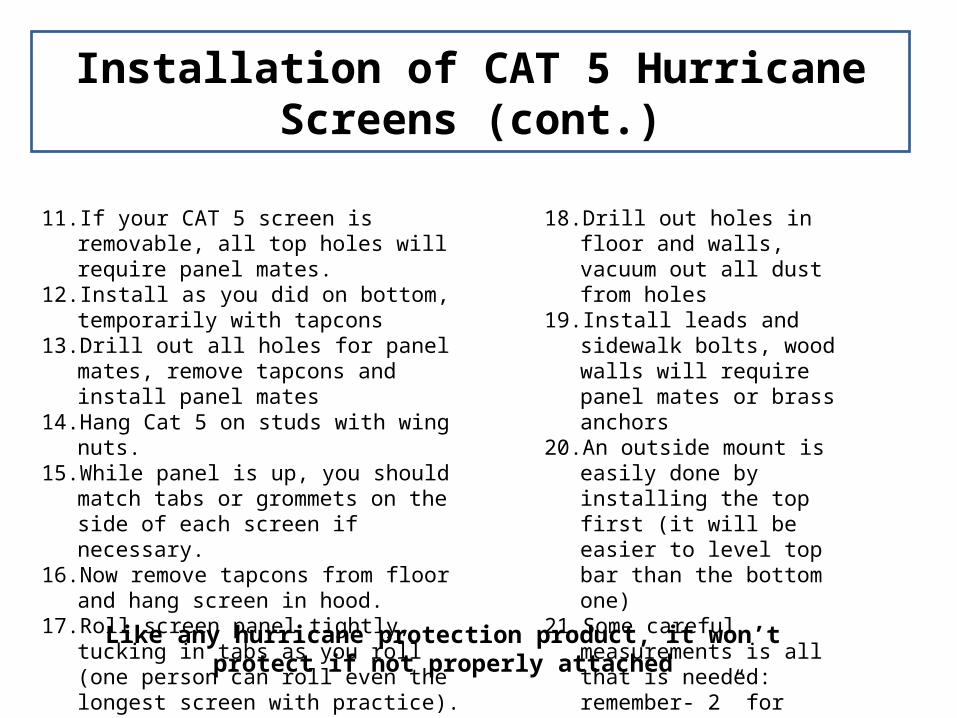
Installation of CAT 5 Hurricane Screens (cont.)
11. If your CAT 5 screen is removable, all top holes will require panel mates.
12. Install as you did on bottom, temporarily with tapcons
13. Drill out all holes for panel mates, remove tapcons and install panel mates
14. Hang Cat 5 on studs with wing nuts.15. While panel is up, you should match tabs or
grommets on the side of each screen if necessary.
16. Now remove tapcons from floor and hang screen in hood.
17. Roll screen panel tightly, tucking in tabs as you roll (one person can roll even the longest screen with practice).
18. Drill out holes in floor and walls, vacuum out all dust from holes
19. Install leads and sidewalk bolts, wood walls will require panel mates or brass anchors
20. An outside mount is easily done by installing the top first (it will be easier to level top bar than the bottom one)
21. Some careful measurements is all that is needed: remember- 2” for holes in concrete, 1” in wood wall or beam from all edges
Like any hurricane protection product, it won’t protect if not properly attached
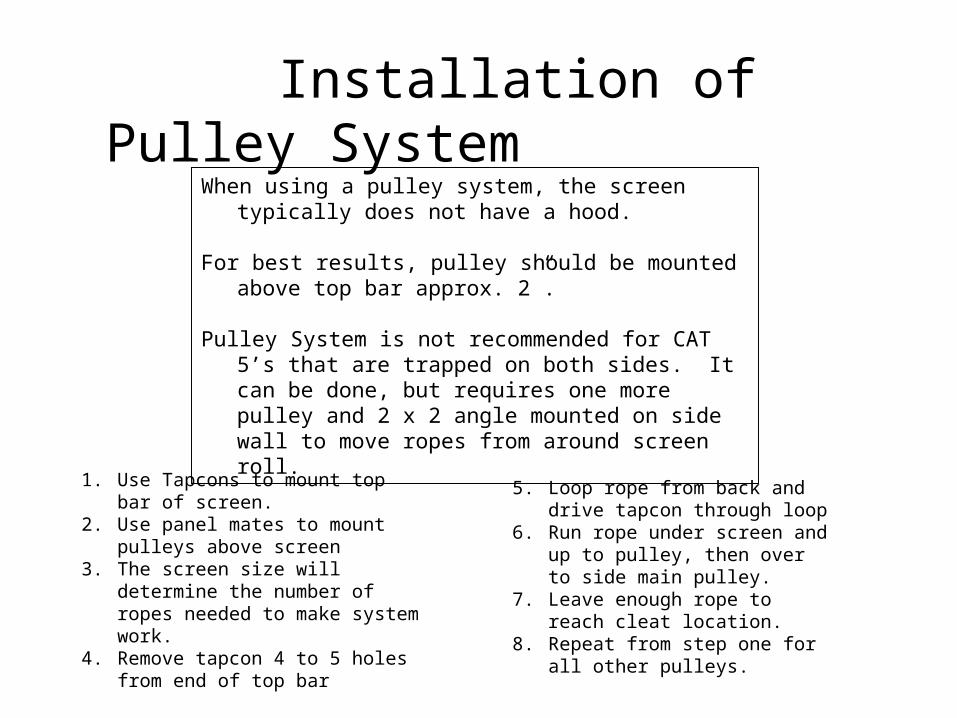
When using a pulley system, the screen typically does not have a hood.
For best results, pulley should be mounted above top bar approx. 2”.
Pulley System is not recommended for CAT 5’s that are trapped on both sides. It can be done, but requires one more pulley and 2 x 2 angle mounted on side wall to move ropes from around screen roll.
1. Use Tapcons to mount top bar of screen.
2. Use panel mates to mount pulleys above screen
3. The screen size will determine the number of ropes needed to make system work.
4. Remove tapcon 4 to 5 holes from end of top bar
5. Loop rope from back and drive tapcon through loop
6. Run rope under screen and up to pulley, then over to side main pulley.
7. Leave enough rope to reach cleat location.
8. Repeat from step one for all other pulleys.
Installation of Pulley System
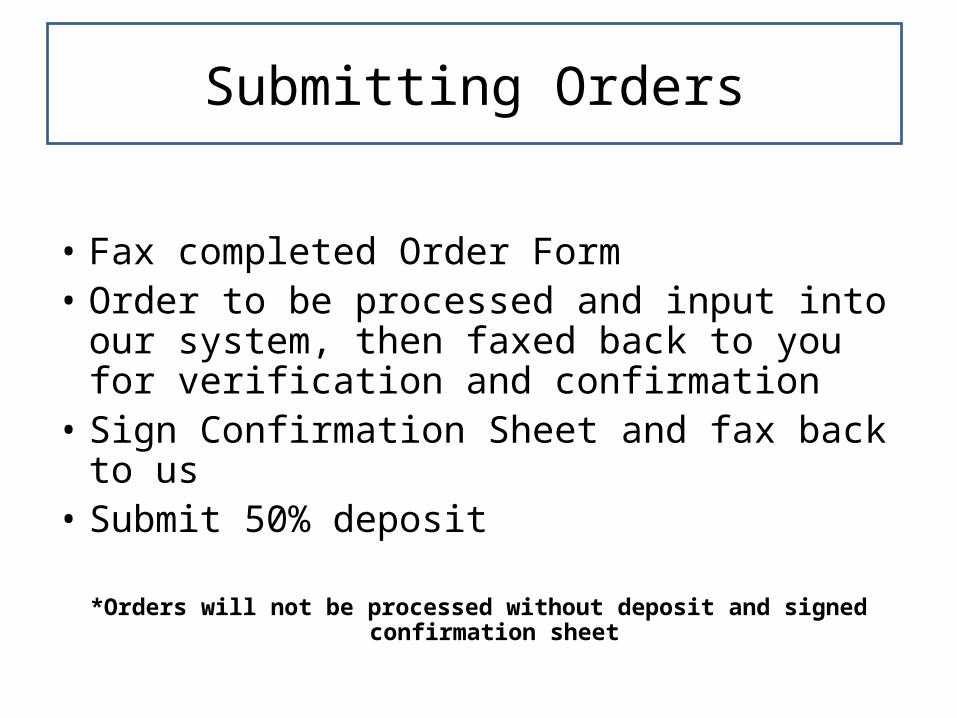
• Fax completed Order Form • Order to be processed and input into our
system, then faxed back to you for verification and confirmation
• Sign Confirmation Sheet and fax back to us• Submit 50% deposit
*Orders will not be processed without deposit and signed confirmation sheet
Submitting Orders
• Submit “Dealer Agreement and Information Sheet” to office
• Submit “Sample Request Form”- 2 complete sample sets per dealer
• Submit “Credit Card Authorization Form/Check by Authorization Form”
Dealer Setup
• Key points on product• Installation Ease• Overcoming objections• How to Clarify proper applications for
sales
Selling CAT 5 Hurricane Screens