Embed Size (px)
Citation preview
Coccinellidae is a family of beetles known as ladybirds, ladybugs or lady
beetles (preferred by some scientists) -Wikipedia
“This Way and That Way” Drawing
Session #13
So you are a ladybug walking along the bare
shoulder of a woman in a sun dress. You’re walking
just as fast as your little six legs can carry you,
which is not very fast.
You could fly across the distance of her shoulder, if
you wanted to. But you have chosen to amble.
Ladybugs are stubborn beetles.
It takes patience to cover any sort of distance on
foot when you’re a ladybug.
You move ahead with no goal in mind except to walk
along steadily and surely -– and not let an
unexpected puff of wind or a sudden movement (by
the person) throw you off your course.
It takes forever, but time is not as important as your
journey of thousands of tiny steps.
You stay with it, up and down and around --
wherever the edge takes you.
You let nothing deter you on your quiet path.
A ladybug walking meditation.
Did you know that it’s good luck if a ladybug lands
on your shoulder?
The ladybug will introduce us to a kind of drawing
that can make a tremendous difference in your
illustration.
You may have already guessed that I’m talking
about contour drawing.
If you do it right, contour drawing takes away the
angst of making a picture.
Because done right, it’s sort of a no-mind Zen
activity.
Of course you do use your mind .
But maybe not a part that you know very well.
It was the art teacher Kimon Nicolaides who said:
Draw the edge of a form without looking at your
drawing.
He believed that contour drawing was not so much a
visual perception exercise as a tactile one.
Contour, he said, was about pretending to feel the
outer edge of the form, as if you were actually
touching with your chalk or – even better -- your
fingertip.
He came up with many of his newfangled art ideas
when he was working in the army as a contour map
artist during the First World War.
And he spent the rest of his life teaching what he
had discovered.
For Nicolaides, contour drawing actually was “Step 2”
in a three punch approach to drawing the figure.
The steps began with the gesture (that we've talked
a lot about), led to a slower exploration of the edge
or outline (contour drawing) and concluded with the
massing in of the form via scribbling (in a similar
'I'm feeling it' method, like he used with gesture and
contour) to create the sense of weight, mass and
even 3-D.
He saw gesture and contour drawing not as end
goals, but as a way for the artist to experience
something new about recreating form.
He was on to something.
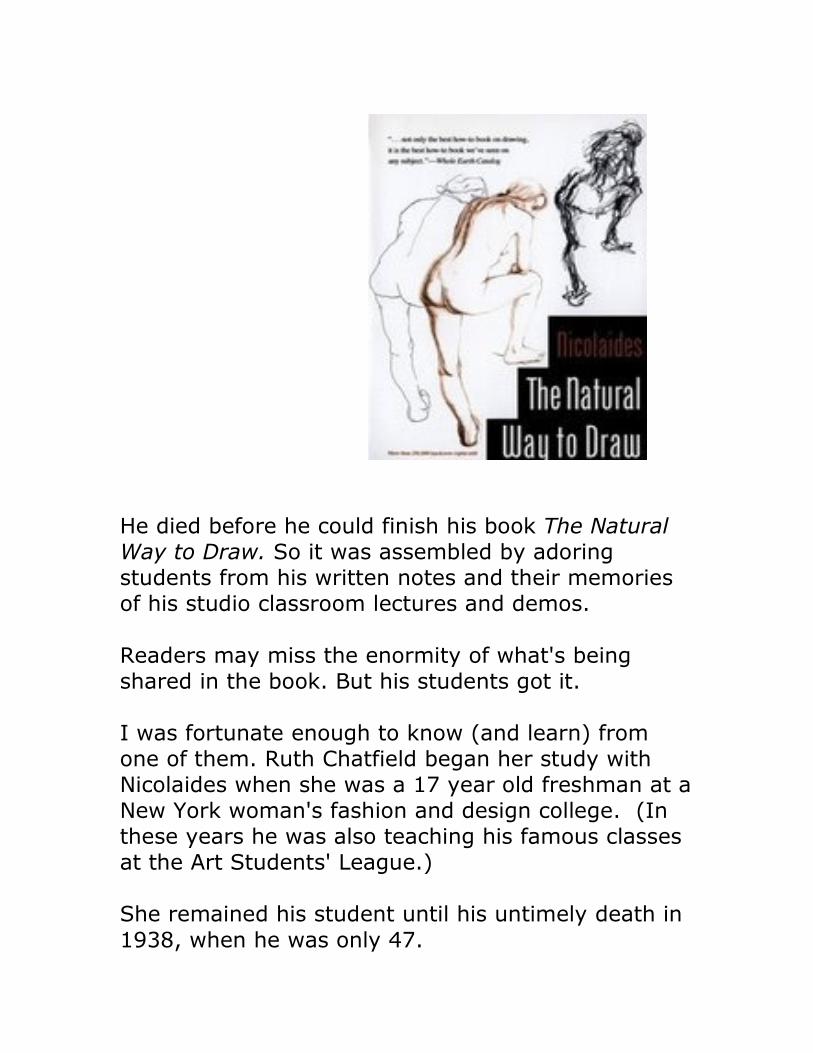
He died before he could finish his book The Natural
Way to Draw. So it was assembled by adoring
students from his written notes and their memories
of his studio classroom lectures and demos.
Readers may miss the enormity of what's being
shared in the book. But his students got it.
I was fortunate enough to know (and learn) from
one of them. Ruth Chatfield began her study with
Nicolaides when she was a 17 year old freshman at a
New York woman's fashion and design college. (In
these years he was also teaching his famous classes
at the Art Students' League.)
She remained his student until his untimely death in
1938, when he was only 47.
She attributed her ability to her years of college life
drawing instruction under Nicolaides.
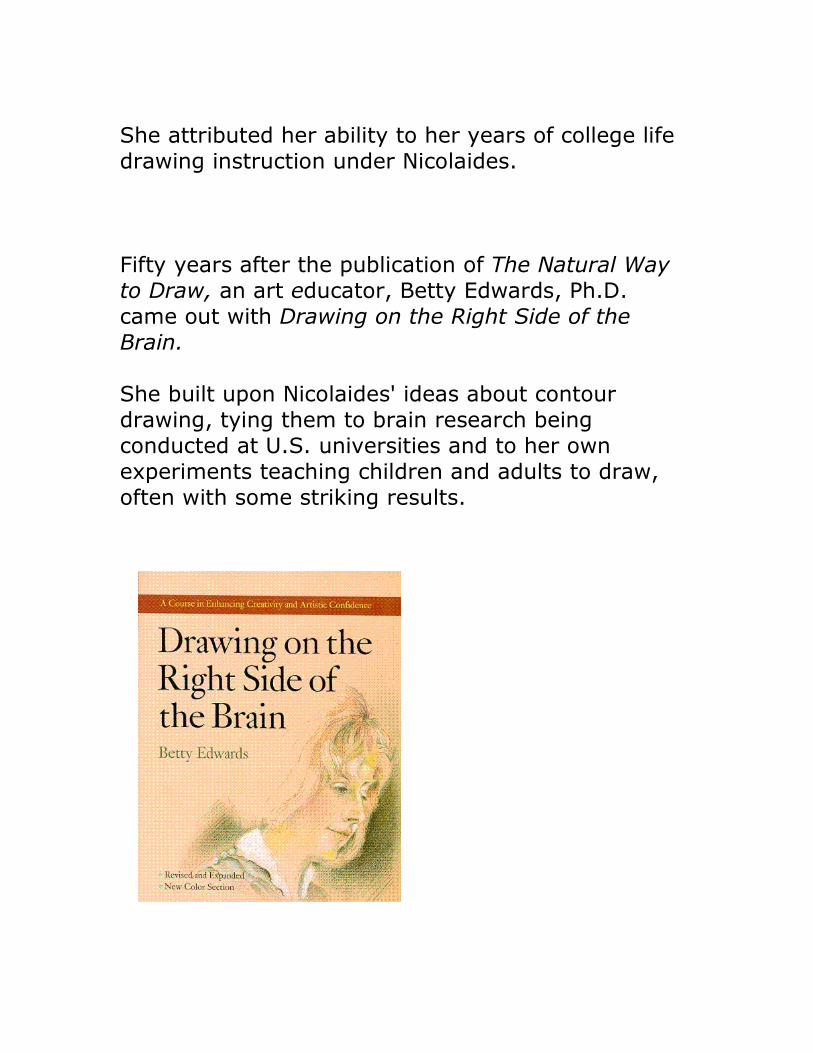
Fifty years after the publication of The Natural Way
to Draw, an art educator, Betty Edwards, Ph.D.
came out with Drawing on the Right Side of the
Brain.
She built upon Nicolaides' ideas about contour
drawing, tying them to brain research being
conducted at U.S. universities and to her own
experiments teaching children and adults to draw,
often with some striking results.
The gist of contour drawing, as outlined by
these two pathfinding teachers, is:
The artist patiently traces the outer edge of the
subject without any preconceived ideas about it.
She drops all judgments about her work and any
stereotypical thinking about what she's drawing.
She recreates the linear path of that edge on her
pad. She does this mostly without looking at her
pad, keeping her attention on the line on the actual
figure, as she draws, as if she were running her
finger along the outline.
That's the contour exercise – nothing more and
nothing less.
You may have done something like this before in a
previous art class.
Betty Edwards says that when we draw with this
mindset, we shift our consciousness (or rather it
shifts by itself) to our brain's other hemisphere –-
and it's not the one we plan our day with.
The brain's right hemisphere is a little on the “arty”
side. One of its peculiar functions is a preoccupation
with spatial harmonies, patterns and play.
Dancers, visual artists, children and skillful
meditators are said to spend a lot of their day,
operating out of this part of their brain.
It feels pretty good there, actually.
So how do you get there?
Famously, Edwards has her students and readers
copy an upside down Portrait of Igor Stravinsky by
Pablo Picasso.
If you've tried this, you probably were surprised by
how accurate and cunningly assured your drawing of
Igor came out.
It's an exercise designed to put you “in right brain.”
When you recreate an upside down image, you don't
know or recognize exactly what you're drawing.
So you pay special careful attention to the shapes,
patterns and relationships you see there.
You become hyper-vigilant. You feel your way as you
draw, like the ladybug climbing down an unfamiliar
stem.
Edwards says that a forger will turn an original
signature he's copying upside down and copy it that
way, because it helps him to see the shapes of the
letters better.
Guess I'd better add that vocation to my list of right-
brainers: artists, dancers, children, meditators and
counterfeiters.
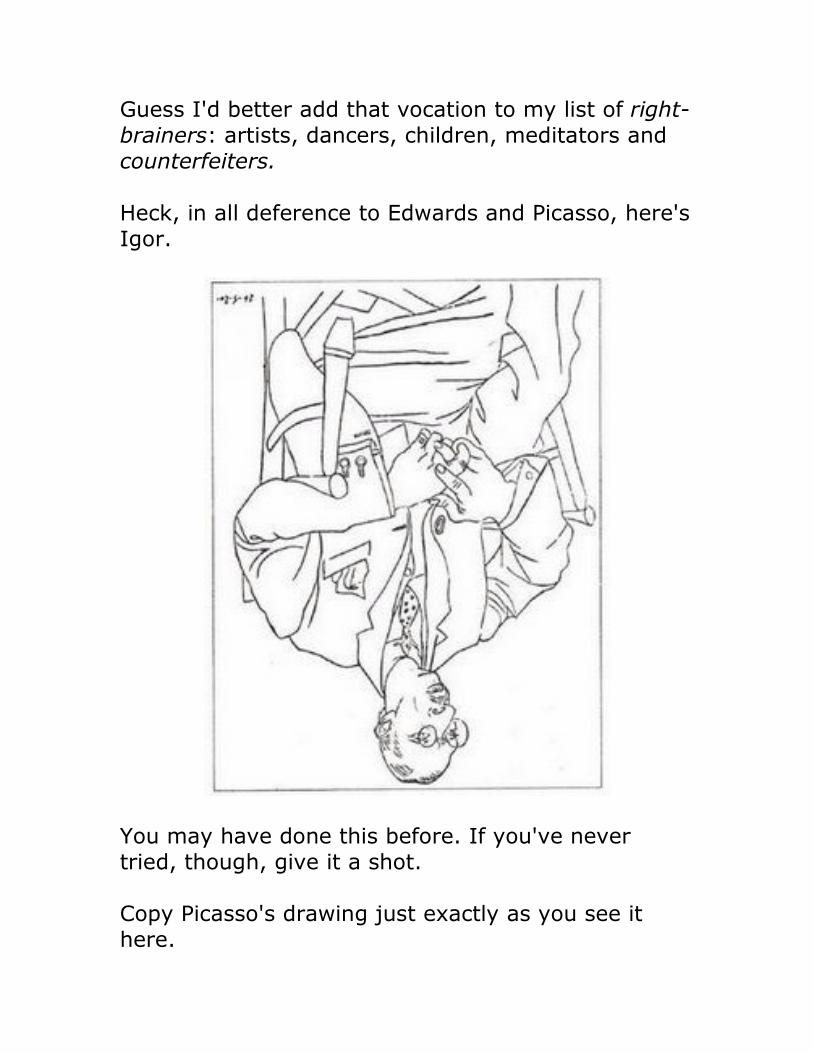
Heck, in all deference to Edwards and Picasso, here's
Igor.
You may have done this before. If you've never
tried, though, give it a shot.
Copy Picasso's drawing just exactly as you see it
here.
Do not judge your drawing or turn either drawing
right side up until you are done.
You're consciousness will probably shift to right brain
mode, and the results in your drawing can be pretty
uncanny sometimes.
Notice how when you draw something upside down,
the shapes of what are not there become as
important as the shapes that are there.
The empty (negative) space is critical.
In fact you need all of those shapes just to find your
way around the baffling upside down image!
Your left brain can make no sense of negative
(empty) spaces. It can't ascribe any meaning to
them. So it takes a nap.
And the right brain takes over the wheel.
It finds the interlocking of positive and negative
spaces very interesting. It loves contemplating how
everything fits.
“What begins in boredom ends in fascination.”
– old Chinese proverb
No, really. It is an old Chinese proverb.
Nicolaides told his students to be unconcerned with
making a pretty drawing of the figure.
Their job, he told them, was to focus only on “having
the experience of seeing rightly.”
He prescribed the perfect exercise for them to learn
to “see rightly”:
“Sit close to the model or object which you intend to
draw and lean forward in your chair. Focus your eyes
on some point – any point will do – along the
contour of the model. (The contour approximates
what is usually spoken of as the outline or edge.)
“Place the point of your pencil on the paper. Imagine
that your pencil point is touching the model instead
of the paper. Without taking your eyes off the
model, wait until you are convinced that the pencil is
touching that point on the model upon which your
eyes are fastened.”
“Then move or eye slowly along the contour of the
model and move the pencil slowly along the paper.
As you do this, keep the conviction that the pencil
point is actually touching the contour. Be guided
more by the sense of touch than by sight. THIS
MEANS THAT YOU MUST DRAW WITHOUT LOOKING
AT THE PAPER, continuously looking at the model.”
[The emphasis is Nicolaides’.]
“This exercise should be done slowly, searchingly,
sensitively. Take your time. Do not be too impatient
or too quick. There is no point in finishing any one
contour study. In fact, a contour study is not a thing
that can be ‘finished.’ It is having a particular type of
experience, which can continue as long as you have
the patience to look.”
When you draw this way, your eyes fixed on the
model, you take in a vast amount of information –
more than you can consciously process.
And yet you really are learning, internalizing the
structure, Nicolaides says.
“..Whether you know it or not, you are developing a
sense of proportion, which may be a very different
thing from a knowledge of proportion, but is equally
important – for the creative artist, more important.”
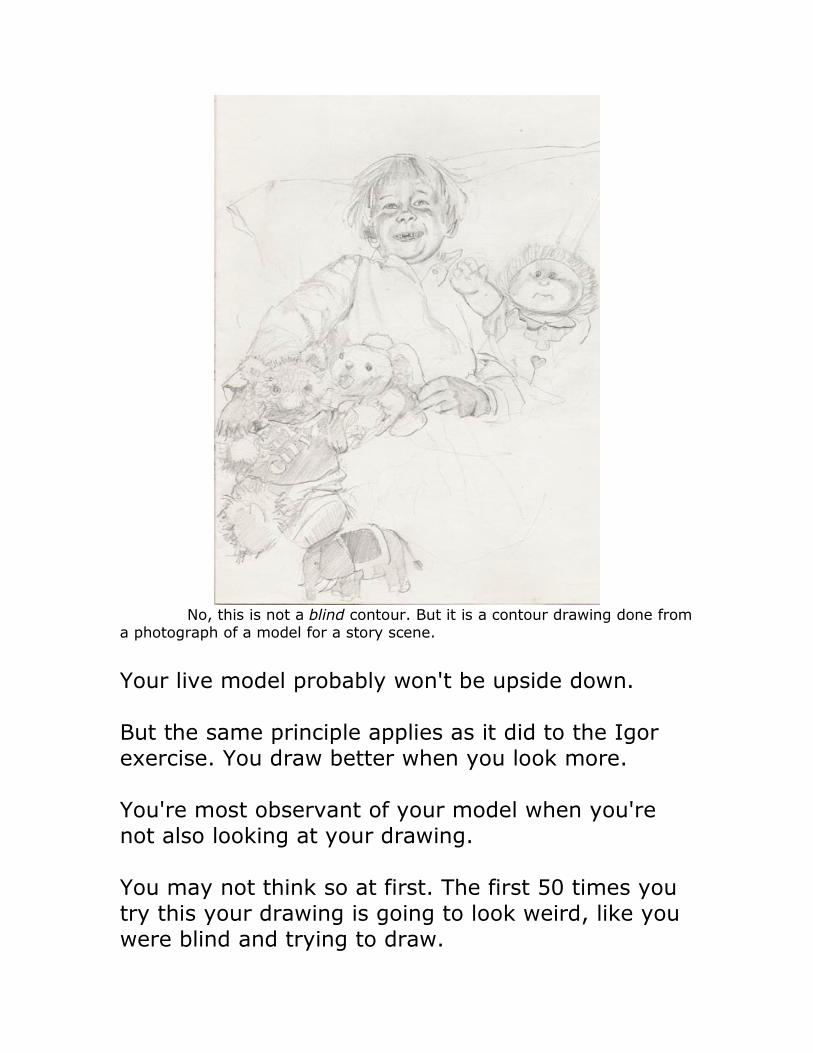
No, this is not a blind contour. But it is a contour drawing done froma photograph of a model for a story scene.
Your live model probably won't be upside down.
But the same principle applies as it did to the Igor
exercise. You draw better when you look more.
You're most observant of your model when you're
not also looking at your drawing.
You may not think so at first. The first 50 times you
try this your drawing is going to look weird, like you
were blind and trying to draw.
That means you're doing it right!
Gradually, if you persist in this practice, your
drawing will improve in ways that you would never
have anticipated.
When I was a child I would catch myself tracing the
contours of things around me. I would do it with my
thumb, though my thumb was at my side, barely
moving. I still catch myself doing this sometimes.
I think something inside us might be doing this all
the time, like a software program always running in
the background. It may be how we learn our way
around: Subconsciously contour-mapping our world.
It does not matter whether you're drawing a live
person or a puppy dog in a photo.
Contour – be it blind or seeing -- is the way to cut
through all of that profusion and confusion of detail.
It's the way to see your subject better in order to be
able to draw it.
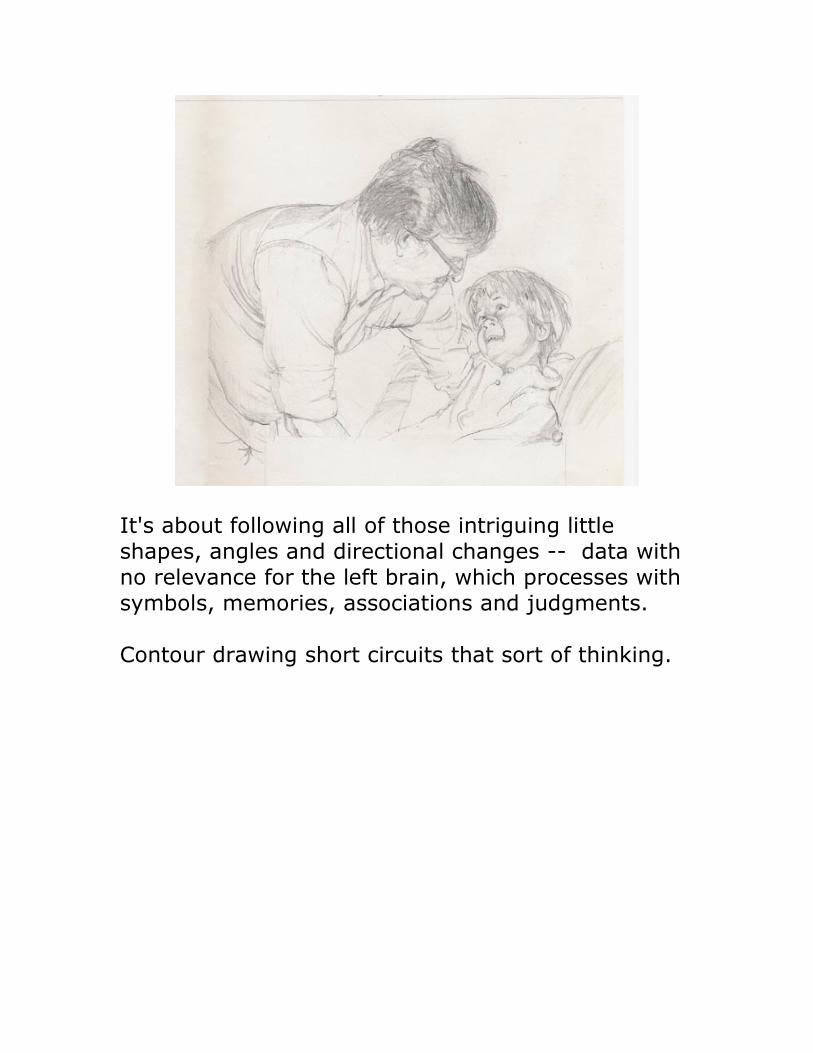
It's about following all of those intriguing little
shapes, angles and directional changes -- data with
no relevance for the left brain, which processes with
symbols, memories, associations and judgments.
Contour drawing short circuits that sort of thinking.
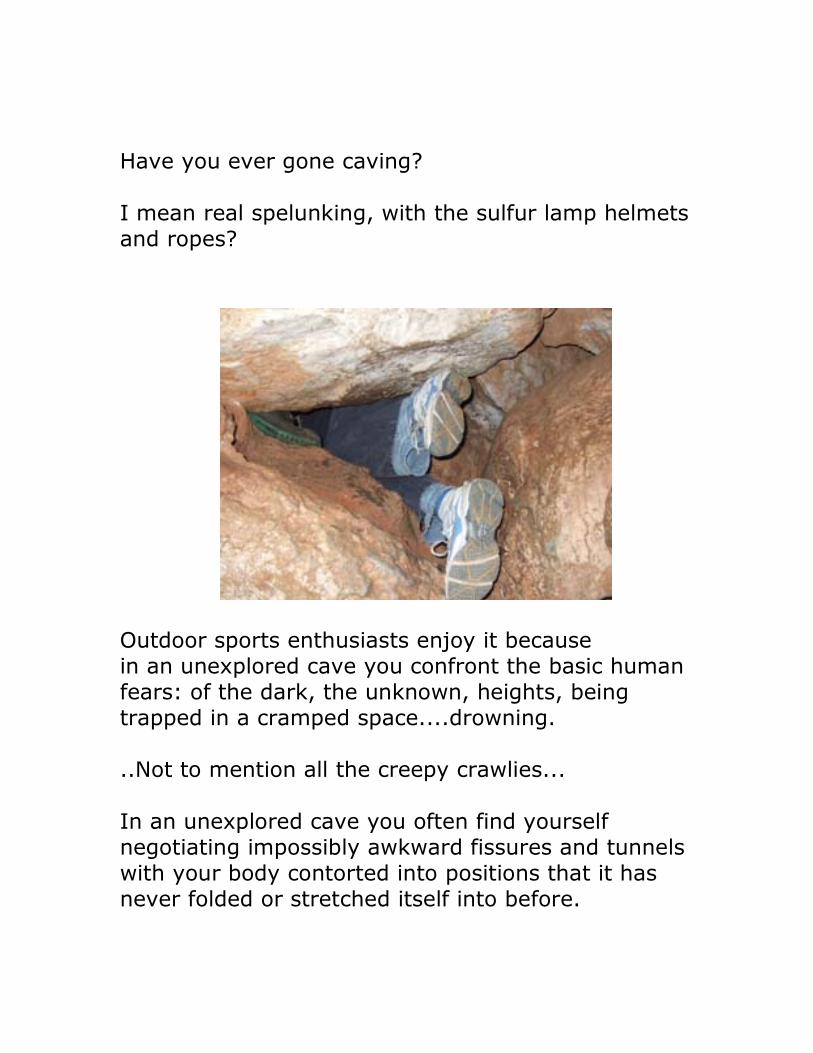
Have you ever gone caving?
I mean real spelunking, with the sulfur lamp helmets
and ropes?
Outdoor sports enthusiasts enjoy it because
in an unexplored cave you confront the basic human
fears: of the dark, the unknown, heights, being
trapped in a cramped space....drowning.
..Not to mention all the creepy crawlies...
In an unexplored cave you often find yourself
negotiating impossibly awkward fissures and tunnels
with your body contorted into positions that it has
never folded or stretched itself into before.
Sometimes it feels like your inner gyroscope has
been smashed and you've lost your orientation to the
earth.
Suddenly you're up against the wall (of your own
fury.) It starts with confusion and indecision about
which limb or body part to move where next.
Irritation transitions into frustration and escalates
into panic as you wonder if you'll be able to wriggle
out of that position, ever.
Anger born of desperation arises. (Nobody told you
you would have to be Houdini!.)
But if you're rational and have a little faith, you can
get a grip. And calm descends.
Your heart rate slows back to normal and your
thinking settles down.
And you your body -– not you – figures out how to
solve the puzzle you've placed it in.
That's how you get through that particular passage.
And after a few of these episodes, you start to enjoy
the adventure and amazement of caving.
That's my analogy for the modality shift from left to
right brain.
If that's a little too over-dramatic for you, here's a
less extreme one:

(We're talking about contour drawing, remember):
Have you ever sat behind a driving simulator at a
video game arcade?
As you steer your make-believe Formula One racer
around sharp, make-believe bends, you shift your
weight around on your seat. Your eyes fool you into
thinking you're behind the wheel of a careening car.
Your body reacts.
It's physical.
Blind contour is driving with your eyes on the road
ahead. You veer to the left. You lean to the right.
You dip. You rise. You push forward, pull back.
After a while, the pattern loving right brain takes
over the wheel and it's fun.
Try drawing contour in “left brain” and it's not nearly
so fun. No only is it near impossible to do, but you
feel fidgety and impatient. You want to know where
this is going and how you measure up. You’re
anxious for results.
You'll stop being so antsy and anxious when you
cross over. Then you're in a world of pattern,
appreciation and relatedness.
It's what Nicolaides calls (rather mysteriously) “the
experience of seeing rightly.”
Contour drawing is like the children’s nursery song:
Did you ever see a lassie?
Did you ever see a lassie,
A lassie,
A lassie?
Did you ever see a lassie
Go this way and that?
Go this way and that way,
And that way and this way,
Did you ever see a lassie
Go this way and that?
Did you ever see a laddie,
A laddie,
A laddie?
Did you ever see a laddie
Go this way and that?
Go this way and that way,
And that way and this way,
Did you ever see a laddie
Go this way and that?
It's “this way and that way” drawing.
It's the ladybug hugging terra firma as she creeps
along, patiently covering all those changes in the
topography.
It's your pencil 'getting' all of those angles and
directions right as you go.
Contour is the heavy lifting of drawing.
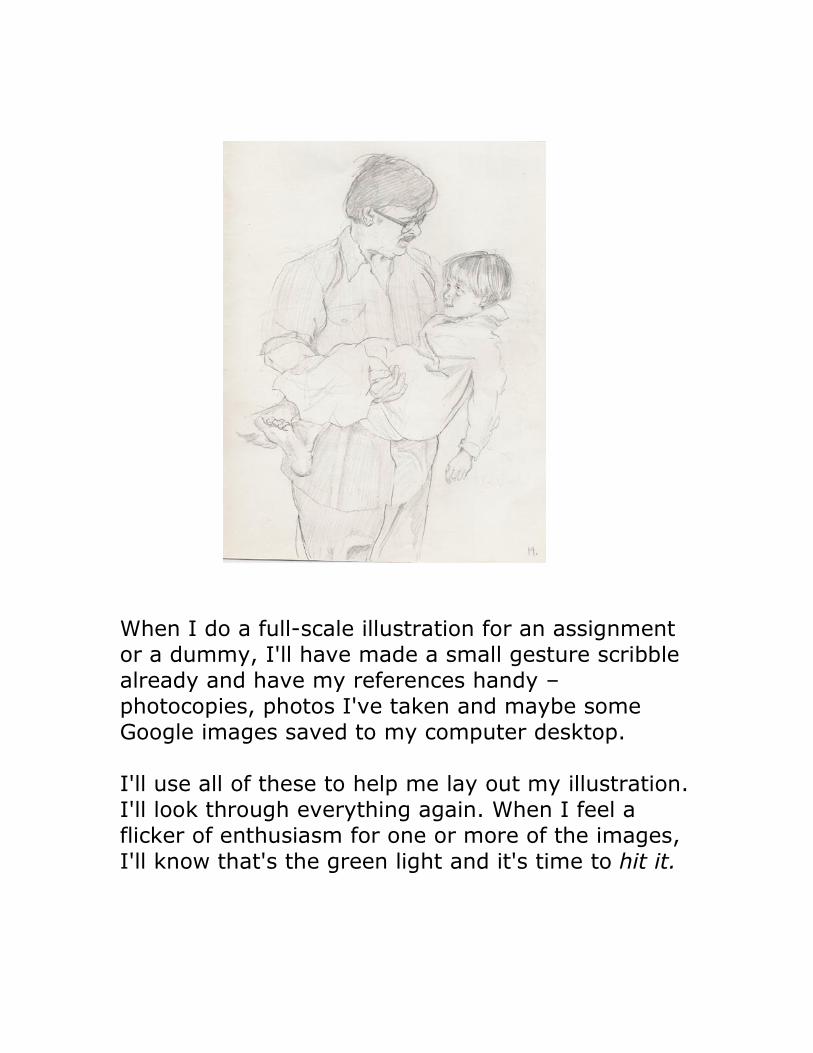
When I do a full-scale illustration for an assignment
or a dummy, I'll have made a small gesture scribble
already and have my references handy –
photocopies, photos I've taken and maybe some
Google images saved to my computer desktop.
I'll use all of these to help me lay out my illustration.
I'll look through everything again. When I feel a
flicker of enthusiasm for one or more of the images,
I'll know that's the green light and it's time to hit it.
First I'll draw a frame. The “book page.” It should
roughly match the aspect ratio (or format) of the
book you envision.
It does not matter if you're drawing on good drawing
paper or scanner-printer-copy paper. Or tracing
paper. Or a sheet torn from your sketchbook.
Next, I'll draw the rectangle that will hold story text
– the “text box” in the “page.”
Next comes an informal border above the text box.
It's where I think I want art to go.
And in here, I'll recreate the gesture from my
thumbnail scribble.
But first, if I think linear perspective might play a
part a part in this illustration, I'll draw a horizon line
across the “art box” and in fact the entire page.
Now I'll dash in the gesture. Shucks, it may not have
the spontaneous brilliance of the original gesture.
But I do the best I can.
If I have a few characters interacting in the scene,
I'll try to group them all into one complex gesture,
like I did in my thumbnail.
Except this time I have a lot of references to help
me.
I'll try to include everything that plays into the scene
in my gesture. That means every prop and
background detail gets at least a mark -- a nod –
somewhere in the picture scene.
I indicate these almost as “placeholders” in the
composition. I'm laying out everything in this larger
gesture sketch. I do it quickly, without a care in the
world, in the same spirit as I did the original
thumbnail gesture.
This stage used to be the most anxiety provoking
for me – the layout, where design decisions are
made.
Oh, how I would fret. Which references would work
the best? How would I get them to work with each
other? How would I get everything to fit (the way I
wanted) on the page?
But when I learned to loosely gesture in (I'll re-
emphasize the word – GESTURE) the scene –
applying the same relaxed, nearly disinterested
approach that I used for my thumbnail scribbles – I
noticed that decisions started to make themselves.
That's always what you want, right?
I fill the space, dropping in my “gesture
placeholders” quickly – almost in one big gestural
dance.
I have the references all around me to to help me
with this.
I know not to worry about this 'drawing.'
I know it's all rehearsal because none of these lines
will really stay in the finished drawing.
It's too early.
Nothing in it is make or break.
I'm getting the gesture down, ticking off my scene
elements, keeping phi in mind as I carve up or divide
the picture space.
I'm playing air guitar here. It's fun.
The trick is not caring what it looks like.
(For the gesture, keep in mind that the stance of the
legs are often what creates the movement or the
energy in the scene. You're capturing the essential
impulse/energy of the subjects, be they animate and
inanimate.
Finally I've laid out the whole page in gestures. It's
really like one big gesture that may incorporate
several, a series, of little gestures.
I shift gears and go into contour.
I'll draw the contours of everything that matters in
the scene.
I keep my references around me where I can see
them and I draw slowly, sensitively over the gestural
“placeholder” I've just made.
I draw the edges of the forms – just like I'm trace
them (in my subconscious) with my thumb
I'm “living on the edge” now, keeping in mind the
textured surface of what I'm articulating.
I'm following up and down, going over the forms,
turning this way and that way, trying not to miss any
important directional shift.
The less you look at your drawing as you do these
contours, the fresher the illustration will look and the
less predictable it will be.
We should all be doing a little blind contour drawing
every day. It's how we train ourselves to respond to
form.
This is the hand-eye coordination you hear so much
about in art classes, and it is the crux of drawing as
most people know it. It's the 'hard part' of drawing.
But notice it's not really hard.
I haven't done a whole lot of analytical thinking or
'problem solving.'
I've not applied any strategy of typical art
instruction.
I've not concerned myself with any formulas of
anatomical structure. I've not done a lot of plotting
Or unnecessary drawing.
I've just followed the edge as if I'm running my
finger along it.
I won't say it's easy. Following the edge is a little
tricky because it takes discipline to “stay there” – in
the face of distractions.
It is the ladybug walking meditation.
The good news is that plenty of things in life don't
come easily and naturally at first (walking,
swimming, riding a bike, driving a car or dancing
Flamenco) but you can learn to do them with the
right training and persistence.
Don't forget: You have a silent partner helping you
here. Your right brain – your inner artist. She was
built for just this sort of mental 'reaching out' and
helping you find your way around space.
You'll meet her when you make contour drawings the
right way.
Your homefun:
1.) Decide which thumbnail scribble you
want to work up into a full drawing. (It
might appear in your book dummy.)
2.) Assemble your references around you.
With your reference imagery spread before you, lay
out a composition. You'll start by re-gesturing your
scene. Make your design and placement decisions
on the fly. Do the full layout in one take.
3.) Now, do the detailed outlines, drawing
over the gestures. You can erase back some of those
gesture lines if it makes it easier for you. Focus on
the edges of your forms. Don't worry about the end
result.
4.) Check out some of these drawing
videos. (Don't worry about the information in them.
Just watch them for fun.)
http://www.youtube.com/watch?v=FvfhChnINhU
Portraits
http://www.youtube.com/watch?v=PrzvB3BuujE&feature=channel
http://www.youtube.com/watch?v=RiUfVKPEKxU&feature=channel
Contour drawinghttp://www.youtube.com/watch?v=SL3LiR_pvsU&feature=related

Contour drawing an apple
http://www.youtube.com/watch?v=a7pspVdTvOU&feature=channel
Blind contour self portrait
http://www.youtube.com/watch?v=LAJOU4byON4&feature=related
Burton Silverman is amazing to watch (Remember, it's just for fun.)
http://www.youtube.com/watch?v=iugJ8C4nCsA&feature=related
Hand structurehttp://www.polykarbon.com/tutorials/hands/hands.htm
5.) Conclude “Pirates of Penzance”
(Remember, it might be on the final.)
http://www.youtube.com/watch?v=gzSTTTCOHr4&NR=1
http://www.youtube.com/watch?v=I1r_KUjRRxM&NR=1
Central Park production
http://www.youtube.com/watch?v=Ov4RMQQRRnw&feature=related
http://math.boisestate.edu/gas/pirates/web_op/pirates25.html
Thrilling conclusion
http://www.youtube.com/watch?v=sf9jXlX6l0A&feature=related
http://www.youtube.com/watch?v=osvT1MQckSA&feature=related
http://www.youtube.com/watch?v=fDlkbai_Ftk&feature=related
http://www.youtube.com/watch?v=zkkn6X6c8nM&feature=related
http://www.youtube.com/watch?v=SRf74-WofI0&feature=related
http://math.boisestate.edu/gas/pirates/web_op/pirates27.html
Make Your Splashes; Make Your Marks! The power course on creating great drawings for
books, magazines and other media for children
Content © Copyright 2009 by Mark Mitchell