Embed Size (px)
Citation preview
t h e e n g l e f i e l d
homeowner’scare guide
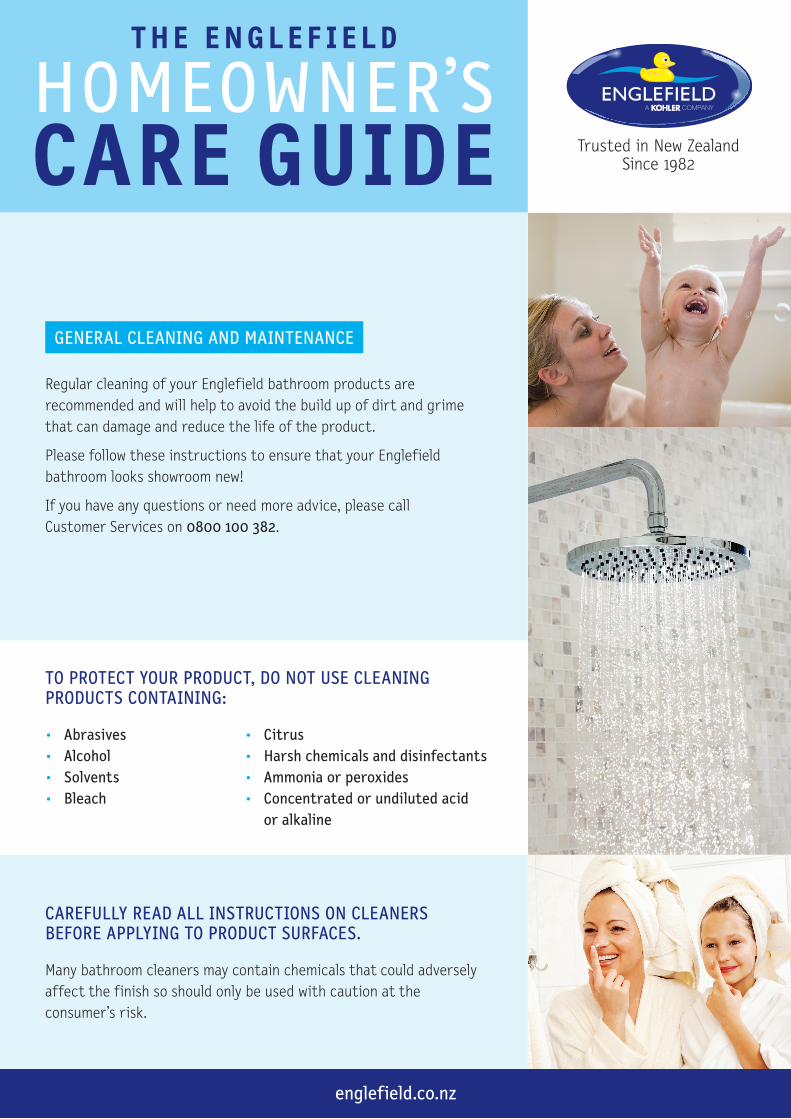
Regular cleaning of your Englefield bathroom products are recommended and will help to avoid the build up of dirt and grime that can damage and reduce the life of the product.
Please follow these instructions to ensure that your Englefield bathroom looks showroom new!
If you have any questions or need more advice, please call Customer Services on 0800 100 382.
GenerAL CLeAnInG AnD mAInTenAnCe
• Abrasives • Alcohol • solvents• Bleach
• Citrus • harsh chemicals and disinfectants• Ammonia or peroxides• Concentrated or undiluted acid
or alkaline
To ProTeCT YoUr ProDUCT, Do noT Use CLeAnInG ProDUCTs ConTAInInG:
Many bathroom cleaners may contain chemicals that could adversely affect the finish so should only be used with caution at the consumer’s risk.
CAreFULLY reAD ALL InsTrUCTIons on CLeAners BeFore APPLYInG To ProDUCT sUrFACes.
englefield.co.nz
the englefield homeowner’s care guide
Englefield Offers the Total Bathroom Solution2
showers
ACrYLIC sUrFACes (shower wALLs AnD shower TrAYs)
To clean acrylic surfaces use non-abrasive soap and water.
It is recommended that the product surface is wiped dry after each use to prevent the build up of soap and scum.
GLAss (shower Doors AnD reTUrn PAneLs)
Glass can become permanently stained by allowing water to remain on the surface. To avoid damage, clean and dry the glass after each use and carefully read all instructions of cleaners before applying to the glass surface.
mILAno showers
CoATeD InTerIor GLAss
Interior glass is treated with ClearShield® premium protection, so that it ’s always much
reCommenDeD CLeAnInG AnD mAInTenAnCe ProCeDUres For eACh ProDUCT CATeGorY
easier to clean, and easier to keep clean. It resists staining, therefore maintaining visibility, clarity and a sparkling appearance. It doesn’t support adhesion or bacteria growth, so is very much more hygienic. This protection is strong and durable, and of the highest quality – just a few more important details that Englefield cares about!
mAInTenAnCe oF The TreATeD GLAss Is eAsYAfter showering, just hold the detachable shower head* to the top corner of the glass and move across working down the glass in a zig-zag motion. The water will run freely down the glass leaving only small droplets on the surface. Dry any remaining water droplets by dabbing with a dry microfibre cloth (or similar).
Instead of rinsing and drying with a cloth you may also use a squeegee to dry the glass immediately after showering**.
LImesCALe remoVerAfter some time, you may note that trails of water or an excessive number of droplets remain on the glass after showering. If so, rinse that area again as mentioned above. If the water trails or excessive droplets remain on the glass, it is then time to apply your limescale remover. Simply squirt onto wet glass or directly onto pad supplied, agitate the area of concern and rinse off. The more effort used in rinsing and drying (or just drying if using a squeegee**), the less often the limescale remover is required.
ConDITIonerIf, after a while, the water has noticeably slowed down in its descent down the glass, it is time to apply the Conditioner. Apply onto dry glass. Agitate with a damp pad or clean cloth for approximately one minute, then rinse off with shower head. The Conditioner promotes longevity and performance.
Provided these instructions are adhered to, the guarantee will remain validated.
*Use a jug of water and use in the same way if you have a fixed shower head.
**Drying with a squeegee may require more frequent application of the limescale remover.
Frequency of limescale remover and conditioner application will depend on your actual usage.
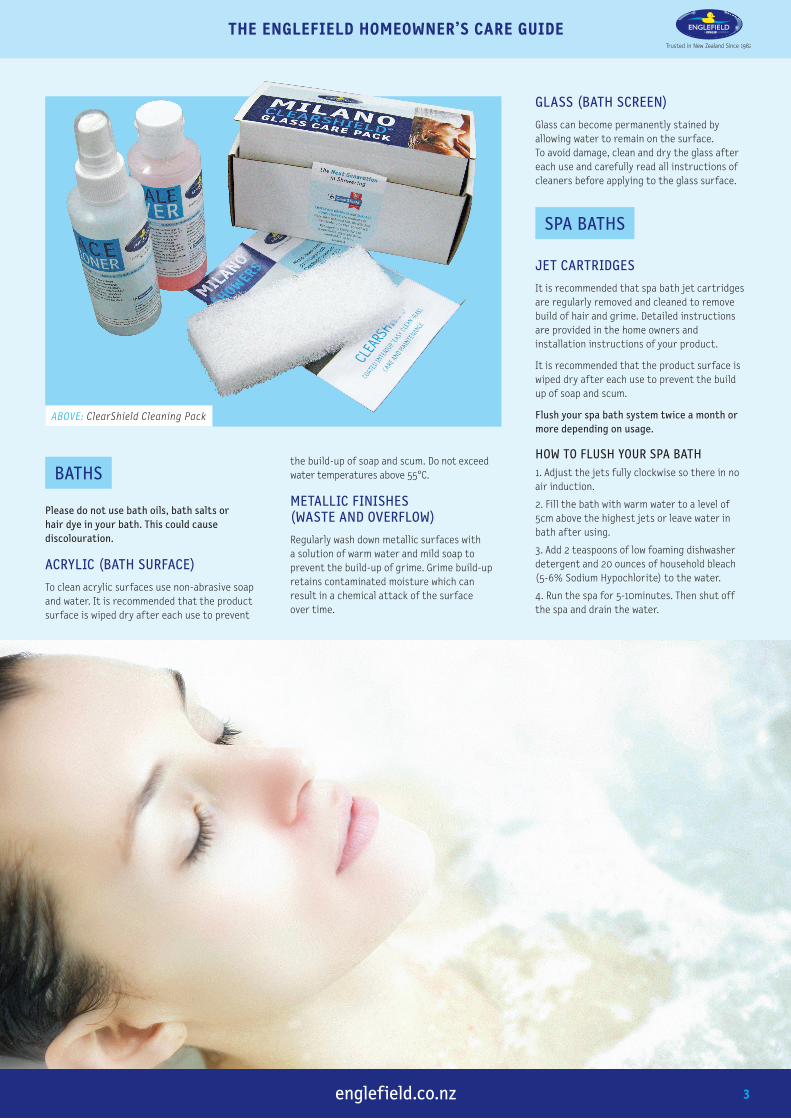
You can order a Clearshield Cleaning Pack direct from englefield Customer services 0800 100 382.
ALUmInIUm exTrUsIons (shower Door FrAmes)
Regularly wash down aluminium extrusions with a solution of warm water and mild soap to prevent the build up of grime. Grime build up retains contaminated moisture which can result in a chemical attack of the surface over time.
the englefield homeowner’s care guide
englefield.co.nzEnglefield Offers the Total Bathroom Solution 3
BAThs
Please do not use bath oils, bath salts or hair dye in your bath. This could cause discolouration.
ACrYLIC (BATh sUrFACe)
To clean acrylic surfaces use non-abrasive soap and water. It is recommended that the product surface is wiped dry after each use to prevent
ABOVE: ClearShield Cleaning Pack
the build-up of soap and scum. Do not exceed water temperatures above 55°C.
meTALLIC FInIshes (wAsTe AnD oVerFLow)
Regularly wash down metallic surfaces with a solution of warm water and mild soap to prevent the build-up of grime. Grime build-up retains contaminated moisture which can result in a chemical attack of the surface over time.
GLAss (BATh sCreen)
Glass can become permanently stained by allowing water to remain on the surface. To avoid damage, clean and dry the glass after each use and carefully read all instructions of cleaners before applying to the glass surface.
sPA BAThs
jeT CArTrIDGes
It is recommended that spa bath jet cartridges are regularly removed and cleaned to remove build of hair and grime. Detailed instructions are provided in the home owners and installation instructions of your product.
It is recommended that the product surface is wiped dry after each use to prevent the build up of soap and scum.
Flush your spa bath system twice a month or more depending on usage.
how To FLUsh YoUr sPA BATh1. Adjust the jets fully clockwise so there in no air induction.
2. Fill the bath with warm water to a level of 5cm above the highest jets or leave water in bath after using.
3. Add 2 teaspoons of low foaming dishwasher detergent and 20 ounces of household bleach (5-6% Sodium Hypochlorite) to the water.
4. Run the spa for 5-10minutes. Then shut off the spa and drain the water.
the englefield homeowner’s care guide
Englefield Offers the Total Bathroom Solution4
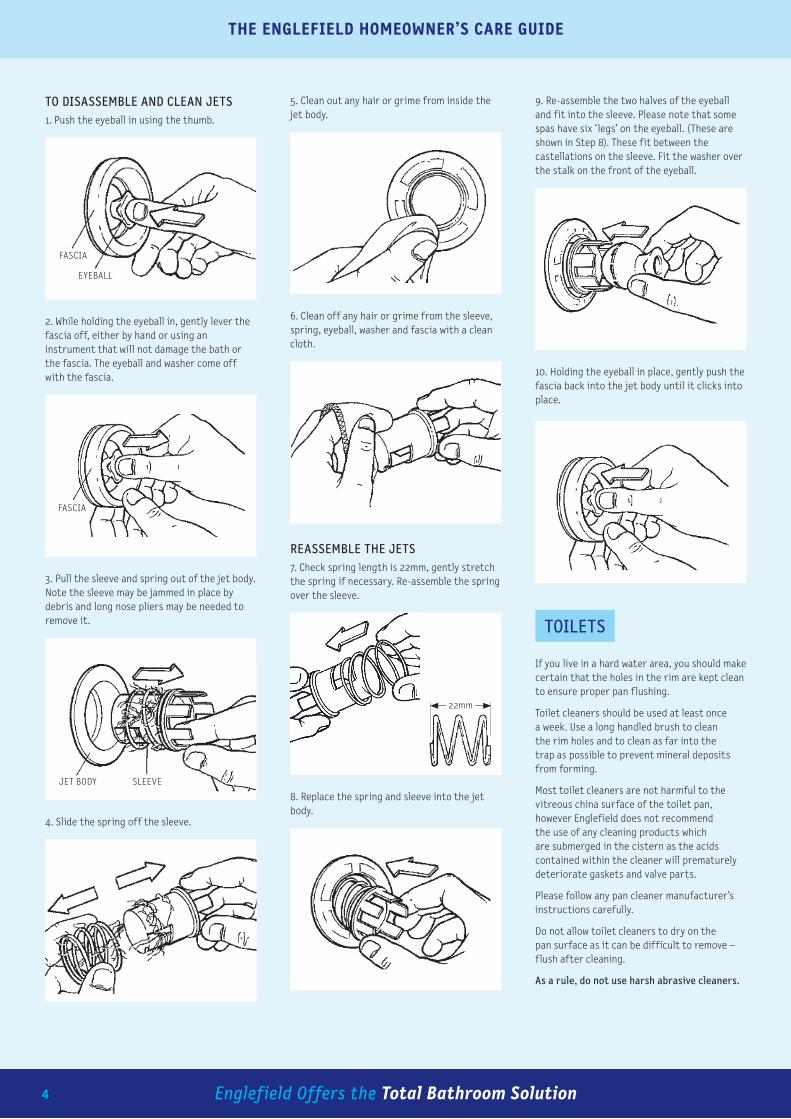
To DIsAssemBLe AnD CLeAn jeTs1. Push the eyeball in using the thumb.
FASCIA
EyEbAll
2. While holding the eyeball in, gently lever the fascia off, either by hand or using an instrument that will not damage the bath or the fascia. The eyeball and washer come off with the fascia.
FASCIA
3. Pull the sleeve and spring out of the jet body. Note the sleeve may be jammed in place by debris and long nose pliers may be needed to remove it.
jET boDy SlEEvE
4. Slide the spring off the sleeve.
5. Clean out any hair or grime from inside the jet body.
6. Clean off any hair or grime from the sleeve, spring, eyeball, washer and fascia with a clean cloth.
reAssemBLe The jeTs7. Check spring length is 22mm, gently stretch the spring if necessary. Re-assemble the spring over the sleeve.
22mm
8. Replace the spring and sleeve into the jet body.
9. Re-assemble the two halves of the eyeball and fit into the sleeve. Please note that some spas have six ‘legs’ on the eyeball. (These are shown in Step 8). These fit between the castellations on the sleeve. Fit the washer over the stalk on the front of the eyeball.
10. Holding the eyeball in place, gently push the fascia back into the jet body until it clicks into place.
ToILeTs
If you live in a hard water area, you should make certain that the holes in the rim are kept clean to ensure proper pan f lushing.
Toilet cleaners should be used at least once a week. Use a long handled brush to clean the rim holes and to clean as far into the trap as possible to prevent mineral deposits from forming.
Most toilet cleaners are not harmful to the vitreous china surface of the toilet pan, however Englefield does not recommend the use of any cleaning products which are submerged in the cistern as the acids contained within the cleaner will prematurely deteriorate gaskets and valve parts.
Please follow any pan cleaner manufacturer’s instructions carefully.
Do not allow toilet cleaners to dry on the pan surface as it can be difficult to remove – f lush after cleaning.
As a rule, do not use harsh abrasive cleaners.

the englefield homeowner’s care guide
englefield.co.nzEnglefield Offers the Total Bathroom Solution 5
BIDeT seATs
wArnInG: Disconnect the power plug while cleaning the product. Failure to do so may cause electric shock or injury.
CAUTIon: never use acidic or alkaline toilet detergent, benzene, thinner, cleanser or nylon scrubber when cleaning the product. Doing so may damage plastic or metallic parts.
mAIn UnIT
1. Disconnect the power plug from the wall outlet.
2. Use a soft and wet (with water) cloth only when cleaning the unit.
3. Clean with a soft and wet (with neutral detergent) cloth if the unit is very dirty, and wipe off the detergent with a wet (with water) cloth. Check the detergent type before using the detergent. Seat cover may be separated for cleaning.
4. Connect the power plug to the wall outlet after cleaning is complete.
seAT sePArATIon AnD re-AssemBLY
sePArATIon
1. Close the cover.
2. Stretch out the right hand shaft of the seat cover.
3. Pull out the left hand shaft of the seat cover.
4. Remove the seat cover.
re-AssemBLY
1. Insert the right hand shaft of the seat cover to the right hand side of main unit.
2. Insert the left hand shaft of the seat cover to the left hand side of main unit.
noTe: Do not close the toilet seat or seat cover forcibly. Doing so may damage the rotation shaft, thus preventing easy opening and closing.
the englefield homeowner’s care guide
Englefield Offers the Total Bathroom Solution6
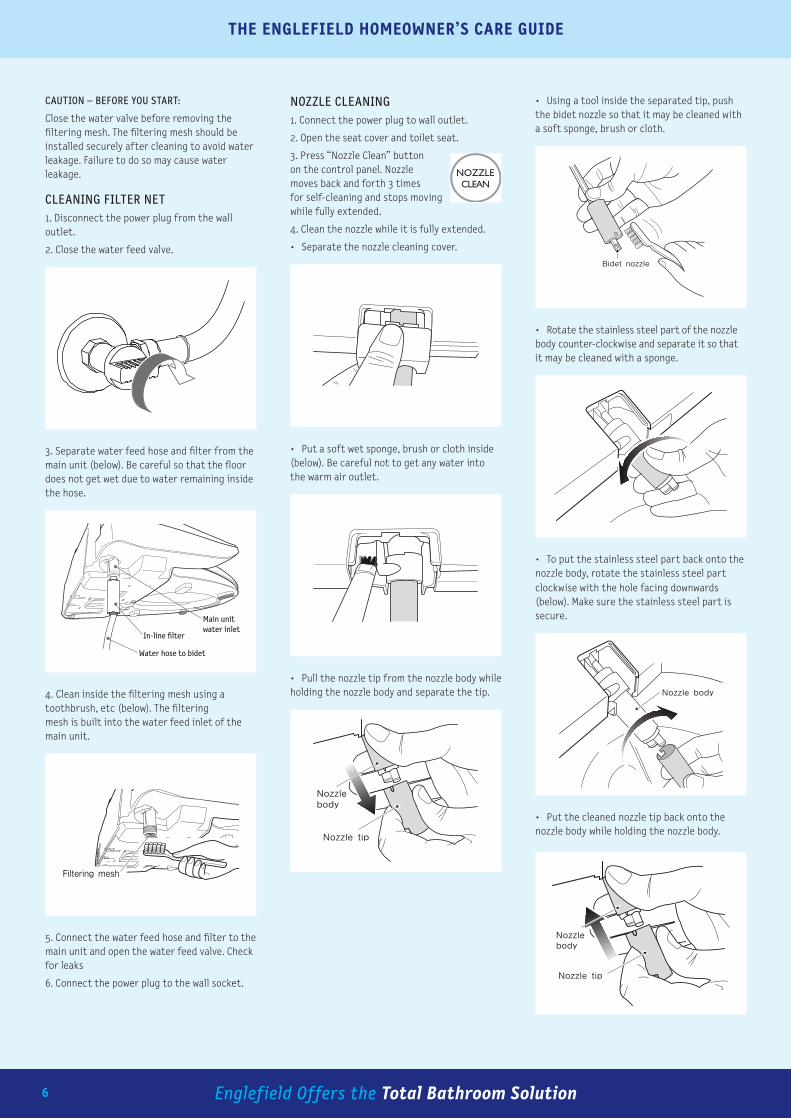
CAUTIon – BeFore YoU sTArT:
Close the water valve before removing the filtering mesh. The filtering mesh should be installed securely after cleaning to avoid water leakage. Failure to do so may cause water leakage.
CLeAnInG FILTer neT1. Disconnect the power plug from the wall outlet.
2. Close the water feed valve.
3. Separate water feed hose and filter from the main unit (below). be careful so that the floor does not get wet due to water remaining inside the hose.
Water hose to bidet
In-line filter
Main unitwater inlet
4. Clean inside the filtering mesh using a toothbrush, etc (below). The filtering mesh is built into the water feed inlet of the main unit.
5. Connect the water feed hose and filter to the main unit and open the water feed valve. Check for leaks
6. Connect the power plug to the wall socket.
nozzLe CLeAnInG1. Connect the power plug to wall outlet.
2. open the seat cover and toilet seat.
3. Press “Nozzle Clean” button on the control panel. Nozzle moves back and forth 3 times for self-cleaning and stops moving while fully extended.
4. Clean the nozzle while it is fully extended.
• Separatethenozzlecleaningcover.
• Putasoftwetsponge,brushorclothinside (below). be careful not to get any water into the warm air outlet.
• Pullthenozzletipfromthenozzlebodywhileholding the nozzle body and separate the tip.
• Usingatoolinsidetheseparatedtip,pushthe bidet nozzle so that it may be cleaned with a soft sponge, brush or cloth.
• Rotatethestainlesssteelpartofthenozzlebody counter-clockwise and separate it so that it may be cleaned with a sponge.
• Toputthestainlesssteelpartbackontothenozzle body, rotate the stainless steel part clockwise with the hole facing downwards (below). Make sure the stainless steel part is secure.
• Putthecleanednozzletipbackontothenozzle body while holding the nozzle body.
the englefield homeowner’s care guide
englefield.co.nzEnglefield Offers the Total Bathroom Solution 7
PLeAse noTe:
• Donotdamagethenozzlehole.
• Donotapplyexcessiveforcetothenozzle.
• Donotseparateandcleanthenozzletoooften. Doing so may cause a problem.
• Cleansingnozzletipisassembledalittletightly to ensure air-tightness.
• Becarefulsothatnobodilyinjurymayoccurwhen separating the nozzle tip for cleaning.
5. Press “ ” (Stop) button on the control panel.
Nozzle retracts only when button is pressed after cleaning is done. There may be a strange sound when nozzle retracts, which does not indicate product failure.
6. Put the nozzle cleaning cover back and slowly close the toilet seat and cover.
TAPwAre / showerInG TAPwAre / ACCessorIes
All Finishes: Clean the finish with mild soap and warm water. Wipe entire surface completely dry with a clean soft cloth. Many cleaners may contain such chemicals as ammonia, chlorine, toilet chemicals etc. which could adversely affect the finish and are not recommended for cleaning.
Do not use abrasive cleaners or solvents on englefield tapware.
VITreoUs ChInA BAsIns
To clean vitreous china surfaces use non-abrasive soap and water.
It is recommended that the product surface is wiped dry after each use to prevent the build up of soap and scum.
FUrnITUre
DUrAsTone™ VAnITY ToPs
To clean Durastone vanity surfaces use non abrasive soap and water.
It is recommended that the product surface is wiped dry after each use to prevent the build up of soap and scum.
In the event of light scratches in the surface of the top, a mild abrasive such as Meguiars Mirror Glaze 28 All Metal Polish can be used to polish them out.
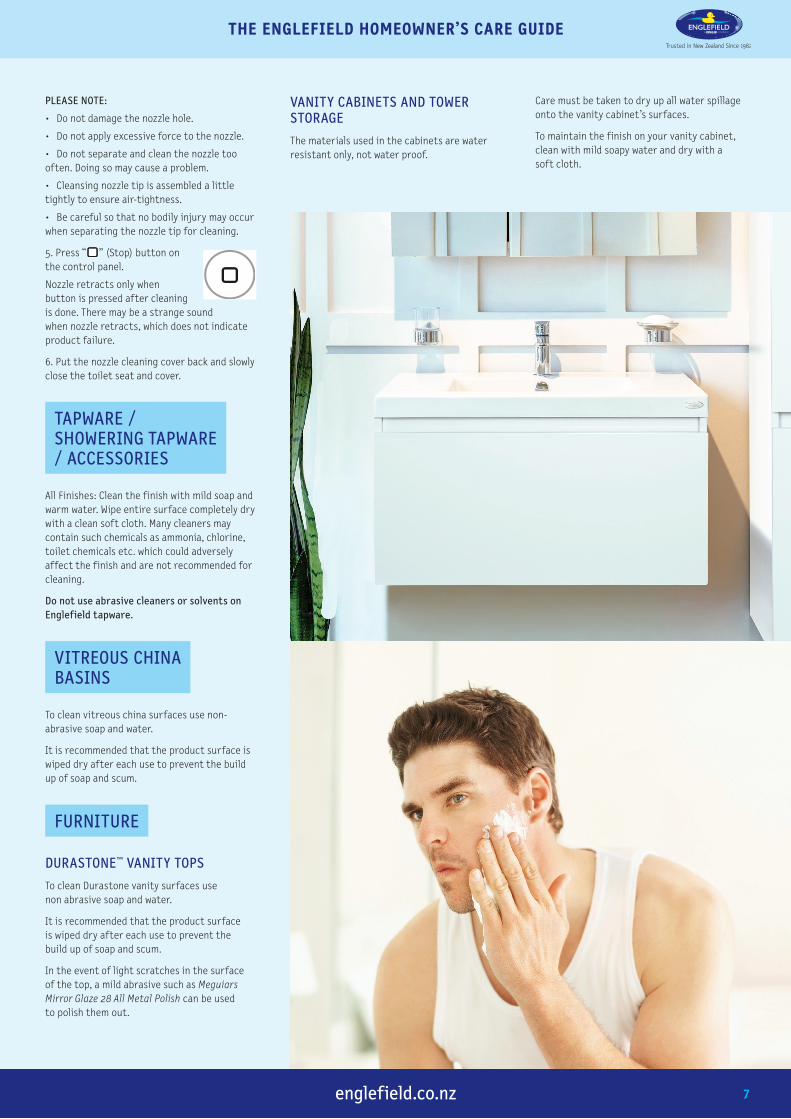
VAnITY CABIneTs AnD Tower sTorAGe
The materials used in the cabinets are water resistant only, not water proof.
Care must be taken to dry up all water spillage onto the vanity cabinet’s surfaces.
To maintain the finish on your vanity cabinet, clean with mild soapy water and dry with a soft cloth.
the englefield homeowner’s care guide
Englefield Offers the Total Bathroom Solution8
A shorT hIsTorY oF enGLeFIeLD.
Roger Englefield began his working life as a plumber in Waimate, New Zealand, but his trademark entrepreneurial f lair enabled him to start a number of very successful related companies in Christchurch, specialising in plumbing and large injection moulded products.
In the late seventies, he moved to Auckland and, recognising a niche in the market, set up a small operation in Glenfield producing baths for a company supplying to the Australasian market.
His son Derek joined him and, in the eighties, they took the opportunity to manufacture as their own entity.
Shower manufacture soon followed baths, and innovative products such as the complete shower enclosure and the Cabana complete shower with ceiling were developed. Roger, and his son Derek, continued to expand the business, exporting predominantly to Australia and Asia, winning a plethora of Plastic Institute and Design Awards along the way.
Englefield quickly became a leading brand in Australasia, with the reputation of supplying top quality products that could be trusted to endure.
In 2000, Kohler USA purchased Englefield, adding sanitary products (toilets), to the range, providing the complete bathroom solution.
Roger Englefield’s total commitment to his original 80’s philosophy, still lives on today: “Providing people with quality, enduring, well-designed product at an affordable price.”
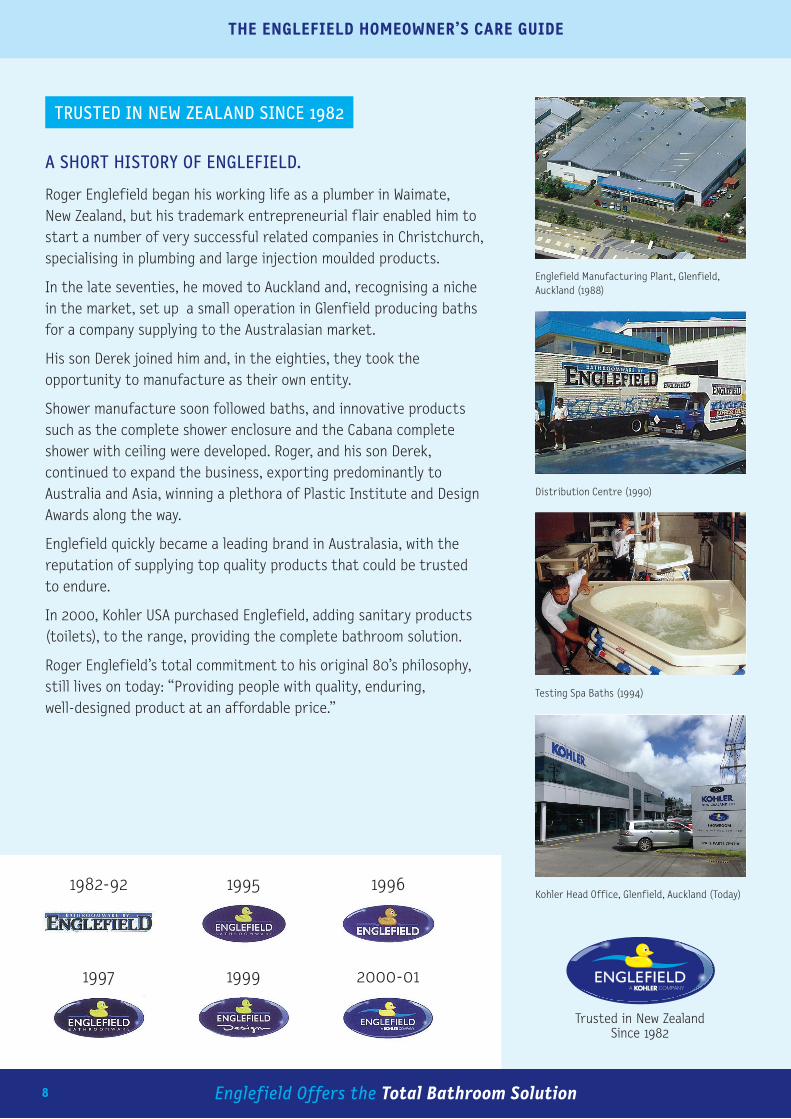
TrUsTeD In new zeALAnD sInCe 1982
Englefield Manufacturing Plant, Glenfield, Auckland (1988)
Distribution Centre ( 1990)
Testing Spa baths (1994)
Kohler Head office, Glenfield, Auckland ( Today)1982-92
1997
1995
1999
1996
2000-01