Embed Size (px)
Citation preview
Term 4Explanations of assignments
(If you are in class, you would get more detailed explanation with powerpoints, demonstrations, examples and other methods of learning.)
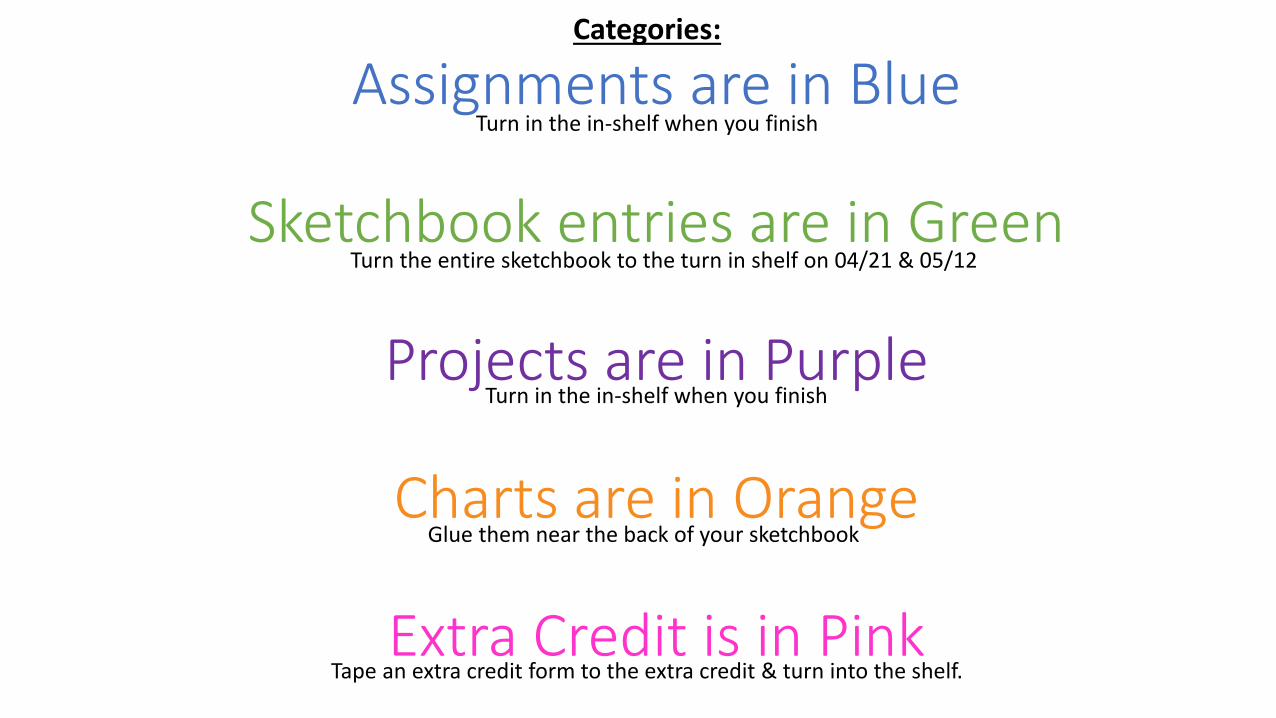
Assignments are in Blue
Sketchbook entries are in Green
Projects are in Purple
Charts are in Orange
Extra Credit is in Pink
Turn in the in-shelf when you finish
Turn in the in-shelf when you finish
Turn the entire sketchbook to the turn in shelf on 04/21 & 05/12
Glue them near the back of your sketchbook
Tape an extra credit form to the extra credit & turn into the shelf.
Categories:
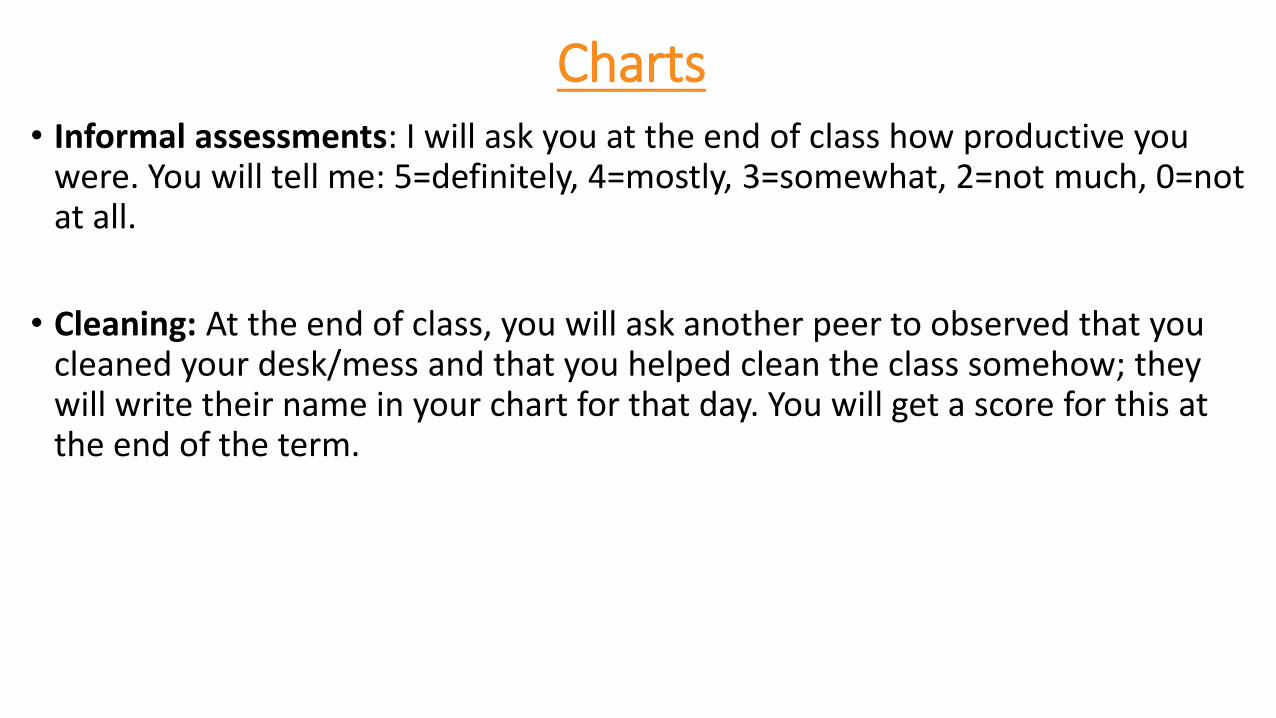
Charts• Informal assessments: I will ask you at the end of class how productive you
were. You will tell me: 5=definitely, 4=mostly, 3=somewhat, 2=not much, 0=not at all.
• Cleaning: At the end of class, you will ask another peer to observed that you cleaned your desk/mess and that you helped clean the class somehow; they will write their name in your chart for that day. You will get a score for this at the end of the term.
Extra Credit
• Go back to the website and click on extra credit options
• You can ONLY do the extra credit that is listed on the website.
• You can only earn up to 200 points extra credit• If I offer a specific assignment at the very end of the semester, that will not count as
the 200 points.
• Approximately 1 minute of effort = 1 points.
Perspective lines & Atmospheric perspective Project
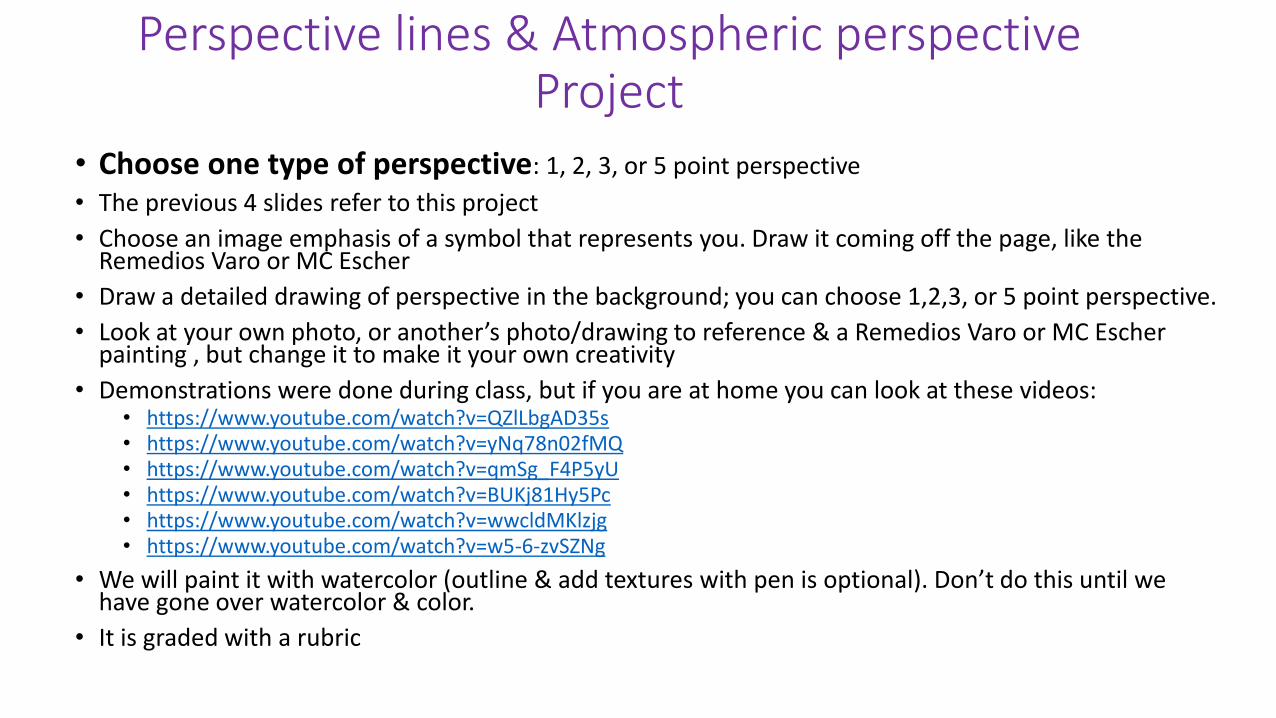
• Choose one type of perspective: 1, 2, 3, or 5 point perspective
• The previous 4 slides refer to this project
• Choose an image emphasis of a symbol that represents you. Draw it coming off the page, like the Remedios Varo or MC Escher
• Draw a detailed drawing of perspective in the background; you can choose 1,2,3, or 5 point perspective.
• Look at your own photo, or another’s photo/drawing to reference & a Remedios Varo or MC Escher painting , but change it to make it your own creativity
• Demonstrations were done during class, but if you are at home you can look at these videos: • https://www.youtube.com/watch?v=QZlLbgAD35s• https://www.youtube.com/watch?v=yNq78n02fMQ• https://www.youtube.com/watch?v=qmSg_F4P5yU• https://www.youtube.com/watch?v=BUKj81Hy5Pc• https://www.youtube.com/watch?v=wwcldMKlzjg• https://www.youtube.com/watch?v=w5-6-zvSZNg
• We will paint it with watercolor (outline & add textures with pen is optional). Don’t do this until we have gone over watercolor & color.
• It is graded with a rubric
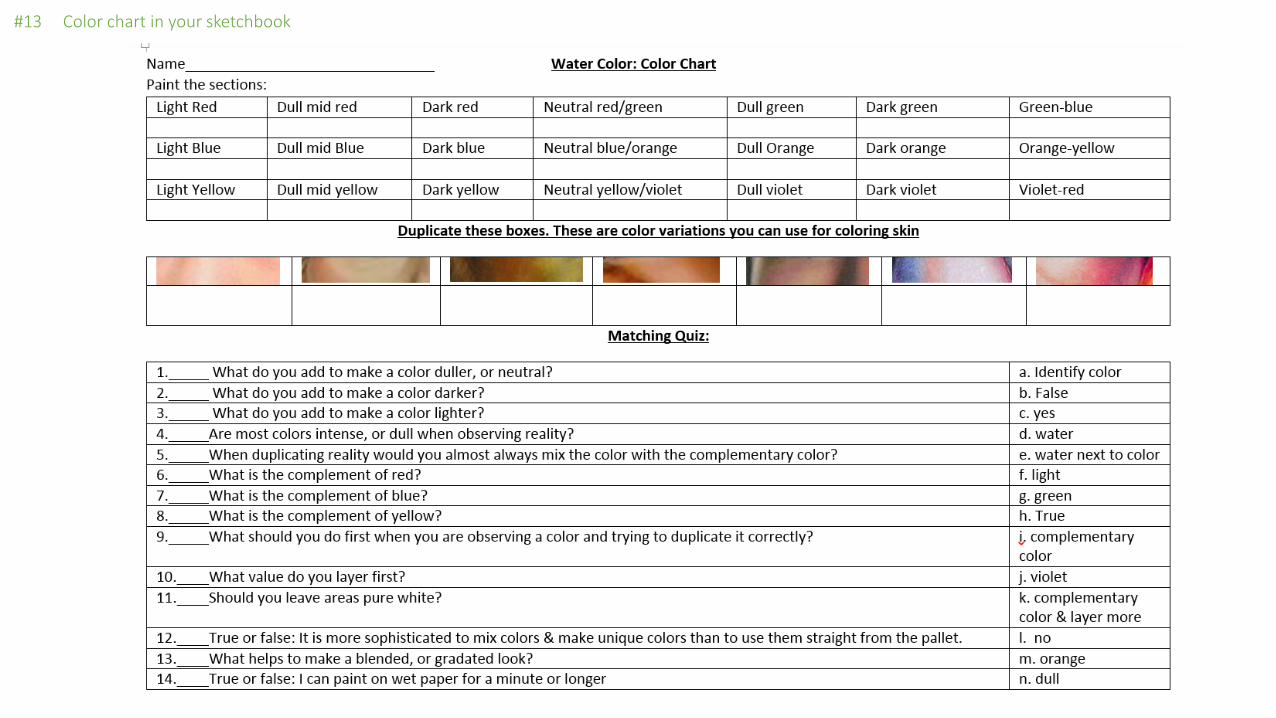
#13 Color chart in your sketchbook
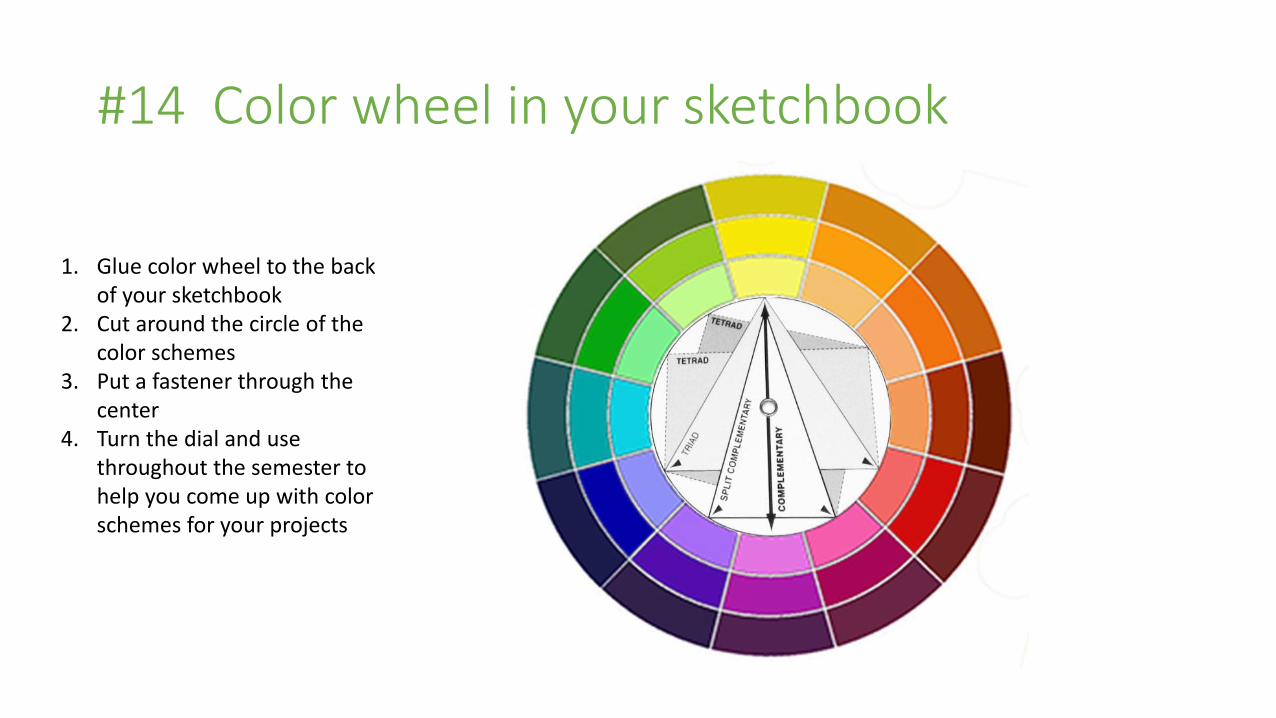
#14 Color wheel in your sketchbook
1. Glue color wheel to the back of your sketchbook
2. Cut around the circle of the color schemes
3. Put a fastener through the center
4. Turn the dial and use throughout the semester to help you come up with color schemes for your projects
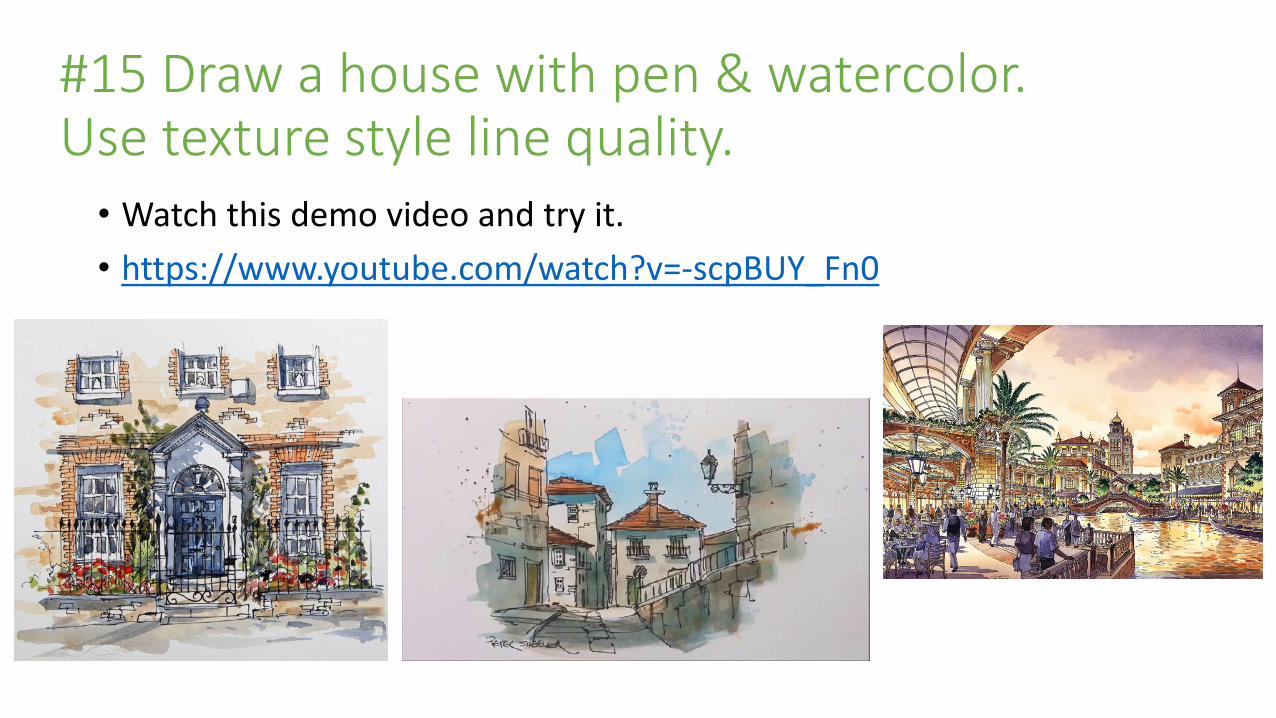
#15 Draw a house with pen & watercolor. Use texture style line quality. • Watch this demo video and try it.
• https://www.youtube.com/watch?v=-scpBUY_Fn0
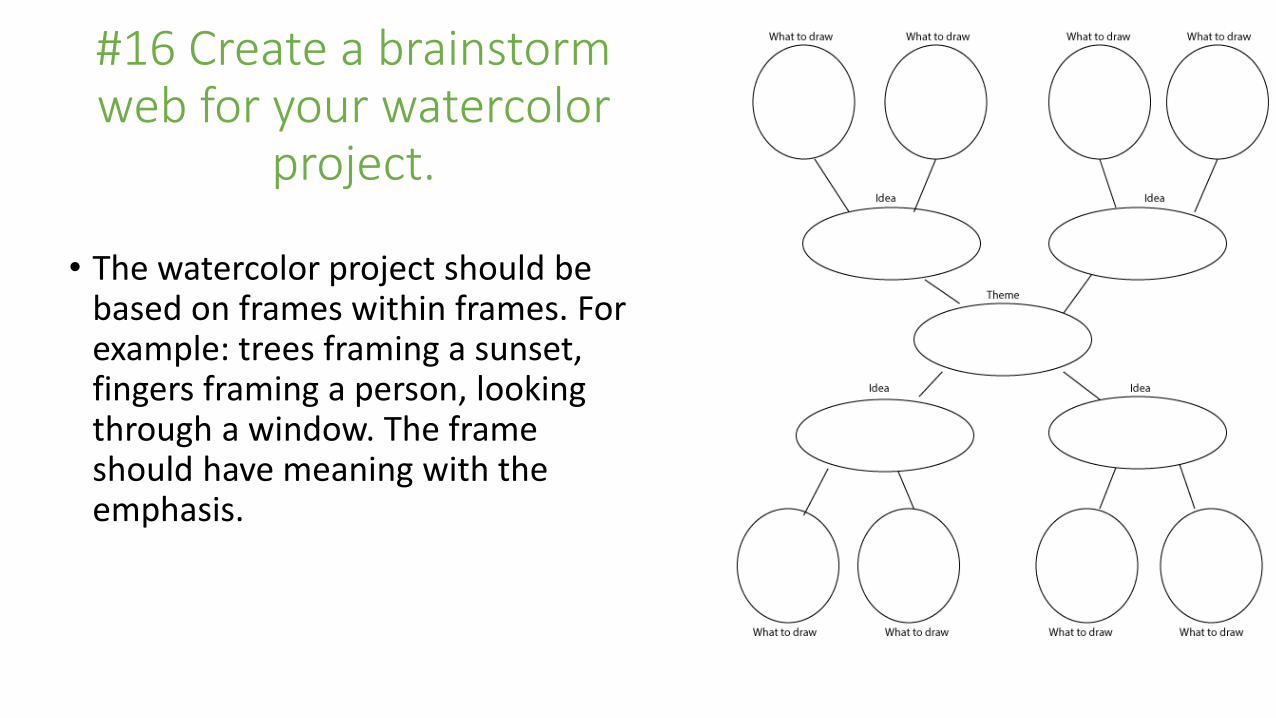
#16 Create a brainstorm web for your watercolor
project.
• The watercolor project should be based on frames within frames. For example: trees framing a sunset, fingers framing a person, looking through a window. The frame should have meaning with the emphasis.
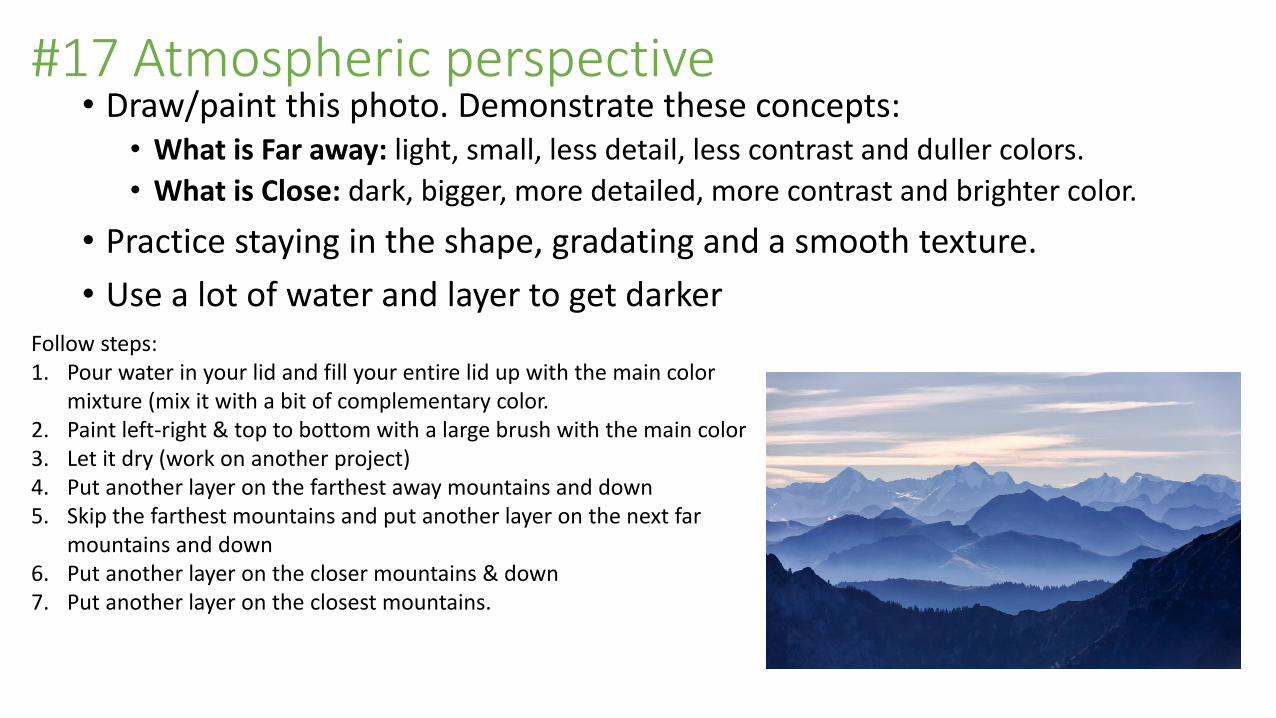
• Draw/paint this photo. Demonstrate these concepts: • What is Far away: light, small, less detail, less contrast and duller colors.
• What is Close: dark, bigger, more detailed, more contrast and brighter color.
• Practice staying in the shape, gradating and a smooth texture.
• Use a lot of water and layer to get darker
#17 Atmospheric perspective
Follow steps: 1. Pour water in your lid and fill your entire lid up with the main color
mixture (mix it with a bit of complementary color. 2. Paint left-right & top to bottom with a large brush with the main color3. Let it dry (work on another project)4. Put another layer on the farthest away mountains and down5. Skip the farthest mountains and put another layer on the next far
mountains and down6. Put another layer on the closer mountains & down7. Put another layer on the closest mountains.
#18 Ideas for your Watercolor Layering Project• Fill out a brainstorm web creating ideas for the theme: Within…..
• Draw 6 thumbnail sketches for ideas of your theme to include a framing composition and connection with the emphasis
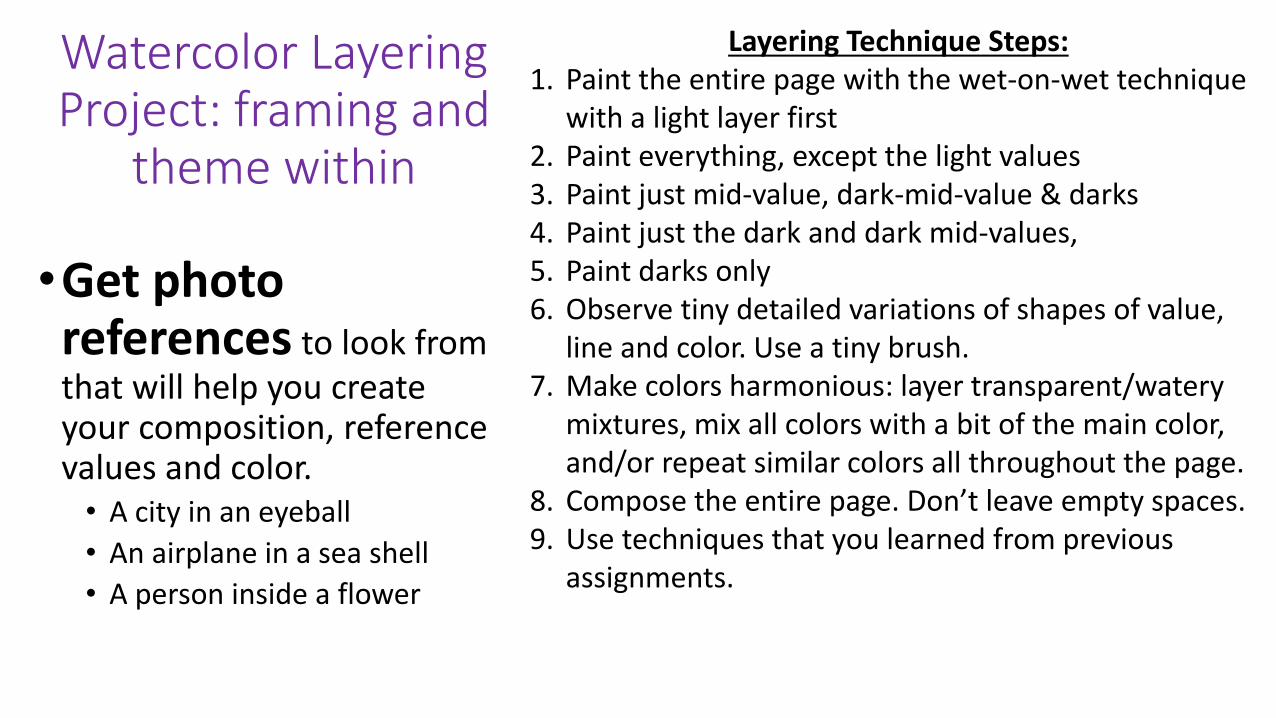
Watercolor Layering Project: framing and
theme within
•Get photo references to look from that will help you create your composition, reference values and color. • A city in an eyeball
• An airplane in a sea shell
• A person inside a flower
Layering Technique Steps:1. Paint the entire page with the wet-on-wet technique
with a light layer first2. Paint everything, except the light values 3. Paint just mid-value, dark-mid-value & darks4. Paint just the dark and dark mid-values,5. Paint darks only 6. Observe tiny detailed variations of shapes of value,
line and color. Use a tiny brush. 7. Make colors harmonious: layer transparent/watery
mixtures, mix all colors with a bit of the main color, and/or repeat similar colors all throughout the page.
8. Compose the entire page. Don’t leave empty spaces. 9. Use techniques that you learned from previous
assignments.
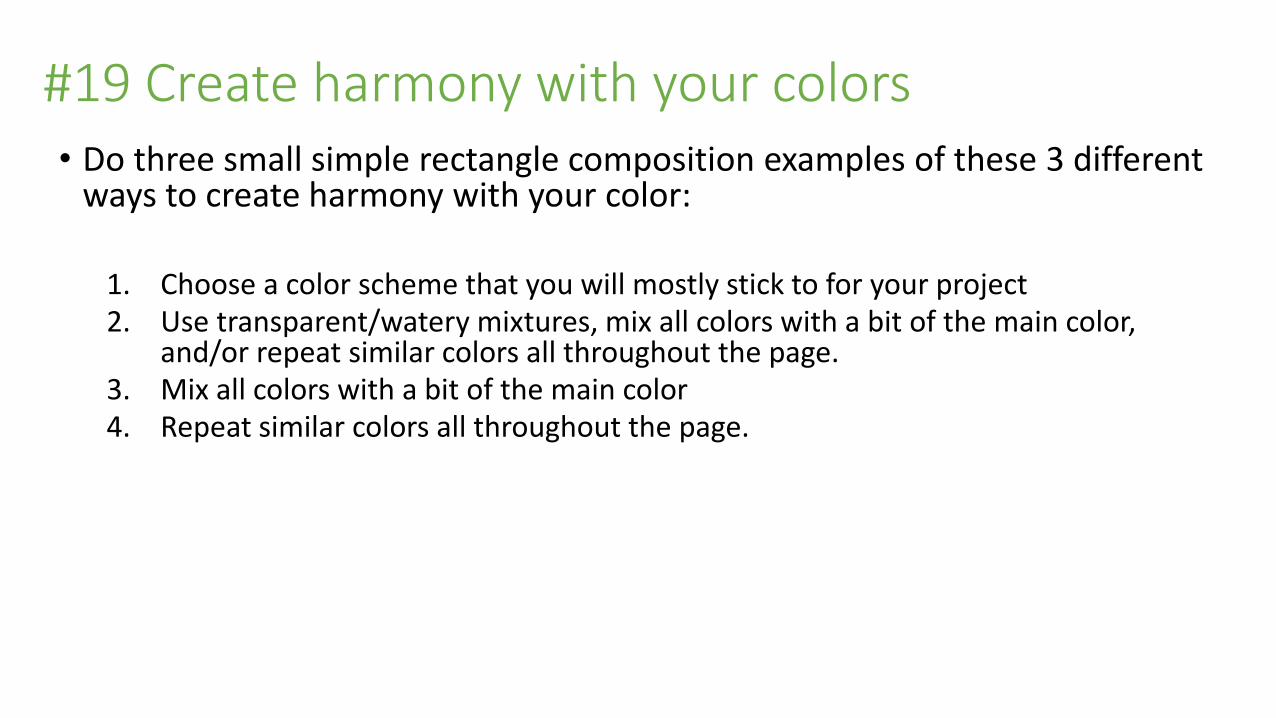
• Do three small simple rectangle composition examples of these 3 different ways to create harmony with your color:
1. Choose a color scheme that you will mostly stick to for your project2. Use transparent/watery mixtures, mix all colors with a bit of the main color,
and/or repeat similar colors all throughout the page. 3. Mix all colors with a bit of the main color4. Repeat similar colors all throughout the page.
#19 Create harmony with your colors
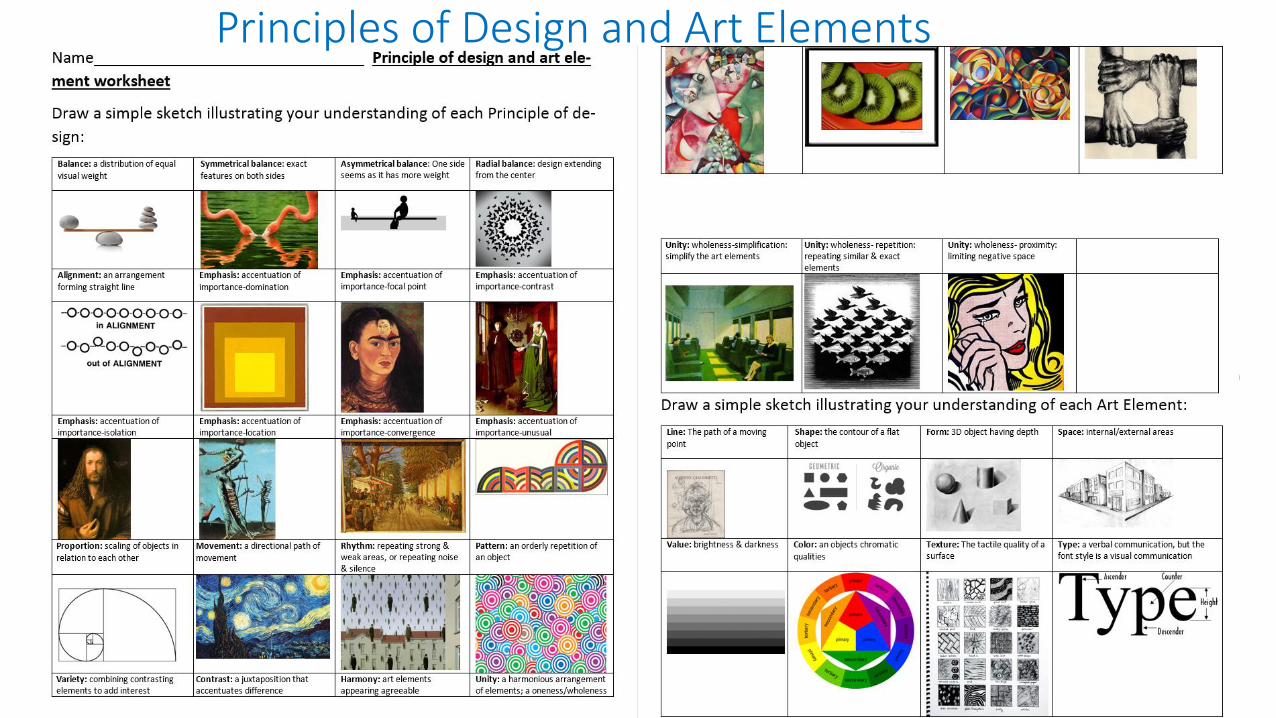
Principles of Design and Art Elements
#20 Monochromatic Watercolor Value Scale
• Paint a monochromatic value scale with complementary colors
• Five different values: dark, dark-mid, mid-value, light mid-value, light

#21 10 Watercolor techniques • Get a watercolor paper
• Do the 10 watercolor techniques• You can just fill in rectangle shapes. It doesn’t need to be anything fancy as long as you try each
technique.
• Put it in your sketchbook when you are done
• Techniques:
1. Gradation from dark to light2. Gradation color to a different color3. Wet on wet4. Salt 5. Toothpick6. Toothbrush7. White crayon8. Sponge9. Dry brush10. Plastic wrap

#21