Embed Size (px)
Citation preview

Taking Better Pictures Getting more from your subject
©2014 Domenico Pino
PinoDomenicoPhoto.com
Part 1 of 2 parts

OverviewGetting more from your subject
• Best Angles – what direction to shoot from
• Background – positioning your subject
• Posing – One, Two, Three...More
• Flash – Daytime use guidelines
• Motion – desired and undesired
• Opportunities – They’re everywhere

Best AnglesWhat Direction to Shoot From
• Inside– Place window behind you for group– Subject facing window provides a lovely soft profile– Avoid shooting subject next to a light fixture
• Outside– Overcast - Just about anywhere – Bright Sun - Sun at side and to your back– Open shade works well– Avoid light and dark shadows (Leaves, Grating)– Open Midday Sun can cause “Raccoon Eyes”

Using light from a window

Placing the Sun behind you and to the side illuminates the subject well and sculpts with light to produce a more 3D look
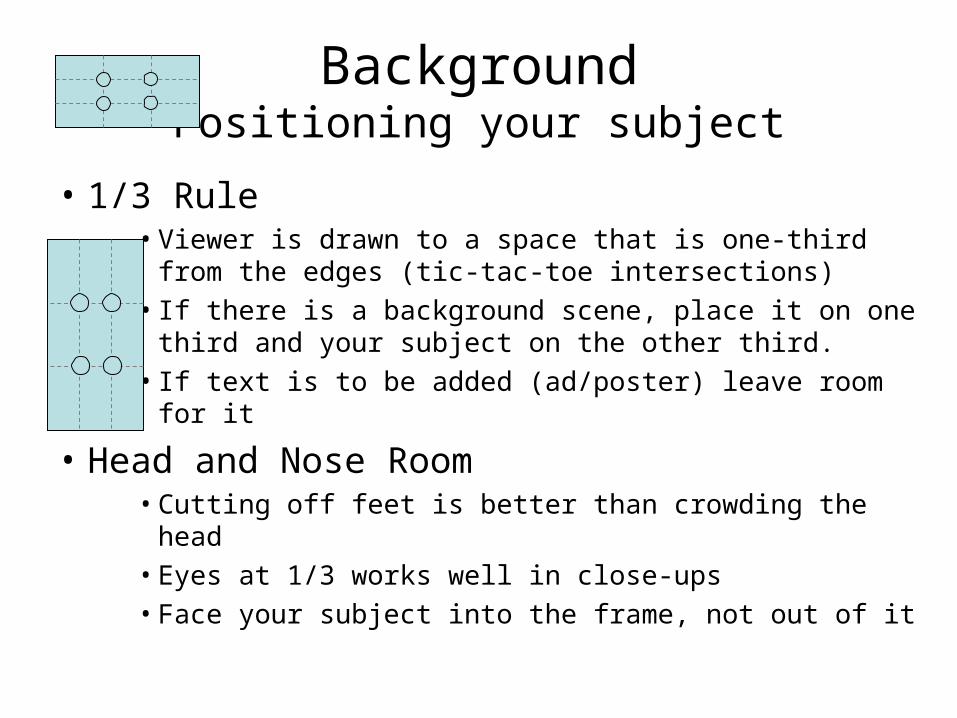
BackgroundPositioning your subject
• 1/3 Rule• Viewer is drawn to a space that is one-third from the
edges (tic-tac-toe intersections)• If there is a background scene, place it on one third
and your subject on the other third.• If text is to be added (ad/poster) leave room for it
• Head and Nose Room• Cutting off feet is better than crowding the head• Eyes at 1/3 works well in close-ups• Face your subject into the frame, not out of it

1/3 Rule

1/3 Rule & Facing subject into the frame

BackgroundPositioning your subject, continued
• Dealing with Annoyances• Choose an uncluttered background• Check there are no objects/people next to your
subject’s head (branch, microphone, passersby)• Avoid shooting into a mirror or glass window
(shoot off center, if you must, or place subject over point of reflection – don’t shoot yourself)
• Always take more than one picture of a group and tell them (countdown “and hold”) when you snap it.(someone will almost always blink or look away)

Shooting through glass with flash off-center

PosingBrief review of extensive topic ..1
• One Subject – “Anthropology” catalog– In General...
• ¼ rotation makes your subject look slimmer(head-on adds weight – ok for very thin subject)
• it’s better to flex what bends – “C”, “S” shape• Weight on rear leg, flex front knee
– Hands/Arms – don’t just hang there• Men – crossed, in pocket, on railing/object• Women – on hip(s), hair, caressing• You can hide the thumb but not the fingers

Flex what bends(“C” & “S” type poses)
Note hand placement

PosingBrief review of extensive topic ..2
• Two Subjects– ¼ rotation (¾ view) works well
• Facing• Back
– “Buddies” – arm over shoulder/back– Cheek-to-cheek– Encourage expression – Avoid focusing on space between 2 subjects!

PosingBrief review of extensive topic ..3
• Three to seven people• Try to arrange tallest in center – fan out• Prioritize focal person(s) in center (of course)• Angle left and right sides towards camera
arrange diagonally / / / -- \ \ \• Four can also do double back-to-back \ / \ /
(arms crossed works well here – show attitude)(ladies: try hand on hips)


PosingBrief review of extensive topic ..4
• Large groups – Require staging in rows.
• If no seating is available for front row, try having ladies bend knees and place hands on knees leading forward; men can get on one knee.
• A few can lie in front or sit cross legged
– Look for natural props – steps, hill, bench– Other approach
• Arrange the group if possible – cluster or open• Find a high perch for yourself: chair, stairs, balcony

Taller
Kneeling
Interleave Faces Shorter
Sitting

Find a high perch – photo taken from bleachers

Another approach to groups: Scattered, and shot from a higher platform

• Don’t forget...– Take the time to arrange your subjects– Tell them you will be taking several shots– Prepare them to express a smile or ??– Countdown “3-2-1 and Hold It” – then snap it– Retake photos of groups– Retake photos of larger groups again (+1)– You lose 100% of shots you don’t take

You lose 100% of shots you don’t take. Even though girls in background were not posed, I took advantage of those who were and created montage shown in next slide.