Embed Size (px)
Citation preview
SNORT Tutorial
Sreekanth Malladi
(modifying original by N. Youngworth)
Installation
Install the WinPcap File. This allows you to capture and examine packets as they flow across the network. This installs fast so don’t think you didn’t get it to work right. This is found at (http://winpcap.polito.it/)
Next install the SNORT program. This allows you to do many different things according to the command line that you type in. Use all of the default settings until you get to where you need to
shoes where to install it. Chose the correct location and click install.
This is found at (http://www.snort.org/)
Understanding Snort (config file)
Once you have installed everything you are ready to begin using SNORT.
(optional) To understand better where everything comes from and why it happens. You should go and view the snort config file. ( in the etc folder called snort.conf)
Double click on it and choose “choose file from list” and then pick a program such as notepad, wordpad, context…
This is your configuration file that tells about how you what snort to run. This is probably, followed by the rule sets, probably the most important files to change and/or read. With out this file configured correctly SNORT will not work properly
For this lab we will not edit the file. We will use the standard setup so we can see what SNORT does.
Running command line
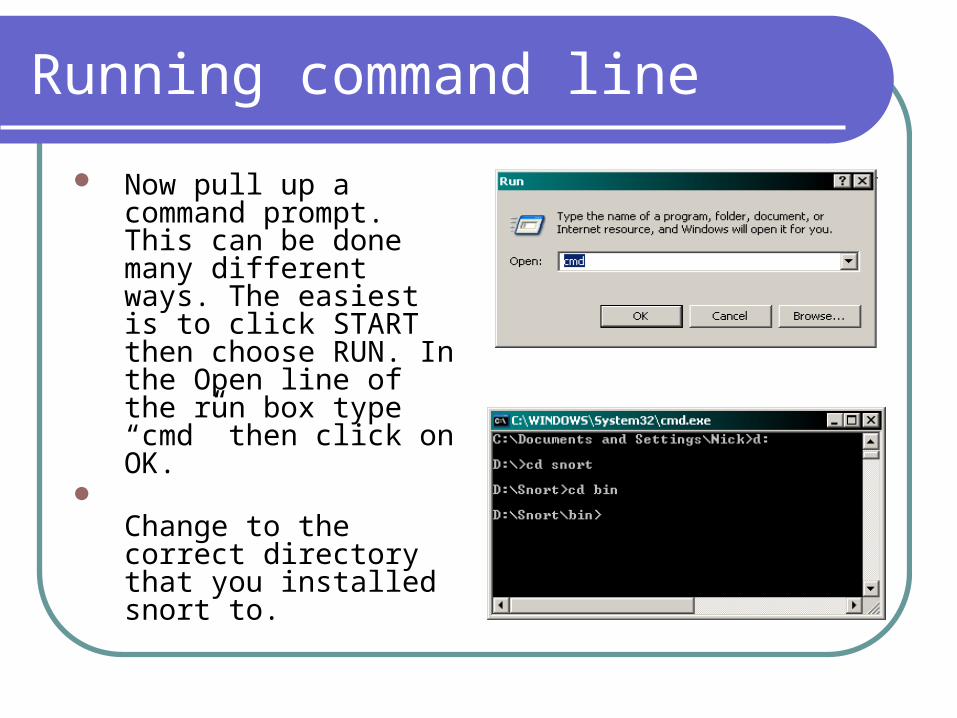
Now pull up a command prompt. This can be done many different ways. The easiest is to click START then choose RUN. In the Open line of the run box type “cmd” then click on OK.
Change to the correct directory that you installed snort to.
Important point
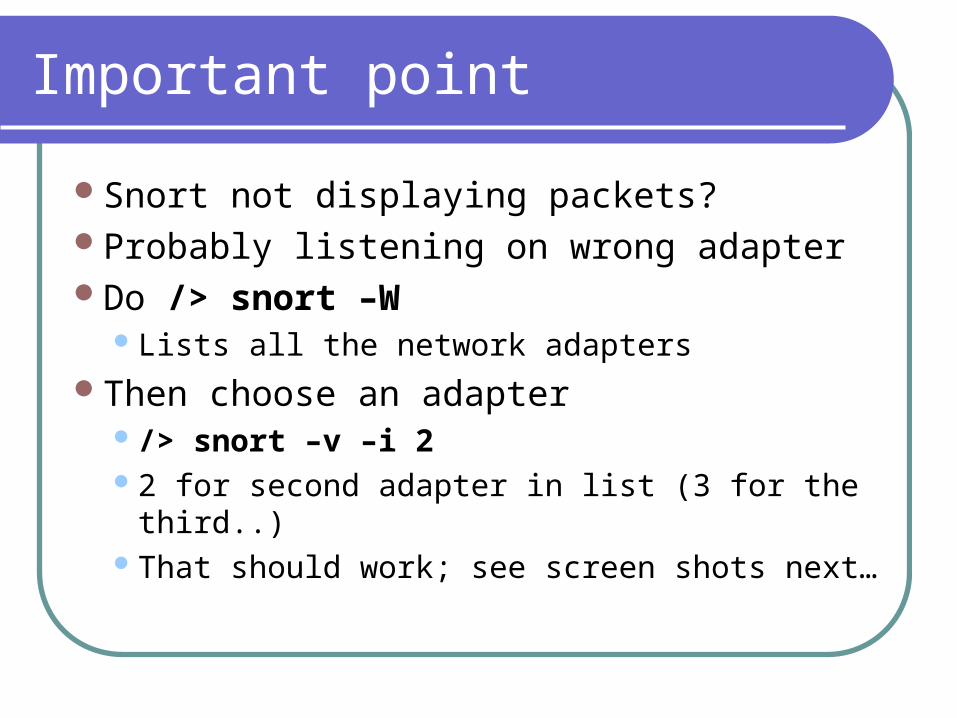
Snort not displaying packets?Probably listening on wrong adapterDo /> snort –W
Lists all the network adaptersThen choose an adapter
/> snort –v –i 22 for second adapter in list (3 for the third..)That should work; see screen shots next…
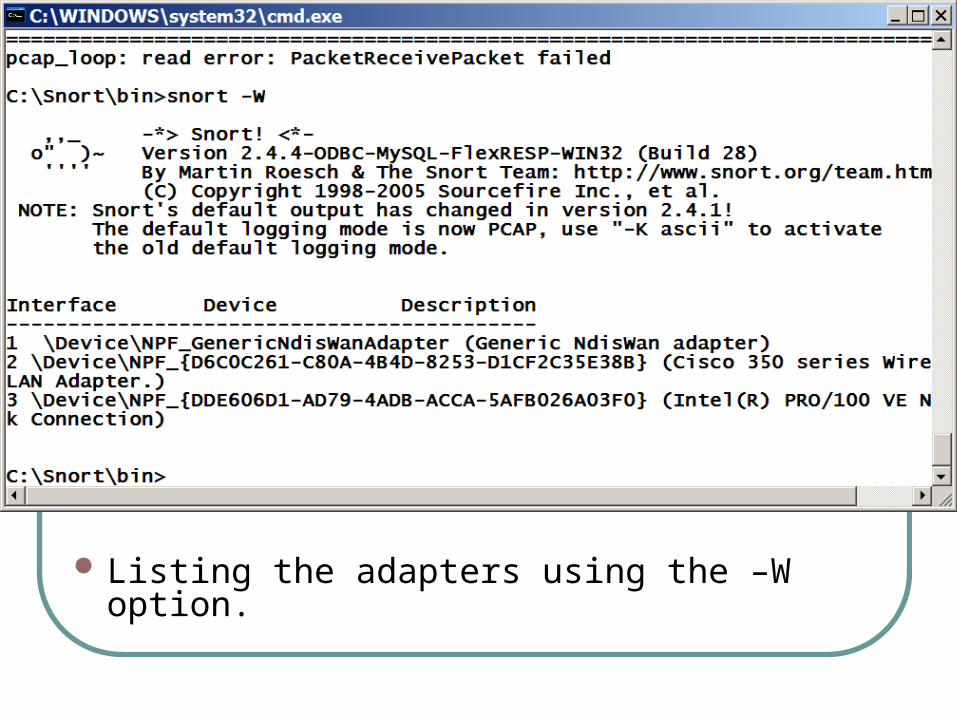
Listing the adapters using the –W option.
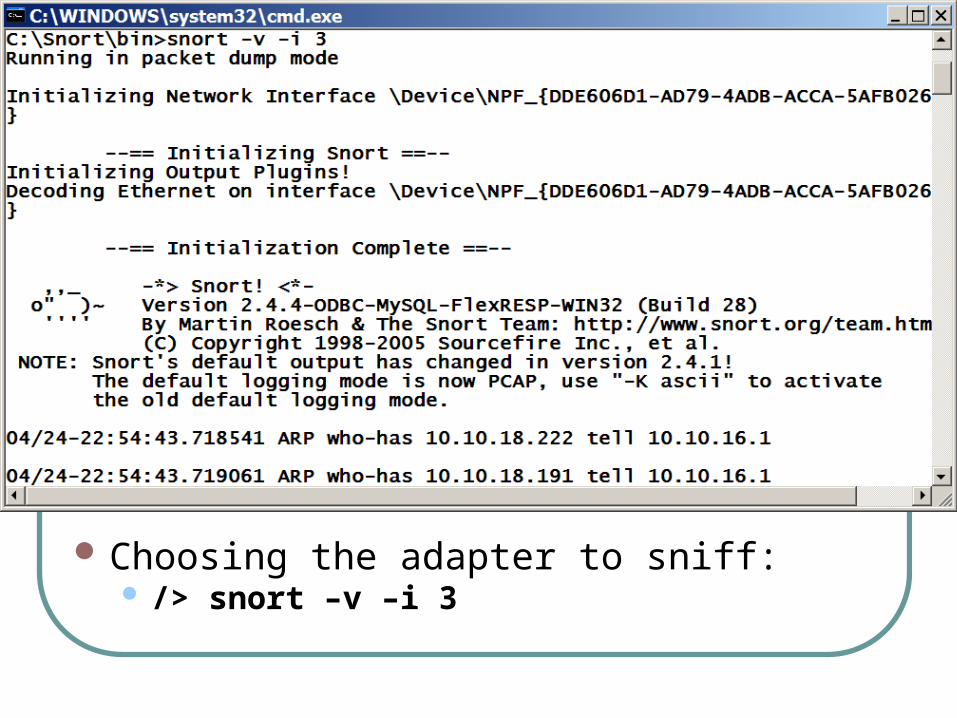
Choosing the adapter to sniff: /> snort –v –i 3
Getting started Using SNORT
Now is the fun part. We get to demonstrate some of the different ways that SNORT can be used.
We might as well start at the basics. Running SNORT consists or starting it from the command line and then attaching the correct flags to the command line initiation.
A flag is simply a dash with the correct character or characters following it
Example -d or -v these mean the same thing as -dv
First command test
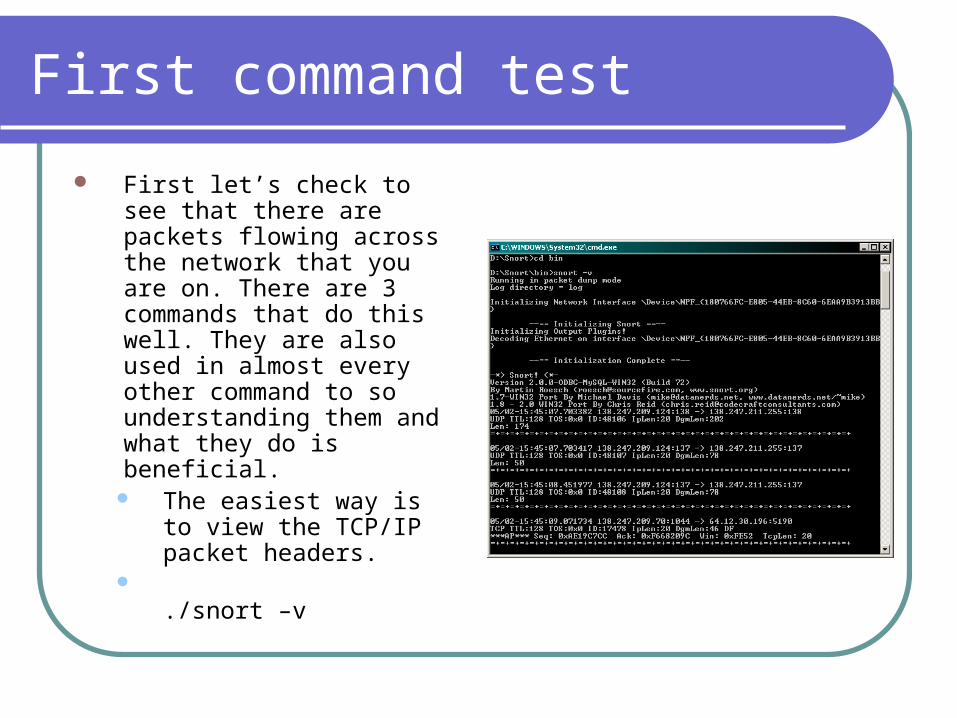
First let’s check to see that there are packets flowing across the network that you are on. There are 3 commands that do this well. They are also used in almost every other command to so understanding them and what they do is beneficial.
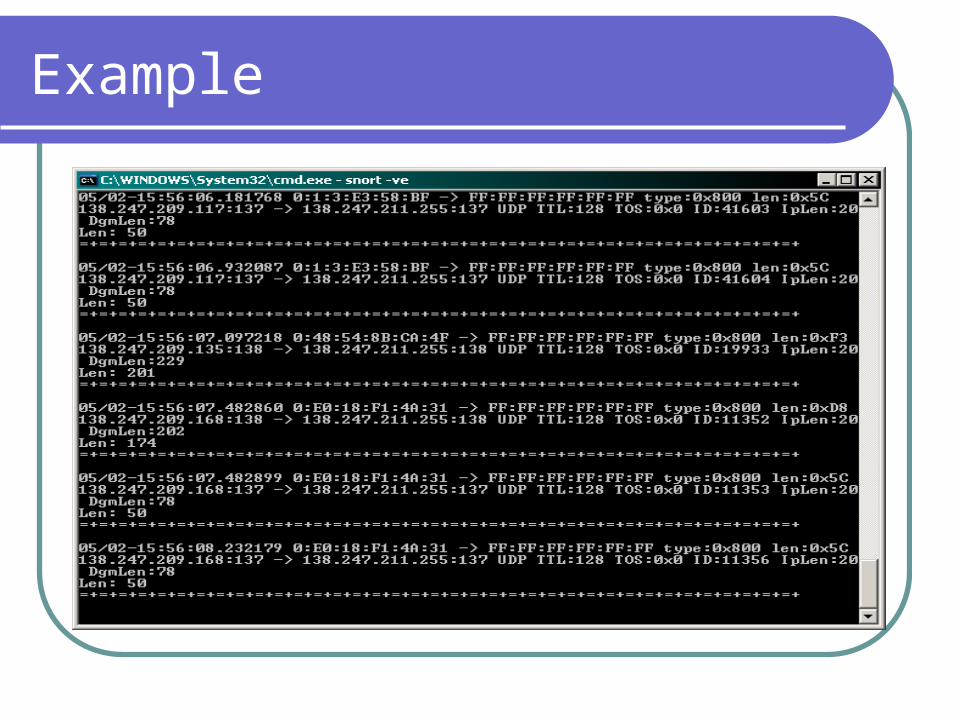
The easiest way is to view the TCP/IP packet headers.
./snort –v
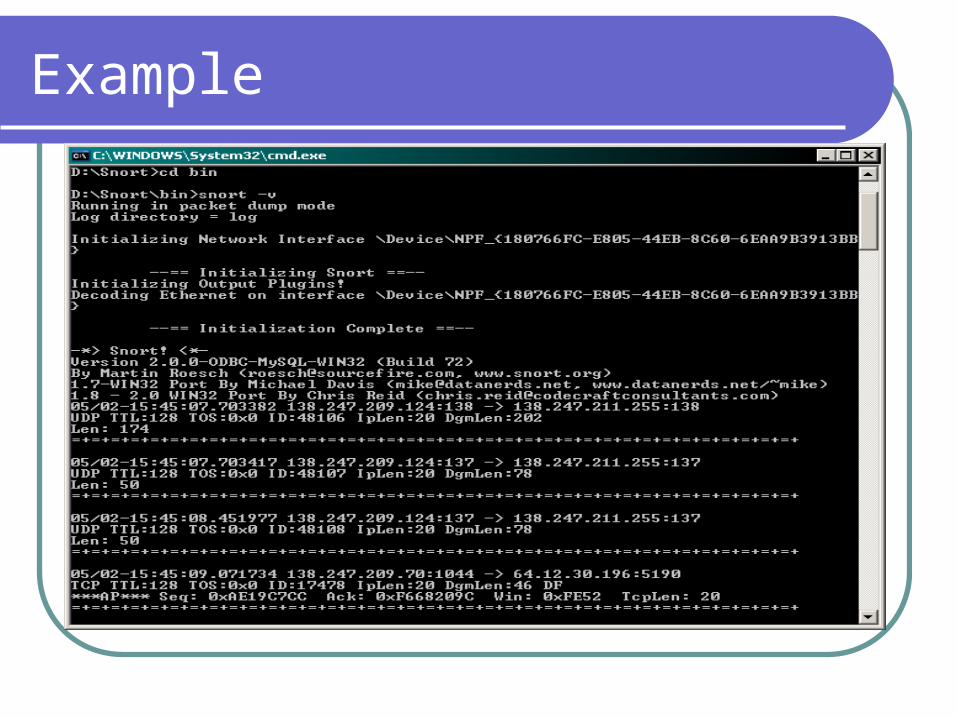
Example
Stopping snort and more options
In order to stop the process from running and so that you can stop it without closing the window use Ctrl +c. This will stop the process and bring you back to a command prompt. Also this will give you a display of what SNORT did. I will discuss this later.
To show the IP and the TCP/UDP/ICMP headers
./snort -dv
Example
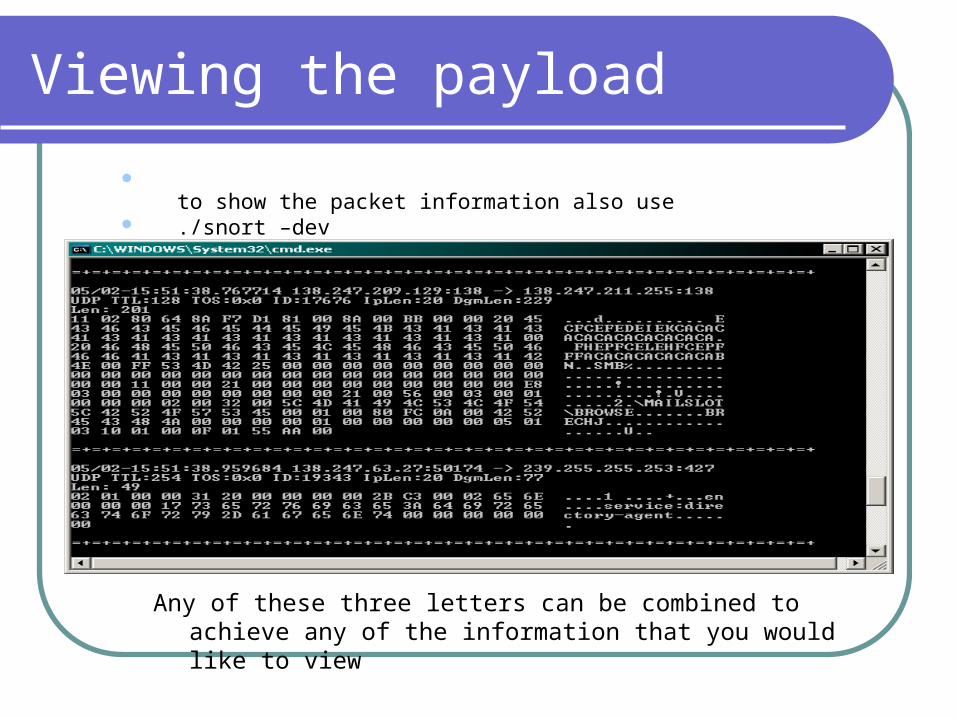
Viewing the payload
to show the packet information also use ./snort –dev
Any of these three letters can be combined to achieve any of the information that you would like to view
Logging your findings
Next we will talk about logging mode. In logging mode you are able to log the information
that you would like to using the commands above a and combing it with a new one
The new flag to add is –l which is an L but you need to follow this with the directory that you want to log the files into.
The directory has to already be created also or the command won’t work
SNORT provides a log directory for you already conveniently called log (who would have thought huh)
Logging continued
To do this you start out with the normal command telling what of the information you would like to log. This is followed by the –l and then the directory designating where to log the files at.
./snort –dev –l ../log I used the “../” to denote moving back a folder since I
was in the bin folder where the executable is for SNORT
Be sure to log into the proper directory and also make sure the directory exists or it won’t work
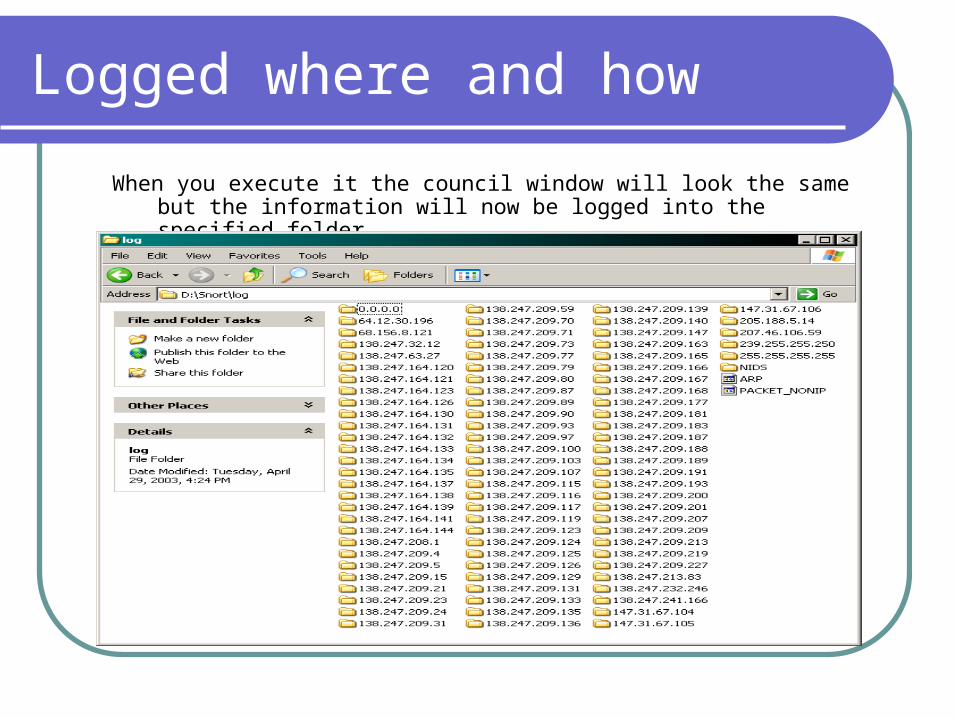
Logged where and how
When you execute it the council window will look the same but the information will now be logged into the specified folder.
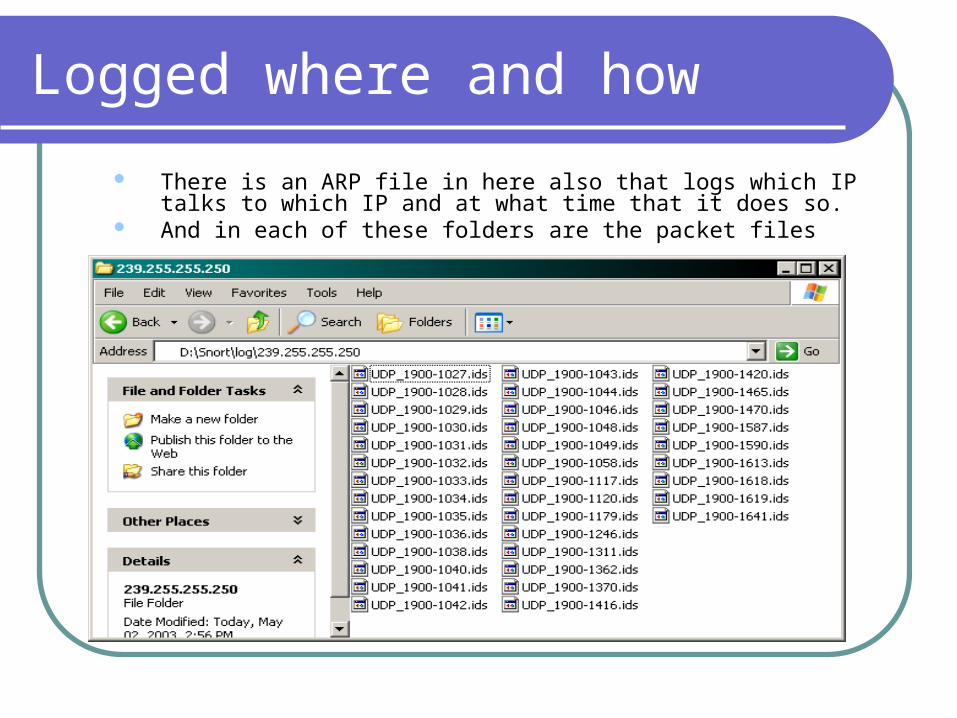
Logged where and how
There is an ARP file in here also that logs which IP talks to which IP and at what time that it does so.
And in each of these folders are the packet files
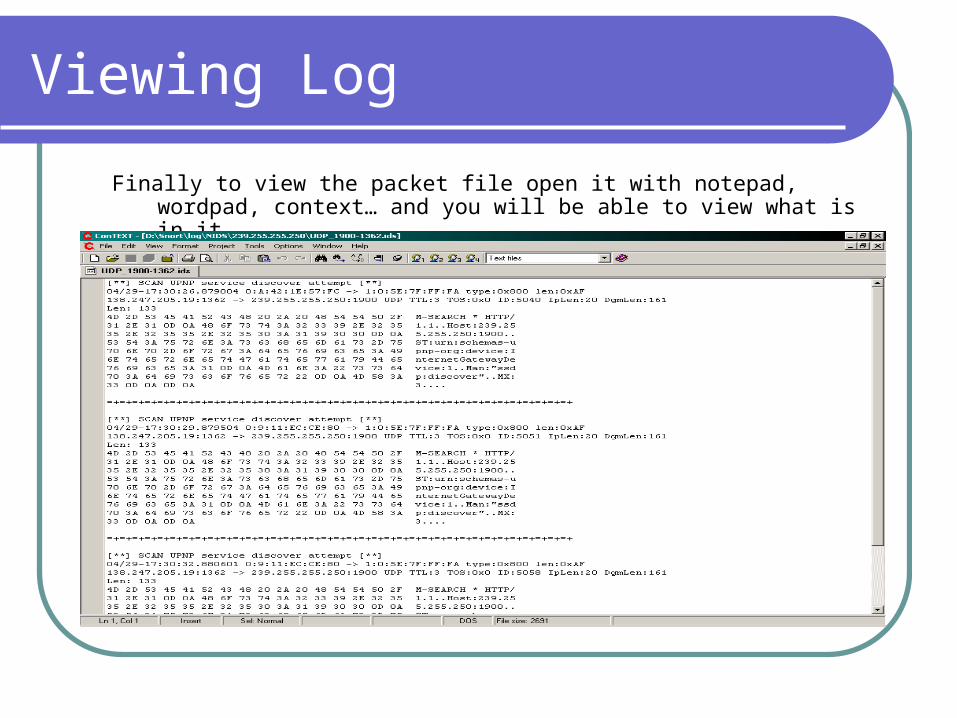
Viewing Log
Finally to view the packet file open it with notepad, wordpad, context… and you will be able to view what is in it.
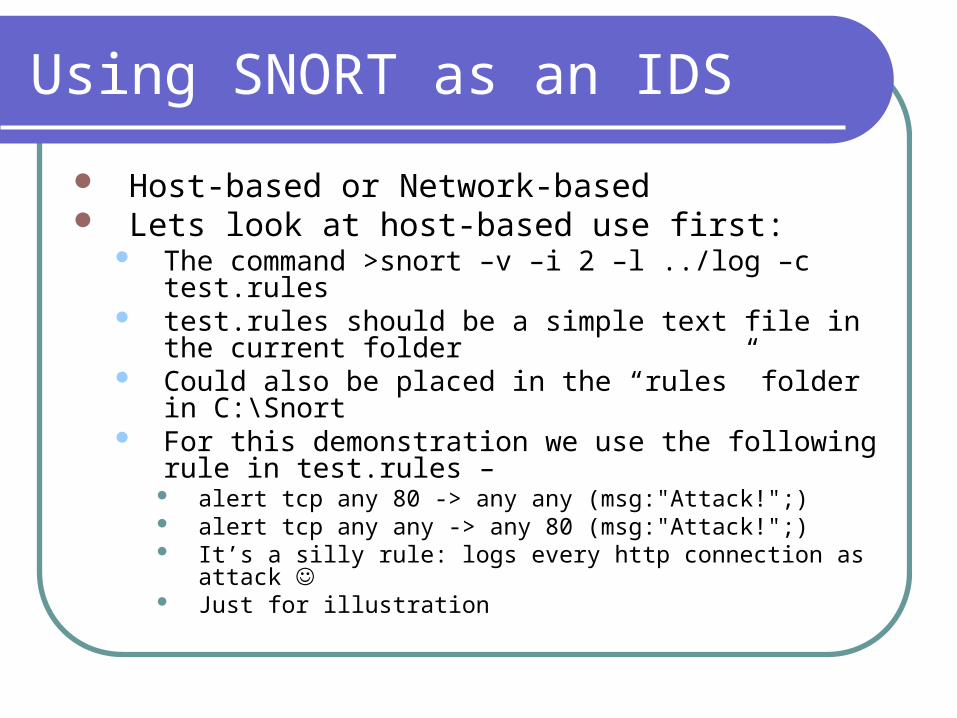
Using SNORT as an IDS
Host-based or Network-based Lets look at host-based use first:
The command >snort –v –i 2 –l ../log –c test.rules test.rules should be a simple text file in the
current folder Could also be placed in the “rules” folder in C:\
Snort For this demonstration we use the following rule
in test.rules – alert tcp any 80 -> any any (msg:"Attack!";) alert tcp any any -> any 80 (msg:"Attack!";) It’s a silly rule: logs every http connection as attack Just for illustration
Snort as IDS
Then the file alert.ids should automatically be c reated by Snort in the C:\Snort\log folder
Snort can also be used as NIDS Requires Snort sensors at various points in the
network (behind router, in front of network interfaces etc.)
A Snort server should centrally log all alerts from sensors
A front-end processor to view the alerts on the server
ACID and BASE
ACID is a front-end analysis tool to analyze Snort logs
BASE (Basic Analysis and Security Engine) is an extension of ACIDA set of PHP scriptsWill connect to a database as mysql which
was used to log Snorts outputDisplays results of database analysis