Embed Size (px)
Citation preview


Sivakasi Branch of SIRC of ICAI Newsletter January 2019
1 For Private Circulation Only
Sivakasi Branch of SIRC of ICAI Newsletter January 2019
2 For Private Circulation Only
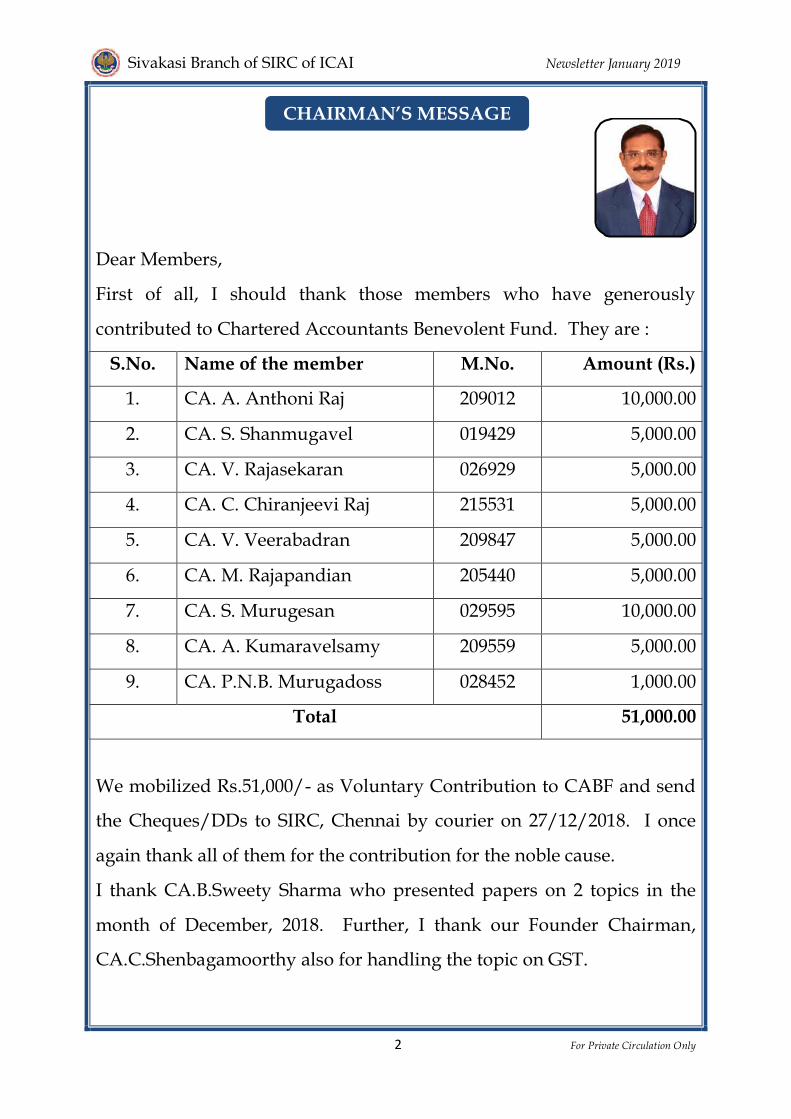
Dear Members,
First of all, I should thank those members who have generously
contributed to Chartered Accountants Benevolent Fund. They are :
S.No. Name of the member M.No. Amount (Rs.)
1. CA. A. Anthoni Raj 209012 10,000.00
2. CA. S. Shanmugavel 019429 5,000.00
3. CA. V. Rajasekaran 026929 5,000.00
4. CA. C. Chiranjeevi Raj 215531 5,000.00
5. CA. V. Veerabadran 209847 5,000.00
6. CA. M. Rajapandian 205440 5,000.00
7. CA. S. Murugesan 029595 10,000.00
8. CA. A. Kumaravelsamy 209559 5,000.00
9. CA. P.N.B. Murugadoss 028452 1,000.00
Total 51,000.00
We mobilized Rs.51,000/- as Voluntary Contribution to CABF and send
the Cheques/DDs to SIRC, Chennai by courier on 27/12/2018. I once
again thank all of them for the contribution for the noble cause.
I thank CA.B.Sweety Sharma who presented papers on 2 topics in the
month of December, 2018. Further, I thank our Founder Chairman,
CA.C.Shenbagamoorthy also for handling the topic on GST.
CHAIRMAN’S MESSAGE
Sivakasi Branch of SIRC of ICAI Newsletter January 2019
3 For Private Circulation Only
The year 2018 ended with 18th Career Counselling Program. Further, we
commenced the Advanced ITT Course for the benefit of final students.
Educational Tour to Kodaikanal was also organized for 2 days and the
students relaxed at Kodaikanal on 22nd and 23rd December, 2018. We
also organized GST Workshop/Seminar for the benefit of the students of
SFR College, Sivakasi.
I wish all the members and students a HAPPY NEWYEAR & PONGAL
2019.
Regards,
CA.M.Rajapandian,
Chairman-SBSIRC.

Sivakasi Branch of SIRC of ICAI Newsletter January 2019
4 For Private Circulation Only
Dear members,
Greetings. Hope this new year brings you more happiness and a
peaceful mind for working. As the GST Audit due date has extended,
we will be free as there is no other important due date in this month.
Members may take note of the major recent notifications in the GST. As
you offer thanks to the hero of our farmland, may the festival of Pongal
which heralds the beginning of harvest season bring you happiness, joy,
prosperity and wealth. Pongalo Pongal. Eat healthy. Live Wealthy.
With Regards,
CA.K.Giridhar
Secretary –SBSIRC
SECRETARY’S MESSAGE
Sivakasi Branch of SIRC of ICAI Newsletter January 2019
5 For Private Circulation Only
Dear members,
First of all wish you all very happy and prosperous new year 2019. I
hope that you all have successfully completed your VAT audit during
December 2018. Thank god for extending GST audit due date. During
the month of December 2018 we have completed 3 CPE program for the
benefit of members. And we have arranged students one day study tour
to Kodaikanal. I hope that all our students have enjoyed and enriched
their knowledge.
Thanking you,
Regards,
CA.P.Selvaraj,
CPE Chairman – SBSIRC
EDITOR’S MESSAGE
Sivakasi Branch of SIRC of ICAI Newsletter January 2019
6 For Private Circulation Only
Sivakasi Branch of SIRC of ICAI Newsletter January 2019
7 For Private Circulation Only
Opening windows on different sheets
-CA Dungar Chand U Jain
The biggest problem with keeping your spreadsheet data on different
worksheets rather than keeping it all together on the same sheet is being
able to compare the information on the different sheets. When you use a
single worksheet, you can split the workbook window into horizontal or
vertical panes and then scroll different sections of the sheet into view.
The only way to do this when the spreadsheet data are located on
different worksheets is to open a second window on a second worksheet
and then arrange the windows with the different worksheets so that
data from both desired regions are displayed on the screen. The easiest
way to do this is to use Excel’s View Side by Side command to tile the
windows one above the other and automatically synchronize the
scrolling between them.
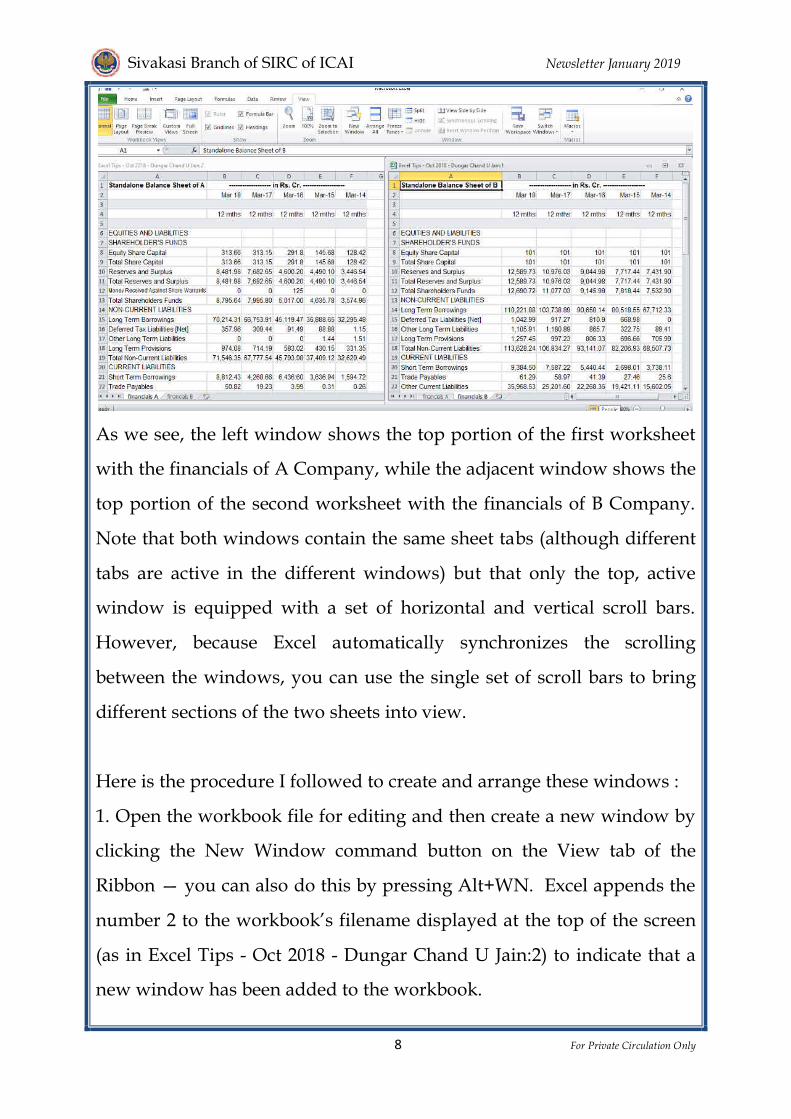
Comparing worksheet windows side by side helps illustrate how the
View Side by Side feature works. This figure contains two windows
showing parts of two different worksheets (financials of Company A
and company B) in the same workbook. These windows are arranged
Vertically so that they fit one above the other and in order to show more
data, I have unpinned the Ribbon in both windows so that only the row
of tabs are visible.
EXCEL TIPS
Sivakasi Branch of SIRC of ICAI Newsletter January 2019
8 For Private Circulation Only
As we see, the left window shows the top portion of the first worksheet
with the financials of A Company, while the adjacent window shows the
top portion of the second worksheet with the financials of B Company.
Note that both windows contain the same sheet tabs (although different
tabs are active in the different windows) but that only the top, active
window is equipped with a set of horizontal and vertical scroll bars.
However, because Excel automatically synchronizes the scrolling
between the windows, you can use the single set of scroll bars to bring
different sections of the two sheets into view.
Here is the procedure I followed to create and arrange these windows :
1. Open the workbook file for editing and then create a new window by
clicking the New Window command button on the View tab of the
Ribbon — you can also do this by pressing Alt+WN. Excel appends the
number 2 to the workbook’s filename displayed at the top of the screen
(as in Excel Tips - Oct 2018 - Dungar Chand U Jain:2) to indicate that a
new window has been added to the workbook.
Sivakasi Branch of SIRC of ICAI Newsletter January 2019
9 For Private Circulation Only
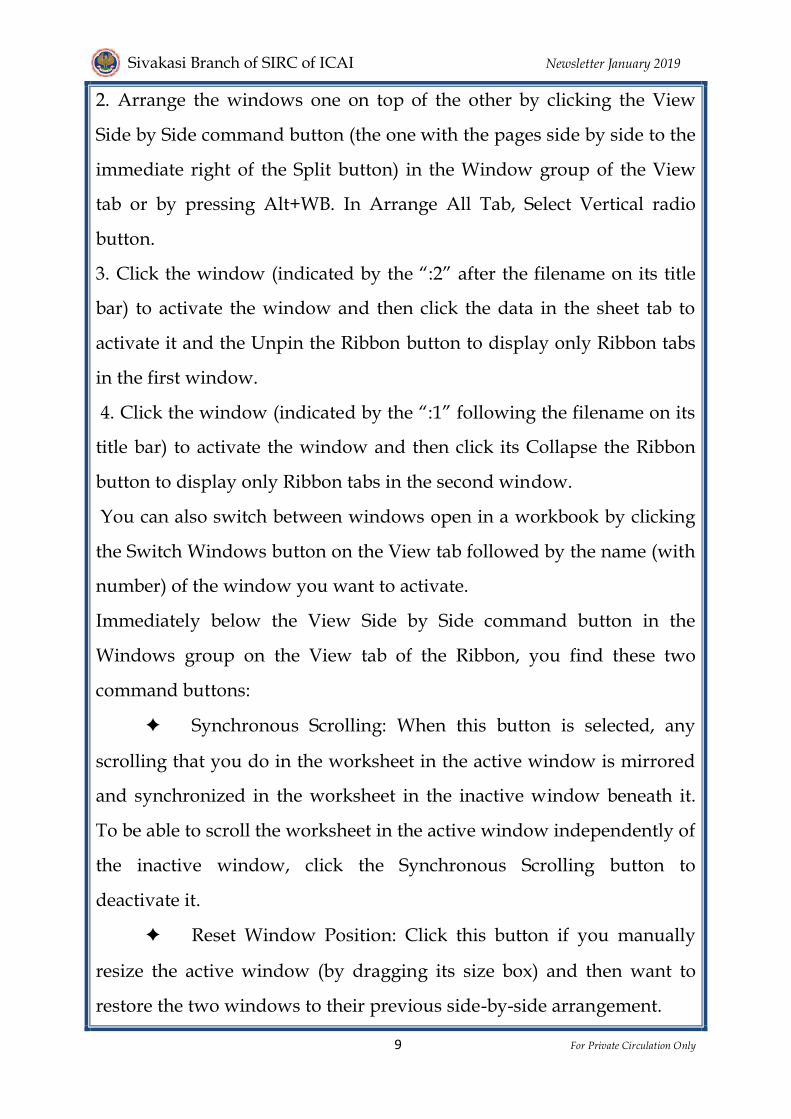
2. Arrange the windows one on top of the other by clicking the View
Side by Side command button (the one with the pages side by side to the
immediate right of the Split button) in the Window group of the View
tab or by pressing Alt+WB. In Arrange All Tab, Select Vertical radio
button.
3. Click the window (indicated by the “:2” after the filename on its title
bar) to activate the window and then click the data in the sheet tab to
activate it and the Unpin the Ribbon button to display only Ribbon tabs
in the first window.
4. Click the window (indicated by the “:1” following the filename on its
title bar) to activate the window and then click its Collapse the Ribbon
button to display only Ribbon tabs in the second window.
You can also switch between windows open in a workbook by clicking
the Switch Windows button on the View tab followed by the name (with
number) of the window you want to activate.
Immediately below the View Side by Side command button in the
Windows group on the View tab of the Ribbon, you find these two
command buttons:
✦ Synchronous Scrolling: When this button is selected, any
scrolling that you do in the worksheet in the active window is mirrored
and synchronized in the worksheet in the inactive window beneath it.
To be able to scroll the worksheet in the active window independently of
the inactive window, click the Synchronous Scrolling button to
deactivate it.
✦ Reset Window Position: Click this button if you manually
resize the active window (by dragging its size box) and then want to
restore the two windows to their previous side-by-side arrangement.
Sivakasi Branch of SIRC of ICAI Newsletter January 2019
10 For Private Circulation Only
To remove the side-by-side windows, click the View Side by Side
command button again or press Alt+WB. Excel returns the windows to
the display arrangement selected (see “Window arrangements” that
follows for details) before clicking the View Side by Side command
button the first time. If you haven’t previously selected a display option
in the Arrange Windows dialog box, Excel displays the active window
full size.
Note that you can use the View Side by Side feature when you have
more than two windows open on a single workbook. When three or
more windows are open at the time you click the View Side by Side
command button, Excel opens the Compare Side by Side dialog box.
This dialog box displays a list of all the other open windows with which
you can compare the active one. When you click the name of this
window and click OK in the Compare Side by Side dialog box, Excel
places the active window above the one you just selected.
Window arrangements : After creating one or more additional windows
for a workbook (by clicking the New Window command button on the
View tab), you can then vary their arrangement by selecting different
arrangement options in the Arrange Windows dialog box, opened by
clicking the Arrange All button on the View tab (or by pressing
Alt+WA). The Arrange Windows dialog box contains the following four
Arrange options:
✦ Tiled: Select this option button to have Excel arrange and size the
windows so that they all fit side by side on the screen in the order in
which you open them (when only two windows are open, selecting the
Tiled or Vertical option results in the same side-by-side arrangement).
Sivakasi Branch of SIRC of ICAI Newsletter January 2019
11 For Private Circulation Only
✦ Horizontal: Select this option button to have Excel size the
windows equally and then place them one above the other (this is the
default arrangement option that Excel uses when you click the View
Side by Side command button).
✦ Vertical: Select this option button to have Excel size the windows
equally and then place them next to one other, vertically from left to
right.
✦ Cascade: Select this option button to have Excel arrange and size
the windows so that they overlap one another with only their title bars
visible.
After arranging your windows, you can then select different sheets to
display in either window by clicking their sheet tabs, and you can select
different parts of the sheet to display by using the window’s scroll bars.
When you want to resume normal, full-screen viewing in the workbook
window, click the Maximize button in one of the windows. To get rid of
a second window, click its button on the taskbar and then click its Close
Window button on the far right side of the menu bar (the one with the
X). (Be sure that you don’t click the Close button on the far-right of the
Excel title bar, because doing this closes your workbook file and exits
from Excel!)
Sivakasi Branch of SIRC of ICAI Newsletter January 2019
12 For Private Circulation Only
Sivakasi Branch of SIRC of ICAI Newsletter January 2019
13 For Private Circulation Only
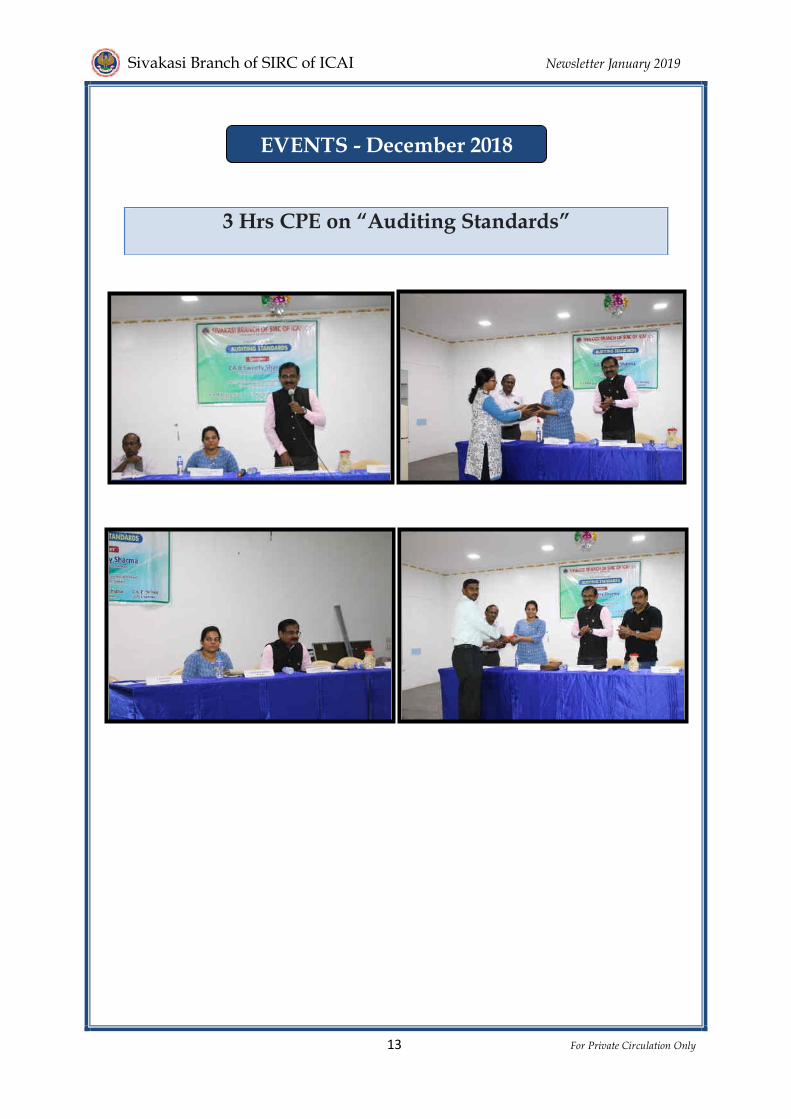
3 Hrs CPE on “Auditing Standards”
EVENTS - December 2018

Sivakasi Branch of SIRC of ICAI Newsletter January 2019
14 For Private Circulation Only
6 Hrs CPE on “GST”

Sivakasi Branch of SIRC of ICAI Newsletter January 2019
15 For Private Circulation Only

Sivakasi Branch of SIRC of ICAI Newsletter January 2019
16 For Private Circulation Only
6 Hrs CPE Seminar on 12.01.2018.
3 Hrs CPE Seminar.
Pongal Celebration.
Republic Day Celebration.
FORTHCOMING EVENTS

Sivakasi Branch of SIRC of ICAI Newsletter January 2019
17 For Private Circulation Only

Sivakasi Branch of SIRC of ICAI Newsletter January 2019
18 For Private Circulation Only