Embed Size (px)
Citation preview
1
Shower & Laundry Unit Manual
Tennessee Southern Baptist Disaster Relief
2
Mission Statement “When did we ever see you hungry and feed you? Or thirsty and give you anything to drink? Or a stranger, and help you? Or naked, and clothe you? When you did it to these my brothers you were doing it to me.” Matthew 25: 37-38, 40 The primary mission of a laundry unit is to provide the disaster victims and volunteers with the opportunity to have their clothes cleaned. The mission of a shower unit is to provide hot, safe and refreshing showers for volunteers and victims. The use of these units is not limited to disasters but may also be used for other mission efforts such as camps and shelters.
The following procedures are basically the same for these two units and have been combined in this manual:
• transportation • hook-up • transit and site survey • set up • cleaning the units • breakdown
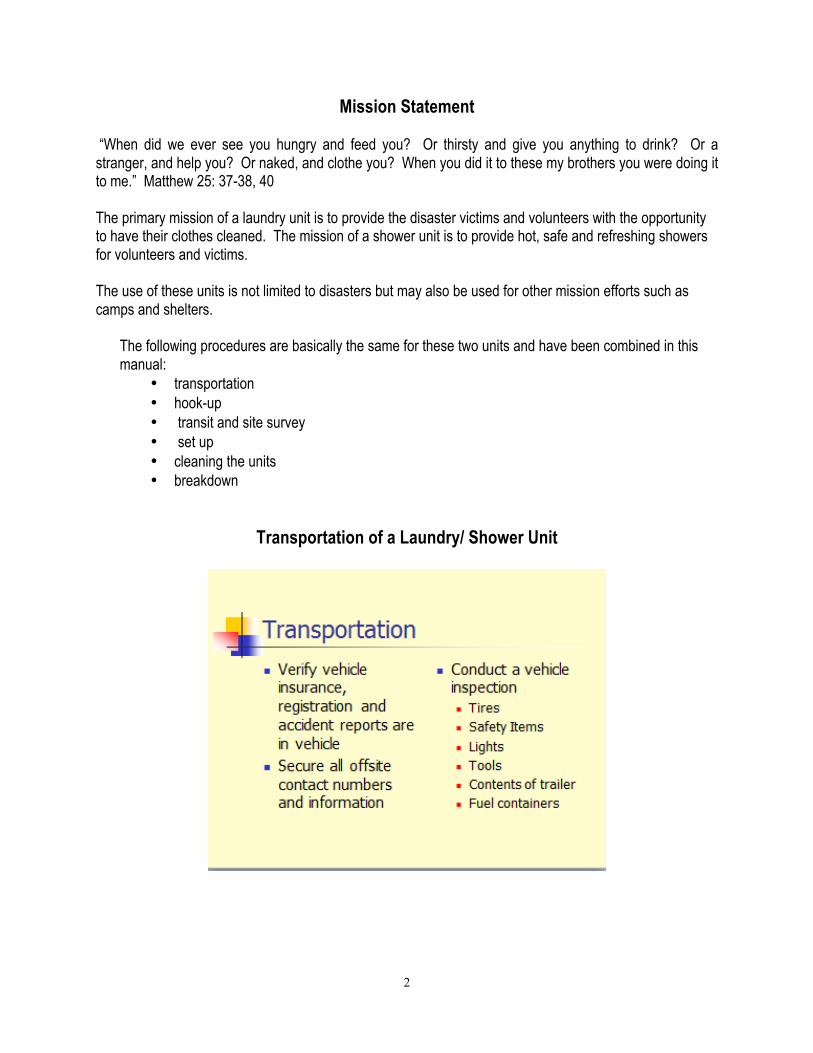
Transportation of a Laundry/ Shower Unit

3
Prior to or during the pre-trip inspection of the unit, the crew chief and the drive team members should plan their expected travel route. Planning will be based on alert status and arrival time request. Select a route, departure time, and intended time of arrival. In the event of a change in plans due to road delays, detours, breakdowns, etc., immediately contact the offsite coordinator. Prior to departure, the team designed to move the unit should be made aware of emergency procedures for their particular unit. The unit will have procedures in place in the event of a pull-vehicle breakdown, unit breakdown, sickness of a team member, or an accident. An inspection checklist should be completed prior to departure and done on a regular basis on the pull vehicle and the trailer.
• Verify that insurance information, vehicle registration, and accident report forms are in the unit.
• Secure the offsite contact phone number and other activation information. • Inspect tires for proper condition and inflation. Include the spare tire in this
inspection. • Verify the unit contains a proper tire tool, jack, and cribbing • Check to make sure that safety items, including a first aid kit, road triangles or cones,
and fire extinguishers, are on the unit. • Insure that taillights are in working order, including the running, flasher, and brake
lights. • Insure that tools needed for the maintenance and repair of the unit are on board. • Verify that all items assigned to the unit are in their proper location, are secure, and
in proper working order • Inspect washers and dryers to verify they are secured with tie-downs. • Inspect the propane tank(s), generator, and fuel tanks to verify they are secure and
meet all regulation for transportation of these materials and equipment.

4
Hook-up Procedures for a Laundry /Shower Unit
Follow established safety procedures when attaching the trailer to the truck. Be sure the tow truck has the required towing package. Trailers having shorter safety chains should have an extension that can be used to lengthen the safety chains. The break-away cable f1for the emergency break should be attached by a separate clevis or “D” ring attached to the truck frame. A minimum class 4 receiver is recommended. Please use a “buddy system” when hooking up to insure proper hook-up. Step 1: Align the truck and trailer using a “buddy”. Be sure the trailer is chocked to insure it will not move during the hood-up procedure. Step 2: Lower the trailer on to truck hitch and latch down with the securing device. Step 3: Attach safety chain from trailer to truck. Step 4: Place block under jack foot and lift the trailer until rear of truck is raised approximately 6 inches. This is a safety procedure to insure the hitch is locked in place. Step 5: Once it has been determined the hitch is attached properly, lower the jack. Next position jack in the travel position and attach break-away cable to clevis or “D” ring on the truck frame. Place wheel chock inside of truck or trailer for travel.

5
Step 6: Attach electrical system and check all running light, brake lights, turn signals and emergency flashers. Step 7: Adjust the trailer brakes using the actuator and manufacturer’s instructions. Equipment required for the transportation of the laundry /shower units. This may vary depending on the trailer: 2 5/16” hitch ball Class 4 or 5 tow system attached to truck frame 7 prong electrical hoop-up Clevis or “D” ring attached to the frame of the truck to secure trailer chain Wheel chocks Lock or pin for hitch Safety chain extensions
Transit of the Units and Site Survey
While the unit is in transit to the disaster site, the crew chief is responsible to contact the NAMB every four hours. Preset contact times will provide the offsite coordinator with valuable information and help to maintain operational efficiency. The unit may be staged or assigned to another site and the offsite coordinator will pass this information on to the unit while it is traveling. The offsite coordinator will also keep the incident commander informed on the unit’s travel and expected time of arrival.

6
Once the unit has arrived on site, the crew chief should contact the offsite coordinator to provide arrival time and unit status. During a multi-state response, the incident command team should be contacted for additional instructions.
Site Survey
Upon arriving at the designated site, check in with the onsite coordinator and complete other check-in requirements that may have been given during activation of the unit. To minimize confusion, if other units are arriving or setting up, stage off the property until your set-up location is determined. Volunteers will stay with the unit. There are advantages to setting up a laundry unit adjacent to a shower unit. The washers and dryers from the shower unit could be utilized by the laundry unit.
• Meet with the site coordinator or contact person of the facility. You will need to determine the layout of the facility, their future schedule of activities, other assigned units, and the mission of the location.
• Determine the location for the gray water drain, water supply, and electrical supply. Do not discharge gray water on the ground or in a storm sewer unless you have direct approval from the site coordinator/or local authorities. .
• The crew chief in consultation with the local contact person and site coordinator will determine any security issues that should be addressed.
Set-up of the Laundry /Shower Unit Based on scheduled activities and available gray water drainage, select a location that will provide support to other units. This support may include but is not limited to water, electricity, and utilizing the facility and parking lot space effectively. The site for the unit should insure that all equipment is safe and secure. The convenience for volunteer use and safety should also be kept in mind during unit set-up.
• Level and stabilize unit using jacks and cribbing as required. • Select best method of disposing of gray water. This may include plastic pipe
secured to a local sewer tap or using a holding container to capture the water as it exits the unit. Be sure there is no leakage.
• Secure water supply. This will depend of the setup at the facility. • Connect the trailer electrical cords to the facility or unit generator. Care should be
taken to insure that electrical cords are connected to different circuits. • Attach gas line to propane bottle. • Place orange safety cones at tongue of trailer, gas cylinder location, and the rear of
the trailer allowing at least six feet of clearance.

7
• After the systems are connected, activate the water, gas, and electrical supply systems. Check for leaks.
• Prepare hot water heater making sure the heater is working properly. • Check washers and shower stalls making sure the water valves are working. • Remove tape from dryer vents underneath trailer. • Put fire extinguishers and first aid kit in place. • Make assignment for the volunteers that are working on the unit • Report unit status to incident command team and turn in all information on the
volunteers, site, and other pertinent information. A copy of each volunteer’s medical form should be kept in the notebook in the unit as well as being turned in to the command team.
Securing the Gas Bottles
To insure a safe working environment, the following procedures must be followed: Gas bottles must have the plastic screw in plug in place when not in use. When transporting or at work site, all bottles will have top and bottom secure.

8 NOTES
SHOWER UNIT OPERATION

9 NOTES
Operation of Shower Unit
The first thing to do to prepare for operation is to determine the mission of the unit. This may vary depending on the site. Discuss with the White or Blue Cap the use of the unit. This should include the hours of operation and the people to be served. Determine the number of volunteers needed to maintain operation and make assignments. If the unit has washers and dryers decide how these will be used and set rules for use.
• Prepare for operation by setting up materials such as chairs, fans, etc. • Provide signs for hours of operation and designated areas (men, women, etc.) • Have all supplies available for the personal needs of the patrons. These may
include towels and wash cloths, soap and shampoo. • Provide staff to monitor operation • Check regularly for necessary spot cleaning. • Apply one cup of chlorine bleach to shower walls and floor and let stand for 30
minutes before rinsing. • Spray shower curtains with disinfectant • Keep linen washed • Inventory supplies regularly • Check propane to ensure hot water is available at all times. • Check unit regularly for left behind items. • Secure unit for the night (If necessary)

10 NOTES
Materials: Shower cleaner Scrub brushes Rubber gloves Towels and wash clothes Toiletries Laundry detergent and softener sheets

11
Laundry Unit Operation
Prepare the unit for operation by setting up tents, tables, stools, baskets, washing and drying supplies, bags, etc. Make sure all signs are up and easy to see. Be sure to have all paperwork and supplies in place before receiving clothes. It is helpful to have a list of materials needed and directions posted at each work station. The team leader will make initial assignments for the day determined by the number of volunteers available. Remember that you are responsible for your own area but may be needed to help out in other areas. These procedures may vary depending on the number of people that are being served on a given day. Decisions should be based on the most effective use of equipment. Flexibility is the key There are several areas in the operation of the unit that can be flexible. It is imperative however that the procedures for handling the clothing not vary.

12
Station 1: Taking in laundry
• Number the sign-in log sheet before taking in laundry. • Write person’s name, estimated number of loads, and check if they are a member of
the community. The “community” is defined as anyone other than a Southern Baptist Disaster Relief worker. Please print.
• Mark routing slip with a “C’ if a member of the community. • Fill in routing slip with their name and ID #; give copy of slip to the individual. Make
note on slip of any necessary information concerning pickup, etc. • Attach the routing slip to clothes. If they do not have a container, put clothes in a
white garbage bag. (These bags can be recycled back after clothes are put into washer.
• Take clothes to sorter. Materials needed at this station:
1. Sign-in log. Number the sheet this will be the person’s ID#. Be sure to put the date on top.
2. Routing slips 3. Clothes pins to attach routing slip to container 4. Pens 5. Plain white garbage bags (to be recycled)
Station 2: Sorting
• Rubber gloves should be used when sorting laundry. • Determine if there is a need for multiple loads. If necessary attach an additional slip
for each load, multiple loads number 1-1, 1-2, 1-3 (3 loads). If more than one load is required, indicate on the sign-in log the number loads actually needed
• Check pockets. • Sort laundry by dark and light colors only if there are enough clothes to warrant
having two loads. Use your own judgment as to whether the darks and lights would be acceptable together.
• Place all items found in pockets in a baggie marked with the ID# and name. • Indicate on ticket if you feel a ColorCatcher is needed. • Determine if any clothes need pre-soaking or hosing off if muddy. Clothing that is
soiled to the point that it would be harmful to the washers should be soaked. Example: tar, heavy grease, or oil.
• Be sure the routing slip is with sorted clothes

13
• If the person has a personal bag or basket it should be cleaned if possible. Materials: Disposable gloves Routing slips Clothes pins Extra slips for additional loads Recycled bags Sandwich bags Marker and pens Sample routing slip where it was determined additional loads is needed.

14
Station 3: Washing and Drying
• Put routing slip on clip above the unit containing the laundry. This slip is to move with the laundry to every station until pick-up.
• Presoak any items that have been set aside. The entire load will be washed when the presoaking is done. Put a routing slip with the ID# and name on the clip over the sink.
• Use ColorCatchers as necessary. Put capful of Lysol concentrate in loads with mildew clothes.
No shoes, large bedspreads etc. are to be washed. Shoes may be soaked in a bucket by hand.
• Be sure to move routing slip with clothes when moved to the dryer. Use unit laundry baskets for this purpose.
• Clean lint trap on dryer after each drying cycle. Softener sheet may be used for this. Do not remove lint basket until the end of the day.
• Take completed load to the folding area. Use unit’s baskets when the person has brought the clothing in a bag or did not have a container at all.
Materials needed: Detergent Clothes pins ColorCatchers Disposable gloves Lysol concentrate Laundry baskets Bleach Dryer Sheets

15
Station 4 Folding
• Be sure routing slip is with clothes before folding. Set it aside to be placed with finished laundry.
• Place all folded clothes in white bag that is provided for this purpose. If the person has a basket, set the white bag containing clothes in the basket.
• Place prayer card with all clothes. Put tracts in loads that are marked community. • Place clothes in the pick-up holding area. Be sure routing slip is in plain sight to
allow for easy pick up. If there is more than one load for an individual, do not put it in the pickup area until all loads are complete. An area should be designated for this purpose close to the folding table
Materials: White decorated drawstring bags (13gal) Prayer card Extra clothes pins Bibles and tracts Small basket for clothes pins This area gives you the most contact with the community. Take this opportunity to share the love of Christ with the individuals.
Laundry Sign-In Log (sample)

16
Laundry Sign-In Log (sample)
Date: 9/21
Name: John Smith
#15
C
ID# NAME # OF LOADS COMMUNITY
1 John Smith 3 X
2 Bob Brown
3
4
5
Routing Slip

17
Cleaning the Laundry / Shower Unit
1. Check inside of all washers and dryers for grease, stray socks, etc. 2. Check all lint traps and filters. Include vents under trailer.
3. Clean up and secure all supplies. 4. Sweep and mop floors if necessary. 5. Wipe off counter tops and clean sink.
6. Disinfect shower stalls, floors and walls 7. Spray shower curtains with disinfectant
8. Remove left behind items from shower area 9. Take out trash and police the outside area. 10. Wipe down tables with bleach solution.
11. Fold and put away tables if necessary. 12. Put stools, etc. inside trailer.
13. Inventory supplies and report any needs to the team leader. 14. Report any equipment concerns to the team leader. 15. Turn off gas, water, lights, fans, heaters, etc. and secure the unit for the night.
16. Once a week run a cup of bleach water through each washer. Please report any problems or concerns to the team leader during the day. Do not go directly to the facility manager. This will help with the flow of communications. Team leader is responsible for giving response sheets and any other important information to the unit director

18
Breakdown of the Laundry / Shower Unit
When the units have been released from the disaster response, the following steps should be followed in packing and preparing the unit for transport home. 1. Remove all trash. 2. Clean the unit per guidelines previously stated. 3. Turn off gas and disconnect gas bottle. Secure gas bottle in the proper transport position . 4. Turn off water and roll up water hose. Place hose in large trash container and secure. 5. Drain water heater. 6. Disconnect electrical lines and place them in their assigned transport location inside
trailer. 7. Secure gas line on trailer. Verify the gas bottle is closed properly and secured. 8. Remove fire extinguishers from wall and store. 9. Raise stabilizer jack and remove cribbing. Place items inside trailer in assigned travel
position. 10. Secure washers and dryers. Place all items (detergent and other supplies) in assigned
travel position. Tape up dryer vents underneath the trailer. 11. Take down all tents and tables. Place tents, tables, and stools in position for transport. 12. Lock all doors and prepare to connect the trailer to the truck. 13. Police the outside area insuring we are leaving the area left like it was found.

19
Sample Laundry Unit Inventory Broom Outlet 5-plug
Bucket Paper towels
Calendar/Message Board Plastic bins (8)
Chocks (4) Plastic Drawstring Bags
Clamp lights (2) Receipt books
Cleaning supplies Road triangles
Clothes baskets (8) Round stools (4)
Clothes line Softener Sheets
Clothes pins Step stool
Corner jacks (4) Table 4 ft.
Daily Response Sheets Tables, 6 ft. (2)
Detergent Tent enclosure
Disposable Gloves Tent, 10 x 10
Dust pan Hose, 75 ft.
Extension cords (2) Toolbox
Fans (2) Large plastic trash cans and bags
Fire extinguishers (2) Level
First aid kit Mop

20
Shower Unit Inventory
200 feet of 5/8” standard water hose 2—5/8” “Y”
1—pressure nozzle 50 feet (5 @ 10 ft. each) two-inch PVC drain pipe
30 feet of two-inch blue flex drain hose 5 each —two” rubber connector
2 each — 2” rubber “Y” 2 each — 2” caps
3 each -90-degree rubber connector 1 — 100 ft. extensions cord (attached to trailer)
1 — 50 ft. extension cord 1 — 100 ft. extension cord
2 — trash cans 1 — 35-gallon plastic can for water hose storage
Miscellaneous cribbing 1 — sump pump
2 — 100 ft. of 5/8 “ gray water hose 2 — lighters
1 — water valve key