Embed Size (px)
Citation preview
Quick-Start Guide
1
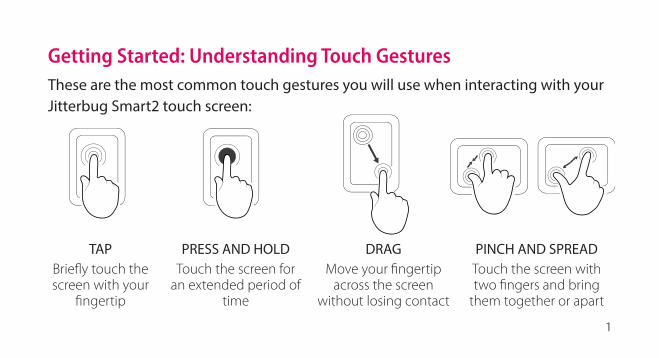
Getting Started: Understanding Touch GesturesThese are the most common touch gestures you will use when interacting with your Jitterbug Smart2 touch screen:
TAPBriefly touch the screen with your
fingertip
PRESS AND HOLDTouch the screen for
an extended period of time
DRAGMove your fingertip
across the screen without losing contact
PINCH AND SPREADTouch the screen with two fingers and bring
them together or apart
2
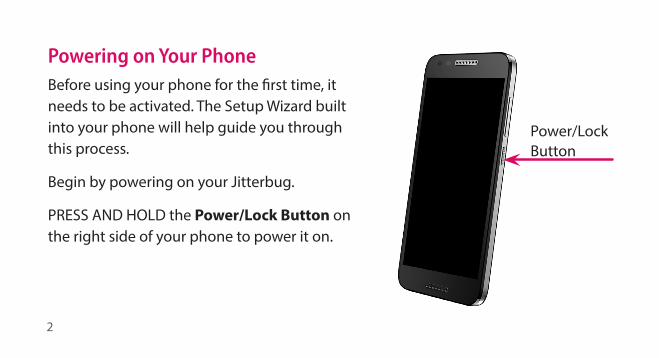
Powering on Your PhoneBefore using your phone for the first time, it needs to be activated. The Setup Wizard built into your phone will help guide you through this process.
Begin by powering on your Jitterbug.
PRESS AND HOLD the Power/Lock Button on the right side of your phone to power it on.
Power/LockButton
3
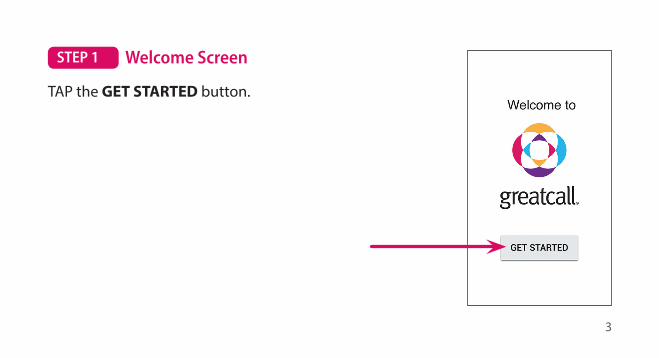
STEP 1 Welcome Screen
TAP the GET STARTED button.
4
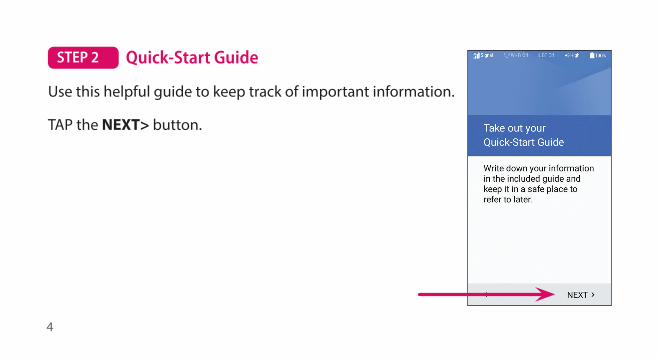
STEP 2 Quick-Start Guide
Use this helpful guide to keep track of important information.
TAP the NEXT> button.

5
STEP 3 Choose a Home Screen
We highly recommend using the Easy-to-use Jitterbug Smart home screen for the best experience with your new phone.
TAP the Recommended Easy-to-use Jitterbug Smart option.
TAP the NEXT> button.
6
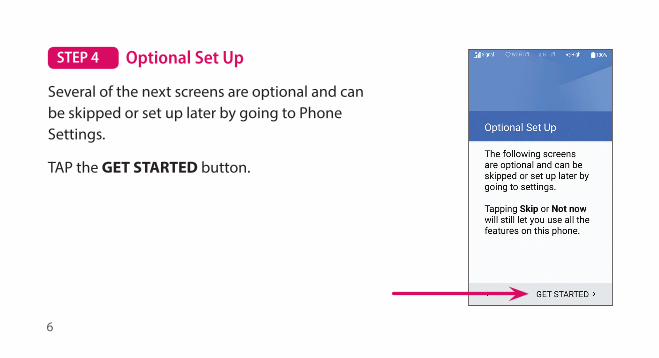
STEP 4 Optional Set Up
Several of the next screens are optional and can be skipped or set up later by going to Phone Settings.
TAP the GET STARTED button.

7
STEP 5 Set up your phone
TAP the Set up as new option.
TAP the Right Arrow button to continue.
8
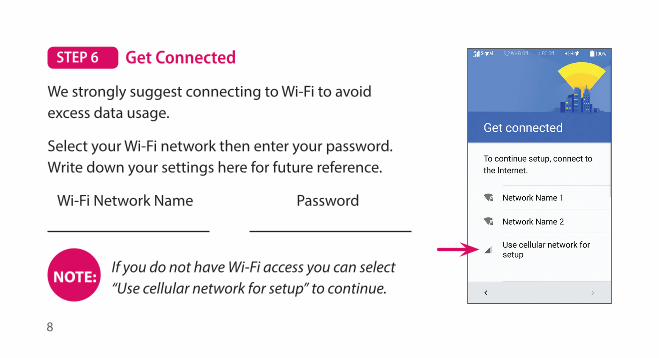
STEP 6 Get Connected
We strongly suggest connecting to Wi-Fi to avoid excess data usage.
Select your Wi-Fi network then enter your password. Write down your settings here for future reference.
Wi-Fi Network Name Password
NOTE: If you do not have Wi-Fi access you can select “Use cellular network for setup” to continue.
9
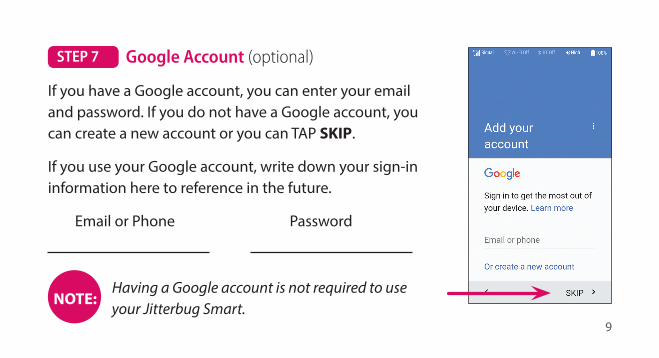
STEP 7 Google Account (optional)
If you have a Google account, you can enter your email and password. If you do not have a Google account, you can create a new account or you can TAP SKIP.
If you use your Google account, write down your sign-in information here to reference in the future.
Email or Phone Password
NOTE: Having a Google account is not required to use your Jitterbug Smart.
10
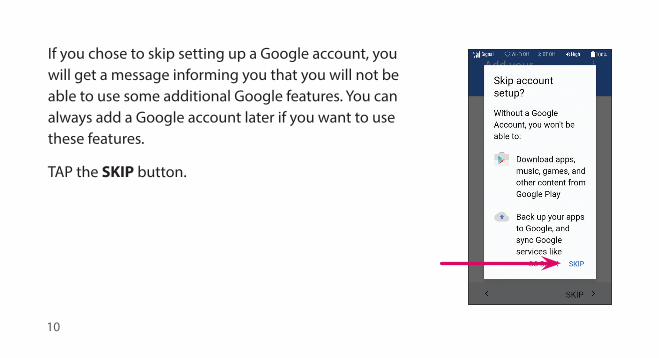
If you chose to skip setting up a Google account, you will get a message informing you that you will not be able to use some additional Google features. You can always add a Google account later if you want to use these features.
TAP the SKIP button.
11
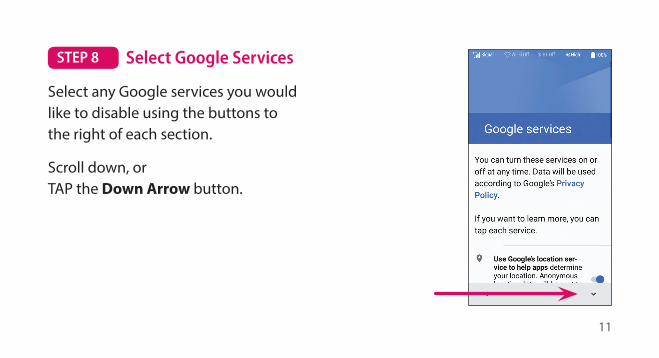
STEP 8 Select Google Services
Select any Google services you would like to disable using the buttons to the right of each section.
Scroll down, or TAP the Down Arrow button.

12
STEP 8 Select Google Services (continued)
Once you reach the bottom TAP the NEXT> button to continue.
13
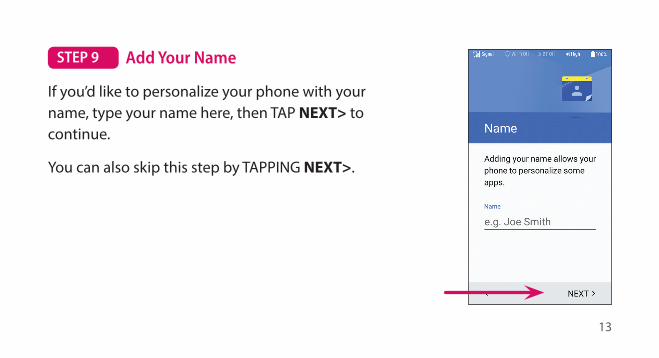
STEP 9 Add Your Name
If you’d like to personalize your phone with your name, type your name here, then TAP NEXT> to continue.
You can also skip this step by TAPPING NEXT>.

14
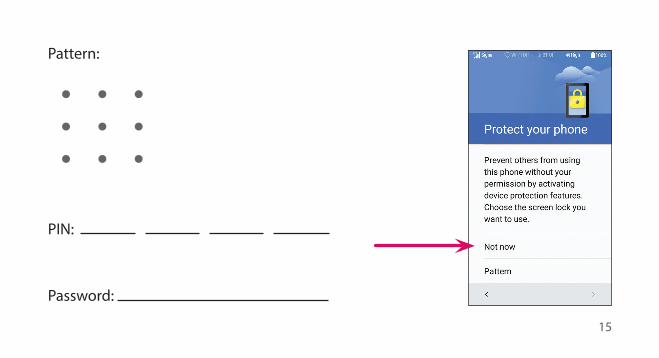
STEP 10 Protect your phone (optional)
Set up a screen lock for an extra layer of protection if you happen to misplace your phone. You can do this now, but we recommend setting this up later.
TAP the Not now option.
Then TAP SKIP ANYWAY to continue.
If you choose to set up a screen lock now, write down what you entered here to reference in the future.
15
Pattern:
PIN:
Password:

16
STEP 11 Customize (optional)
You will now be given the opportunity to add options such as another email account and other settings. You can always change any of these settings after the initial setup process is complete by going to Phone Settings.
TAP Set up later to continue.

17
Setup Complete
Your phone will now complete setup with GreatCall’s network. This may take a few moments and your phone may restart, but when finished you will automatically be taken to the Jitterbug Home Screen.
Please keep this booklet in a safe spot for future reference if you ever need to reset your phone.
Continue reading this Quick-Start Guide which will introduce you to some important features of your phone.
18
Some Basics About Your Jitterbug Smart2The following pages will walk you through a few basics to help you start using your new Jitterbug. If you need additional information, use the on-screen guide or refer to the full user guide provided in the box. If you have any questions or need assistance, our award-winning, 100% U.S.-based customer service team stands ready to assist you.
You can find additional resources and educational tools at: greatcall.com/LearningCenter
Best Regards,
Your friends at GreatCall

19
Get to Know Your Jitterbug Smart2
Display
BACK Button
HOME Button
Earpiece Speaker
Front-facing Camera
Power/Lock Button
5Star Button
Volume Button
Front-facing Flash
Speakerphone
20
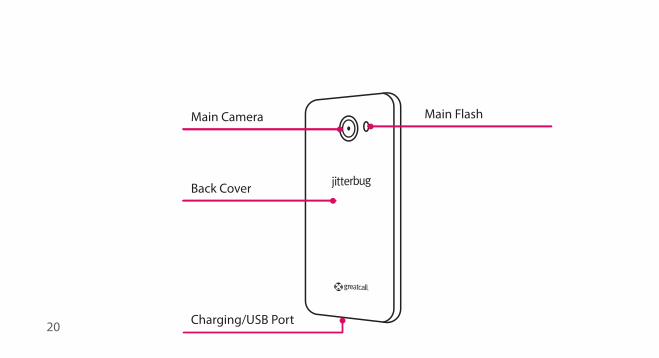
Back Cover
Main Camera
Charging/USB Port
Main Flash
21
Back Cover
Main Camera
Charging/USB Port
Main Flash
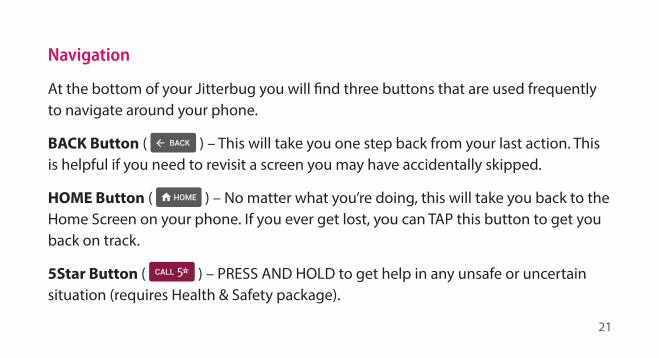
Navigation
At the bottom of your Jitterbug you will find three buttons that are used frequently to navigate around your phone.
BACK Button ( ) – This will take you one step back from your last action. This is helpful if you need to revisit a screen you may have accidentally skipped.
HOME Button ( ) – No matter what you’re doing, this will take you back to the Home Screen on your phone. If you ever get lost, you can TAP this button to get you back on track.
5Star Button ( ) – PRESS AND HOLD to get help in any unsafe or uncertain situation (requires Health & Safety package).

22
NOTE: If you get lost while navigating through your phone, just TAP the HOME Button ( )to take you back to the Home Screen.
23
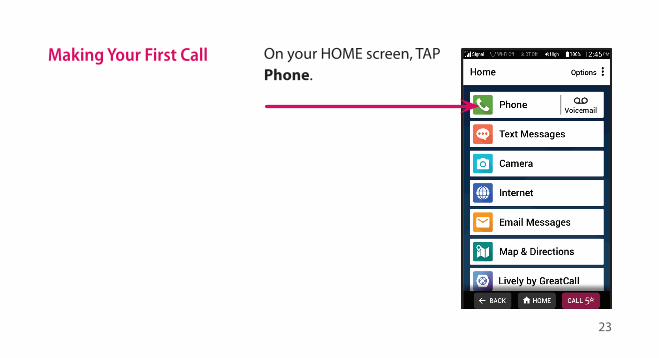
Making Your First Call On your HOME screen, TAP Phone.
24
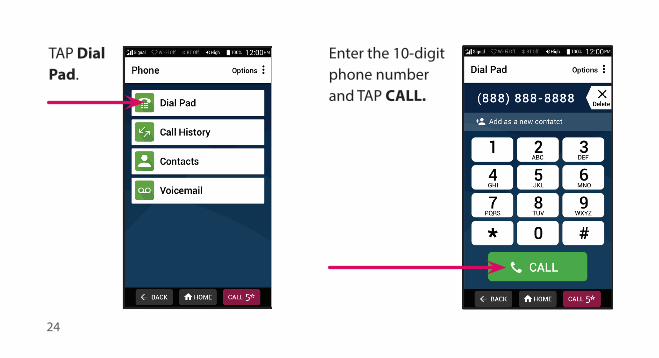
TAP Dial Pad.
Enter the 10-digit phone number and TAP CALL.

To learn more, visit greatcall.com/LearningCenter
JBS2-QSG-V1CJB1JD003AAA