Embed Size (px)
Citation preview
1. 1 December 2016
Provisional Seed Zones – Mobile – ESRI ArcGIS Collector v 1.0
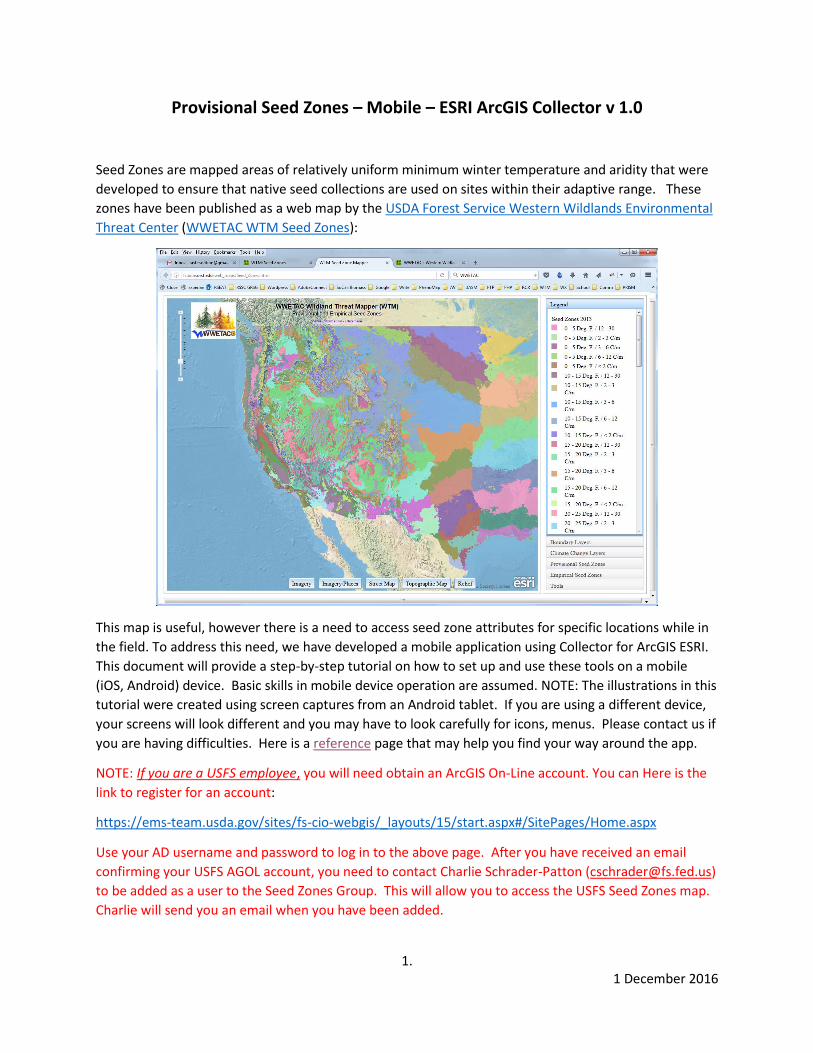
Seed Zones are mapped areas of relatively uniform minimum winter temperature and aridity that were
developed to ensure that native seed collections are used on sites within their adaptive range. These
zones have been published as a web map by the USDA Forest Service Western Wildlands Environmental
Threat Center (WWETAC WTM Seed Zones):
This map is useful, however there is a need to access seed zone attributes for specific locations while in
the field. To address this need, we have developed a mobile application using Collector for ArcGIS ESRI.
This document will provide a step-by-step tutorial on how to set up and use these tools on a mobile
(iOS, Android) device. Basic skills in mobile device operation are assumed. NOTE: The illustrations in this
tutorial were created using screen captures from an Android tablet. If you are using a different device,
your screens will look different and you may have to look carefully for icons, menus. Please contact us if
you are having difficulties. Here is a reference page that may help you find your way around the app.
NOTE: If you are a USFS employee, you will need obtain an ArcGIS On-Line account. You can Here is the
link to register for an account:
https://ems-team.usda.gov/sites/fs-cio-webgis/_layouts/15/start.aspx#/SitePages/Home.aspx
Use your AD username and password to log in to the above page. After you have received an email
confirming your USFS AGOL account, you need to contact Charlie Schrader-Patton ([email protected])
to be added as a user to the Seed Zones Group. This will allow you to access the USFS Seed Zones map.
Charlie will send you an email when you have been added.
2. 1 December 2016
If you are not USFS employee, you need to explore getting a USFS AGOL account which may be possible
if you are under a USFS contract or are with a cooperating agency.
1. Collector for ArcGIS is a mobile software application (app) that is linked with web maps authored in
ArcGIS On-Line (AGOL), ESRIs web GIS subscription service. We have created a map of the Seed
Zones that you can access with the free Collector for ArcGIS app.
NOTE: The instructions in this Section 1 assume that you are in a connected environment with your
device – either WiFi, or mobile data.
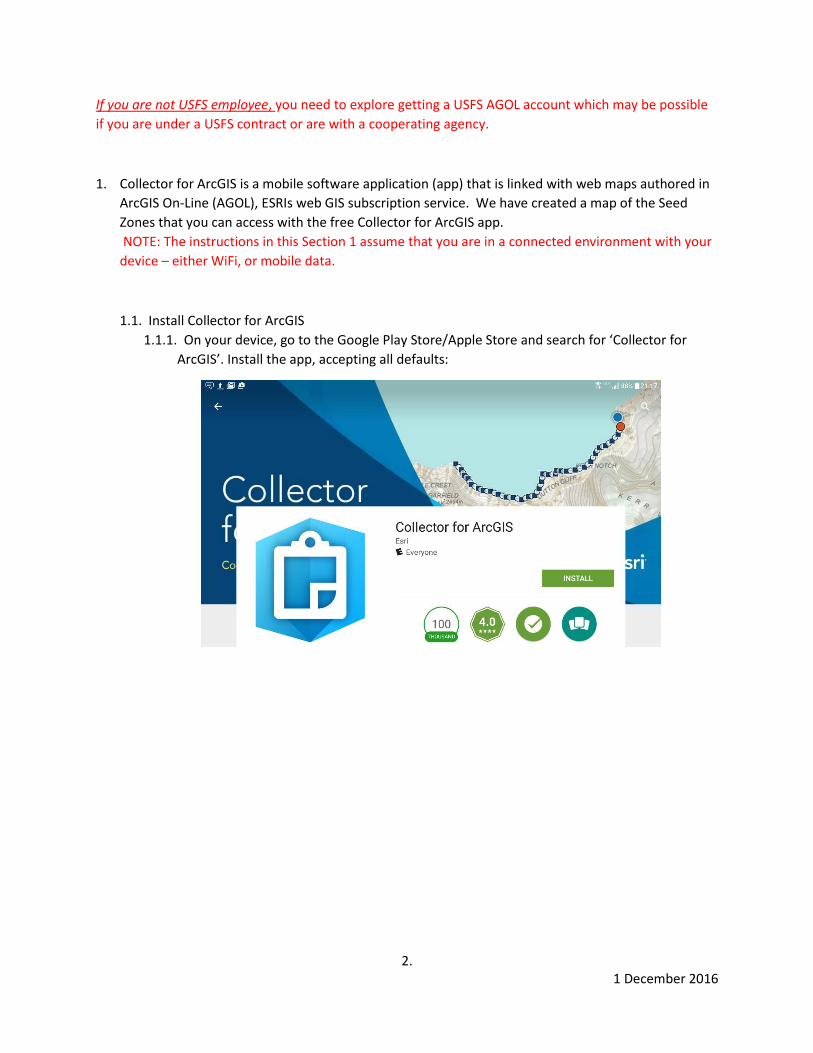
1.1. Install Collector for ArcGIS
1.1.1. On your device, go to the Google Play Store/Apple Store and search for ‘Collector for
ArcGIS’. Install the app, accepting all defaults:
3. 1 December 2016
1.2. Log in to AGOL and access the Seed Zones map.
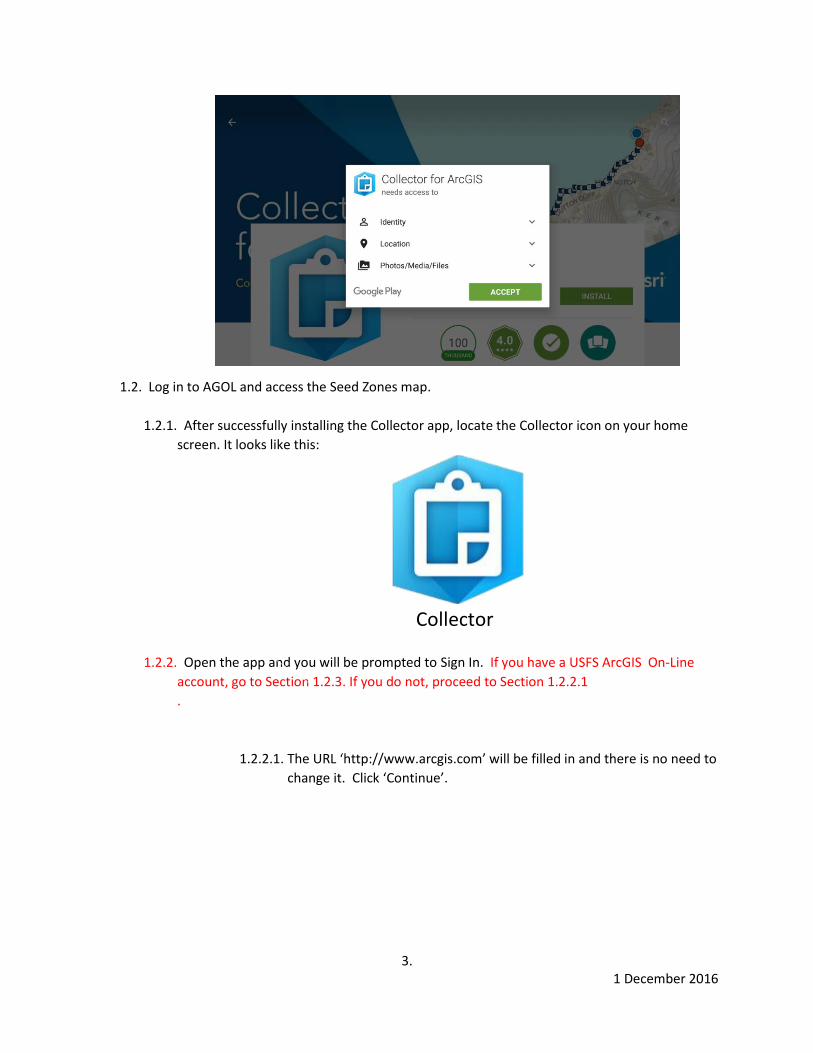
1.2.1. After successfully installing the Collector app, locate the Collector icon on your home
screen. It looks like this:
Collector
1.2.2. Open the app and you will be prompted to Sign In. If you have a USFS ArcGIS On-Line
account, go to Section 1.2.3. If you do not, proceed to Section 1.2.2.1
.
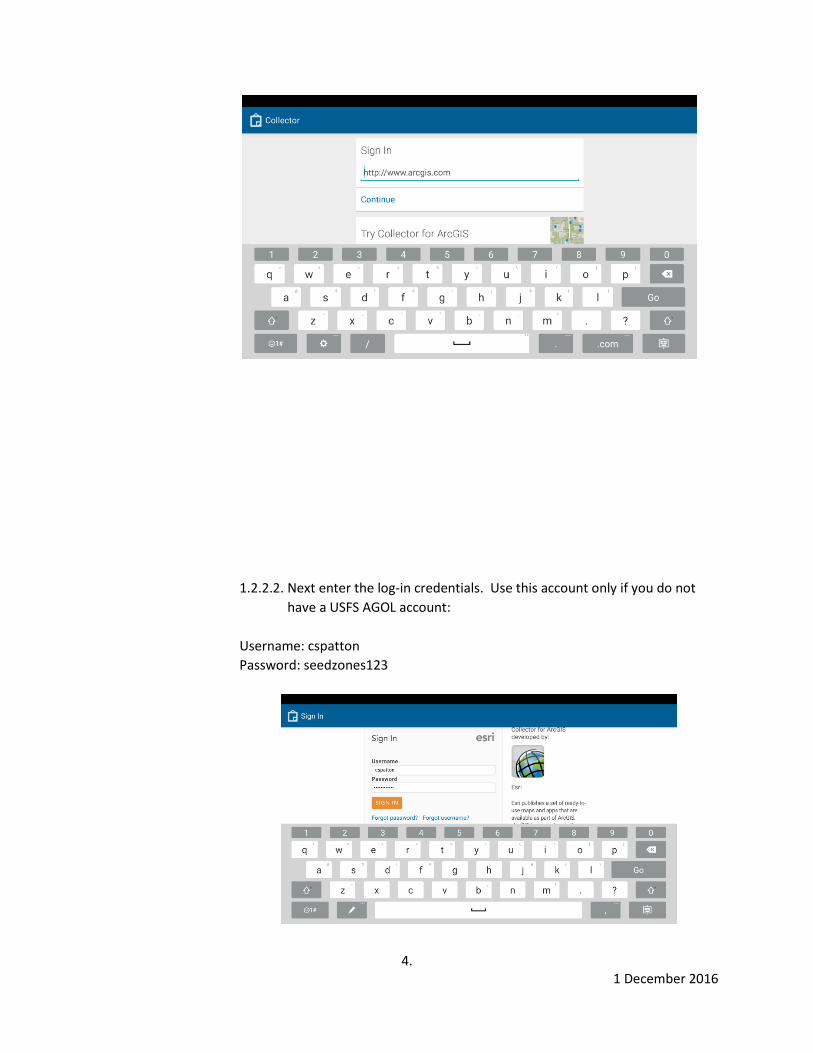
1.2.2.1. The URL ‘http://www.arcgis.com’ will be filled in and there is no need to
change it. Click ‘Continue’.
4. 1 December 2016
1.2.2.2. Next enter the log-in credentials. Use this account only if you do not
have a USFS AGOL account:
Username: cspatton
Password: seedzones123
5. 1 December 2016
NOTE: The above credentials may change so if they don’t work contact us.
1.2.3. Complete this Section if you have an ArcGIS On-Line account with the USFS. If you are a
USFS employee, we strongly encourage you to obtain a USFS AGOL account. Here is the
link to register for an account:
https://ems-team.usda.gov/sites/fs-cio-
webgis/_layouts/15/start.aspx#/SitePages/Home.aspx
Use your AD username and password to log in to the above page.
1.2.3.1. After you have received an email confirming your USFS AGOL account,
you need to contact Charlie Schrader-Patton ([email protected]) to
be added as a user to the Seed Zones Group. This will allow you to
access the USFS Seed Zones map. Charlie will send you an email when
you have been added.
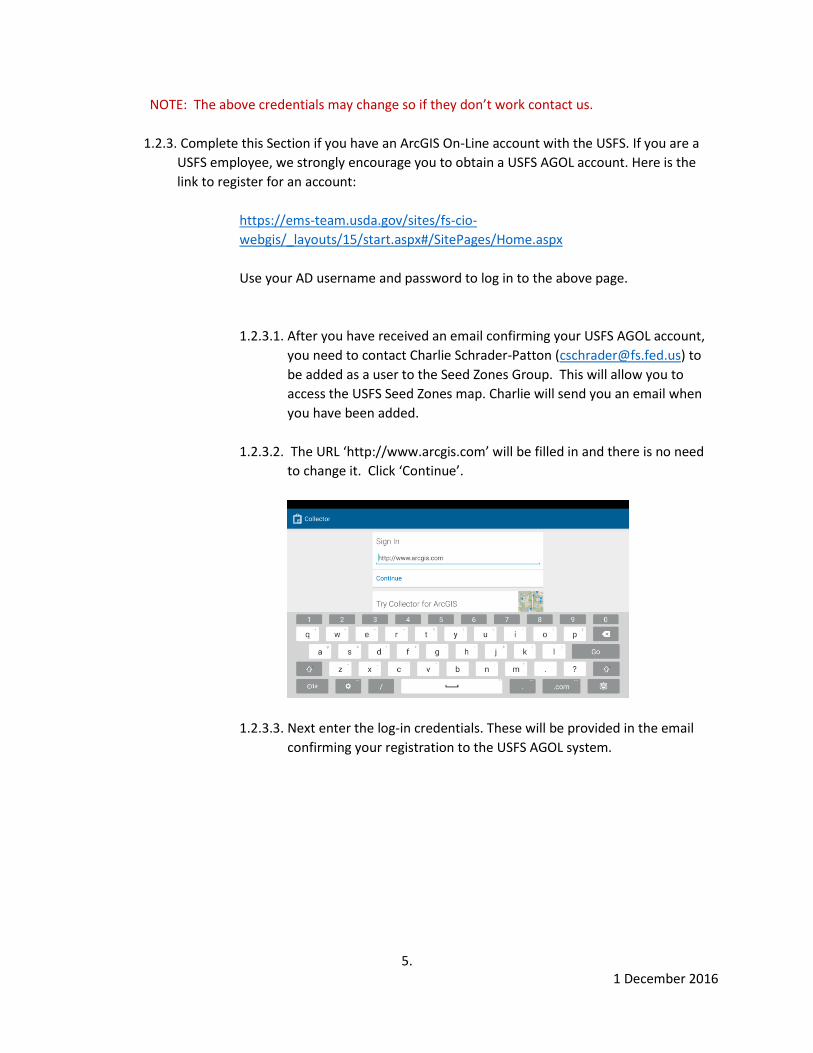
1.2.3.2. The URL ‘http://www.arcgis.com’ will be filled in and there is no need
to change it. Click ‘Continue’.
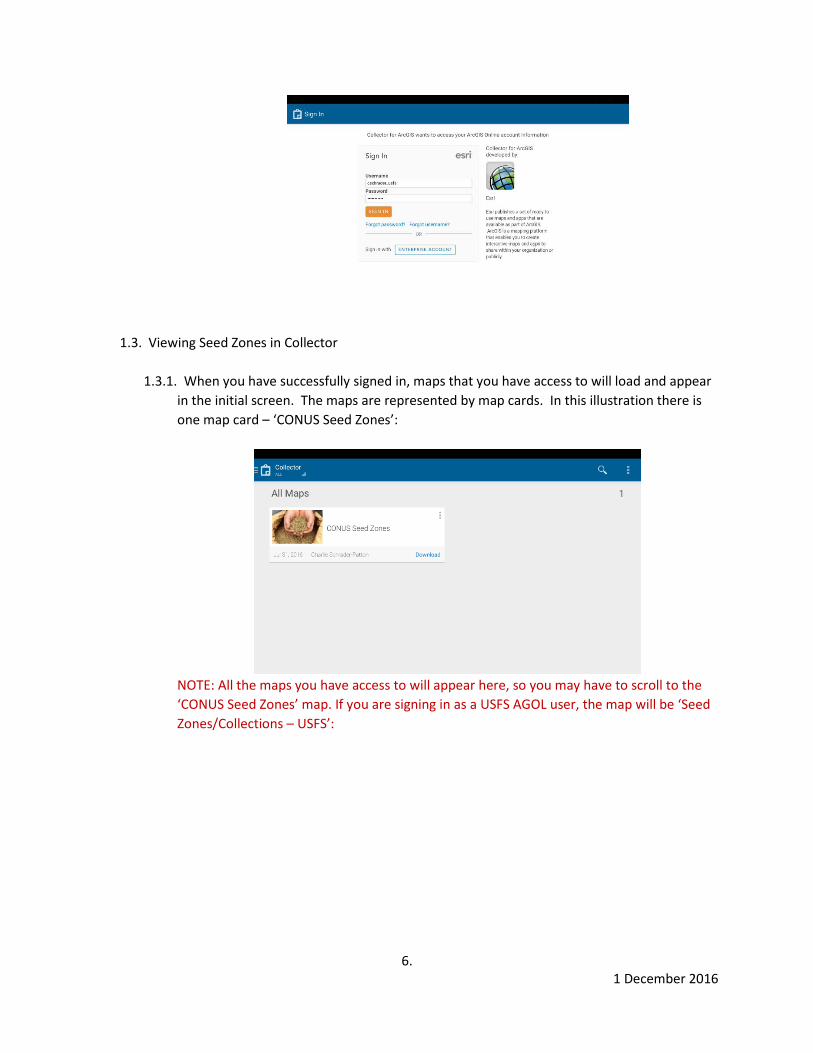
1.2.3.3. Next enter the log-in credentials. These will be provided in the email
confirming your registration to the USFS AGOL system.
6. 1 December 2016
1.3. Viewing Seed Zones in Collector
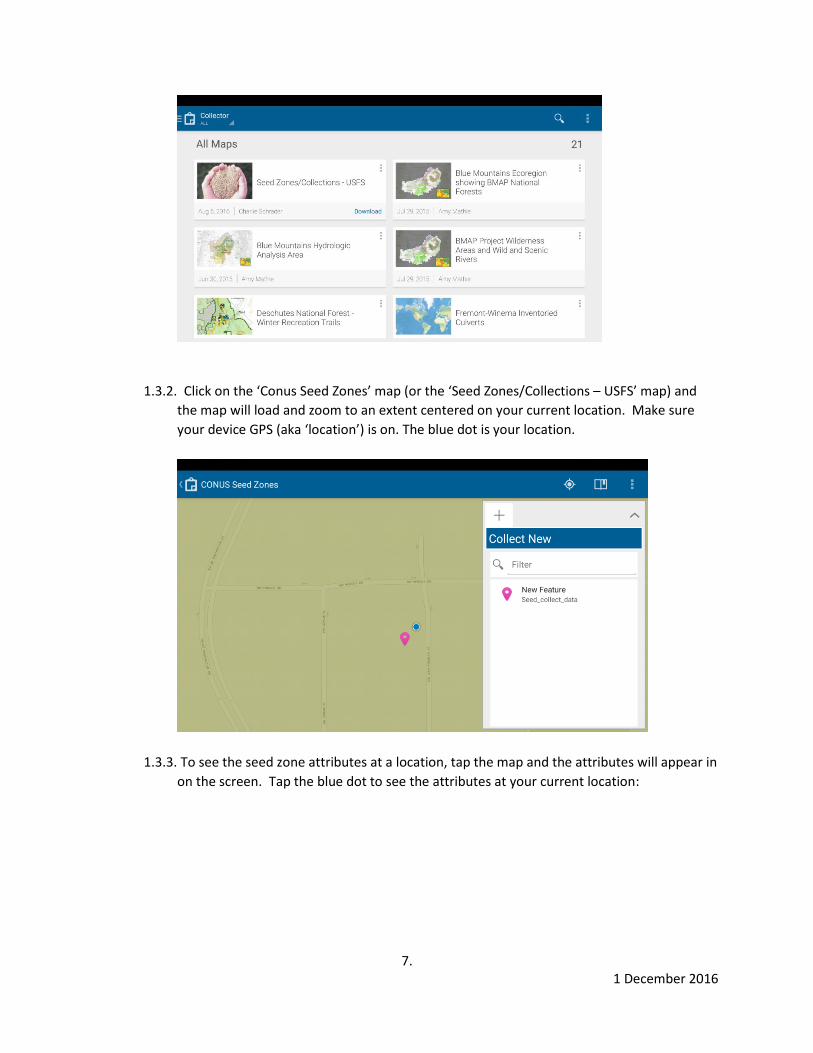
1.3.1. When you have successfully signed in, maps that you have access to will load and appear
in the initial screen. The maps are represented by map cards. In this illustration there is
one map card – ‘CONUS Seed Zones’:
NOTE: All the maps you have access to will appear here, so you may have to scroll to the
‘CONUS Seed Zones’ map. If you are signing in as a USFS AGOL user, the map will be ‘Seed
Zones/Collections – USFS’:
7. 1 December 2016
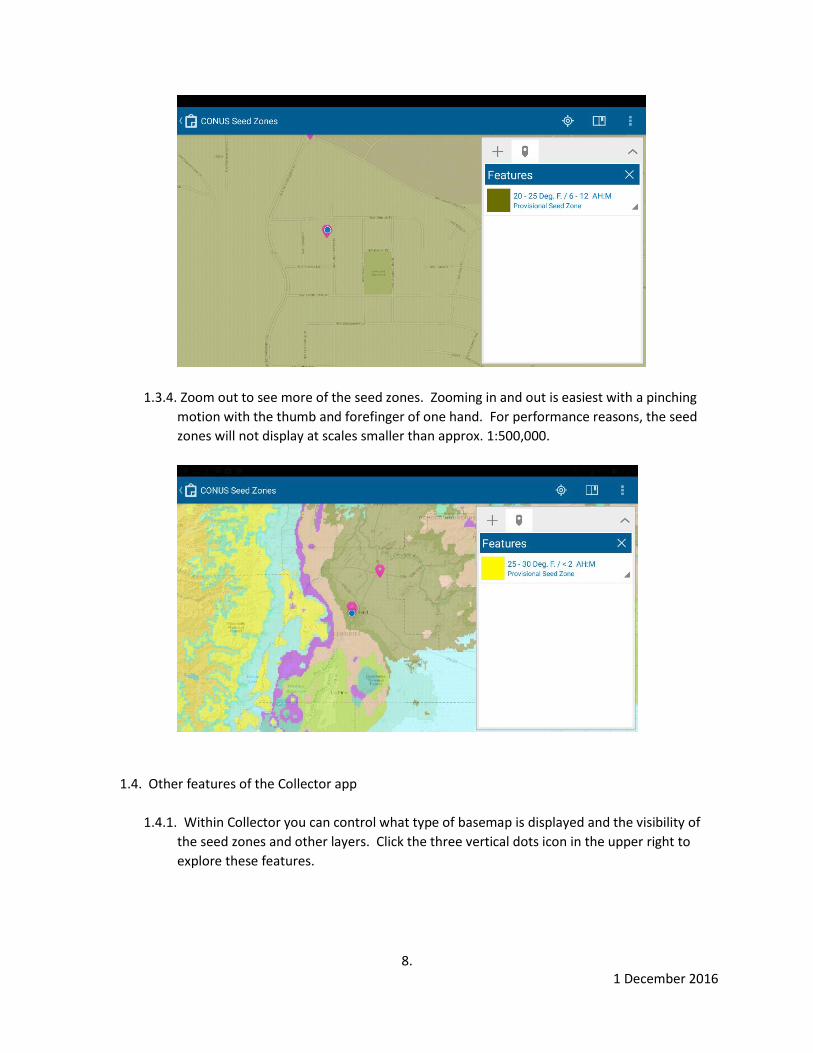
1.3.2. Click on the ‘Conus Seed Zones’ map (or the ‘Seed Zones/Collections – USFS’ map) and
the map will load and zoom to an extent centered on your current location. Make sure
your device GPS (aka ‘location’) is on. The blue dot is your location.
1.3.3. To see the seed zone attributes at a location, tap the map and the attributes will appear in
on the screen. Tap the blue dot to see the attributes at your current location:
8. 1 December 2016
1.3.4. Zoom out to see more of the seed zones. Zooming in and out is easiest with a pinching
motion with the thumb and forefinger of one hand. For performance reasons, the seed
zones will not display at scales smaller than approx. 1:500,000.
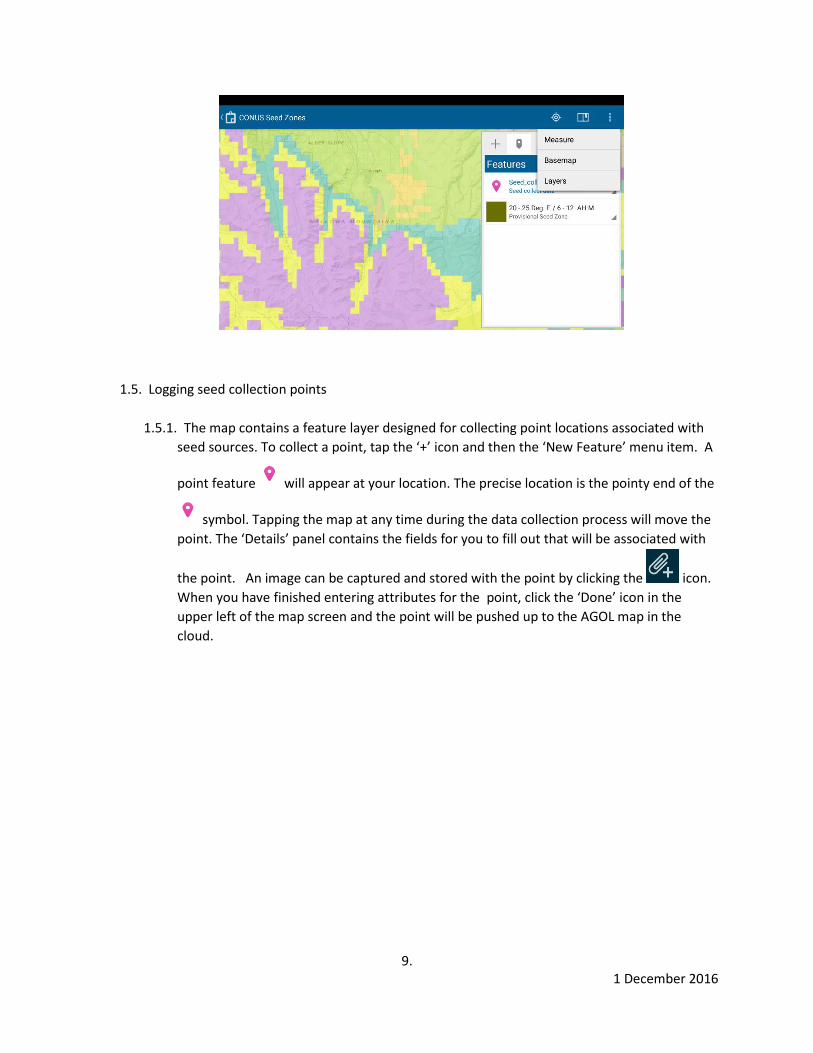
1.4. Other features of the Collector app
1.4.1. Within Collector you can control what type of basemap is displayed and the visibility of
the seed zones and other layers. Click the three vertical dots icon in the upper right to
explore these features.
9. 1 December 2016
1.5. Logging seed collection points
1.5.1. The map contains a feature layer designed for collecting point locations associated with
seed sources. To collect a point, tap the ‘+’ icon and then the ‘New Feature’ menu item. A
point feature will appear at your location. The precise location is the pointy end of the
symbol. Tapping the map at any time during the data collection process will move the
point. The ‘Details’ panel contains the fields for you to fill out that will be associated with
the point. An image can be captured and stored with the point by clicking the icon.
When you have finished entering attributes for the point, click the ‘Done’ icon in the
upper left of the map screen and the point will be pushed up to the AGOL map in the
cloud.
10. 1 December 2016
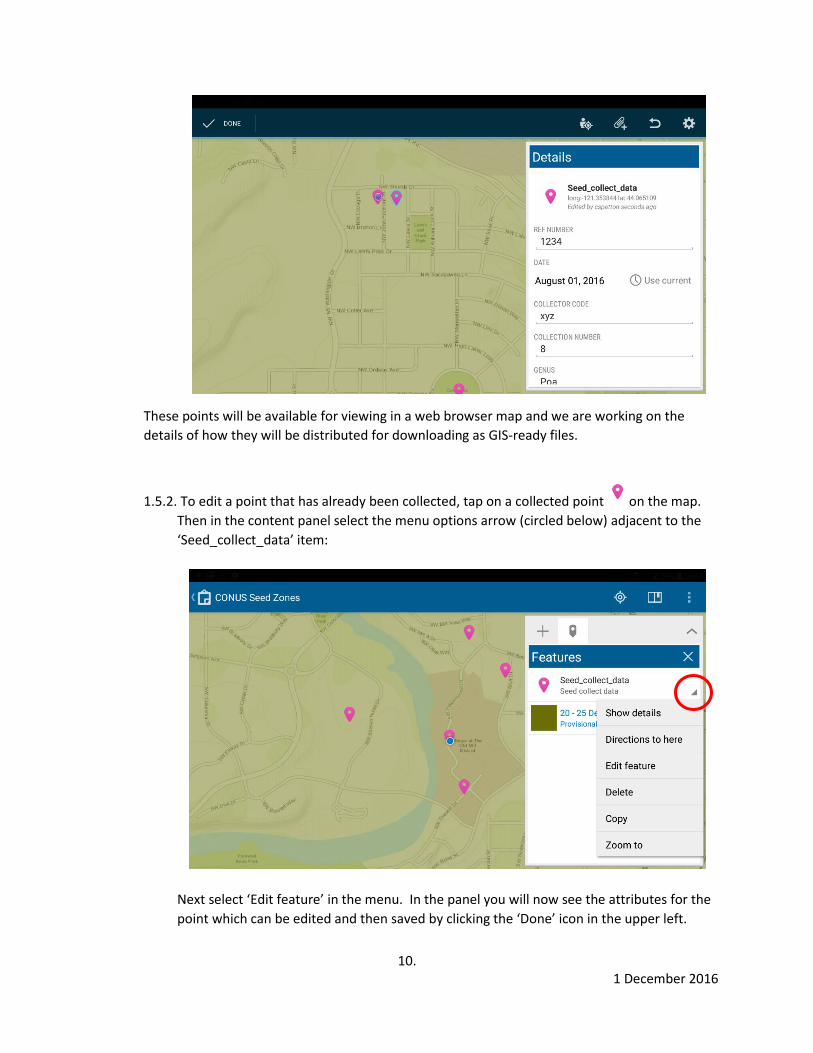
These points will be available for viewing in a web browser map and we are working on the
details of how they will be distributed for downloading as GIS-ready files.
1.5.2. To edit a point that has already been collected, tap on a collected point on the map.
Then in the content panel select the menu options arrow (circled below) adjacent to the
‘Seed_collect_data’ item:
Next select ‘Edit feature’ in the menu. In the panel you will now see the attributes for the
point which can be edited and then saved by clicking the ‘Done’ icon in the upper left.
11. 1 December 2016
2. Off-line (disconnected environment) use
2.1. Many locations where seed collects will take place will be outside the range of both WiFi and
mobile data networks. Collector for ArcGIS can be used in these environments but it requires
some planning before you leave the connected space. Collector can download a map and
feature layer for a specified area and then use that data that is stored locally on your device
while disconnected. Feature collection is essentially the same as in Section 1, except that the
features are stored locally until they can be pushed up to the server when you return to a
connected environment.
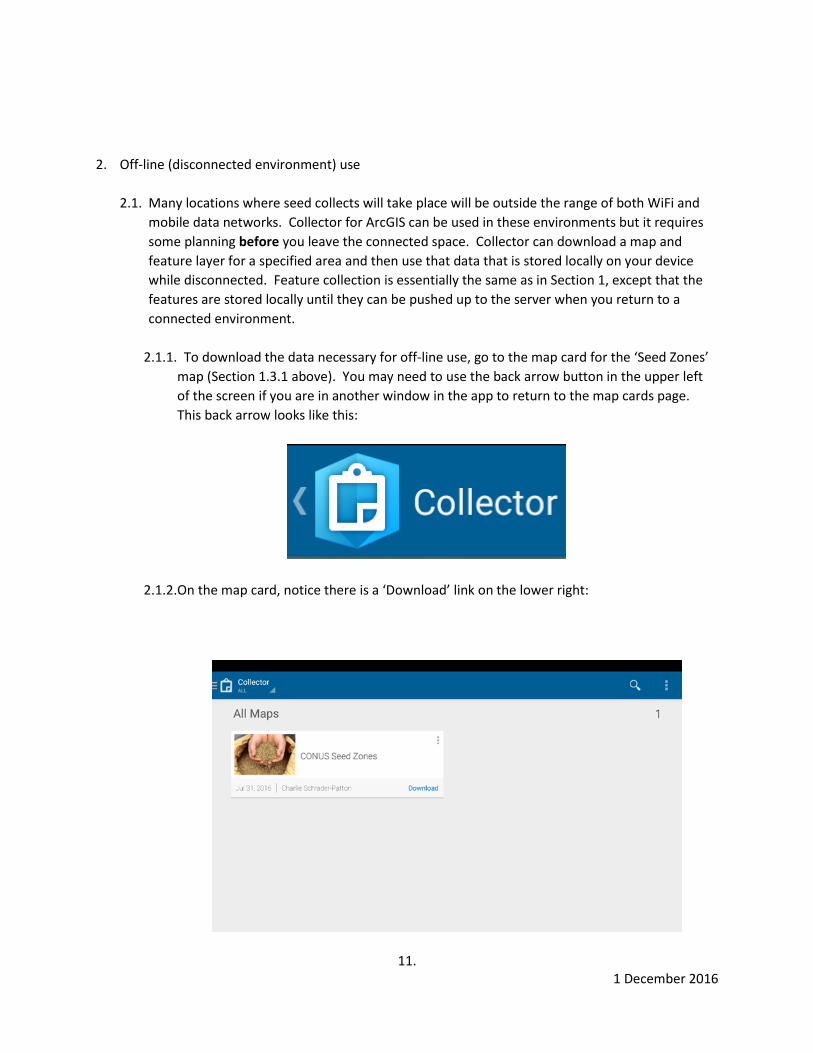
2.1.1. To download the data necessary for off-line use, go to the map card for the ‘Seed Zones’
map (Section 1.3.1 above). You may need to use the back arrow button in the upper left
of the screen if you are in another window in the app to return to the map cards page.
This back arrow looks like this:
2.1.2. On the map card, notice there is a ‘Download’ link on the lower right:
12. 1 December 2016
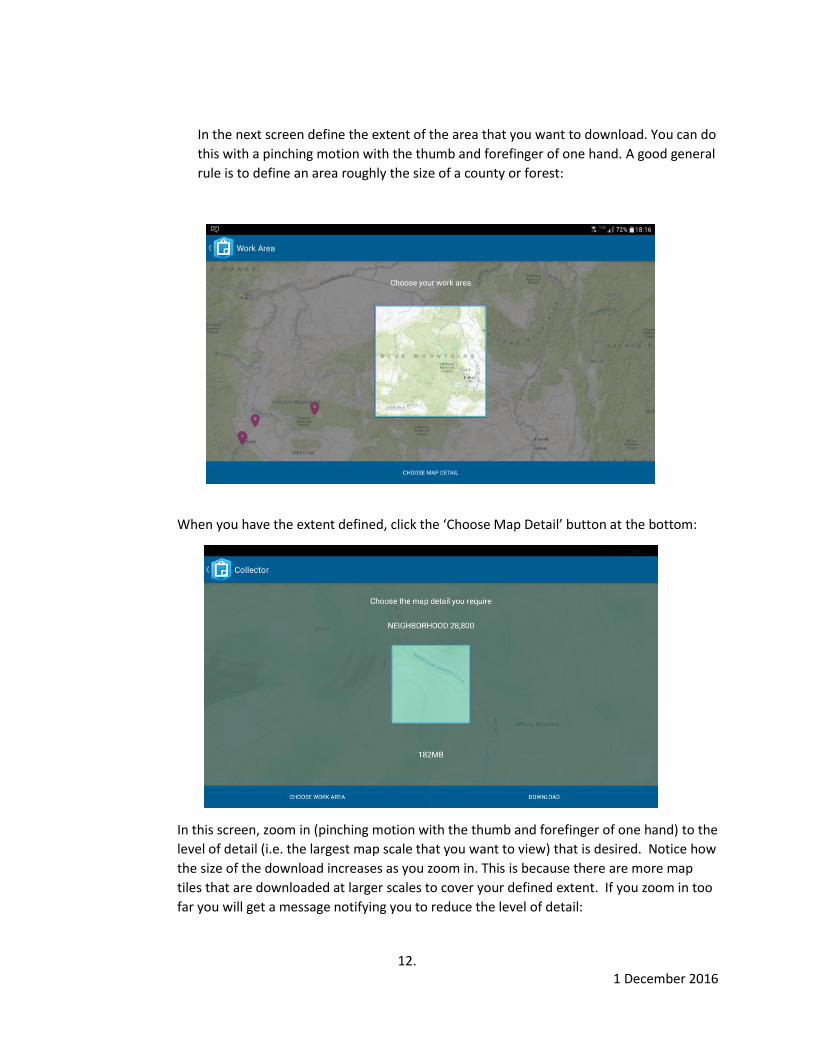
In the next screen define the extent of the area that you want to download. You can do
this with a pinching motion with the thumb and forefinger of one hand. A good general
rule is to define an area roughly the size of a county or forest:
When you have the extent defined, click the ‘Choose Map Detail’ button at the bottom:
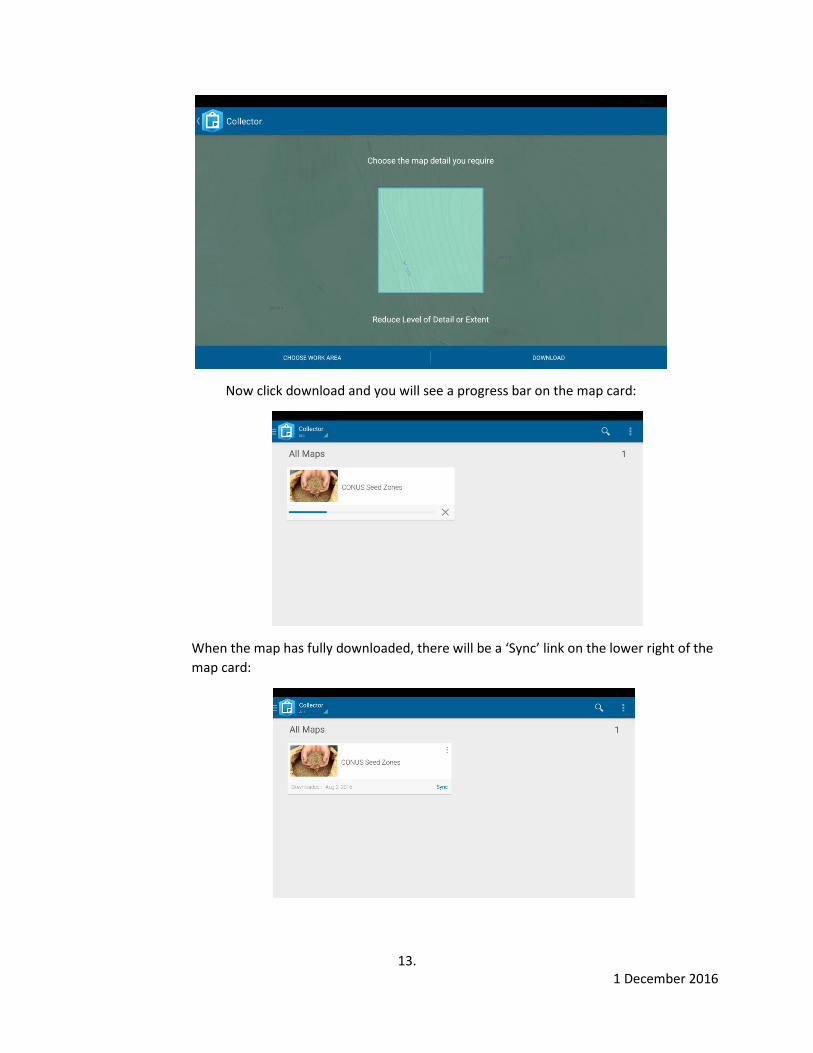
In this screen, zoom in (pinching motion with the thumb and forefinger of one hand) to the
level of detail (i.e. the largest map scale that you want to view) that is desired. Notice how
the size of the download increases as you zoom in. This is because there are more map
tiles that are downloaded at larger scales to cover your defined extent. If you zoom in too
far you will get a message notifying you to reduce the level of detail:
13. 1 December 2016
Now click download and you will see a progress bar on the map card:
When the map has fully downloaded, there will be a ‘Sync’ link on the lower right of the
map card:
14. 1 December 2016
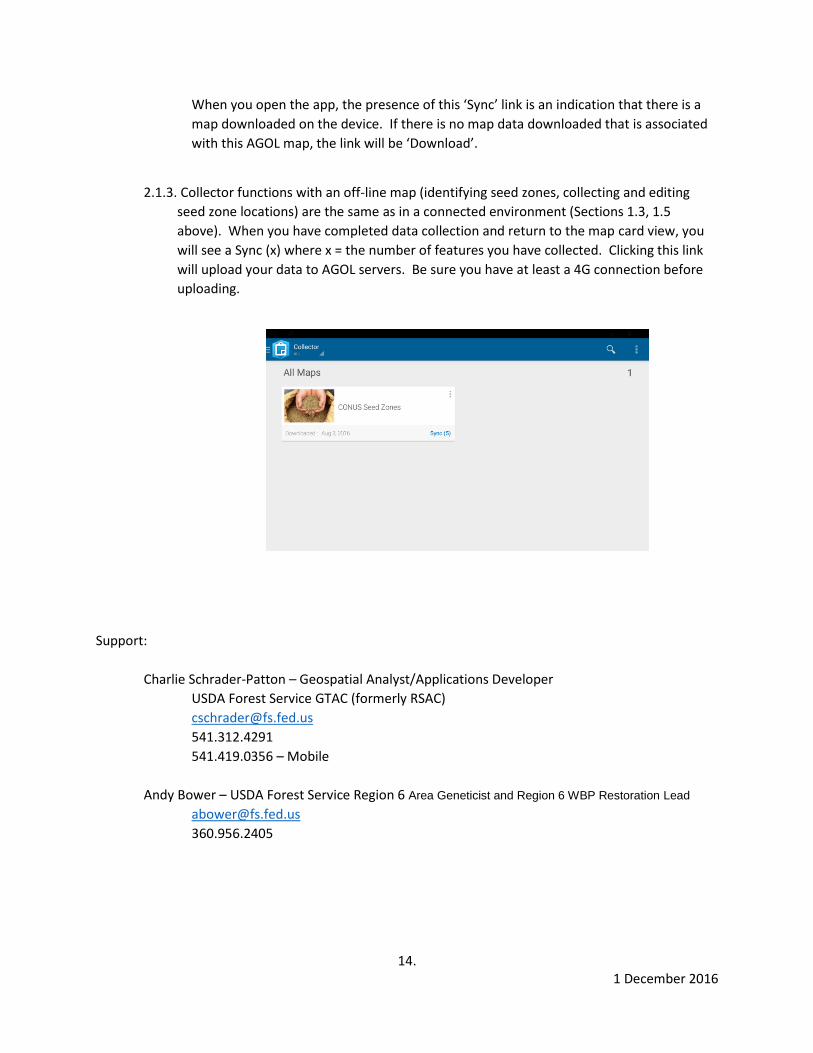
When you open the app, the presence of this ‘Sync’ link is an indication that there is a
map downloaded on the device. If there is no map data downloaded that is associated
with this AGOL map, the link will be ‘Download’.
2.1.3. Collector functions with an off-line map (identifying seed zones, collecting and editing
seed zone locations) are the same as in a connected environment (Sections 1.3, 1.5
above). When you have completed data collection and return to the map card view, you
will see a Sync (x) where x = the number of features you have collected. Clicking this link
will upload your data to AGOL servers. Be sure you have at least a 4G connection before
uploading.
Support:
Charlie Schrader-Patton – Geospatial Analyst/Applications Developer
USDA Forest Service GTAC (formerly RSAC)
541.312.4291
541.419.0356 – Mobile
Andy Bower – USDA Forest Service Region 6 Area Geneticist and Region 6 WBP Restoration Lead
360.956.2405

15. 1 December 2016