Embed Size (px)
Citation preview
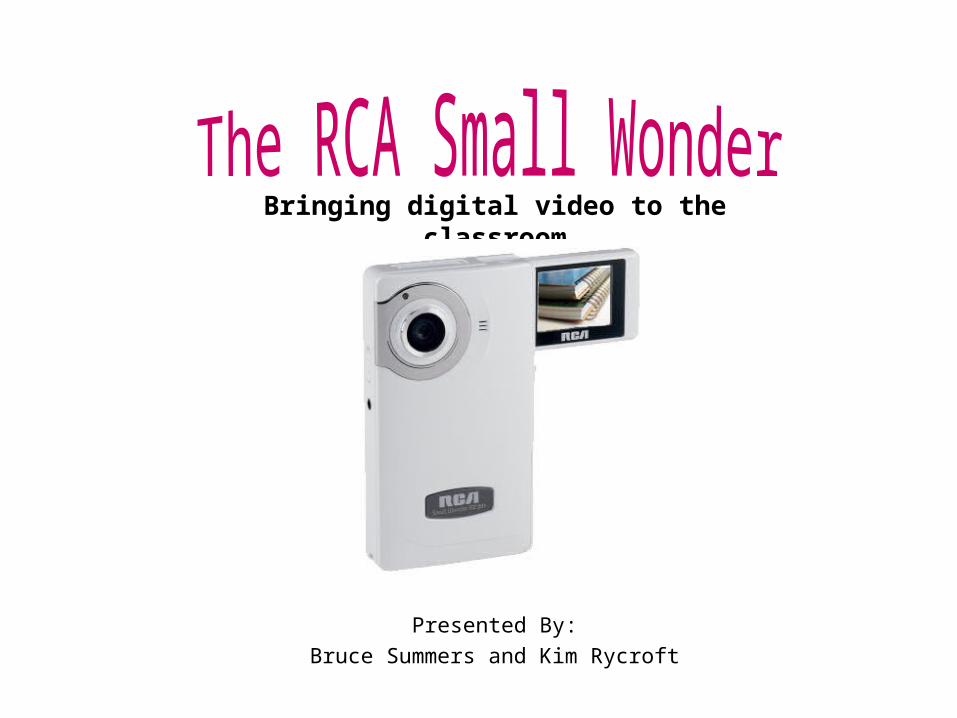
Presented By:
Bruce Summers and Kim Rycroft
Bringing digital video to the classroom

Workshop ObjectivesWorkshop Objectives
● This workshop will:
● Introduce you to the basics of using the RCA Small Wonder video camera
● Provide you with an overview of the process of creating a video (Planning > Production)
● Give you an opportunity to produce your own video using a Small Wonder camera and Movie Maker
Workshop AgendaWorkshop Agenda
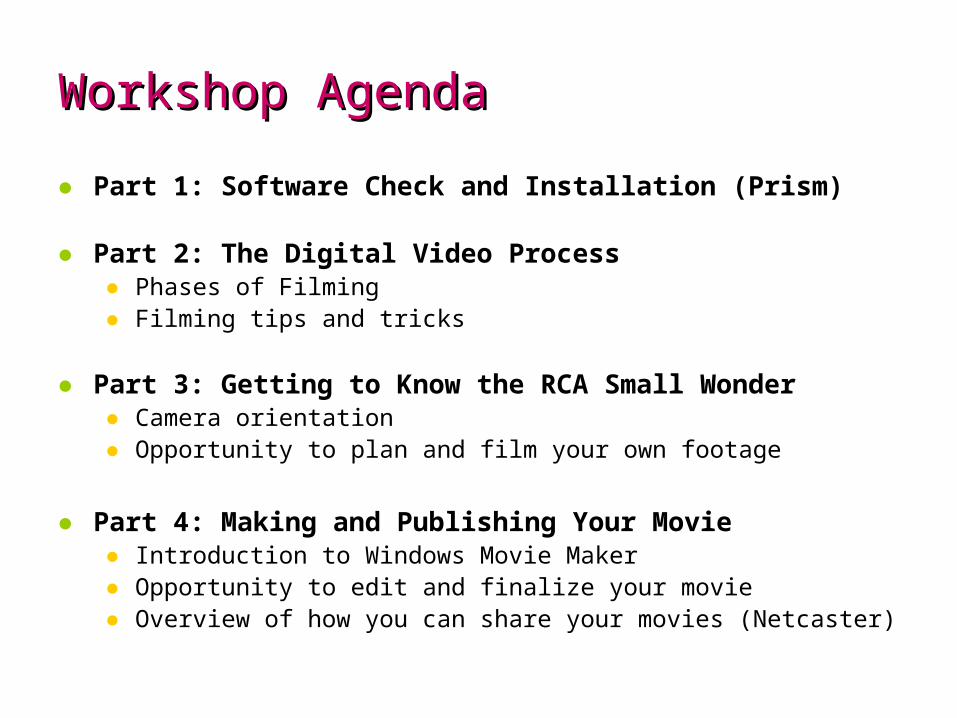
● Part 1: Software Check and Installation (Prism)
● Part 2: The Digital Video Process● Phases of Filming ● Filming tips and tricks
● Part 3: Getting to Know the RCA Small Wonder● Camera orientation● Opportunity to plan and film your own footage
● Part 4: Making and Publishing Your Movie● Introduction to Windows Movie Maker● Opportunity to edit and finalize your movie● Overview of how you can share your movies (Netcaster)
Software CheckSoftware Check
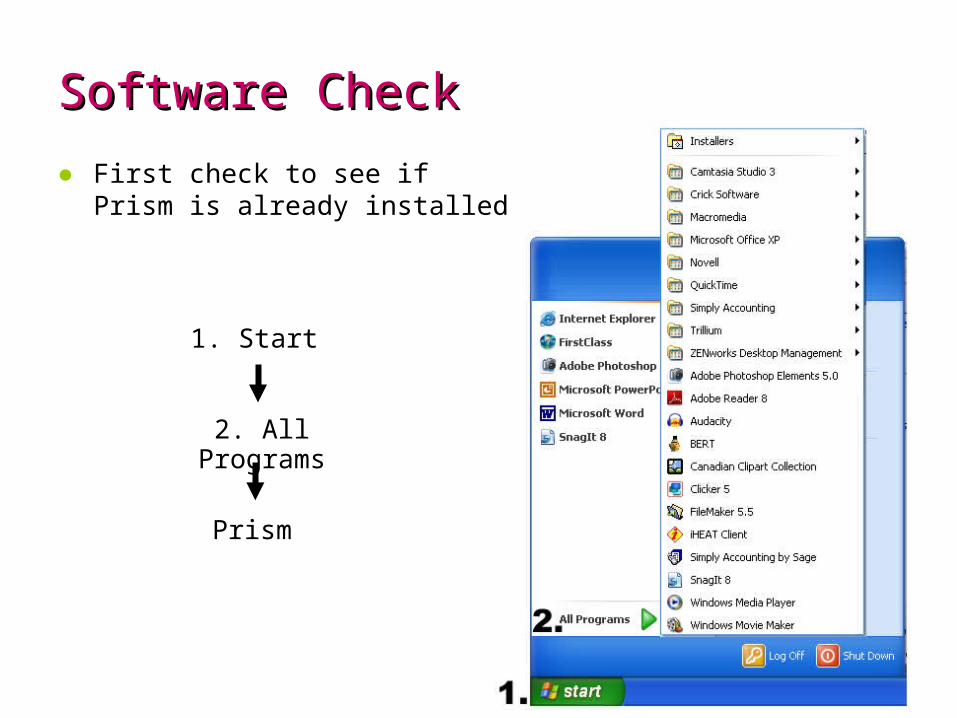
1. Start
2. All Programs
● First check to see if Prism is already installed
Prism
Software InstallationSoftware Installation
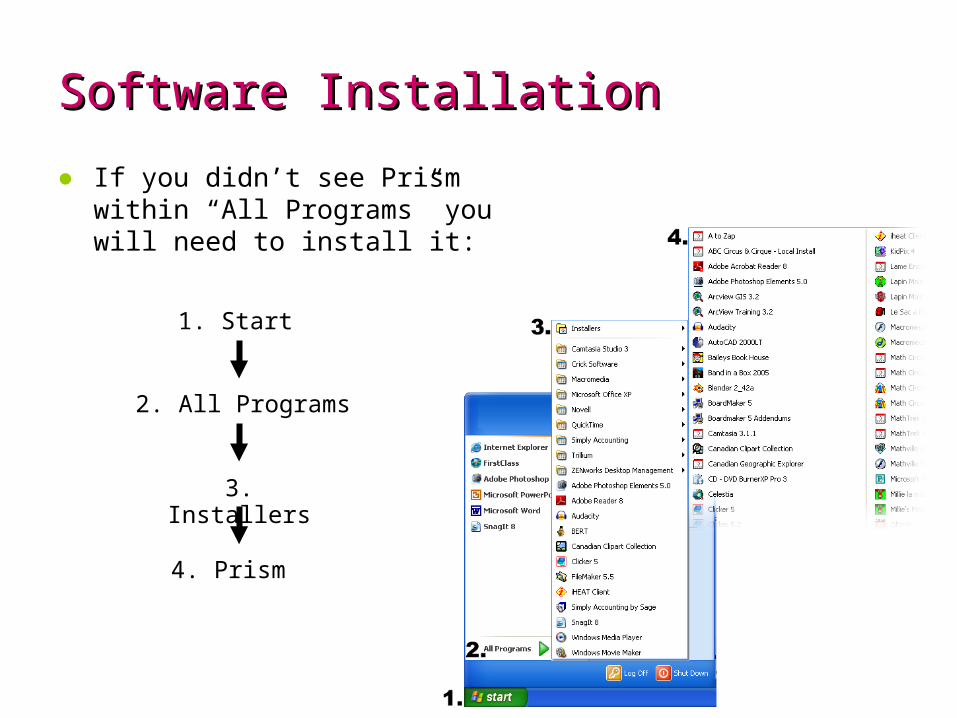
● If you didn’t see Prism within “All Programs” you will need to install it:
1. Start
2. All Programs
3. Installers
4. Prism
Get Organized!Get Organized!
● Create a folder on your H: drive (personal server space) to store all of your video files
● Save all of your files for today’s workshop there to keep them organized
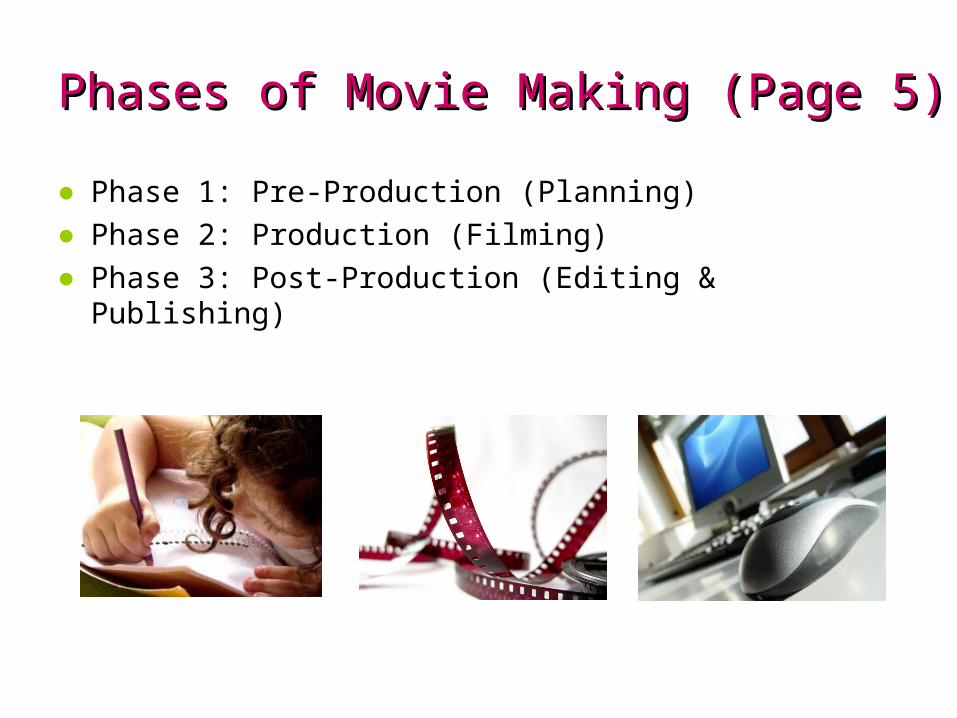
Phases of Movie Making (Page 5)Phases of Movie Making (Page 5)
● Phase 1: Pre-Production (Planning)● Phase 2: Production (Filming)● Phase 3: Post-Production (Editing & Publishing)
Pre-Production: PlanningPre-Production: Planning
● Brainstorm ideas● Consider the target audience● What is the format?
● Documentary● Public message● Spoof● Play● Marketing● News item…
● Target length of film● Storyboard and scripting
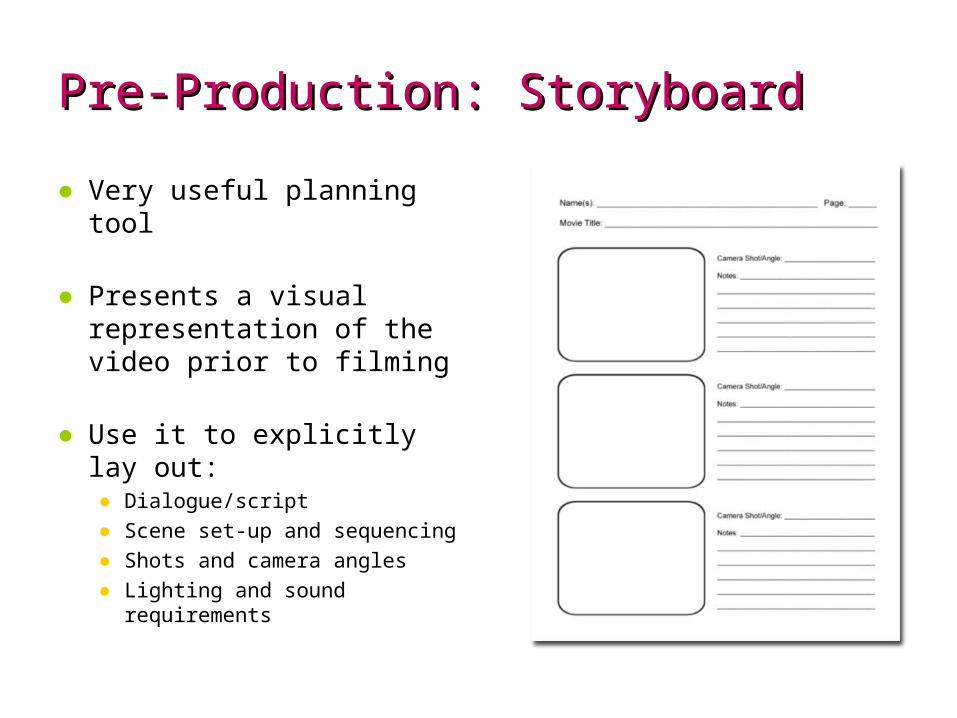
Pre-Production: StoryboardPre-Production: Storyboard
● Very useful planning tool
● Presents a visual representation of the video prior to filming
● Use it to explicitly lay out:● Dialogue/script
● Scene set-up and sequencing
● Shots and camera angles
● Lighting and sound requirements

Production: FilmingProduction: Filming
● Consider assigning roles:● Producer (co-ordinates scenes
from the storyboard)
● Director (starts and stops the action)
● Camera person● Actors● Lighting, sound, costume and
scene design
● Rehearse before using the camera
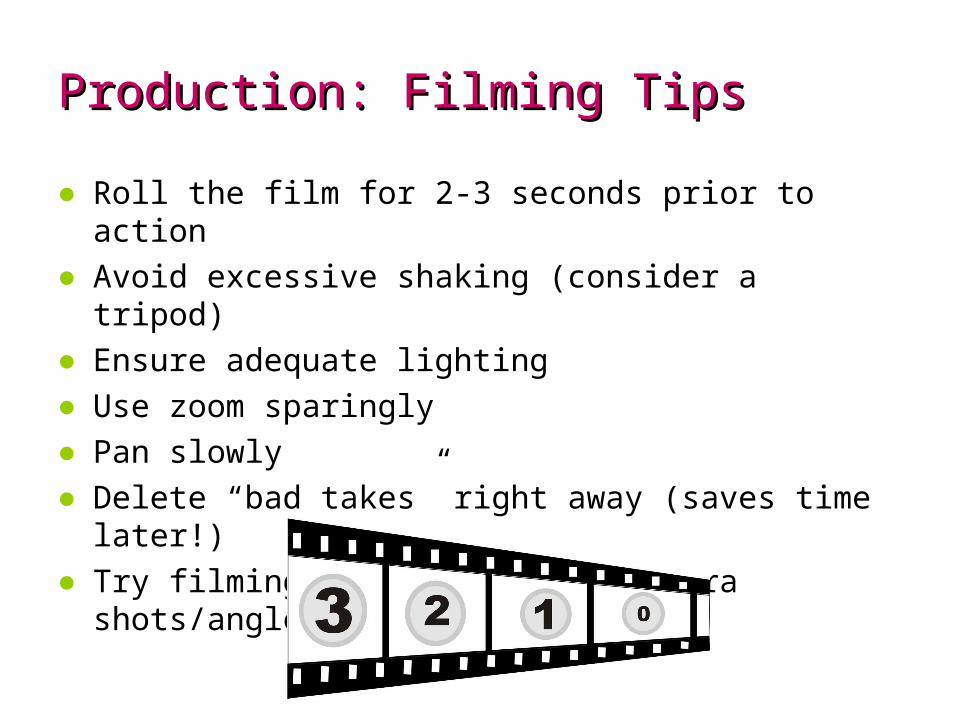
Production: Filming TipsProduction: Filming Tips
● Roll the film for 2-3 seconds prior to action● Avoid excessive shaking (consider a tripod)● Ensure adequate lighting● Use zoom sparingly● Pan slowly● Delete “bad takes” right away (saves time later!)● Try filming using different camera shots/angles
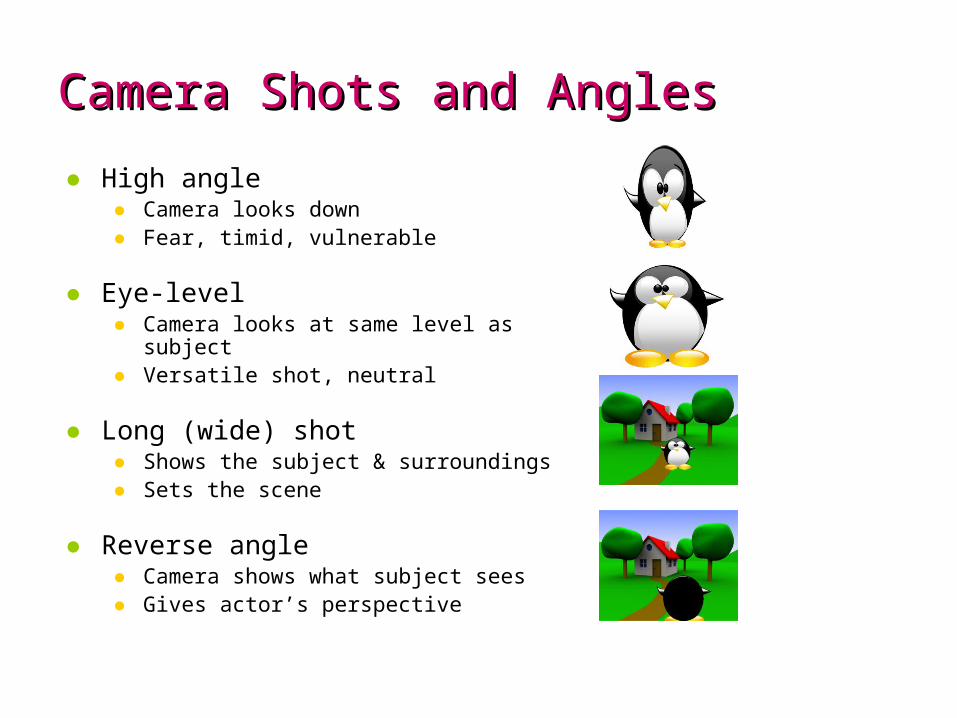
Camera Shots and AnglesCamera Shots and Angles
● High angle● Camera looks down● Fear, timid, vulnerable
● Eye-level● Camera looks at same level as subject● Versatile shot, neutral
● Long (wide) shot● Shows the subject & surroundings● Sets the scene
● Reverse angle● Camera shows what subject sees ● Gives actor’s perspective
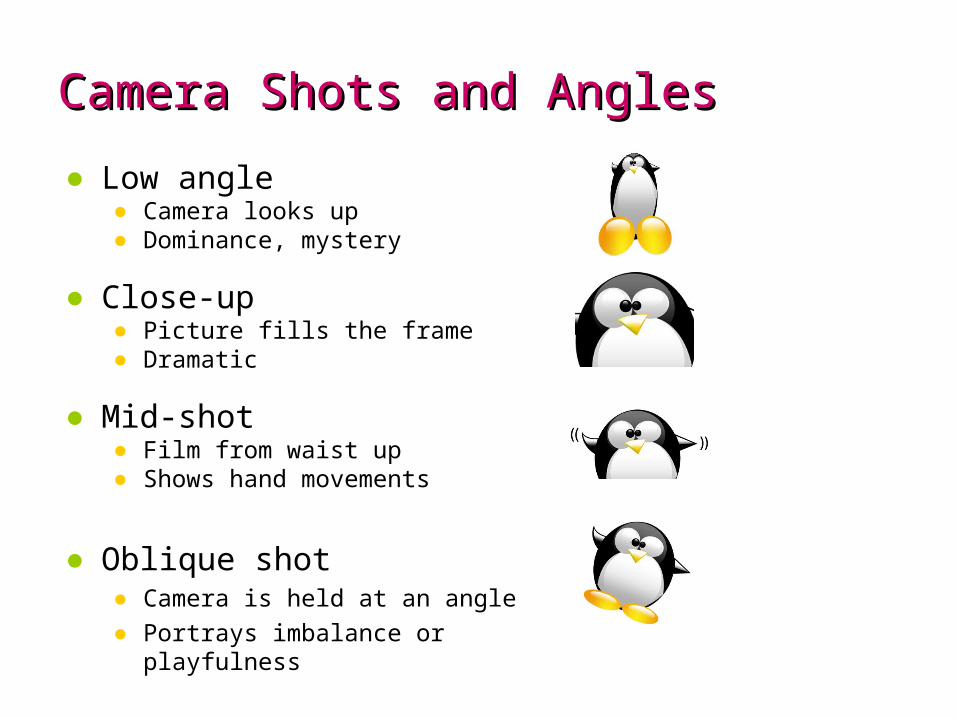
Camera Shots and AnglesCamera Shots and Angles
● Low angle● Camera looks up● Dominance, mystery
● Close-up● Picture fills the frame● Dramatic
● Mid-shot● Film from waist up● Shows hand movements
● Oblique shot● Camera is held at an angle● Portrays imbalance or playfulness
Post-Production: Edit & PublishPost-Production: Edit & Publish
● Convert and download video footage to the computer
● Edit the footage in Movie Maker● Cut and re-sequence clips● Add titles, transitions, music and credits
● Publish to the web (Netcaster)● OCDSB’s online media sharing space
A Bit About Netcaster…A Bit About Netcaster…
● OCDSB’s online media sharing space● Allows you to upload a variety of media such as audio
recordings (podcasts), videos, photos● Works with mp3, flv, swf, avi, wmv, gif, jpg, and png files● One account per school (for now)
http://blt.ocdsb.ca/netcaster
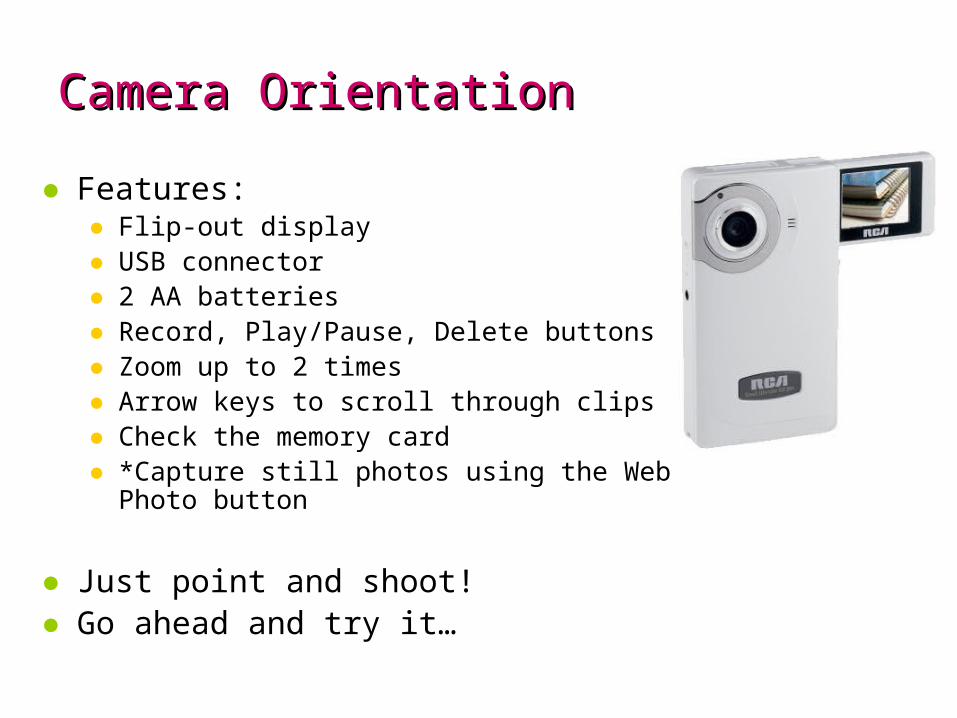
Camera OrientationCamera Orientation
● Features:● Flip-out display● USB connector● 2 AA batteries● Record, Play/Pause, Delete buttons● Zoom up to 2 times● Arrow keys to scroll through clips● Check the memory card● *Capture still photos using the Web Photo
button
● Just point and shoot!● Go ahead and try it…

What if I Need Help?What if I Need Help?
● Consult your documentation
● Hotline is your next point of contact
● Available as support to you for:● Technical difficulties● Questions about using Movie Maker or the camera
● Contact Hotline via email or phone● Email: [email protected]● Phone: 596-8273