Embed Size (px)
Citation preview
Peek-a-Boo Match Game
Peek-a-Boo Match Game
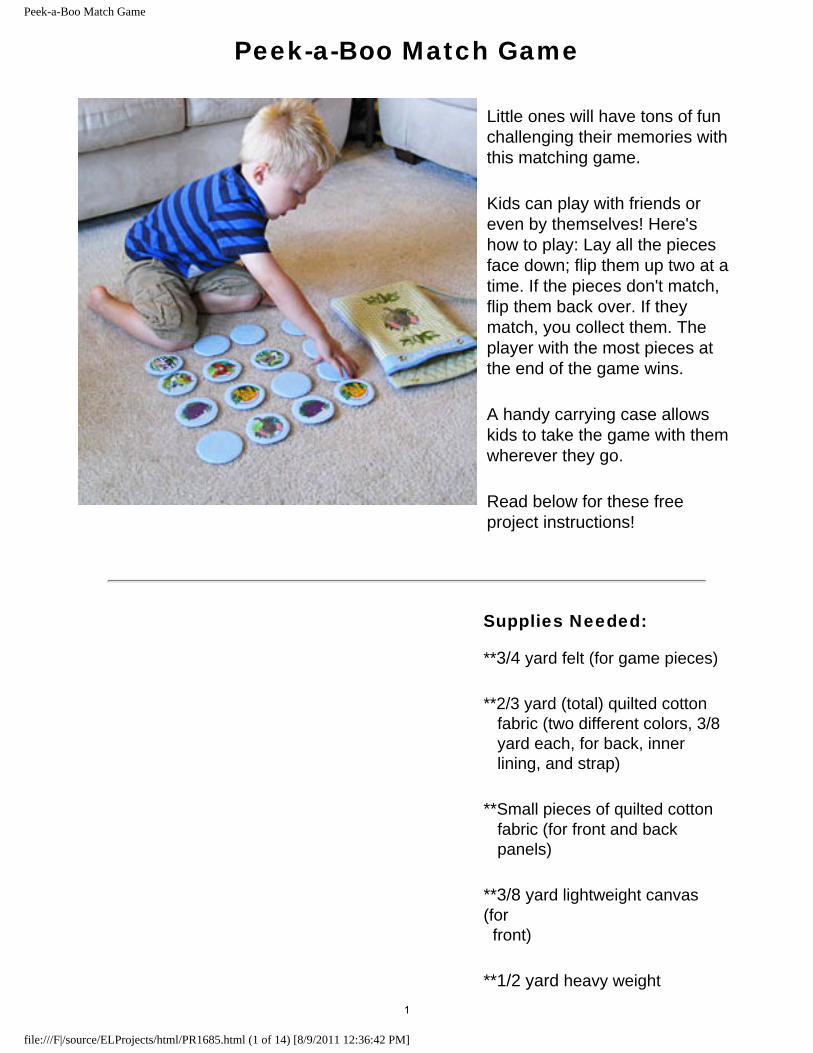
Little ones will have tons of fun challenging their memories with this matching game.
Kids can play with friends or even by themselves! Here's how to play: Lay all the pieces face down; flip them up two at a time. If the pieces don't match, flip them back over. If they match, you collect them. The player with the most pieces at the end of the game wins.
A handy carrying case allows kids to take the game with them wherever they go.
Read below for these free project instructions!
Supplies Needed: **3/4 yard felt (for game pieces)
**2/3 yard (total) quilted cotton fabric (two different colors, 3/8 yard each, for back, inner lining, and strap)
**Small pieces of quilted cotton fabric (for front and back panels)
**3/8 yard lightweight canvas (for front)
**1/2 yard heavy weight
file:///F|/source/ELProjects/html/PR1685.html (1 of 14) [8/9/2011 12:36:42 PM]
1
Peek-a-Boo Match Game
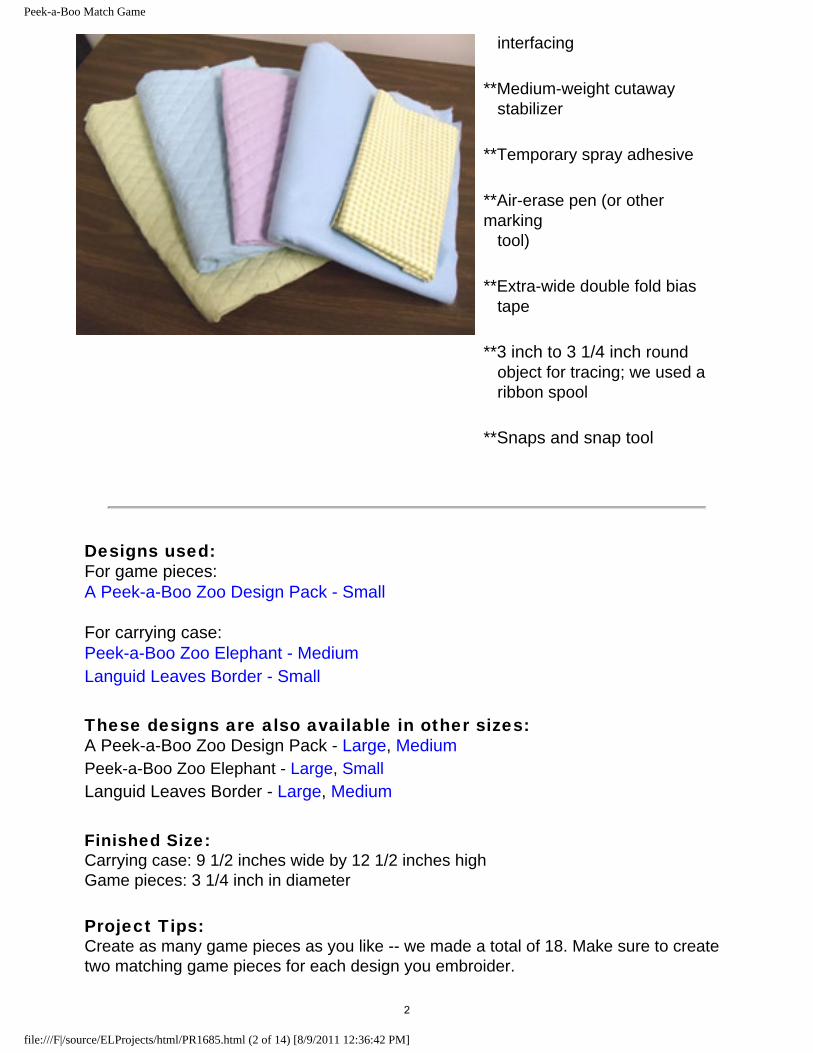
interfacing
**Medium-weight cutaway stabilizer
**Temporary spray adhesive
**Air-erase pen (or other marking tool)
**Extra-wide double fold bias tape
**3 inch to 3 1/4 inch round object for tracing; we used a ribbon spool
**Snaps and snap tool
Designs used: For game pieces: A Peek-a-Boo Zoo Design Pack - Small For carrying case: Peek-a-Boo Zoo Elephant - Medium Languid Leaves Border - Small
These designs are also available in other sizes: A Peek-a-Boo Zoo Design Pack - Large, Medium Peek-a-Boo Zoo Elephant - Large, Small Languid Leaves Border - Large, Medium
Finished Size: Carrying case: 9 1/2 inches wide by 12 1/2 inches high Game pieces: 3 1/4 inch in diameter
Project Tips: Create as many game pieces as you like -- we made a total of 18. Make sure to create two matching game pieces for each design you embroider.
file:///F|/source/ELProjects/html/PR1685.html (2 of 14) [8/9/2011 12:36:42 PM]
2
Peek-a-Boo Match Game
When choosing designs for this project, it's best to choose some that are about 4"x4" in size or smaller, so the game pieces don't get too large. Here are a couple design packs that we suggest: Dino-Mite Dinosaurs, Magnificent Menagerie, and Quick-Stitch Baby Characters.
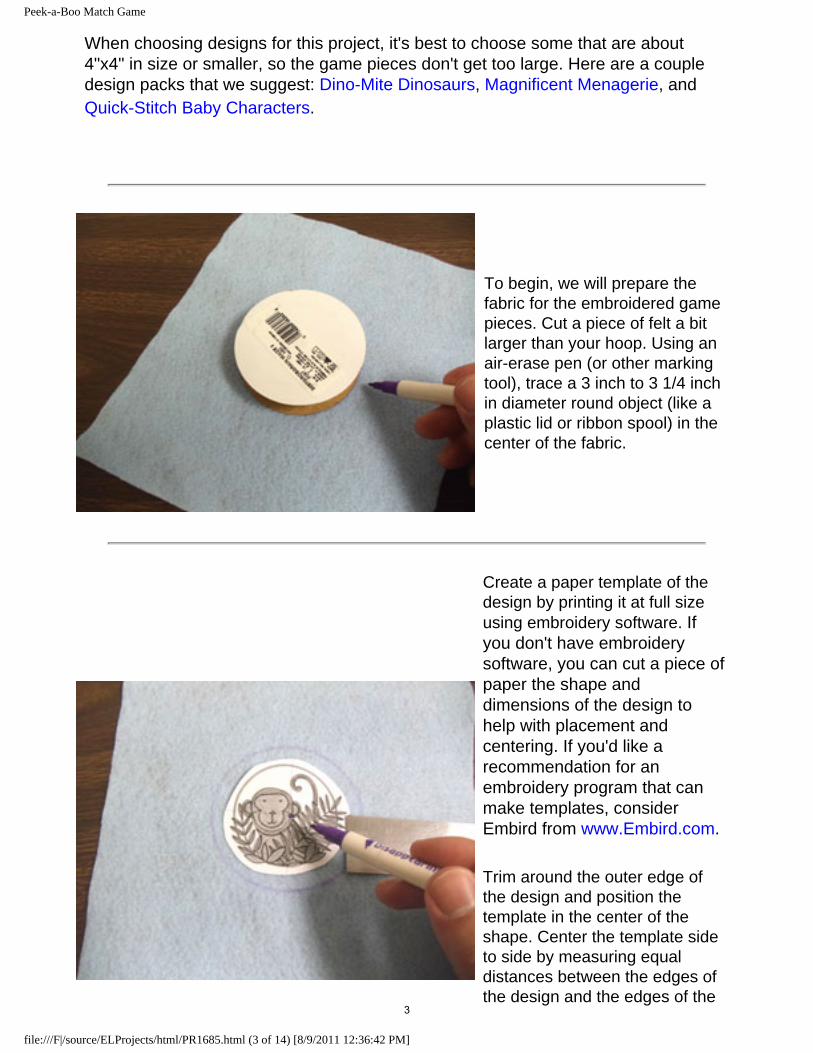
To begin, we will prepare the fabric for the embroidered game pieces. Cut a piece of felt a bit larger than your hoop. Using an air-erase pen (or other marking tool), trace a 3 inch to 3 1/4 inch in diameter round object (like a plastic lid or ribbon spool) in the center of the fabric.
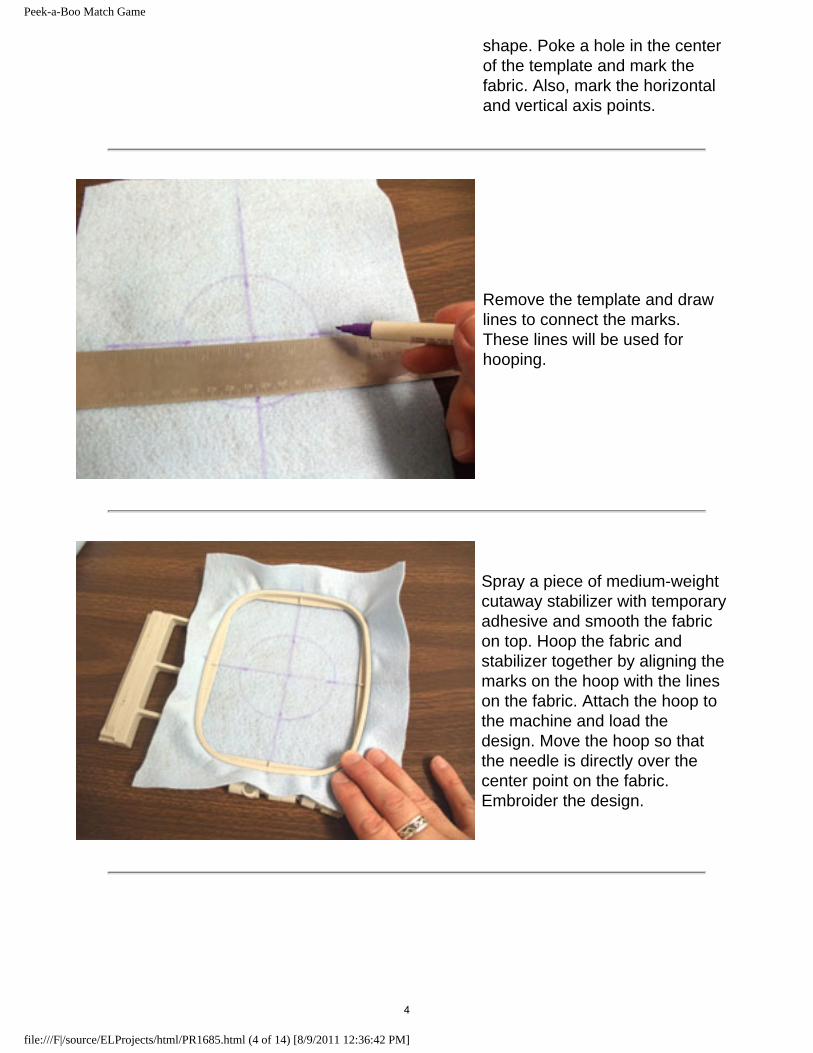
Create a paper template of the design by printing it at full size using embroidery software. If you don't have embroidery software, you can cut a piece of paper the shape and dimensions of the design to help with placement and centering. If you'd like a recommendation for an embroidery program that can make templates, consider Embird from www.Embird.com.
Trim around the outer edge of the design and position the template in the center of the shape. Center the template side to side by measuring equal distances between the edges of the design and the edges of the
file:///F|/source/ELProjects/html/PR1685.html (3 of 14) [8/9/2011 12:36:42 PM]
3
Peek-a-Boo Match Game
shape. Poke a hole in the center of the template and mark the fabric. Also, mark the horizontal and vertical axis points.
Remove the template and draw lines to connect the marks. These lines will be used for hooping.
Spray a piece of medium-weight cutaway stabilizer with temporary adhesive and smooth the fabric on top. Hoop the fabric and stabilizer together by aligning the marks on the hoop with the lines on the fabric. Attach the hoop to the machine and load the design. Move the hoop so that the needle is directly over the center point on the fabric. Embroider the design.
file:///F|/source/ELProjects/html/PR1685.html (4 of 14) [8/9/2011 12:36:42 PM]
4
Peek-a-Boo Match Game
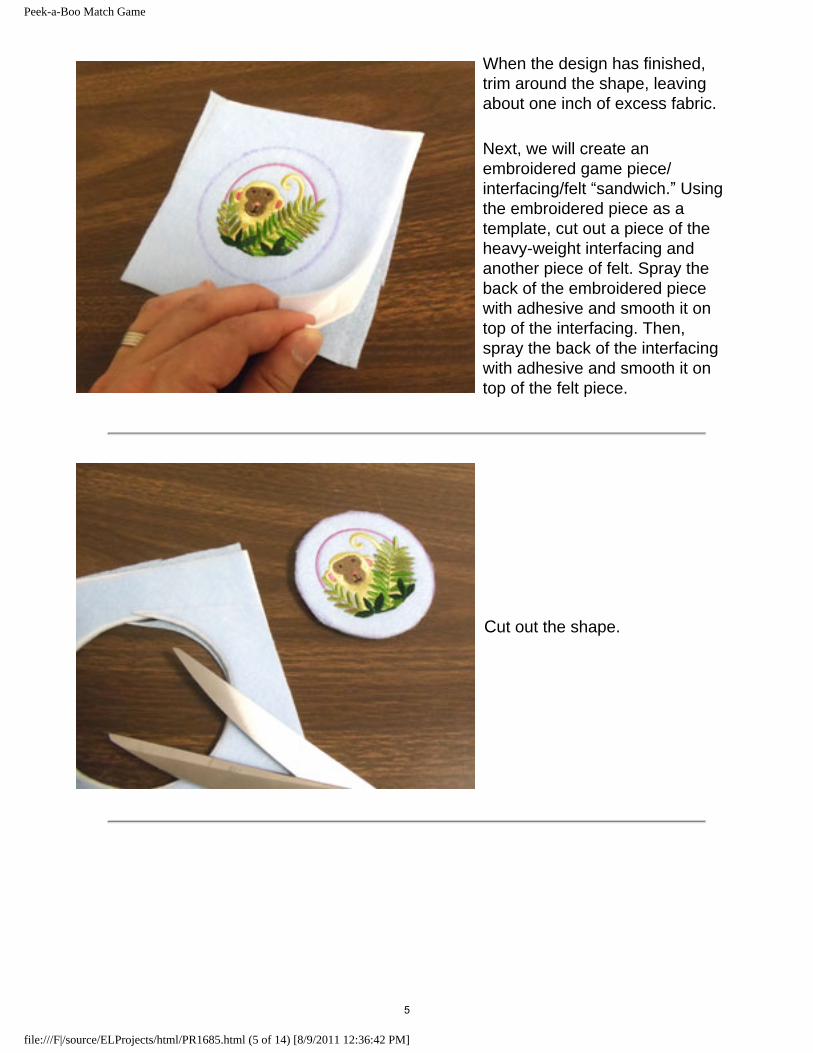
When the design has finished, trim around the shape, leaving about one inch of excess fabric.
Next, we will create an embroidered game piece/interfacing/felt “sandwich.” Using the embroidered piece as a template, cut out a piece of the heavy-weight interfacing and another piece of felt. Spray the back of the embroidered piece with adhesive and smooth it on top of the interfacing. Then, spray the back of the interfacing with adhesive and smooth it on top of the felt piece.
Cut out the shape.
file:///F|/source/ELProjects/html/PR1685.html (5 of 14) [8/9/2011 12:36:42 PM]
5
Peek-a-Boo Match Game
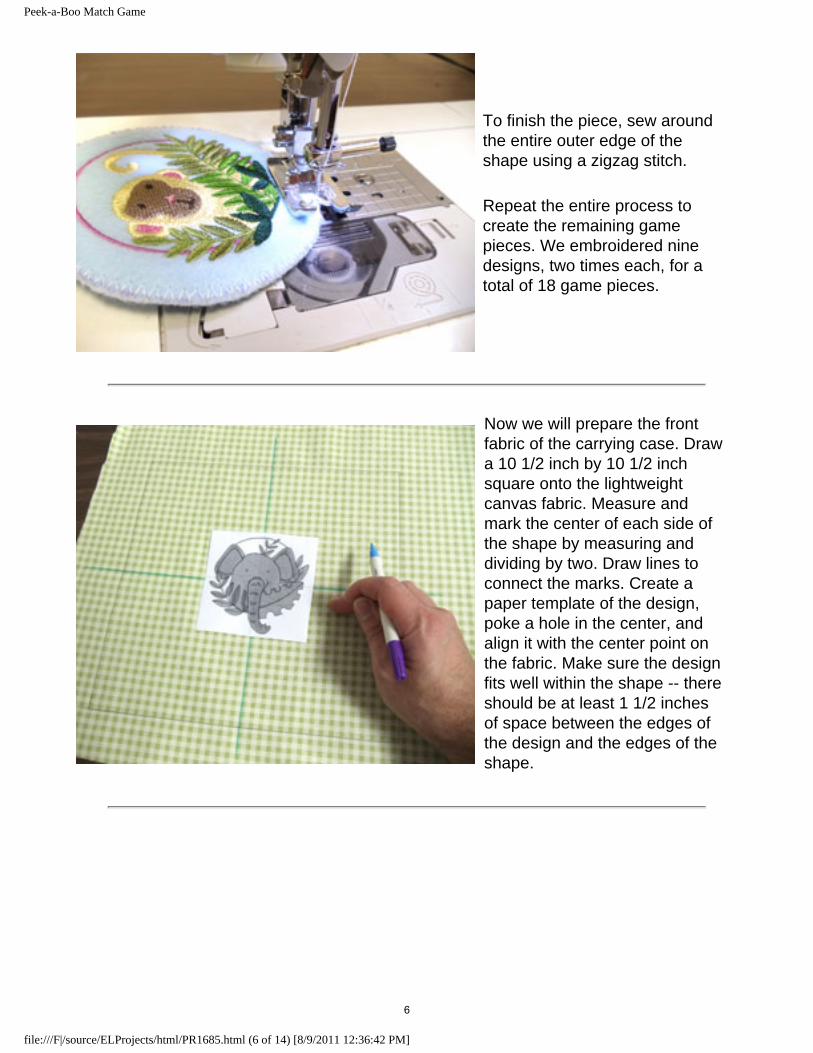
To finish the piece, sew around the entire outer edge of the shape using a zigzag stitch.
Repeat the entire process to create the remaining game pieces. We embroidered nine designs, two times each, for a total of 18 game pieces.
Now we will prepare the front fabric of the carrying case. Draw a 10 1/2 inch by 10 1/2 inch square onto the lightweight canvas fabric. Measure and mark the center of each side of the shape by measuring and dividing by two. Draw lines to connect the marks. Create a paper template of the design, poke a hole in the center, and align it with the center point on the fabric. Make sure the design fits well within the shape -- there should be at least 1 1/2 inches of space between the edges of the design and the edges of the shape.
file:///F|/source/ELProjects/html/PR1685.html (6 of 14) [8/9/2011 12:36:42 PM]
6
Peek-a-Boo Match Game
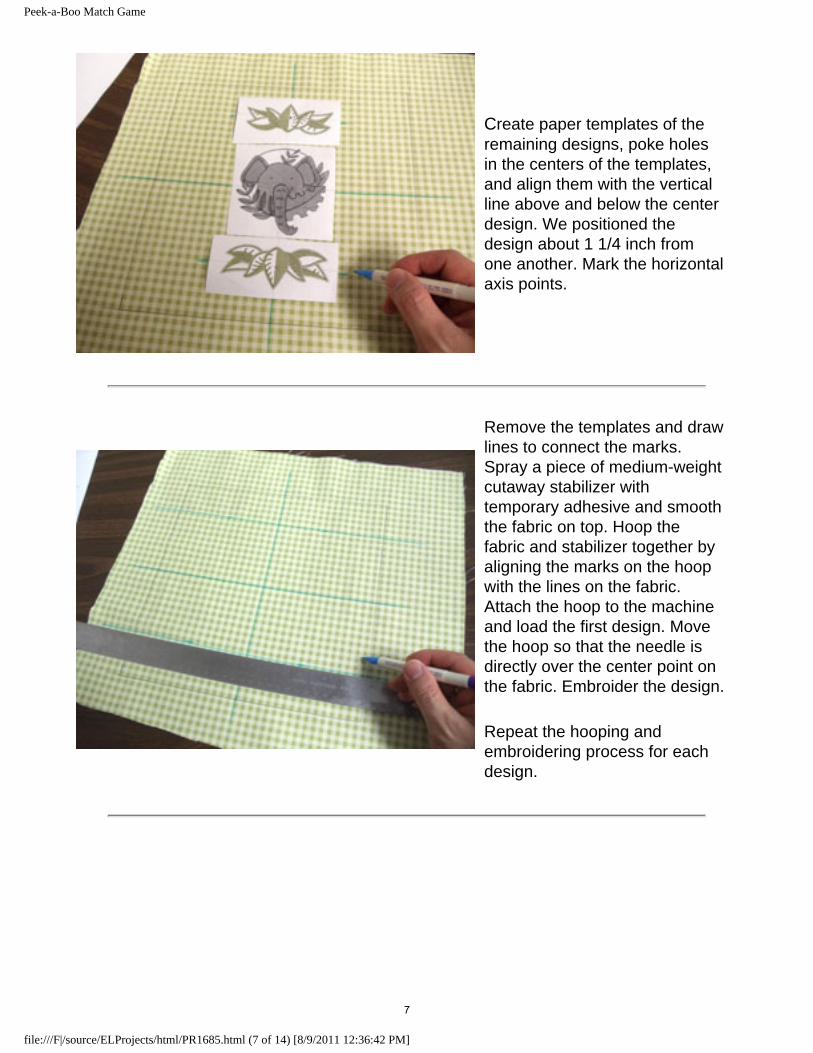
Create paper templates of the remaining designs, poke holes in the centers of the templates, and align them with the vertical line above and below the center design. We positioned the design about 1 1/4 inch from one another. Mark the horizontal axis points.
Remove the templates and draw lines to connect the marks. Spray a piece of medium-weight cutaway stabilizer with temporary adhesive and smooth the fabric on top. Hoop the fabric and stabilizer together by aligning the marks on the hoop with the lines on the fabric. Attach the hoop to the machine and load the first design. Move the hoop so that the needle is directly over the center point on the fabric. Embroider the design.
Repeat the hooping and embroidering process for each design.
file:///F|/source/ELProjects/html/PR1685.html (7 of 14) [8/9/2011 12:36:42 PM]
7
Peek-a-Boo Match Game
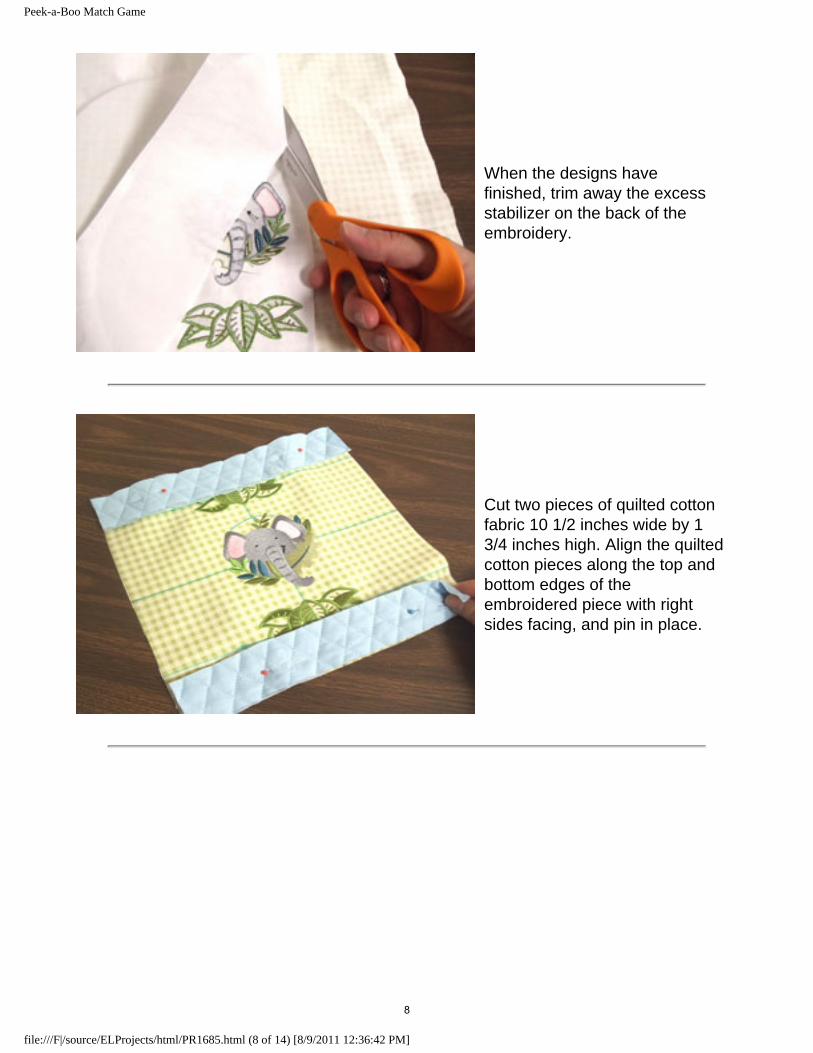
When the designs have finished, trim away the excess stabilizer on the back of the embroidery.
Cut two pieces of quilted cotton fabric 10 1/2 inches wide by 1 3/4 inches high. Align the quilted cotton pieces along the top and bottom edges of the embroidered piece with right sides facing, and pin in place.
file:///F|/source/ELProjects/html/PR1685.html (8 of 14) [8/9/2011 12:36:42 PM]
8
Peek-a-Boo Match Game
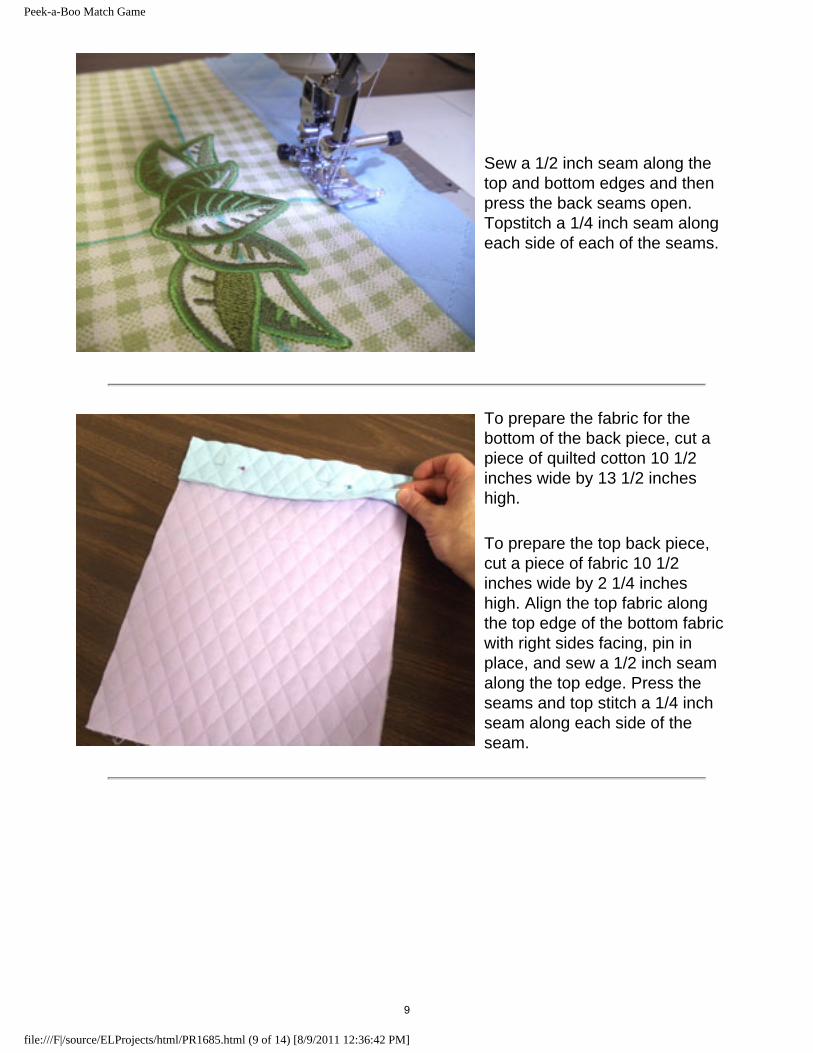
Sew a 1/2 inch seam along the top and bottom edges and then press the back seams open. Topstitch a 1/4 inch seam along each side of each of the seams.
To prepare the fabric for the bottom of the back piece, cut a piece of quilted cotton 10 1/2 inches wide by 13 1/2 inches high.
To prepare the top back piece, cut a piece of fabric 10 1/2 inches wide by 2 1/4 inches high. Align the top fabric along the top edge of the bottom fabric with right sides facing, pin in place, and sew a 1/2 inch seam along the top edge. Press the seams and top stitch a 1/4 inch seam along each side of the seam.
file:///F|/source/ELProjects/html/PR1685.html (9 of 14) [8/9/2011 12:36:42 PM]
9
Peek-a-Boo Match Game
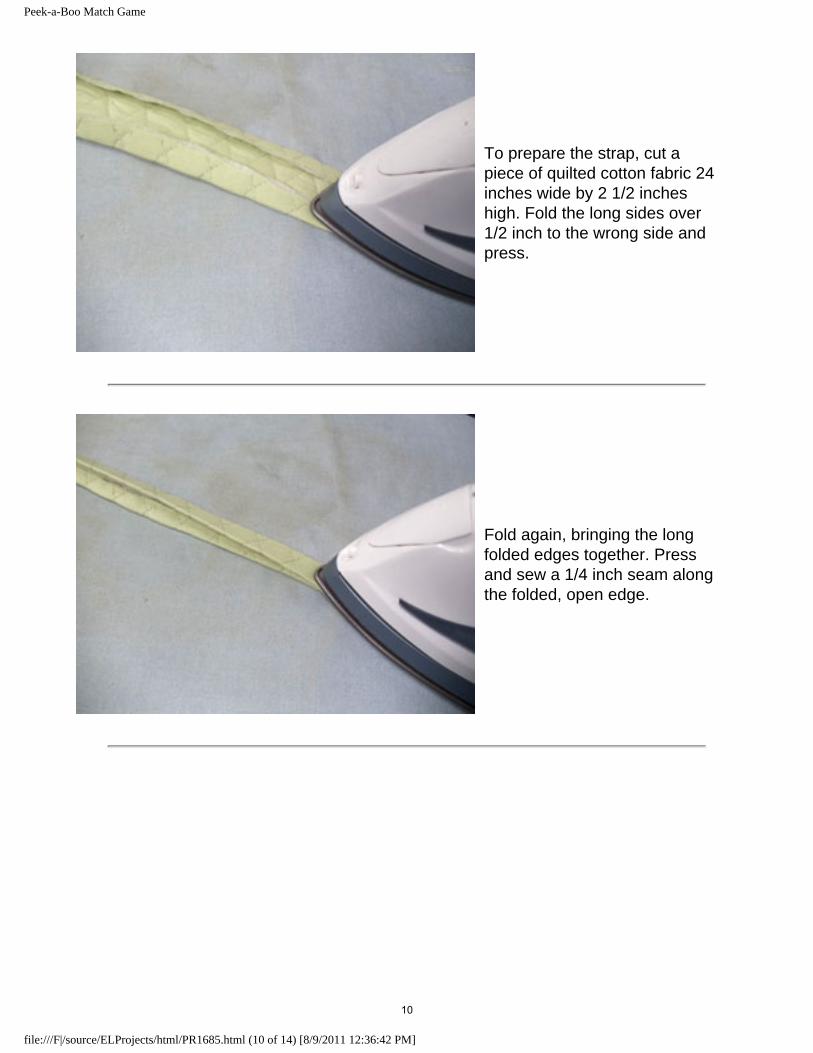
To prepare the strap, cut a piece of quilted cotton fabric 24 inches wide by 2 1/2 inches high. Fold the long sides over 1/2 inch to the wrong side and press.
Fold again, bringing the long folded edges together. Press and sew a 1/4 inch seam along the folded, open edge.
file:///F|/source/ELProjects/html/PR1685.html (10 of 14) [8/9/2011 12:36:42 PM]
10
Peek-a-Boo Match Game
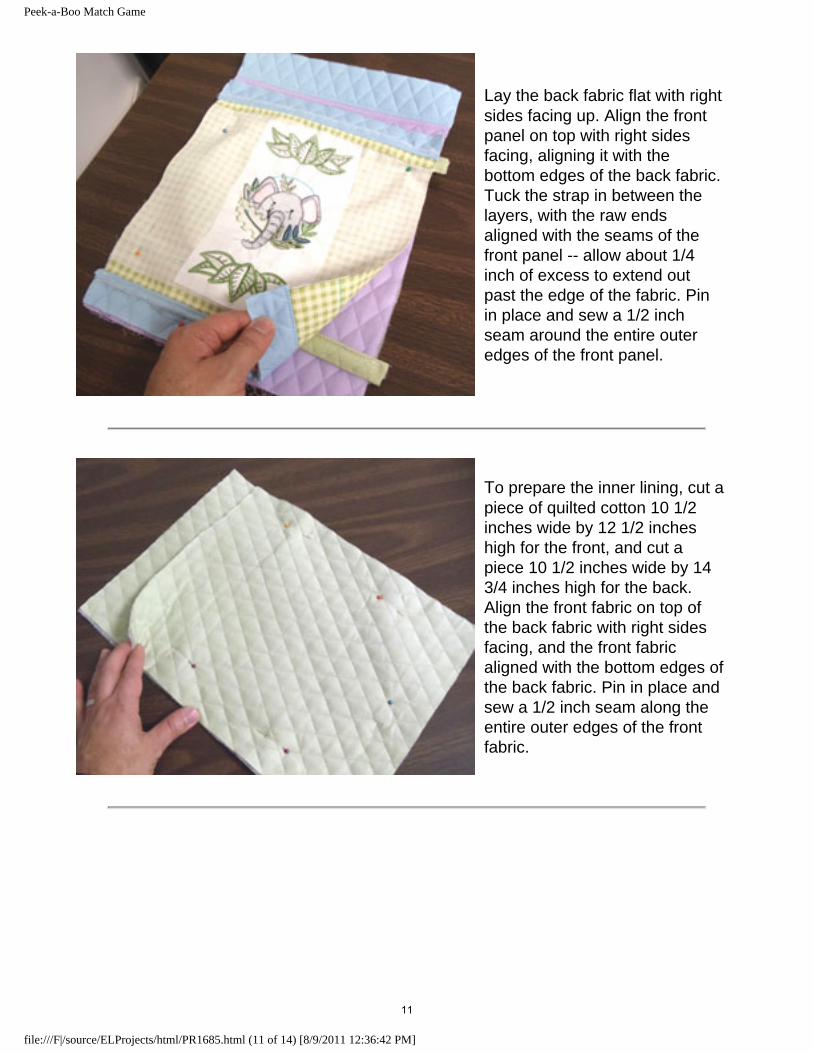
Lay the back fabric flat with right sides facing up. Align the front panel on top with right sides facing, aligning it with the bottom edges of the back fabric. Tuck the strap in between the layers, with the raw ends aligned with the seams of the front panel -- allow about 1/4 inch of excess to extend out past the edge of the fabric. Pin in place and sew a 1/2 inch seam around the entire outer edges of the front panel.
To prepare the inner lining, cut a piece of quilted cotton 10 1/2 inches wide by 12 1/2 inches high for the front, and cut a piece 10 1/2 inches wide by 14 3/4 inches high for the back. Align the front fabric on top of the back fabric with right sides facing, and the front fabric aligned with the bottom edges of the back fabric. Pin in place and sew a 1/2 inch seam along the entire outer edges of the front fabric.
file:///F|/source/ELProjects/html/PR1685.html (11 of 14) [8/9/2011 12:36:42 PM]
11
Peek-a-Boo Match Game
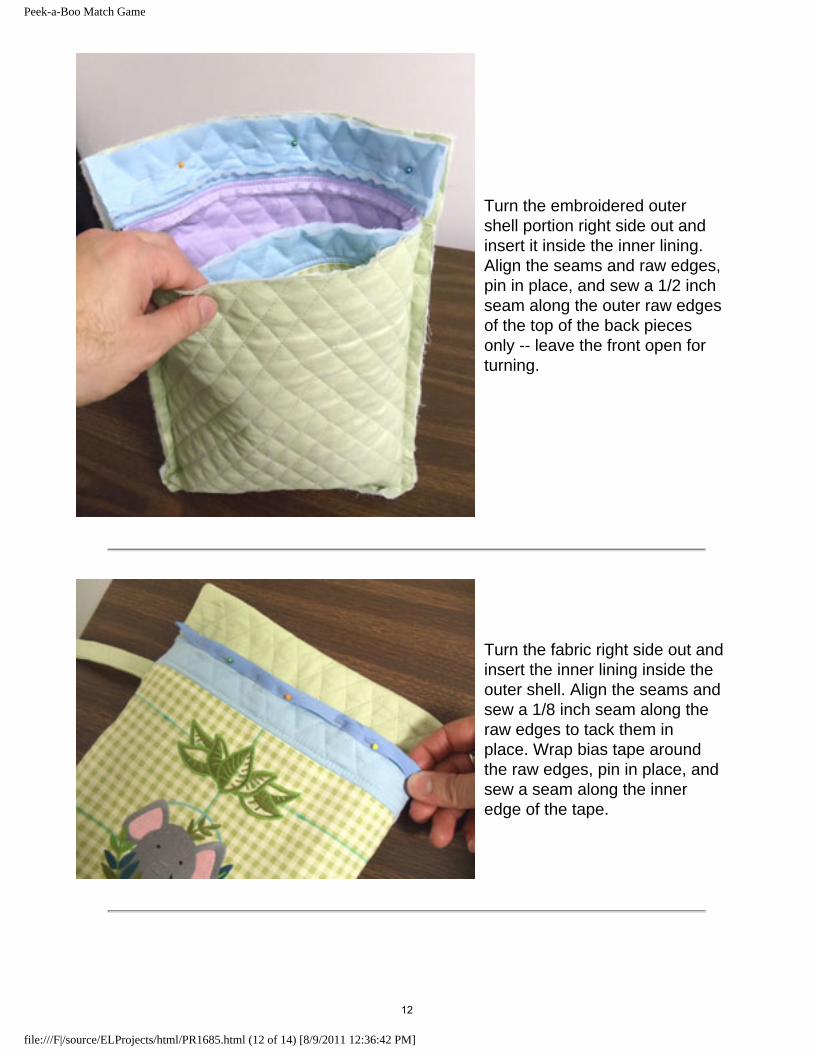
Turn the embroidered outer shell portion right side out and insert it inside the inner lining. Align the seams and raw edges, pin in place, and sew a 1/2 inch seam along the outer raw edges of the top of the back pieces only -- leave the front open for turning.
Turn the fabric right side out and insert the inner lining inside the outer shell. Align the seams and sew a 1/8 inch seam along the raw edges to tack them in place. Wrap bias tape around the raw edges, pin in place, and sew a seam along the inner edge of the tape.
file:///F|/source/ELProjects/html/PR1685.html (12 of 14) [8/9/2011 12:36:42 PM]
12
Peek-a-Boo Match Game
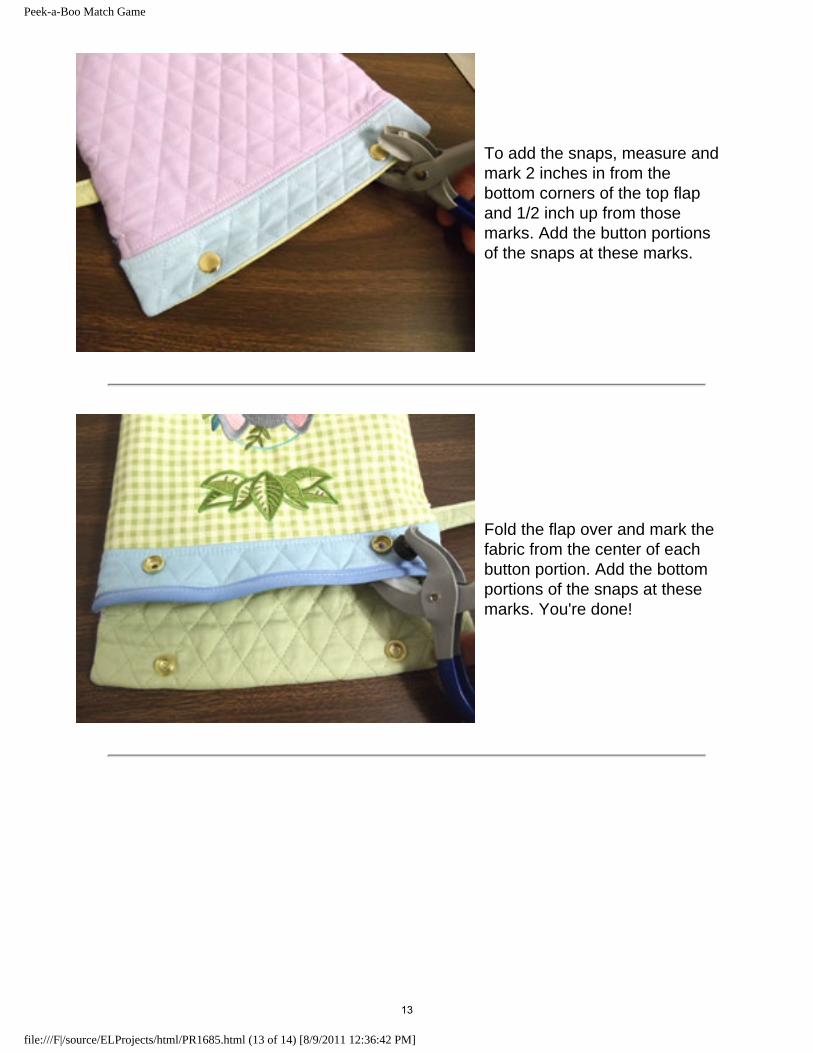
To add the snaps, measure and mark 2 inches in from the bottom corners of the top flap and 1/2 inch up from those marks. Add the button portions of the snaps at these marks.
Fold the flap over and mark the fabric from the center of each button portion. Add the bottom portions of the snaps at these marks. You're done!
file:///F|/source/ELProjects/html/PR1685.html (13 of 14) [8/9/2011 12:36:42 PM]
13
Peek-a-Boo Match Game
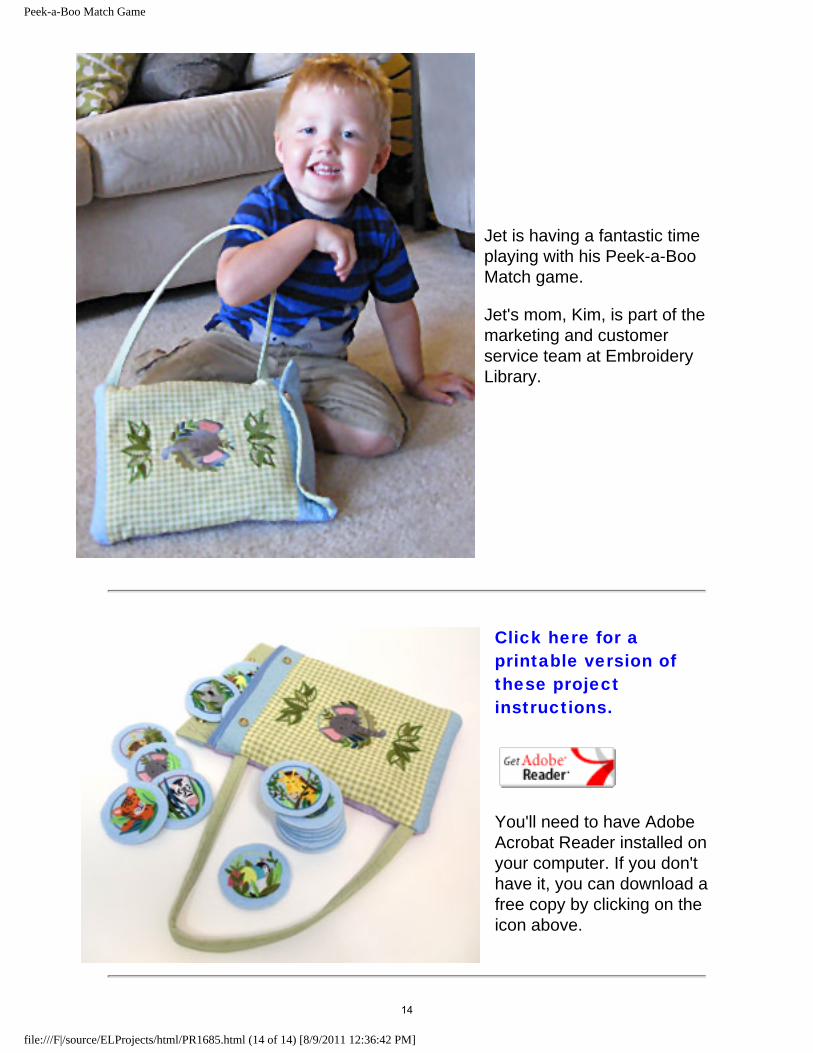
Jet is having a fantastic time playing with his Peek-a-Boo Match game. Jet's mom, Kim, is part of the marketing and customer service team at Embroidery Library.
Click here for a printable version of these project instructions.
You'll need to have Adobe Acrobat Reader installed on your computer. If you don't have it, you can download a free copy by clicking on the icon above.
file:///F|/source/ELProjects/html/PR1685.html (14 of 14) [8/9/2011 12:36:42 PM]
14