Embed Size (px)
Citation preview
1
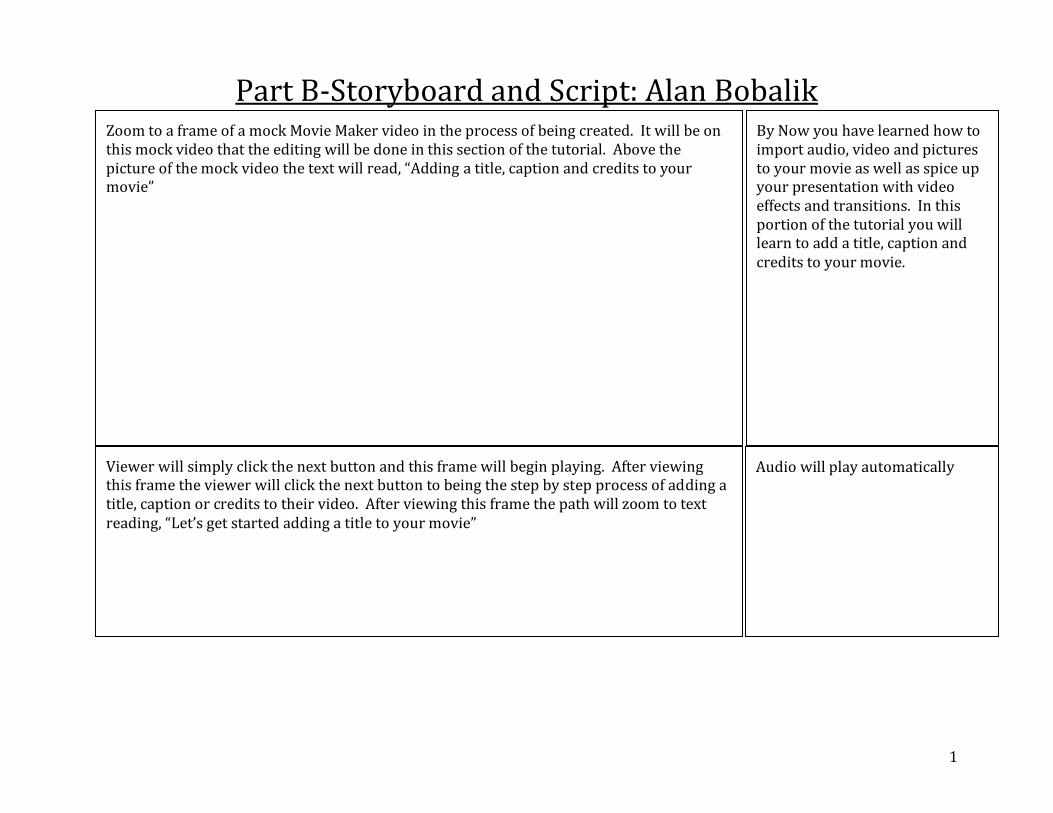
Part B-Storyboard and Script: Alan Bobalik
Zoom to a frame of a mock Movie Maker video in the process of being created. It will be on this mock video that the editing will be done in this section of the tutorial. Above the picture of the mock video the text will read, “Adding a title, caption and credits to your movie”
By Now you have learned how to import audio, video and pictures to your movie as well as spice up your presentation with video effects and transitions. In this portion of the tutorial you will learn to add a title, caption and credits to your movie.
Viewer will simply click the next button and this frame will begin playing. After viewing this frame the viewer will click the next button to being the step by step process of adding a title, caption or credits to their video. After viewing this frame the path will zoom to text reading, “Let’s get started adding a title to your movie”
Audio will play automatically
2
This frame will contain an image of the view of Movie Maker once the title button has been clicked. It will show that the text slide has automatically been added to the movie and it will show the different options for how the text will appear in the movie.
To add a title to your video simply click the title button and a title slide will instantly be added to your project and your toolbar will change to give you options about how you want the title text to appear in your movie. Follow the path to see how to change the font size, color and location.
After hearing the audio instructions the viewer will click the next button to zoom to different parts of the frame to emphasize the areas that were talked about in the audio. After progressing through these frames the Prezi will zoom to text reading, “continue on to see how to add captions to pictures”
The audio will play automatically

3
This frame will contain the image of Movie Maker once the caption button has been clicked. It will show that a text box has been added to the selected picture and is ready for a caption and show the different options for how the text can appear on the picture.
Adding a caption to a picture or movie is similar to adding a title. Simply select the picture that you’d like to add a caption to a click the caption button. You will notice the picture now has a text box on it and the toolbar shows the options for how the text box will appear on the picture.
After hearing the audio instructions the viewer will click the next button to zoom to different parts of the frame to emphasize the areas that were talked about in the audio. After progressing through these frames the Prezi will zoom to text reading, “continue on to see how to add credits to the movie”
The audio will play automatically
4
This frame will contain the image of Movie Maker once the credits button has been clicked. It will show that a text box has been added to the end of the movie and is ready for credit text; it will show the different options for how the text can appear on the picture.
Adding credits to a movie works in much the same way as adding a title. Simply click the credits button and a credits slide will appear at the end of your presentation. Add your desired text and your movie now has credits. Remember you can always edit the text on the title, captions and credits as shown earlier.
After hearing the audio instructions the viewer will click the next button to zoom to different parts of the frame to emphasize the areas that were talked about in the audio. After progressing through these frames the Prezi will zoom to text reading, “continue on to see how to change the timing and duration of text”
Audio will play automatically
5
This frame will contain the image of Movie Maker in the text tools view. The toolbar will look the same as it did when adding a title or captions but this frame will focus changing the length of time that each caption is seen.
Now that you have the appropriate text in your movie let’s see how to edit the timing so that it appears exactly when you want for however long you want. This will give your movie a more professional feel to it.
After hearing the audio instructions the viewer will click the next button to zoom to different parts of the frame to emphasize the areas that were talked about in the audio. After progressing through these frames the Prezi will zoom to text reading, “continue on to see how to publish your finished movie!”
Audio will play automatically
6
7
8
9
10
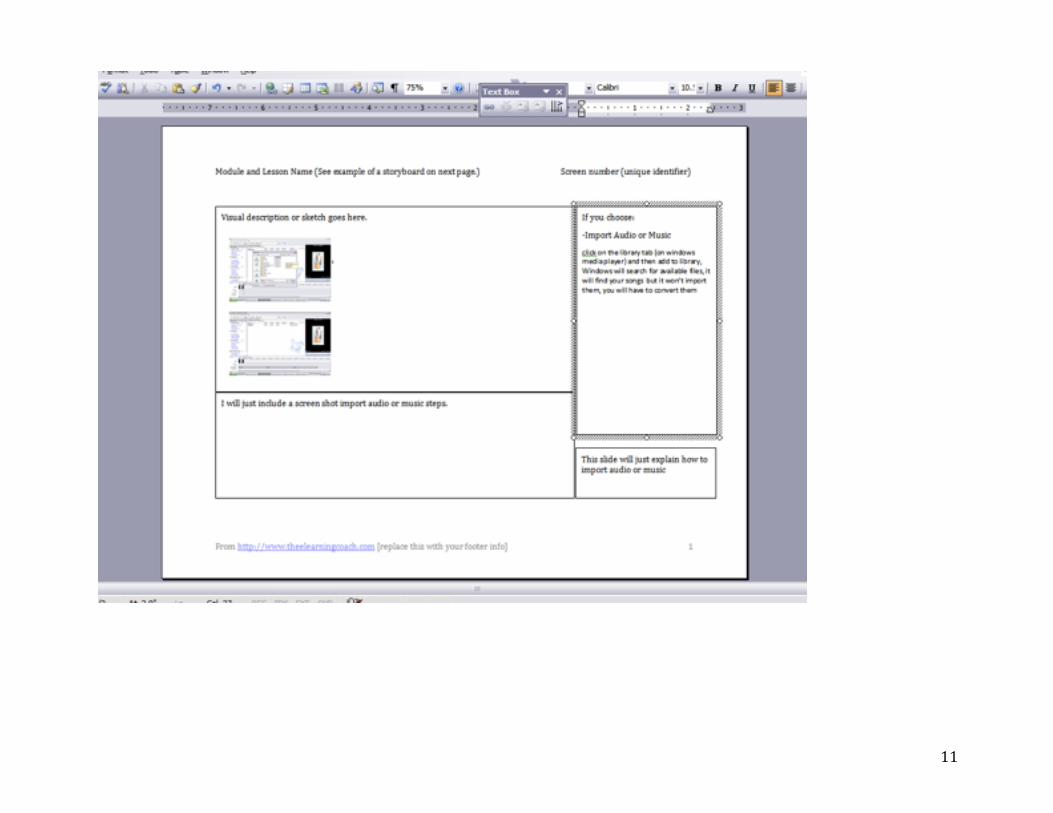
11
12
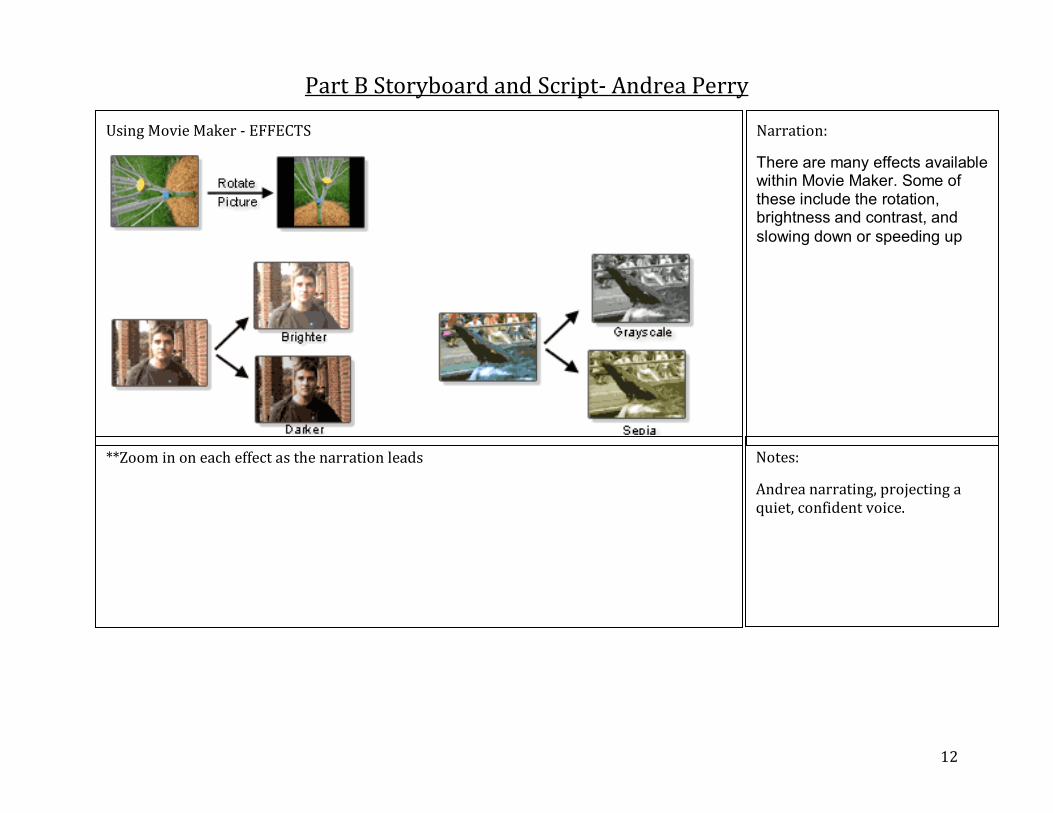
Part B Storyboard and Script- Andrea Perry
Using Movie Maker - EFFECTS
Narration:
There are many effects available within Movie Maker. Some of these include the rotation, brightness and contrast, and
slowing down or speeding up
**Zoom in on each effect as the narration leads Notes:
Andrea narrating, projecting a quiet, confident voice.
13
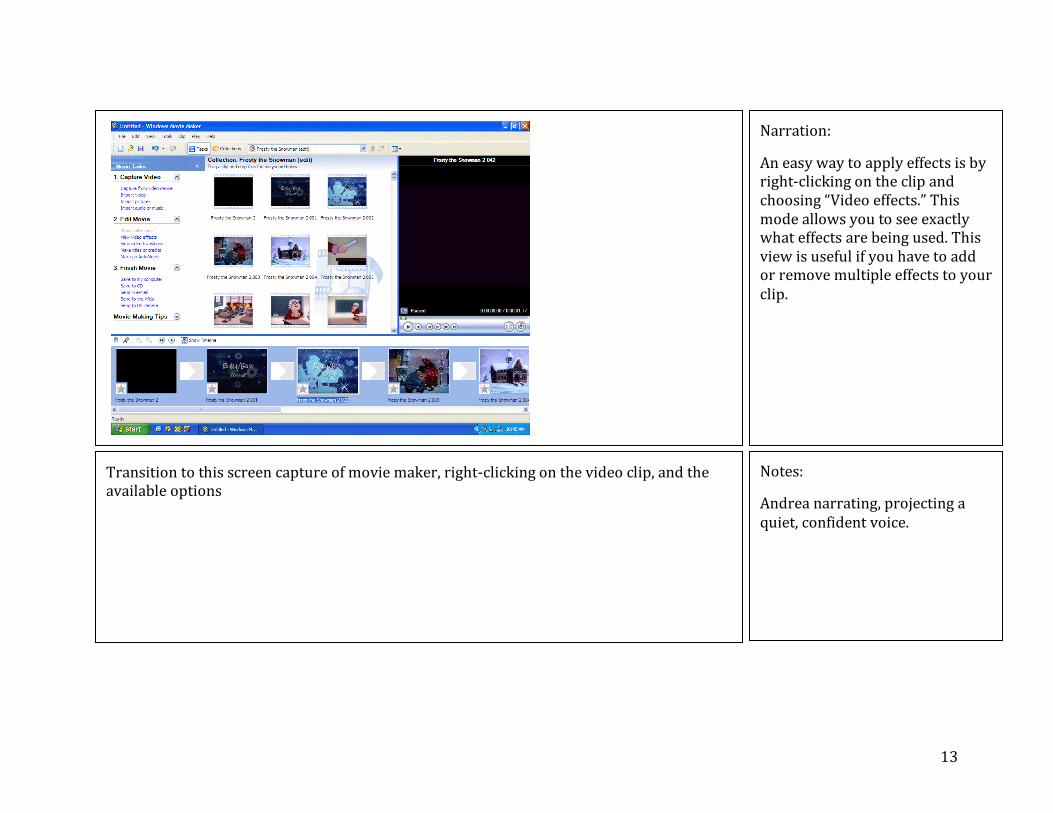
Narration:
An easy way to apply effects is by right-clicking on the clip and choosing “Video effects.” This mode allows you to see exactly what effects are being used. This view is useful if you have to add or remove multiple effects to your clip.
Transition to this screen capture of movie maker, right-clicking on the video clip, and the available options
Notes:
Andrea narrating, projecting a quiet, confident voice.
14
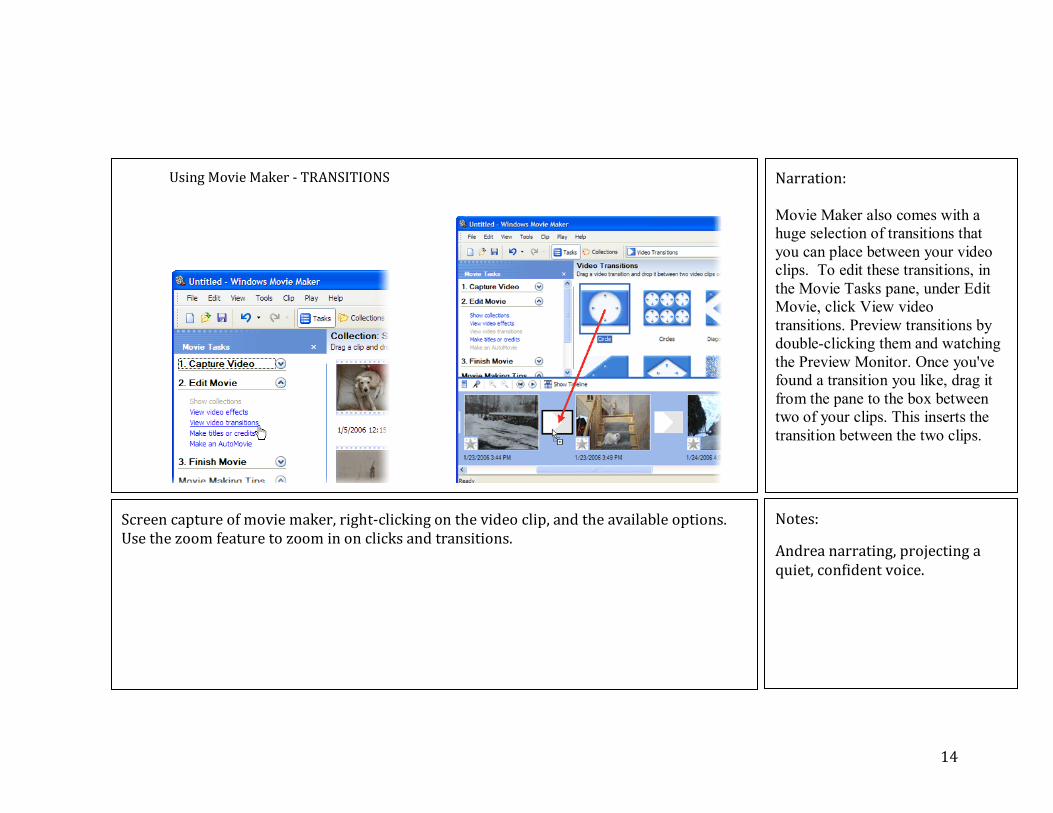
Using Movie Maker - TRANSITIONS
Narration:
Movie Maker also comes with a
huge selection of transitions that
you can place between your video
clips. To edit these transitions, in
the Movie Tasks pane, under Edit
Movie, click View video
transitions. Preview transitions by
double-clicking them and watching
the Preview Monitor. Once you've
found a transition you like, drag it
from the pane to the box between
two of your clips. This inserts the
transition between the two clips.
4.
In the Preview Monitor, click the
Video Transitions pane, under
Play button to watch your transition
in action. If you don't like it, just
return to the previous step to
replace it with a different transition.
Screen capture of movie maker, right-clicking on the video clip, and the available options. Use the zoom feature to zoom in on clicks and transitions.
Notes:
Andrea narrating, projecting a quiet, confident voice.

15
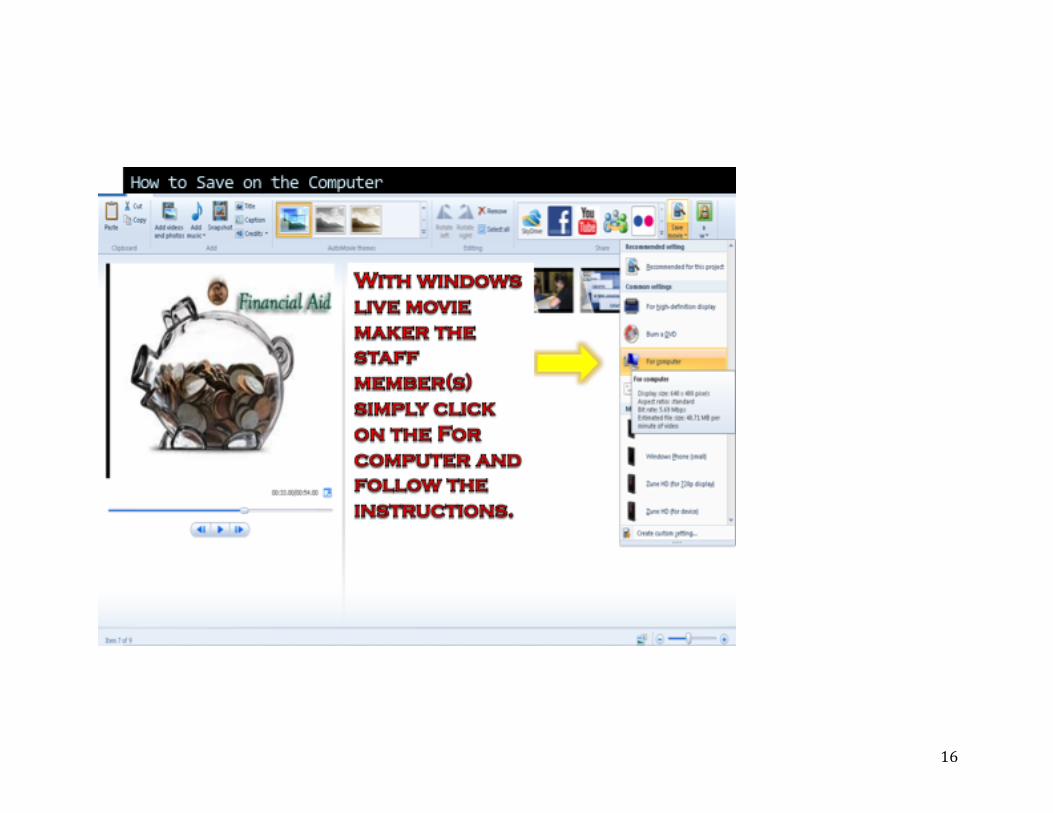
16
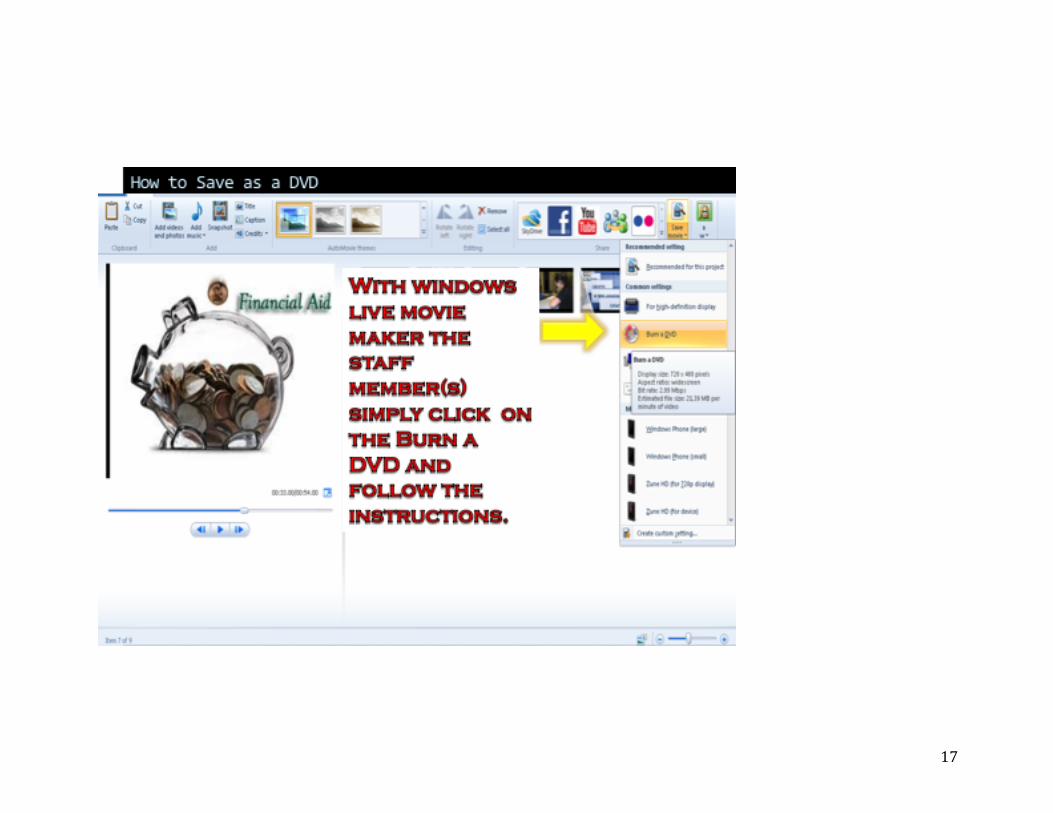
17
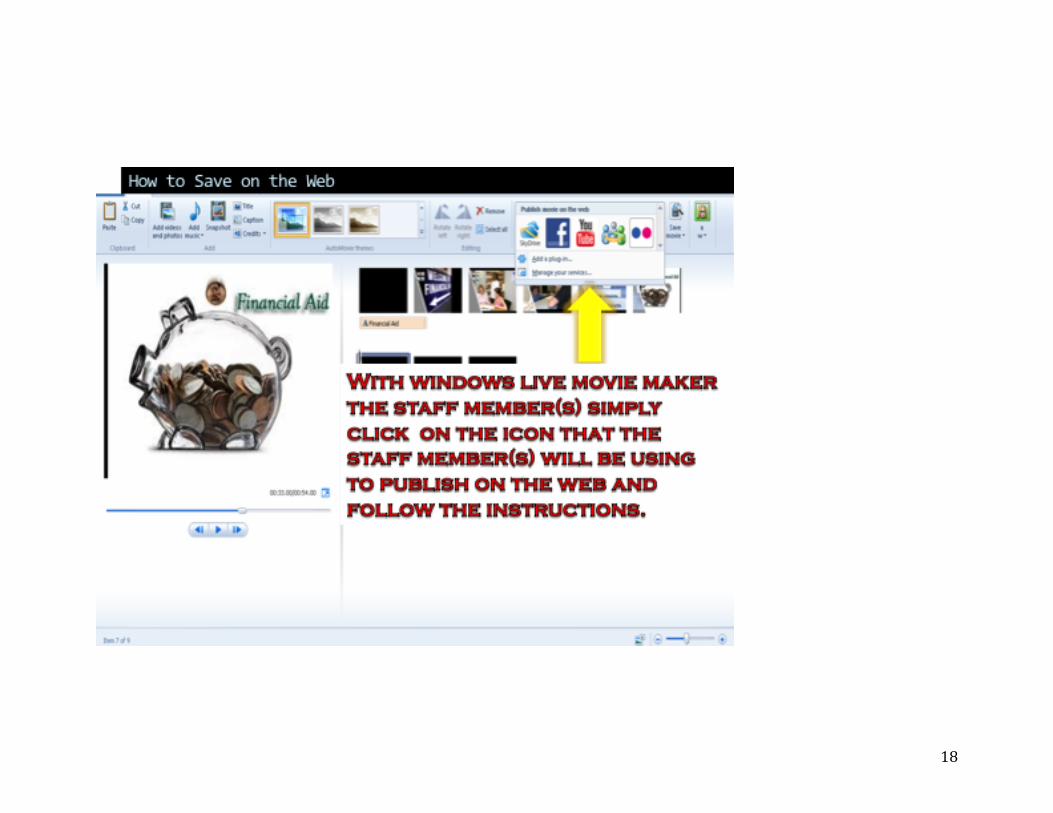
18
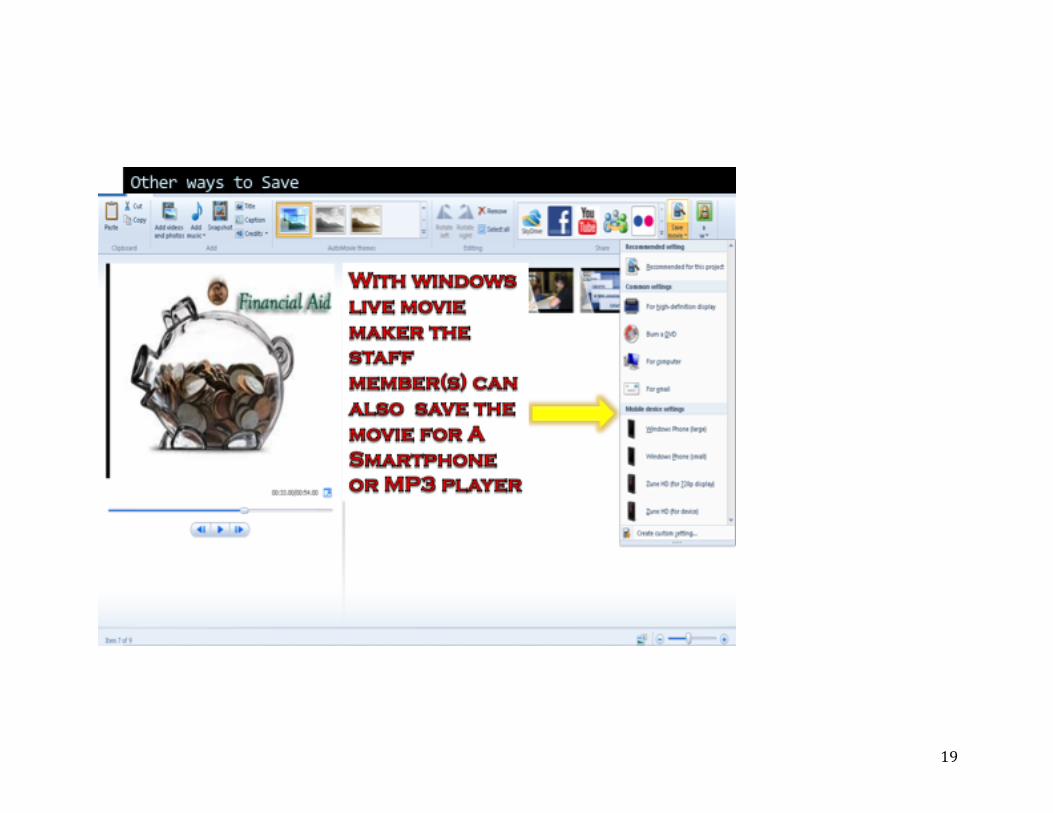
19

20