Embed Size (px)
Citation preview
| 1 P a g e
Cutie Pie Pincushion Copyright 2017 Cotton Charm Quilts, Inc.
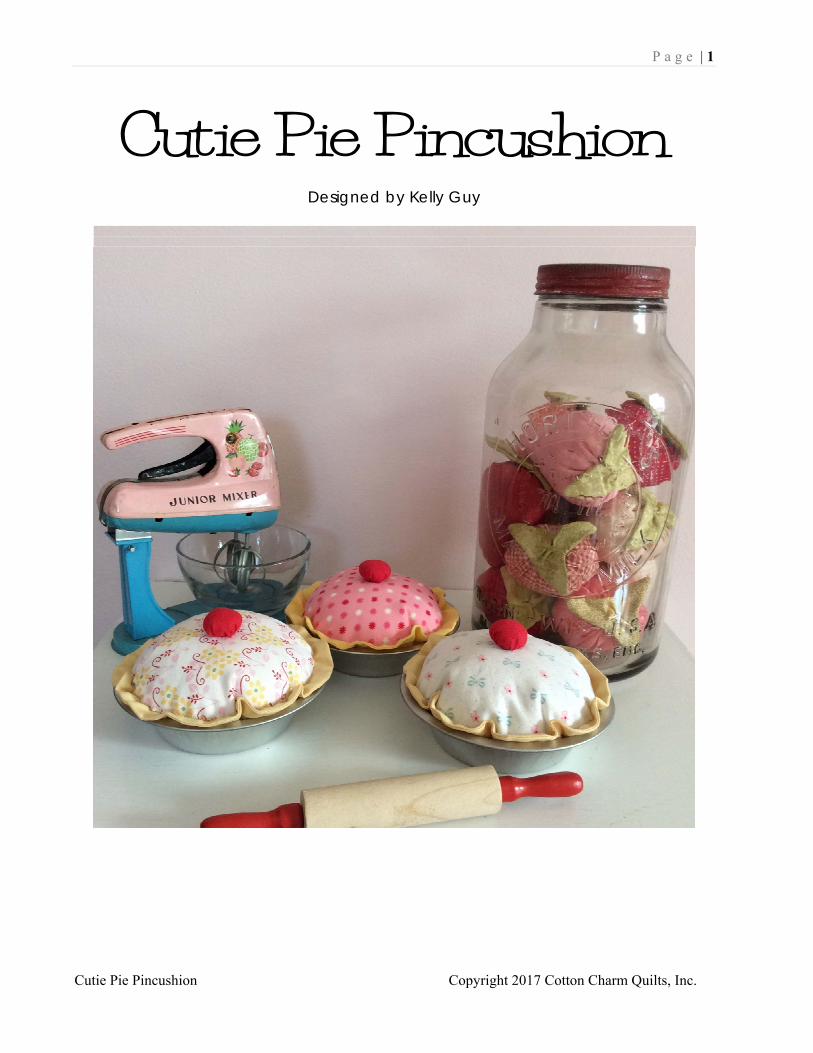
Cutie Pie Pincushion
Designed by Kelly Guy
| 2 P a g e
Cutie Pie Pincushion Copyright 2017 Cotton Charm Quilts, Inc.
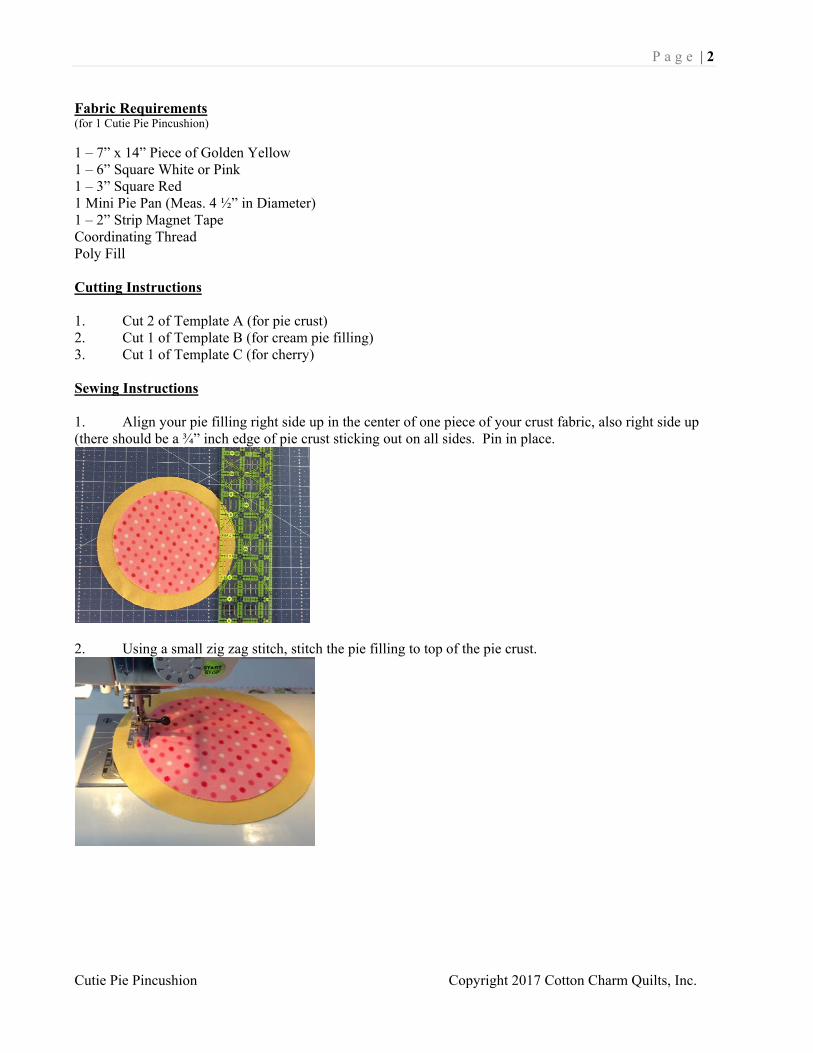
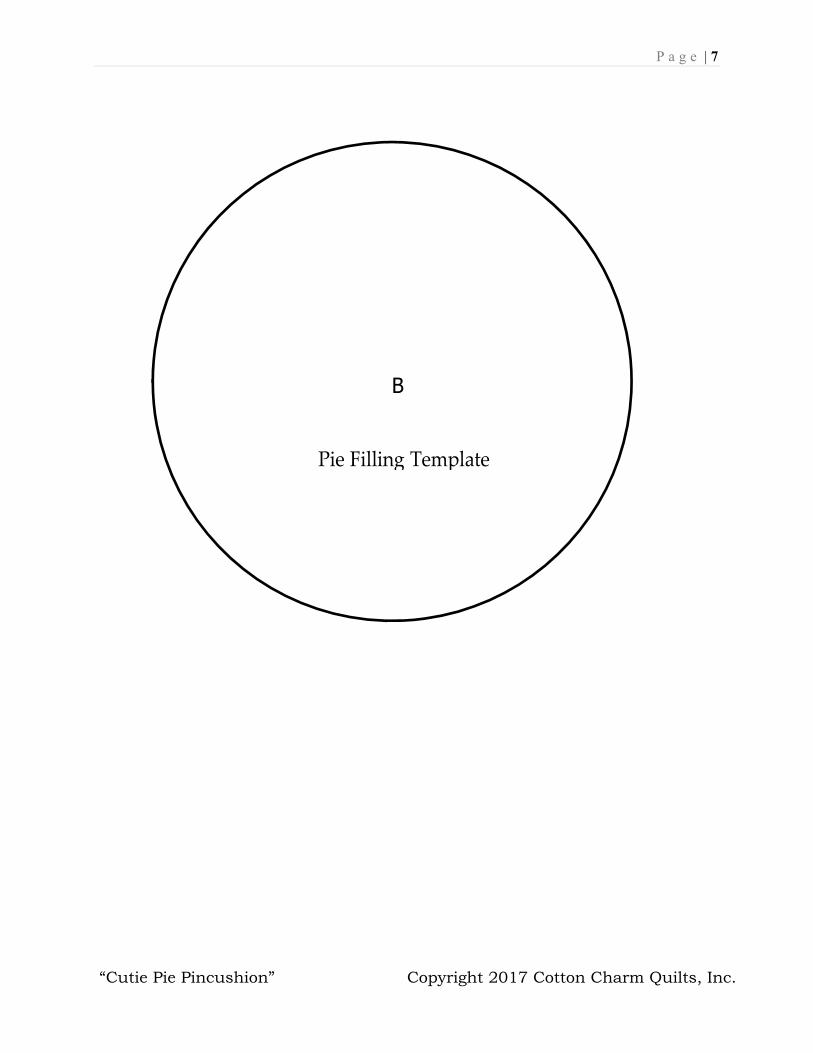
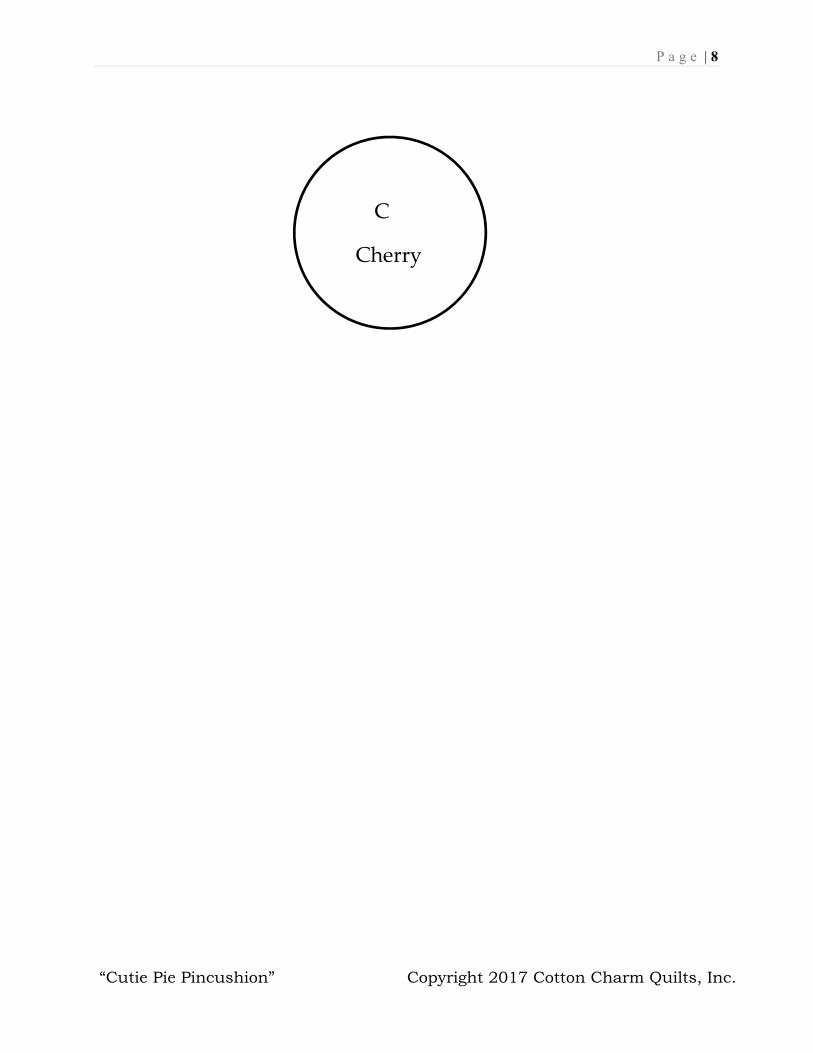
Fabric Requirements (for 1 Cutie Pie Pincushion) 1 – 7” x 14” Piece of Golden Yellow 1 – 6” Square White or Pink 1 – 3” Square Red 1 Mini Pie Pan (Meas. 4 ½” in Diameter) 1 – 2” Strip Magnet Tape Coordinating Thread Poly Fill Cutting Instructions 1. Cut 2 of Template A (for pie crust) 2. Cut 1 of Template B (for cream pie filling) 3. Cut 1 of Template C (for cherry) Sewing Instructions 1. Align your pie filling right side up in the center of one piece of your crust fabric, also right side up (there should be a ¾” inch edge of pie crust sticking out on all sides. Pin in place.
2. Using a small zig zag stitch, stitch the pie filling to top of the pie crust.
| 3 P a g e
Cutie Pie Pincushion Copyright 2017 Cotton Charm Quilts, Inc.
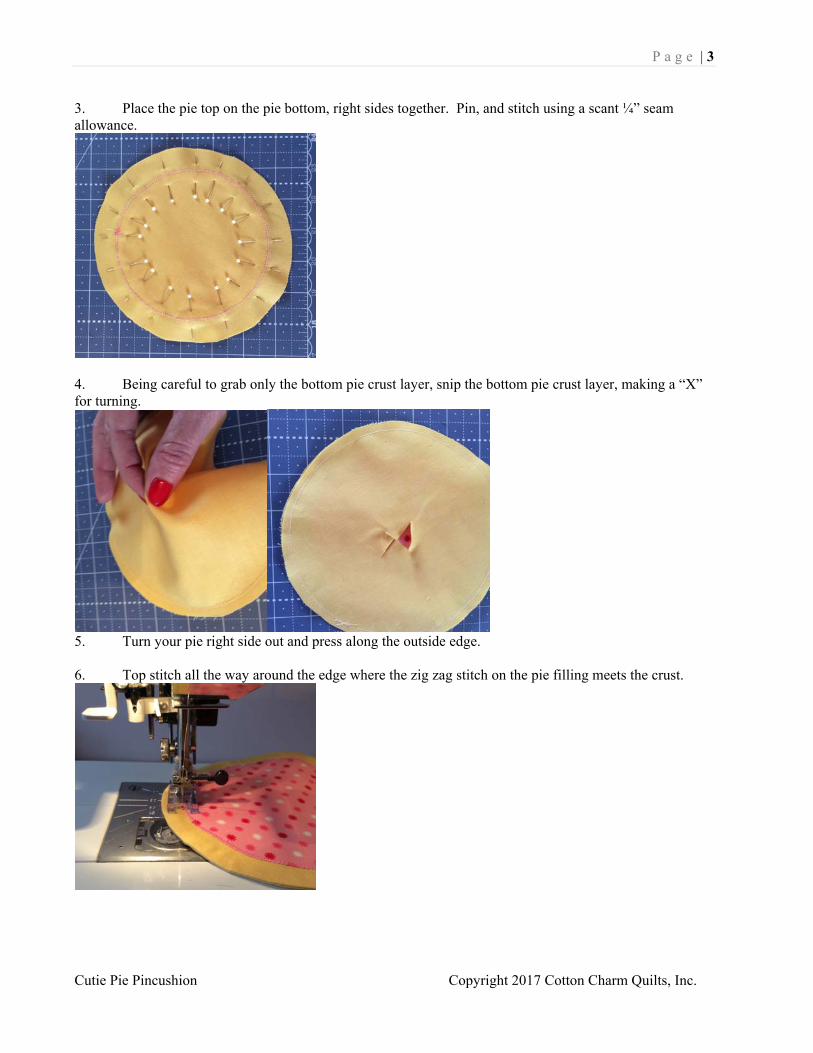
3. Place the pie top on the pie bottom, right sides together. Pin, and stitch using a scant ¼” seam allowance.
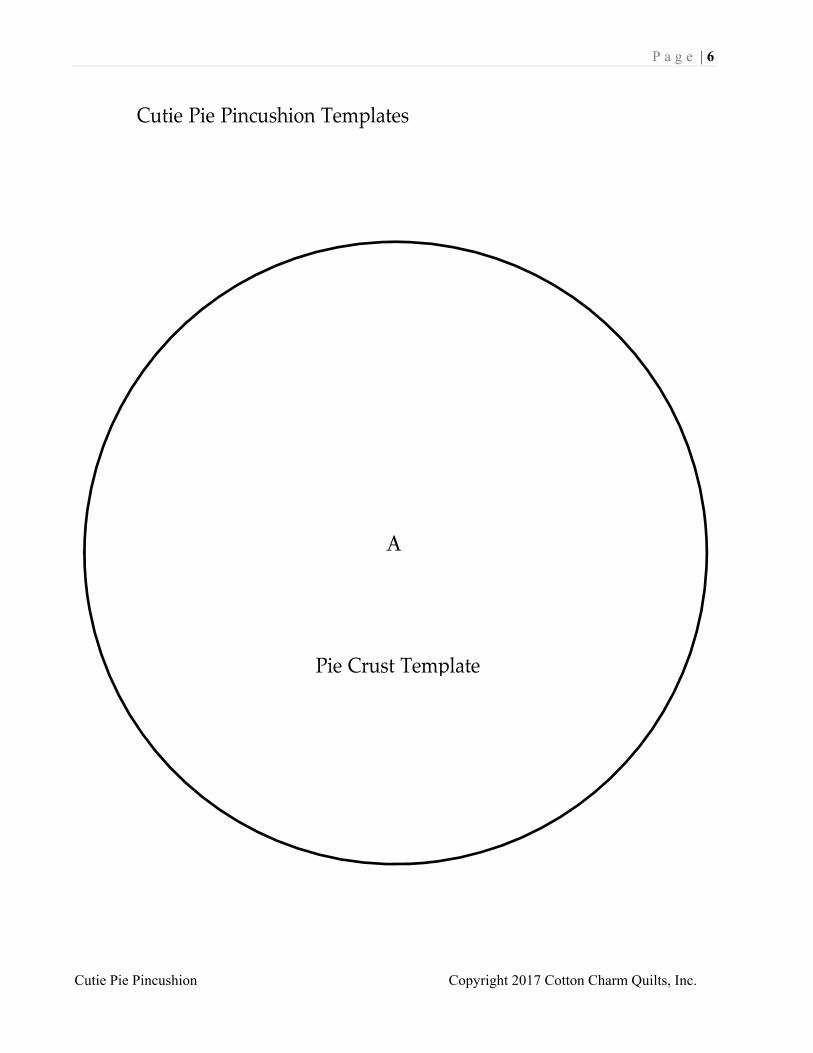
4. Being careful to grab only the bottom pie crust layer, snip the bottom pie crust layer, making a “X” for turning.
5. Turn your pie right side out and press along the outside edge. 6. Top stitch all the way around the edge where the zig zag stitch on the pie filling meets the crust.
| 4 P a g e
Cutie Pie Pincushion Copyright 2017 Cotton Charm Quilts, Inc.
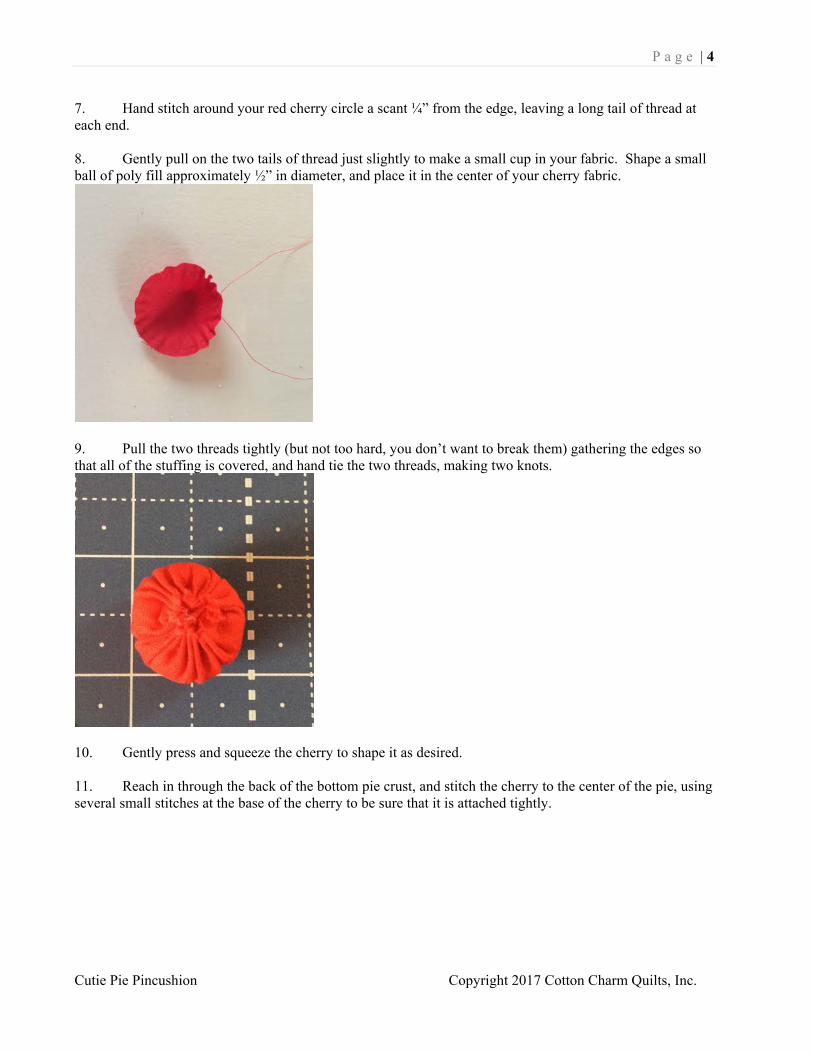
7. Hand stitch around your red cherry circle a scant ¼” from the edge, leaving a long tail of thread at each end. 8. Gently pull on the two tails of thread just slightly to make a small cup in your fabric. Shape a small ball of poly fill approximately ½” in diameter, and place it in the center of your cherry fabric.
9. Pull the two threads tightly (but not too hard, you don’t want to break them) gathering the edges so that all of the stuffing is covered, and hand tie the two threads, making two knots.
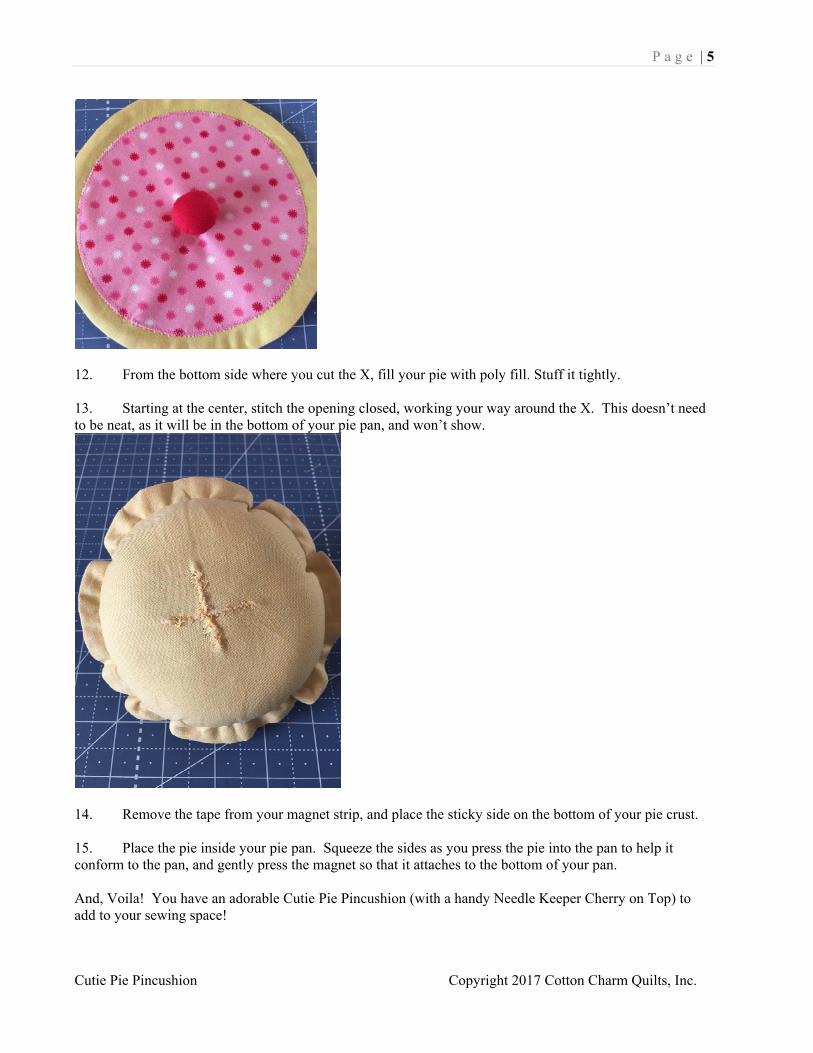
10. Gently press and squeeze the cherry to shape it as desired. 11. Reach in through the back of the bottom pie crust, and stitch the cherry to the center of the pie, using several small stitches at the base of the cherry to be sure that it is attached tightly.
| 5 P a g e
Cutie Pie Pincushion Copyright 2017 Cotton Charm Quilts, Inc.
12. From the bottom side where you cut the X, fill your pie with poly fill. Stuff it tightly. 13. Starting at the center, stitch the opening closed, working your way around the X. This doesn’t need to be neat, as it will be in the bottom of your pie pan, and won’t show.
14. Remove the tape from your magnet strip, and place the sticky side on the bottom of your pie crust. 15. Place the pie inside your pie pan. Squeeze the sides as you press the pie into the pan to help it conform to the pan, and gently press the magnet so that it attaches to the bottom of your pan. And, Voila! You have an adorable Cutie Pie Pincushion (with a handy Needle Keeper Cherry on Top) to add to your sewing space!
| 6 P a g e
Cutie Pie Pincushion Copyright 2017 Cotton Charm Quilts, Inc.
Cutie Pie Pincushion Templates
EA
| 7 P a g e
“Cutie Pie Pincushion” Copyright 2017 Cotton Charm Quilts, Inc.
E
| 8 P a g e
“Cutie Pie Pincushion” Copyright 2017 Cotton Charm Quilts, Inc.
C
Cherry