Embed Size (px)
Citation preview
NetBoot/SUS Server User GuideVersion 3.0

JAMF Software, LLC © 2014 JAMF Software, LLC. All rights reserved. JAMF Software has made all efforts to ensure that this guide is accurate. JAMF Software 301 4th Ave S Suite 1075 Minneapolis, MN 55415-1039 (612) 605-6625 Under the copyright laws, this publication may not be copied, in whole or in part, without the written consent of JAMF Software, LLC.
Apple and Mac OS are trademarks of Apple Inc., registered in the United States and other countries.
Intel is a registered trademark of the Intel Corporation in the U.S. and other countries. The JAMF Software logo is a trademark of JAMF Software, LLC in the United States and other countries.
Maker’s Mark is a registered trademark of Beam Global Spirits & Wine, Inc. All other product and service names mentioned are the trademarks of their respective companies.
Contents
Page 4 Overview
Page 4 Requirements
Page 5 Installing the NetBoot/SUS Server Using an Installer
Page 5 Setting Up the NetBoot/SUS Server as an Appliance
Page 6 AccountsChanging the Web Application or Shell CredentialsChanging the Password for the AFP or SMB Share
Page 7 Managing the SUSSetting Up the SUSSyncing with Apple’s Software Update ServerConfiguring SUS Branches
Page 9 Using the SUS with the Casper SuitePointing Computers at a SUS BranchRunning Software Update on Computers
Page 11 Setting Up the NetBoot Server
Page 12 Using the NetBoot Server with the Casper Suite
Page 12 Restarting the AFP or SMB Share
Page 13 Network Settings
Page 13 Date/Time Settings
Page 14 Release History
3

Overview
The NetBoot/SUS server allows you to host an internal software update server (SUS) and a NetBoot server on the same Linux system. Unlike a standard SUS, the SUS hosted by the NetBoot/SUS server allows you to control which updates should be installed on each computer in your organization. The NetBoot/SUS server also installs a web application that can be used to easily manage your NetBoot server and/or SUS.
There are two ways to get started with the NetBoot/SUS server: install the NetBoot/SUS server using an installer, or set it up as an appliance.
Requirements
To install the NetBoot/SUS server using an installer, you need:
�� The NetBoot/SUS Server Installer (.run), available at:
https://jamfnation.jamfsoftware.com/viewProduct.html?id=180&view=info
�� One of the following operating systems:
• Ubuntu 10.04 LTS Server
• Ubuntu 12.04 LTS Server
• Red Hat Enterprise Linux (RHEL) 6.4 or later
• CentOS 6.4 or later
�� 100 GB of disk space available
�� 1 GB of RAM
To set up the NetBoot/SUS server as an appliance, you need:
�� The OVA file for the NetBoot/SUS server, available at:
https://jamfnation.jamfsoftware.com/viewProduct.html?id=180&view=info
�� Virtualization software that supports Open Virtualization Format
�� 100 GB of disk space available
�� 1 GB of RAM
To host a NetBoot server using the NetBoot/SUS server, you need a NetBoot image (.nbi folder). For more information, see the following Knowledge Base article:
Creating a NetBoot Image and Setting Up a NetBoot Server
Only Intel-based Macs can use a NetBoot server hosted by the NetBoot/SUS server.
4

Installing the NetBoot/SUS Server Using an Installer
1. Copy the NetBoot/SUS Installer (.run) to the server on which you plan to install the NetBoot/SUS server.
2. Log in to the server as a user with superuser privileges.
3. Initiate the installer by executing a command similar to the following: sudo /path/to/NetSUS_3.0.run
4. When prompted to specify whether the installation is a standalone installation, type "y" unless you are planning to create a package of the NetBoot/SUS server and deploy it to another server.
5. Type "y" to proceed.
6. Go to https://myhostname.local/webadmin to access the NetBoot/SUS server web application. Once the NetBoot/SUS server is installed, it is recommended that you log in to the web application and change all usernames and passwords associated with the server. For more information, see Accounts.
Setting Up the NetBoot/SUS Server as an Appliance
To set up the NetBoot/SUS server as an appliance, import the OVA file for the NetBoot/SUS server into a virtualization software product. This creates an Ubuntu VM with running SMB and AFP shares. The first time you power on the VM, a page displaying the URL for the NetBoot/SUS server web application appears.
Once the NetBoot/SUS server is set up as an appliance, it is recommended that you log in to the web application and change all usernames and passwords associated with the server. For more information, see Accounts.
5
Accounts
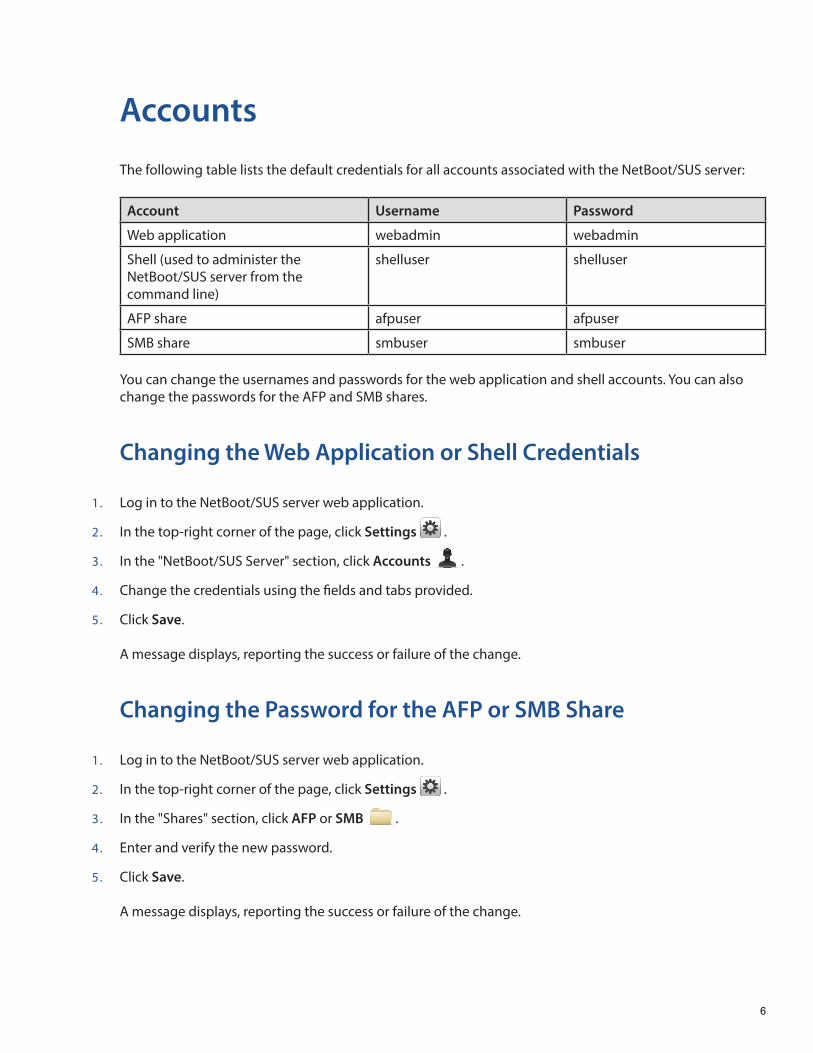
The following table lists the default credentials for all accounts associated with the NetBoot/SUS server:
Account Username Password
Web application webadmin webadmin
Shell (used to administer the NetBoot/SUS server from the command line)
shelluser shelluser
AFP share afpuser afpuser
SMB share smbuser smbuser
You can change the usernames and passwords for the web application and shell accounts. You can also change the passwords for the AFP and SMB shares.
Changing the Web Application or Shell Credentials
1. Log in to the NetBoot/SUS server web application.
2. In the top-right corner of the page, click Settings .
3. In the "NetBoot/SUS Server" section, click Accounts .
4. Change the credentials using the fields and tabs provided.
5. Click Save. A message displays, reporting the success or failure of the change.
Changing the Password for the AFP or SMB Share
1. Log in to the NetBoot/SUS server web application.
2. In the top-right corner of the page, click Settings .
3. In the "Shares" section, click AFP or SMB .
4. Enter and verify the new password.
5. Click Save. A message displays, reporting the success or failure of the change.
6
Managing the SUS
The SUS hosted by the NetBoot/SUS server uses Reposado, an open source software update application.
Unlike a standard SUS, you can divide the SUS hosted by the NetBoot/SUS server into branches and enable different software updates on each branch. This gives you more control over which updates should be installed on each computer in your organization.
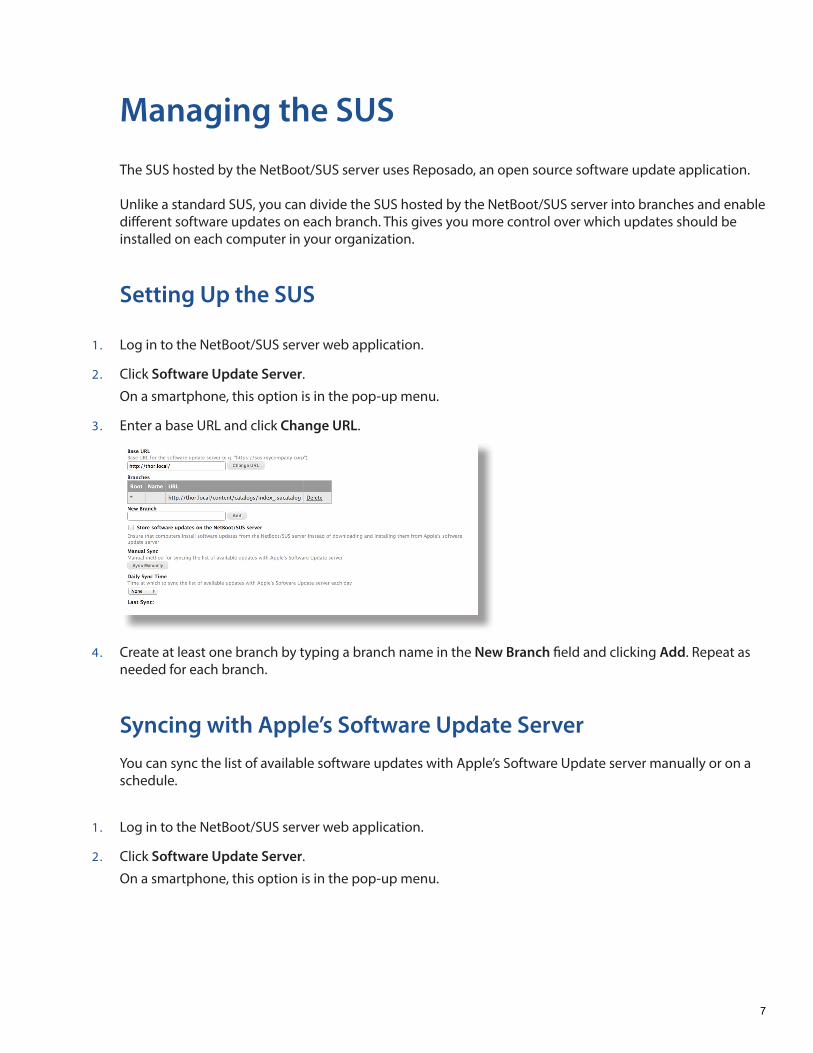
Setting Up the SUS
1. Log in to the NetBoot/SUS server web application.
2. Click Software Update Server.
On a smartphone, this option is in the pop-up menu.
3. Enter a base URL and click Change URL.
4. Create at least one branch by typing a branch name in the New Branch field and clicking Add. Repeat as needed for each branch.
Syncing with Apple’s Software Update ServerYou can sync the list of available software updates with Apple’s Software Update server manually or on a schedule.
1. Log in to the NetBoot/SUS server web application.
2. Click Software Update Server.
On a smartphone, this option is in the pop-up menu.
7
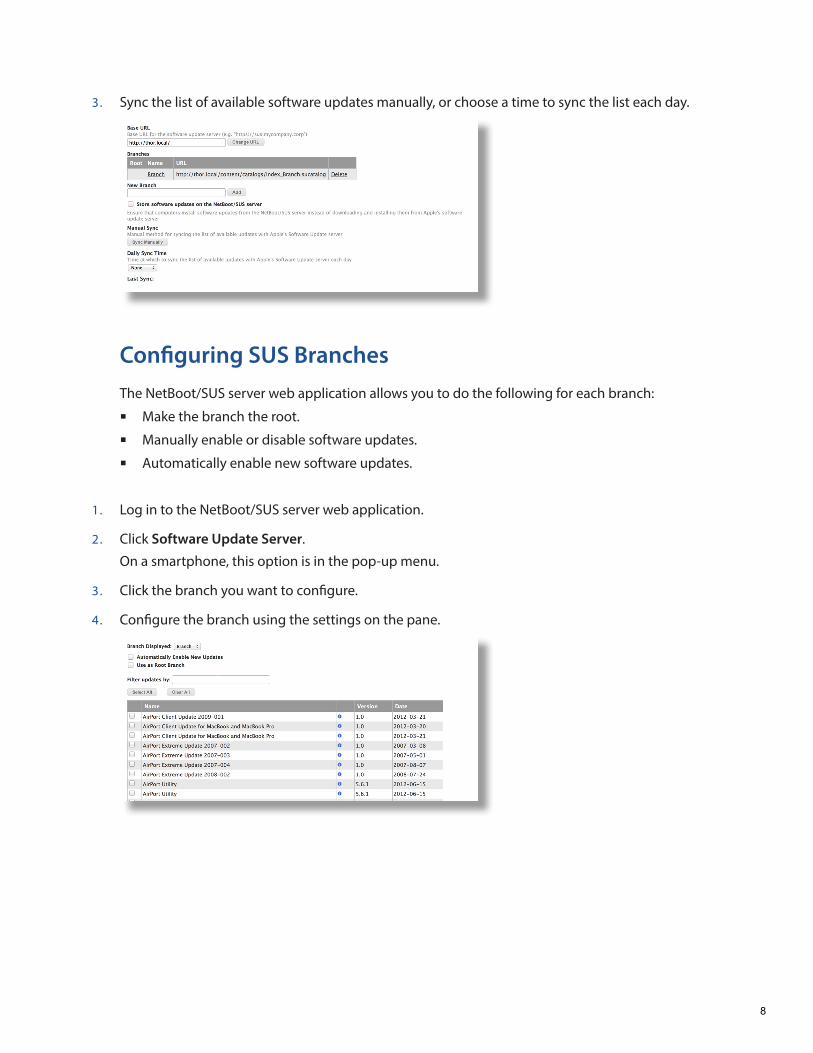
3. Sync the list of available software updates manually, or choose a time to sync the list each day.
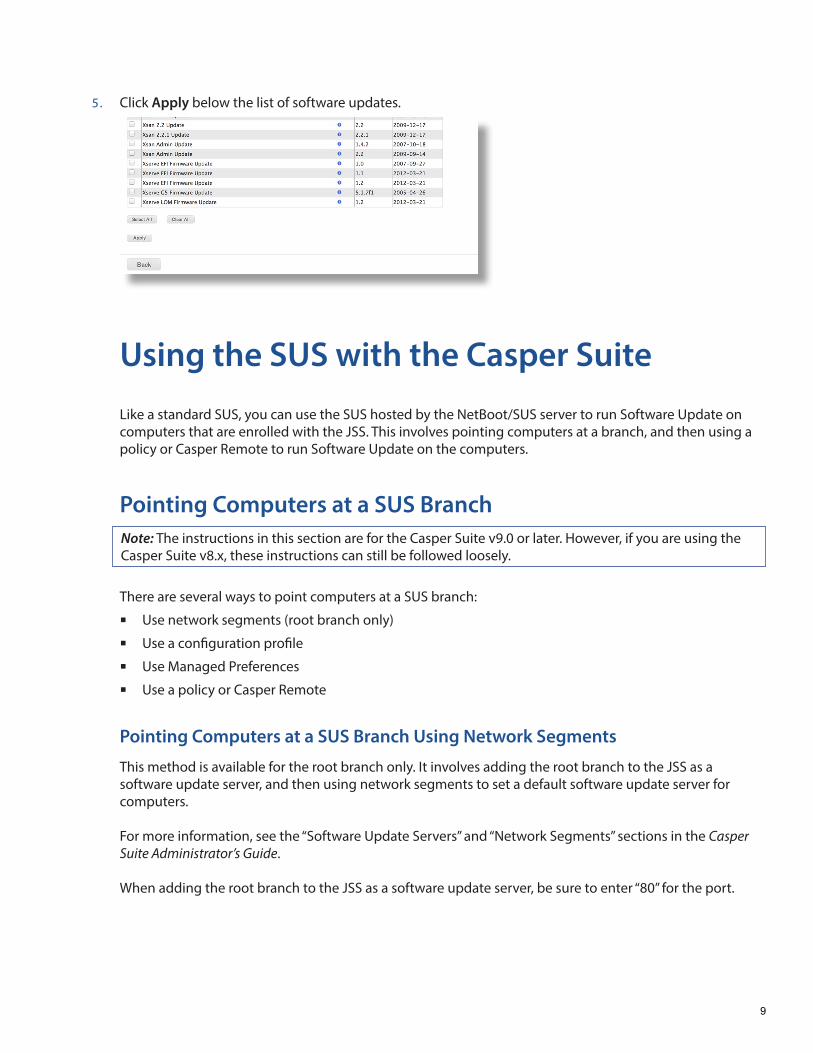
Configuring SUS BranchesThe NetBoot/SUS server web application allows you to do the following for each branch:
�� Make the branch the root.
�� Manually enable or disable software updates.
�� Automatically enable new software updates.
1. Log in to the NetBoot/SUS server web application.
2. Click Software Update Server.
On a smartphone, this option is in the pop-up menu.
3. Click the branch you want to configure.
4. Configure the branch using the settings on the pane.
8
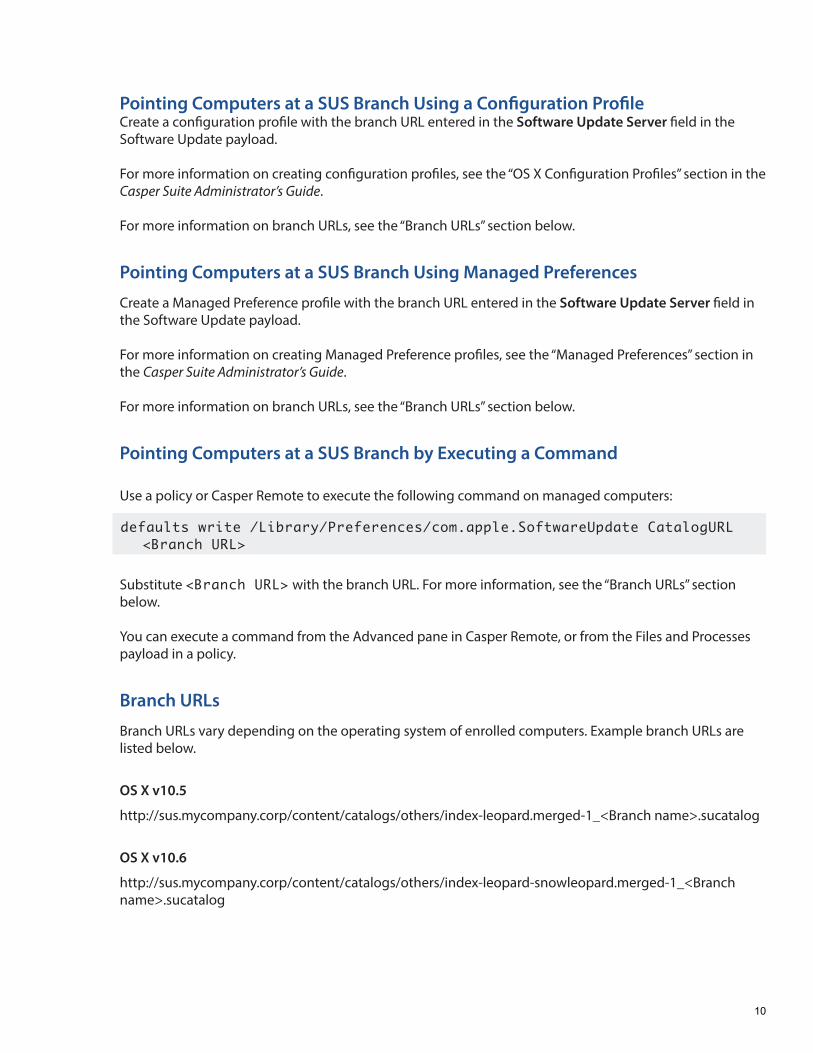
5. Click Apply below the list of software updates.
Using the SUS with the Casper Suite
Like a standard SUS, you can use the SUS hosted by the NetBoot/SUS server to run Software Update on computers that are enrolled with the JSS. This involves pointing computers at a branch, and then using a policy or Casper Remote to run Software Update on the computers.
Pointing Computers at a SUS BranchNote: The instructions in this section are for the Casper Suite v9.0 or later. However, if you are using the Casper Suite v8.x, these instructions can still be followed loosely.
There are several ways to point computers at a SUS branch:
�� Use network segments (root branch only)
�� Use a configuration profile
�� Use Managed Preferences
�� Use a policy or Casper Remote
Pointing Computers at a SUS Branch Using Network Segments
This method is available for the root branch only. It involves adding the root branch to the JSS as a software update server, and then using network segments to set a default software update server for computers.
For more information, see the “Software Update Servers” and “Network Segments” sections in the Casper Suite Administrator’s Guide.
When adding the root branch to the JSS as a software update server, be sure to enter “80” for the port.
9
Pointing Computers at a SUS Branch Using a Configuration ProfileCreate a configuration profile with the branch URL entered in the Software Update Server field in the Software Update payload.
For more information on creating configuration profiles, see the “OS X Configuration Profiles” section in the Casper Suite Administrator’s Guide.
For more information on branch URLs, see the “Branch URLs” section below.
Pointing Computers at a SUS Branch Using Managed Preferences
Create a Managed Preference profile with the branch URL entered in the Software Update Server field in the Software Update payload.
For more information on creating Managed Preference profiles, see the “Managed Preferences” section in the Casper Suite Administrator’s Guide.
For more information on branch URLs, see the “Branch URLs” section below.
Pointing Computers at a SUS Branch by Executing a Command
Use a policy or Casper Remote to execute the following command on managed computers: defaults write /Library/Preferences/com.apple.SoftwareUpdate CatalogURL
<Branch URL> Substitute <Branch URL> with the branch URL. For more information, see the “Branch URLs” section below.
You can execute a command from the Advanced pane in Casper Remote, or from the Files and Processes payload in a policy.
Branch URLs
Branch URLs vary depending on the operating system of enrolled computers. Example branch URLs are listed below.
OS X v10.5
http://sus.mycompany.corp/content/catalogs/others/index-leopard.merged-1_<Branch name>.sucatalog
OS X v10.6
http://sus.mycompany.corp/content/catalogs/others/index-leopard-snowleopard.merged-1_<Branch name>.sucatalog
10
OS X v10.7
http://sus.mycompany.corp/content/catalogs/others/index-lion-snowleopard-leopard.merged-1_<Branch name>.sucatalog
OS X v10.8
http://sus.mycompany.corp/content/catalogs/others/index-mountainlion-lion-snowleopard-leopard.merged-1_<Branch name>.sucatalog
OS X v10.9
http://sus.mycompany.corp/content/catalogs/others/index-10.9-mountainlion-lion-snowleopard-leopard.merged-1_<Branch name>.sucatalog
Running Software Update on ComputersFor instructions on using the Casper Suite to run Software Update on computers that are managed by the JSS, see the “Running Software Update” section in the Casper Suite Administrator’s Guide.
Setting Up the NetBoot Server
To set up a NetBoot server, you need a NetBoot image (.nbi folder). For more information, see the following Knowledge Base article:
Creating a NetBoot Image and Setting Up a NetBoot Server
1. Log in to the NetBoot/SUS server web application.
2. Click NetBoot Server.
On a smartphone, this option is in the pop-up menu.
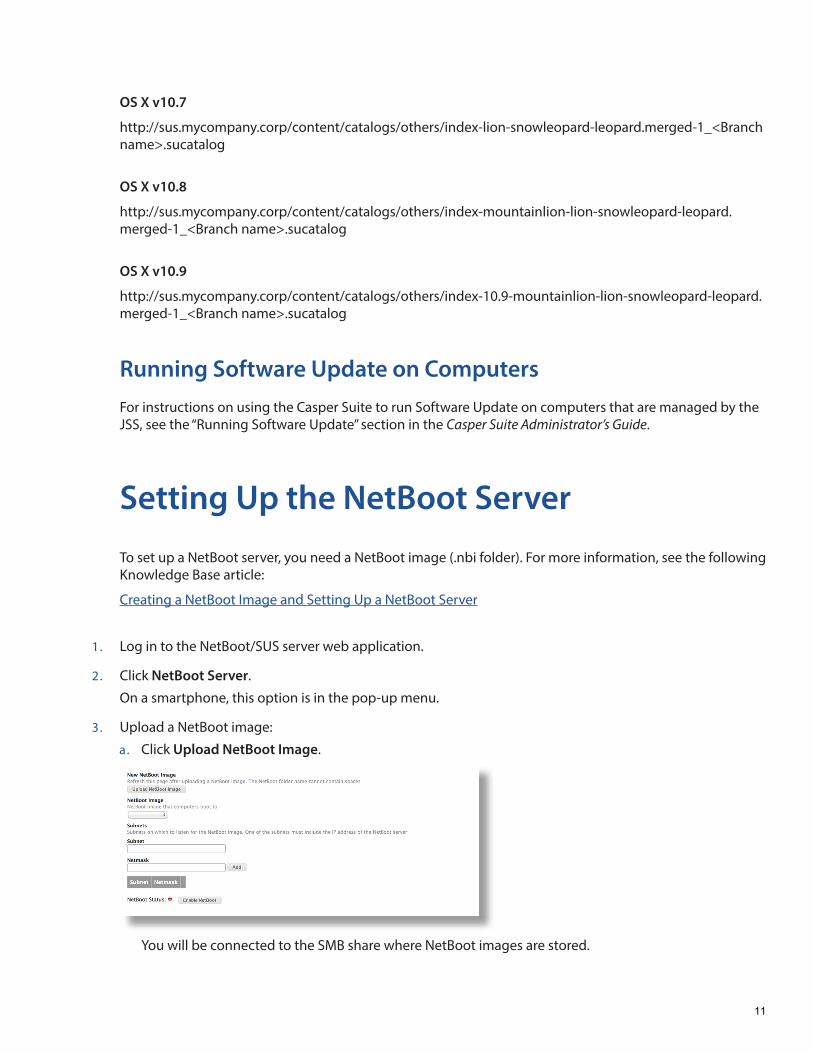
3. Upload a NetBoot image:
a. Click Upload NetBoot Image.
You will be connected to the SMB share where NetBoot images are stored.
11

b. Enter credentials for the SMB share and click Connect.
c. Copy a NetBoot image (.nbi) to the SMB share.
Important: The name of the folder cannot contain any spaces.
4. Return to the NetBoot/SUS server web application and refresh the page.
5. Choose the NetBoot image from the pop-up menu.
6. Choose subnets for the NetBoot image by entering a subnet and a netmask. Then click Add Subnet.
Important: One of the subnets must include the IP address of the NetBoot server.
7. Click Enable NetBoot. If NetBoot is successfully enabled, the NetBoot status icon turns green.
Using the NetBoot Server with the Casper SuiteNote: The instructions in this section are for the Casper Suite v9.0 or later. However, if you are using the Casper Suite v8.x, these instructions can still be followed loosely.
Like standard NetBoot servers, you can add the NetBoot server hosted by the NetBoot/SUS server to the JSS. This allows you to use a policy or Casper Remote to boot managed computers to a NetBoot image.
When adding the NetBoot server to the JSS, enter the IP address specified in the NetBoot/SUS server web application and choose the “Use default image” option from the NetBoot Image pop-up menu.
For more information on adding a NetBoot server to the JSS, see the “NetBoot Servers” section in the Casper Suite Administrator’s Guide.
For more information on using a policy or Casper Remote to boot computers to a NetBoot image, see the “Booting Computers to NetBoot Images” section in the Casper Suite Administrator’s Guide.
Restarting the AFP or SMB Share
You may need to restart the AFP or SMB share for troubleshooting purposes.
1. Log in to the NetBoot/SUS server web application.
2. In the top-right corner of the page, click Settings .
12
3. In the "Shares" section, click AFP or SMB .
4. Click Restart.
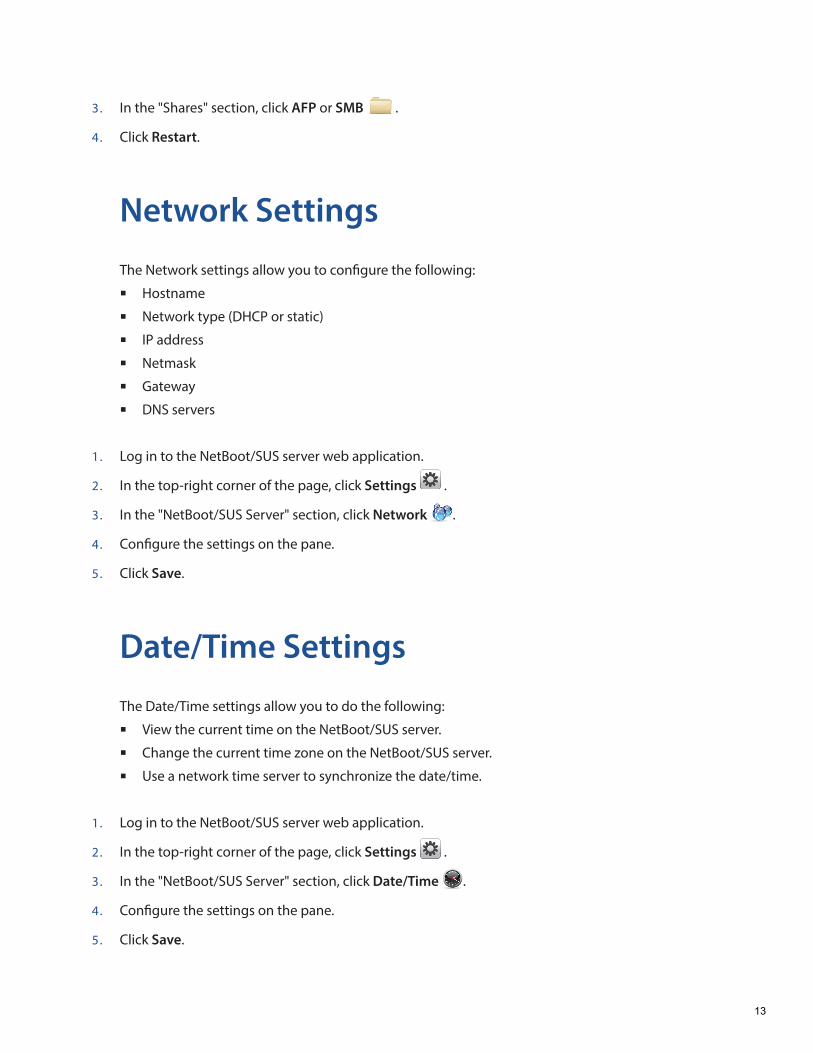
Network Settings
The Network settings allow you to configure the following:
�� Hostname
�� Network type (DHCP or static)
�� IP address
�� Netmask
�� Gateway
�� DNS servers
1. Log in to the NetBoot/SUS server web application.
2. In the top-right corner of the page, click Settings .
3. In the "NetBoot/SUS Server" section, click Network .
4. Configure the settings on the pane.
5. Click Save.
Date/Time Settings
The Date/Time settings allow you to do the following:
�� View the current time on the NetBoot/SUS server.
�� Change the current time zone on the NetBoot/SUS server.
�� Use a network time server to synchronize the date/time.
1. Log in to the NetBoot/SUS server web application.
2. In the top-right corner of the page, click Settings .
3. In the "NetBoot/SUS Server" section, click Date/Time .
4. Configure the settings on the pane.
5. Click Save.
13
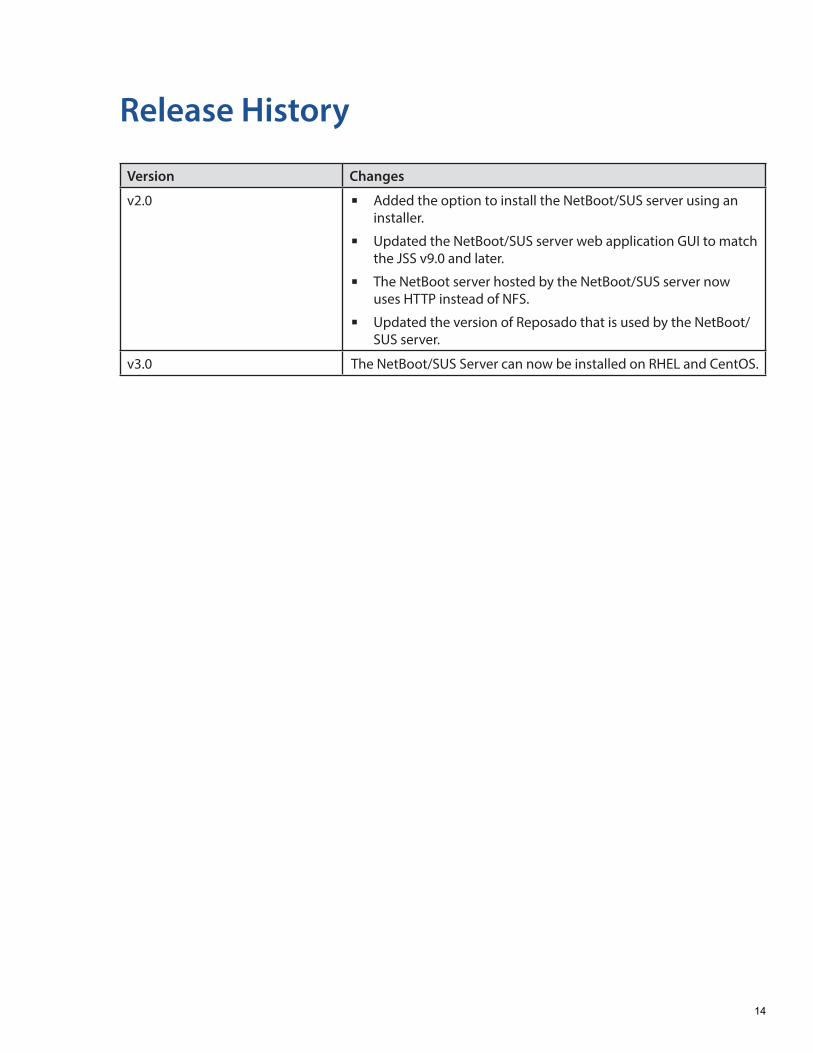
Release History
Version Changes
v2.0 �� Added the option to install the NetBoot/SUS server using an installer.
�� Updated the NetBoot/SUS server web application GUI to match the JSS v9.0 and later.
�� The NetBoot server hosted by the NetBoot/SUS server now uses HTTP instead of NFS.
�� Updated the version of Reposado that is used by the NetBoot/SUS server.
v3.0 The NetBoot/SUS Server can now be installed on RHEL and CentOS.
14