Embed Size (px)
Citation preview

NAS 253 Introduction to Backup Plan
Create backup jobs using Backup Plan in Windows
A S U S T O R C O L L E G E
A S U S T O R C O L L E G E / 2
NAS 253: Introduction to Backup Plan
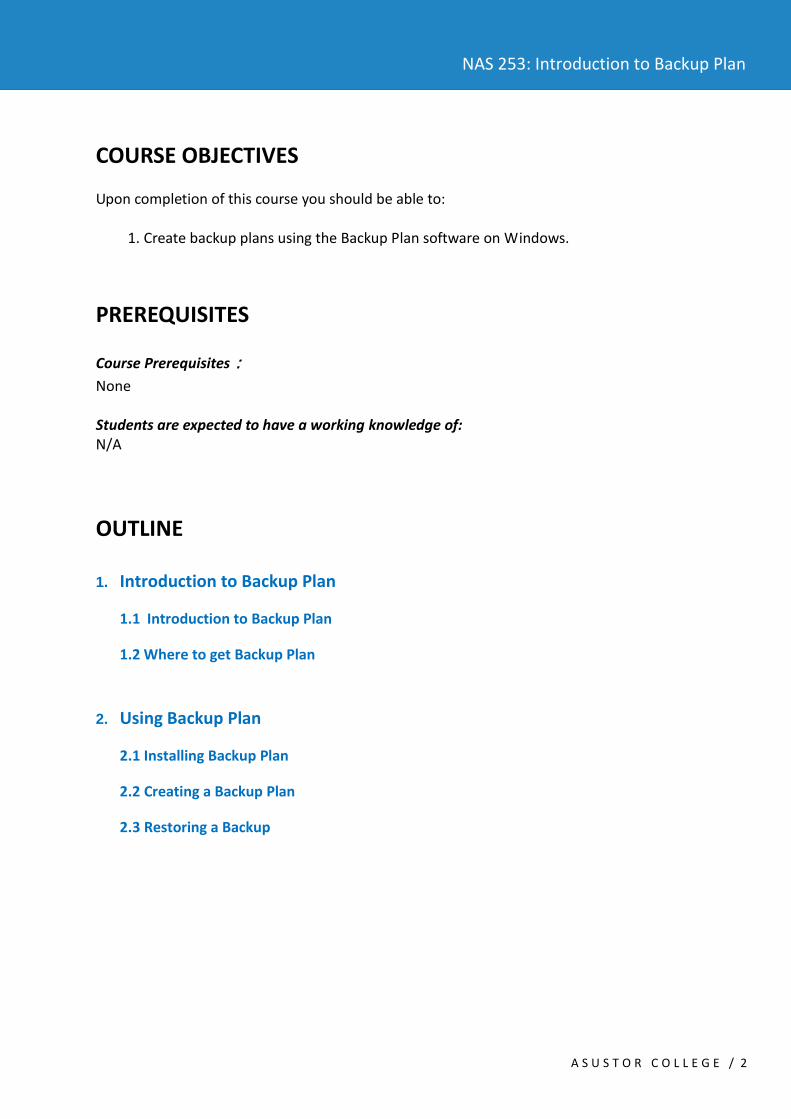
COURSE OBJECTIVES
Upon completion of this course you should be able to:
1. Create backup plans using the Backup Plan software on Windows.
PREREQUISITES
Course Prerequisites:
None
Students are expected to have a working knowledge of: N/A
OUTLINE
1. Introduction to Backup Plan
1.1 Introduction to Backup Plan
1.2 Where to get Backup Plan
2. Using Backup Plan
2.1 Installing Backup Plan
2.2 Creating a Backup Plan
2.3 Restoring a Backup

A S U S T O R C O L L E G E / 3
NAS 253: Introduction to Backup Plan
1. Introduction to Backup Plan
1.1 Introduction to Backup Plan
Backup Plan is ASUSTOR’s free backup software for Windows OS. It can be used to backup data from
a Windows PC or Server to specified destination devices including NAS, FTP server, or the local
machine. Backup Plan supports one-time backups, scheduled backups and synchronization. If your
original data should become damaged, destroyed or lost, Backup Plan also provides a convenient
data restoration function.
Supported operating systems: Windows XP, Vista, 7, 8, Server 2003/ 2008/ 2012
1.2 Where to get Backup Plan
You can download the latest version of Backup Plan from:
http://www.asustor.com/service/downloads

A S U S T O R C O L L E G E / 4
NAS 253: Introduction to Backup Plan
2. Using Backup Plan
2.1 Installing Backup Plan
After downloading Backup Plan, unzip the downloaded file and then double-click on the installation file. Follow the instruction provided by the installation wizard to complete the installation of Backup Plan. After installation has completed, you should be able to see the Backup Plan shortcut icon on your desktop. Double-click on it to start Backup Plan.
2.2 Creating a Backup Plan In the following example, we will teach you how to create a scheduled weekly backup plan that backs
up data from your computer to your ASUSTOR NAS.
STEP 1 Click on the [Create] icon.

A S U S T O R C O L L E G E / 5
NAS 253: Introduction to Backup Plan
STEP 2 The “Create New Backup Plan” window should now appear. Select [ASUSTOR NAS] for your backup destination and then click [Next].
STEP 3 Backup Plan will then scan your local area network for ASUSTOR NAS devices. Select the NAS of your choice from the list and then click [Next].

A S U S T O R C O L L E G E / 6
NAS 253: Introduction to Backup Plan
STEP 4 Enter the username and password for your NAS and then click [Next].

A S U S T O R C O L L E G E / 7
NAS 253: Introduction to Backup Plan
STEP 5 Backup plan provides 3 different backup methods: Backup once: After configurations are completed Backup Plan will execute a one-time backup. Synchronization: After configurations are completed, Backup Plan will execute the backup job
once. Afterwards, Backup Plan will continue to monitor the local computer source folder that you have selected. When new files are added to this folder, they will be automatically synced to the destination NAS.
Schedule Backup: This method allows you to schedule a recurring backup job.
In the example below, we select [Schedule Backup] and proceed to configure [Backup frequency], [Day] and [Time]. There will also be additional configurations presented to you: If file already exists: You can choose to [Skip] or [Overwrite] any already exiting files. Mission mode: Enabling Mission mode allows you to configure the time period under which
your backup job will be active, after which it will be aborted if not started.
Once you are done with the configurations for this step, click [Next].

A S U S T O R C O L L E G E / 8
NAS 253: Introduction to Backup Plan
STEP 6 Backup Plan will now scan your local computer for folders that can be backed up. Select the folder(s)
that you wish to back up from the list and then click [Next].

A S U S T O R C O L L E G E / 9
NAS 253: Introduction to Backup Plan
Note: The [Filters] button can allow you to select the file types that you wish to exclude in your
backup job. Backup Plan provides you with a default list of six different file types that you can filter.
You can select the checkbox for a file type and then click on the [Edit] button to see the file extensions
that are included for the file type. You will also be able to configure the file extensions that can be
filtered with the file type. (In the graphic below, we have selected “Temporary files” as an example.)
You can also click the [Add] button to create a customized filter.
A S U S T O R C O L L E G E / 10
NAS 253: Introduction to Backup Plan
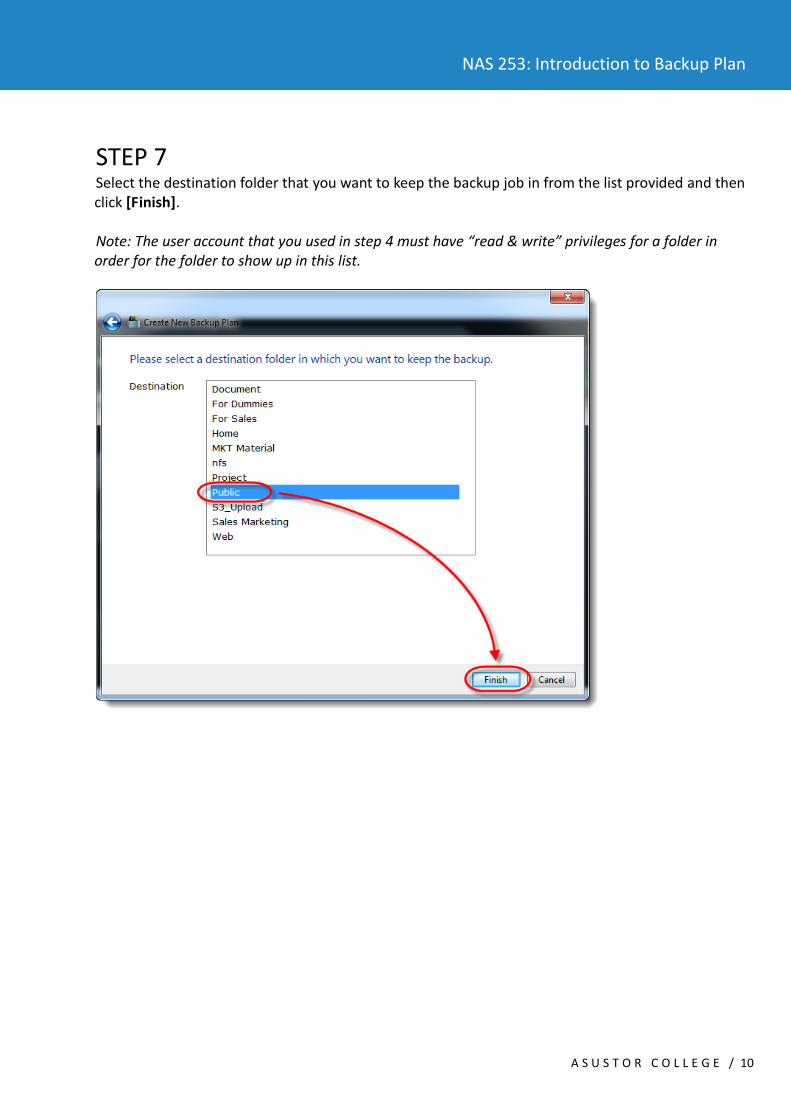
STEP 7 Select the destination folder that you want to keep the backup job in from the list provided and then click [Finish].
Note: The user account that you used in step 4 must have “read & write” privileges for a folder in order for the folder to show up in this list.

A S U S T O R C O L L E G E / 11
NAS 253: Introduction to Backup Plan
STEP 8 You should now be able to see the plan you have just created in the Backup Plan interface.
Note: Backup Plan supports a maximum of 6 different backup plans.
The Backup Plan interface includes a series of buttons which are described below:
Backup: Clicking this button will execute the backup job.
Edit: This button allows you to edit the configurations for the specific backup plan.
Remove: Clicking on this button will remove the specific backup plan.
Information: Clicking this button will give you detailed information about the specific backup plan.

A S U S T O R C O L L E G E / 12
NAS 253: Introduction to Backup Plan
You will also find 3 buttons in the upper right-hand corner of the Backup Plan interface:
Log: Clicking on this button will show you logs of Backup Plan’s statuses and activities
Settings: Clicking on this button provides 2 advanced settings
When files are deleted on the local PC, also delete the corresponding files at the
destination under synchronization mode. (When this setting is enabled, it will apply
to all backup plans that are using the synchronization backup method.)
Start ASUSTOR Backup Plan on system startup.

A S U S T O R C O L L E G E / 13
NAS 253: Introduction to Backup Plan
About: Clicking on this button will show you which version of Backup Plan you are using.
If you wish to check if you are using the latest version of Backup Plan, you can click on the icon in the
upper left-hand corner and then select [Check for updates]. If new updates are detected, Backup
Plan can automatically download and install them after prompting you to agree to do so. Updates
will not remove or change any of your existing backup plans.

A S U S T O R C O L L E G E / 14
NAS 253: Introduction to Backup Plan
2.3 Restoring a Backup
STEP 1 In order to restore a backup, first select a plan that was successfully backed up and then click on the [Restore] icon.
STEP 2 Now you will able to select [Directly restore the backup] or [Restore parts of the backup]. Select the radio button of your choice and then click on [Next].
A S U S T O R C O L L E G E / 15
NAS 253: Introduction to Backup Plan
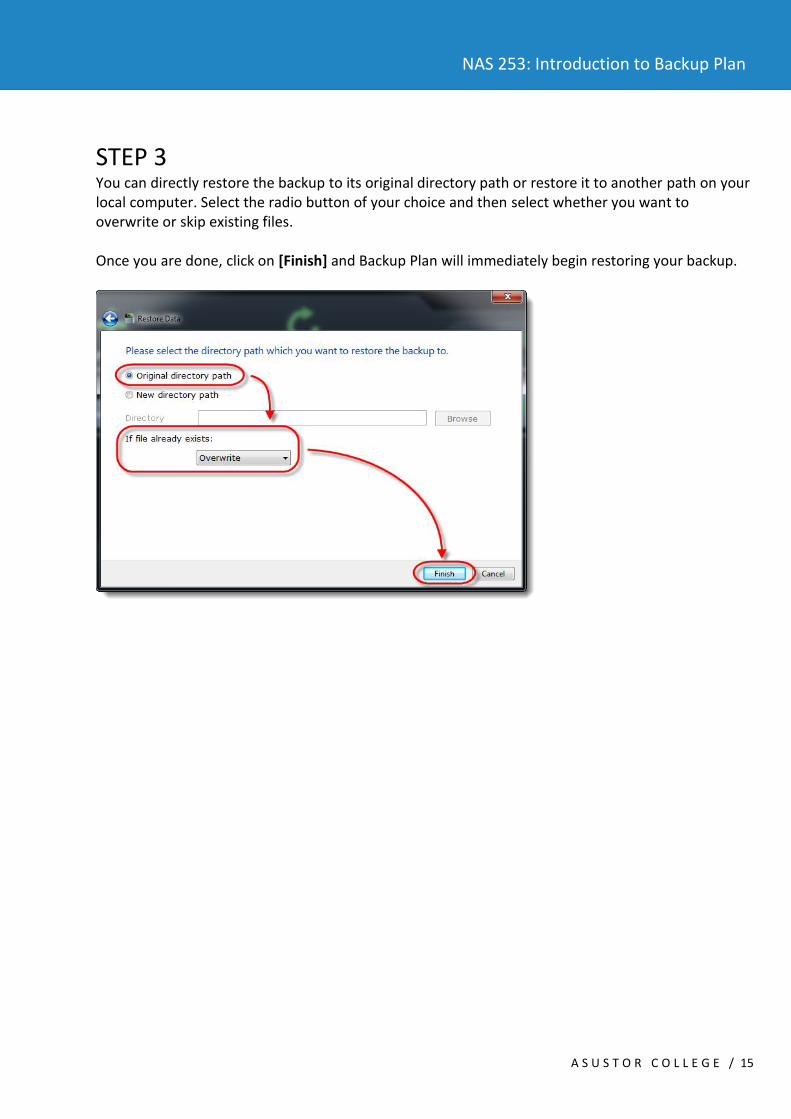
STEP 3 You can directly restore the backup to its original directory path or restore it to another path on your local computer. Select the radio button of your choice and then select whether you want to overwrite or skip existing files. Once you are done, click on [Finish] and Backup Plan will immediately begin restoring your backup.