Embed Size (px)
Citation preview

N A M E
#3869 Stepping into STEM 62 ©Teacher Created Resources
Unit introdUction
chemist—a person who studies solids, liquids, and gases to solve problems
chemistry—the branch of science that identifies the substances that compose matter; the study of the way materials interact, combine, and change
density—how much matter is in a certain volume—all matter has density
diffuse—to spread out within a solution or an area; to scatter
dissolve—to break up, as in a solid breaking into a liquid; when something dissolves, it seems to disappear Example: stirring sugar into coffee
emulsify—to blend, shake, or mix together to make an emulsion
emulsifier—a material which is used to combine or blend two other materials in an emulsion
emulsion—a solution formed with substances that do not usually mix
ingredient—any food or substance that is combined to make something new or different
mixture—a combination of two or more substances that do not blend to create a new substance (example: sand and water)
reaction—a response; a chemical change
solution—a special type of mixture in which two or more items mixed together blend to form one substance (example: sugar and water)
soLutIons, MIxtures, and eMuLsIons—wHat Is tHe dIfference? 1. Mixture: Sand and water do not blend—they remain
sand and water when mixed.
2. Solution: Lemon juice, sugar, and water blend to make lemonade.
3. Emulsion: A salad dressing made of oil and vinegar will not stay blended, but adding mustard will blend the oil and vinegar for a while.
soluTions, MixTures, anD eMulsions Vocabulary
1
3
2
N A M E
©Teacher Created Resources 63 #3869 Stepping into STEM
Unit introdUction
soluTions, MixTures, anD eMulsions
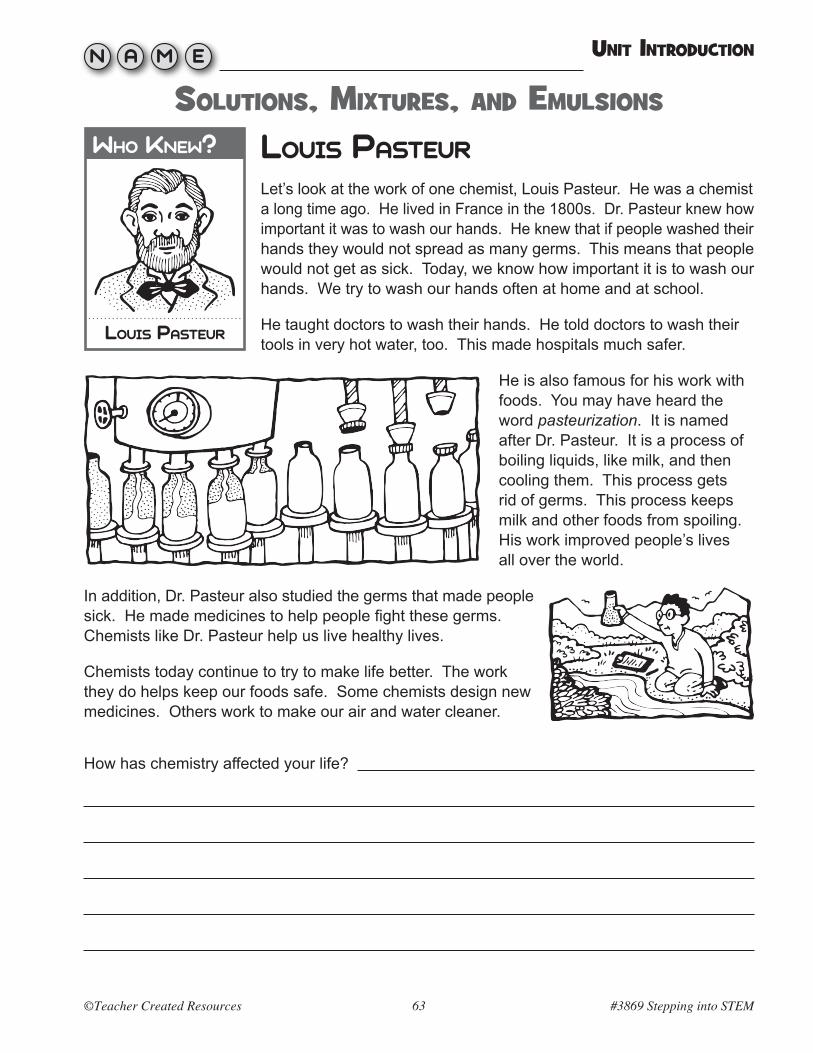
LouIs pasteur
Let’s look at the work of one chemist, Louis Pasteur. He was a chemist a long time ago. He lived in France in the 1800s. Dr. Pasteur knew how important it was to wash our hands. He knew that if people washed their hands they would not spread as many germs. This means that people would not get as sick. Today, we know how important it is to wash our hands. We try to wash our hands often at home and at school.
He taught doctors to wash their hands. He told doctors to wash their tools in very hot water, too. This made hospitals much safer.
He is also famous for his work with foods. You may have heard the word pasteurization. It is named after Dr. Pasteur. It is a process of boiling liquids, like milk, and then cooling them. This process gets rid of germs. This process keeps milk and other foods from spoiling. His work improved people’s lives all over the world.
In addition, Dr. Pasteur also studied the germs that made people sick. He made medicines to help people fight these germs. Chemists like Dr. Pasteur help us live healthy lives.
Chemists today continue to try to make life better. The work they do helps keep our foods safe. Some chemists design new medicines. Others work to make our air and water cleaner.
How has chemistry affected your life?
wHo knew?
LouIs pasteur
N A M E
#3869 Stepping into STEM 64 ©Teacher Created Resources
Unit introdUction
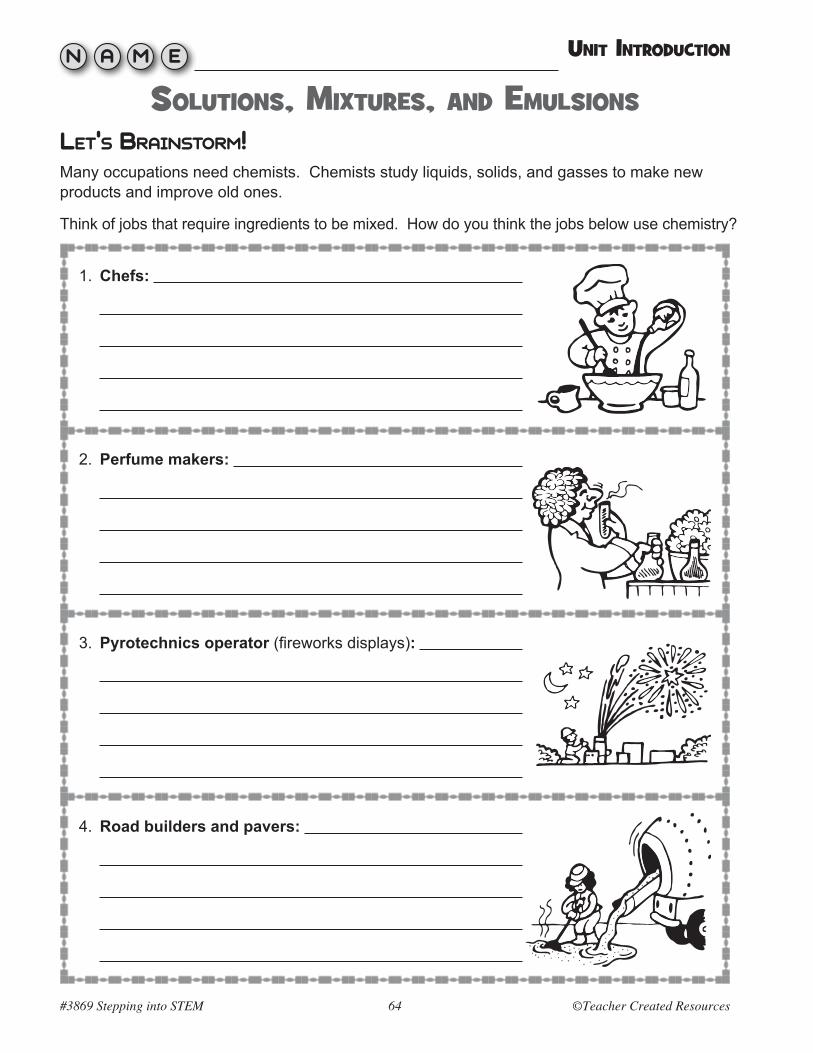
soluTions, MixTures, anD eMulsionsLet’s BraInstorM!Many occupations need chemists. Chemists study liquids, solids, and gasses to make new products and improve old ones.
Think of jobs that require ingredients to be mixed. How do you think the jobs below use chemistry?
1. Chefs:
2. Perfume makers:
3. Pyrotechnics operator (fireworks displays):
4. Road builders and pavers:
N A M E
©Teacher Created Resources 65 #3869 Stepping into STEM
soLutIons, MIxtures, and eMuLsIons
unIt 3—actIVIty 1
Working WiTh soluTions anD MixTuresteacHer preparatIon: Have students work in pairs or small teams. Explain that they will be combining liquids and solids and determining if the combinations are solutions or mixtures. Working in teams will help with timing and observing different interactions.
Students will also be observing density—which is seen in the relationship of the heaviness of the different liquids they use. Remember, heaviness and density are not the same thing.
Review and discuss the vocabulary list together to gain a better understanding of the unit topic. Discuss the meaning of solution and mixture throughout this unit:
soLutIon—a special type of mixture in which two or more items mixed together blend to form one item. For instance, when you mix lemon juice, sugar, and water, you get something new—lemonade!
MIxture—a combination of two or more substances that do not chemically combine, such as sand and water. You can mix them together, but the sand will not blend into the water; the sand and water will still be two separate substances.
teaM MaterIaLs
• 6" paper circles (for funnels) • baking soda • black pepper • 12 oz.clear plastic bottles
with caps • colored pencils • cooking oil • eyedroppers • food coloring (yellow, blue, red) • funnels • measuring cups • permanent markers • plastic teaspoons • scissors • sugar • table salt • tape • timers or stopwatches • water
notes
Eyedroppers: If using large bottles of food coloring, you will need to provide students with eyedroppers to add coloring to the mixtures. Smaller squeeze bottles of food coloring are made to squeeze a drop at a time.
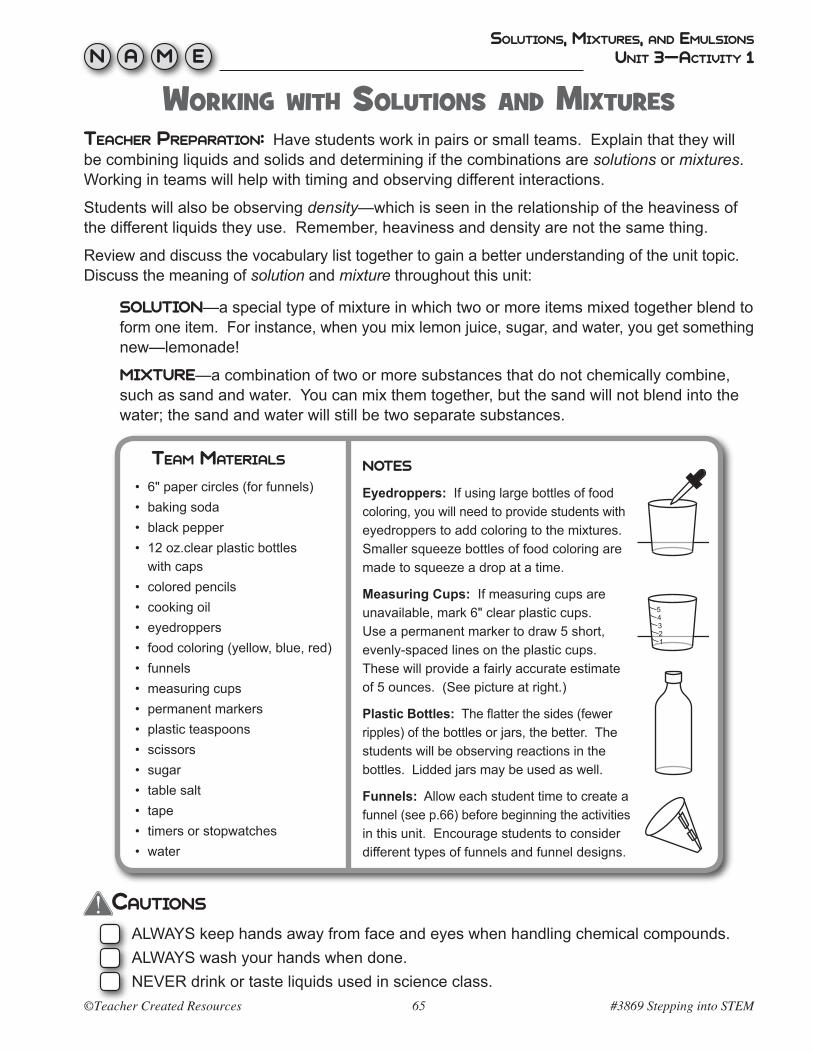
Measuring Cups: If measuring cups are unavailable, mark 6" clear plastic cups. Use a permanent marker to draw 5 short, evenly-spaced lines on the plastic cups. These will provide a fairly accurate estimate of 5 ounces. (See picture at right.)
Plastic Bottles: The flatter the sides (fewer ripples) of the bottles or jars, the better. The students will be observing reactions in the bottles. Lidded jars may be used as well.
Funnels: Allow each student time to create a funnel (see p.66) before beginning the activities in this unit. Encourage students to consider different types of funnels and funnel designs.
cautIons
ALWAYS keep hands away from face and eyes when handling chemical compounds. ALWAYS wash your hands when done. NEVER drink or taste liquids used in science class.
CAUTION
54321

N A M E
#3869 Stepping into STEM 66 ©Teacher Created Resources
soLutIons, MIxtures, and eMuLsIons
Working WiTh soluTions anD MixTures
unIt 3—actIVIty 1
Make a funneL
1. Measure the diameter of the paper circle. dIaMeter = __________
2. Mark the middle of the circle. You can fold the paper in quarters to find this. The middle point is half the diameter, which is __________ inches.
3. Cut out a wedge, using the middle of the circle as the point.
4. Wrap the paper to form a cone, and tape it.
5. Snip a small opening that will fit inside the opening of the bottle. This opening may need to be adjusted during the activities.
6. Test the funnel.
7. If time allows, try making more funnels with other types of paper, or use thin plastic sheets which work better for funnels.
gettIng started—MIxIng two LIQuIds
1. Measure out 5 ounces of water. Use a funnel to pour the water into an empty plastic water bottle. The bottle should hold at least 12 oz.
2. Squeeze a single drop of food coloring into the water in the bottle. (Note: If you have a large bottle of food coloring, use an eyedropper to add the color drop.) Do not shake the bottle. Replace the cap.
3. Watch the food coloring diffuse (spread) through the water.
4. Describe how the food coloring moved. Use your best descriptive words.
5. What do water and food coloring form?
MIxture soLutIon 6. Use colored pencils to sketch the food coloring
diffusing through the water in the bottle to the right.
1. 2.
3.
4. 5.
N A M E
©Teacher Created Resources 67 #3869 Stepping into STEM
soLutIons, MIxtures, and eMuLsIons
Working WiTh soluTions anD MixTuresDirections: Read all the directions before beginning so you will know when you need to stop and start the timers.
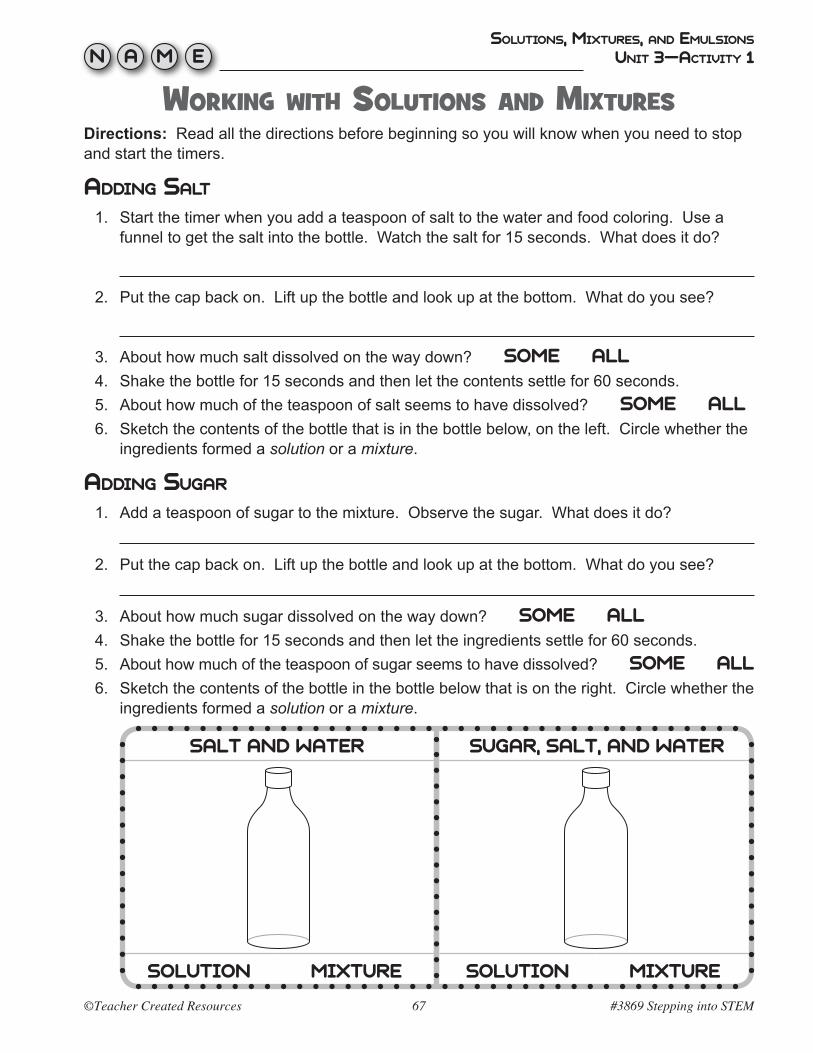
addIng saLt
1. Start the timer when you add a teaspoon of salt to the water and food coloring. Use a funnel to get the salt into the bottle. Watch the salt for 15 seconds. What does it do?
2. Put the cap back on. Lift up the bottle and look up at the bottom. What do you see?
3. About how much salt dissolved on the way down? soMe aLL 4. Shake the bottle for 15 seconds and then let the contents settle for 60 seconds. 5. About how much of the teaspoon of salt seems to have dissolved? soMe aLL 6. Sketch the contents of the bottle that is in the bottle below, on the left. Circle whether the
ingredients formed a solution or a mixture.
addIng sugar
1. Add a teaspoon of sugar to the mixture. Observe the sugar. What does it do?
2. Put the cap back on. Lift up the bottle and look up at the bottom. What do you see?
3. About how much sugar dissolved on the way down? soMe aLL 4. Shake the bottle for 15 seconds and then let the ingredients settle for 60 seconds. 5. About how much of the teaspoon of sugar seems to have dissolved? soMe aLL 6. Sketch the contents of the bottle in the bottle below that is on the right. Circle whether the
ingredients formed a solution or a mixture.
saLt and water sugar, saLt, and water
soLutIon MIxture soLutIon MIxture
unIt 3—actIVIty 1

N A M E
#3869 Stepping into STEM 68 ©Teacher Created Resources
soLutIons, MIxtures, and eMuLsIons
unIt 3—actIVIty 1
Working WiTh soluTions anD MixTuresaddIng BakIng soda
1. Add a teaspoon of baking soda to the bottle that has the salt and sugar. Observe the baking soda falling to the bottom of the bottle. Do you think it will all dissolve? yes no
2. Put the cap back on the bottle and lift it up to look at the bottom. What do you see?
3. About how much baking soda dissolved on the way down? soMe aLL 4. Shake the bottle for 30 seconds and then let the ingredients settle for 60 seconds. 5. About how much of the baking soda dissolved? soMe aLL 6. Sketch the bottle and its contents in the bottle below that on the left. Circle whether the
ingredients formed a solution or a mixture.
addIng BLack pepper
1. Add a teaspoon of black pepper to the bottle. What does the black pepper do?
2. Put the cap back on the bottle and lift it up to look at the bottom. What do you see?
3. About how much black pepper dissolved on the way down? soMe aLL none 4. Shake the bottle for 30 seconds and then let the ingredients settle for 60 seconds. 5. About how much of the teaspoon of black pepper seems to have dissolved?
soMe aLL none 6. Take turns shaking the bottle for 15 seconds each. Any change? yes no 7. Sketch the contents of the bottle in the bottle below that is on the right. Circle whether the
ingredients formed a solution or a mixture.
addIng BakIng soda addIng BLack pepper
soLutIon MIxture soLutIon MIxture

N A M E
©Teacher Created Resources 69 #3869 Stepping into STEM
soLutIons, MIxtures, and eMuLsIons
unIt 3—actIVIty 1
Working WiTh soluTions anD MixTuresjournaL entry
1. What is a solution in chemistry?
Give two examples.
2. What is a mixture in chemistry?
Give an example or two.
3. When the food coloring was diffused in the water, what did it do?
4. Do you think funnels are useful when adding ingredients to a mixture? yes no
Explain your answer.
5. If you were a chemist, what type of projects would you like to work on? Why?
scIentIfIc MetHod reVIew—workIng wItH soLutIons and MIxtures
Share your journal entries, documents, and experiences making funnels and working with solutions and mixtures with your class in a discussion moderated by your teacher.
N A M E
#3869 Stepping into STEM 70 ©Teacher Created Resources
soLutIons, MIxtures, and eMuLsIons
More MixTuresDirections: Work in pairs. Read through the directions before beginning so you will know when you need to stop and start the timers.
teaM MaterIaLs • clear plastic bottles (at least 30 oz.)
with caps • colored pencils • cooking oil
• eyedroppers • food coloring (red, yellow, blue) • funnels • measuring cups
• permanent markers • plastic teaspoons • stopwatch or timer • water
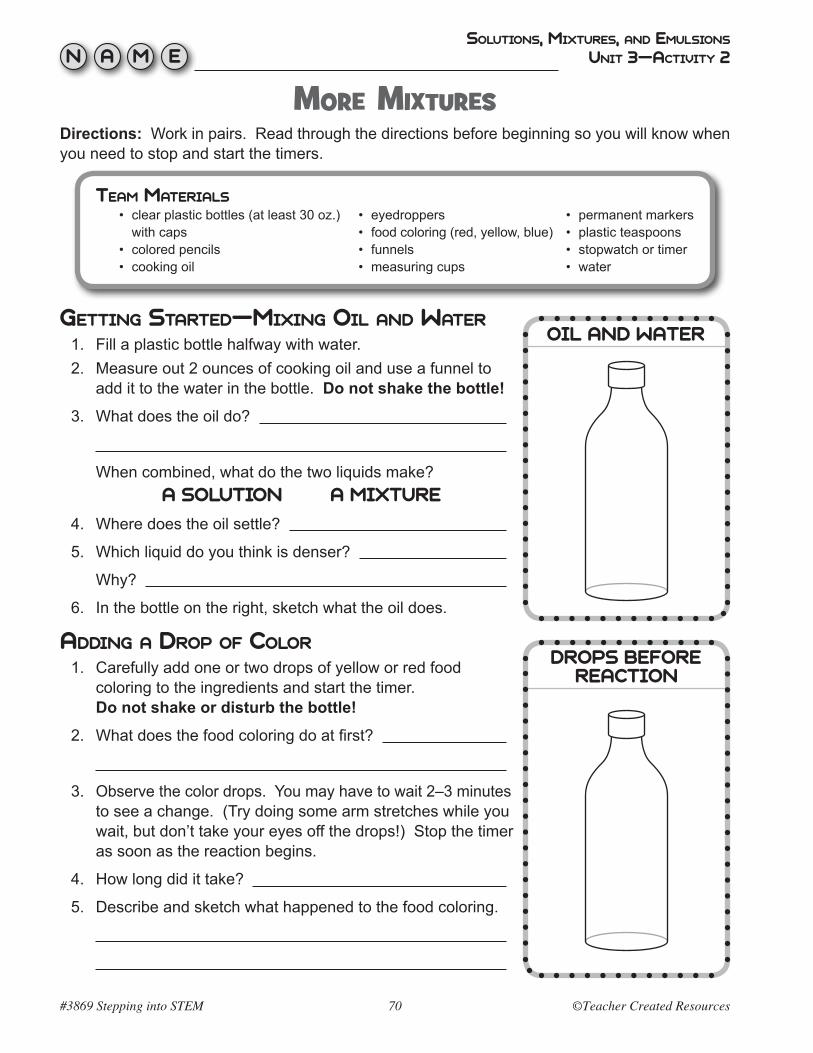
gettIng started—MIxIng oIL and water
1. Fill a plastic bottle halfway with water. 2. Measure out 2 ounces of cooking oil and use a funnel to
add it to the water in the bottle. Do not shake the bottle!
3. What does the oil do?
When combined, what do the two liquids make?a soLutIon a MIxture
4. Where does the oil settle?
5. Which liquid do you think is denser?
Why?
6. In the bottle on the right, sketch what the oil does.
addIng a drop of coLor
1. Carefully add one or two drops of yellow or red food coloring to the ingredients and start the timer. Do not shake or disturb the bottle!
2. What does the food coloring do at first?
3. Observe the color drops. You may have to wait 2–3 minutes to see a change. (Try doing some arm stretches while you wait, but don’t take your eyes off the drops!) Stop the timer as soon as the reaction begins.
4. How long did it take?
5. Describe and sketch what happened to the food coloring.
oIL and water
drops Before reactIon
unIt 3—actIVIty 2

N A M E
©Teacher Created Resources 71 #3869 Stepping into STEM
soLutIons, MIxtures, and eMuLsIons
unIt 3—actIVIty 2
More MixTuressHake It up! 1. Make sure the cap on the bottle is secure. Set the timer
again and shake the ingredients for 30 seconds.
2. Use colored pencils to sketch the contents of the bottle.
3. Describe what happens to the oil, water, and food coloring after shaking.
4. What type of mixture did you make?
a soLutIon a MIxture
How do you know?
addIng a second coLor
1. Use the oil, water, and color mixture from the previous activity. Make sure it has settled.
2. Carefully add 2 drops of blue food coloring to the ingredients.
3. Set the timer to see how long it takes the color drops to travel through the oil. (Do some side-to-side neck stretches or neck rolls while you watch, but keep your eyes on the drops!)
4. Describe what happens.
5. Make sure the cover is on tightly. Set the timer again, and shake the bottle for 15 seconds.
6. Describe what happens to the oil, water, and colors after shaking.
7. What color is the mixture now?
Use colored pencils to sketch the settled mixture with the second color. Use the bottle in the lower box on the right.
★ ★ ★ SAVE THIS MIXTURE ★ ★ ★
after sHakIng
addIng a second coLor
N A M E
#3869 Stepping into STEM 72 ©Teacher Created Resources
soLutIons, MIxtures, and eMuLsIons
More MixTures
unIt 3—actIVIty 2
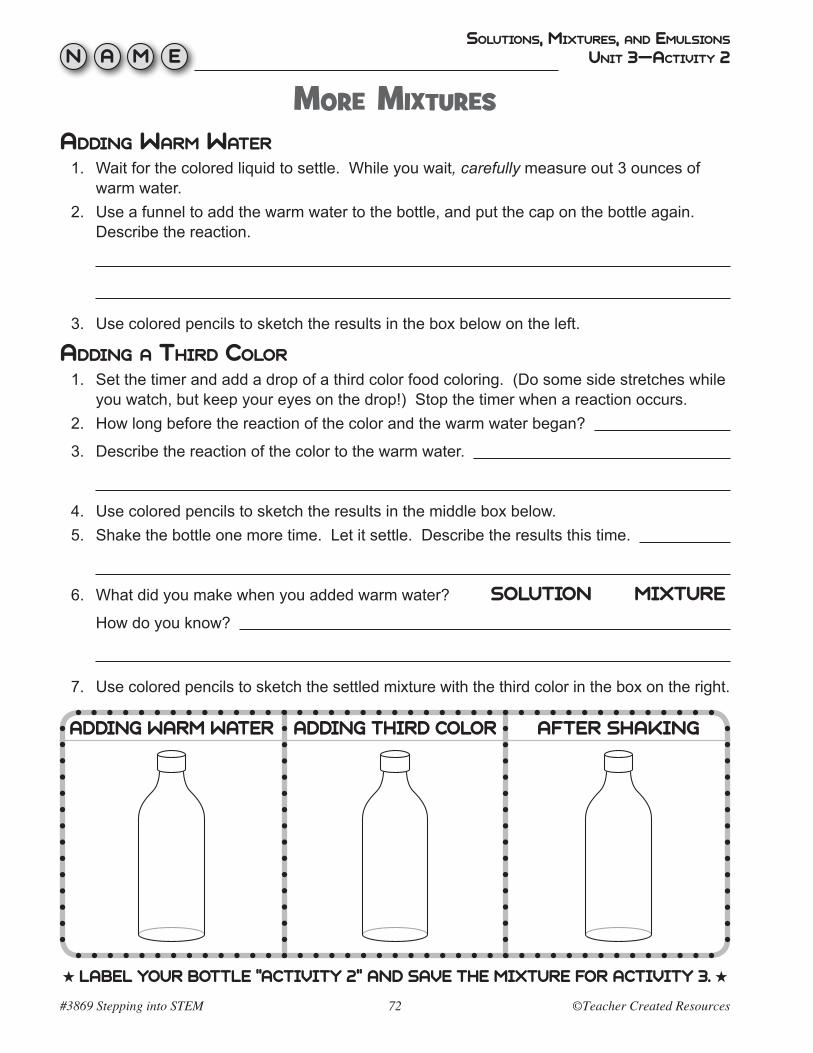
addIng warM water
1. Wait for the colored liquid to settle. While you wait, carefully measure out 3 ounces of warm water.
2. Use a funnel to add the warm water to the bottle, and put the cap on the bottle again. Describe the reaction.
3. Use colored pencils to sketch the results in the box below on the left.
addIng a tHIrd coLor
1. Set the timer and add a drop of a third color food coloring. (Do some side stretches while you watch, but keep your eyes on the drop!) Stop the timer when a reaction occurs.
2. How long before the reaction of the color and the warm water began?
3. Describe the reaction of the color to the warm water.
4. Use colored pencils to sketch the results in the middle box below. 5. Shake the bottle one more time. Let it settle. Describe the results this time.
6. What did you make when you added warm water? soLutIon MIxture
How do you know?
7. Use colored pencils to sketch the settled mixture with the third color in the box on the right.
addIng warM water addIng tHIrd coLor after sHakIng
★ LABEL YOUR BOTTLE “ACTIVITY 2” AND SAVE THE MIXTURE FOR ACTIVITY 3. ★
N A M E
©Teacher Created Resources 73 #3869 Stepping into STEM
soLutIons, MIxtures, and eMuLsIons
More MixTures
unIt 3—actIVIty 2
journaL entry
1. What was the most unexpected reaction that occurred in your mixture?
2. Do oil and water naturally mix? yes no
Explain your answer.
3. Which material is denser? oIL water
How do you know?
4. Did the food coloring mix with the oil? yes no
Why?
Think: What do you think food coloring is mostly made of?
5. Name a mixture you have made at home.
What ingredients did you use?
What did you do with the mixture you made?
scIentIfIc MetHod reVIew—More MIxtures
Share your journal entries, documents, and experiences working with mixtures with your class in a discussion moderated by your teacher.
N A M E
#3869 Stepping into STEM 74 ©Teacher Created Resources
soLutIons, MIxtures, and eMuLsIons
Working WiTh eMulsions
unIt 3—actIVIty 3
Directions: Work in pairs to explore how to add an emulsifier to blend a mixture.
Emulsion—the combination of two liquids that do not mix, like oil and water or oil and vinegar Emulsifier—an added ingredient that allows ingredients in a mixture to blend for a short time. Add mustard to oil and vinegar and you will create salad dressing that stays blended for a while.
teaM MaterIaLs
• bottles from Activity 2 • colored pencils • cooking oil • dish soap (Dawn® or Joy®)
• eyedroppers • food coloring–various colors • funnels • measuring cups
• permanent markers • timers or stopwatches • warm or hot water
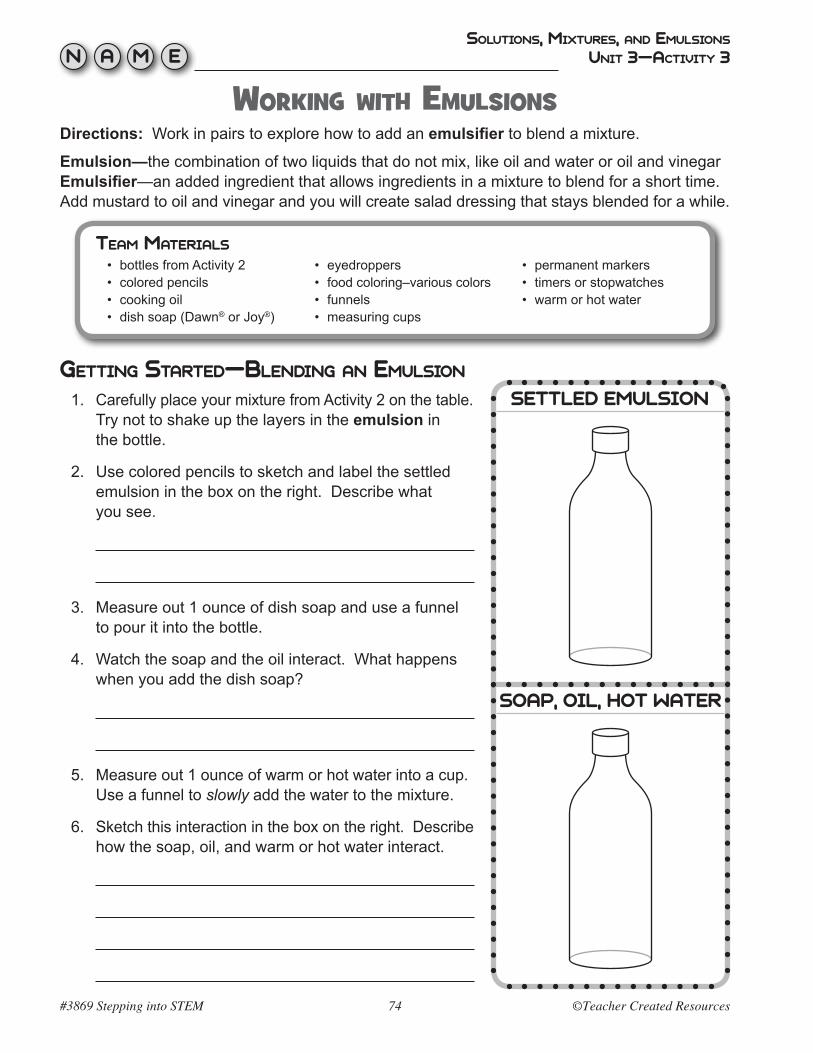
gettIng started—BLendIng an eMuLsIon
1. Carefully place your mixture from Activity 2 on the table. Try not to shake up the layers in the emulsion in the bottle.
2. Use colored pencils to sketch and label the settled emulsion in the box on the right. Describe what you see.
3. Measure out 1 ounce of dish soap and use a funnel to pour it into the bottle.
4. Watch the soap and the oil interact. What happens when you add the dish soap?
5. Measure out 1 ounce of warm or hot water into a cup. Use a funnel to slowly add the water to the mixture.
6. Sketch this interaction in the box on the right. Describe how the soap, oil, and warm or hot water interact.
settLed eMuLsIon
soap, oIL, Hot water
N A M E
©Teacher Created Resources 75 #3869 Stepping into STEM
soLutIons, MIxtures, and eMuLsIons
Working WiTh eMulsions
unIt 3—actIVIty 3
Directions: Work in pairs and continue working with your emulsions. Read all the directions before beginning each activity so you know when you need to stop and start the timers.
sHake It! 1. Make sure the cap is secure on your mixture. Shake the bottle for 15 seconds. 2. Set the timer to see how long the mixture takes to settle. Stop the timer when
the emulsion has settled (approximately 3 minutes).
TOTAL TIME: 3. While you wait, describe the reaction when the bottle was shaken. How did the mixture
look right after being shaken up?
4. Add two more color drops to the settled solution and set the timer. Time how long the food
coloring takes to get through the oil. (Stretch while you wait, but keep your eyes on the drops!)
TOTAL TIME:
5. Describe the results.
addIng warM water
1. Add 3 ounces of warm water to the settled emulsion. Describe what happens.
2. Add one more drop of food coloring, and put the cap back on tightly. 3. Wait 3 minutes. Stretch. Describe and sketch the results in the space below. 4. Save the emulsion to use again in Activity 4. Figure out a safe way to store the bottles.
★ ★ ADD A NEW LABEL TO THE BOTTLE—”EMULSION ACTIVITIES 2 AND 3.” ★ ★
N A M E
#3869 Stepping into STEM 76 ©Teacher Created Resources
soLutIons, MIxtures, and eMuLsIons
Working WiTh eMulsions
unIt 3—actIVIty 3
journaL entry
1. Name foods or drinks you have tried that are solutions. List the ingredients you know that are in each solution.food:
IngredIents:
drInk:
IngredIents:
2. All of the following foods are emulsions. Check the ones you have eaten or drunk.
butter
ice cream
margarine
milk
salad dressing
whipped cream
3. Can you explain why salad dressing in bottles often has layers? Use words from this unit’s vocabulary to help you explain.
4. If you added salt to a glass of water, what would you make?
a SOLUTION an EMULSION
Explain your reasoning.
5. Explain how an emulsifier works.
scIentIfIc MetHod reVIew—workIng wItH eMuLsIons
Share your journal entries, documents, and experiences with emulsions with your class in a discussion moderated by your teacher.
N A M E
©Teacher Created Resources 77 #3869 Stepping into STEM
soLutIons, MIxtures, and eMuLsIons
aDDing To eMulsions
unIt 3—actIVIty 4
Directions: Work in pairs with mixtures and emulsions. Read through the directions before beginning so you will know when you need to stop and start the timers.
teaM MaterIaLs
• baby oil • baking soda • bottle from Activity 2 and 3 • colored pencils • funnels
• measuring cups • plastic spoons • rock salt • rubbing alcohol • small, clear cups
• table salt • timers • trays or tubs • vinegar • warm water
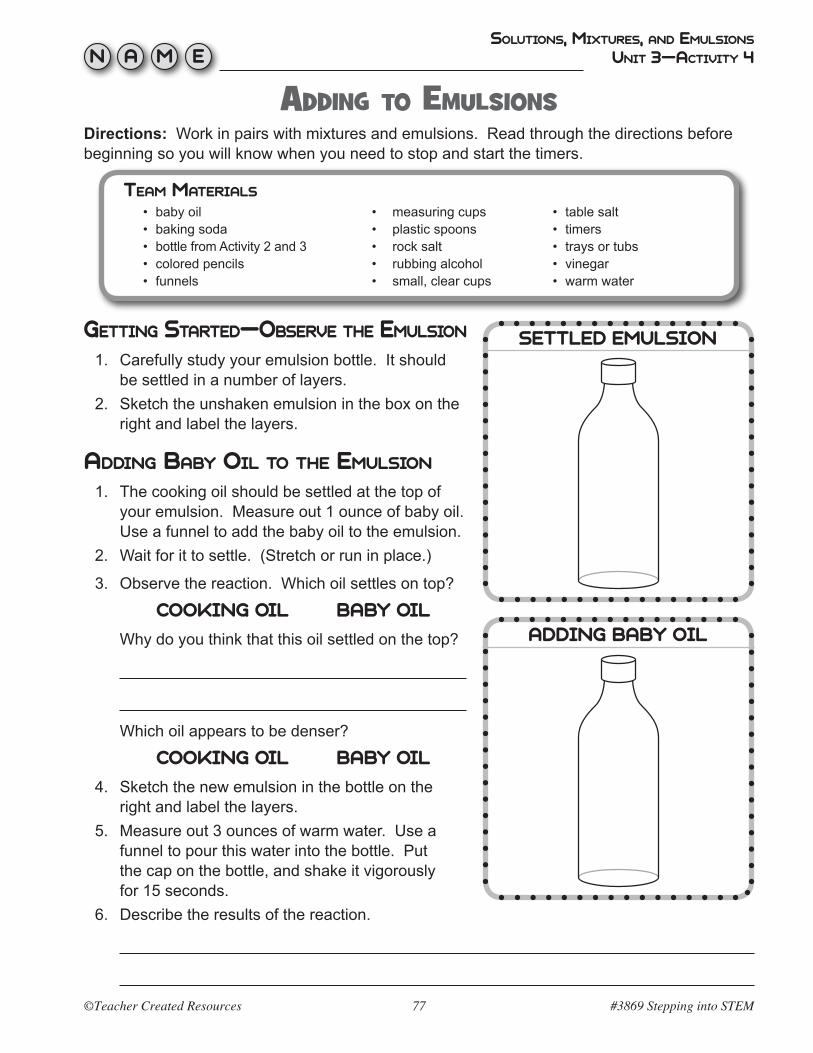
gettIng started—oBserVe tHe eMuLsIon
1. Carefully study your emulsion bottle. It should be settled in a number of layers.
2. Sketch the unshaken emulsion in the box on the right and label the layers.
addIng BaBy oIL to tHe eMuLsIon
1. The cooking oil should be settled at the top of your emulsion. Measure out 1 ounce of baby oil. Use a funnel to add the baby oil to the emulsion.
2. Wait for it to settle. (Stretch or run in place.)
3. Observe the reaction. Which oil settles on top?
cookIng oIL BaBy oIL
Why do you think that this oil settled on the top?
Which oil appears to be denser?
cookIng oIL BaBy oIL
4. Sketch the new emulsion in the bottle on the right and label the layers.
5. Measure out 3 ounces of warm water. Use a funnel to pour this water into the bottle. Put the cap on the bottle, and shake it vigorously for 15 seconds.
6. Describe the results of the reaction.
addIng BaBy oIL
settLed eMuLsIon
N A M E
#3869 Stepping into STEM 78 ©Teacher Created Resources
soLutIons, MIxtures, and eMuLsIons
aDDing To eMulsions
unIt 3—actIVIty 4
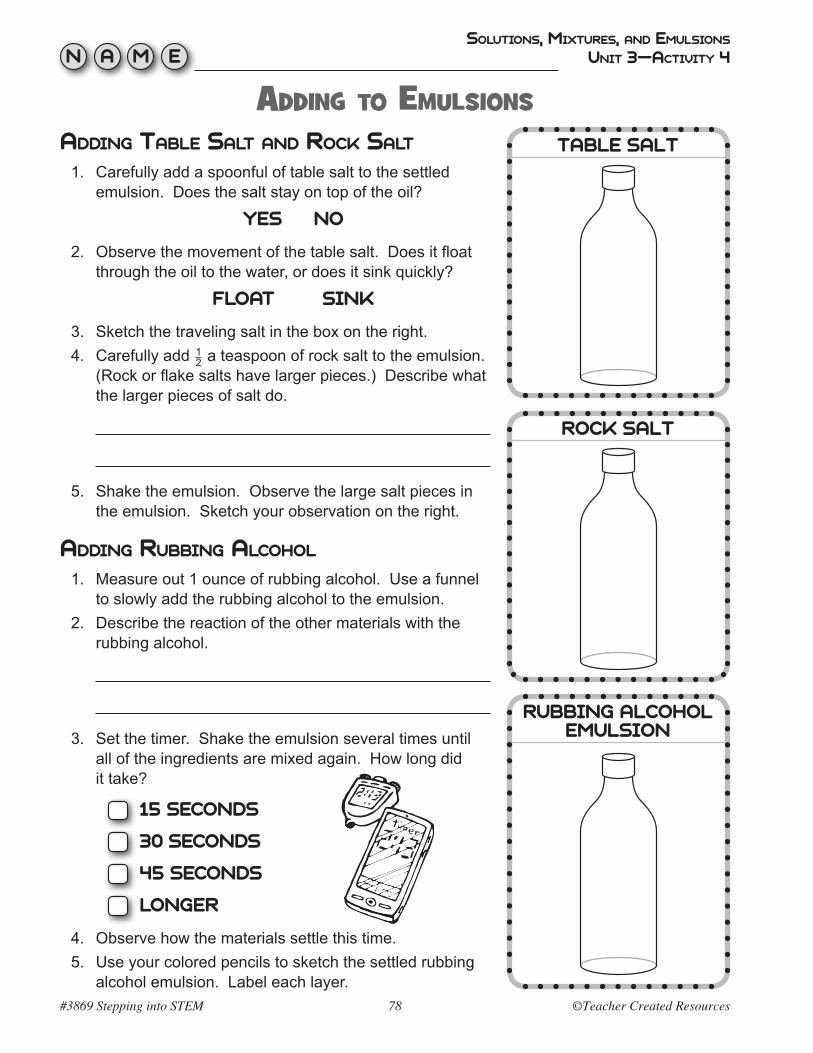
addIng taBLe saLt and rock saLt
1. Carefully add a spoonful of table salt to the settled emulsion. Does the salt stay on top of the oil?
yes no
2. Observe the movement of the table salt. Does it float through the oil to the water, or does it sink quickly?
fLoat sInk
3. Sketch the traveling salt in the box on the right. 4. Carefully add 1
2 a teaspoon of rock salt to the emulsion. (Rock or flake salts have larger pieces.) Describe what the larger pieces of salt do.
5. Shake the emulsion. Observe the large salt pieces in the emulsion. Sketch your observation on the right.
addIng ruBBIng aLcoHoL
1. Measure out 1 ounce of rubbing alcohol. Use a funnel to slowly add the rubbing alcohol to the emulsion.
2. Describe the reaction of the other materials with the rubbing alcohol.
3. Set the timer. Shake the emulsion several times until all of the ingredients are mixed again. How long did it take?
15 seconds
3 seconds
45 seconds
Longer
4. Observe how the materials settle this time. 5. Use your colored pencils to sketch the settled rubbing
alcohol emulsion. Label each layer.
taBLe saLt
rock saLt
ruBBIng aLcoHoL eMuLsIon
N A M E
©Teacher Created Resources 79 #3869 Stepping into STEM
soLutIons, MIxtures, and eMuLsIons
aDDing To eMulsions
unIt 3—actIVIty 4
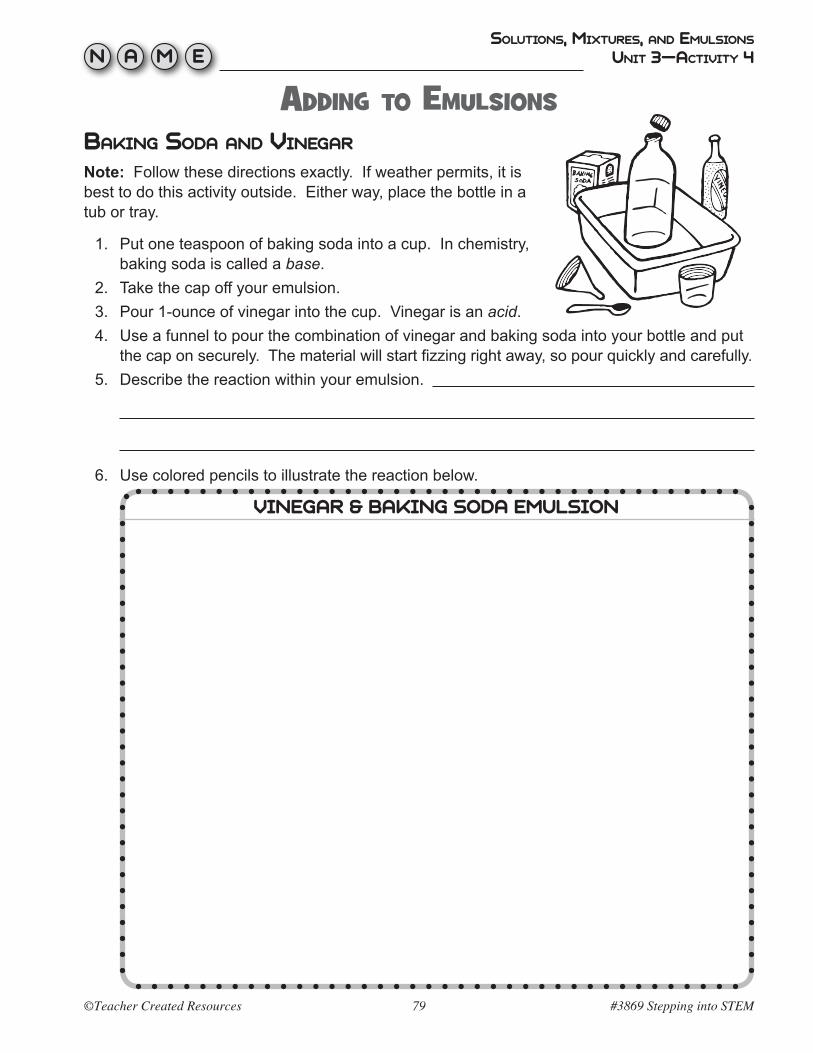
BakIng soda and VInegar
Note: Follow these directions exactly. If weather permits, it is best to do this activity outside. Either way, place the bottle in a tub or tray.
1. Put one teaspoon of baking soda into a cup. In chemistry, baking soda is called a base.
2. Take the cap off your emulsion. 3. Pour 1-ounce of vinegar into the cup. Vinegar is an acid. 4. Use a funnel to pour the combination of vinegar and baking soda into your bottle and put
the cap on securely. The material will start fizzing right away, so pour quickly and carefully. 5. Describe the reaction within your emulsion.
6. Use colored pencils to illustrate the reaction below.
VInegar & BakIng soda eMuLsIon
N A M E
#3869 Stepping into STEM 80 ©Teacher Created Resources
soLutIons, MIxtures, and eMuLsIons
unIt 3—actIVIty 4
aDDing To eMulsionsjournaL entry
1. List at least 3 scientific facts about chemistry, emulsions, or mixtures that you learned by doing today’s activities.
Fact 1:
Fact 2:
Fact 3:
2. Why is it useful to use colored pencils to sketch the results of chemistry experiments?
3. Why did the oil not stay fully mixed with the water?
4. Which of the following materials will not mix with the others? Circle your answers.
FOOD COLORING SALT WATER BABY OIL SUGAR
Why?
5. Are you creating a solution, a mixture, or an emulsion when you mix oil, water, and dish soap together?
a soLutIon a MIxture an eMuLsIon
How can you tell?
scIentIfIc MetHod reVIew—addIng to eMuLsIons
Gather with your teacher and class. Take turns sharing your journal entries, questions, and experiences with emulsions.